You are currently browsing the category archive for the ‘Miscellaneous’ category.
This is from Better Homes and Gardens’ Home Canning and Freezing (1973 Meredith Corp).
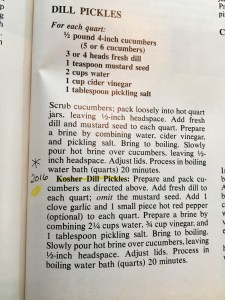 Note: I quadrupled the batch in order to make 6 quarts. I used my canner to do the boiling water bath. Start the 20 minute processing time when I put the jars into boiling water. Don’t wait for it to re-boil. I put the cover on my canner, but left the stopcock open so it’s not pressurized. Removed the jars immediately at the end of 20 minutes processing.
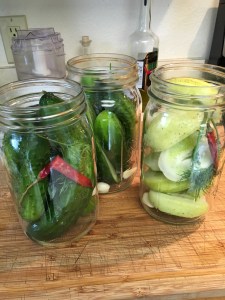


 Makes 2 pints. I used one wide-mouth and one regular.
Chop clean, fresh rhubarb (approximately 4-5 stalks) into chunks about 1″ long. Try to use stalks about the same diameter as your finger. In some places that’s big rhubarb, in others (like here in Alaska) that’s quite small. Pack the rhubarb loosely into the jars.
Divide these spices evenly between the two jars: 2 tsp. peppercorns, 1/2 tsp. whole cloves, 1 tbsp. sliced fresh ginger, 2 bay leaves, 2 dry red chiles.
In a small saucepan mix together 1 cup cider vinegar, 1 cup water, 1 cup sugar, and 1/2 tsp. salt. Bring to a boil, stirring occasionally. Make sure the sugar and salt has dissolved. Remove from heat and pour, hot, into the jars. Run a knife or something like that around the inside of the jar to release air bubbles and then make sure the jars are filled to within 1/2″ of the top. I did have a little bit of leftover liquid that I threw away.
Cover the jars with lids, let cool, and then place in the refrigerator. They’re okay to eat in two days and should be eaten within two weeks. All good! It’s a very nice pickle eaten with salty foods.


 One thing I really noticed was how the liquid turned pink after a couple days, even using fairly green rhubarb as seen above.
I based this upon a recipe found at lifelovefood.

So as not to be confused with something like a soccer hooligan, I give you Eulachon which will take you to the Wikipedia definition and genus, species, etc. everything you learned in biology. I am in Anchorage, Alaska but I grew up in Bristol Bay and these are NOT the smelt that we caught in winter on the Naknek River back home. Not at all. Hooligan are incredibly oily and tend to fall apart once cooked. If you cannot eat your hooligan immediately out of the frying pan, then I would say that smoking them is the best way to go. I only wish that my spring/summer months were leisurely enough to get the smoker out and try a few things. Alas.
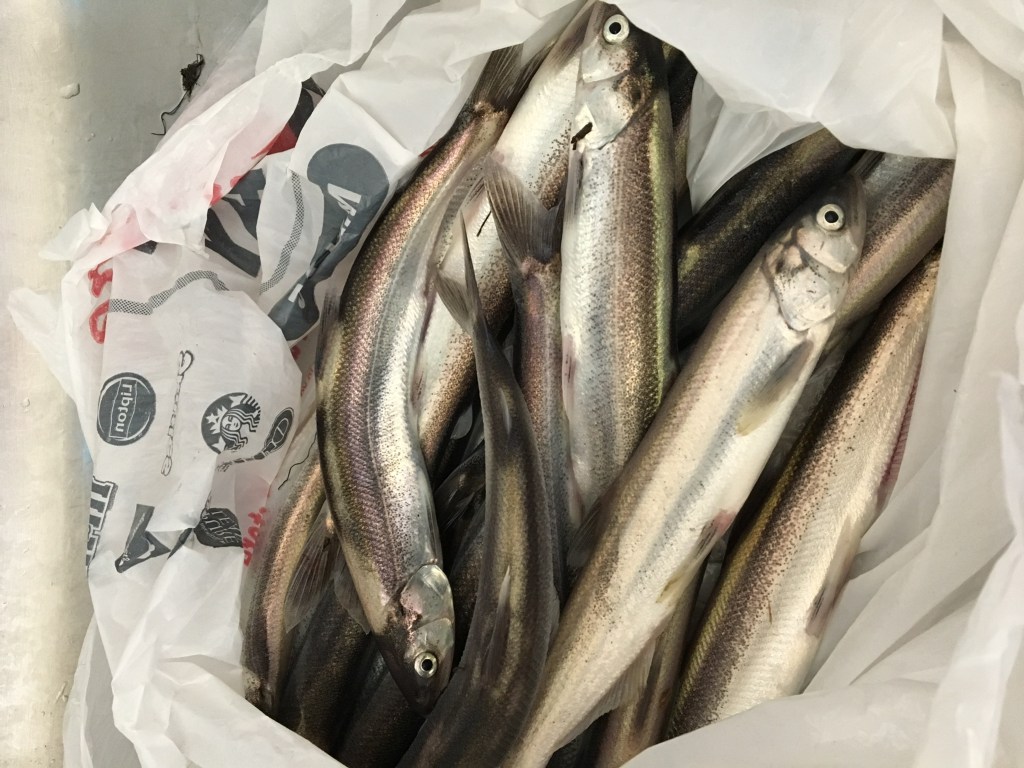


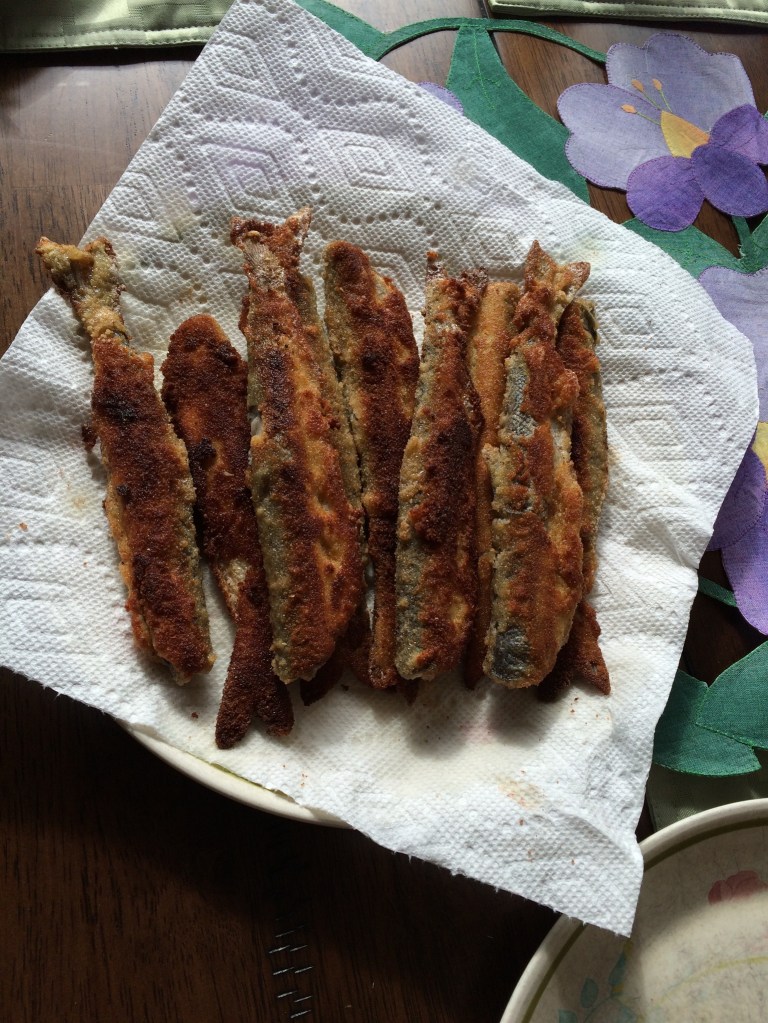
I felt like an elder when my daughter stopped by 20-mile River on our way back from Seward and she caught enough hooligan for me and my husband to have lunch. She’s allergic to fish (it’s a crying shame). Then my husband and second daughter and her friend returned a week later and got more than 100 of them. I try to clean them right away by removing the heads and gutting them. In my opinion, they do not freeze well. It’s best to cook them or smoke them right away.
The best way to fry hooligan is to dry them as well as possible in towels or paper towels. Heat about a half inch of oil (I use canola) in a large skillet, very hot. Make a highly seasoned flour by putting about a cup of flour into a plastic “Ziploc” bag and then sprinkling in seasoned salt, pepper, cayenne pepper, paprika, and onion powder. You can do what you like and each time I do it differently. This instruction is more about the method. Then make an egg wash of 2 eggs mixed with a couple tablespoons of water in a pie tin. Then sprinkle regular unseasoned bread crumbs in another pie tin, so you have three things: bag of seasoned flour, pie tin of egg wash, and pie tin of bread crumbs.
Drop five or six cleaned, fairly dry hooligan into the bag of seasoned flour. Shake off the excess flour mixture and roll fish in the egg wash, then roll in the bread crumbs. Fry. Each batch does not take long at all. They are tiny fish, 6-10 inches usually. My husband and I can eat 6-7 at a sitting, so I divvied them up over two days and I delivered about 20 to my daughter’s office. That was a bad idea, by the way. It’s like saying “I’ll deliver pancakes to your office.” They’re pretty terrible by the time you get there. Hooligan really need to be eaten out of the frying pan. Really. No one complained, but me.
Place onto paper towels to absorb the extra oil and serve immediately. Yummy!
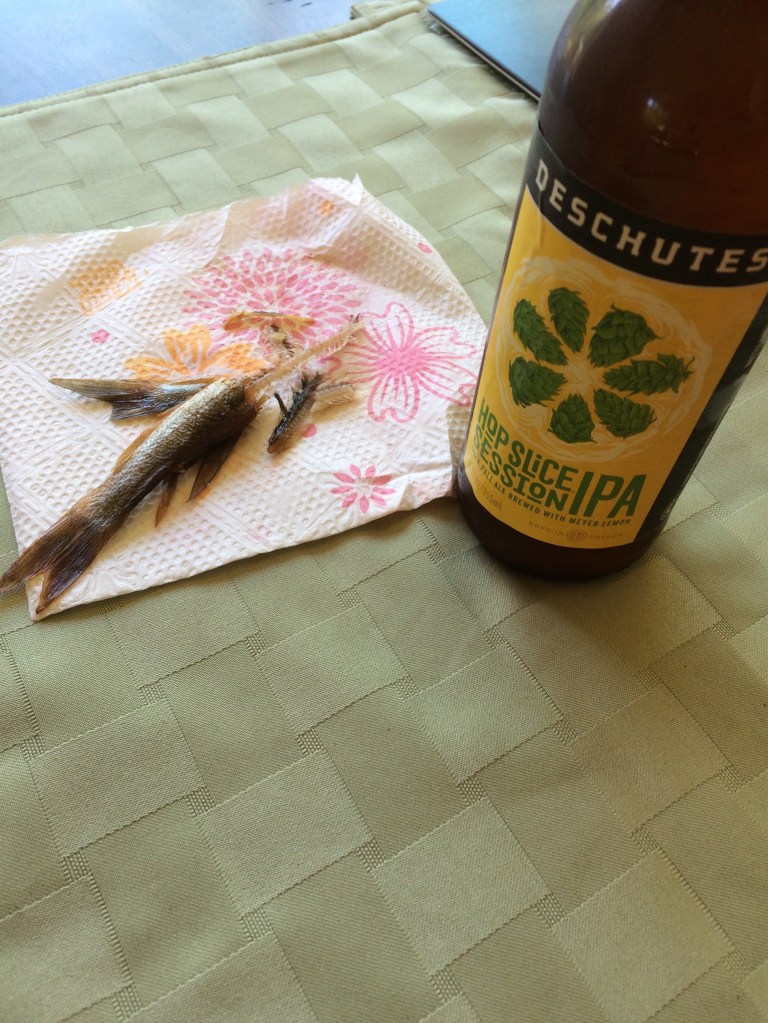
BW and my husband, they eat theirs backbone and all. Me, I pull the backbone out and then eat the rest. The backbone is a bit too much crunch for my tastes. I fed the crispy tails to the dog and he seemed to enjoy it very much.
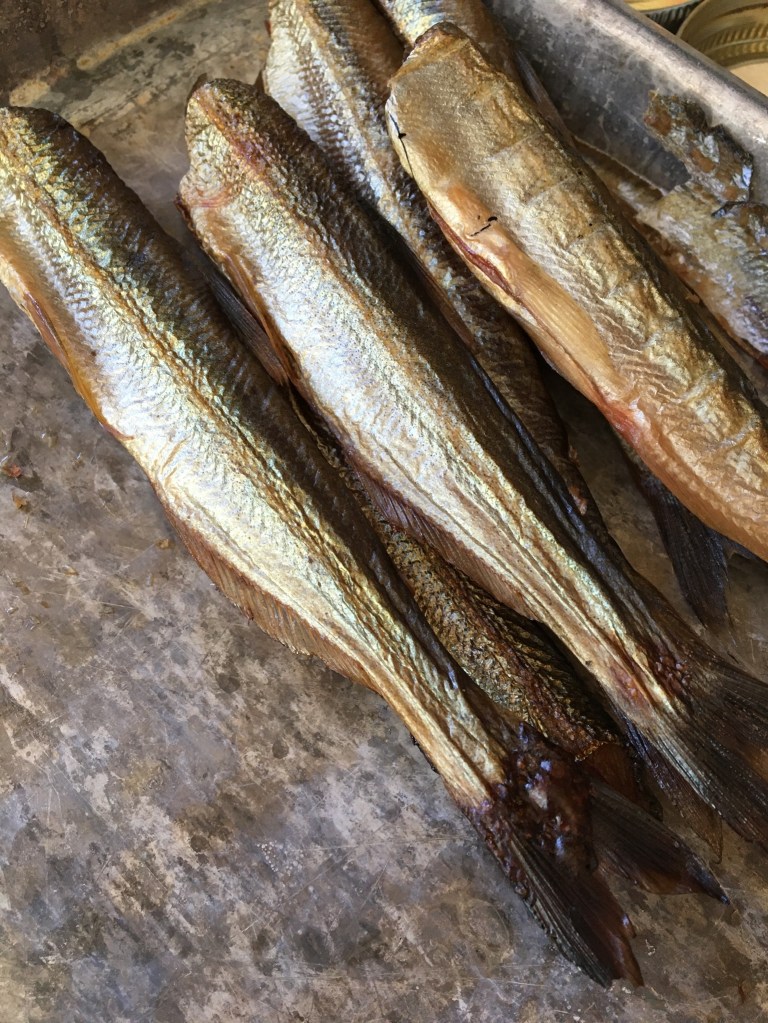
Here below is a picture of smoked hooligan. As I recall, we did not brine them, simply placed them in a smoker for awhile.*


*More info on smoked hooligan added 5/19/2020.
- Smoked Hooligan Ingredients
- 1/2 cup salt
- 1-1/2 cups brown sugar
- 1-1/2 tsp. garlic powder
- 1 tsp. red pepper flakes
- 3 cups water
- About 30 fresh hooligan, heads and guts removed
In a large bowl, stir together first five ingredients. Add hooligan. Try using a plate or bowls to weight the fish in the brine, so that they’re fully submerged. Cover the bowl and refrigerate for at least three hours. I did three hours, but they could have used a more salty flavor, so next time I might try 4-6 hours.
Remove fish from brine and rinse with water as you lay the fish out on towels. Pat dry.
Spray your smoker racks with non-stick spray. Get your smoker going with your choice of wood chips. Place fish onto racks and then into smoker. Our smoker runs really hot, so it only took an hour to fully smoke/cook the fish.
Remove fish from racks. They are ready to eat, freeze, or can.
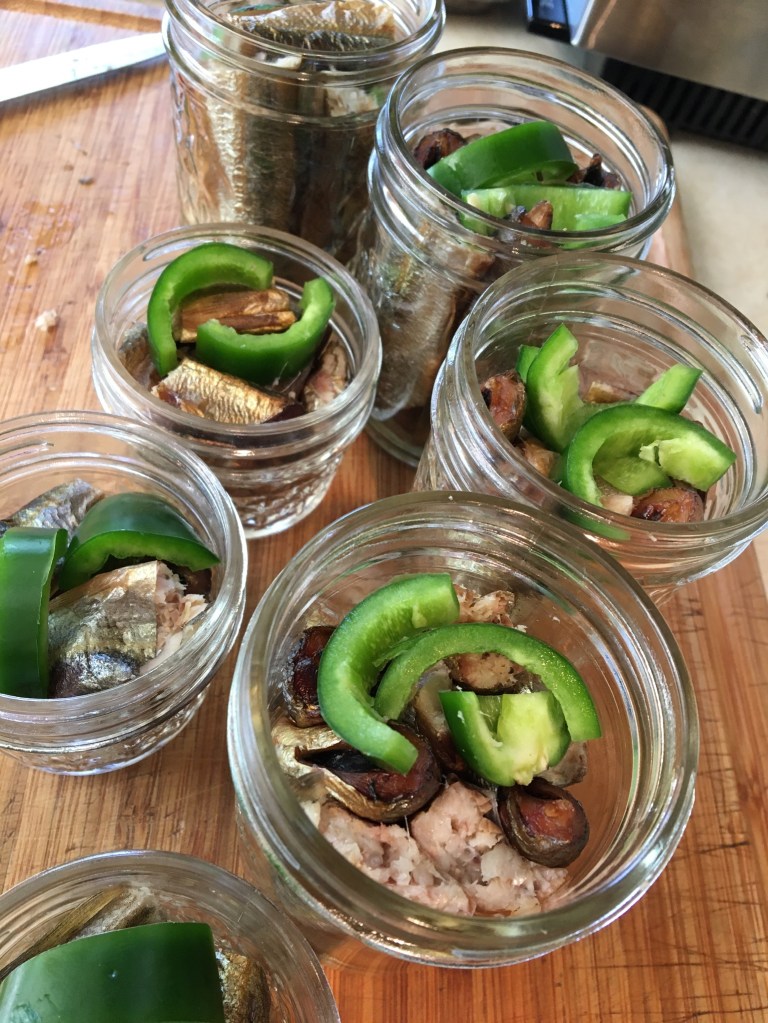
- Canning Smoked Hooligan in Jars
- MUST use a pressure canner. The instructions I’ve read on Insta-Pot say that it cannot be used for canning. Maybe that has changed. Follow the instructions on your own pressure canner.
- I used four half-pint and three quarter-pint jars.
- I used approximately 25 smoked hooligan, cut to fit in the appropriate jar.
- I added a couple slices of fresh, de-seeded, jalapeno to each jar.
- The water in my pressure canner was hot when I loaded the jars into it. I strapped the lid onto the canner, but left the stopcock open.
- Once the stopcock exhausted a steady stream of water vapor for ten minutes, I closed it.
- Once the pressure reached 10 psi I started the timer for 100 minutes.
- I kept an eye on the pressure guage to makes sure the pressure stayed at 10 psi.
- At 100 minutes I turned off the heat and then let the canner sit for many hours to cool. I opened the stopcock to vent, then I removed the lid of the canner and removed the jars.
- Voila!
10 psi for 100 minutes
Serve on crackers. The flavor is very mild. I could have left the seeds in the jalapenos for a bit more kick and I could have left the fish in the brine for a little more salty flavor.


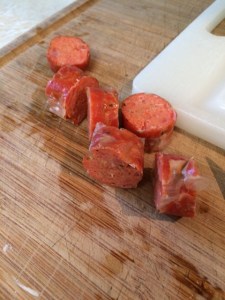
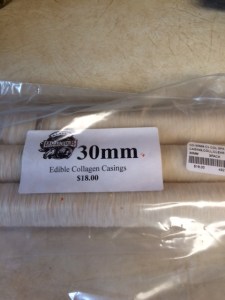
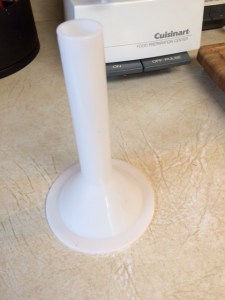
I had never made sausages in casings before and I’d never eaten salmon sausage before. It’s an adventure. So, I went to Alaska Butcher Supply and bought collagen casings (30mm) and a sausage stuffing funnel that looked like it would fit my sausages. The casings are a size one would use to make hotdogs or bratwurst. They are dry casings that do not require soaking before stuffing. I could have tied knots in the casings themselves, but I used string to tie the ends.
 Ingredients
1.5 to 2# raw salmon, deboned (mostly salmon bellies)
1.5 cups raw zucchini cubes (do not peel)
1 Tbsp. salt
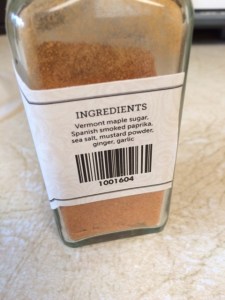
Seasoning (I used a couple tablespoons of Summit Seasonings Smoky Maple Salmon Rub), but next time I’ll try more spice (red pepper flakes) and maybe some mustard seed. A little more salt, too.
I used a Cuisinart to grind all the ingredients together into a rough paste. Then I wet my hands and started stuffing the sausages. Never again by hand. Never. It was such a chore. Part of the problem was that I did not have a utensil to move the meat down the stuffer tube. Once I figured out that my finger worked best, things went a little faster. Never again. I’m probably going to invest in a sausage stuffing attachment for my KitchenAid mixer.
I kept the sausages refrigerated for several hours and then set them out on a plate with paper towels for an hour or so. The temperature change from my kitchen to the refrigerator had caused them to sweat a little and I wanted them to be dry.
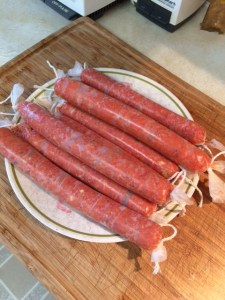
Then my husband went out to smoke my regular salmon and he put the sausages on the bottom of the smoker where it is hottest. It took about three and a half hours. Our smoker runs really hot.
 I will say that my sausages are beautiful. They are also tasty, but a little too mild for me. Next time, spice it up!
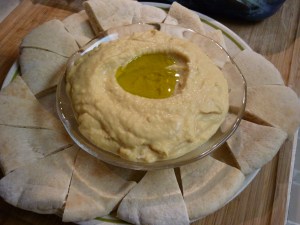
The hummus recipe is based upon one found here.
Hummus Recipe
1 16 oz can garbanzo beans
1/4 cup liquid from can of garbanzo beans
4 tablespoons lemon juice
1 1/2 tablespoons tahini
2 cloves garlic, crushed
1/2 teaspoon salt
2 tablespoons olive oil
Drain garbanzo beans and set aside liquid from can. Combine remaining ingredients in blender or food processor. Add 1/4 cup of liquid from garbanzos. Blend for a few minutes on low until thoroughly mixed and smooth.
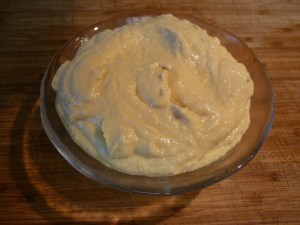
Place in serving bowl, and create a well in the middle. Pour a small amount of olive oil into the well.
Serve with pita bread.
The pita bread recipe is based upon one found at Under The High Chair.
Pita Bread Recipe
1 tablespoon yeast
1 ¼ cup warm water
1 teaspoon salt
3- 3 ½ cups flour
Dissolve yeast in warm water in the bowl of an electric mixer. Add salt and 1 ½ cups flour. With the dough hook, beat well to make a batter. Add additional flour until a rough, shaggy mass is formed. Let it knead for about 8 minutes until dough is smooth and elastic. Add more flour if it is too sticky. The dough will rise AFTER you’ve formed the flat loaves. Go straight to forming now.
Turn dough onto a lightly floured surface and divide into six pieces for large pitas or ten for smaller. Form dough into balls, then flatten with a rolling pin into ¼ inch thick discs. Try and keep an even thickness as this is what helps them puff. Note: Do not roll out on parchment paper or let them rest on parchment paper in an effort not to use too much flour. They stick! Flour is the way to go. Flour them.
Let rest on the floured surface 30-40 minutes until slightly puffy. By the time you are finished forming the last one, you may be quite close to starting to bake the first one. Get your oven going. It takes time.
Preheat oven AND baking sheet to 425F. Let the baking sheet sit inside the hot oven for about ten minutes after the preheating is finished. That baking sheet needs to be HOT! A high-quality (thicker) baking sheet will retain heat longer, but will take longer to heat at the beginning. I could totally be making that up, but I believe it.
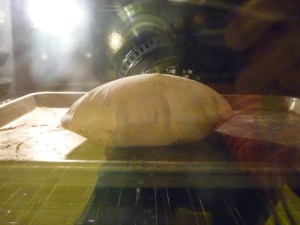
With a large spatula, flip a well-floured round of dough upside down on the dry baking sheet. Bake 10-15 minutes until it’s puffed and light golden. I baked mine one at a time letting the baking sheet heat thoroughly between batches. I think two at a time would work, too.
If you have children or adult science buffs in the room, be prepared! Watching pita bread puff in the oven is really, really cool! A crowd could gather if you have a window in your oven door. Just sayin’. Learn to shout, “Step away from the oven now so I can remove the pita before it burns.”
I’m not telling you how to save your leftovers because these are so amazingly delicious that you will not have any leftovers.
Slice in half cross-wise and stuff with yummy sandwich ingredients or pile gyro ingredients on the top or slice into pie-shaped sections to serve as an appetizer with hummus. It’s all good!
 At the end of the most sunny summer on record, we had a glut of green tomatoes. These pickles are very mild, not too tangy and not too sweet. The recipe comes out of the book Preserving by Oded Schwartz (Dorling Kindersley, 1996), one of the most beautiful and useful books ever published. I had everything on-hand except the chiles.
2# green tomatoes
2-3 fresh or dried red chiles (I did not use)
a few sprigs fresh dill
2-3 bay leaves
1-1/2 Tbsp. mustard seed
1 Tbsp. peppercorns
4-5 cloves
4 cups cider vinegar
1/2 cup water
4 Tbsp. honey
1 Tbsp. salt
Lightly prick each tomato in several places with a wooden toothpick. Arrange in pint jars (I used four pint jars) with chiles, dill, bay leaves, and spices. In a saucepan, mix vinegar, water, honey, and salt. Bring to a boil and boil rapidly for 5 minutes, then remove from heat and let stand until warm. Pour warm vinegar mixture into the jars. Top with cold vinegar if you don’t have enough mixture to cover the tomatoes. Seal* and refrigerate. Tomatoes will be ready in a month, but improve after 2-3 months. Should last a year as long as it’s refrigerated.
*One thing that wasn’t clear in the recipe was how to “seal” the jars. Since they were to be refrigerated and because the brine is mostly vinegar, all I did was screw canning lids on tightly. So, I didn’t “seal” them by my definition, merely closed the lids. I think it will be just fine.
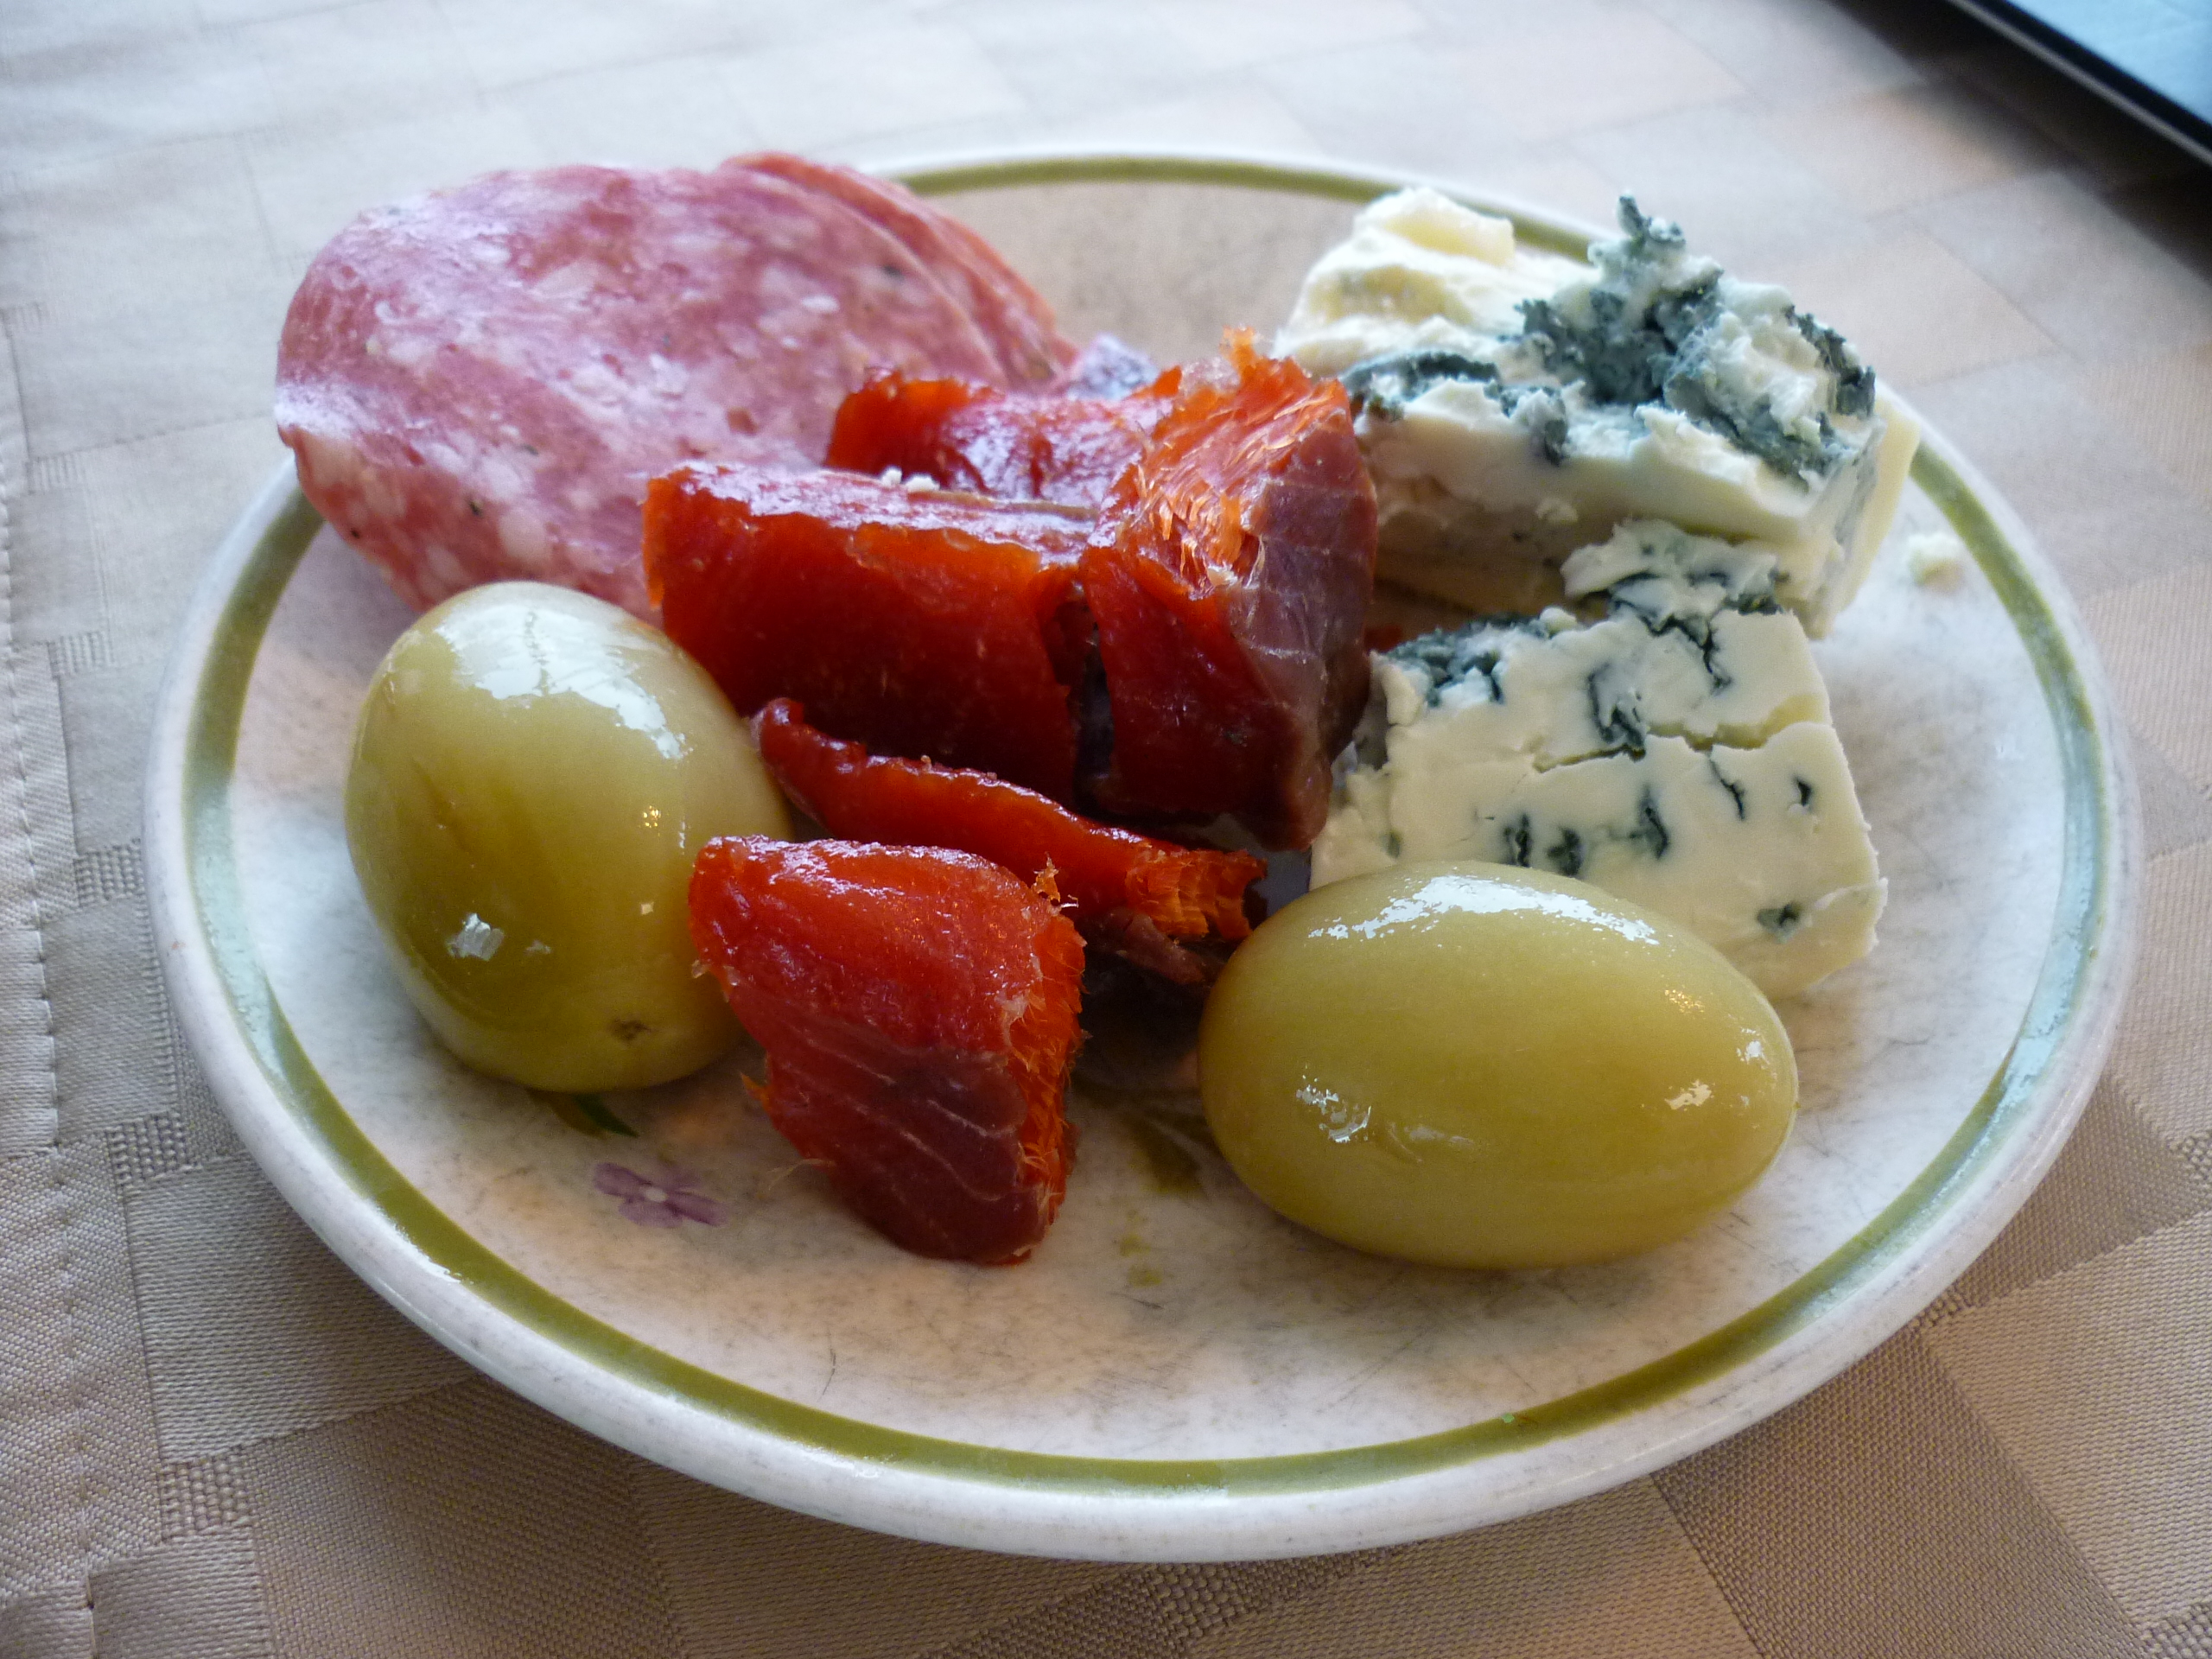
Those aren’t grapes, they’re green tomato pickles, along with smoked salmon, bleu cheese, and Italian dry salami. What a great snack!
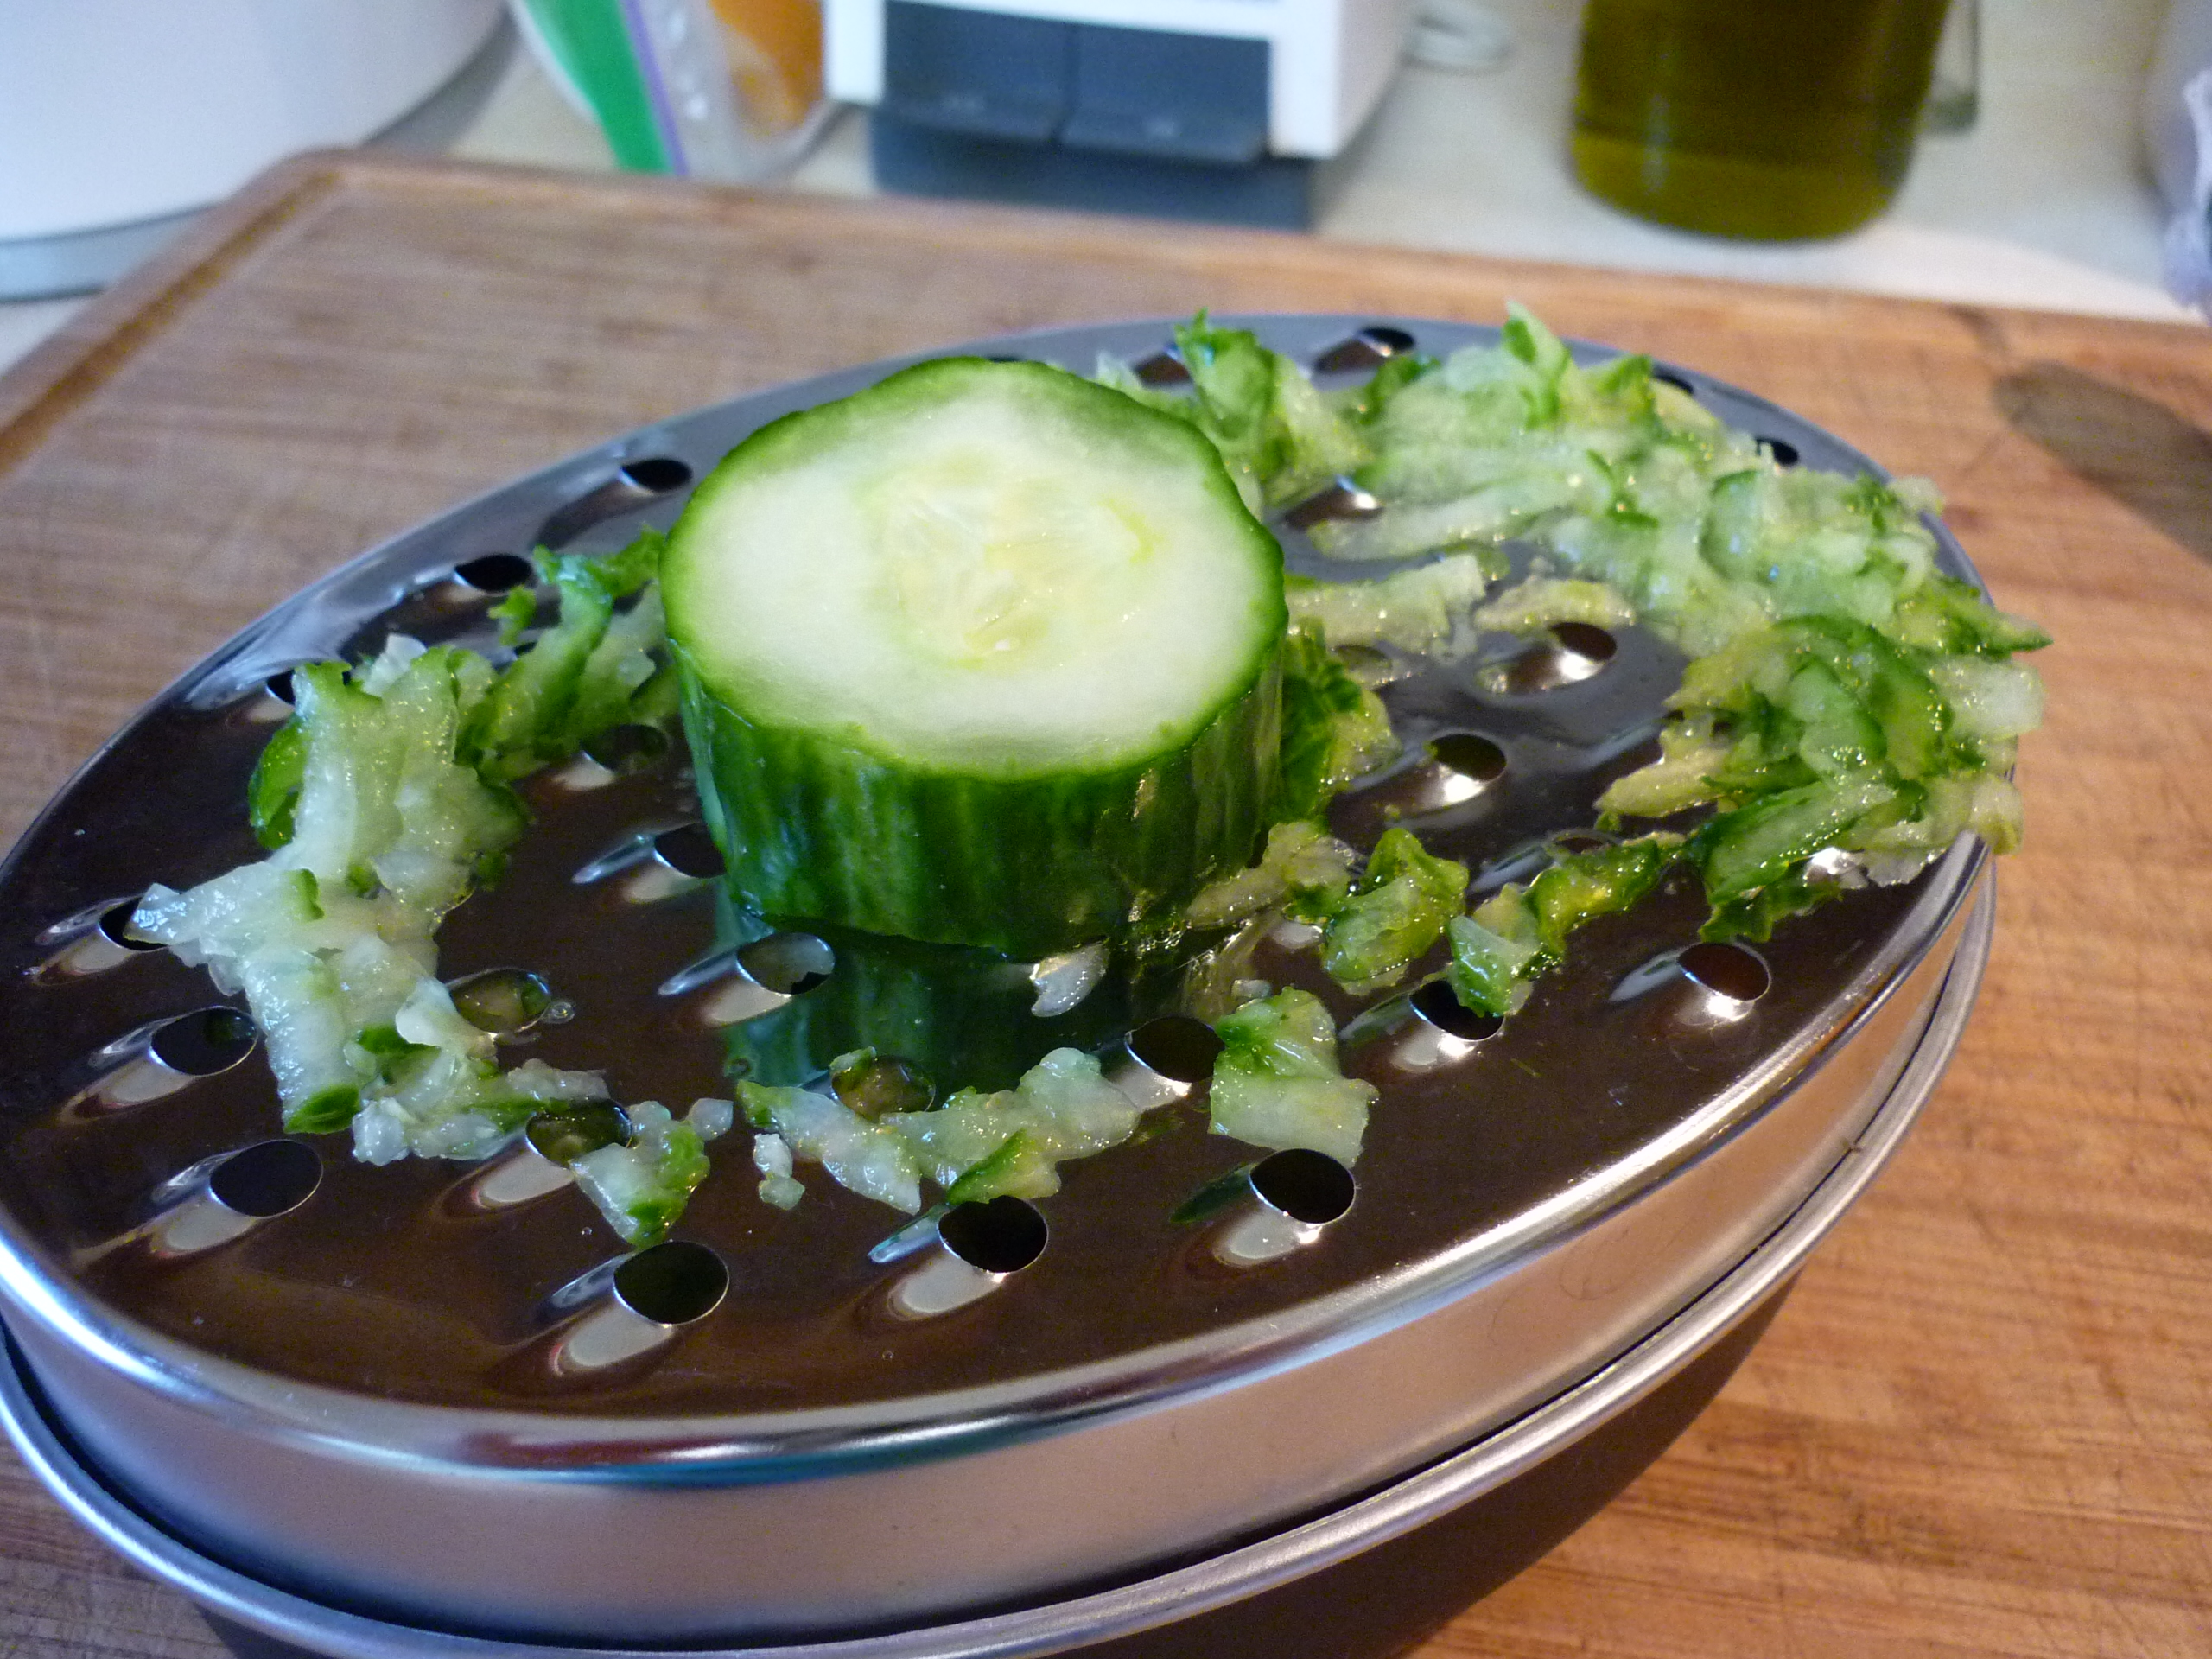
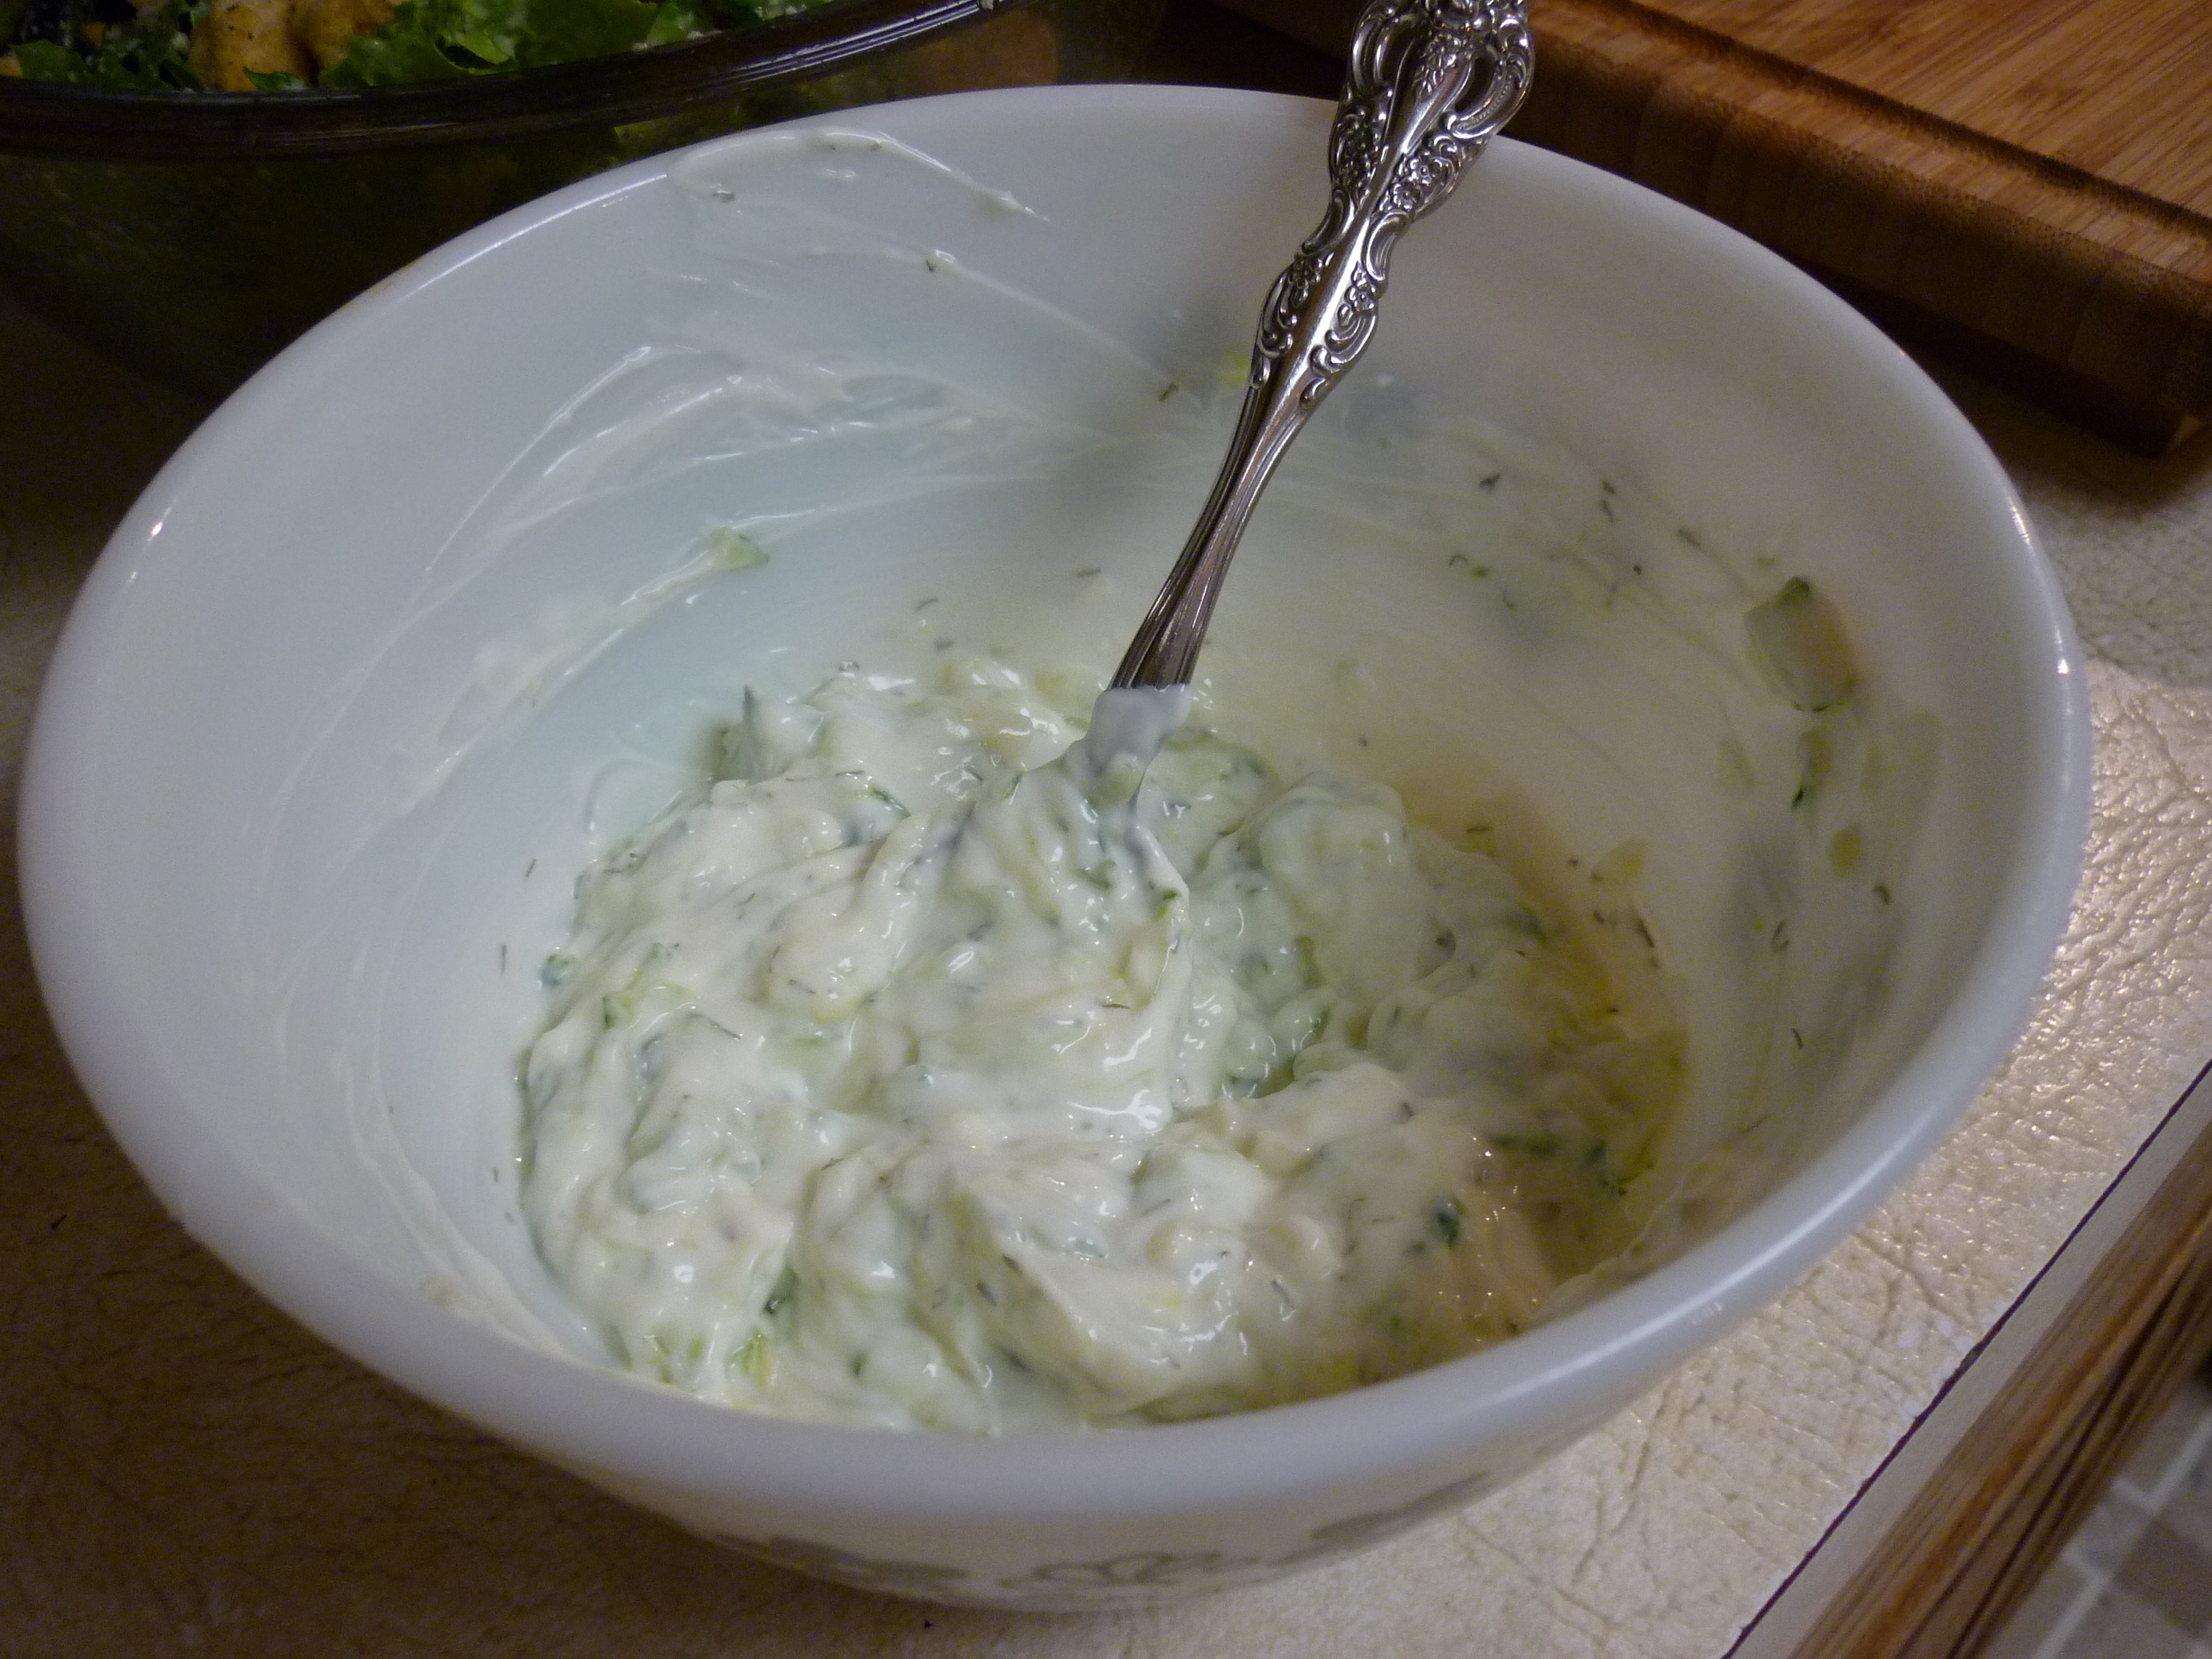 My husband grew cucumbers this summer and we do eat a lot of grilled lamb chops so I made this wonderful sauce frequently. It’s easy, but takes time for the cucumber to drain and the yogurt-garlic flavors to marry. Start by grating a 3″ piece of cucumber. Press out as much liquid as you can and let it sit in a strainer for several hours. I put my grated cucumber in a small strainer and set it in a small mixing bowl. I lightly cover it and put it into the refrigerator until I’m ready to finish the sauce.
After grating the cucumber and setting it aside to drain, the next step is to stir together 3/4 cup of plain Greek-style yogurt, 2 minced garlic cloves, 1 Tbsp. of olive oil, 1/2 tsp. of salt, and 1/2 Tbsp. of white wine vinegar (or white vinegar). If you do not have fresh dill, then add a sprinkle of dried dill weed and stir it in. If using fresh dill, wait until later to add it. Place the mixture in the refrigerator for several hours.
At serving time, stir the drained cucumber and a sprig of chopped fresh dill into the sauce.
This tastes great mixed with feta or not. Serve as a dip for pita bread or a sauce for lamb. It’s all good.

Make a 100% salt solution by dissolving salt, one tablespoon at a time, in hot water (not boiling, just hot from the tap) until the salt will no longer dissolve. It is not necessary to let the water cool before proceeding to the next step. The temperature does not matter. I use Canning & Pickling Salt because it has no additives.
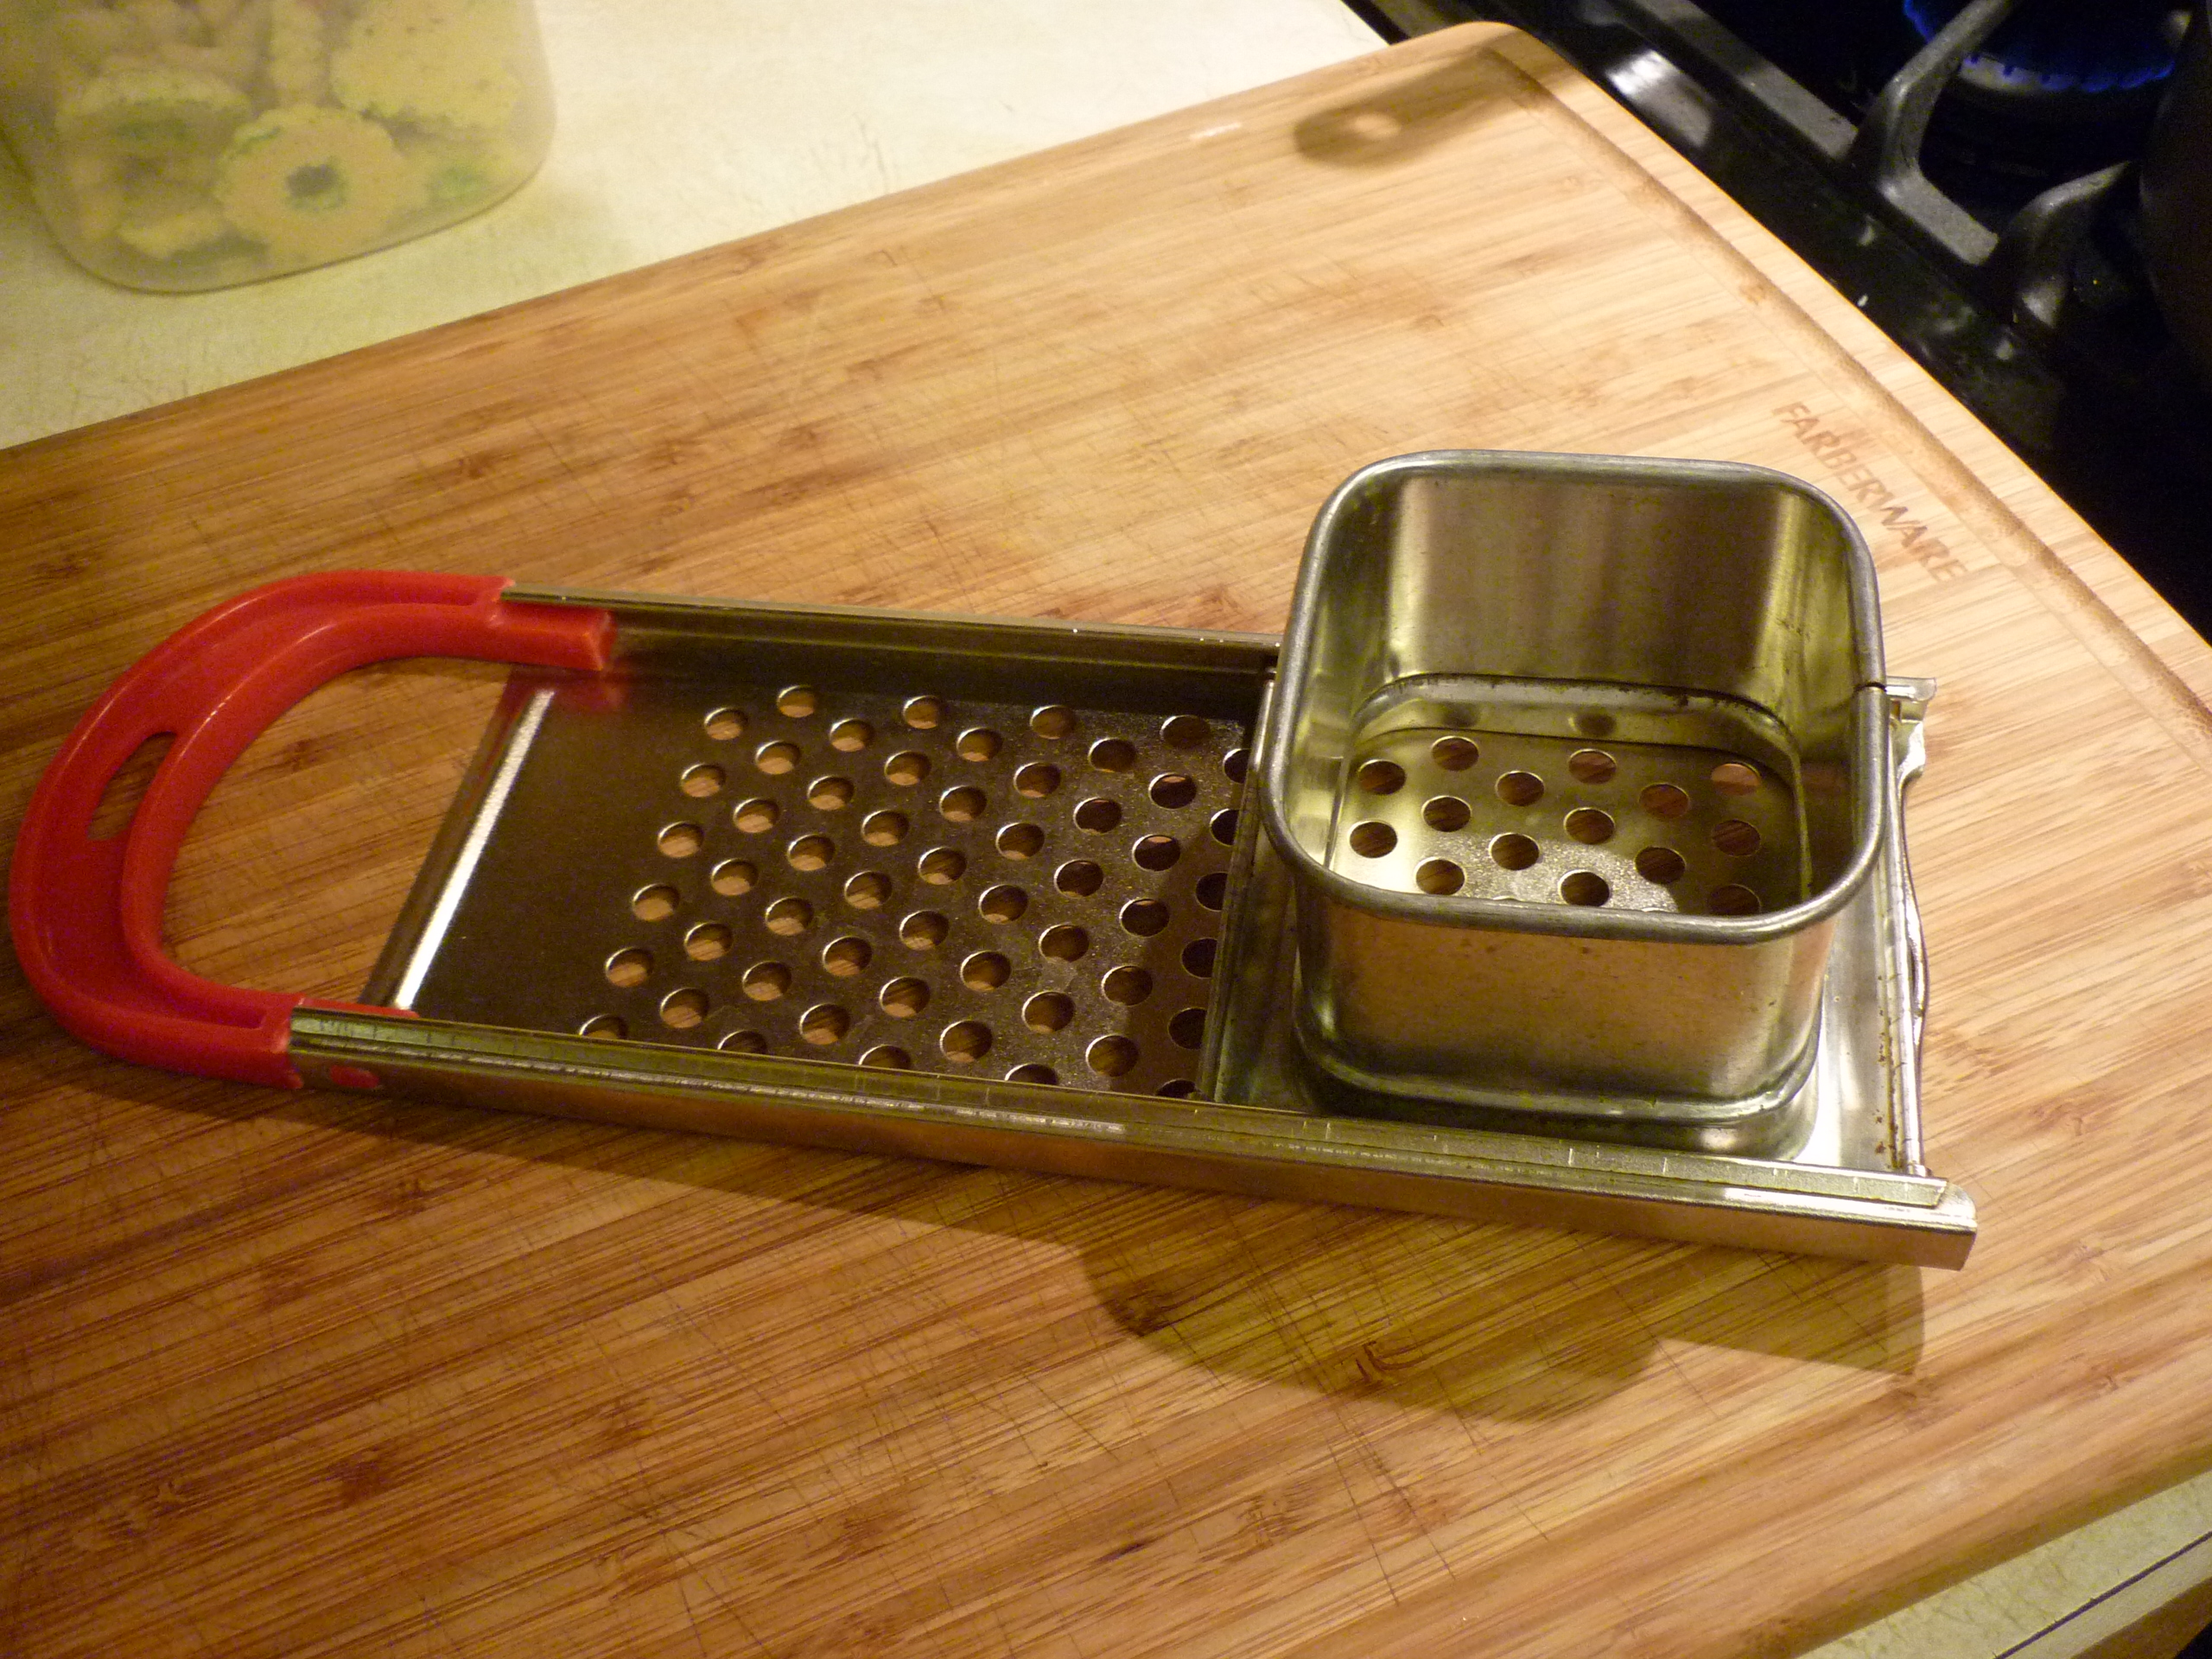
This is a Spaetzle Maker. Use only the grated part, not the cup, to remove the eggs from the membrane. Search “spaetzle” on this site for the recipe to make Spaetzle. You can buy a Spaetzle Maker at a housewares store.
We used Alaska red “sockeye” salmon roe. Using the grated part of a Spaetzle Maker over a bowl, rub a skein of fresh (only fresh will do) salmon roe across the grate, dislodging the eggs from the membrane.


Discard the membrane. Once you have as many loose eggs as you want, soak them in the salt solution for thirteen minutes while stirring. When we were making this for the first time we dislodged the eggs right into the bowl of salt solution (as pictured), but then our timing was off. Next time we will dislodge the eggs into an empty bowl and THEN when we have enough we’ll put it all into the salt solution at the same time and start the timer.

Strain the eggs out of the salt solution into a colander and run under cold water until it doesn’t taste too salty for you. We discarded our salt solution and filled that bowl with fresh water and let the salty roe sit in it for about 30 seconds, too. We grabbed a pinch of the roe and tasted it. It was good, so we stopped pouring fresh water on it. Let it continue to strain for awhile, but you can eat it right away. Tastes great with crackers and cream cheese. You can add flavorings like garlic or dill to the roe if you want to. In the refrigerator it will last for a few days. Once it had strained for an hour or so, I scooped it into small jars (previously used for pimientos, but baby food jars would work) and put them into the refrigerator. The next day it tasted even better!
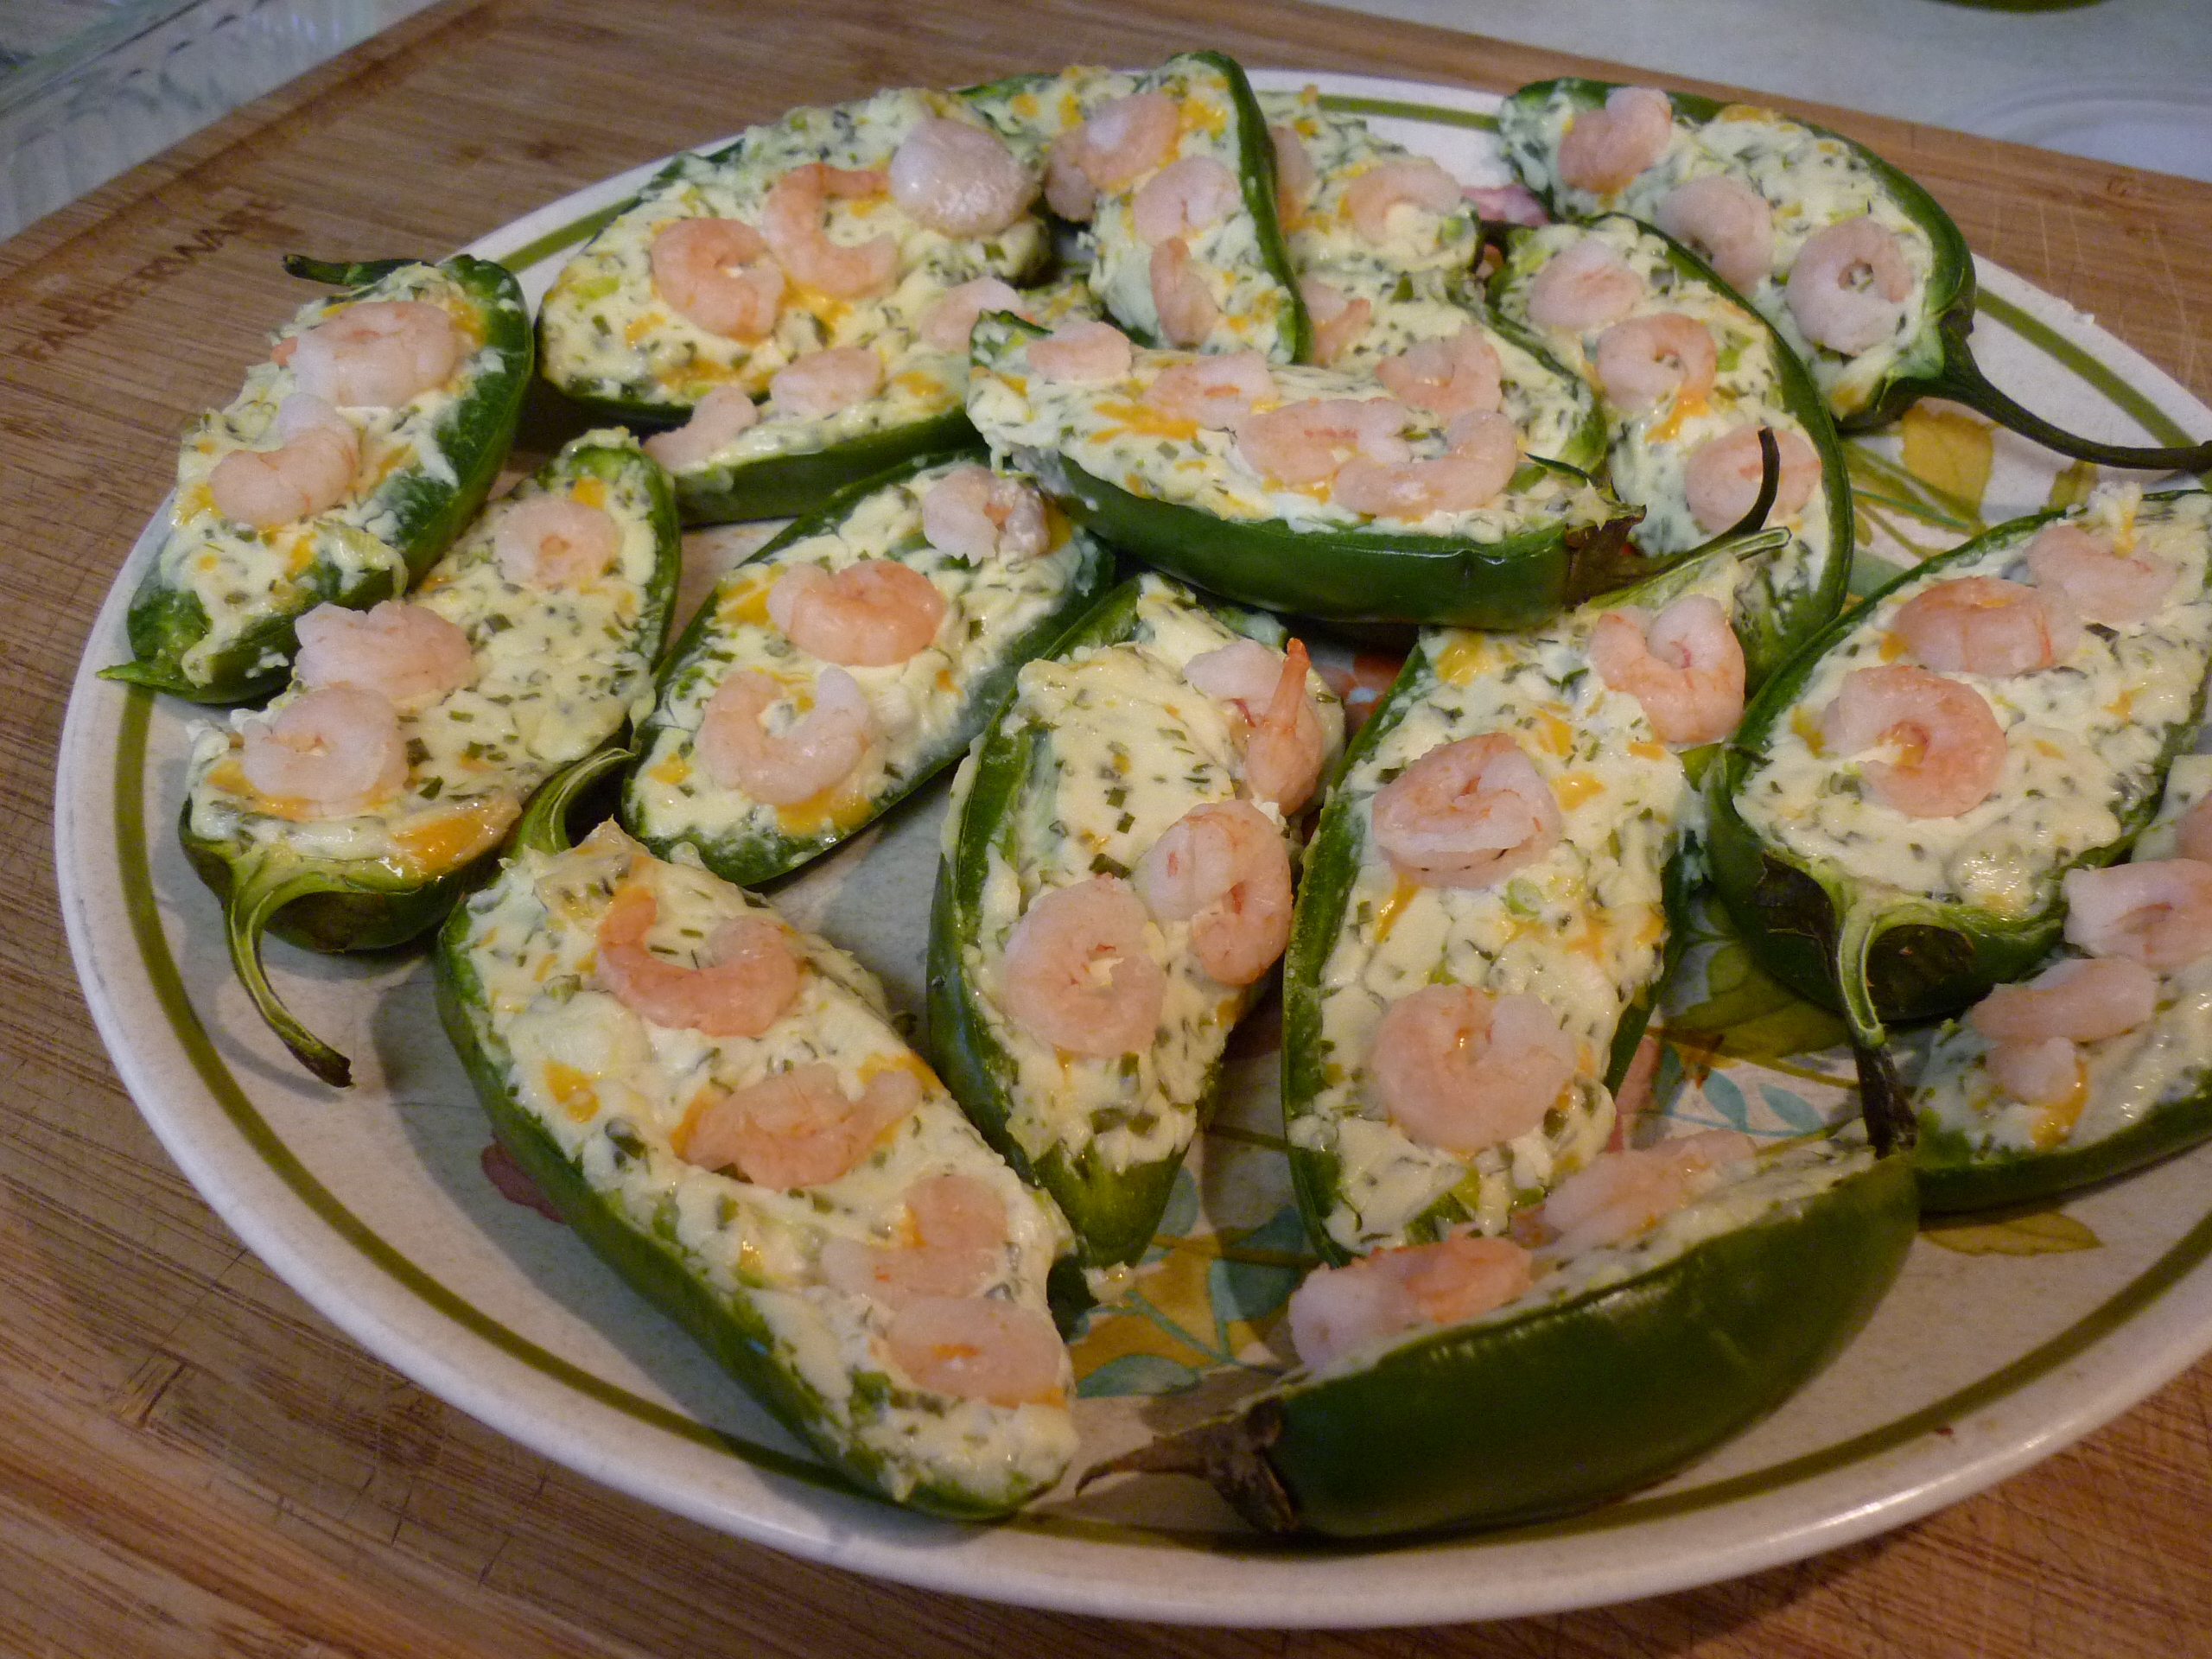 This recipe is based upon one found at Taste Of Home. I’ve never met anyone who didn’t like these very much. I like to serve these with enchiladas and rice.

Cut jalapeños in half lengthwise and scoop out the seeds into the trash. Place the jalapeños into an ungreased 15×10” baking pan or on a baking sheet.


In a small bowl combine 8-oz. container herb and onion cream cheese, 1/4 cup cheddar cheese and 1/4 cup chopped green onion.

Spoon into the jalapeño halves.
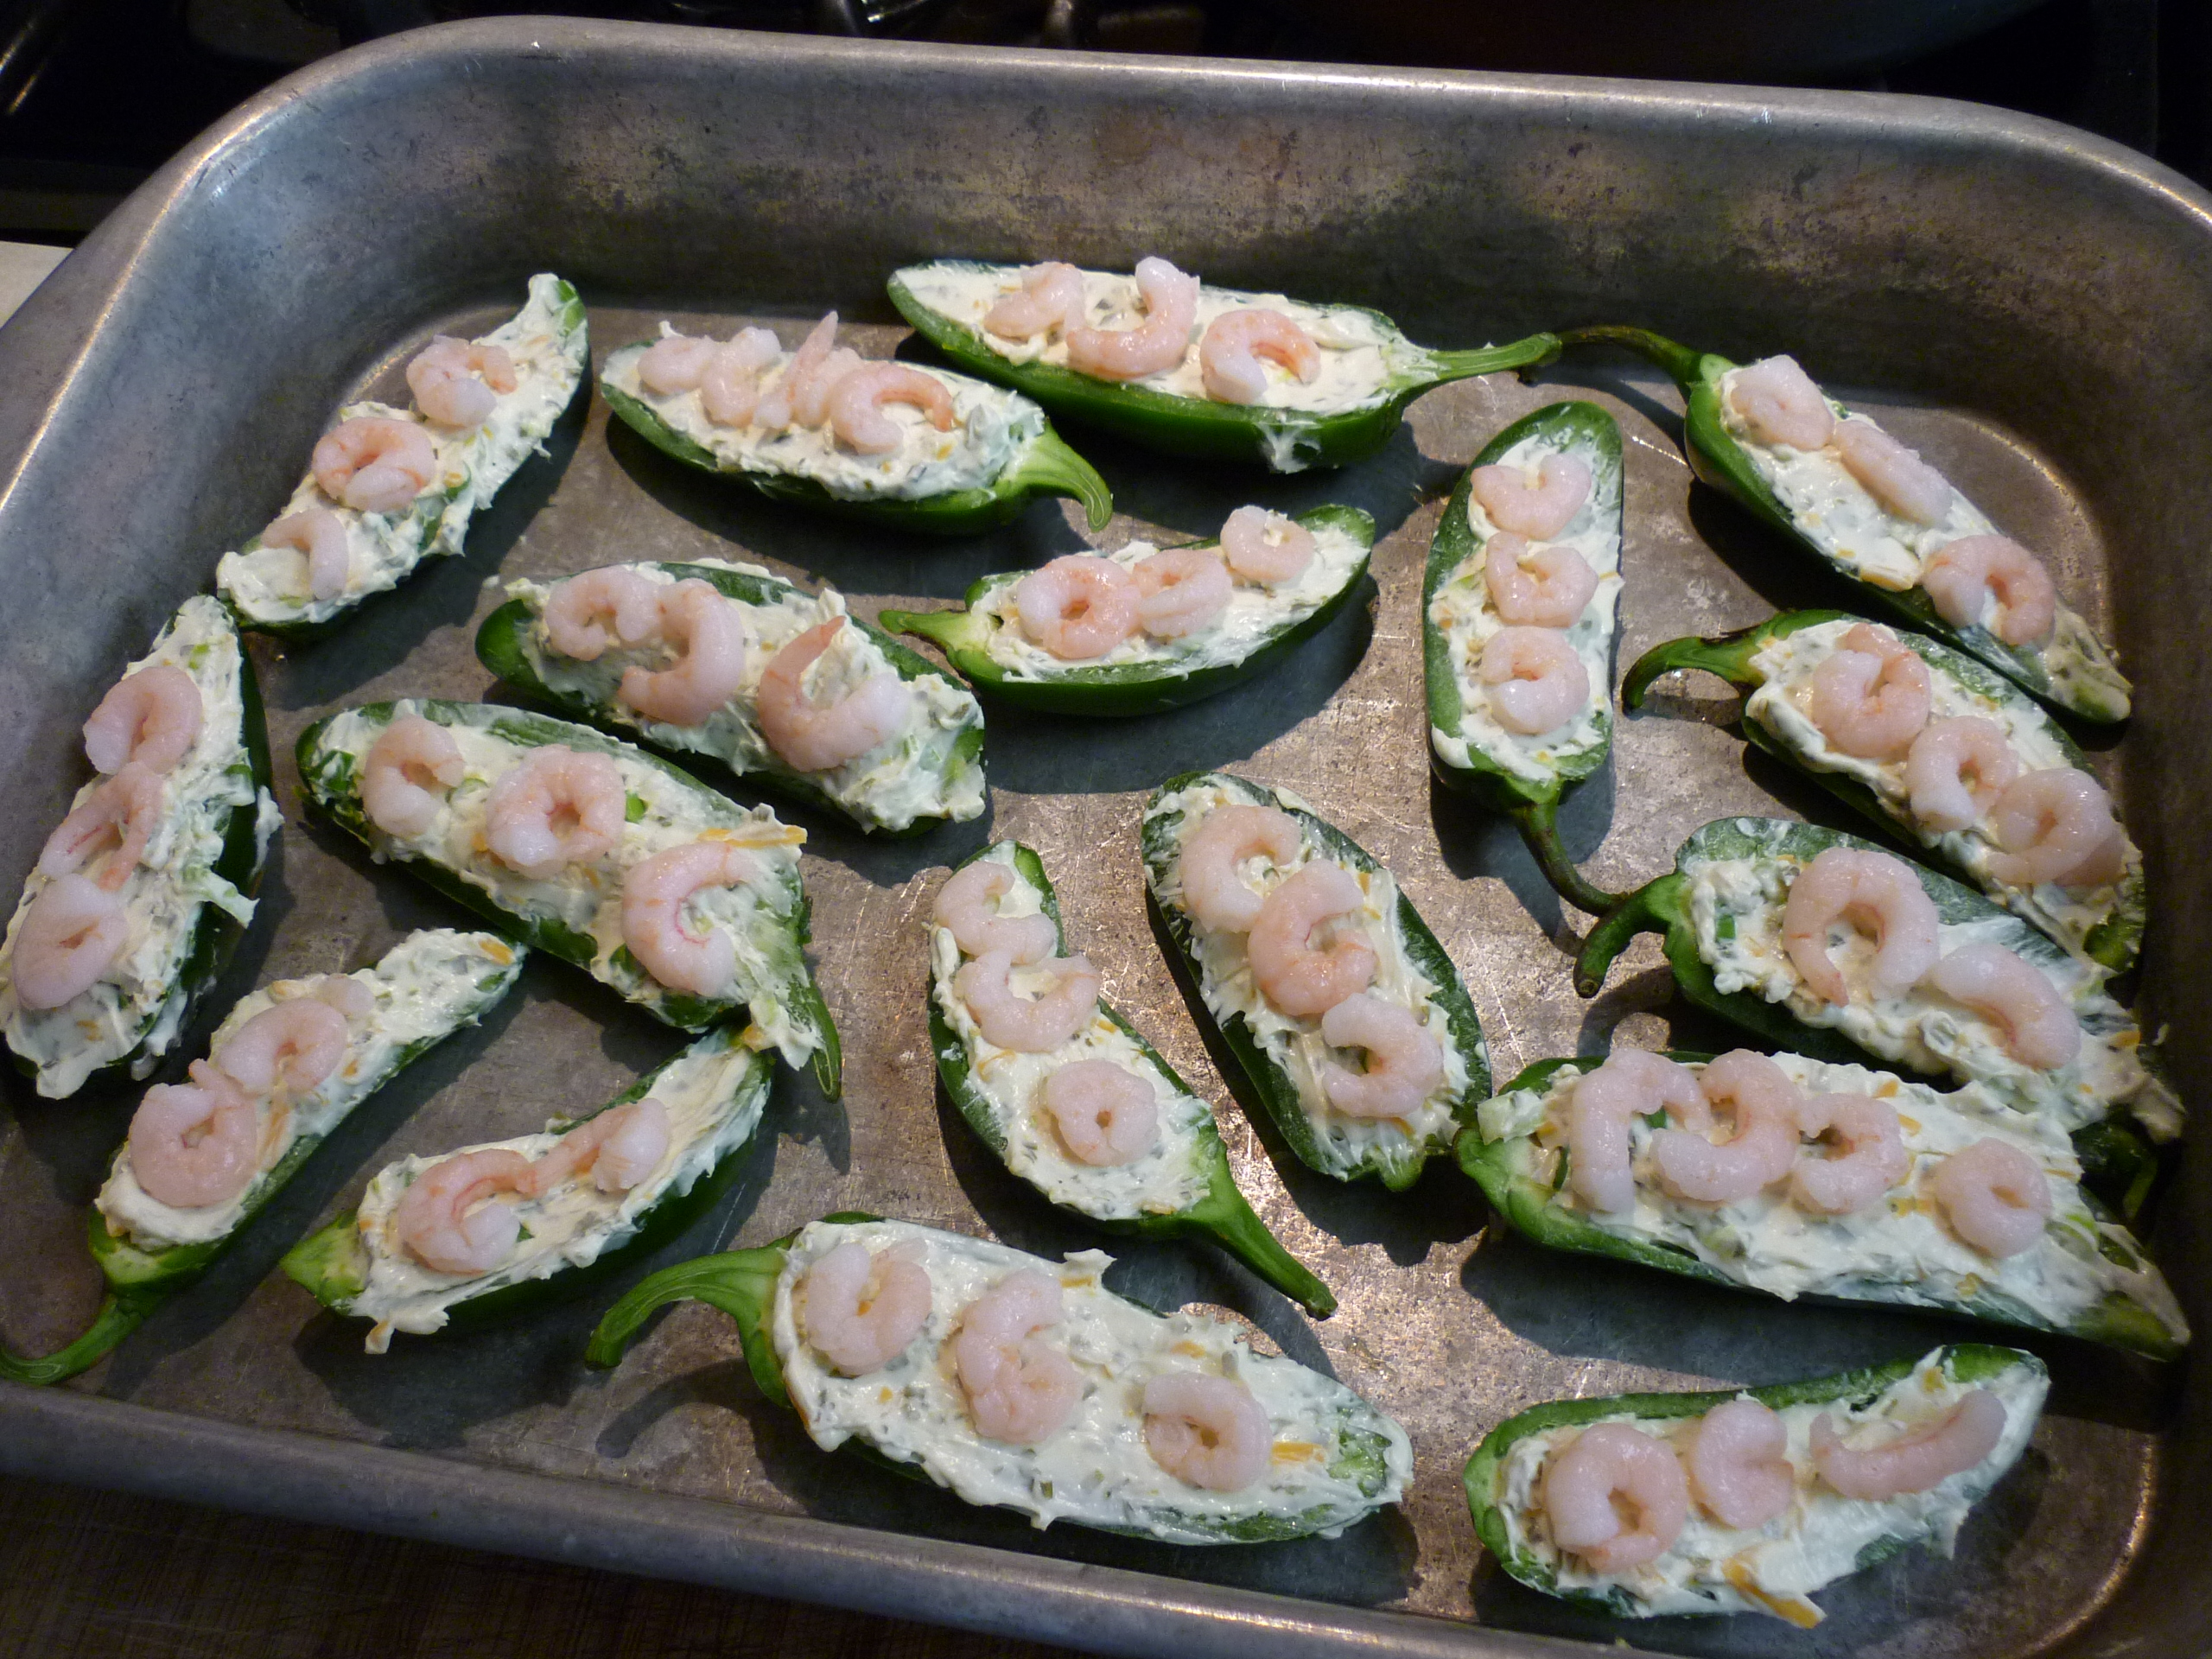
Top with shrimp in a decorative manner.
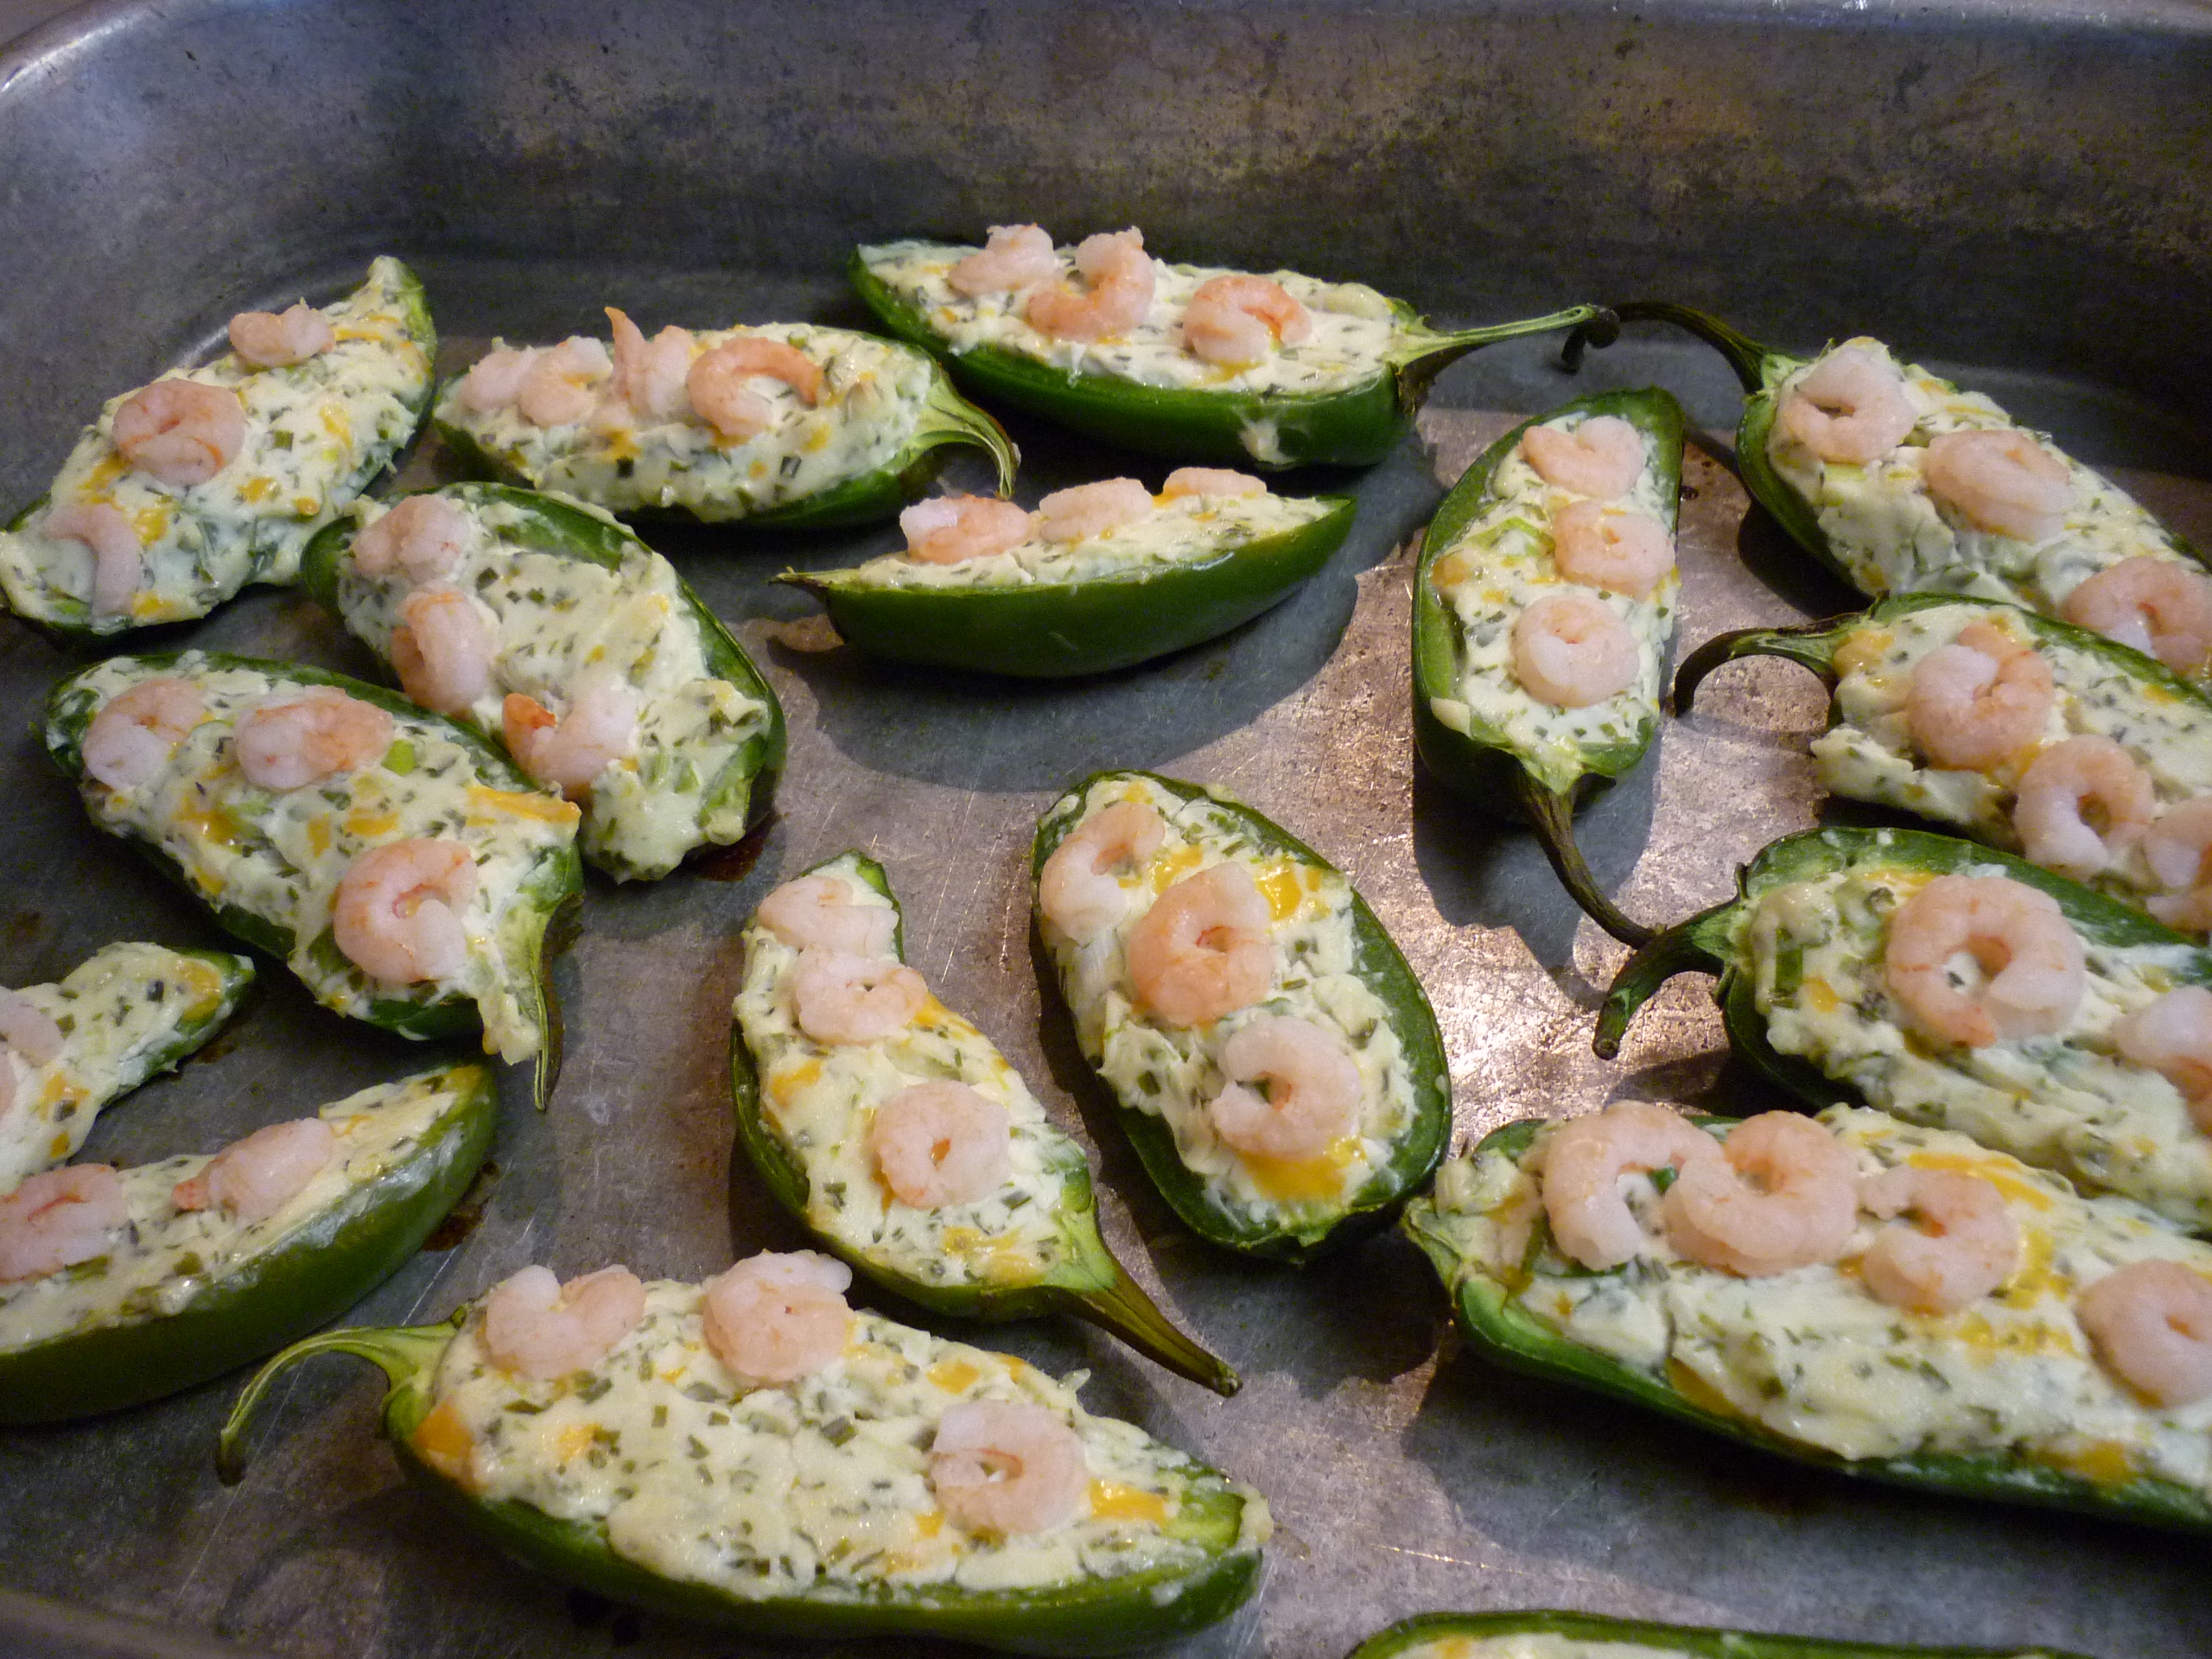
Bake at 400 degrees for 18-22 minutes or until jalapeños are tender. Yield 18 appetizers.
Jalapeño Cheese Boats Recipe
9 jalapeño peppers
1 8-oz. container spreadable herb and onion cream cheese
¼ cup shredded sharp cheddar cheese
¼ cup sliced green onions
¼# small cooked shrimp (salad shrimp)
Cut jalapeños in half lengthwise and scoop out the seeds into the trash. Place the jalapeños into an ungreased 15×10” baking pan or on a baking sheet. In a small bowl combine cream cheese, cheddar cheese and onions. Spoon into the jalapeño halves. Top with shrimp in a decorative manner. Bake at 400 degrees for 18-22 minutes or until jalapeños are tender. Yield 18 appetizers.
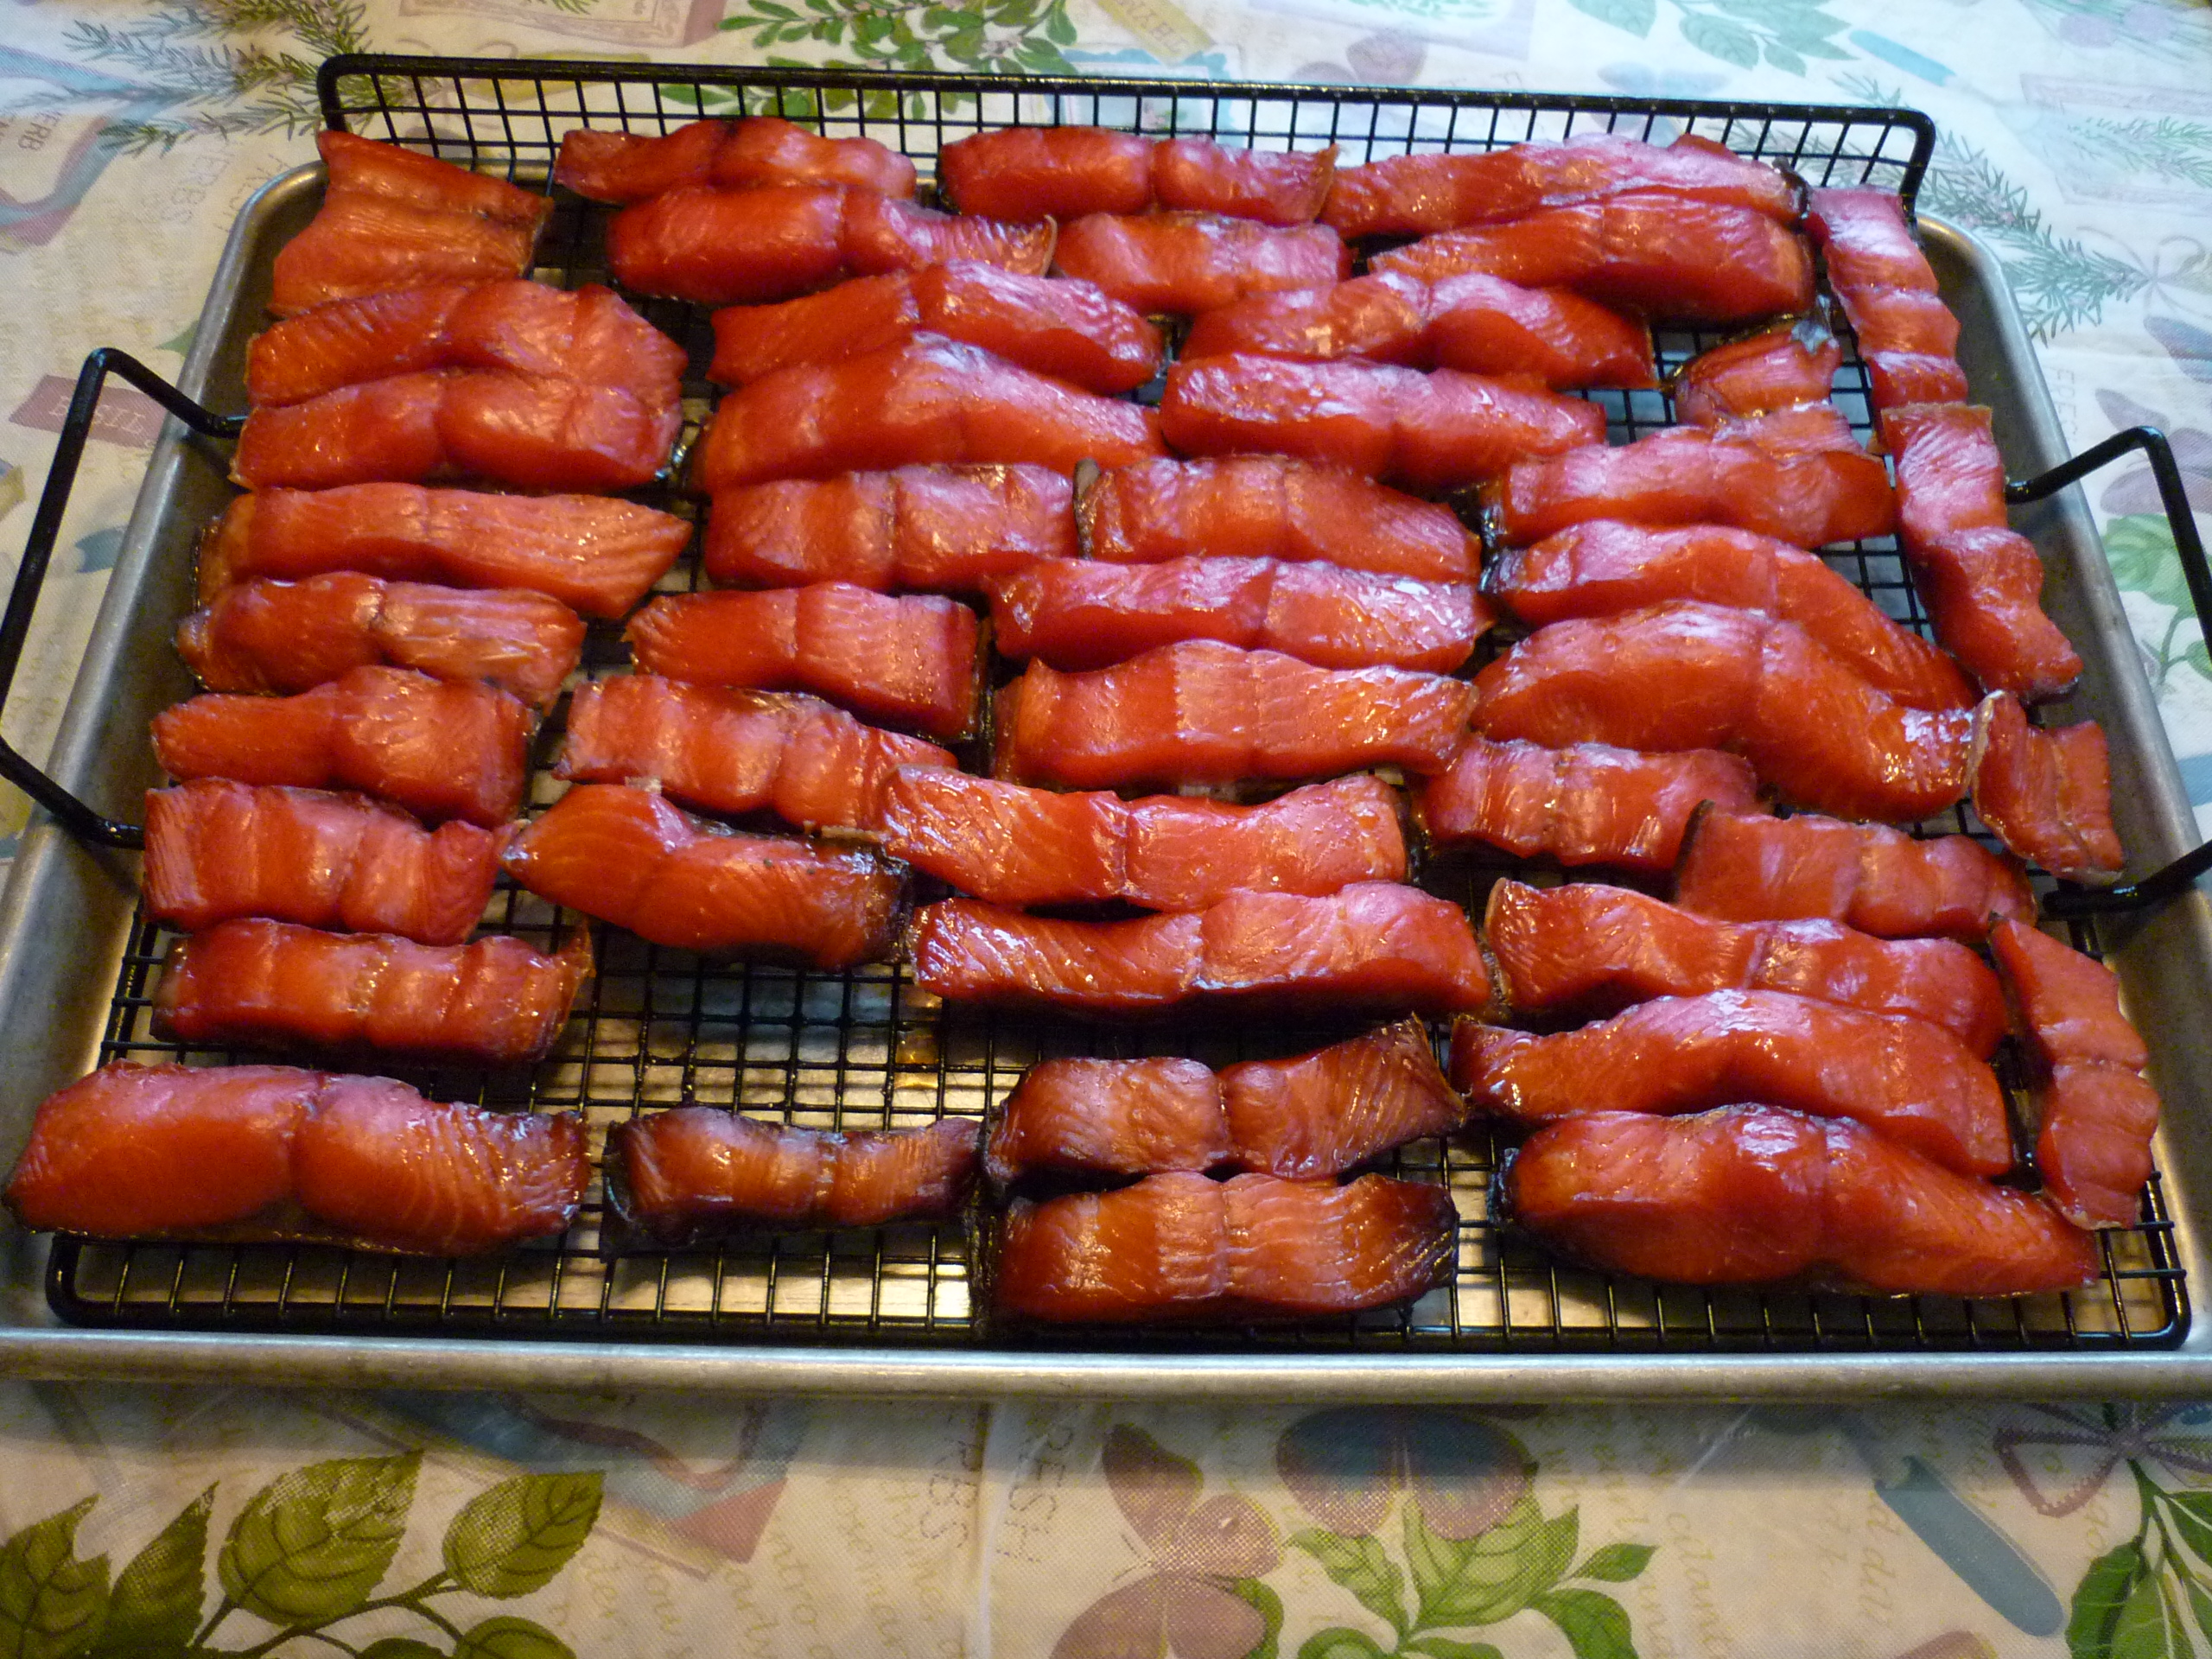
This smoked salmon method is really what most people know as kippered salmon. There is no liquid added, it is a dry brine, very sweet.

Work with salmon fillets. Cut the fillets across into strips about 1” wide.

In a large bowl, mix together 6 cups brown sugar and 1 cup salt. You can adjust the total amounts as long as you remember it’s 5 or 6 parts of brown sugar to 1 part salt. I use canning and pickling salt.
In a bucket or other container, layer sugar-salt mix with salmon.
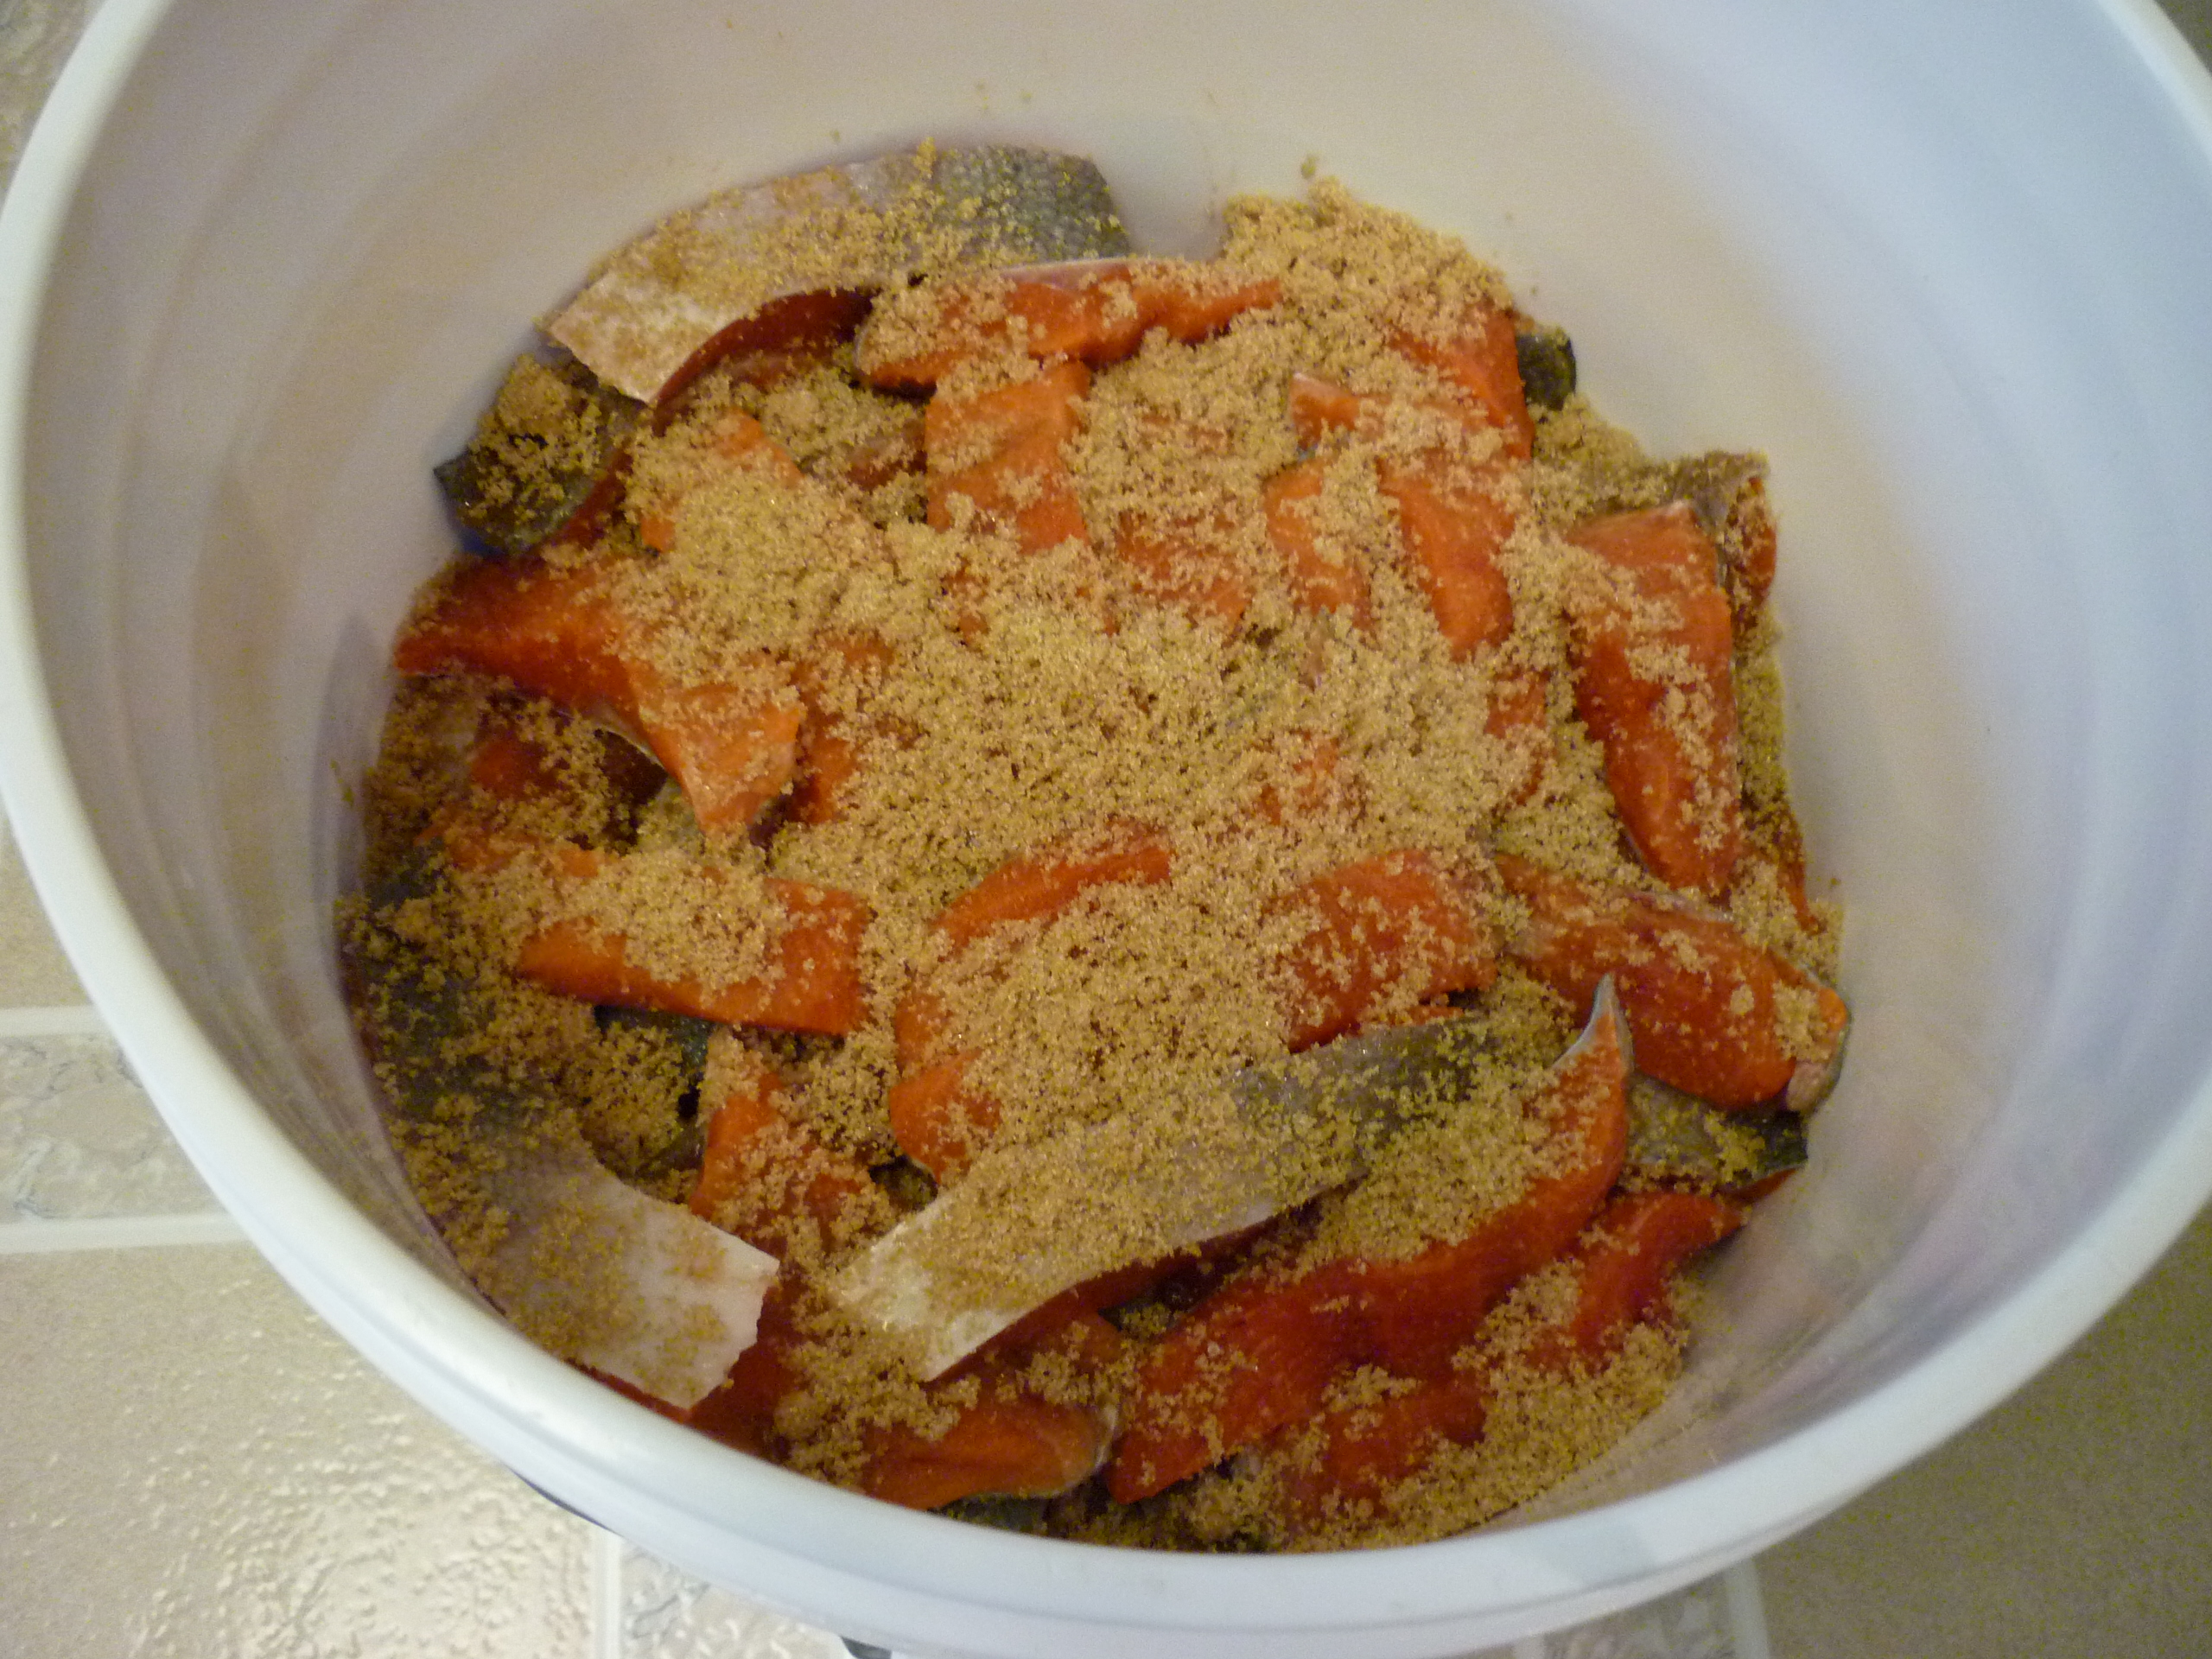
One layer at a time until all your fish is used up. Make sure sugar-salt is the top layer. Loosely cover and place in a cool spot for 24 hours or so. I put the bucket on the floor of my basement.

The salt draws out the moisture in the fish so that when you remove the lid the next day, the fish is submerged in liquid. Take the bucket to your work area (my kitchen table).

Draw a bowl of cool water and dip each piece of salmon into it, then place onto baking sheets covered with absorbent towels. Once all the fish is laid out, pat the tops dry with absorbent cloths.
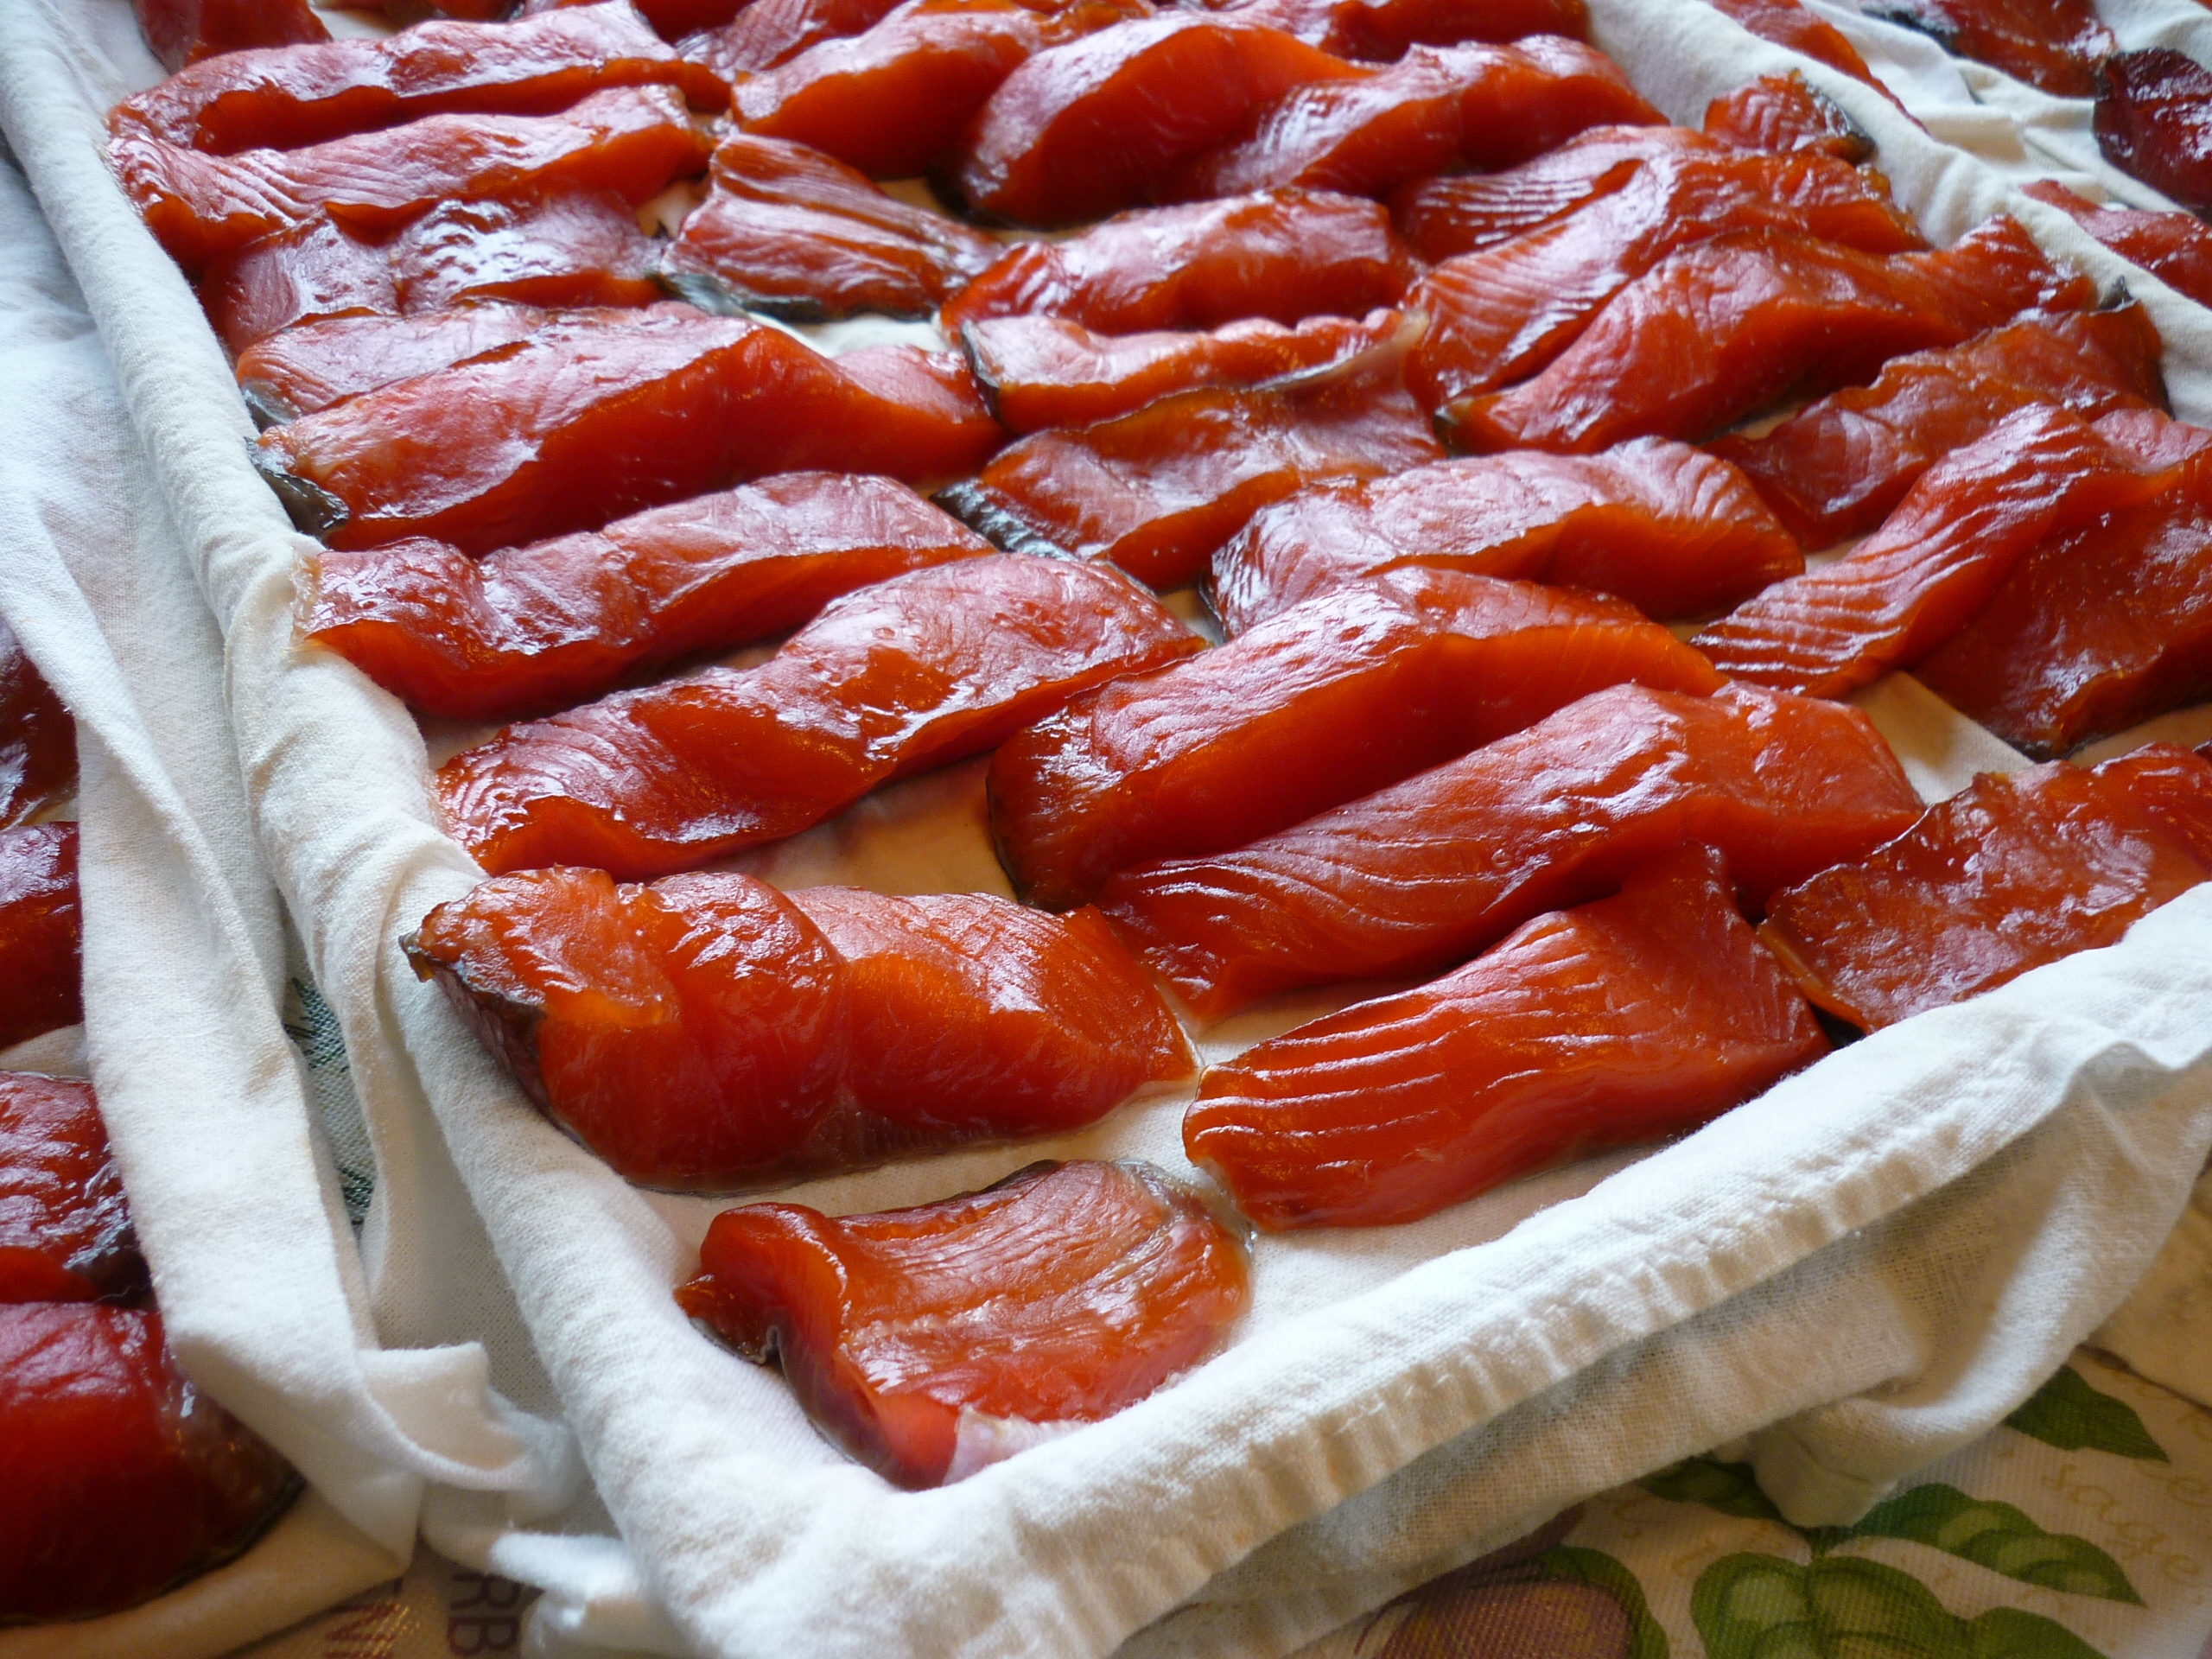
Let the fish sit, under a fan is best, for several hours while a skin develops. Beads of moisture should emerge from the fish, but don’t worry about it if it doesn’t.


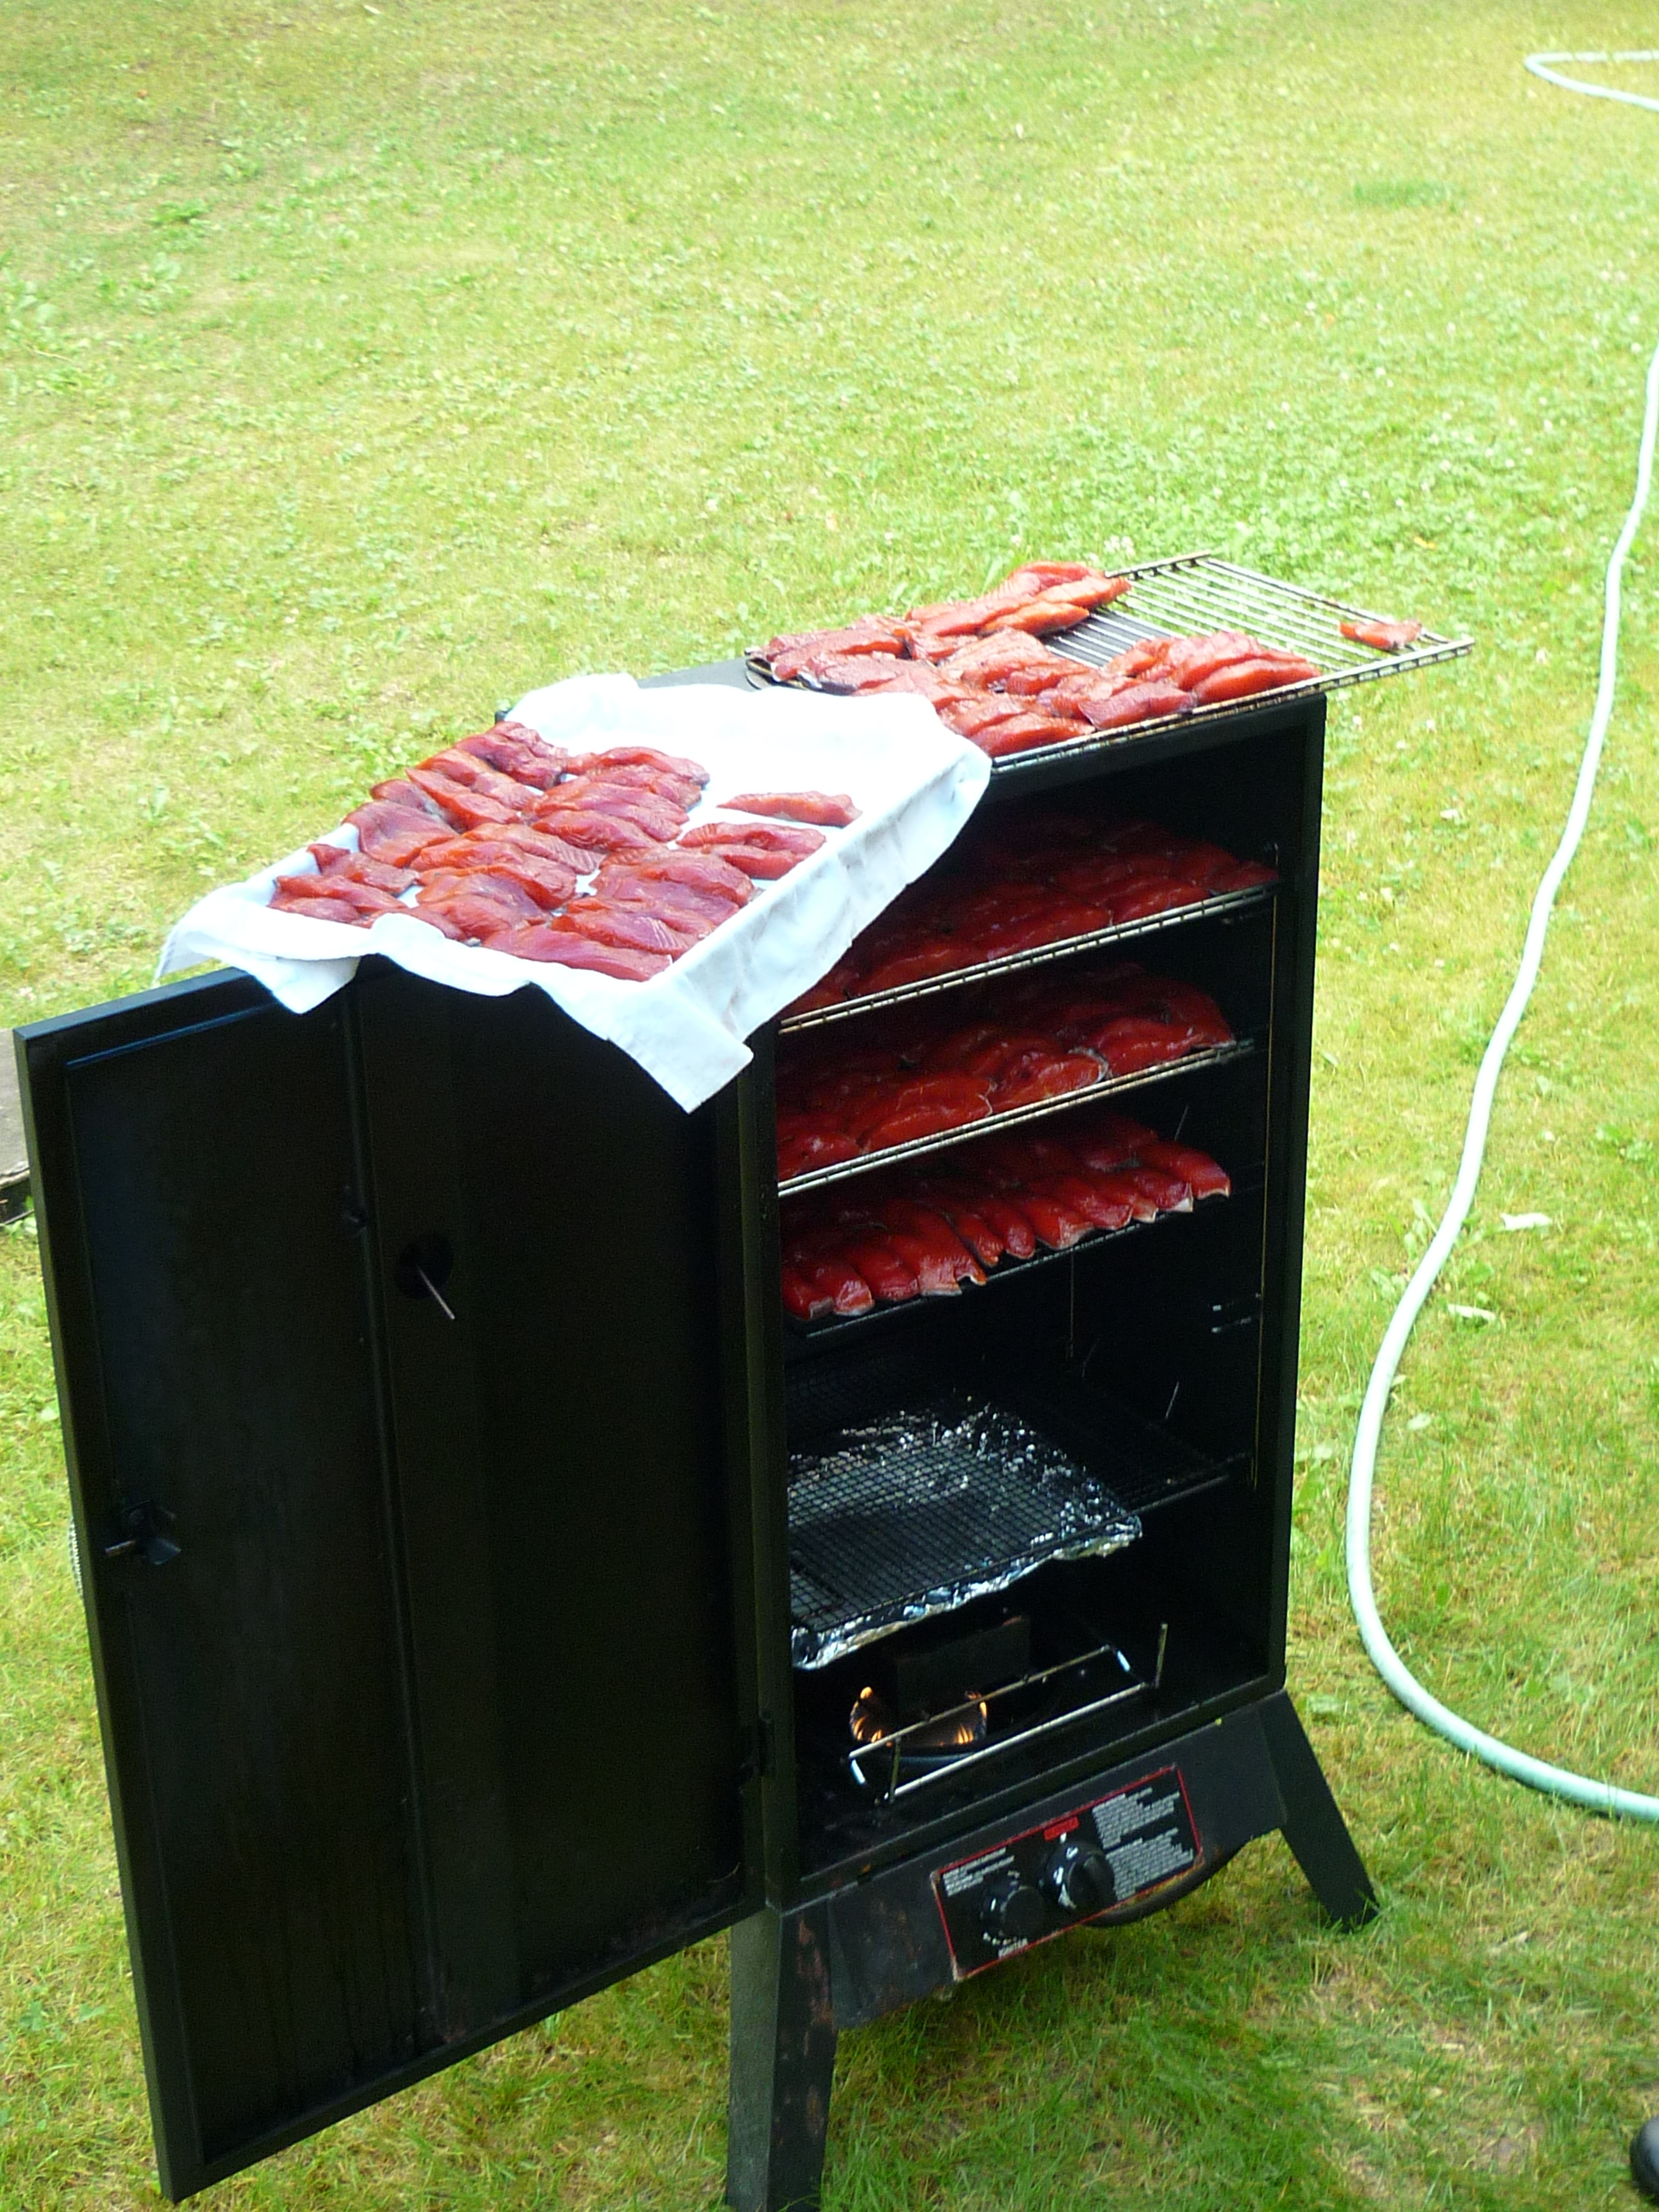
Put the fish onto racks in your smoker and smoke as manufacturer suggests. We like mesquite chips. This part takes us about 3 hours or so.

Our smoker runs hot and it’s easy to burn it, so keep a close eye.
The finished product. Now we will vacuum seal some and can some. We did about 15 sockeye salmon in this batch. There were a lot of small ones.
NOTE: 7/16/2022 Last summer I purchase a Traeger smoker. I smoked my fish on the “Smoke” setting for about 2 to 2.5 hours. Perfect. Oh, and I used 3 Bristol Bay sockeye filets (they average around 8# compared to Kenai/Kasilof/Copper) and about 10 bellies — that filled my Traeger. The brown sugar was 3 cups and the salt was 1/2 cup.

Canning instructions to myself: use the pressure canner. Add water to the level marked over many, many years in the canner. Bring the water to a boil. Load pint jars with smoked salmon chunks and put them into the canner while you’re waiting for the full boil. Once boiling and pints are in, set the lid, but keep the stopcock open. Let the canner boil. Once steam exhausts from the stopcock in a steady stream for ten minutes, shut the stopcock. Let the pressure build to 10. Adjust the stovetop flame to keep a steady 10 pressure for 110 minutes (1 hour and fifty minutes). Remove from heat. Let it cool down for at least an hour before opening the stopcock to release the pressure. Then another hour or so before opening the lid and removing the jars. Wild fluctuations in pressure or overfilled jars will result in the jars exhausting liquid into the canning water. It doesn’t hurt anything, it’s just messy.
Use canned smoked salmon to make dip for crackers by combining 8oz. cream cheese with one pint of flaked canned smoked salmon. You may have to heat the smoked salmon first in order to get it to flake, and then maybe heat the cream cheese to get it to stir properly. I use the microwave for both tasks. This is simply the BEST smoked salmon dip known to creation. Seriously. I kid you not. –Paula
 Foods Passion