You are currently browsing the monthly archive for February 2019.
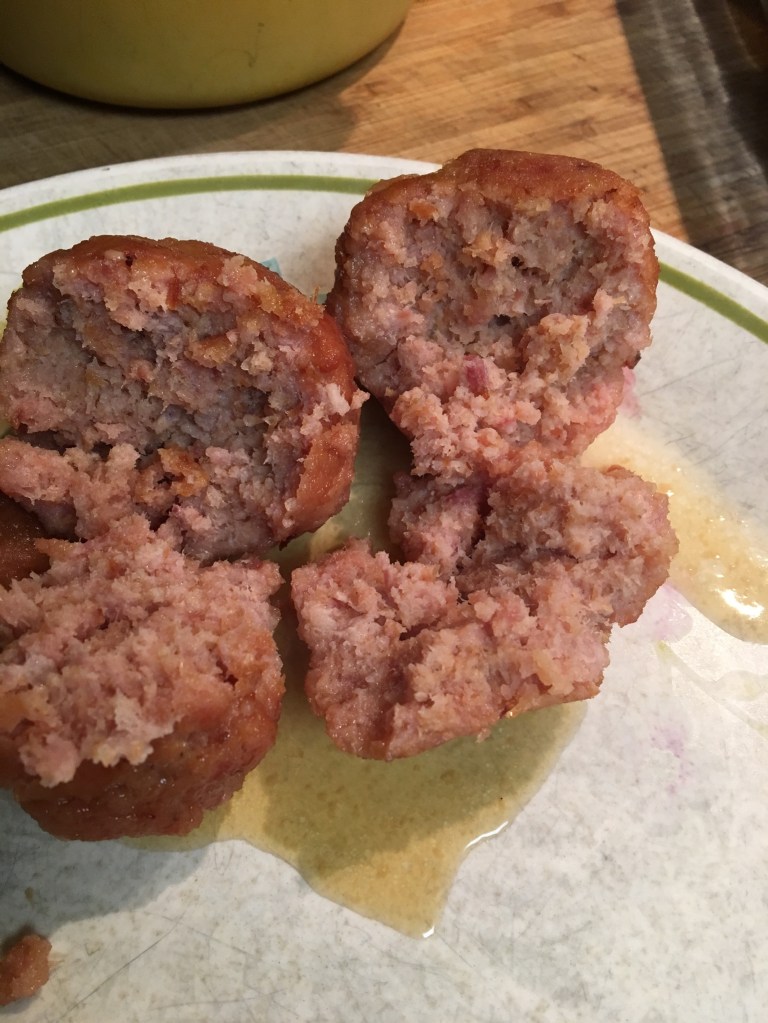
This was a mish-mash of several different recipes. I served a spiral-sliced honey ham for my husband’s birthday a few days ago and had quite a bit leftover. I have a grinder attachment to my Kitchen Aid mixer and so I can easily make the ground ham. Another well-used appliance that I have is a commercial-style chamber vacuum sealer. I buy ground pork in bulk and then divide it into 1/2# and 1# packages to toss in the freezer. It works well for being prepared to make Egg Roll in a Bowl, Chorizo Burgers, Cold Pork Pie, and now these Baked Ham Balls.
- Ingredients for Ham Balls
- 2# ground fully-cooked ham
- 1# ground pork
- 2/3 cup bread crumbs
- 1 Tbsp. mustard powder
- 2 eggs, beaten
- 1 cup milk
- Ingredients for Sauce
- 1 cup brown sugar
- 1 cup water
- 1/3 cup cider vinegar
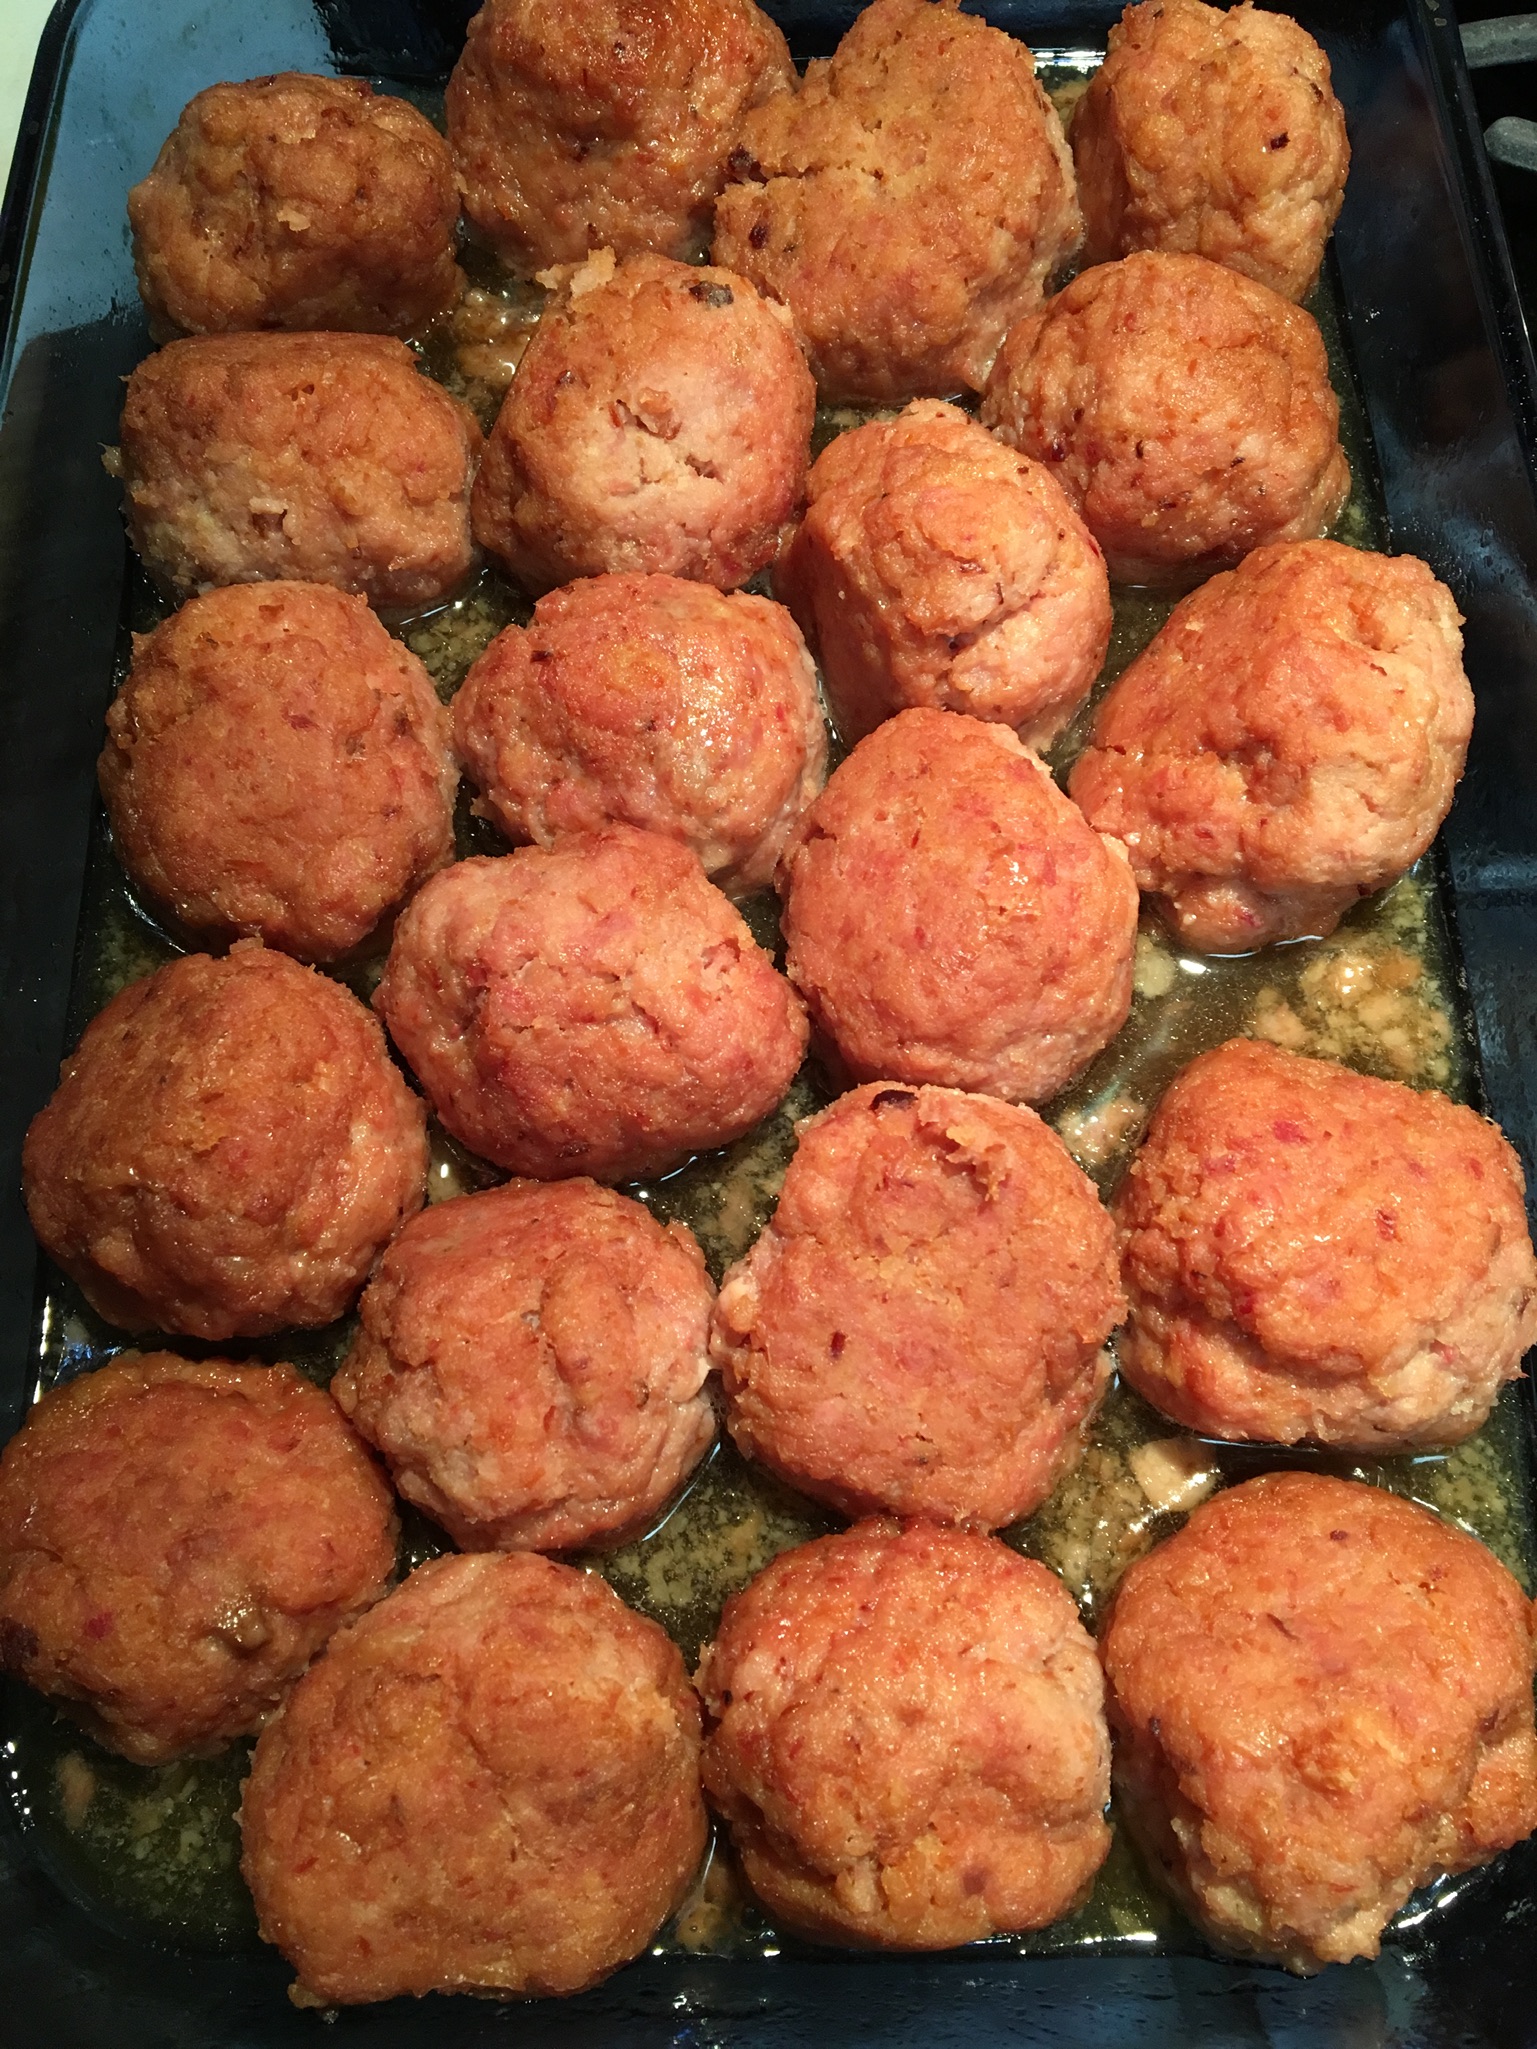
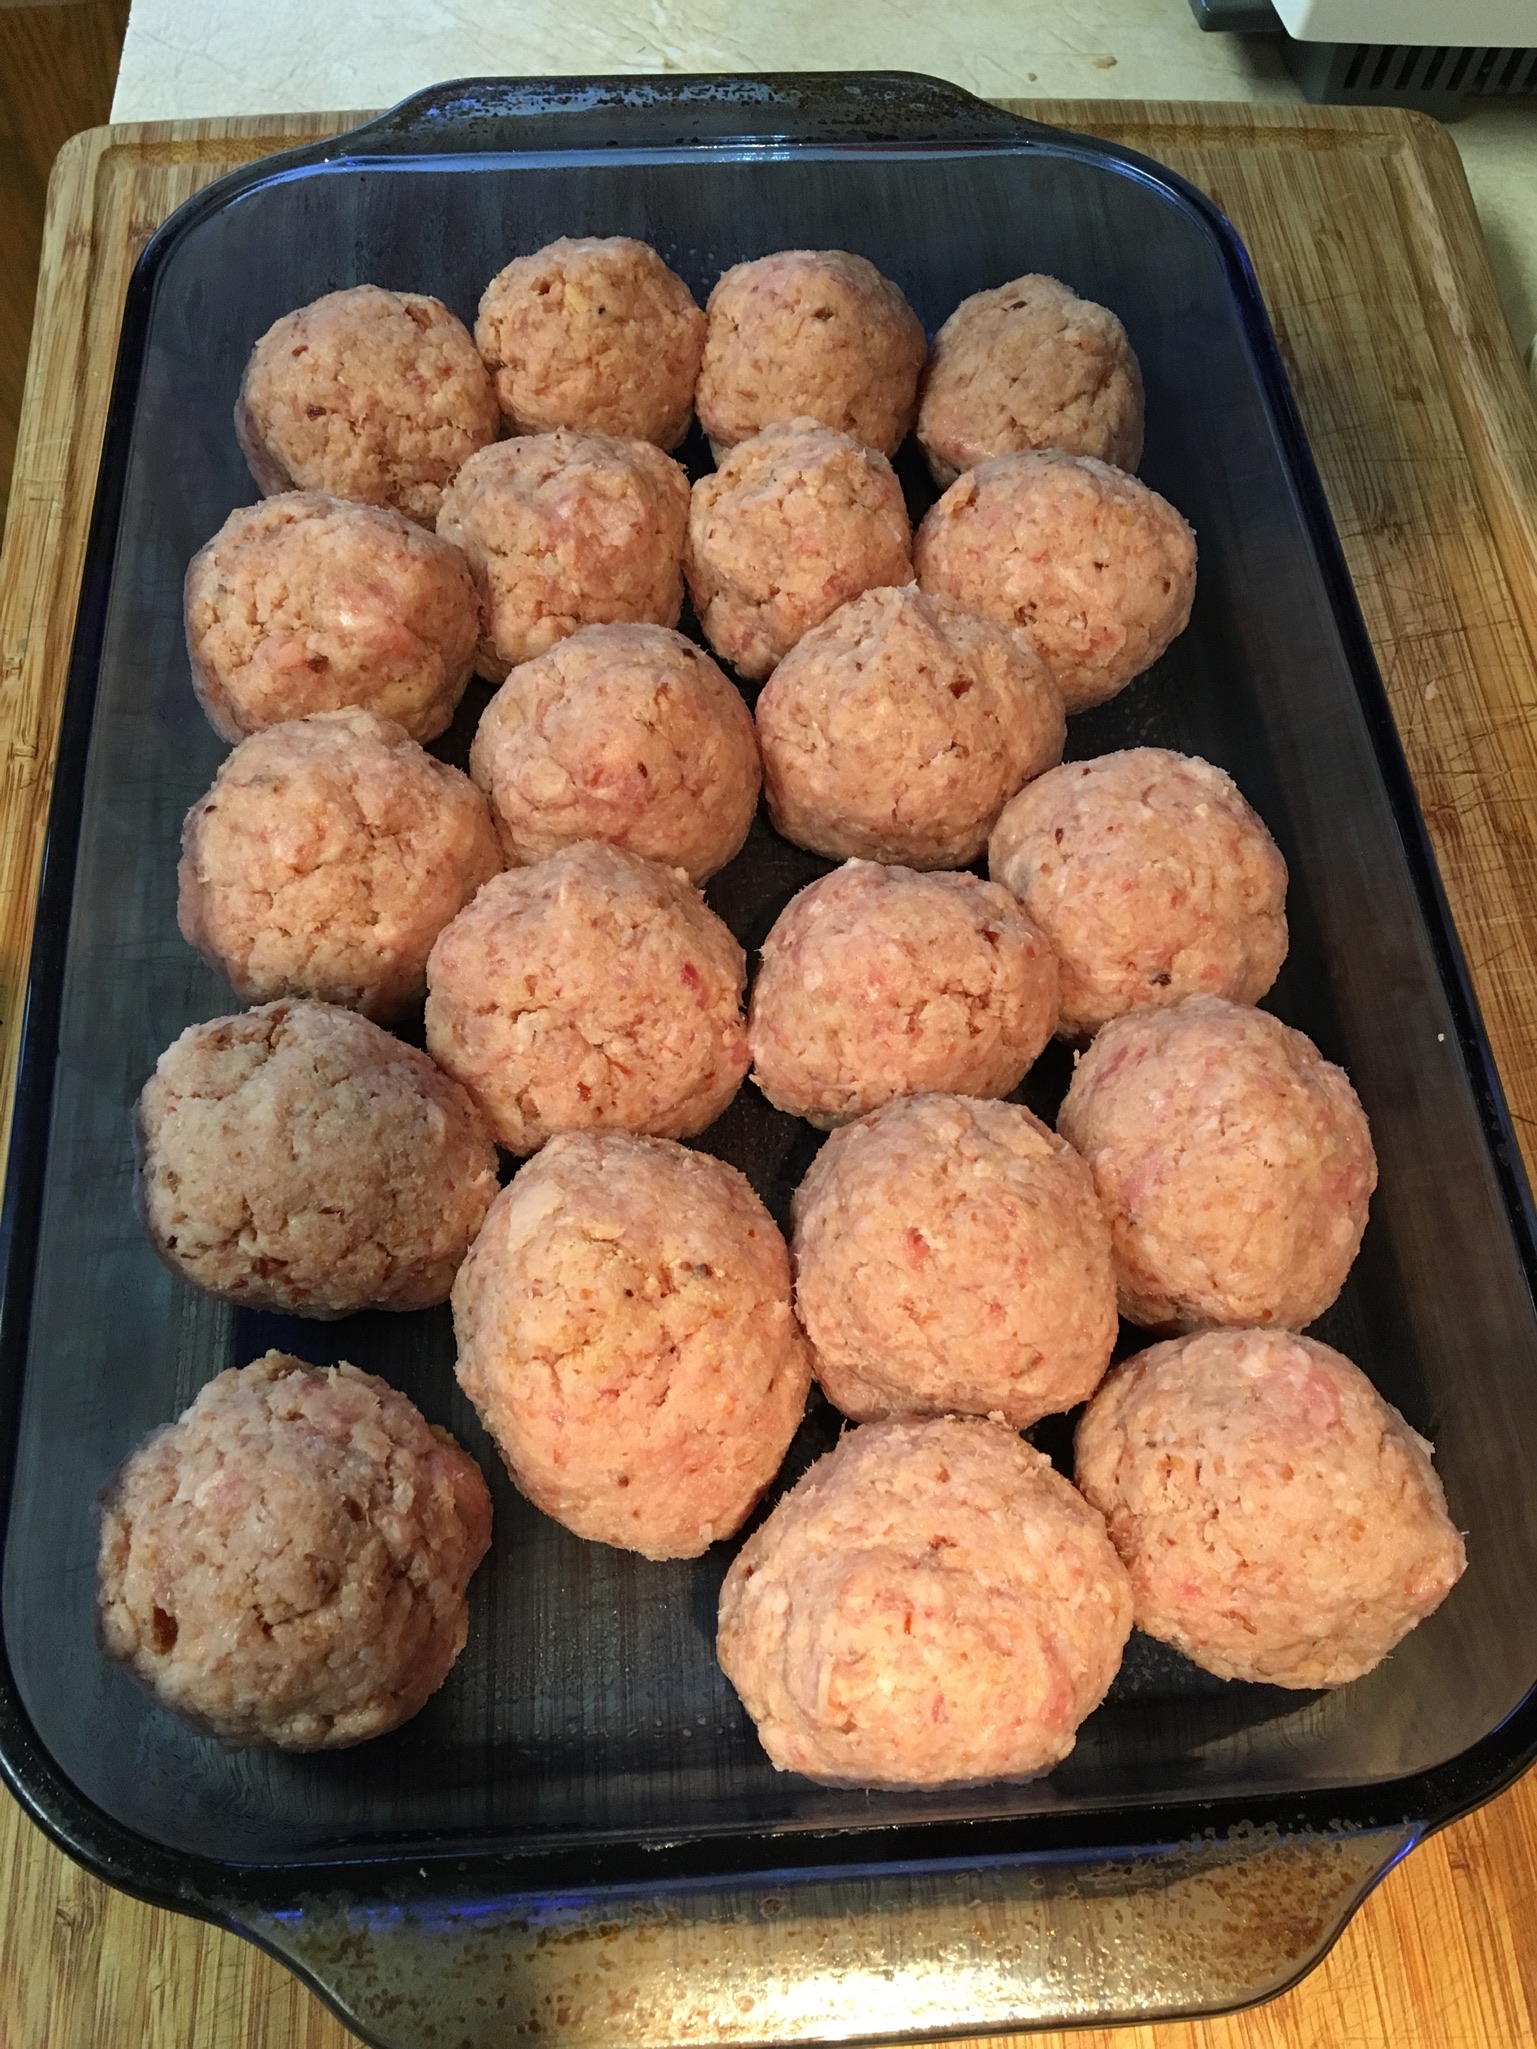
Preheat oven to 350 degrees F. Grease or spray a 9 x 13″ baking dish. Mix all ham ball ingredients together in a very large mixing bowl. Form into large balls, about 3″ diameter. You will get about 20-24 meatballs. Place meatballs into the prepared baking dish. They should all fit into the one pan. Bake at 350 degrees for 20 minutes.

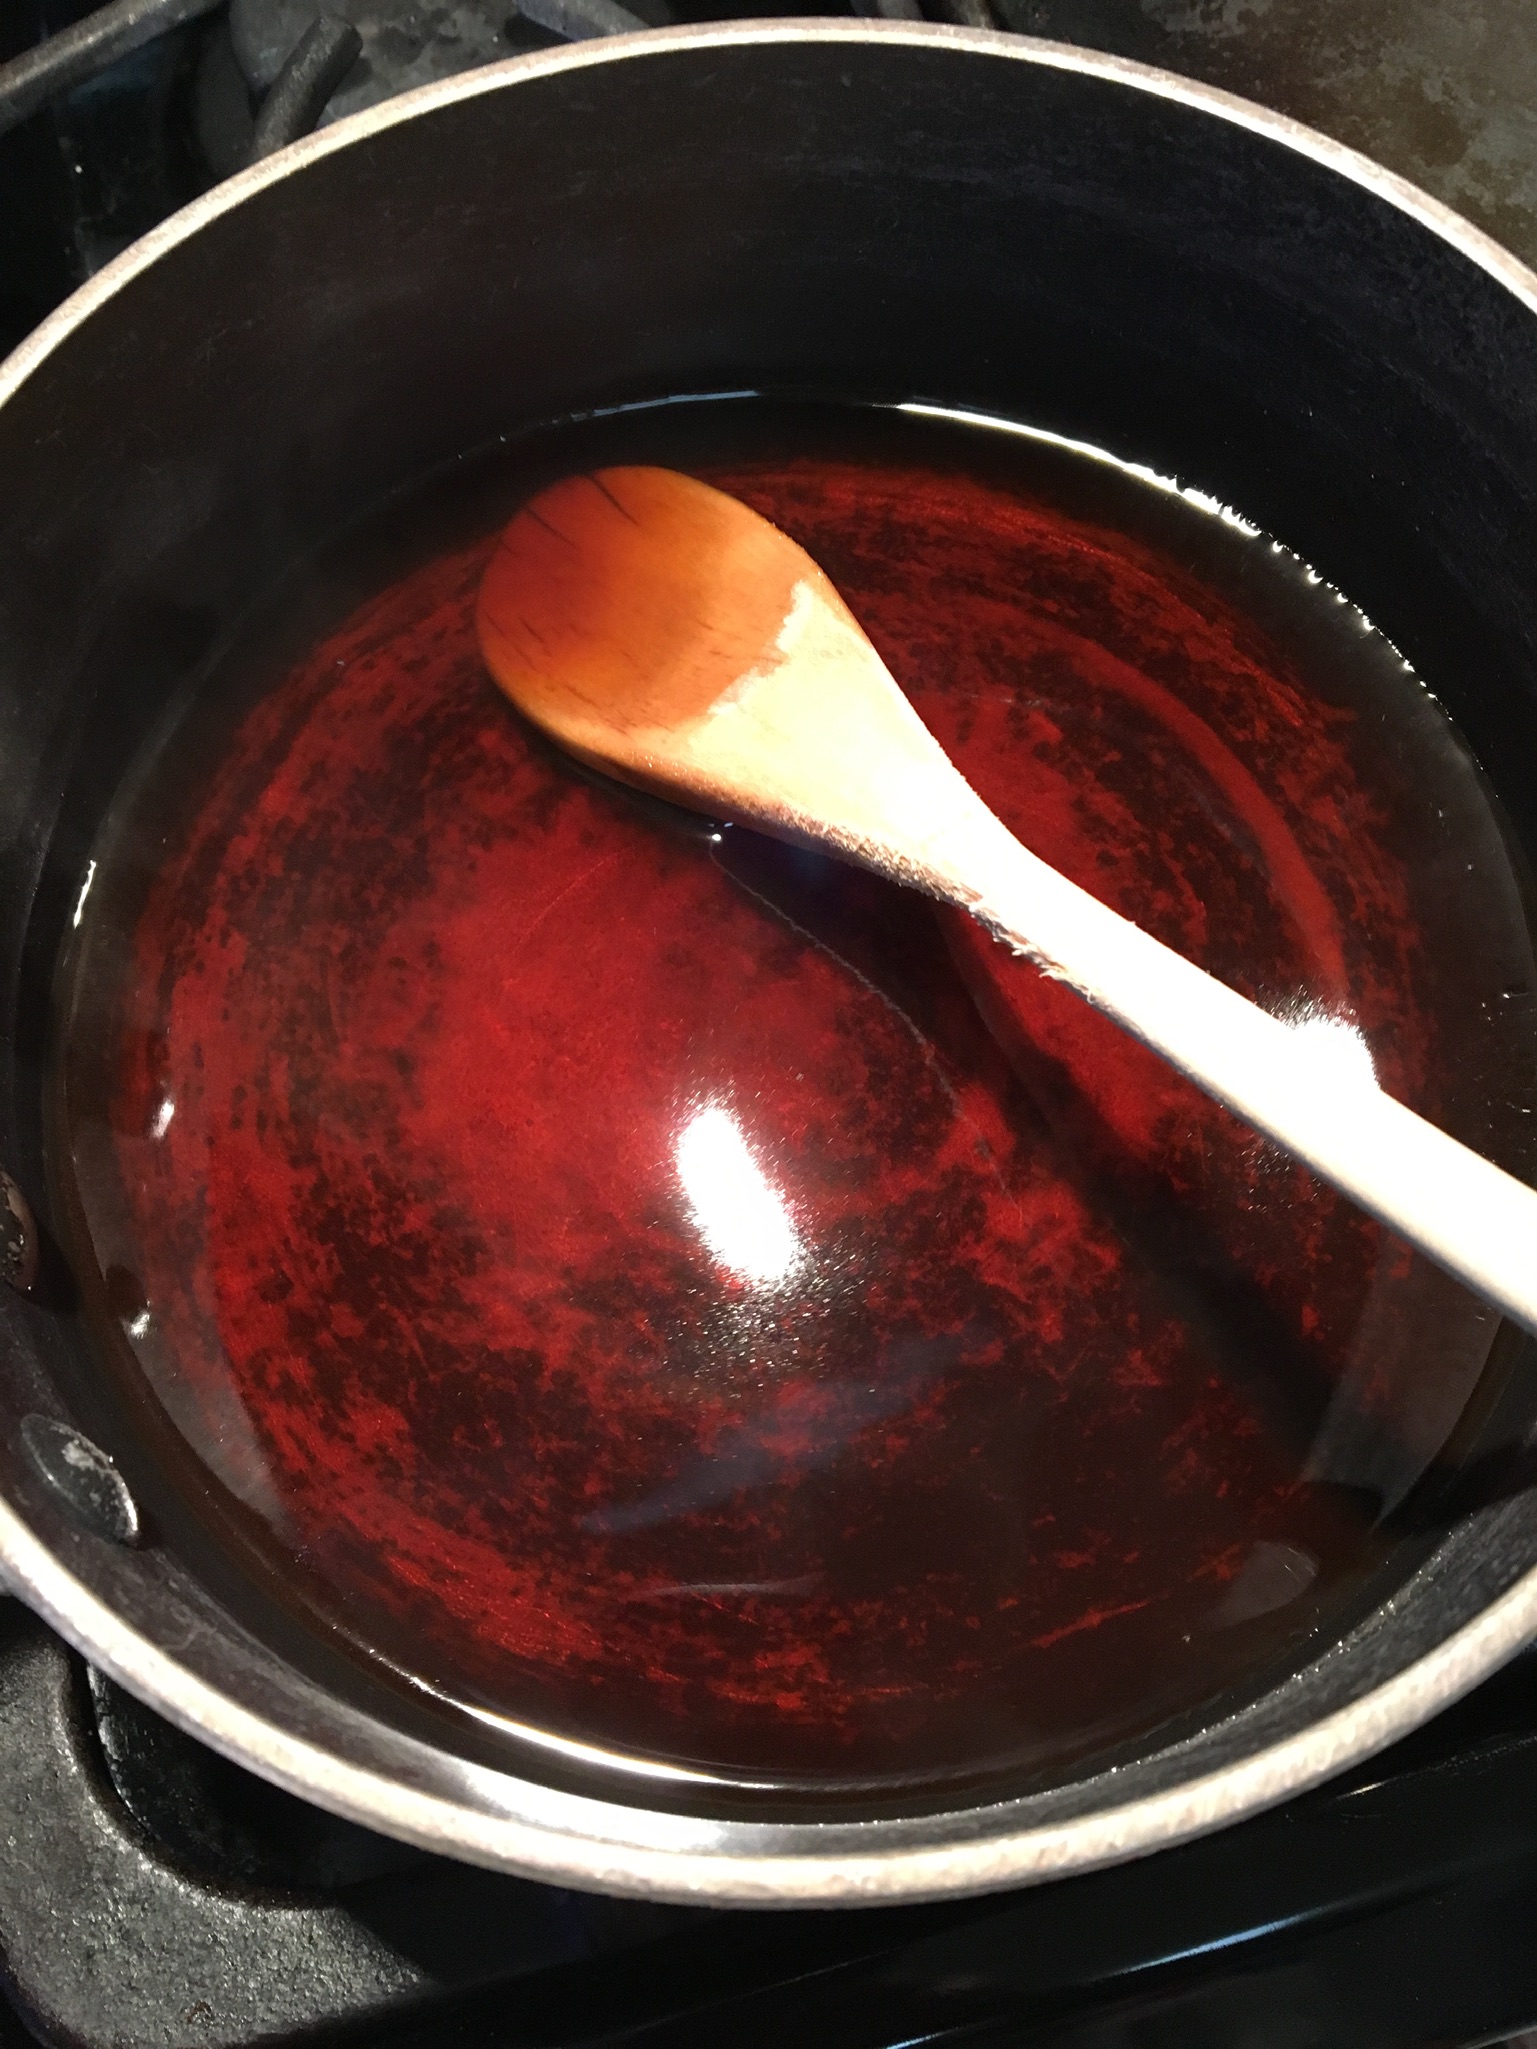
While the ham is baking the first time, mix the sauce ingredients together in a small saucepan. Bring to a boil, stirring occasionally. Sugar should be dissolved. Remove from heat.
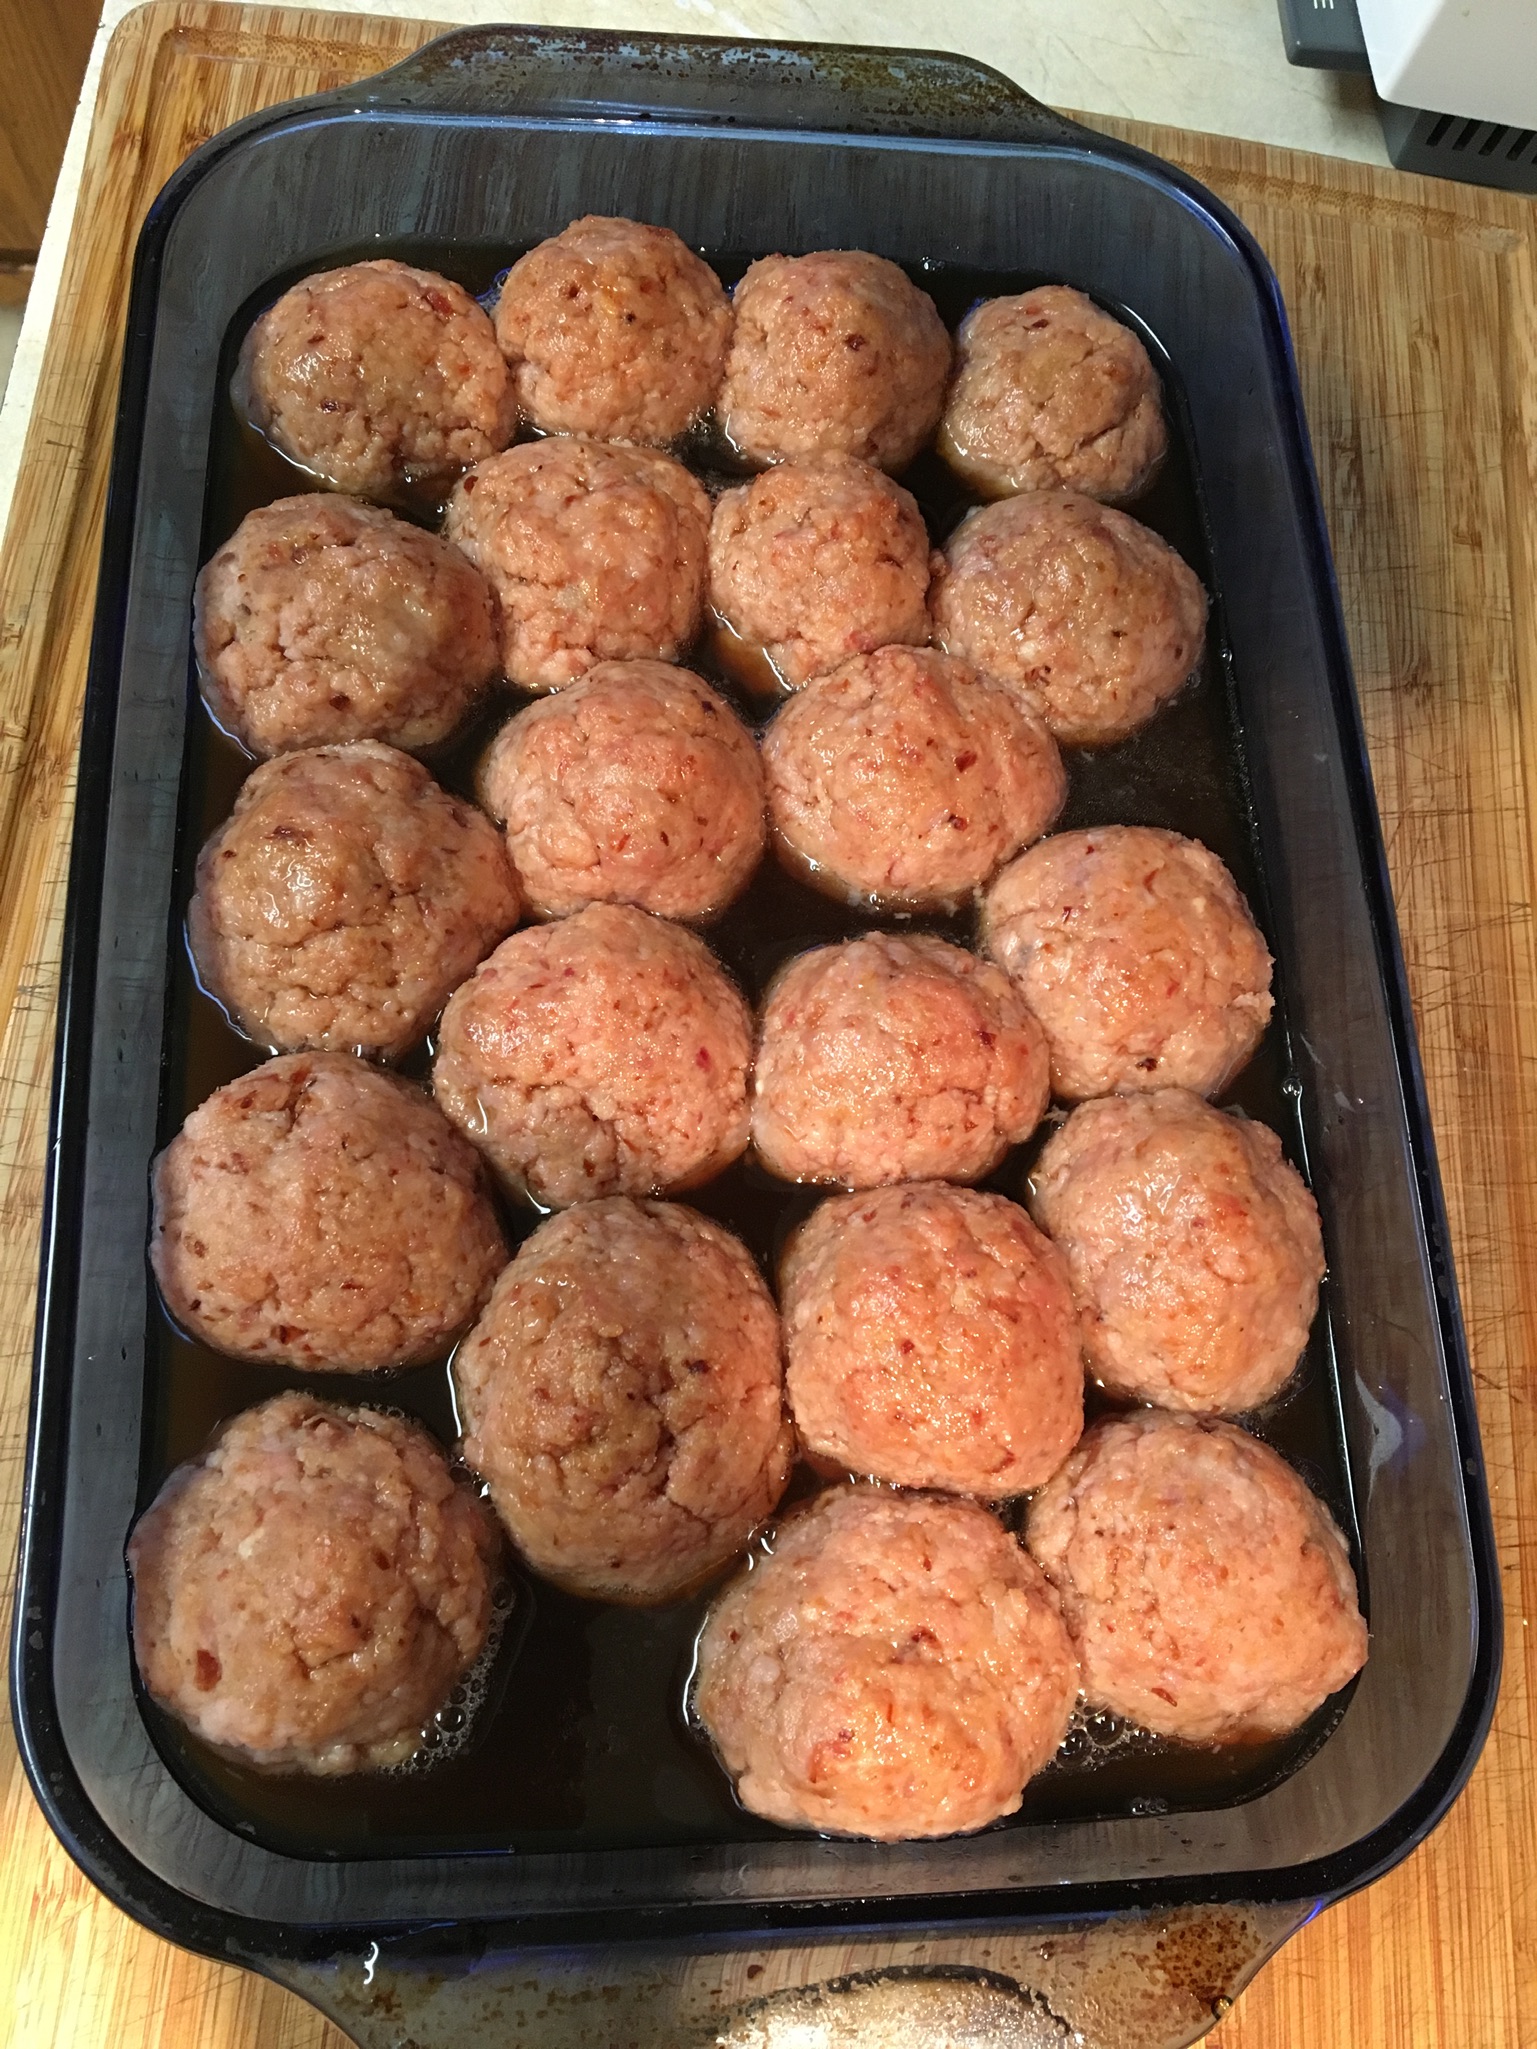
Remove ham balls from oven and pour sauce over them as evenly as possible. Return to oven and bake 30 minutes more.
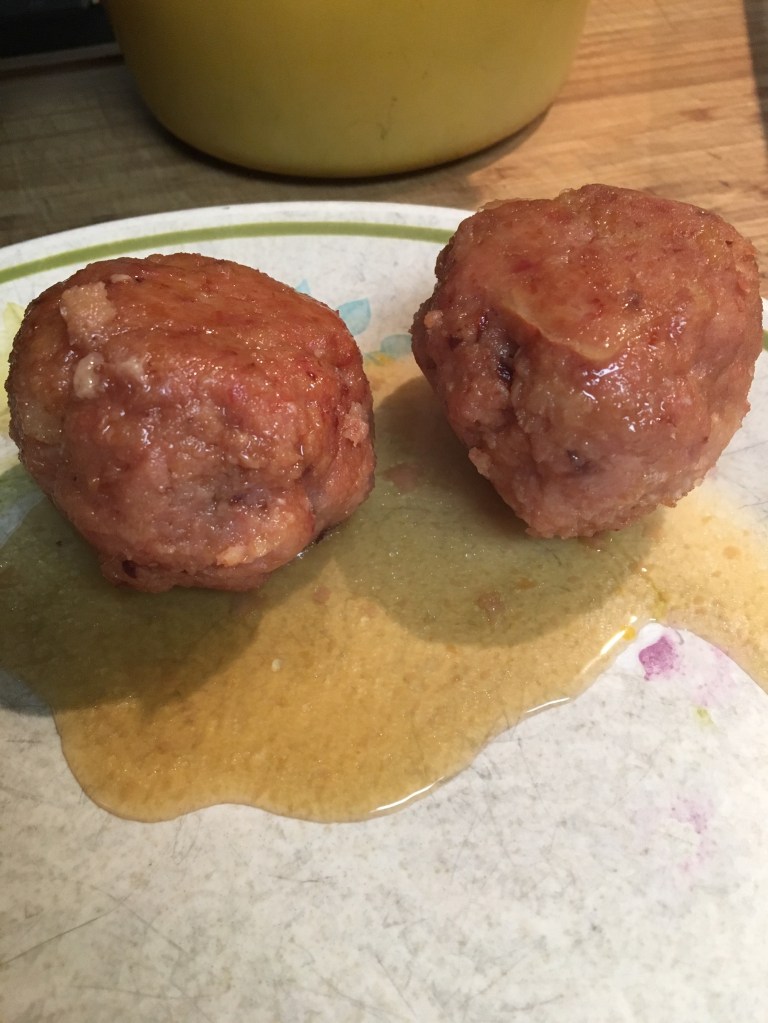
Remove from oven and serve warm. Yield: 8-10 servings.
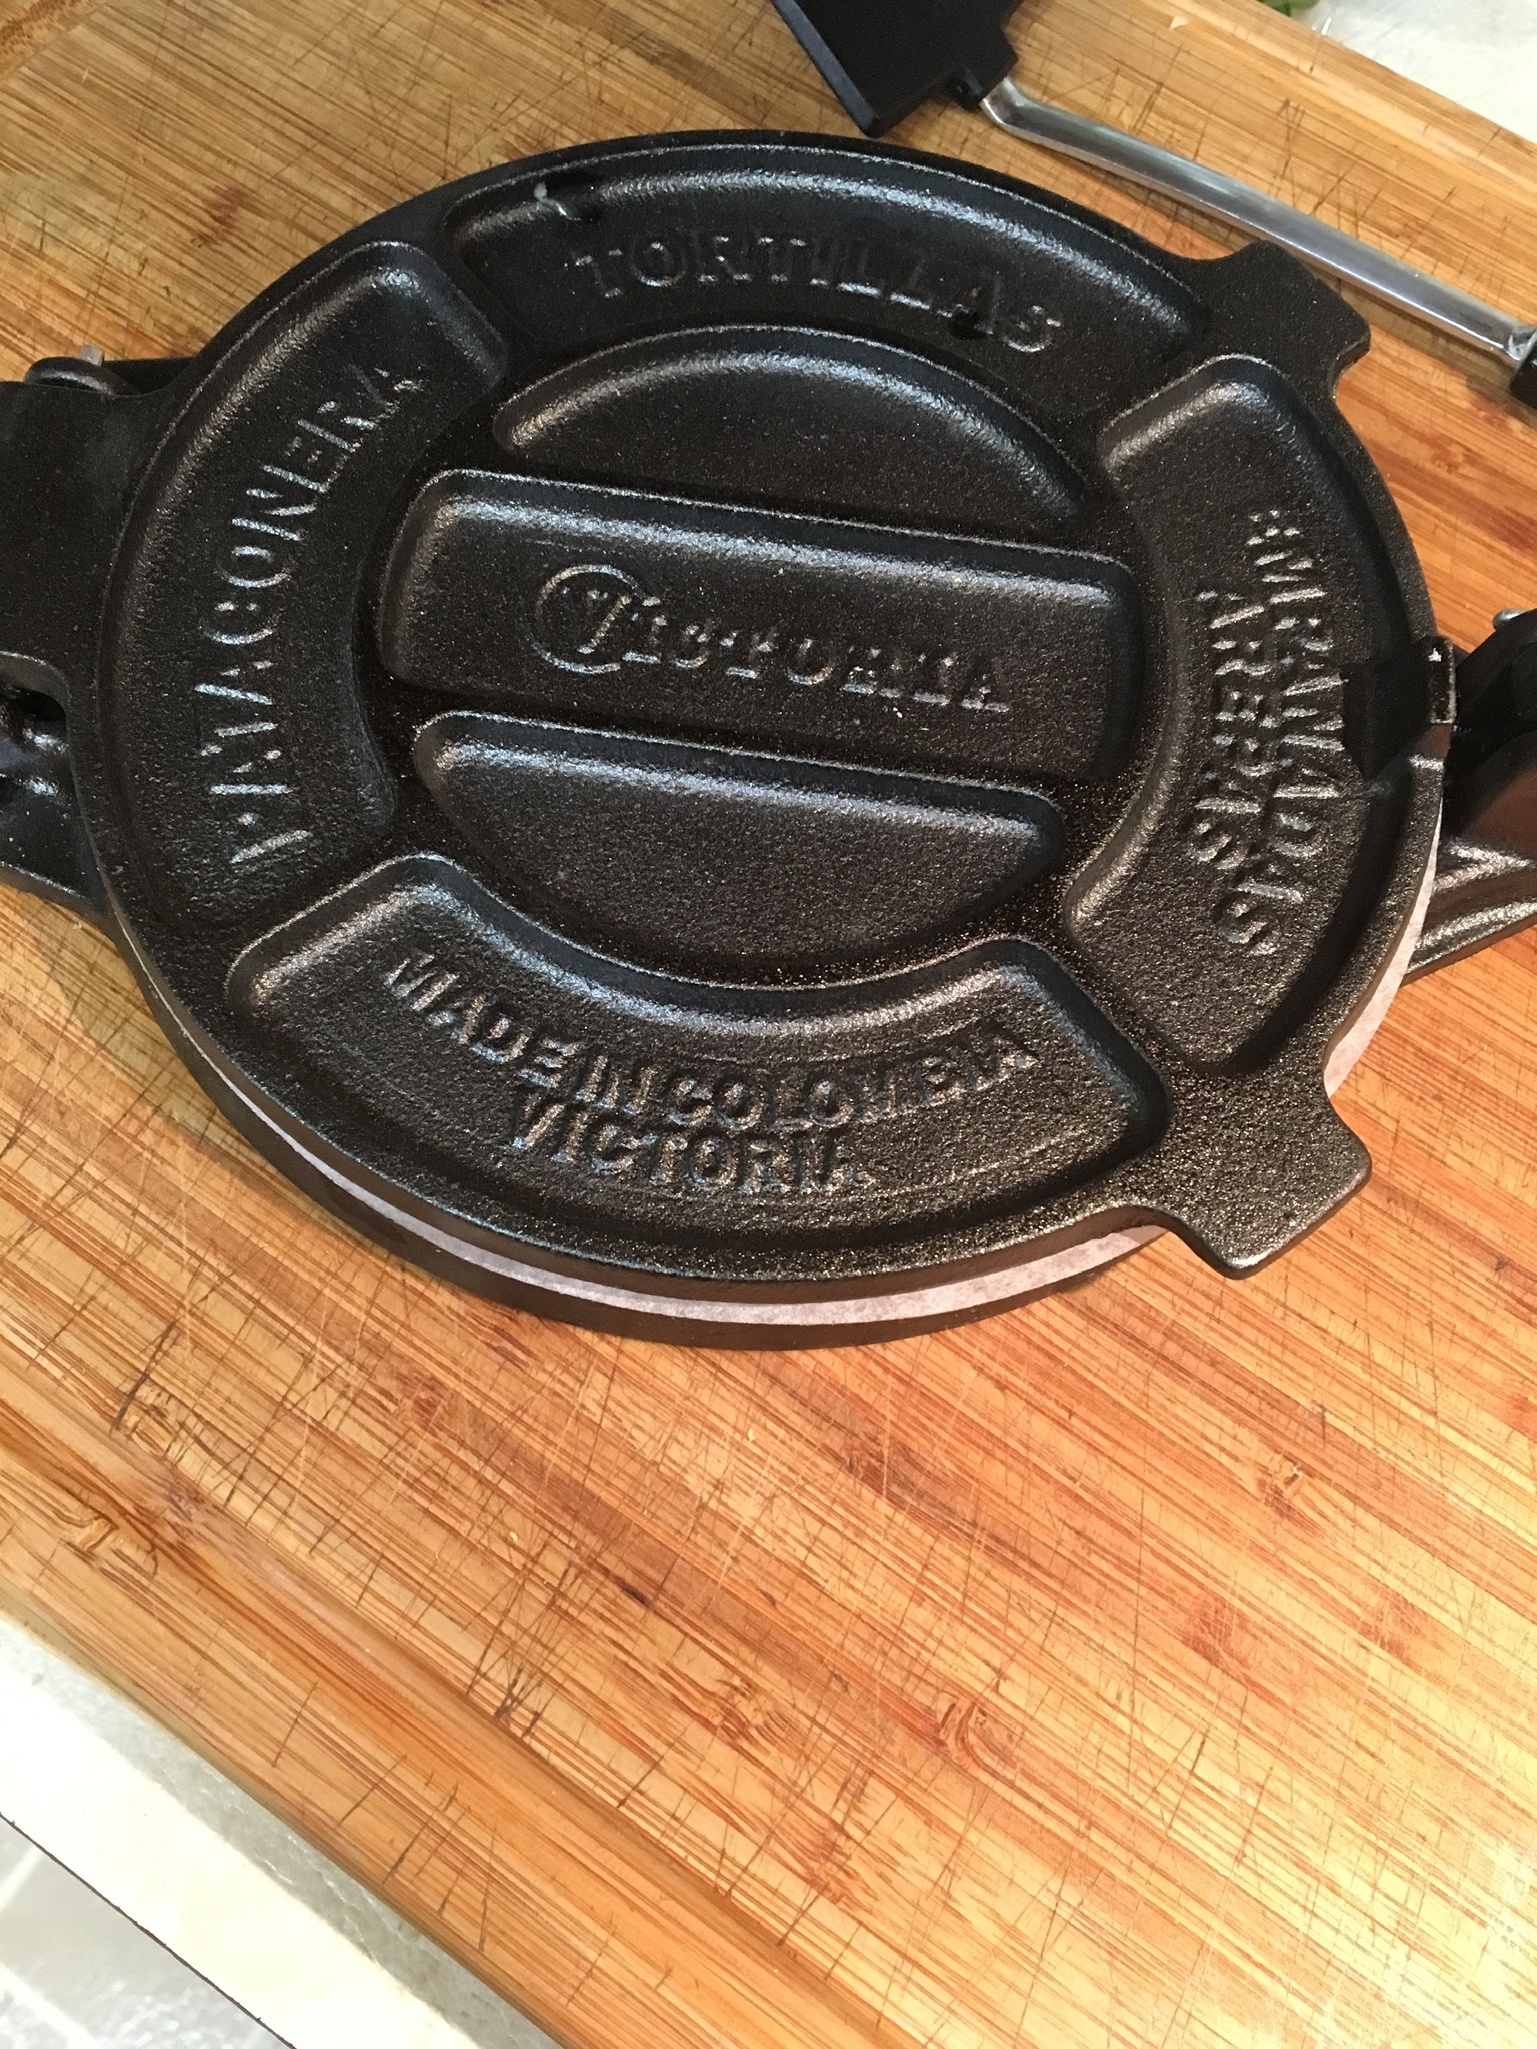
So, in December I purchased a tortilla press . . . and a tortilla warmer . . . and a bag of Bob’s Red Mill Masa Harina . . . and some parchment paper pre-cut into rounds. I realize I was purchasing my own Christmas present, but I’m quite happy with it. I try never to buy anything that only has one use and discourage others from buying them for me. I don’t know what got into me, but I’ve found a place to stow it so it’s all good. Both the recipes found below here are gluten-free. I guess I better say that the Sope recipe below does not require a press or any special equipment. I only used the press for tortillas.
There’s a grocery store in Palm Springs, California called Cardenas and it is like heaven on earth. You can smell the fresh tortillas from the in-store factory. I once filled up a large cooler with fresh produce purchased at Cardenas for about 17 USD and the same produce would have cost me around 100 USD here in Anchorage. Cardenas is a magical place. It reminds me of the big covered markets you see in Mexico full of sights and smells. It’s always hard for me to decide whether to get something they’ve already cooked at the Deli counter or buy the ingredients and make the dishes myself. I usually do both. It drives my mother crazy, “Why are these rice and beans in my refrigerator? What are you going to do with them?” I answer her that by the time I go back home, I’ll have eaten all of it.

Corn Tortillas
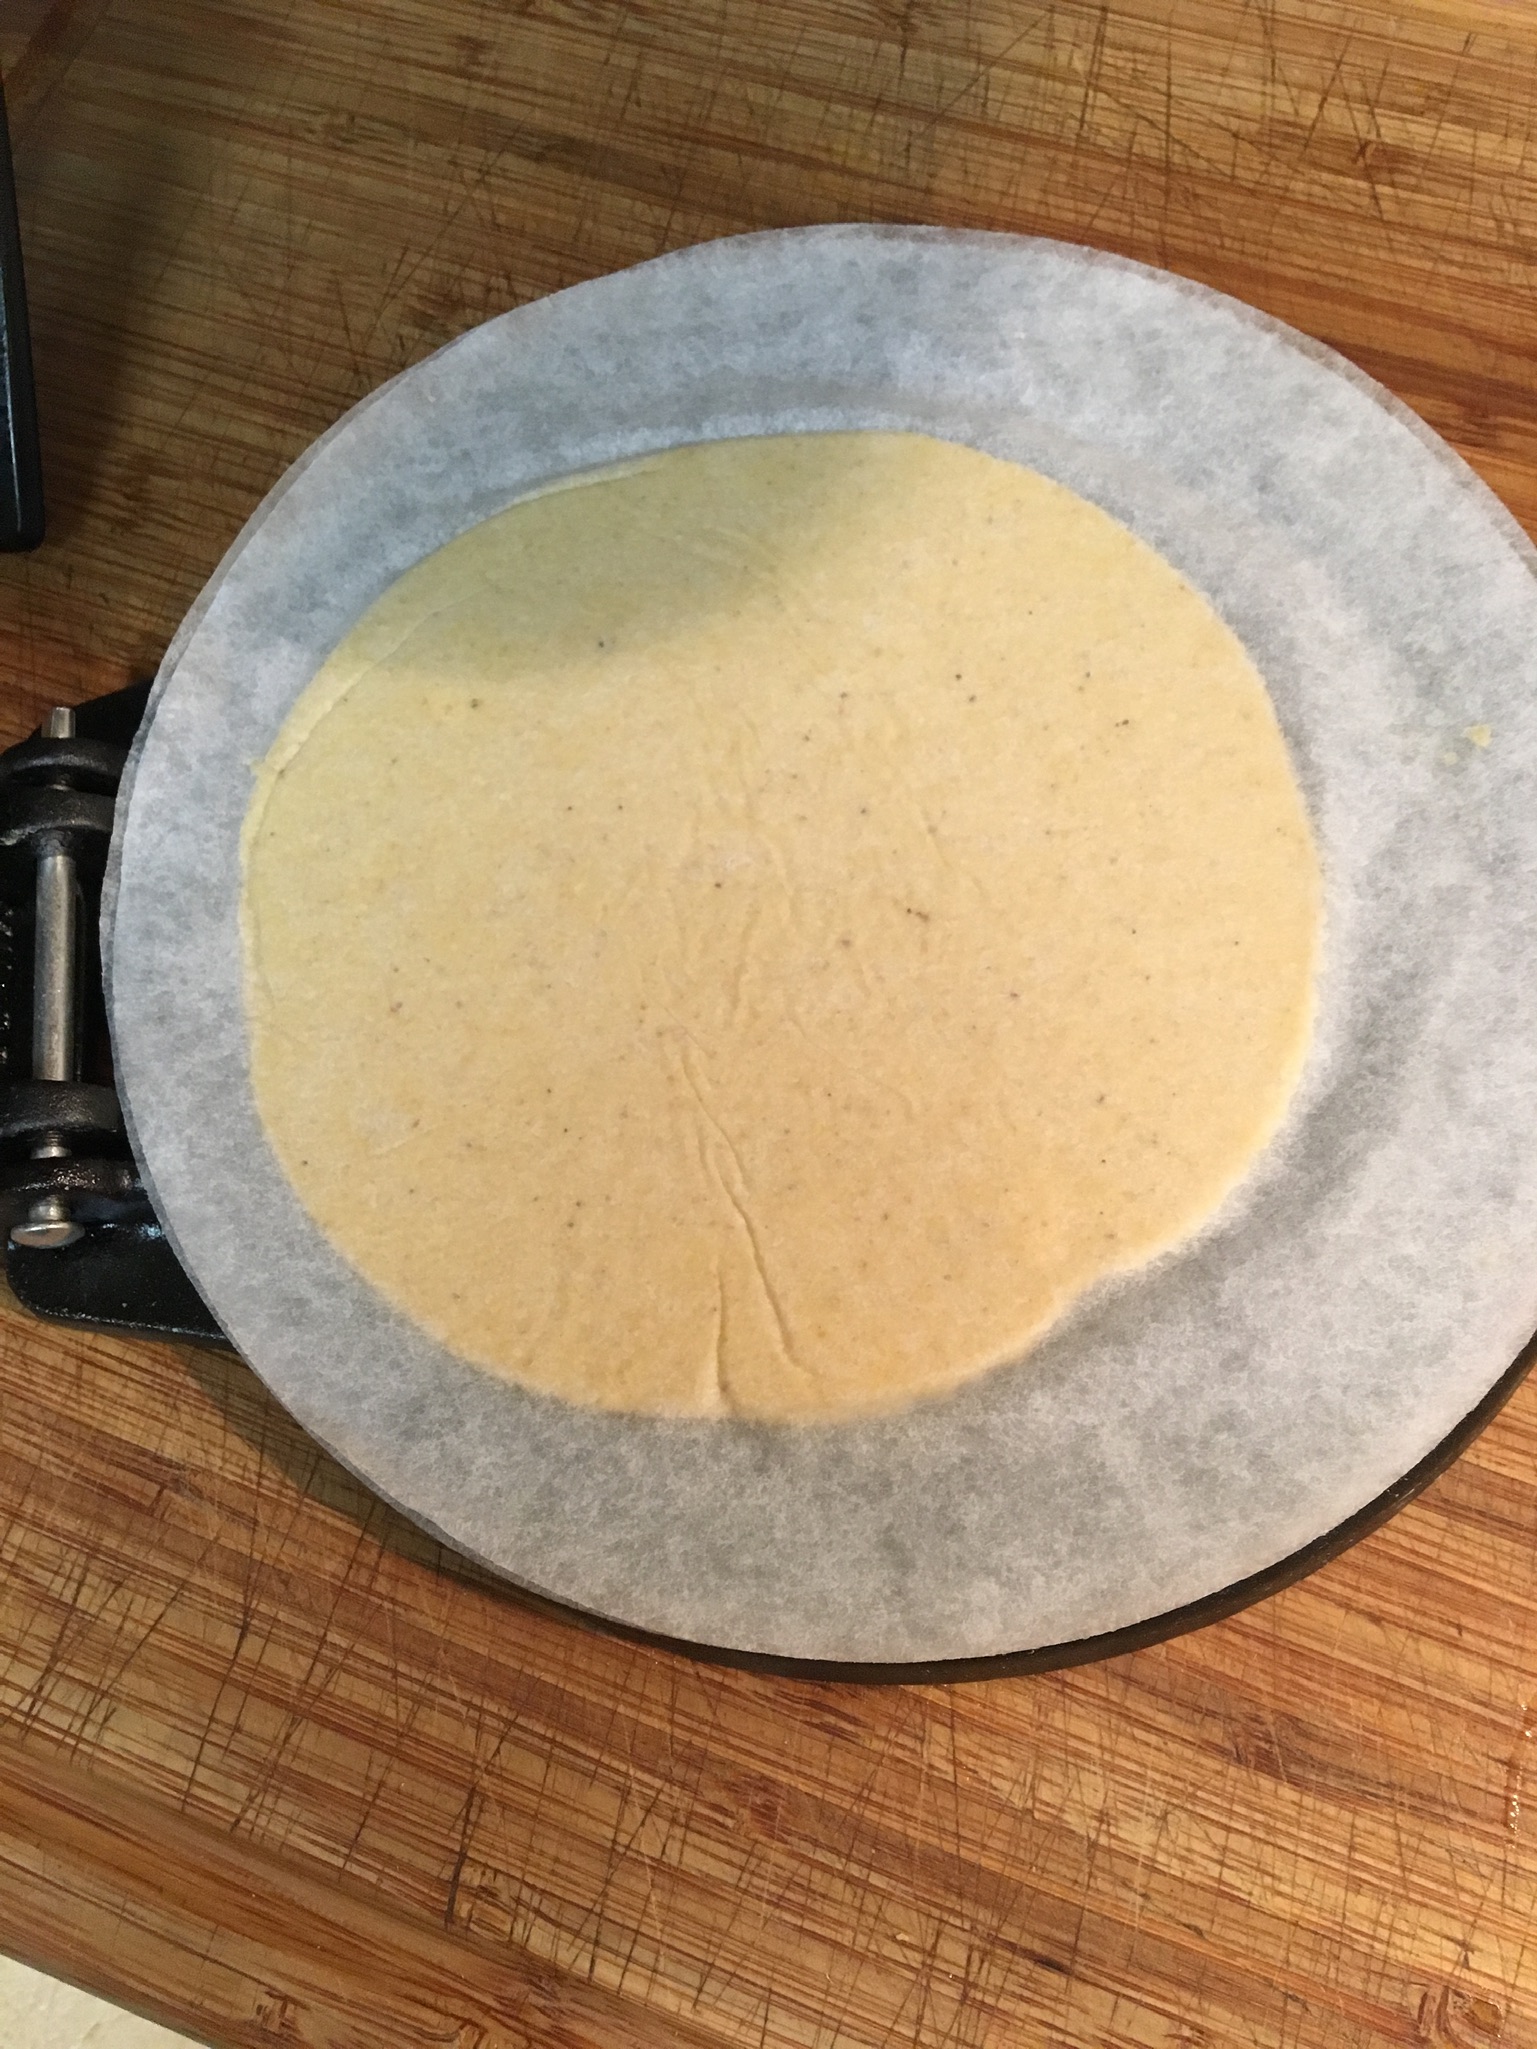
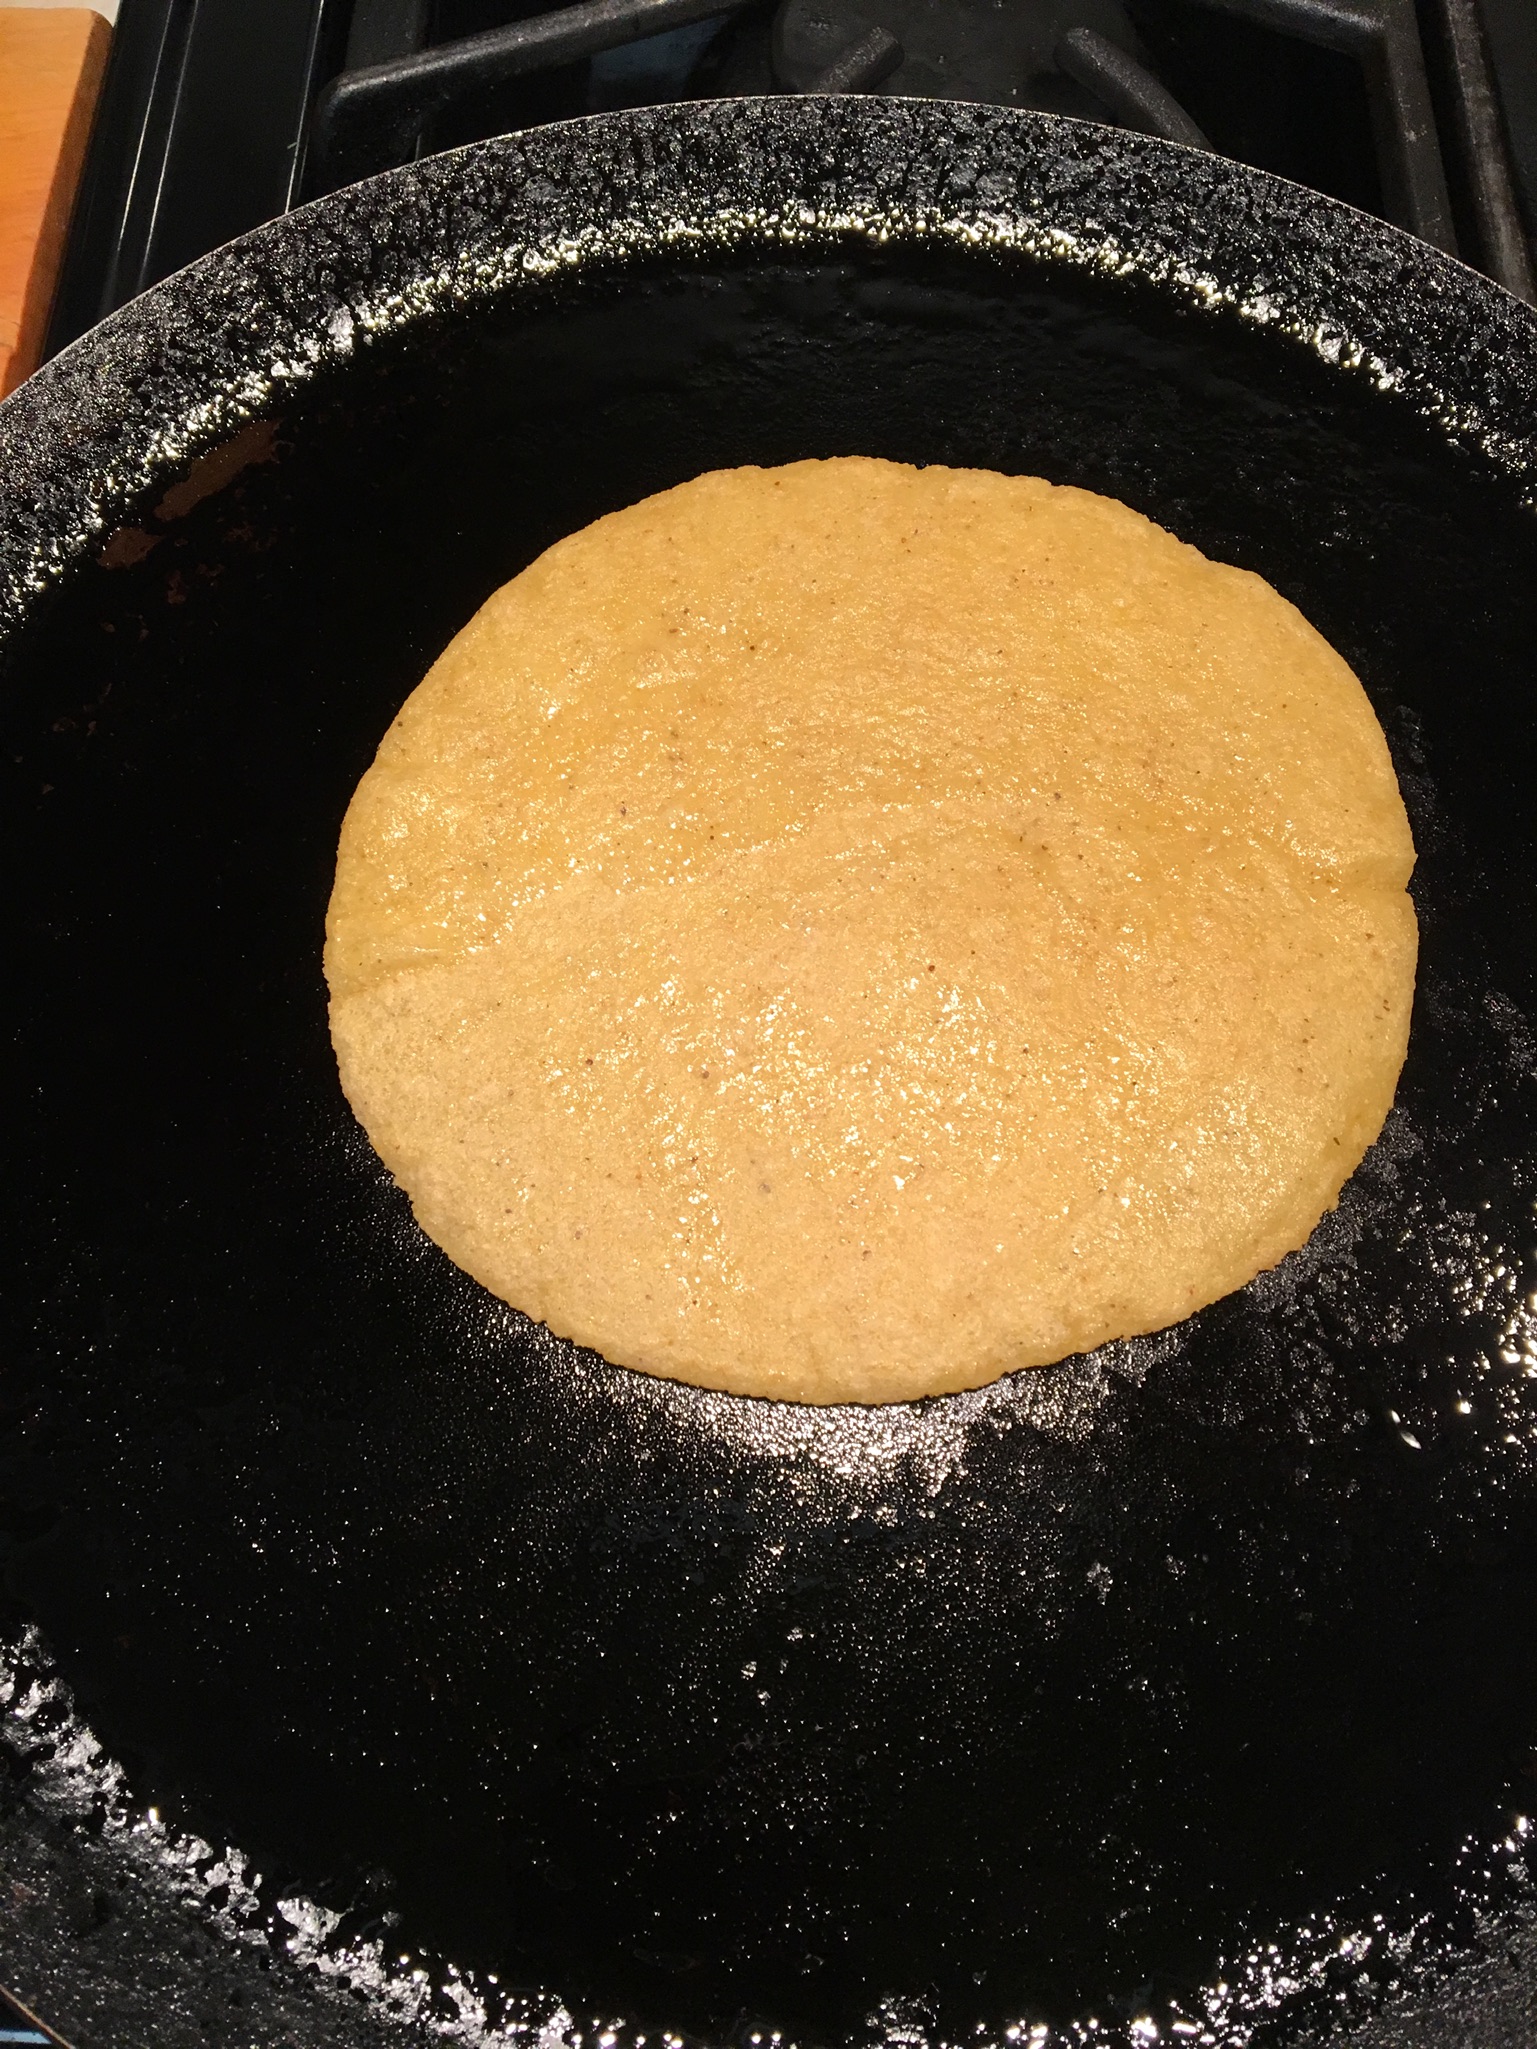
I used the recipe from Isabel Eats. Her tortillas get nice brown marks on them, but I couldn’t get mine to do that. My tortillas were still quite fabulous, so I’m thinking it doesn’t matter? The first two times I made these I used Bob’s Red Mill Golden Corn Flour Masa Harina. It’s very yellow with a grainy texture. The third time I made these, I ran about 1/2 cup short of Bob’s and made it up with Maseca Instant Corn Masa Flour. The color is white and the texture is fine, like cake flour. It threw me off, but I sallied forth and came up with a delicious product. A word about Masa Harina: it is ground corn that has been processed with lime (not lime fruit, but lime stone). According to web sources, ground corn is not the same and will not work the same. You need to use Masa Harina.
- Ingredients
- 2 cups Masa Harina
- 1-1/2 cups hot water
- 1/2 tsp. salt
Makes 12 tortillas, about 6″ diameter. Stir the ingredients together until it’s a smooth ball. Cover with a damp kitchen towel and let sit for an hour. Divide the dough into twelve pieces (about 2″ in diameter) and roll each piece into a ball. Keep the dough balls covered with the damp kitchen cloth as much as possible.


As I said earlier, I use parchment paper rounds, top and bottom, to keep my dough from sticking to the press. Most people cut slits in two gallon-size plastic bags and put one bag on the top and one on the bottom. I haven’t tried that yet. Place a dough ball slightly off-center on the parchment on the press and place the second parchment round on it. Flatten the dough ball slightly with your hand and then lean on the body of the press to flatten more. Finish off by pressing on the handle. Be mindful not to break the shear pin that attaches the handle to the body. Pushing down on the body of the press should do most of the work.

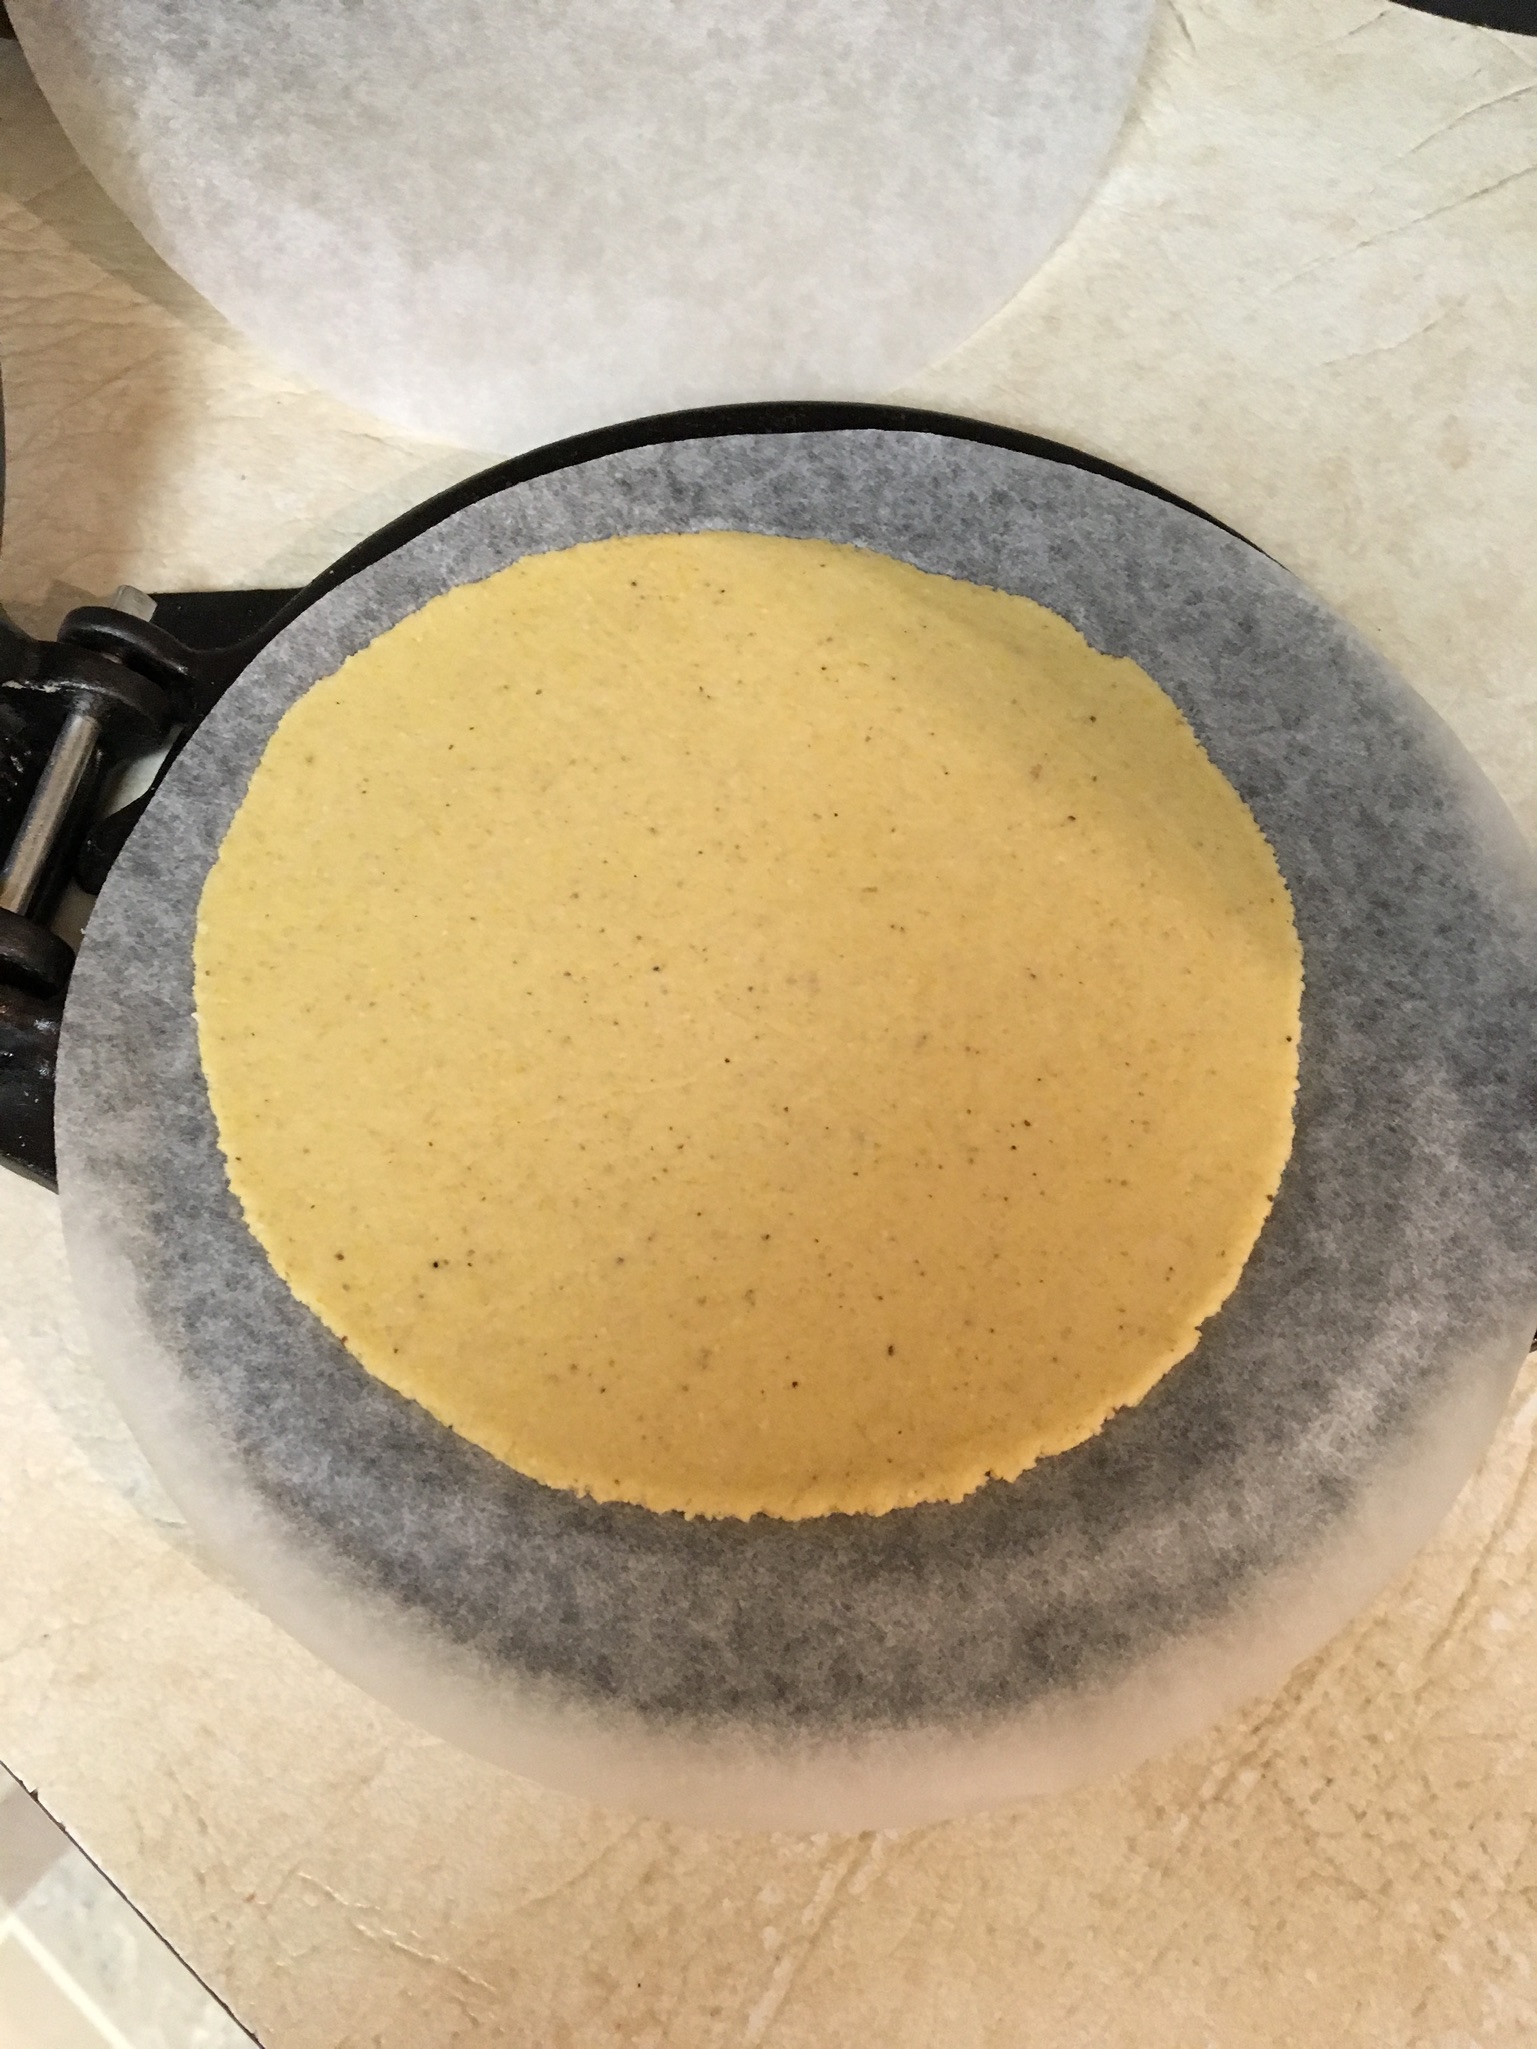
I have an old non-stick griddle and heated it thoroughly over medium-high heat. I sprayed it with non-stick spray and carefully lay the tortilla to fry. I left it for about thirty seconds and then turned it over. I do not want crispy tortillas. I want them soft and easy to manipulate.

My process was to roll a piece into a ball, press it, and put it on the griddle. While that was cooking, I’d press the next one, etc. A dozen tortillas took me about 50 minutes. I’m usually trying to do too many things at once, so it probably could have gone much faster if this was all I had to do. As they were cooked, I put them into my tortilla warmer.
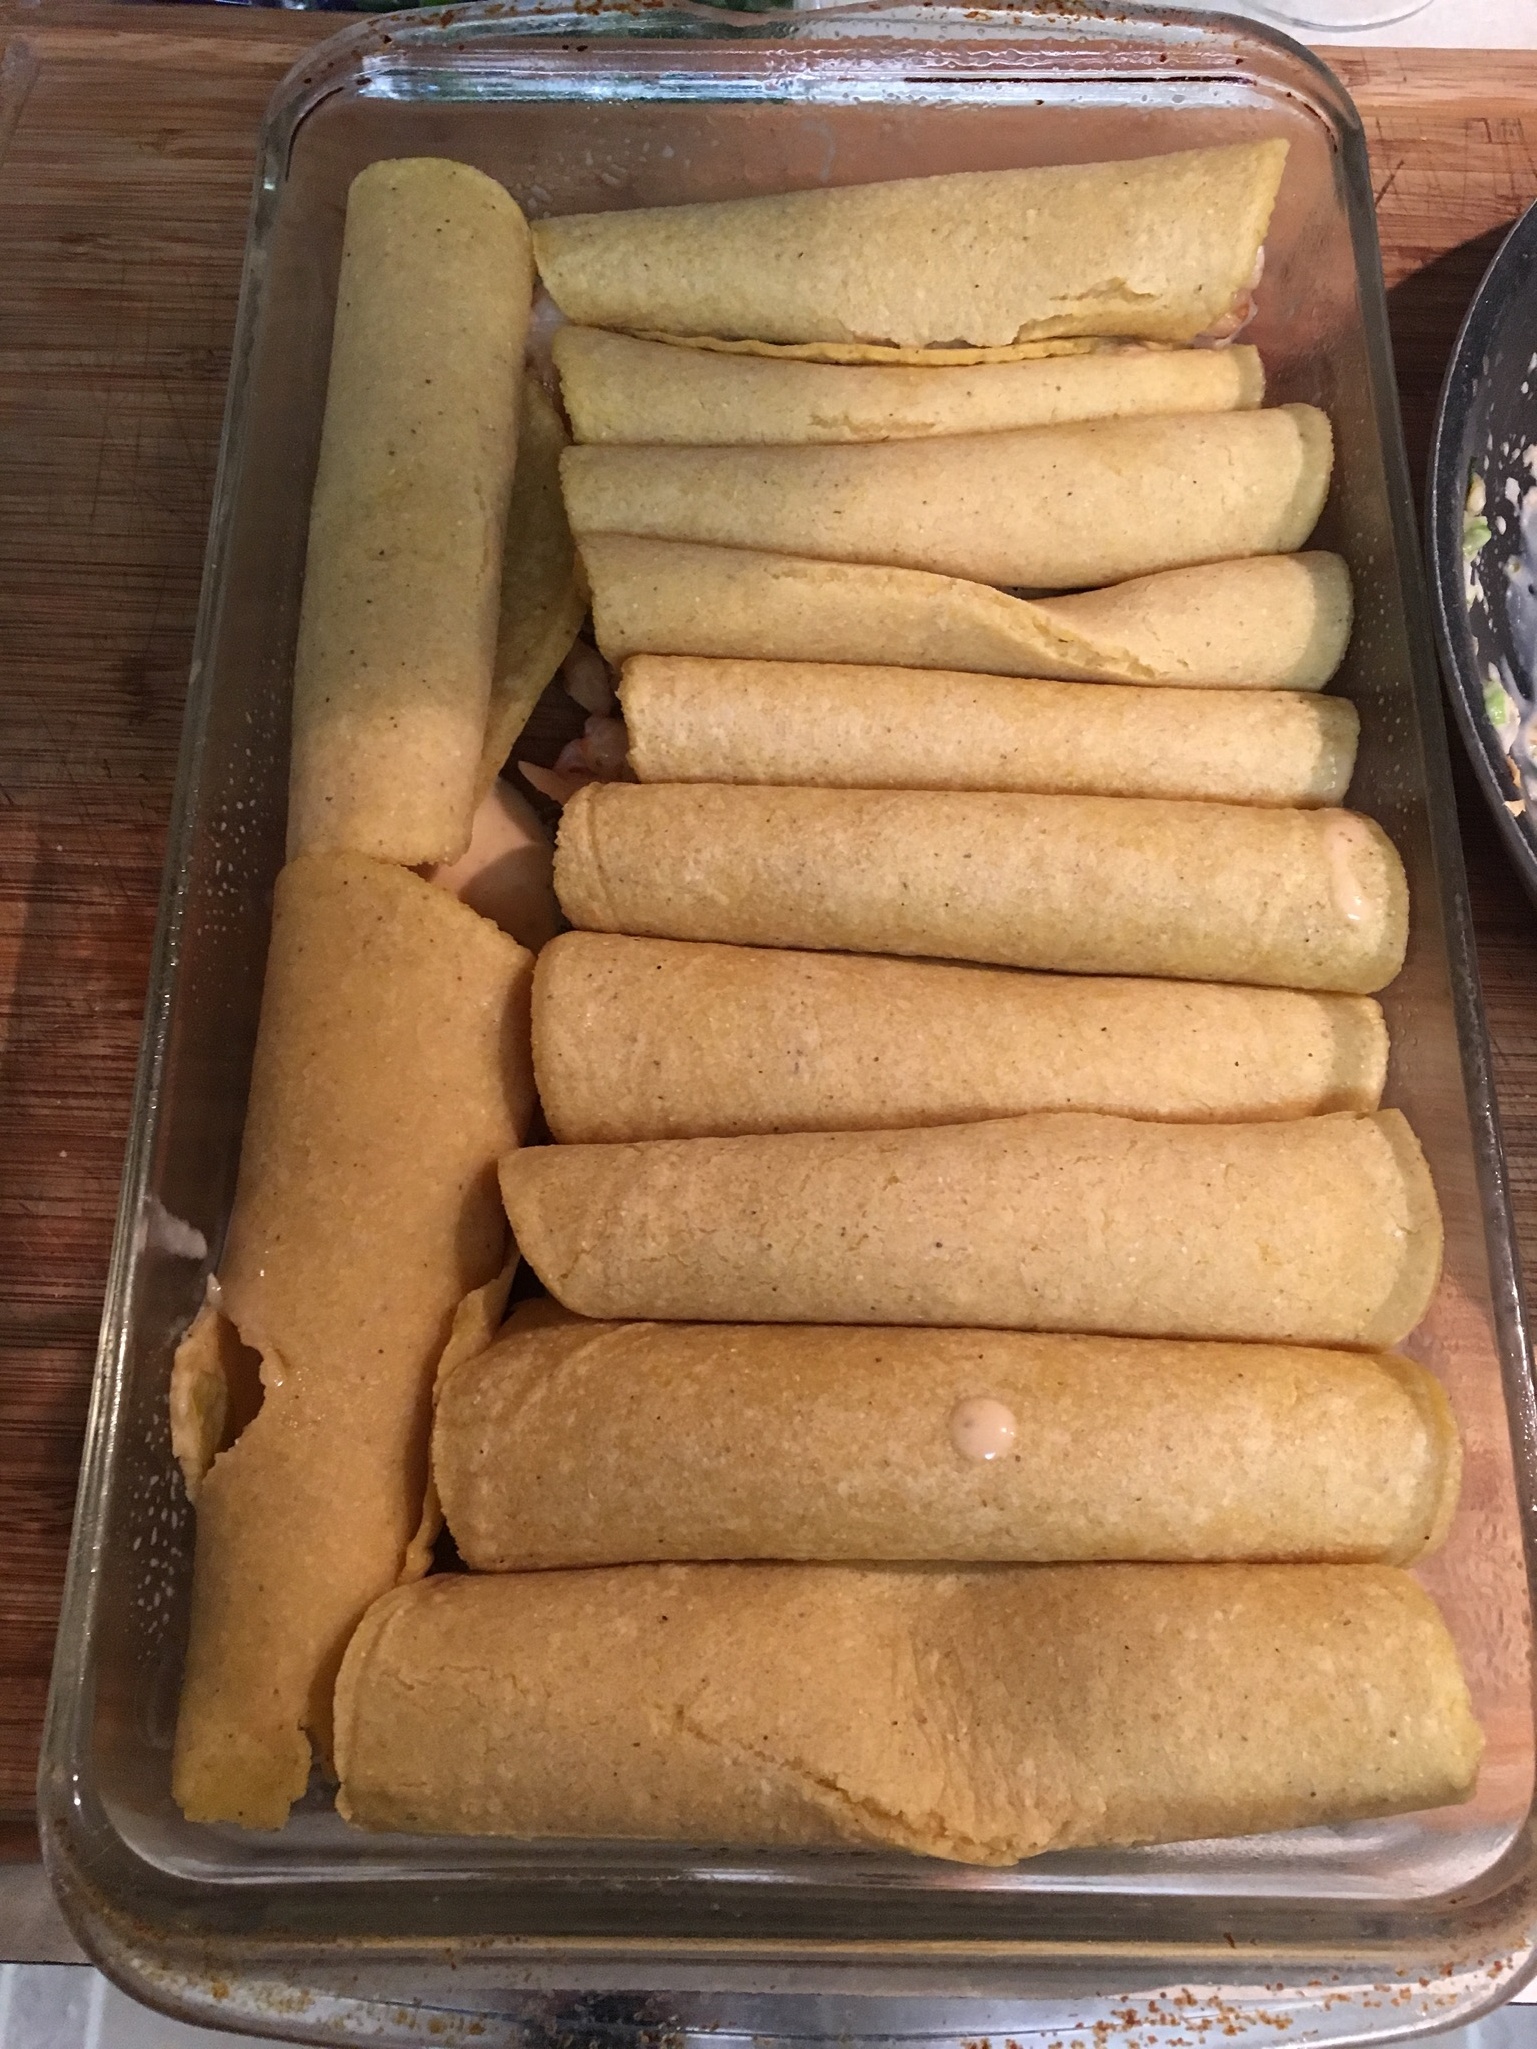
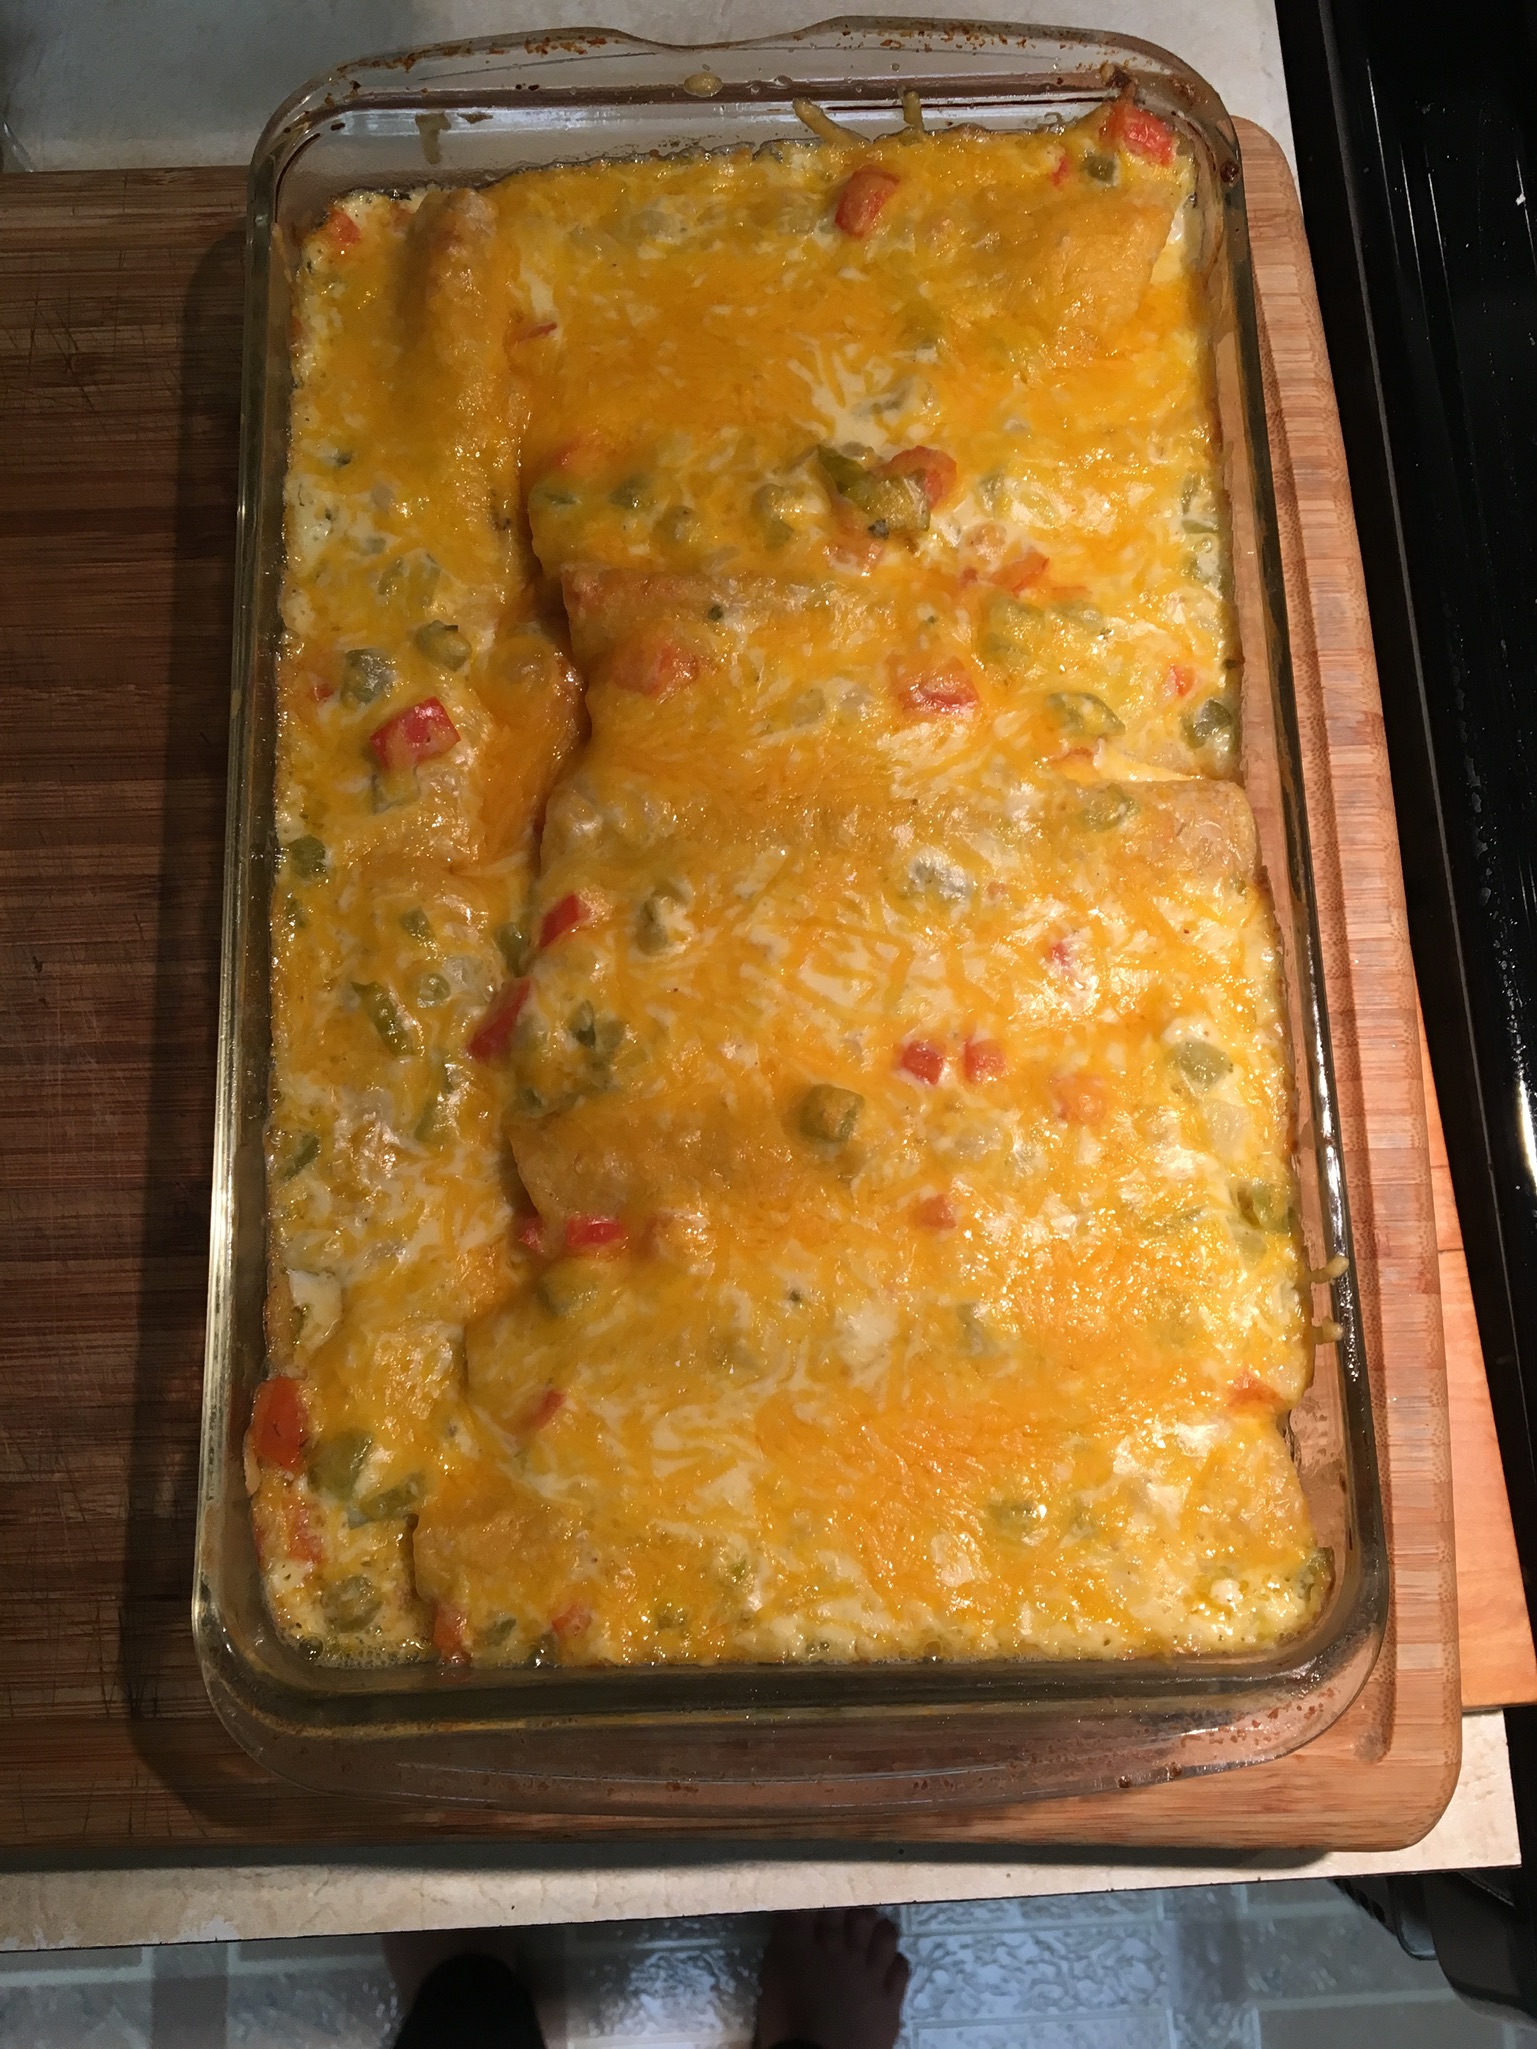
The first time I made these, I used them to make Shrimp Enchiladas. What a glorious flavor! Oh my, oh my! There is just no comparison to store-bought tortillas. My second tortilla-making venture I made tacos with leftover Cuban Pork Roast and grated cheese. The third time I did this, I used more of the leftover Cuban Pork Roast and made enchiladas.
Sopes
I had bought the Sopes from Cardenas one time, but I wouldn’t know where to purchase something like that here. That is to say I did know what my end-product was supposed to look like. This recipe comes from Kristin at Yellow Bliss Road. I looked all over the web and Pinterest and found a lot of Sopes recipes, but they all called for a lot of finagling. Most of them say to press the dough, lightly fry them, then turn up the edges and deep-fry them. Oh, please. No, thank you. It’s hard enough just cooking things once! Kristin’s recipe does not require a press and she only cooks them once. While I was doing this I thought I had made a huge mistake and I would never, ever make them again. I’d have a perfect disc with a lip and then it would stick to my hand and tear. Oy! Keep your hands as wet as possible. HOWEVER, once they were finished, I realized they were darn near perfect and incredibly delicious. I WILL make these again.
- Ingredients
- 1-1/2 cups Masa Harina
- 1 cup warm water
- 1/2 tsp. salt
- Cooking oil (My skillet had about 3/4″ in it)
- Toppings like refried beans, shredded or ground meat, cheese, salsa, lettuce, avocado, tomato, onion, sour cream (whatever strikes your fancy)
Makes about 9 Sopes, approximately 3″ diameter. Stir all ingredients, except cooking oil, together to form dough. Heat the cooking oil over medium high heat until a drop of water sizzles when it touches. Divide dough into golf-ball sized portions and roll into ball shapes. Keep remaining dough balls covered with a damp kitchen towel while working with the others. Using your hands, press each dough ball into a disc of about 1/4″ to 1/2″ thick. Pinch the edges of the disc to form a lip.
If you keep your hands wet, you’ll have greater success forming the discs and the lips. Place the disc, lip side up, in the hot oil and let fry for a little while. Try to get a brown spot on the bottom. Carefully flip the disc over onto the lip and let fry a little longer. I thought this would be a huge mess and fall apart, but it hardens fairly quickly in the oil and becomes easy to get a spatula underneath. You could probably even use tongs. Your goal is to have a crispy edge, but a soft center. Remove from oil and place on paper towels to drain. I did three Sopes at a time in my frying pan and it didn’t take long at all.
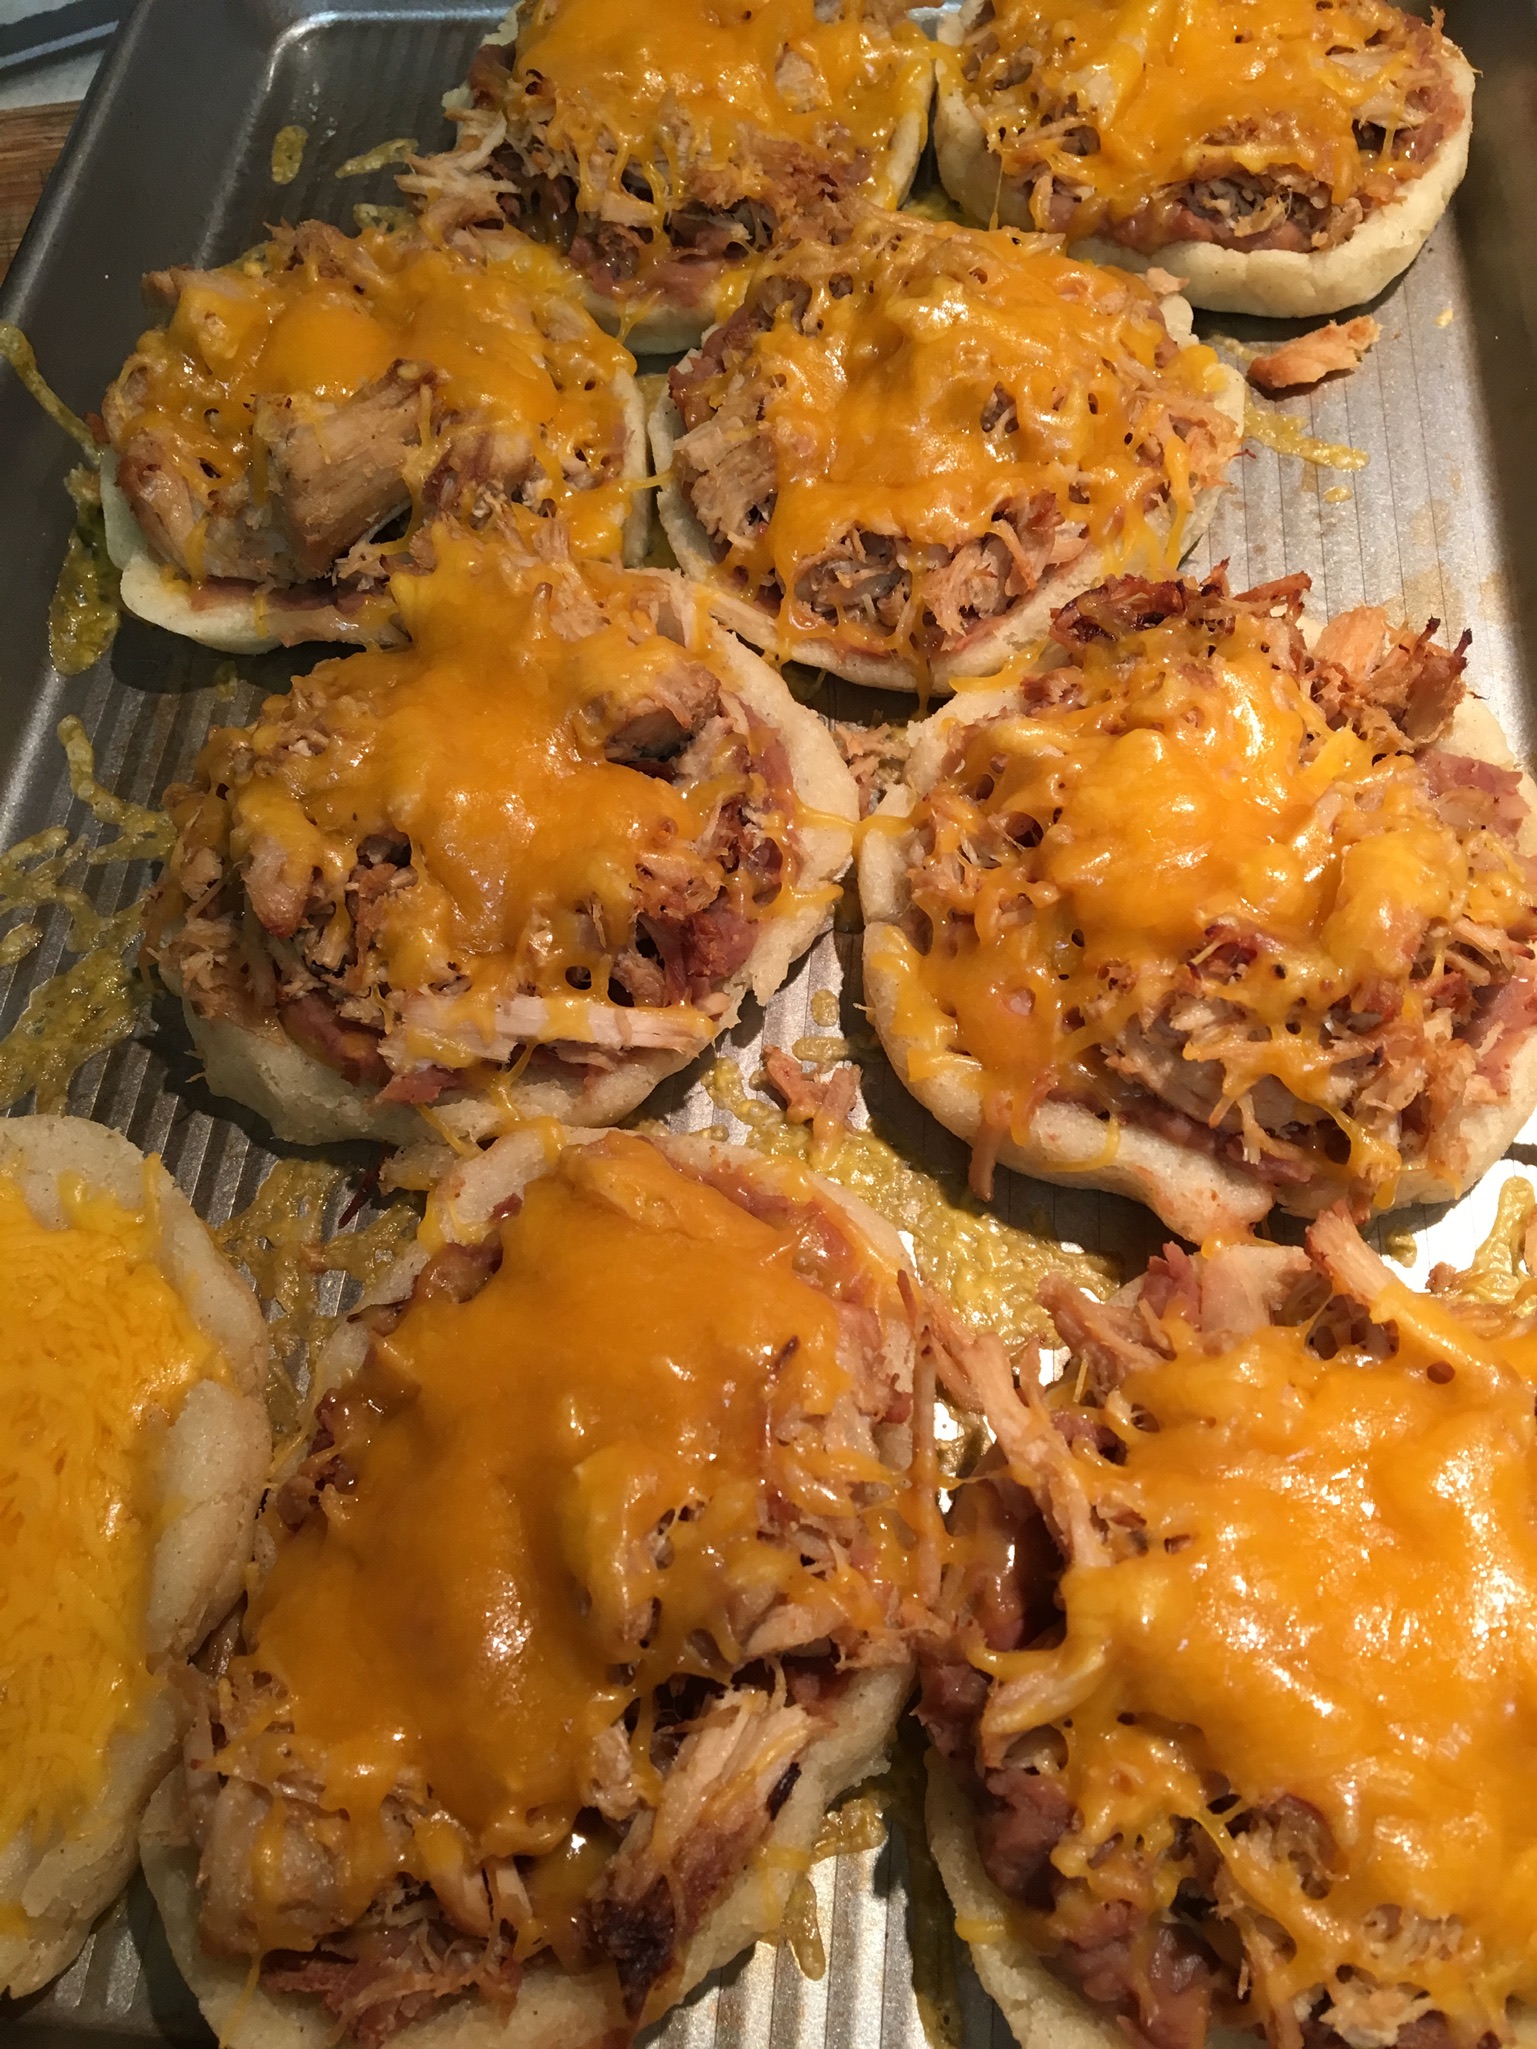
These are now ready to serve, and if you’re using cold toppings like lettuce, sour cream, or tomato, you’re done. I spread a tablespoon of warm refried beans over the bottom of each Sope and then spread warm leftover Cuban Pork Roast over that and sprinkled with grated Sharp Cheddar Cheese on top. Then I popped them into the oven at 400 degrees for about 5-10 minutes until the cheese melted. These were heavenly delicious. I topped them with sliced fresh jalapenos and salsa. They were easy to eat by hand. I see this being a hearty game-day snack.

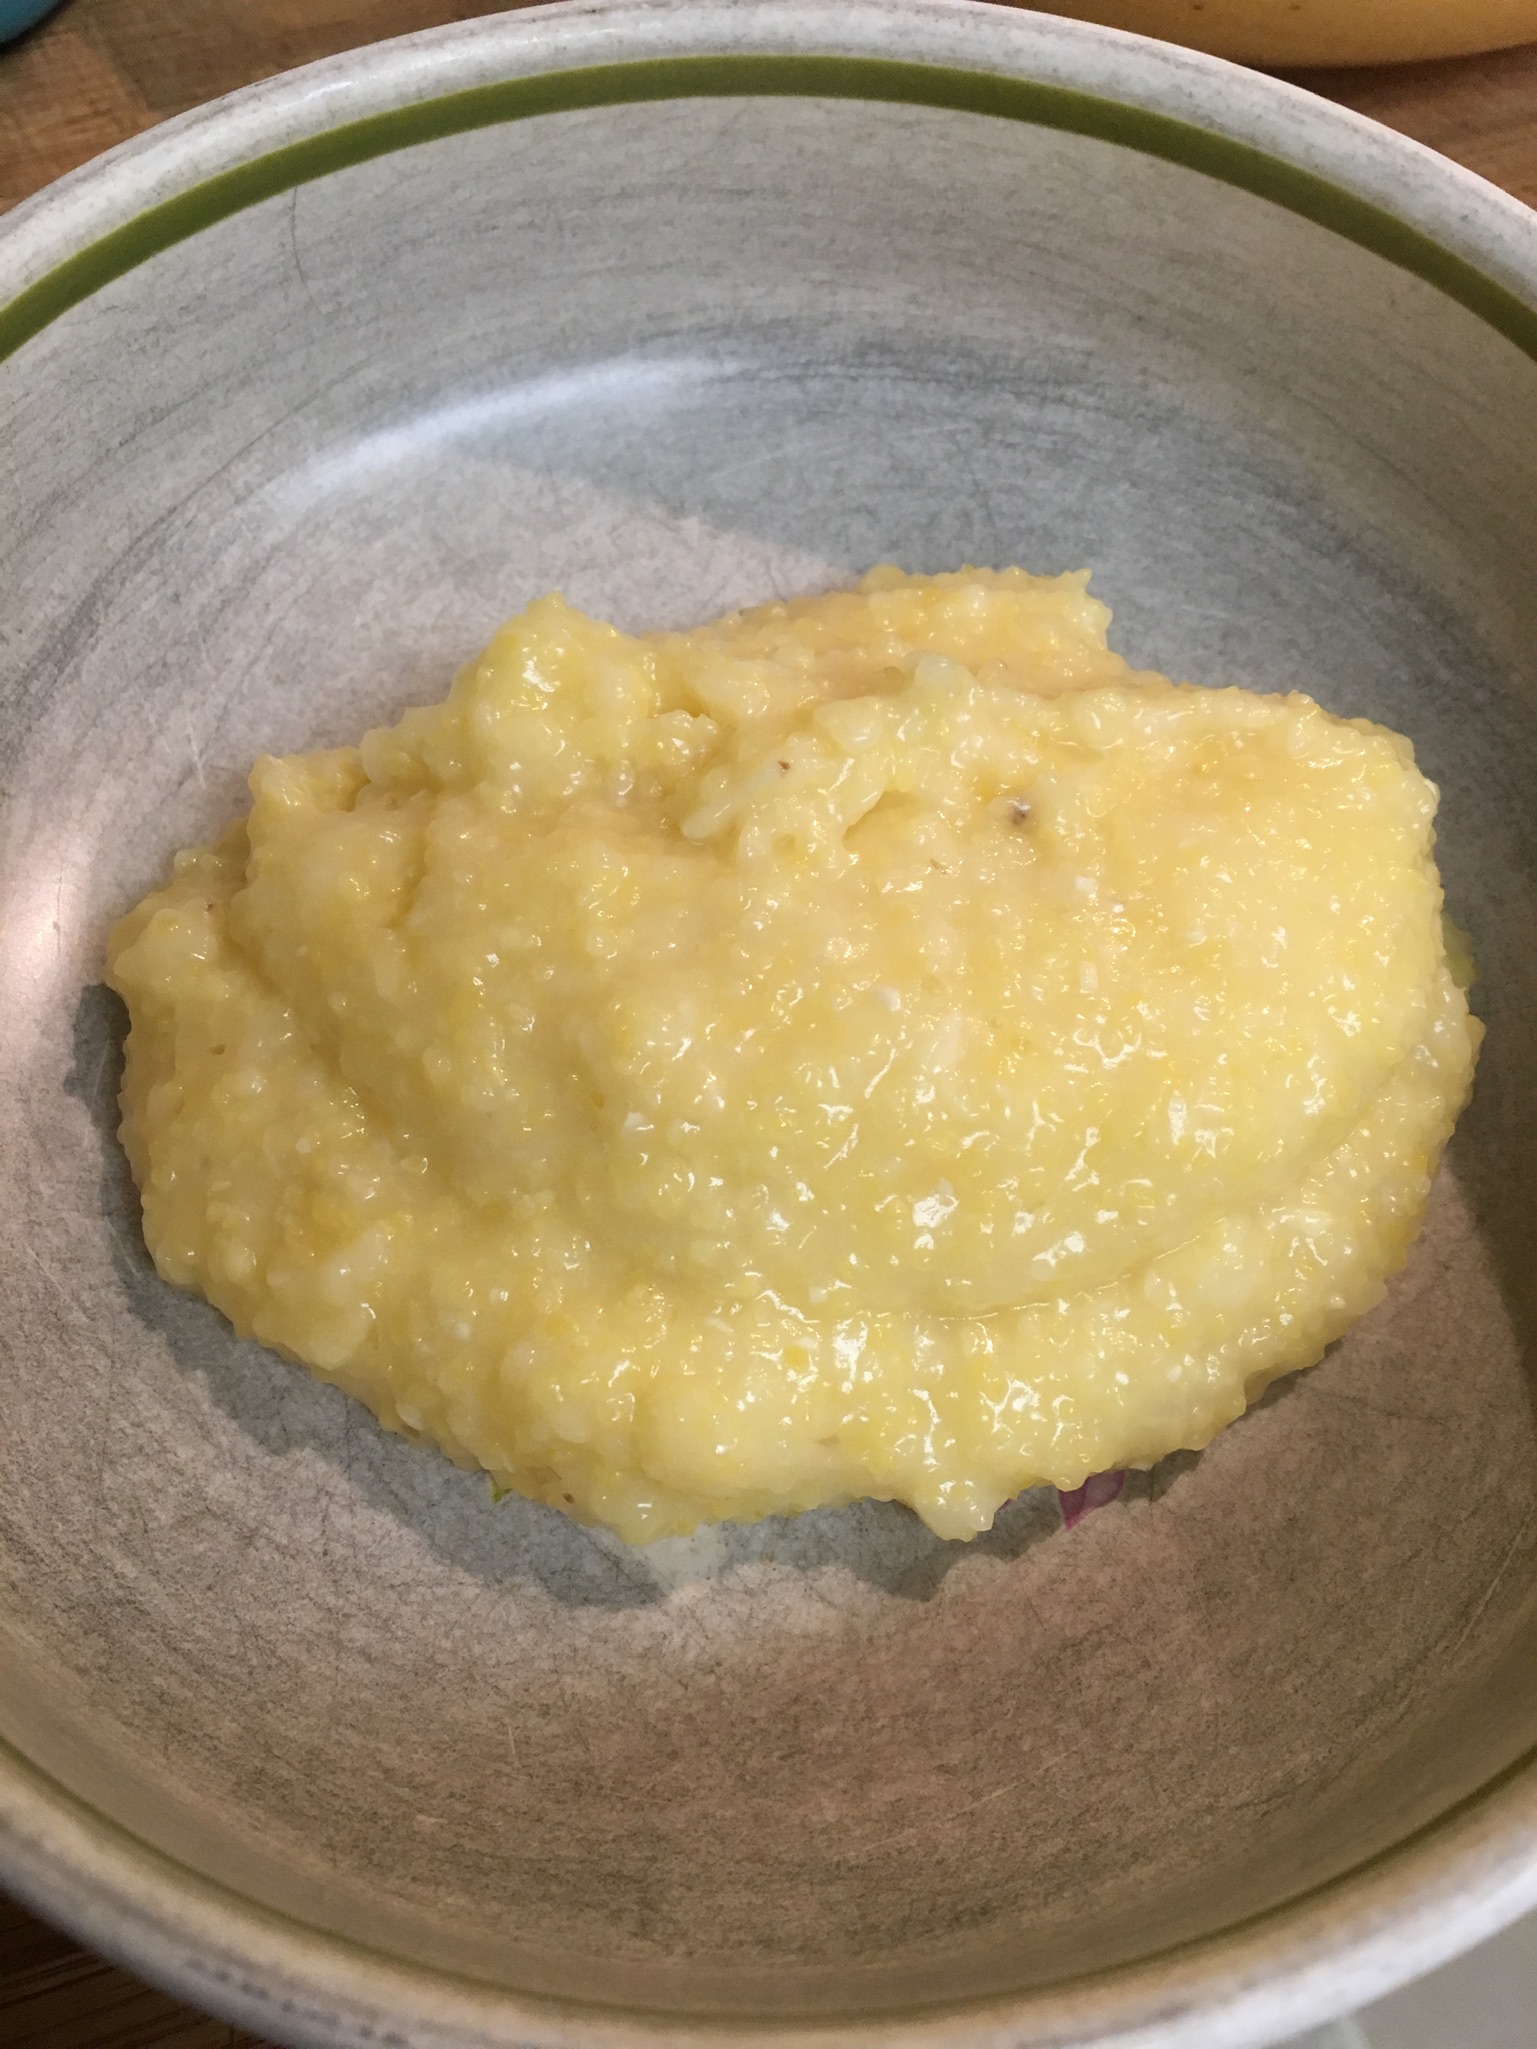
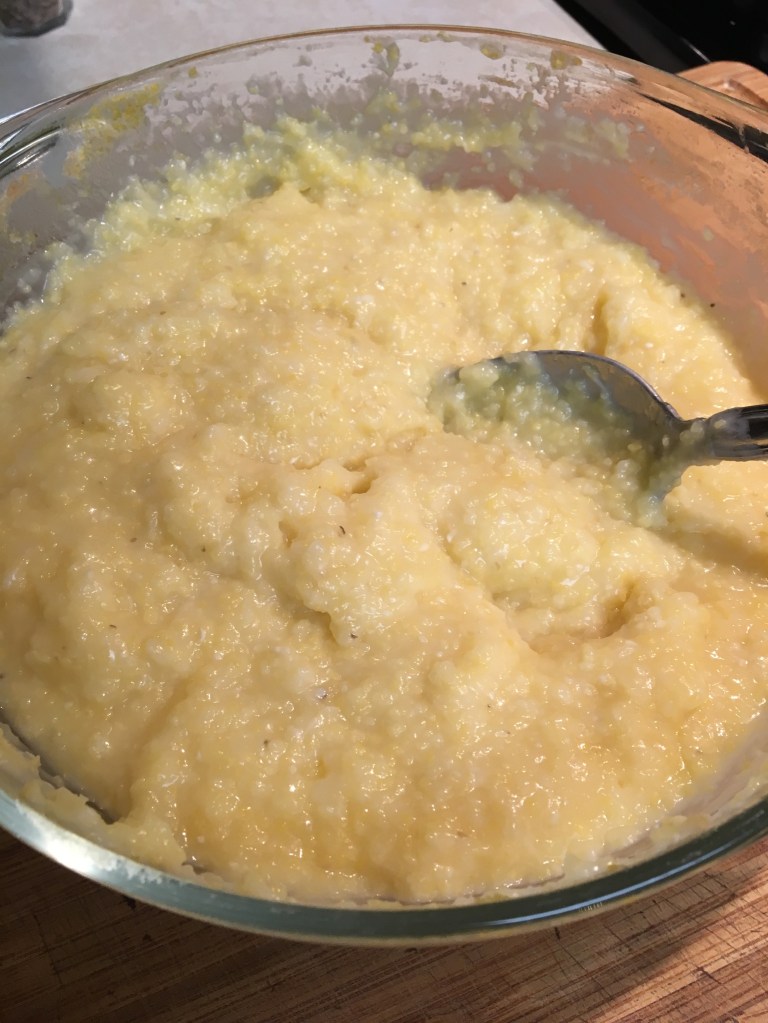
This is my new favorite way to make polenta. It is so simple and versatile. I found the basic recipe at dinnerthendessert.com. I’ve only ever made half Sabrina’s recipe because it makes too much for us. Even so, I’d say half her recipe still serves six people. I think we could get away with halving it again, but I’ve been pretty happy using up the leftovers (think eggs over polenta-yummy!). I think any kind of cheese would do, it just depends upon what you’re going to serve with it. I’ve used Parmesan. I’d like to see a slightly firmer product, but I’m working on it. I buy polenta, but Sabrina says you can use corn meal. Lastly, she also says you can stir in a lot of different things, like shallots or garlic or lemon. I haven’t yet tried that.
Since there are no wheat products in this, I think we can safely say it is gluten-free. I use polenta in the same way I use mashed potatoes.

- Ingredients
- 3 cups water
- 3/4 cup polenta
- 1 tsp. Kosher salt
- Dash pepper
- 1 or 2 Tbsp. butter
- 1/4 cup heavy cream
- 1/2 cup grated Parmesan
Preheat oven to 350 degrees. Stir together water, polenta, salt, pepper, and butter in a 2-qt. baking dish. Bake, uncovered, at 350 degrees for 40 minutes. Remove from heat and stir in cream and cheese. Return to oven and bake another 10 minutes, uncovered. Serves 6.
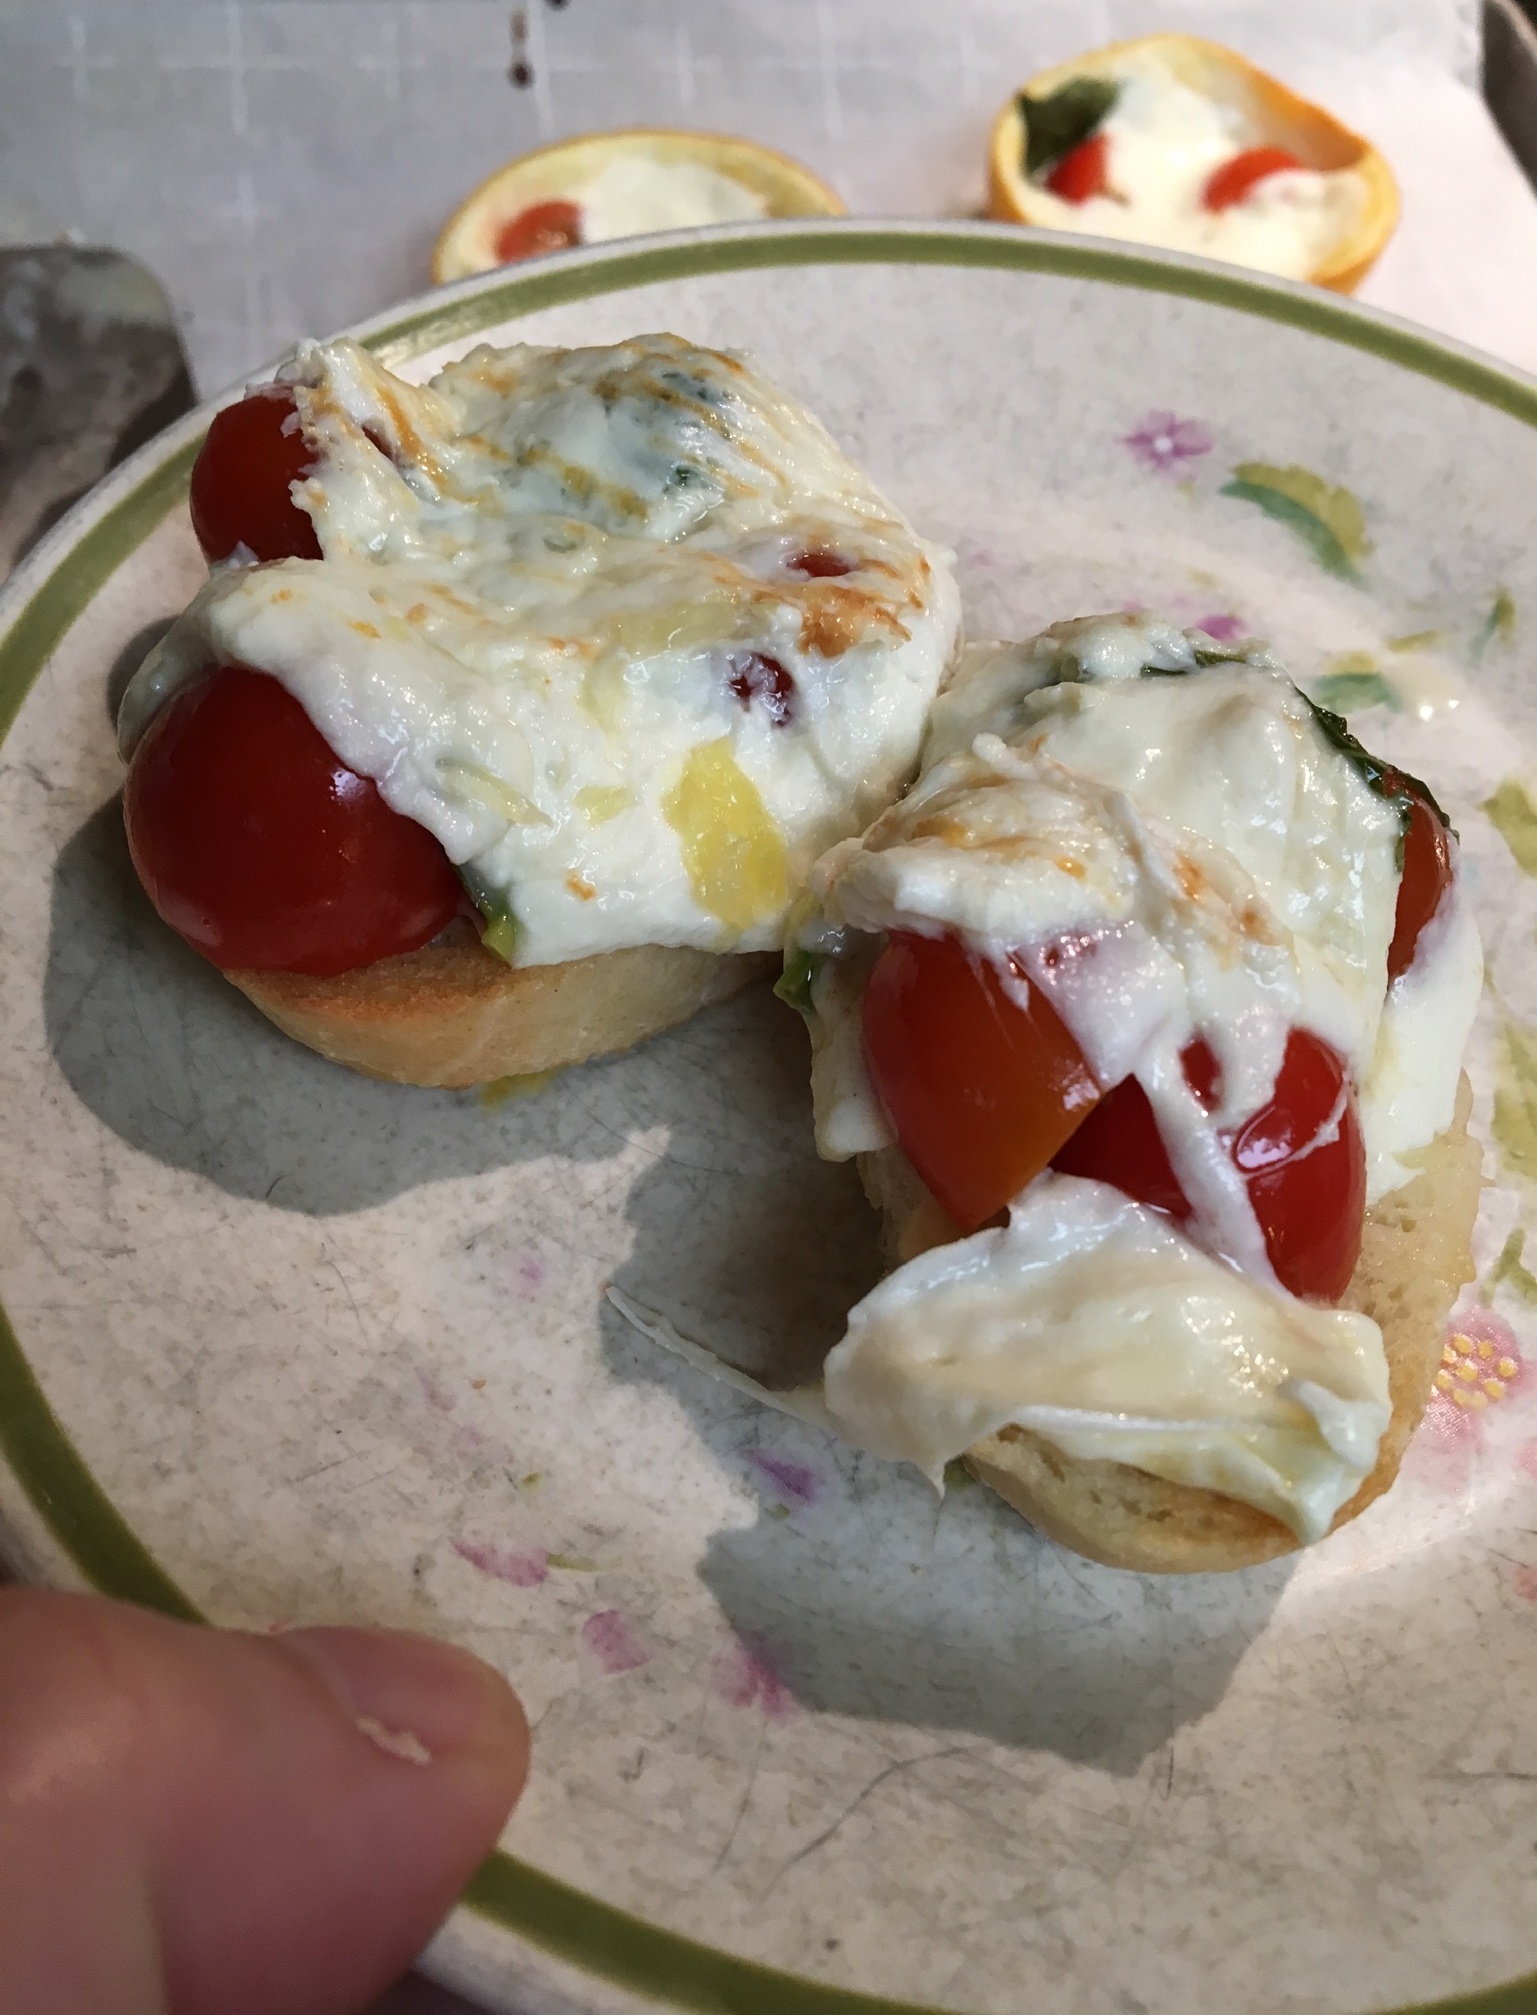
I’ve just returned from California with a bag of Meyer lemons from a tree in my dad’s back yard. This recipe does not require Meyer lemons, but it’s what I had. Also called Limoni de Amalfi Cotti al Forno, the recipe comes from Jamie Oliver (Jamie’s Great Italian Escapes – 2004 – Food Network – Amalfi Baked Lemons). I love this dish because it combines so many ingredients that I love. Anchovies, yes! Basil, yes! Tomato, yes! Lemon, yes! It’s a bit of a messy dish, but oh, so yummy!
- Ingredients
- 3 large lemons
- Approximately 6 oz. Mozzarella (I used Mozzarella Pearls)
- 6 fresh basil leaves
- 3 anchovy filets
- 3 cherry tomatoes (I used 12 grape tomatoes)
- Salt and pepper
- Toasted bread (I used baguette slices)
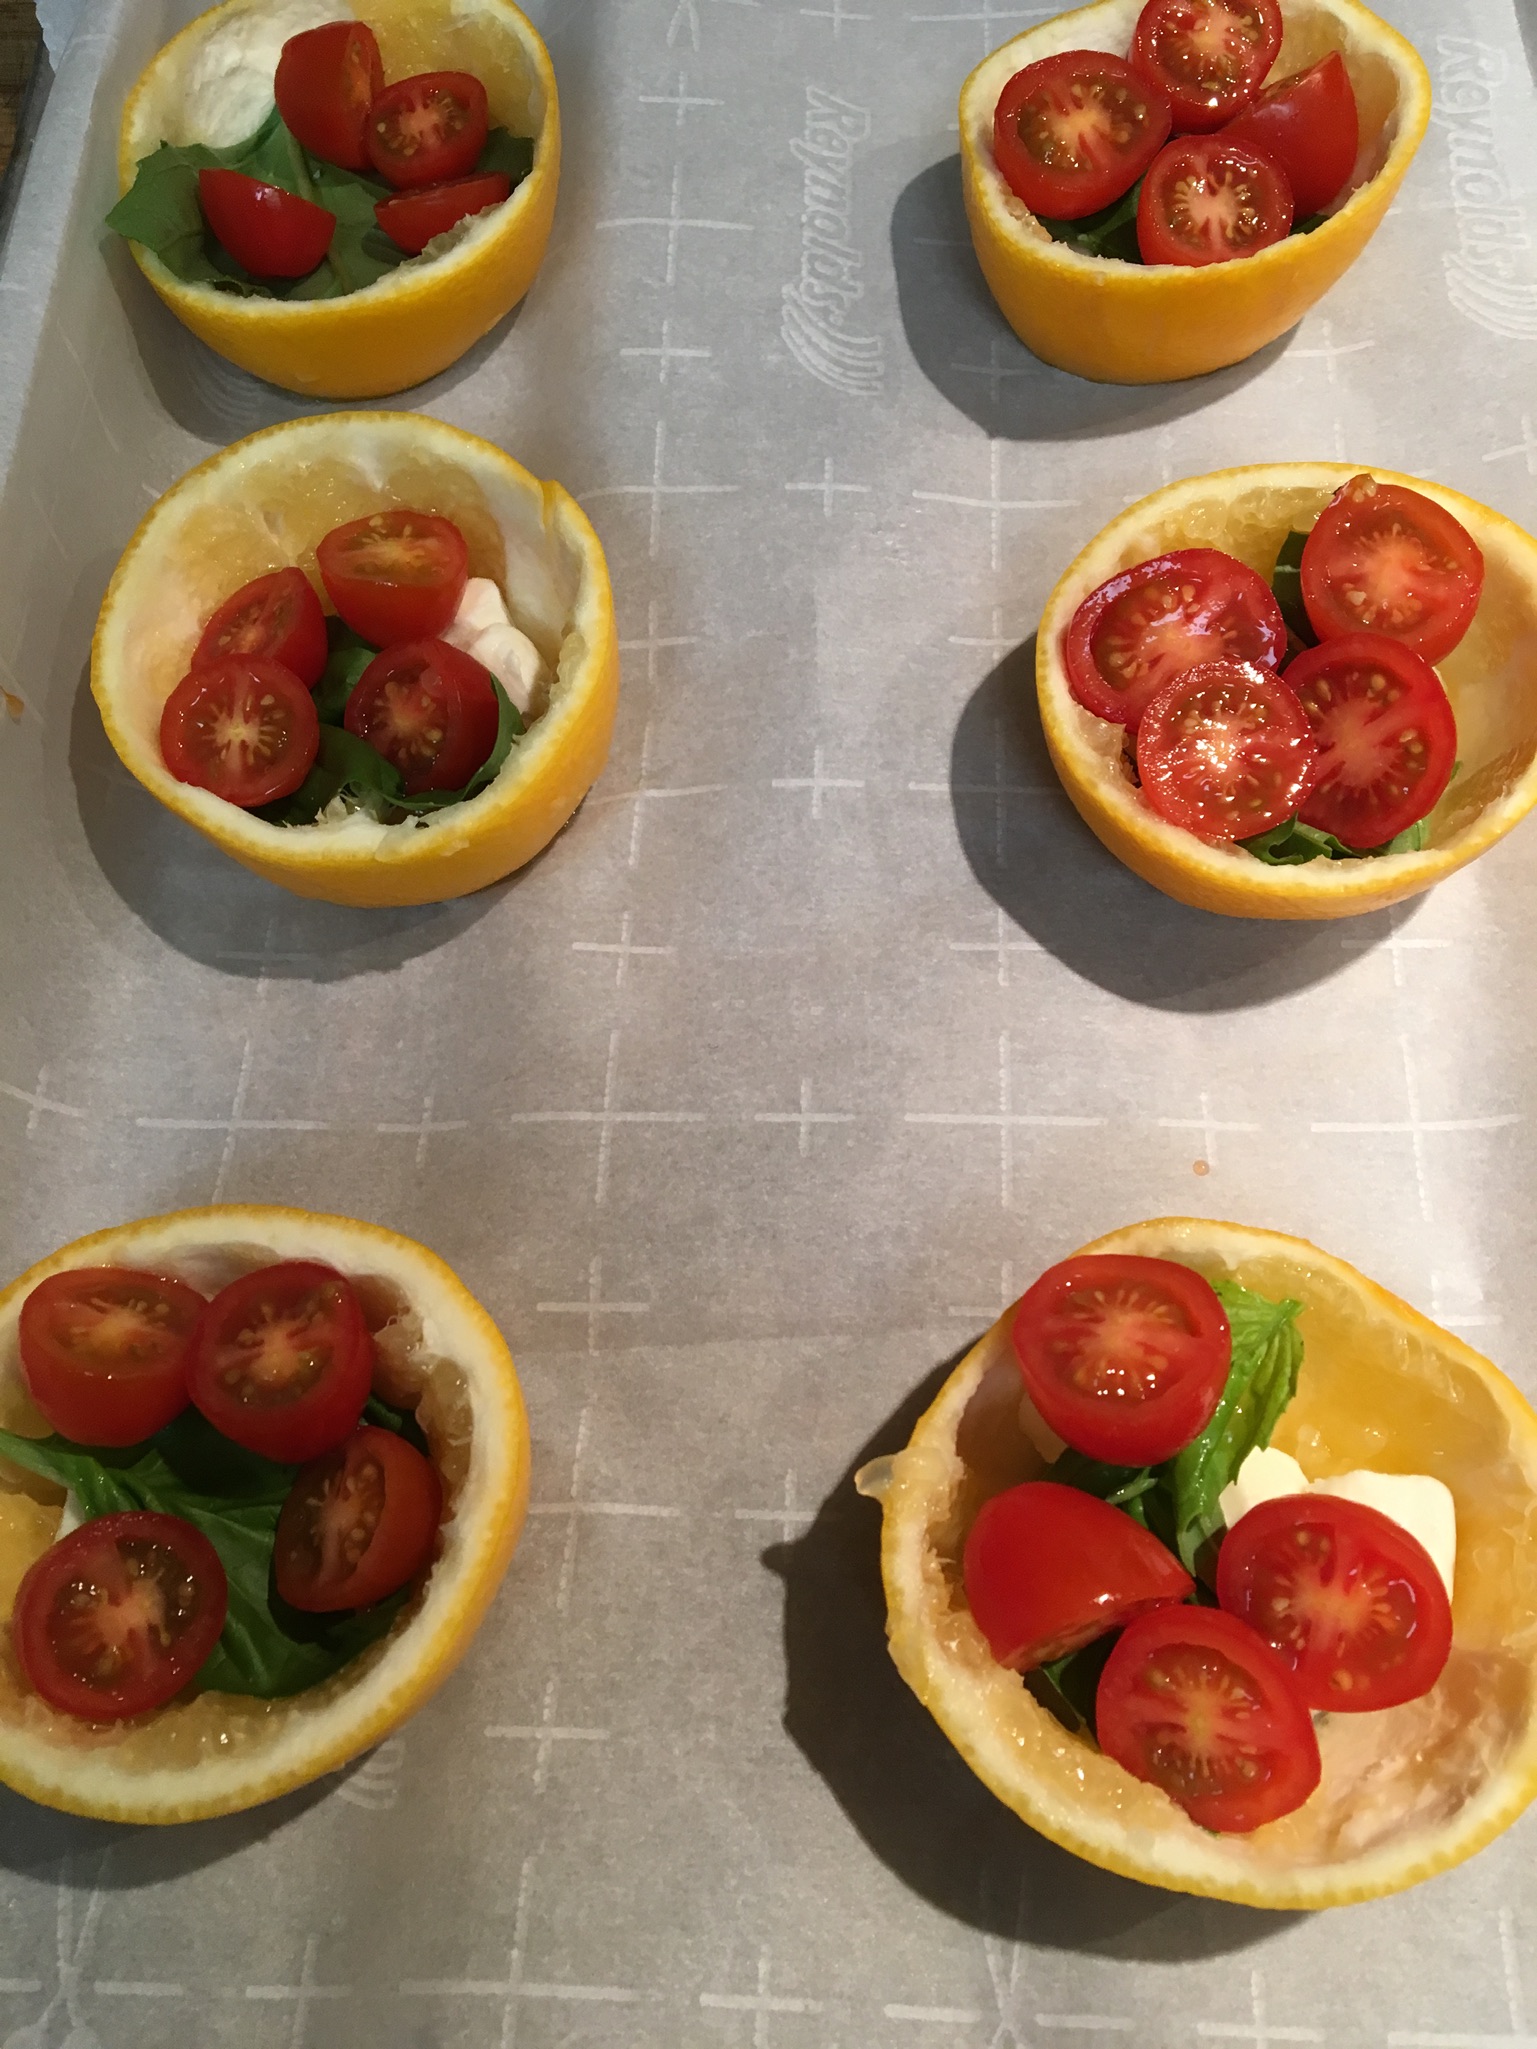
Preheat the oven to 400 degrees F. Cut the tops and bottoms off the lemons, then slice the lemons in half cross-wise. Carefully remove the lemon pulp with a knife. Set the lemon rinds on a parchment paper-lined baking sheet.
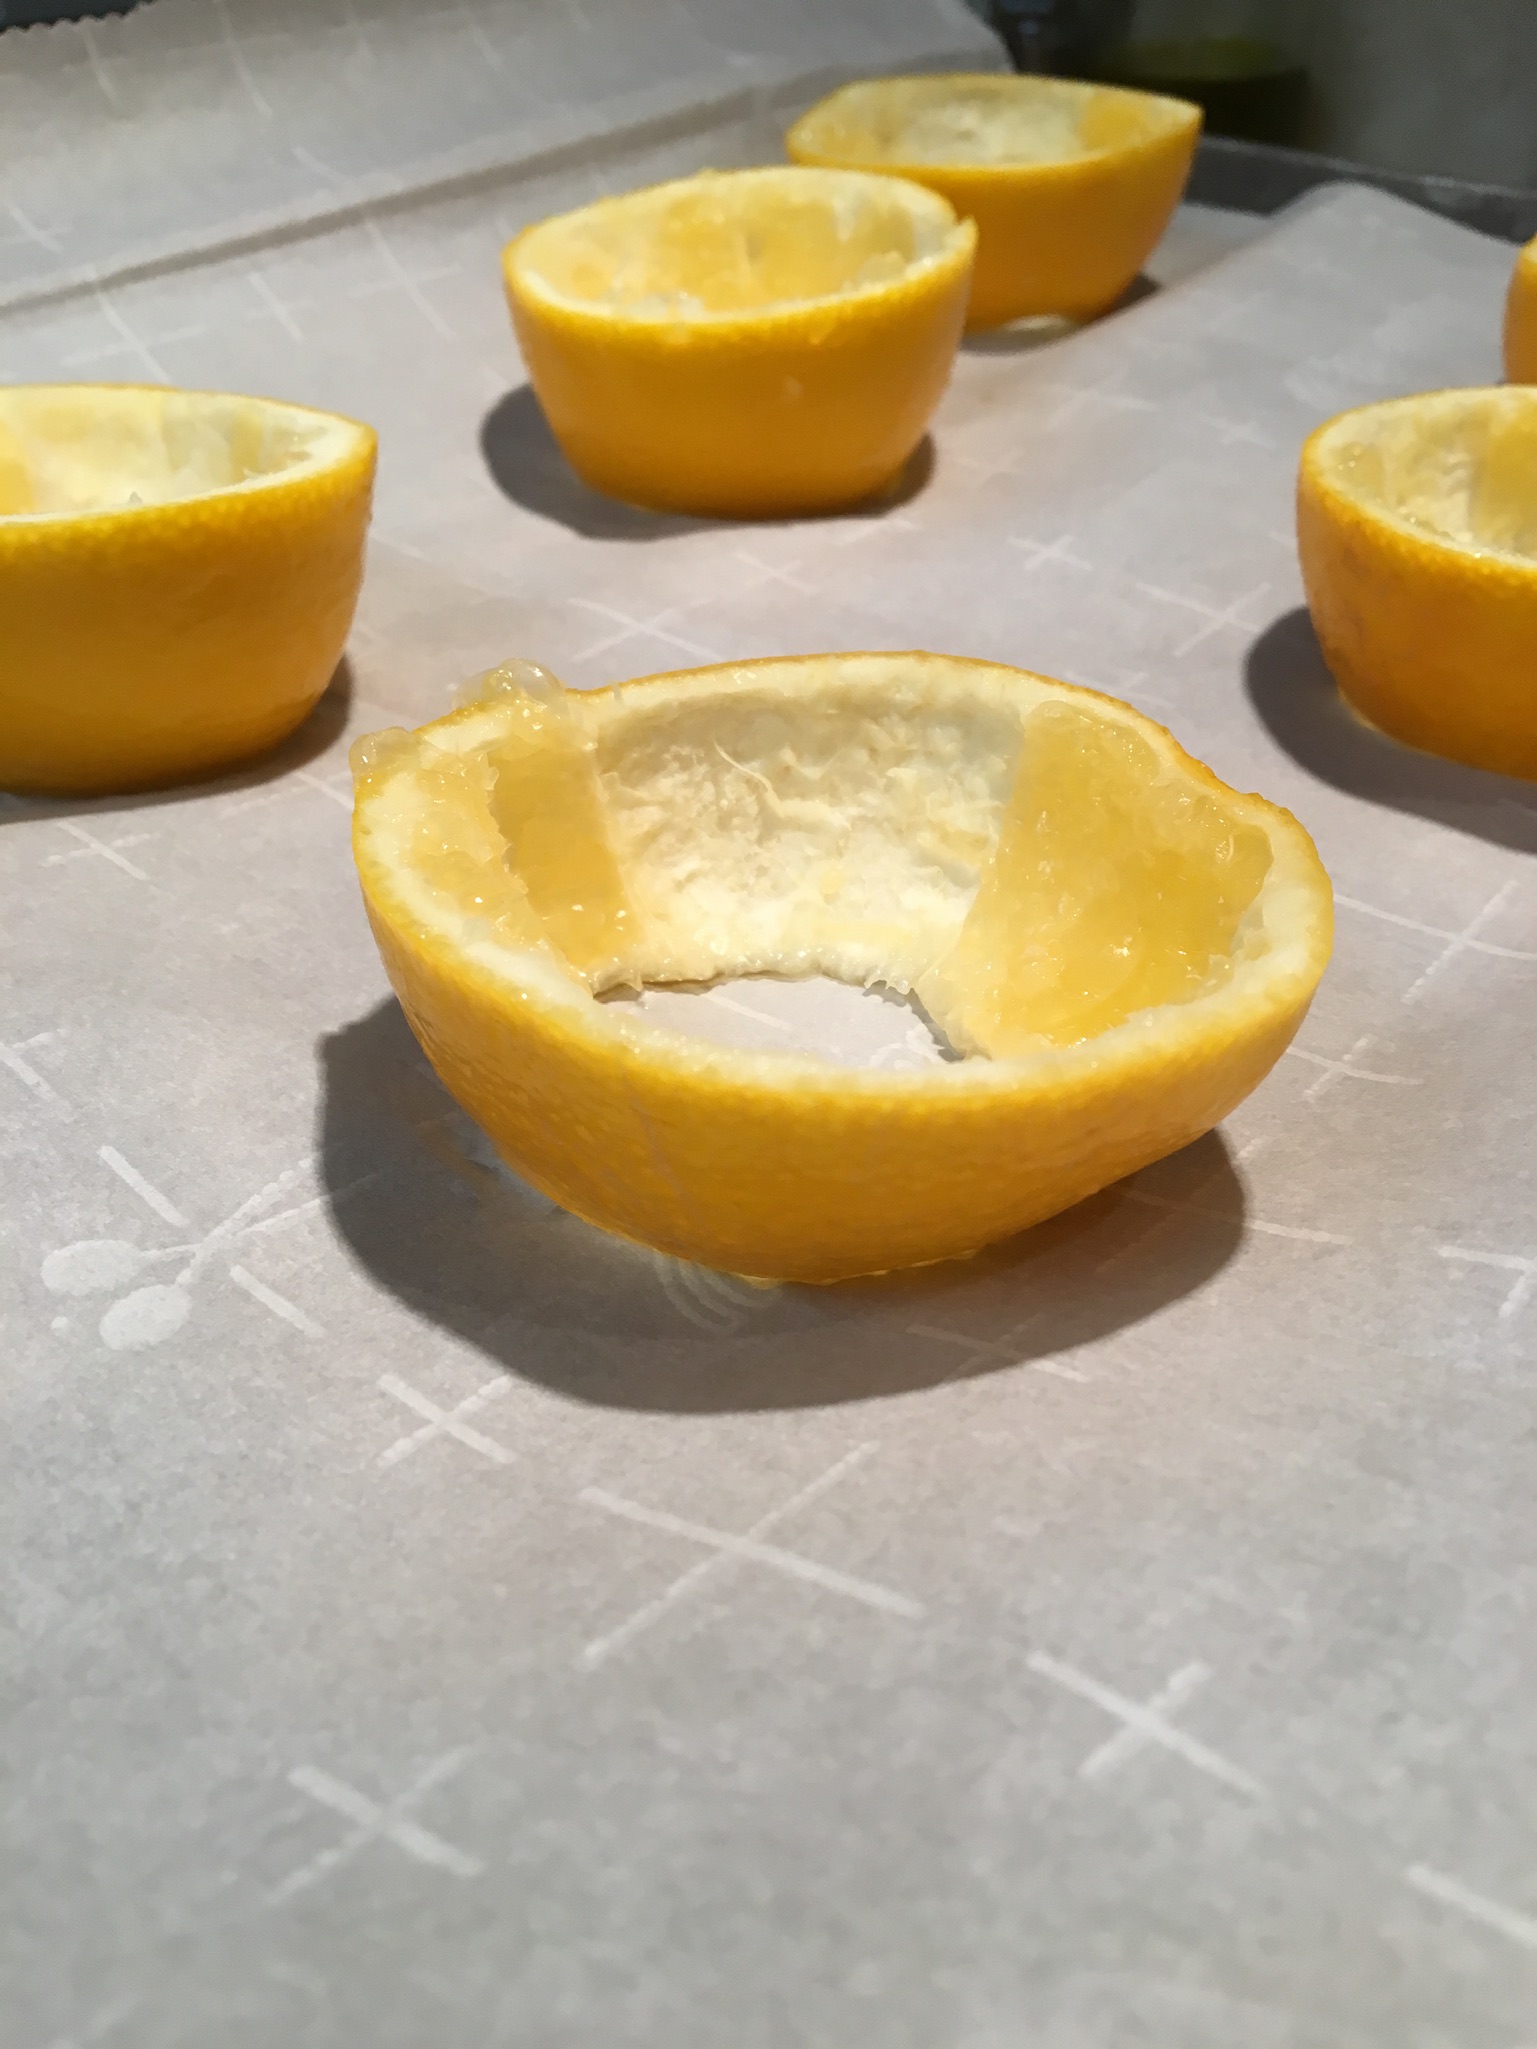
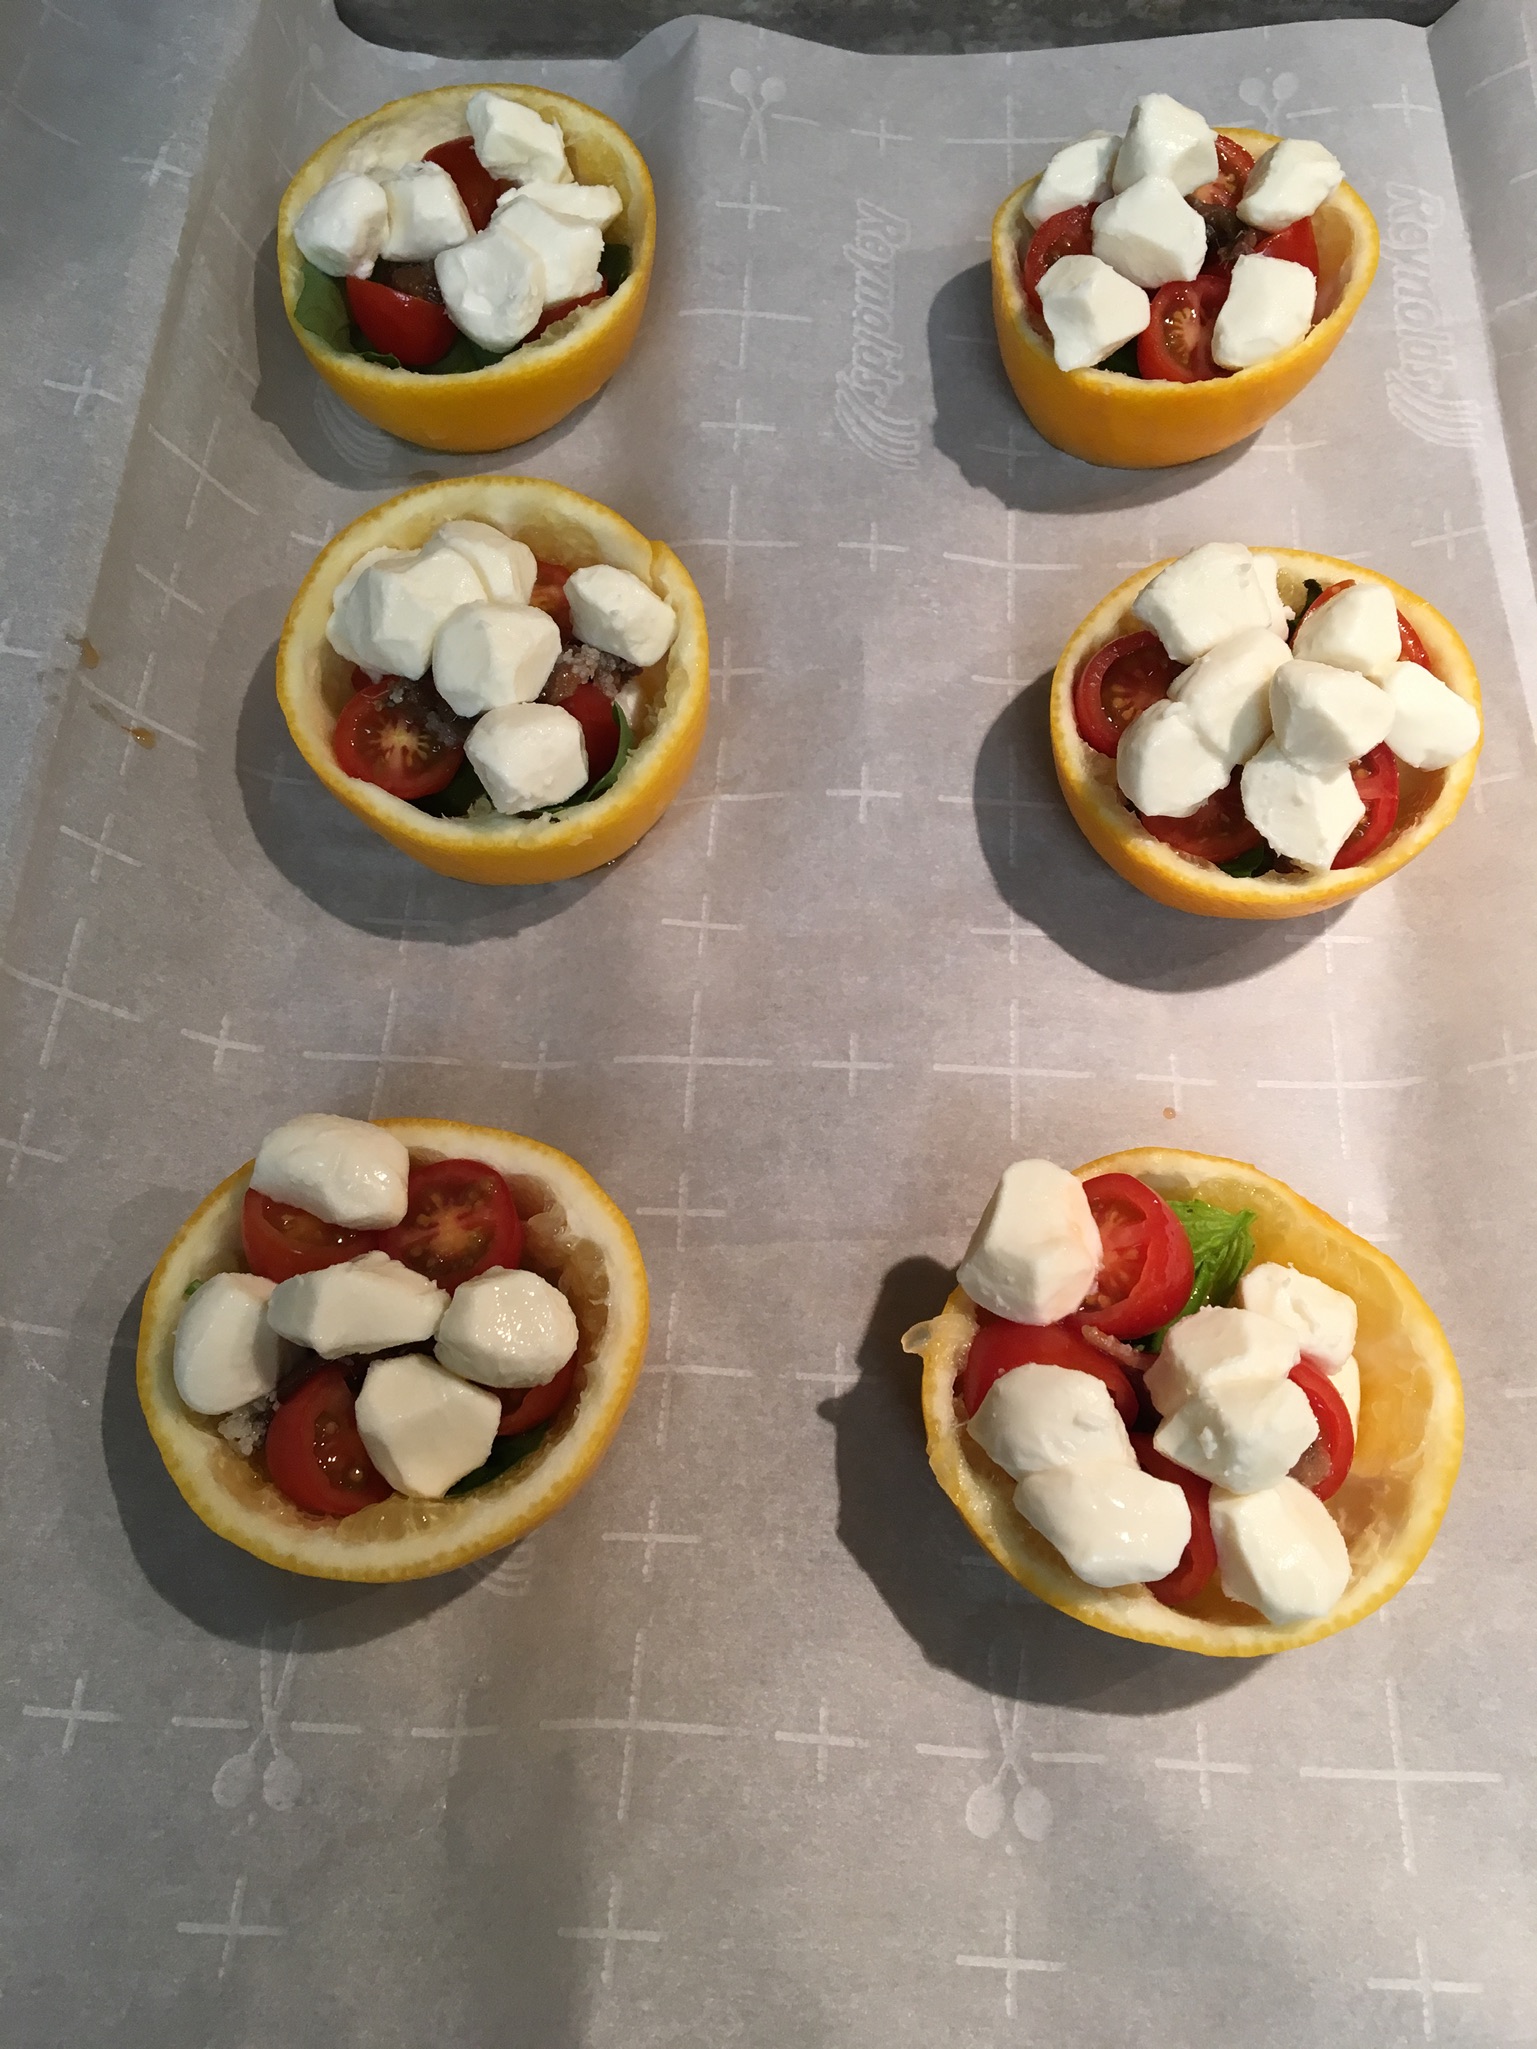
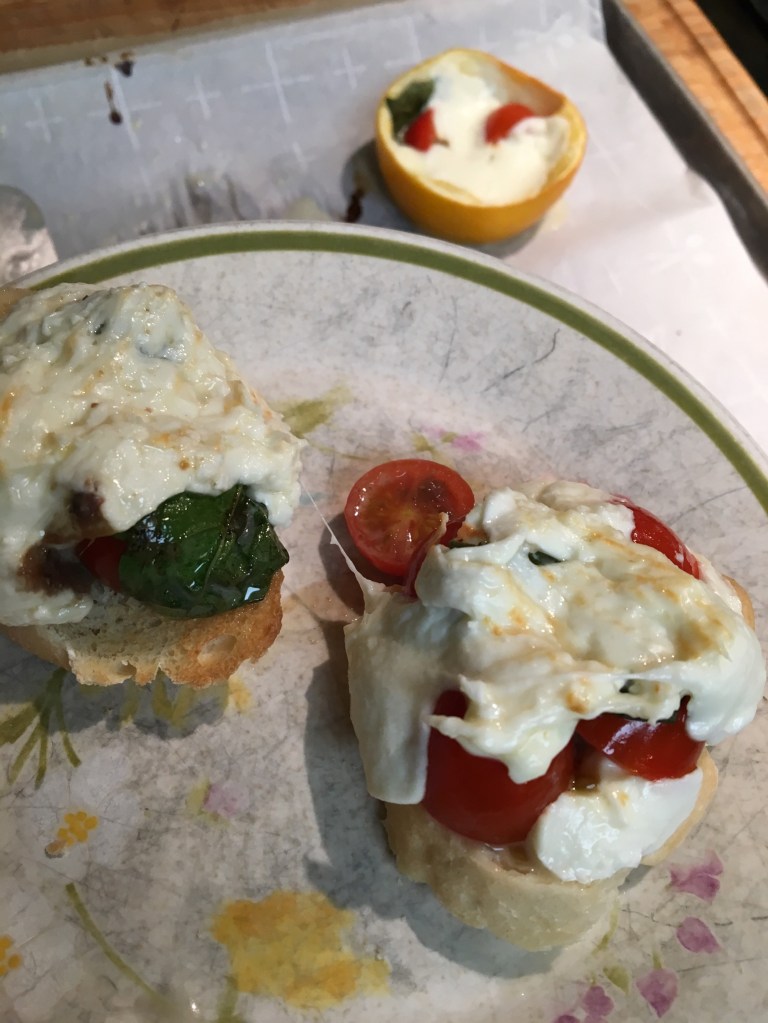
Place a slice of mozzarella into the bottom of each lemon cup (I was using Mozzarella Pearls so I put four of them into the bottom of each lemon). Next add a basil leaf, then half of an anchovy filet, and then half of a cherry tomato (or two grape tomatoes sliced in half). Sprinkle with salt and pepper. Top with another slice of Mozzarella. Bake at 400 degrees for 10-15 minutes. Remove from heat and scoop the filling out of the lemon onto a piece of toasted bread. Eat it while it’s still warm and melty!