You are currently browsing the monthly archive for August 2018.
This recipe is based upon one found at foodess.com. They are a nice, homey fall treat.
The Dough:

3/4 cup milk, warmed
2-1/4 tsp. active dry yeast
1/2 cup + 1 tsp. sugar
3/4 cup butter, softened
3 eggs
1 cup pumpkin puree
6 cups flour
Oil, for the bowl
In the bowl of a stand mixer with the dough hook attachment add milk, yeast, and 1 tsp. sugar. Stir it around a bit with a long spoon. Let stand about 10 minutes, until frothy. Stir in remaining sugar, butter, eggs, and pumpkin puree. Add about 3 cups flour and run the mixer for about 5 minutes to build the gluten. Add flour in 1/2 to 1 cup increments, running the mixer in between additions, until the dough comes away from the side of the mixing bowl and forms a ball. It should spring back when touched and it should not be sticky. Don’t add too much flour or your bread will be dry and crumbly. Experience teaches you how it should feel at this stage.
Recipes always tell you to put the dough in an oiled, or greased, bowl and turn the dough over to make sure the top is also greased so that the cover will not stick to the dough while it is rising. I never do this. I just remove the dough hook and leave the dough in the mixer. I pop a cover (either plastic wrap or usually a silicone cover) on it and let rise. Prepare the filling while the dough is rising by mixing together the brown sugar and spices.
The Filling:

1 cup butter, softened
1-1/4 cup brown sugar
1-1/2 Tbsp. cinnamon
1 tsp. ground ginger
1/2 tsp. ground nutmeg
1/4 tsp. ground cloves
Let dough rise until doubled in volume, a couple hours. Punch dough down. Turn dough onto a floured surface and roll into a rectangle about 1/8″ thick.
Prepare 2 9×13″ baking dishes by spraying with non-stick oil or greasing them.
Spread the dough with softened butter, to the edges of the dough. Sprinkle evenly with the brown sugar spice mixture.
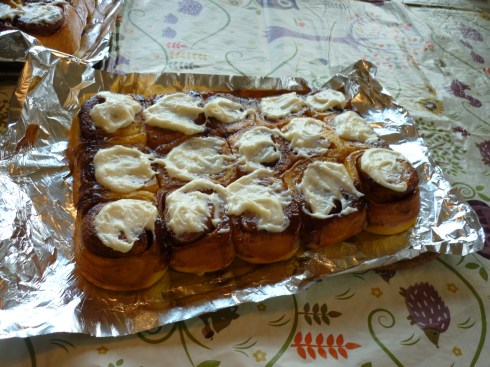
Roll the dough from the long edge to form a log. Cut the log in half, then cut each half into 15 even-sized pieces. Place 15 pieces into each baking dish in three rows of 5. Cover each baking dish with a towel or plastic wrap and let rise in a warm place until doubled in volume, another hour or so.
Preheat oven to 350 degrees. Gently remove covers and brush rolls with milk. Bake for 20-25 minutes until golden brown, but still soft.
The Icing:

4 oz. cream cheese
1/4 cup butter, softened
1 cup powdered sugar
1/2 tsp. vanilla extract
4-6 Tbsp. buttermilk, or milk
Beat all ingredients, except buttermilk, until fluffy. Add buttermilk a tablespoon at a time until you get a good consistency for spreading. Ice the rolls however you like to do it. Pictured here I daubed each roll with a bit of icing.
Of course these finished rolls are best if served while still warm and the icing just oozes. Oh my goodness!
Note that I fit a slab of nine of these rolls into a freezer bag one time, before I frosted them. They froze well and were re-warmed deliciously.

This one is found at chef-in-training.com. It’s super simple as long as you follow the directions exactly, and have a good candy thermometer. Use real butter. Weigh your brown sugar, or just buy a 1# package for this use.
1-1/2 cups coarsely chopped almonds
1 lb. light brown sugar
1 lb. butter
24 oz. milk chocolate chips (or semi-sweet)
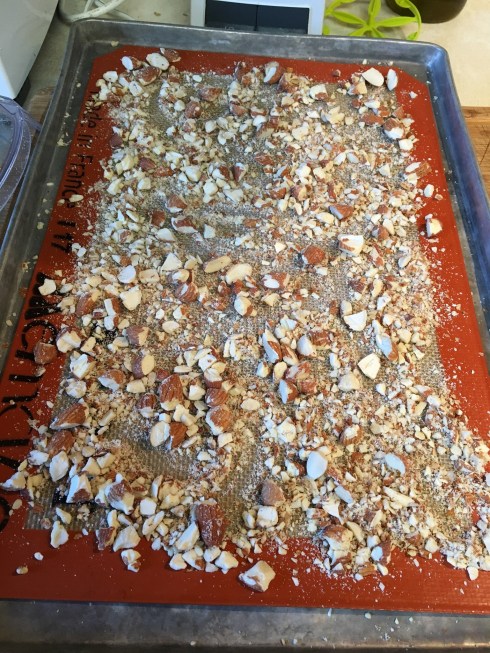
Sprinkle 3/4 cup chopped almonds on a 18×13″ baking sheet. I put my silpat baking mat down first, and sprinkled the almonds on it. I’m unclear whether you would need to grease the baking sheet first, thus my use of the silpat instead. Set the baking sheet with almonds aside.
In a 2-qt. saucepan bring the brown sugar and butter to a boil over medium-high heat, stirring frequently until it’s thick. Let cook until it reaches 290 degrees on a candy thermometer. Watch it carefully after 280 degrees because it goes fast after that and you don’t want to burn it. Remove from heat at 290 degrees. Pour evenly over the almond-prepared baking sheet. Let stand for a few minutes.*

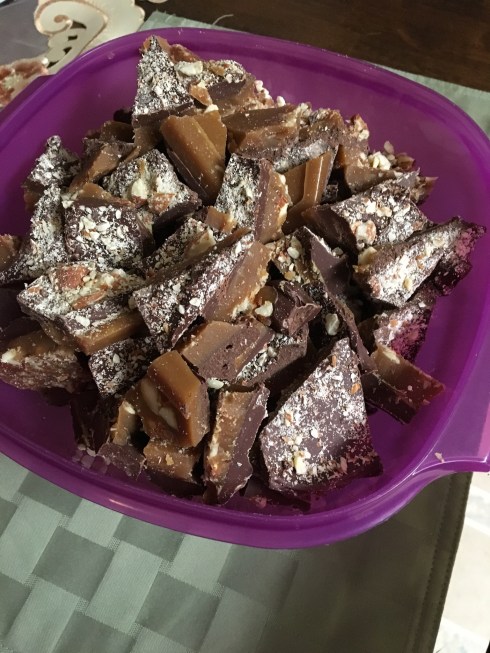
Melt chocolate chips in the microwave with a tsp. of oil or butter, if desired, to keep it smooth. Microwave in 30-second increments, stirring after each go, until it is melted and smooth. Cover the candy layer with the chocolate and then sprinkle on remaining 3/4 cup almonds.
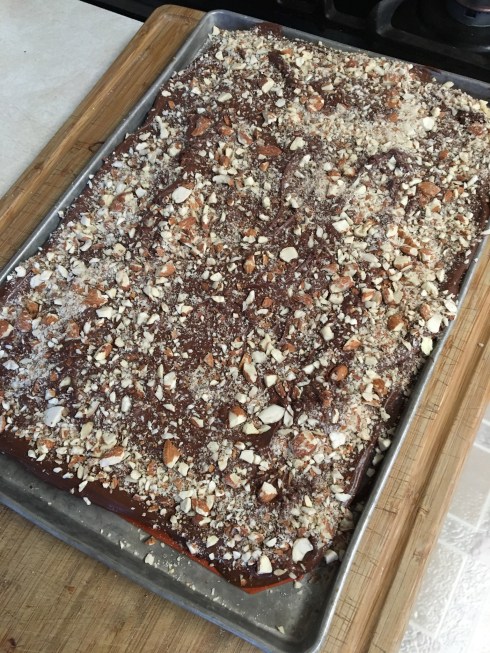
Once completely cooled (you can put it into a refrigerator if you cannot wait) and hardened, remove the silpat and use a knife to cut and/or break up into pieces.
It makes about 2 pounds of candy and is a great gift idea for the holidays.
*Don’t wait too long to add the chocolate layer. I did that one time and the chocolate layer would not adhere to the candy layer once it all cooled. Delicious, but messy. Add the chocolate while the candy is still very warm.

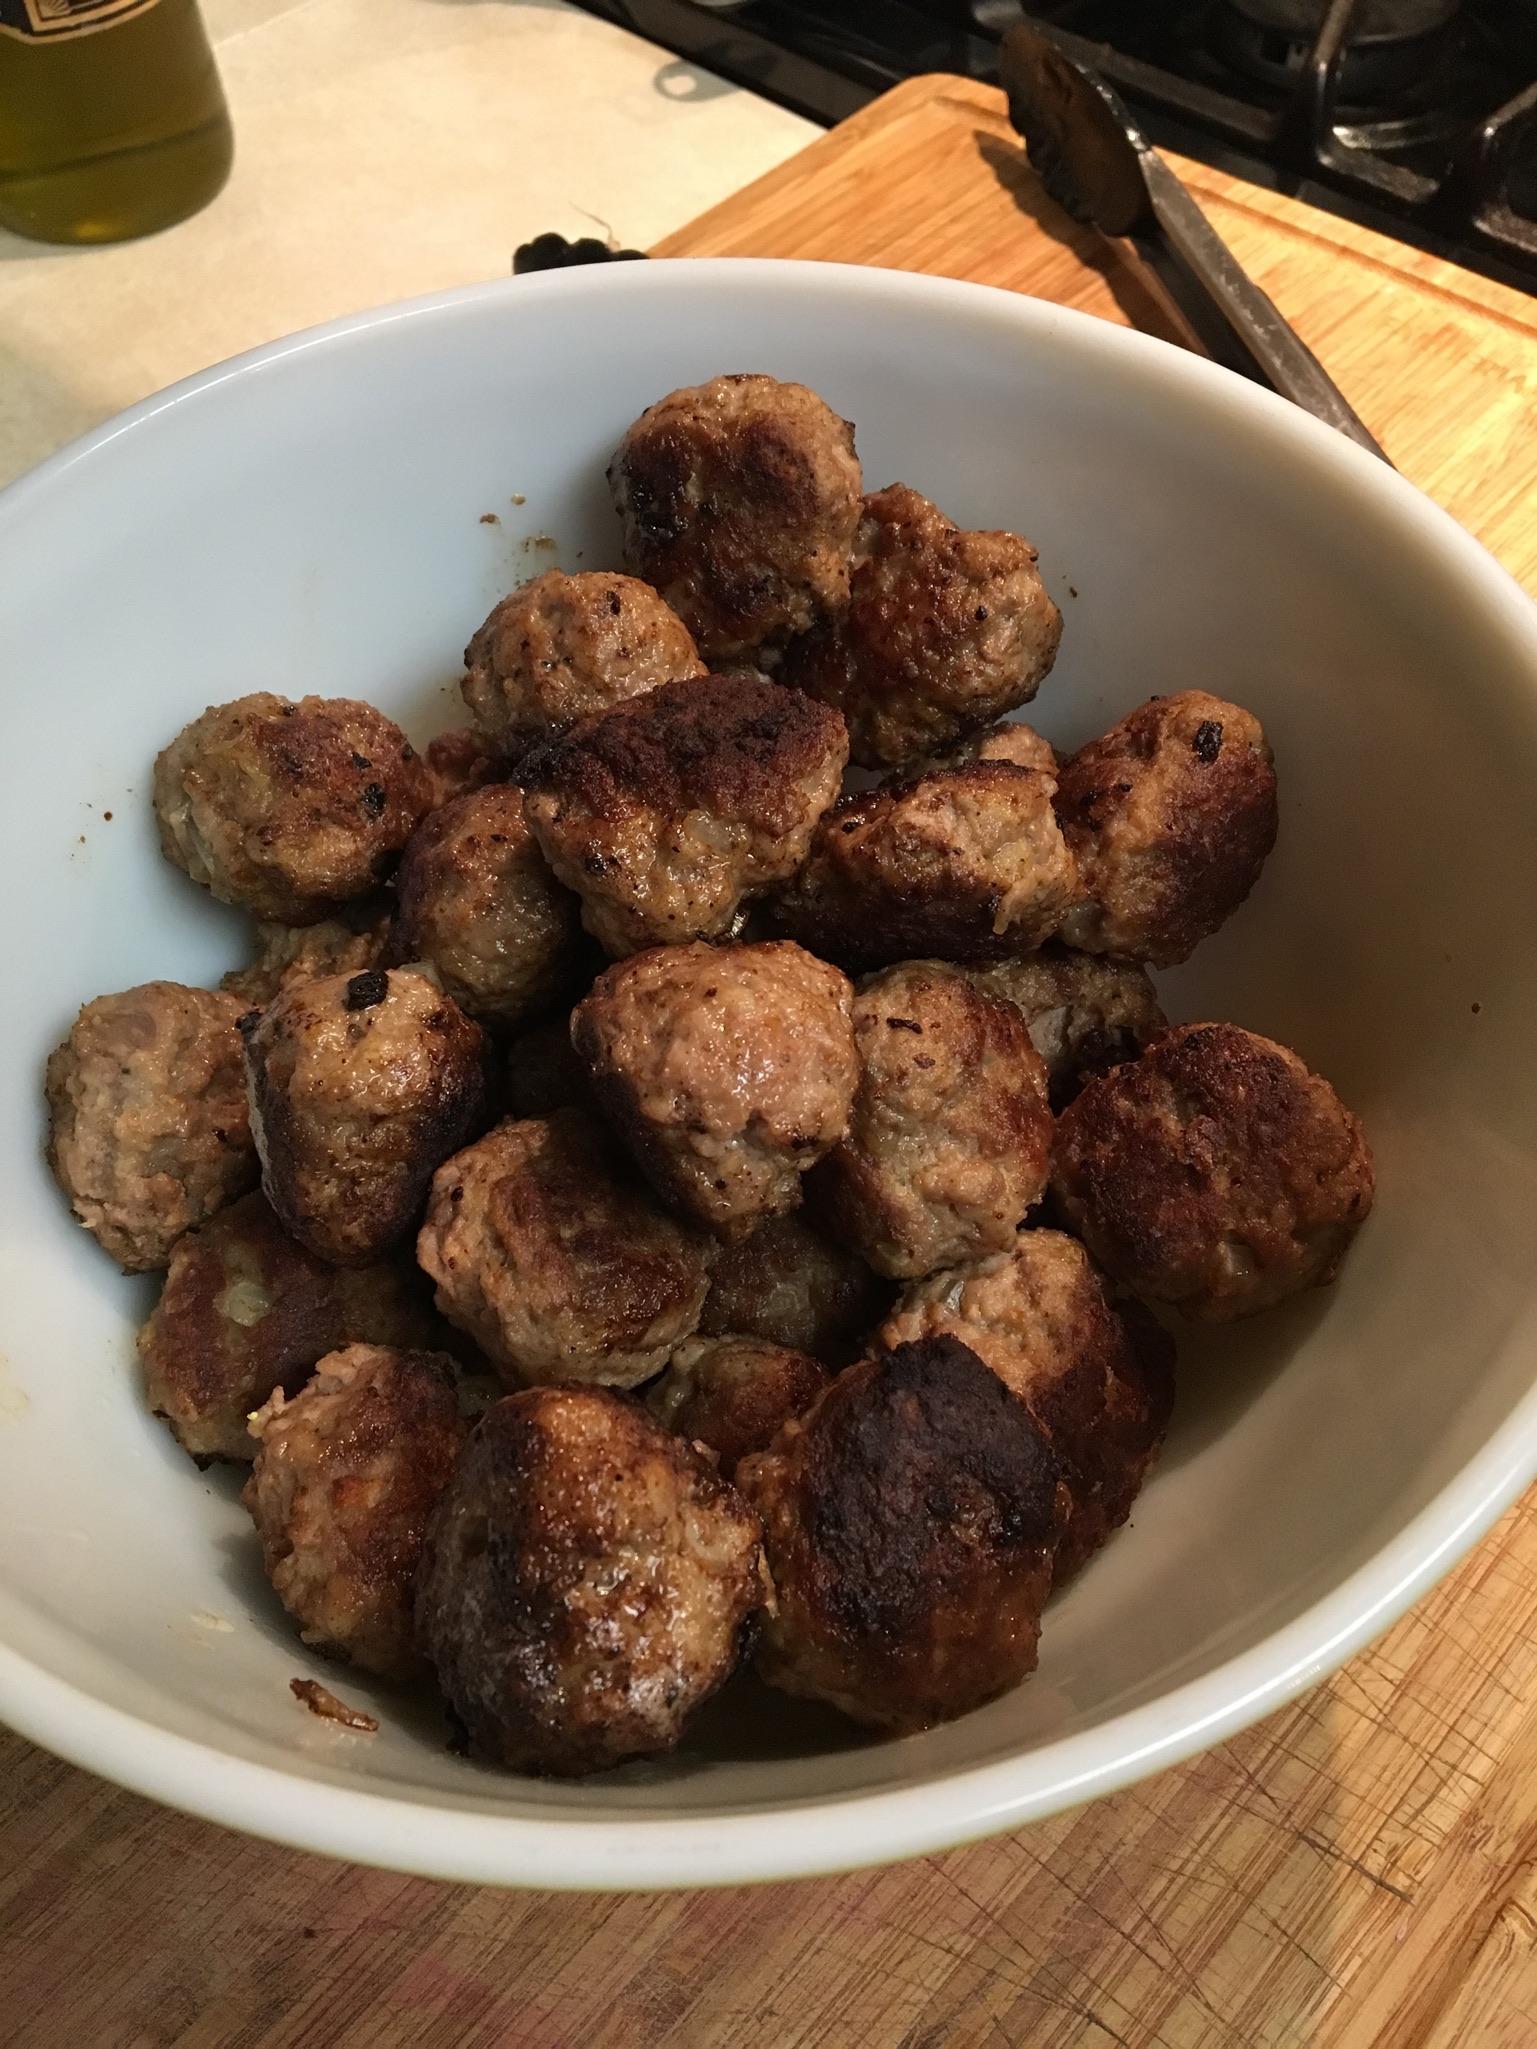
This recipe is found in Taste of Home magazine’s October-November 2006 issue.
- Ingredients for the Meatballs
- 1 egg, lightly beaten
- 1/2 cup milk
- 1 cup soft bread crumbs
- 1/2 cup finely chopped onion
- 1 tsp. salt
- 1/4 tsp. ground nutmeg
- 1/4 tsp. pepper
- 1 lb. ground beef
- 1/2 lb. ground pork
- 1/4 cup butter, cubed
Combine all ingredients, except butter, and form into 1-1/2″ balls. In a large skillet, cook the meatballs in butter, in batches until they are well browned and cooked through. Remove from skillet.

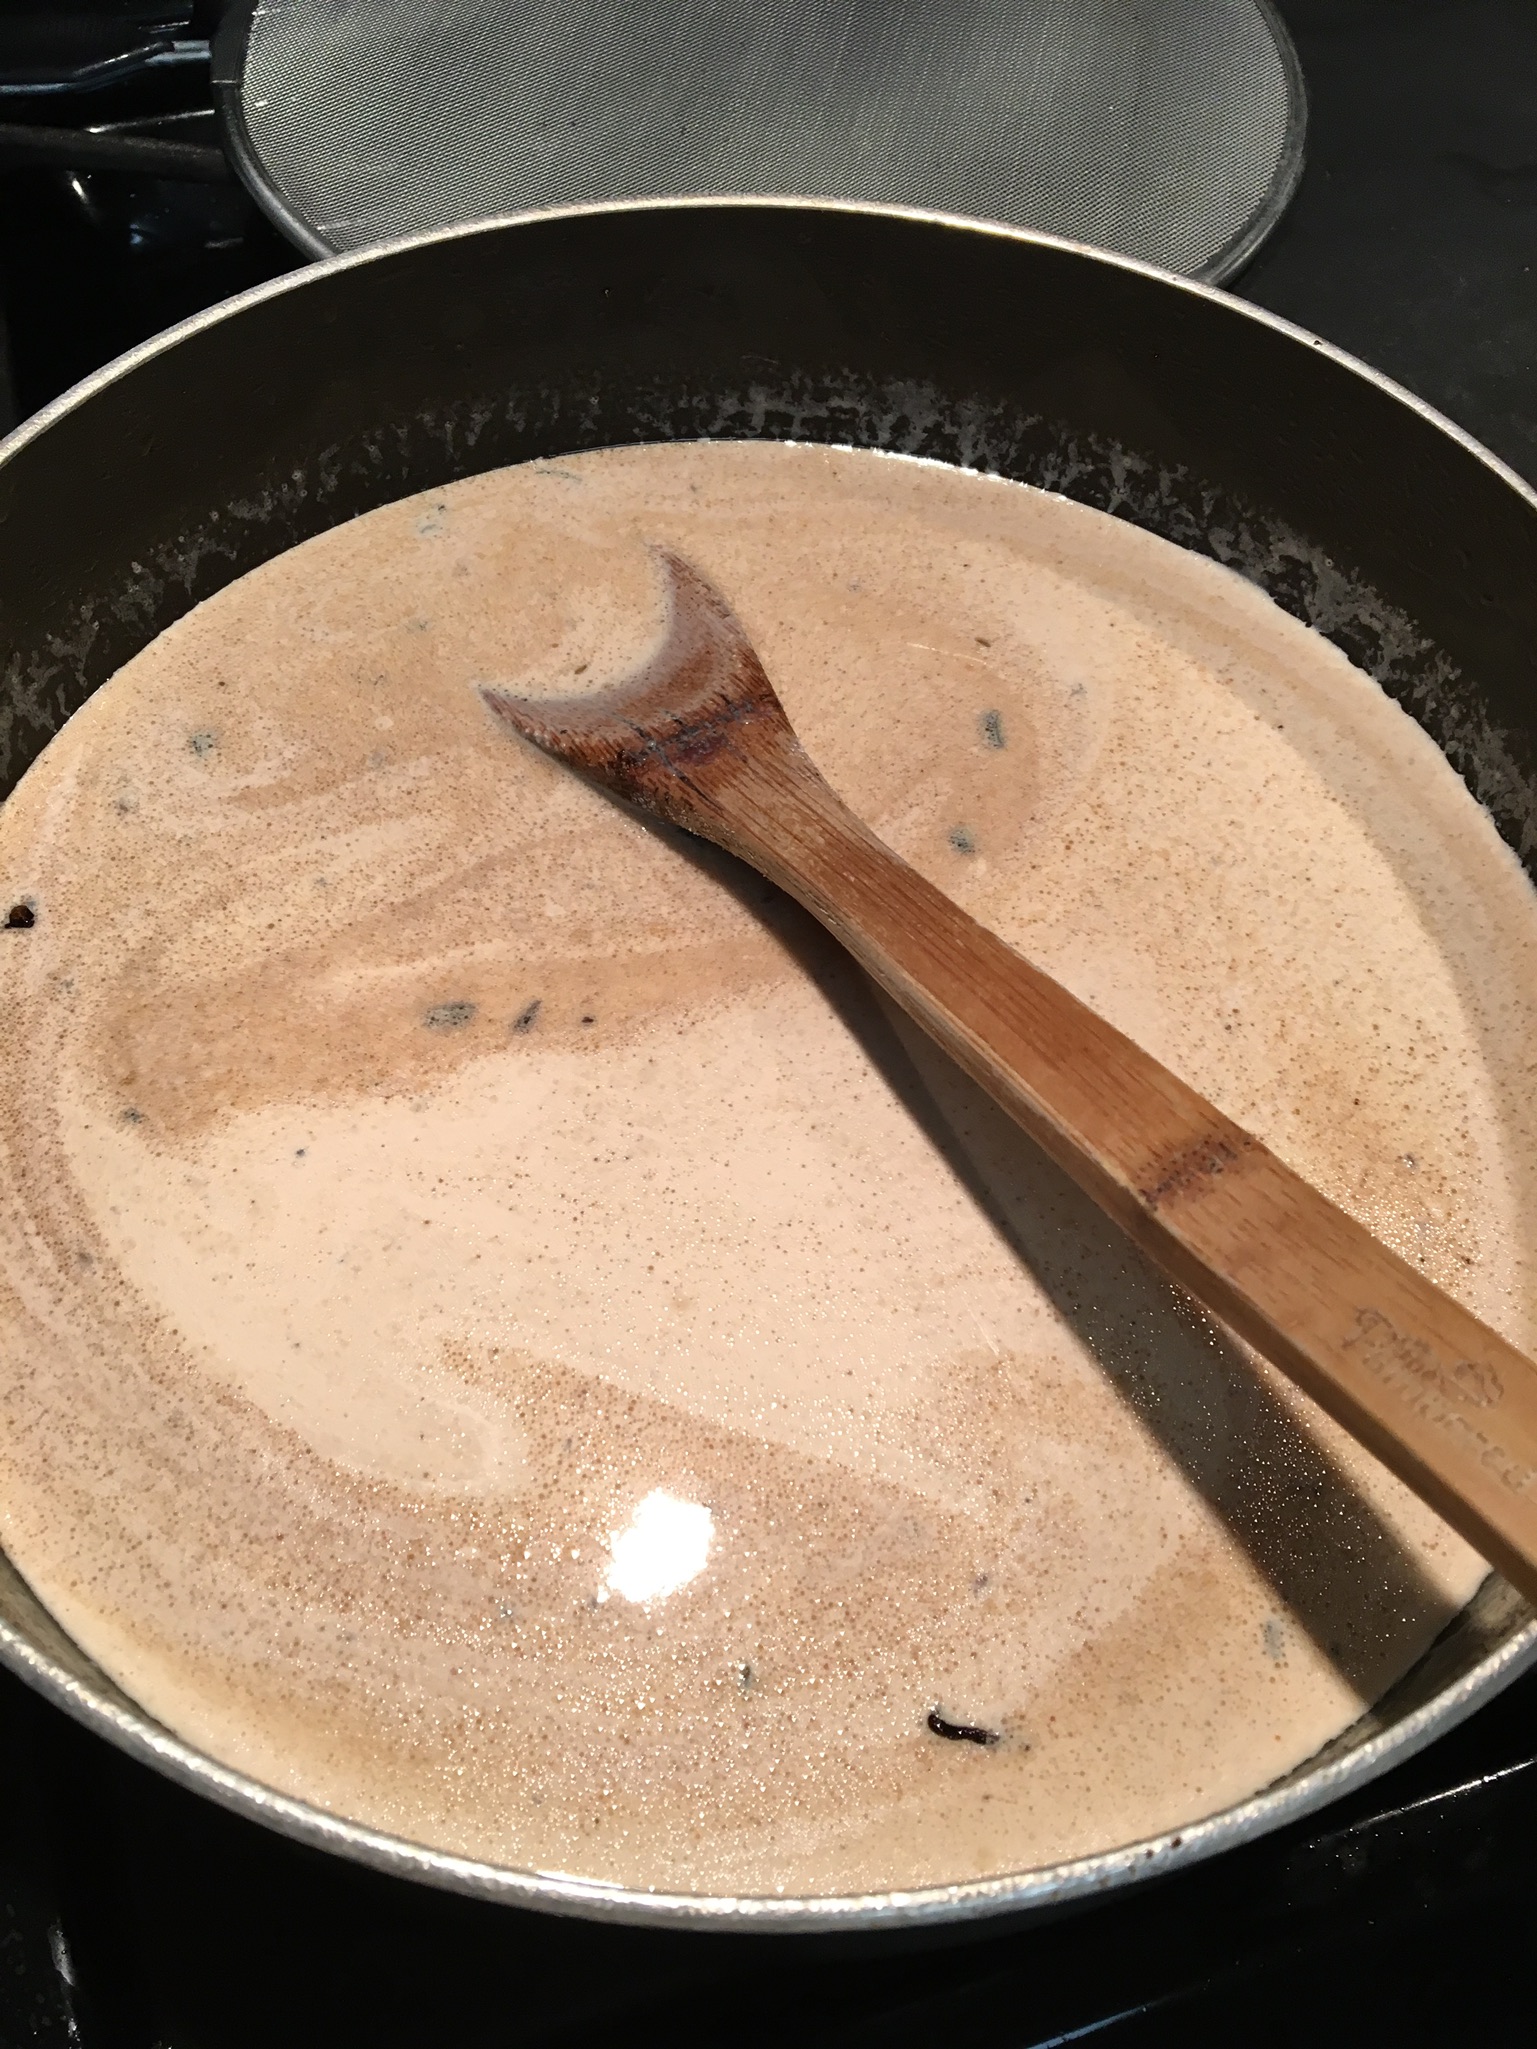
- Ingredients for Dill Cream Sauce
- 2 Tbsp. flour
- 1 cup heavy cream
- 1 cup beef broth
- 3/4 tsp. salt
- 1/2 tsp. dill seed
Whisk together all the sauce ingredients. Pour into skillet and bring to a boil, stirring constantly. Let simmer a couple minutes while stirring until it thickens.

Add in the meatballs and heat through. Serves 4-6. Tastes great served over mashed potatoes or noodles. We also like it served over Twice-Baked Cauliflower. Yummy!


This was quite complicated and my kitchen looked like a bomb went off in it, but the end result was beautiful and delicious. The recipe can be found at epicurious.com.
To summarize, this is a flat cake, split in half horizontally, spread with jam, and placed into a larger spring-form pan. The spring-form pan is then filled with rhubarb mousse. Lastly, a glaze is poured over the top.
Cake:
1 cup all purpose flour
1 teaspoon baking powder
1/4 teaspoon salt
1/2 stick (4 tablespoons) unsalted butter, softened
1/2 cup sugar
1 large egg, at room temperature 30 minutes
1 teaspoon vanilla
1/3 cup whole  milk
Preheat oven to 350 degrees F. Butter 9-inch cake pan and line bottom with a round of parchment paper. Butter paper, then dust pan with flour, knocking out excess.
Sift together flour, baking powder, and salt into a bowl. Beat butter and sugar together at medium-high speed until pale and fluffy, about 2 minutes. Beat in egg and vanilla until fluffy and combined well, about 2 minutes. Reduce speed to low and add flour mixture and milk alternately in 3 batches, beginning and ending with flour. Mix until batter is just combined. Do not overmix.
Spread batter evenly in pan and bake until cake begins to pull away from sides of pan and a wooden pick or skewer inserted in center comes out clean, 20 to 25 minutes (cake will still be pale in color, not golden brown).
Cool for 10 minutes in pan on a rack, then invert onto rack and reinvert to cool completely right side up.


Mousse:
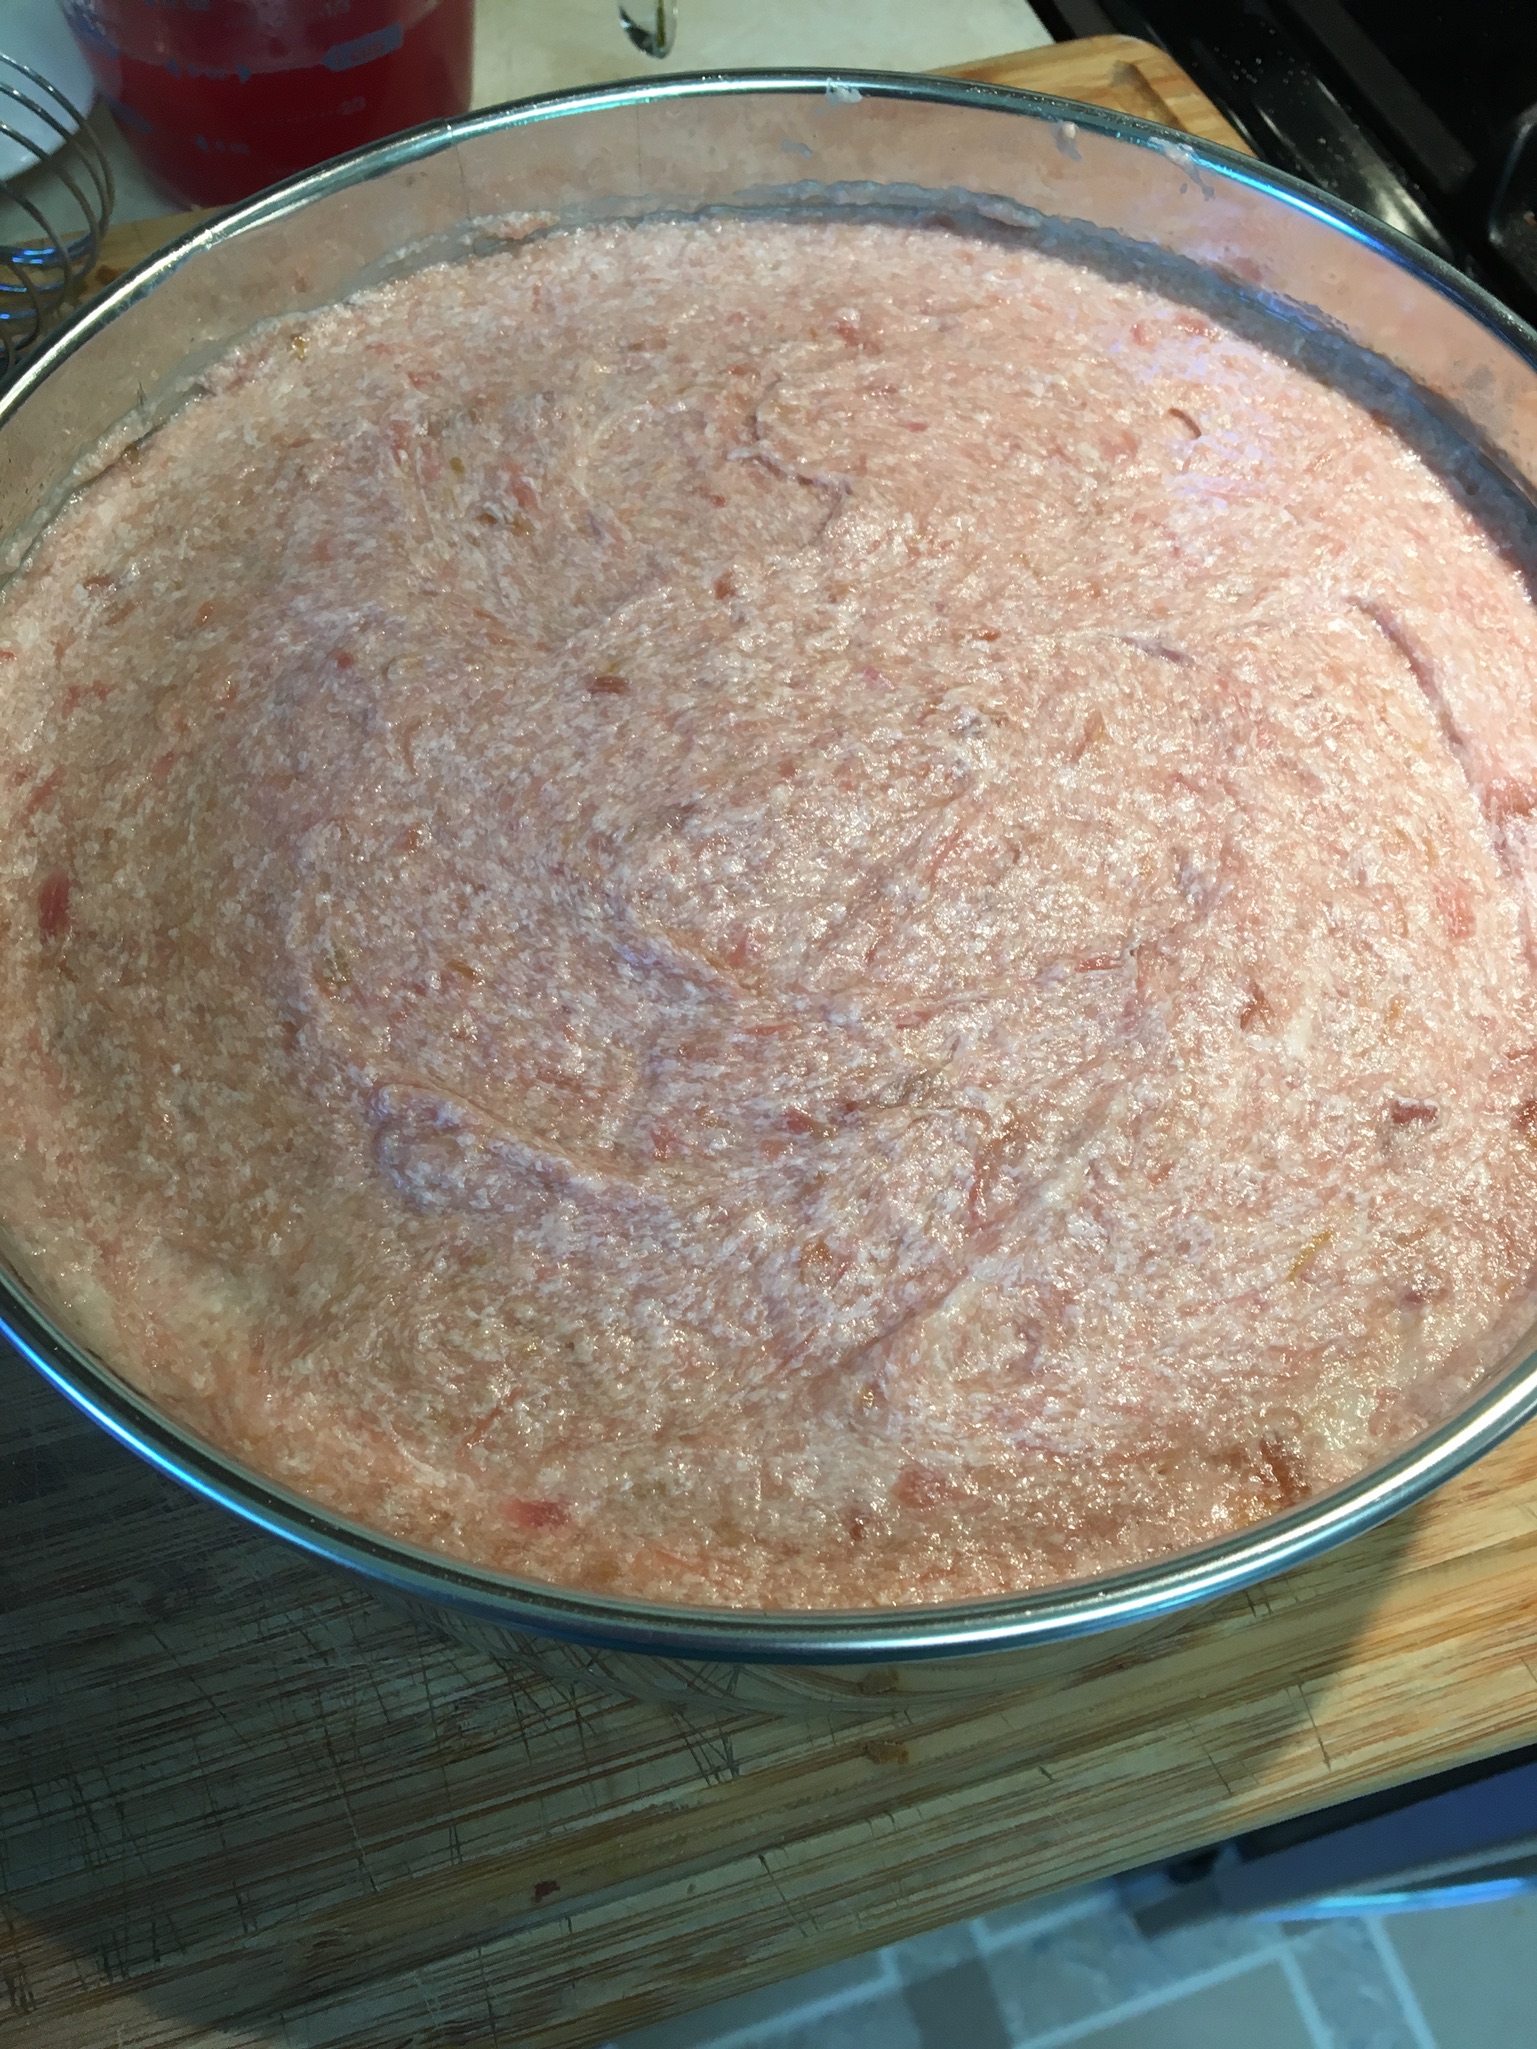
2 pounds rhubarb, cut into 1-inch pieces (8 cups)
1 1/2 cups sugar, divided
1/2 cup water, divided
3 teaspoons unflavored gelatin (less than 2 packages)
1 cup (8 ounces) mascarpone (I read cream cheese may be substituted)
3/4 cup chilled heavy cream
1 teaspoon vanilla
Combine rhubarb, 1 1/4 cups sugar, and 1/4 cup water in a large heavy saucepan and cook over medium-high heat, stirring occasionally, until rhubarb releases enough juice to almost cover rhubarb, 5 to 8 minutes. Reduce heat and simmer mixture, stirring occasionally, until rhubarb falls apart and is reduced to about 4 cups, 25 to 30 minutes. Remove from heat. Pour mixture into a large fine-mesh sieve set over a bowl and collect 1 cup syrup and set aside. Transfer rhubarb pulp to another bowl.
Soften gelatin in remaining 1/4 cup water 1 minute, then stir into hot rhubarb pulp until dissolved. Set bowl inside a larger bowl of ice water and stir rhubarb mixture until cooled to room temperature (do not let set on ice) OR you can let it cool by itself, just stirring frequently while you’re doing the next part.
Beat together mascarpone, heavy cream, and vanilla with remaining 1/4 cup sugar until it just holds stiff peaks.
Fold cooled rhubarb mixture into mascarpone mixture.


Assembly:
1/2 cup strawberry, rhubarb, or strawberry-rhubarb jam
Glaze
Prepare a 10″ springform pan by inverting the bottom piece so that the cake slides off easily when you’re ready to serve (the lip will be facing down). Spray with non-stick spray or lightly oil the inside of the pan.
Cut the cake in half horizontally. Center the bottom half into the prepared springform pan. Spread with jam. Place the other half of the cake onto the top. Spoon the mousse into the pan, covering all and smoothing the top. Chill, uncovered, until the mousse is set, at least 2 hours.

Yes, mine broke.


Glaze:
1 1/2 teaspoons unflavored gelatin
3 tablespoons water
1 cup rhubarb syrup, saved from above
Sprinkle gelatin over water in a small heavy saucepan to soften, 1 minute. Heat gelatin over low heat until it has dissolved. Remove from heat then stir in reserved rhubarb syrup.
Pour glaze over chilled mousse, tilting pan slightly to cover it completely in an even layer. Chill, uncovered, until glaze is set, at least 1 hour.


To serve: Let cake stand at room temperature 30 minutes to soften slightly. Wrap a kitchen towel dampened in hot water around the side of the pan for about 15 seconds. Run the tip of a thin knife around the edge of the pan, then gently unlock and remove sides of spring-form pan.


I make this dish a lot. It’s based upon the one found at carlsbadcravings.com. I don’t brine my tenderloin, and maybe I’m really missing something there, but this is super simple and very tasty. I buy pork tenderloin at Costco in a 2-pack. Each package has two strips of pork in it. This recipe is for one package, or two strips pork.
Ingredients:
1 Tbsp. butter
2 cloves garlic, minced
2 tsp. grated fresh ginger
1/4 to 1/2 tsp. red pepper flakes
1/2 cup seedless blackberry jam
1/4 cup hoisin sauce
2 Tbsp. red wine vinegar
Salt and pepper
Pork tenderloin
Olive oil
Salt and pepper

Fresh blackberries, optional
Green onion, sliced, optional
Preheat oven to 425 degrees F. In a small saucepan, melt butter and saute garlic, ginger, and red pepper flakes until garlic is fragrant — about a minute. Stir in blackberry jam, hoisin sauce, red wine vinegar, and salt and pepper to taste. Let simmer until it is all well incorporated and then keep warm over very low heat.
In the meantime, heat an oven-proof skillet over high heat. Rub pork tenderloins with olive oil and sprinkle with salt and pepper. Add a little bit of olive oil to the hot skillet. Add the pork tenderloins. You’ll probably need a spatter guard here. Brown the pork on all sides.
Once pork is browned, dollop blackberry sauce over it. Place a meat thermometer into the thickest part of one of the pork strips. Pop into preheated 425 degree oven. Check the meat at about 20 minutes, spoon a little bit more blackberry sauce over, and then check frequently until pork reaches 170 degrees F. Remove from oven and let sit for 10 minutes. Remove meat to cutting board and slice tenderloins into 1-1/2″ slices. Place sliced meat onto serving tray and pour over the remaining blackberry sauce. Sprinkle optional fresh blackberries and sliced green onion over all. Serve.

I had never cooked fresh beets before last year, so I really didn’t realize what I was missing. It’s been a revelation. This recipe is sort of thrown together, so take it for what it’s worth.
Scrub beets well, try not to pierce them. I snap off the long root. Wrap tightly in foil and bake at 350 degrees for an hour for tennis-ball sized beets, maybe longer if you have extremely humongous beets like I did. I baked mine for 1-1/2 hours. Last year I put my foil-wrapped beats on one of my oven-safe dinner plates. It ruined the plate. This year I laid a piece of foil across a metal pie pan and then put the foil-wrapped beets in the pan. I was trying to protect my cookware and it worked. No problem. Let beets cool until they’re not too hot to touch. Peel the beets. It’s easy, the skins slide off. Slice one beet into about 1/2-inch slices, not thin. You probably won’t need more than one beet.
In the meantime, boil 4 eggs to hard-cooked. I put my eggs in cold water and bring to a boil, let boil 5 minutes, then let them sit in the water until it cools and I’m ready to use. I don’t think it matters how you do this. Peel the eggs.
Make a mixture of 2/3 cup vinegar (I used cider vinegar) to 1/3 cup water and a sprinkle of salt. This mixture does not have to be precise. You may need more.
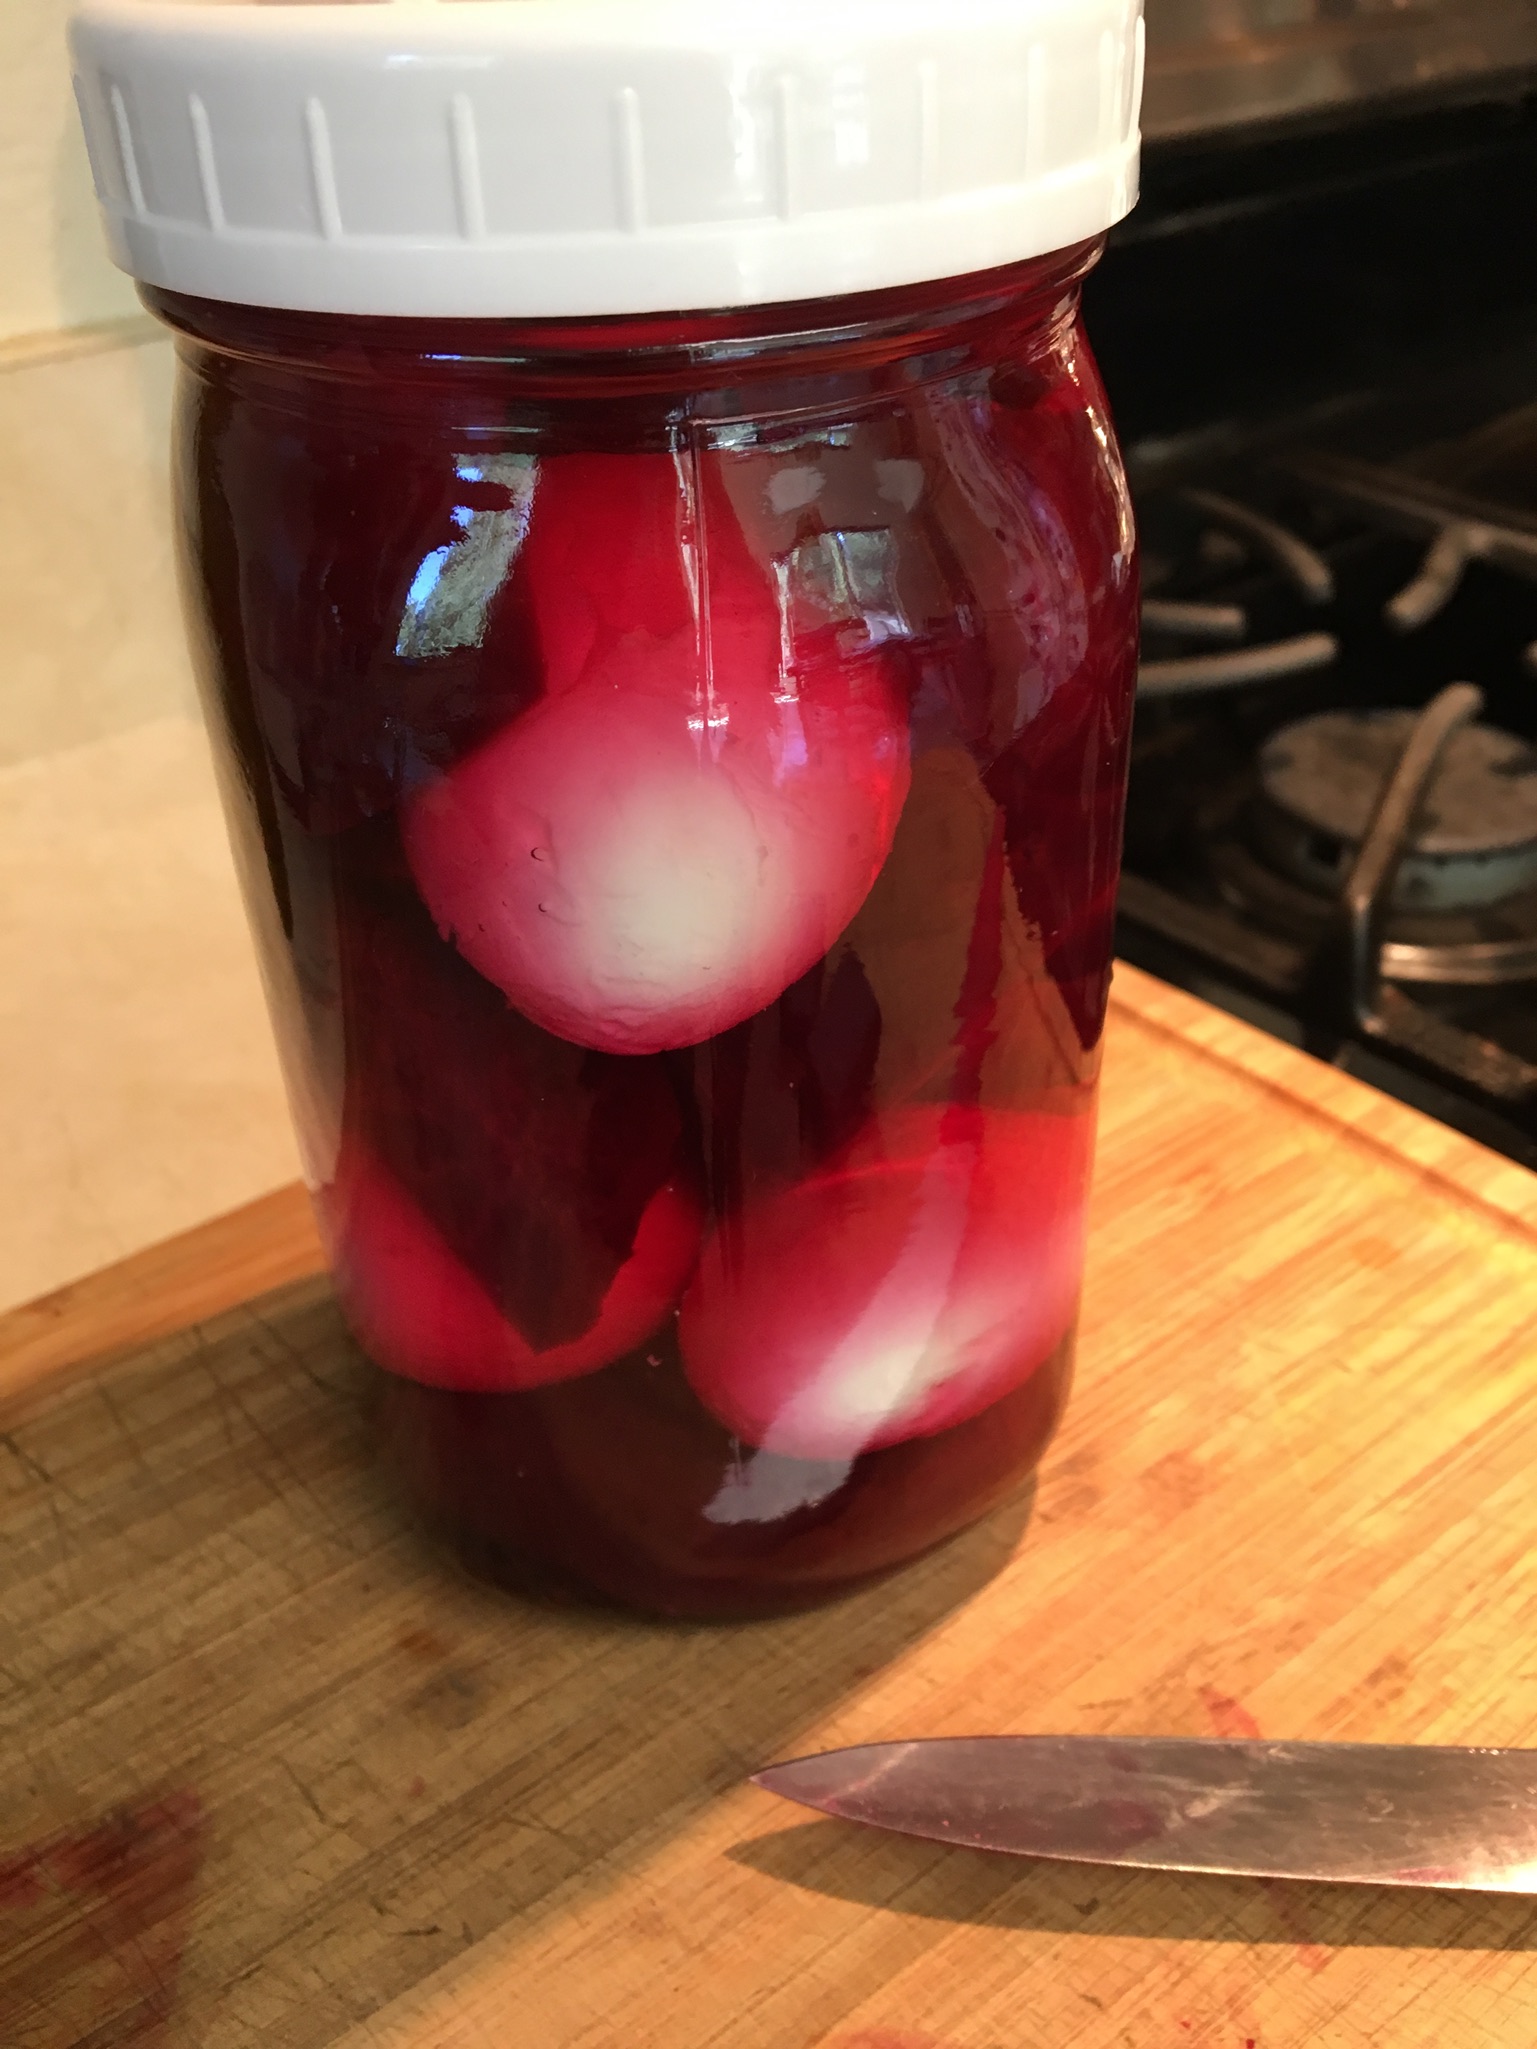
In a clean quart jar, pour a little vinegar mixture. Drop in a few beet slices. Drop in a boiled egg. Add vinegar mixture to cover. Drop in more beet slices, another egg, more vinegar mix . . . layer until you reach the top of the jar. Cover the jar with a lid.
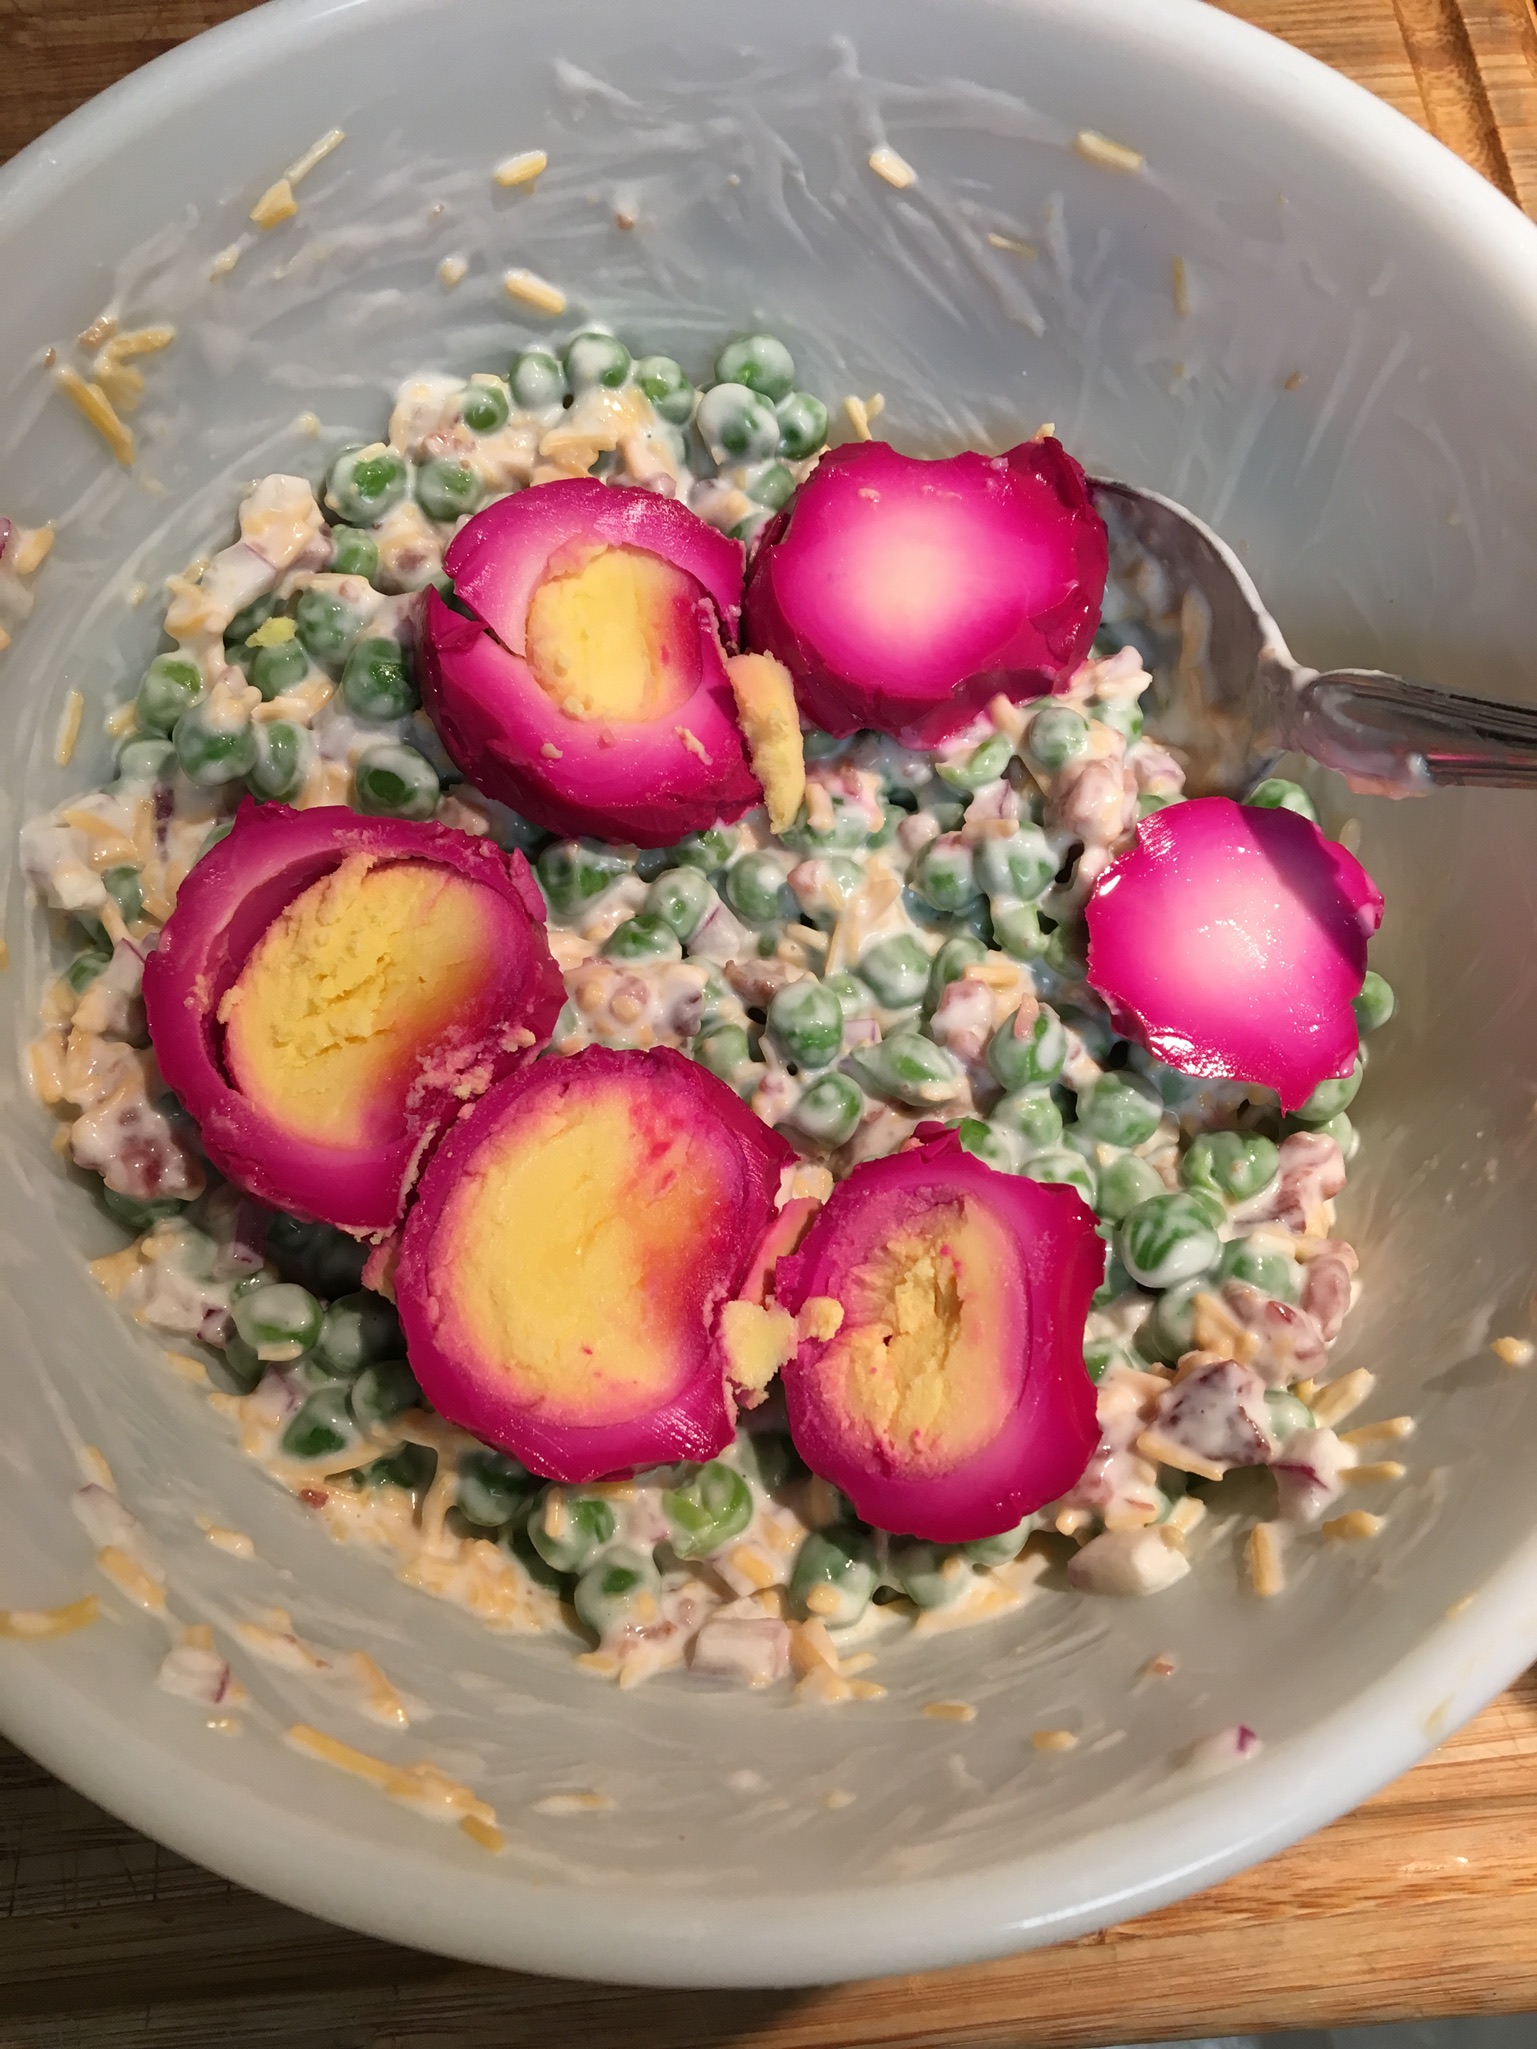
Refrigerate for three days, you can shake the jar around a little bit every day or so. These pickles are so yummy. The eggs are quite beautiful when sliced. They taste great and so do the pickled beets.
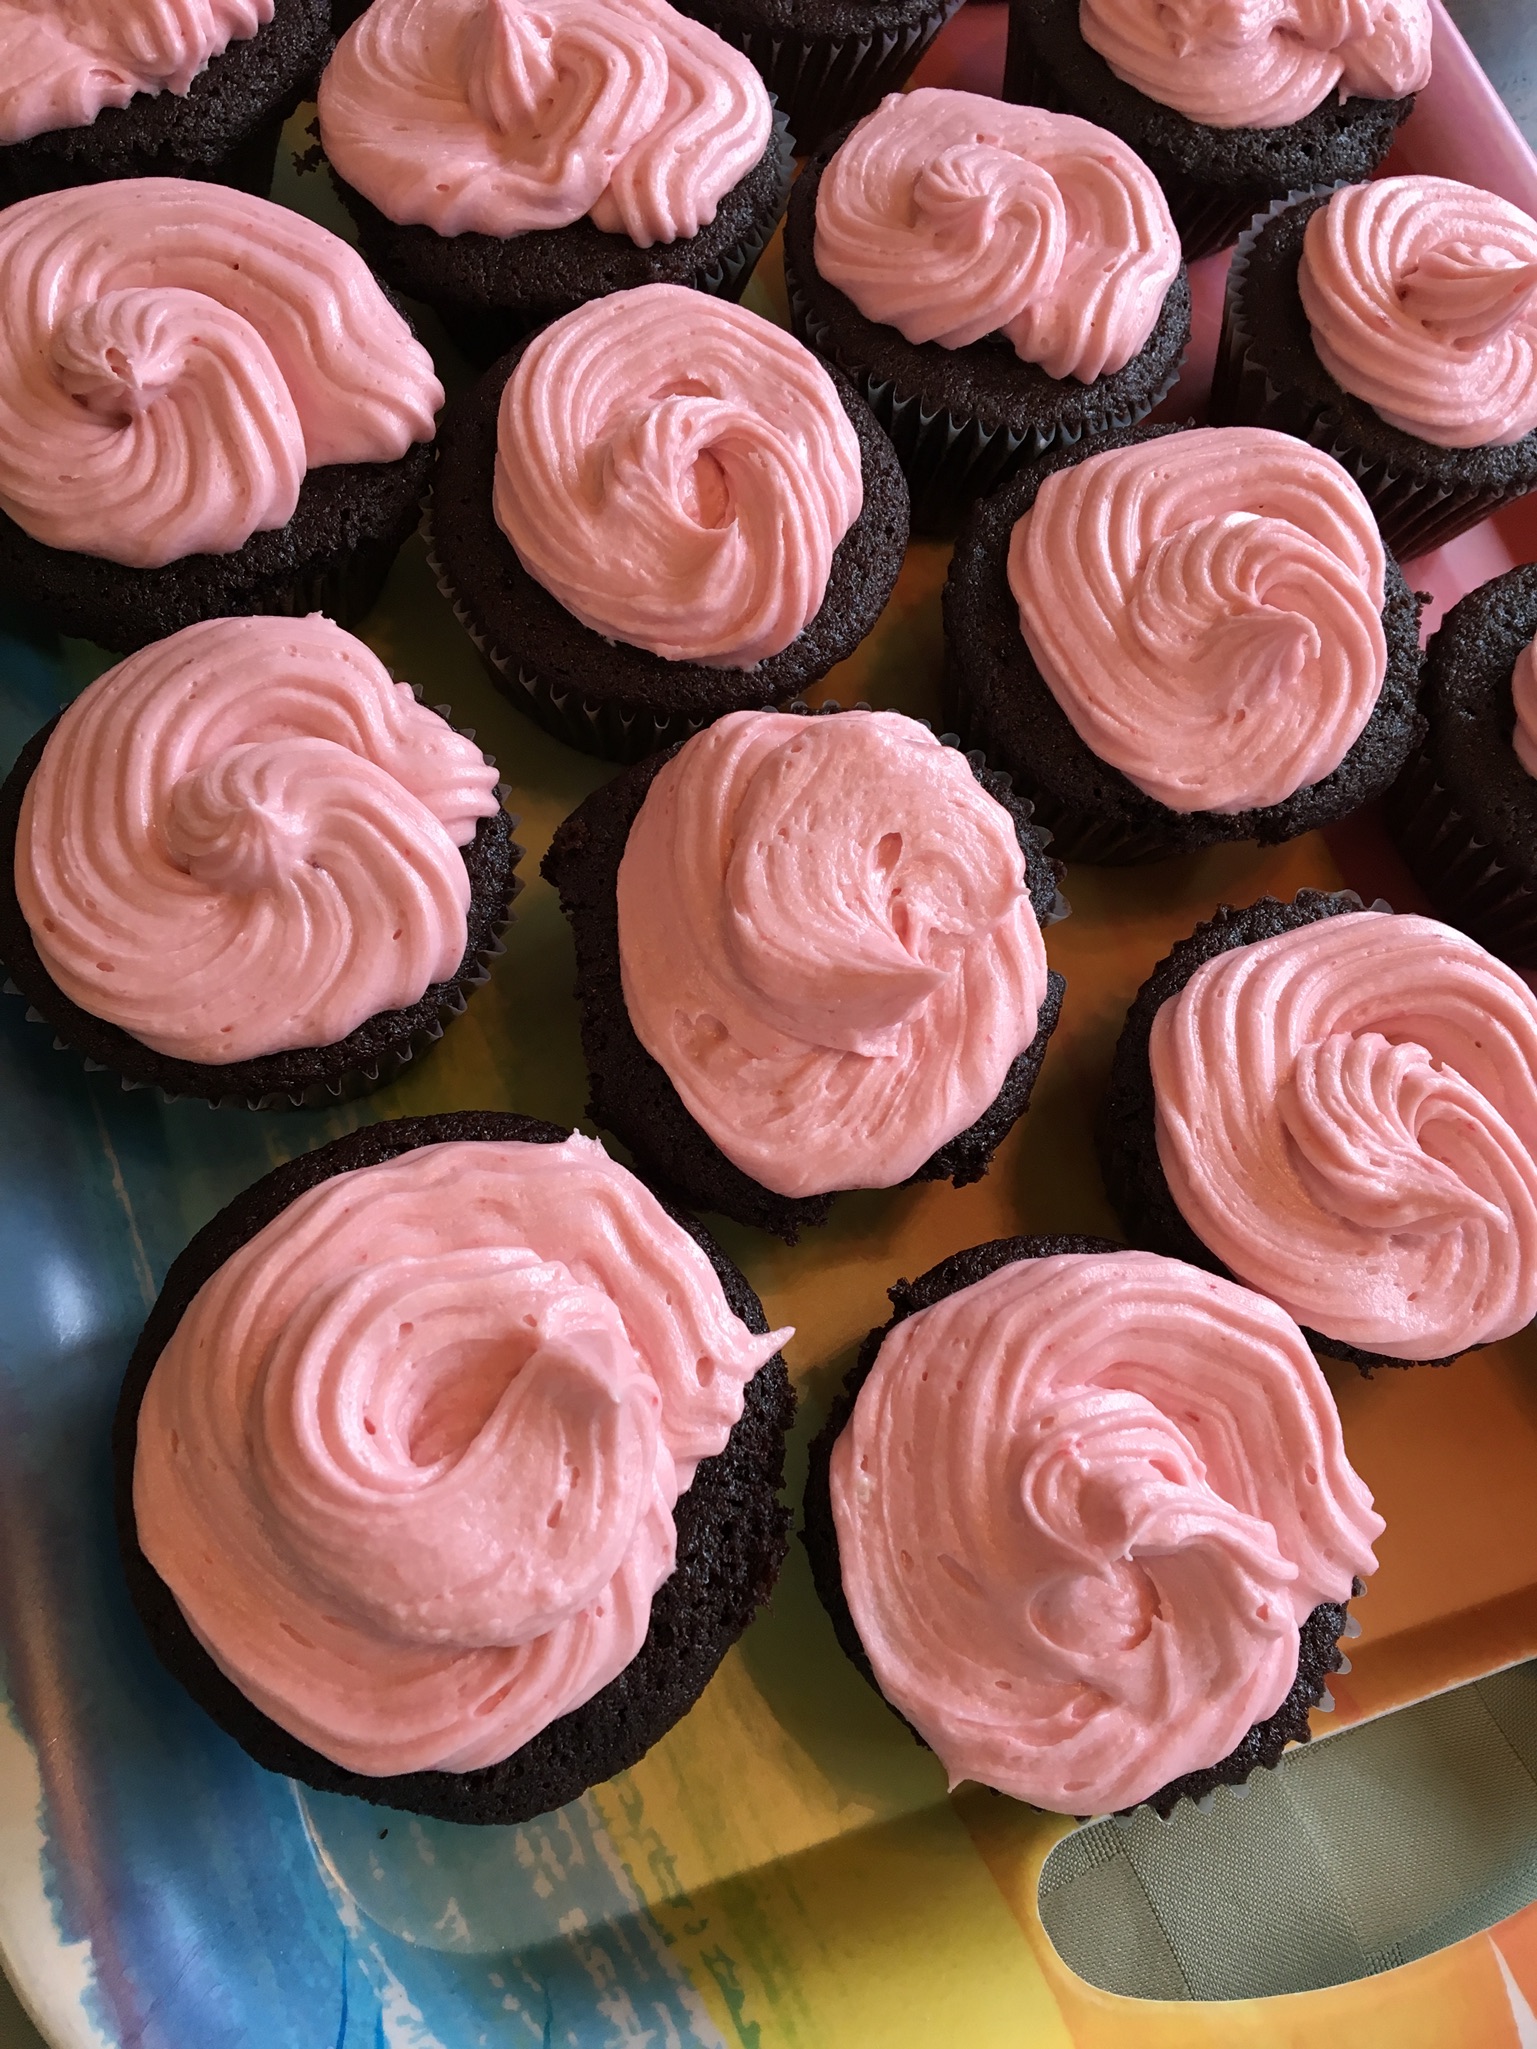
This makes 24 cupcakes. I have gotten such rave reviews about these that I simply must share. The components of cupcakes, filling, and frosting are from three different recipes. The cupcake recipe is one I have made many times from browneyedbaker.com. The filling is home-made seedless raspberry jam. You could buy some at the store, probably with the same effect. The frosting is based upon sallysbakingaddiction.com.

Cupcakes:
1 cup Guiness stout
1 cup butter
3/4 cup cocoa powder
2 cups flour
2 cups sugar
1-1/2 tsp. baking soda
3/4 tsp. salt
2 eggs
2/3 cup sour cream
Prepare cupcake tins with 24 paper liners. Preheat oven to 350 degrees. Place Guiness and butter in a saucepan and bring to a simmer over medium heat. Whisk in the cocoa powder until smooth. Remove from heat and let cool a little bit.
In a medium bowl, whisk together the dry ingredients.
In a mixer, mix together the eggs and sour cream until combined. Add the Guiness mixture and mix until combined. Slowly add the flour mixture until just mixed, then fold until it’s completely combined.
Divide the batter equally between the paper liners. Bake for 20 minutes or until a light touch and they spring back up. Let cool completely.
Once cooled, remove the centers (I used my handy cupcake corer) and dribble seedless raspberry jam into each one. Rather than throw them away, we snack on the cupcake cores. Another idea would be to use them to make small trifles. I digress. The jam should be even with the top of the cupcake.
Frosting:
3/4 cup butter, room temperature
3-1/2 cups powdered sugar
3 Tbsp. heavy cream
2 tsp. vanilla extract
Dash of salt
1/2 cup seedless raspberry jam
Beat butter until softened. Add powdered sugar, cream, vanilla, and salt. Beat slowly until smooth. Add seedless raspberry jam and beat slowly until well incorporated. Add powdered sugar if it’s too thin or more cream if it’s too thick. Update: I just learned that mixing the frosting slowly will reduce the air bubbles forming in the frosting.
Place into a piping bag and pipe onto the tops of the cupcakes. Like I said, I got RAVE reviews for these cupcakes. I mean for reals.