
You are currently browsing the category archive for the ‘Side Dish’ category.
- Ingredients
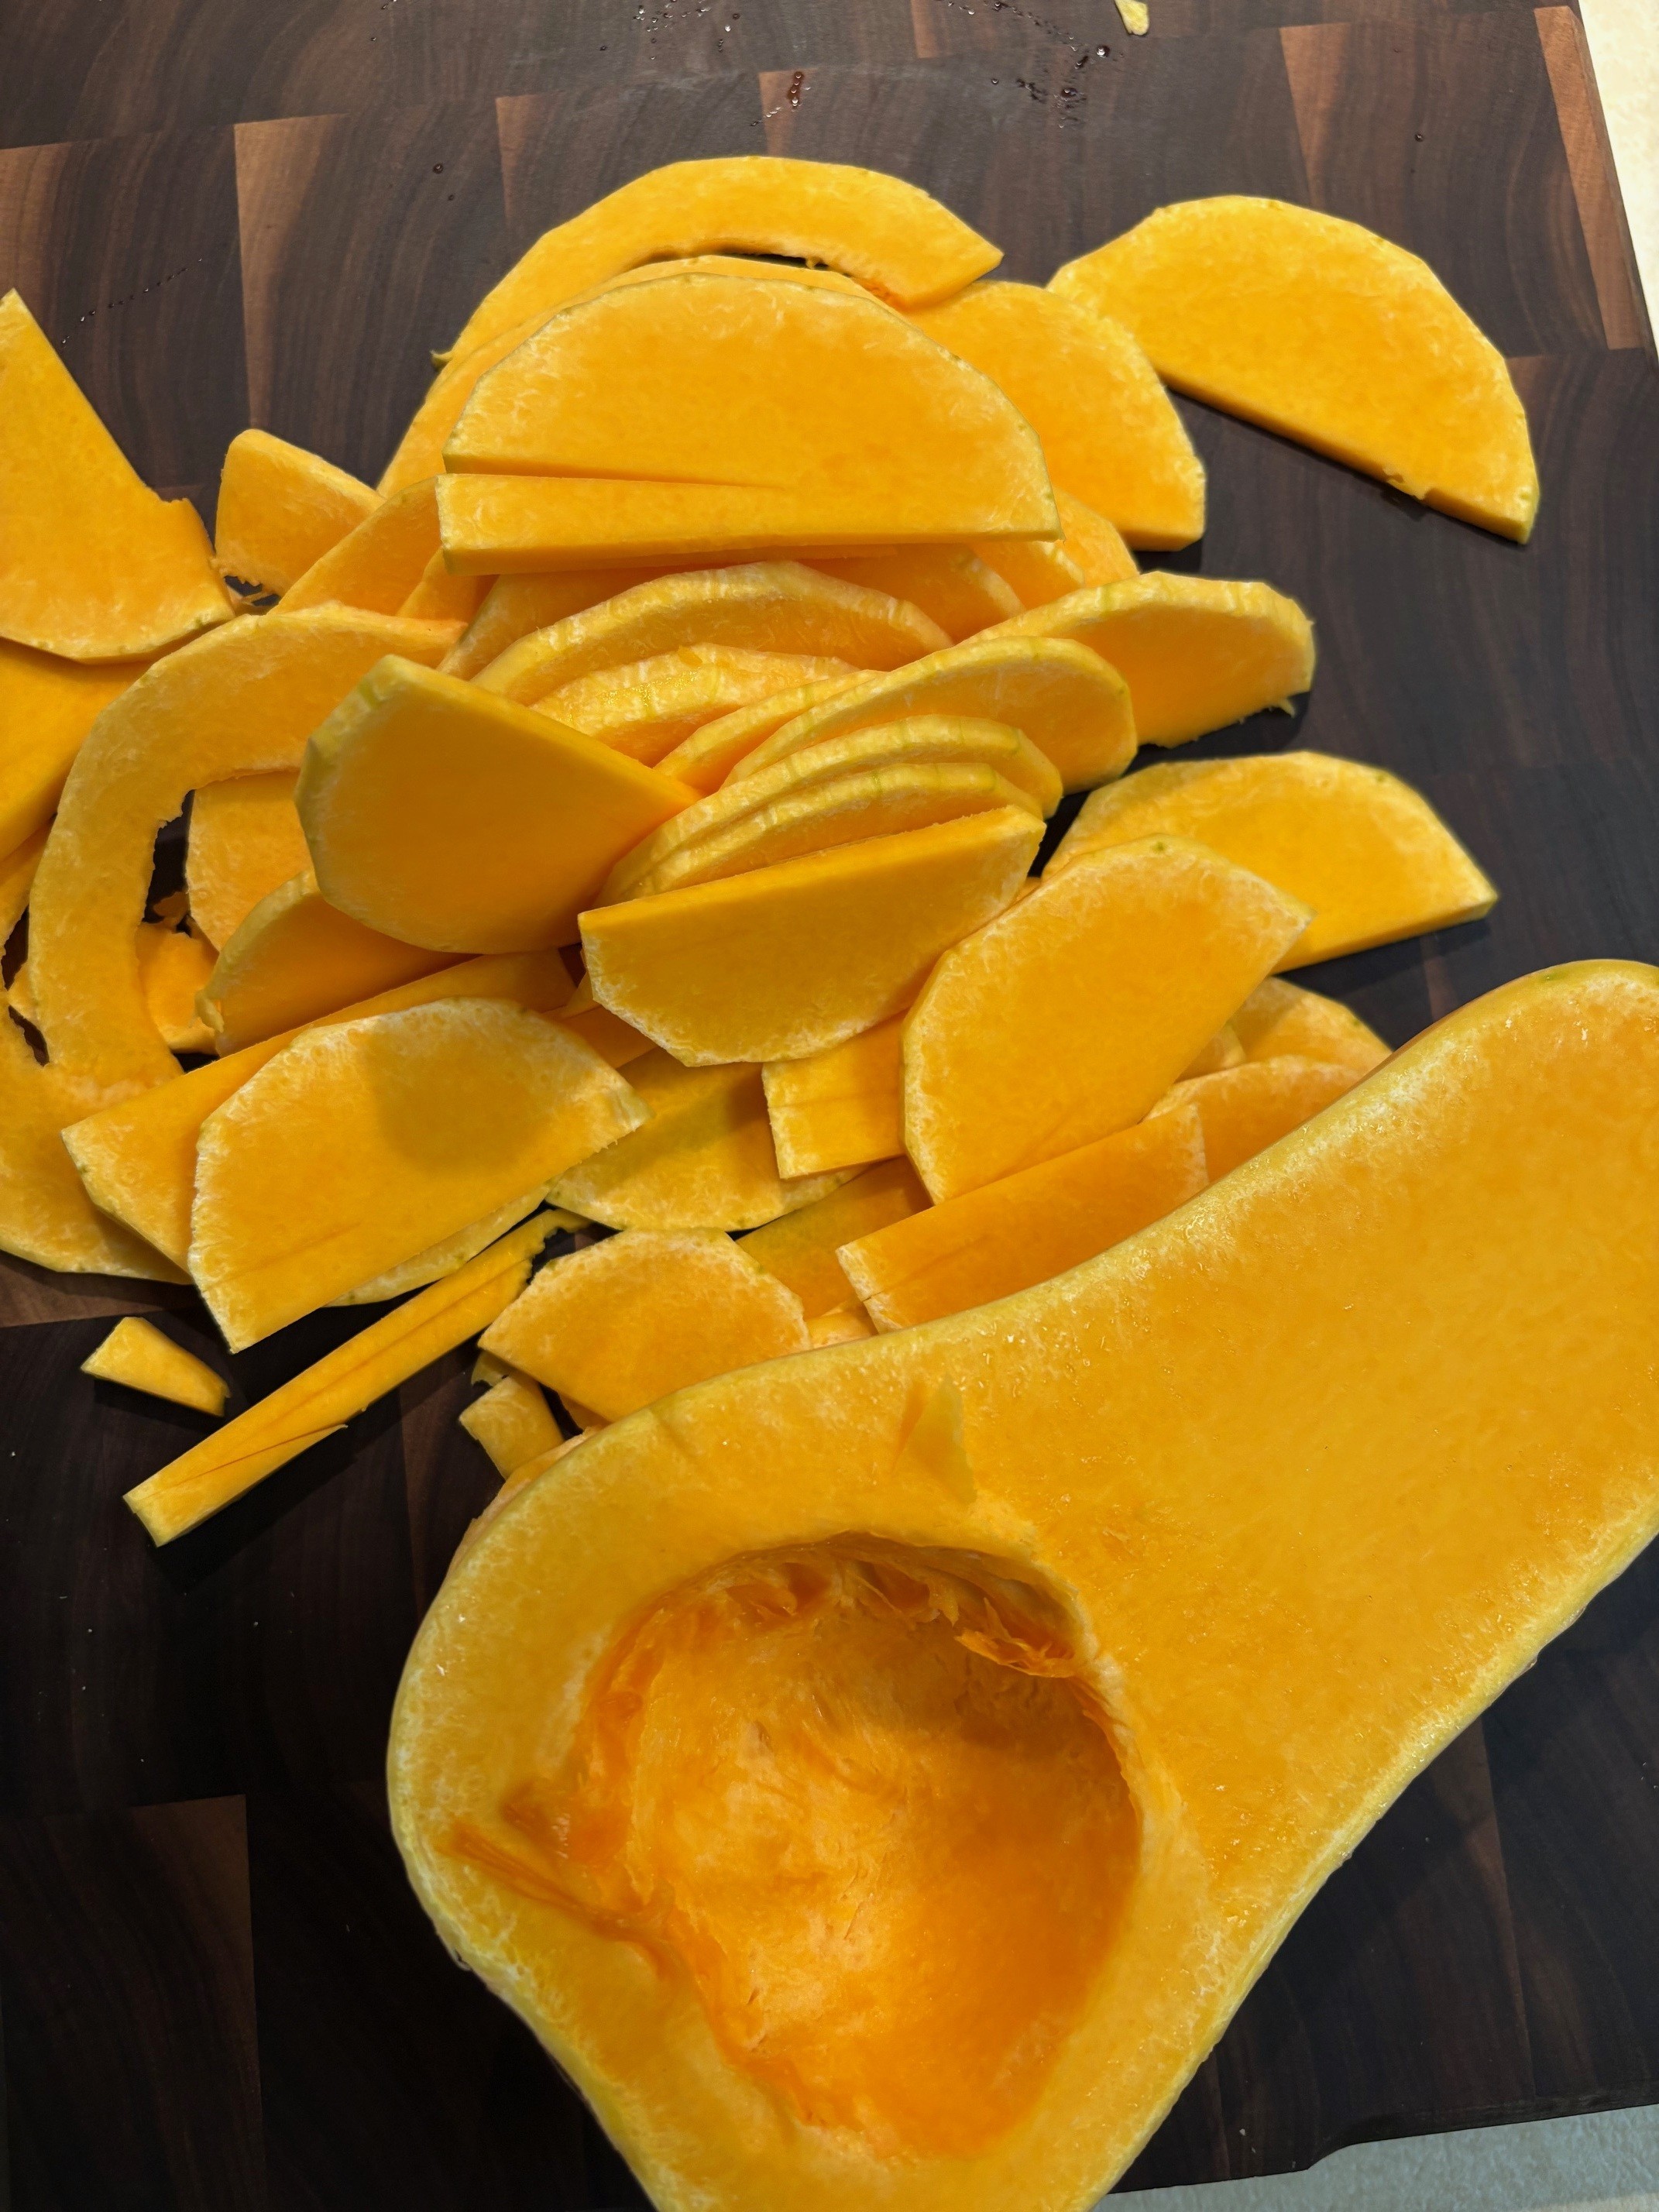
- 1 # butternut squash (1/2 squash), peeled and thinly sliced
- 1 cup heavy cream
- 1 large garlic clove, minced
- 1 tsp. dried thyme
- 1 tsp. salt
- Pepper to taste
- 1/2-1 cup Gruyere cheese, shredded
Preheat oven to 375 degrees F and prepare a baking dish with non-stick.
Warm cream, garlic, thyme, and salt in a small saucepan.
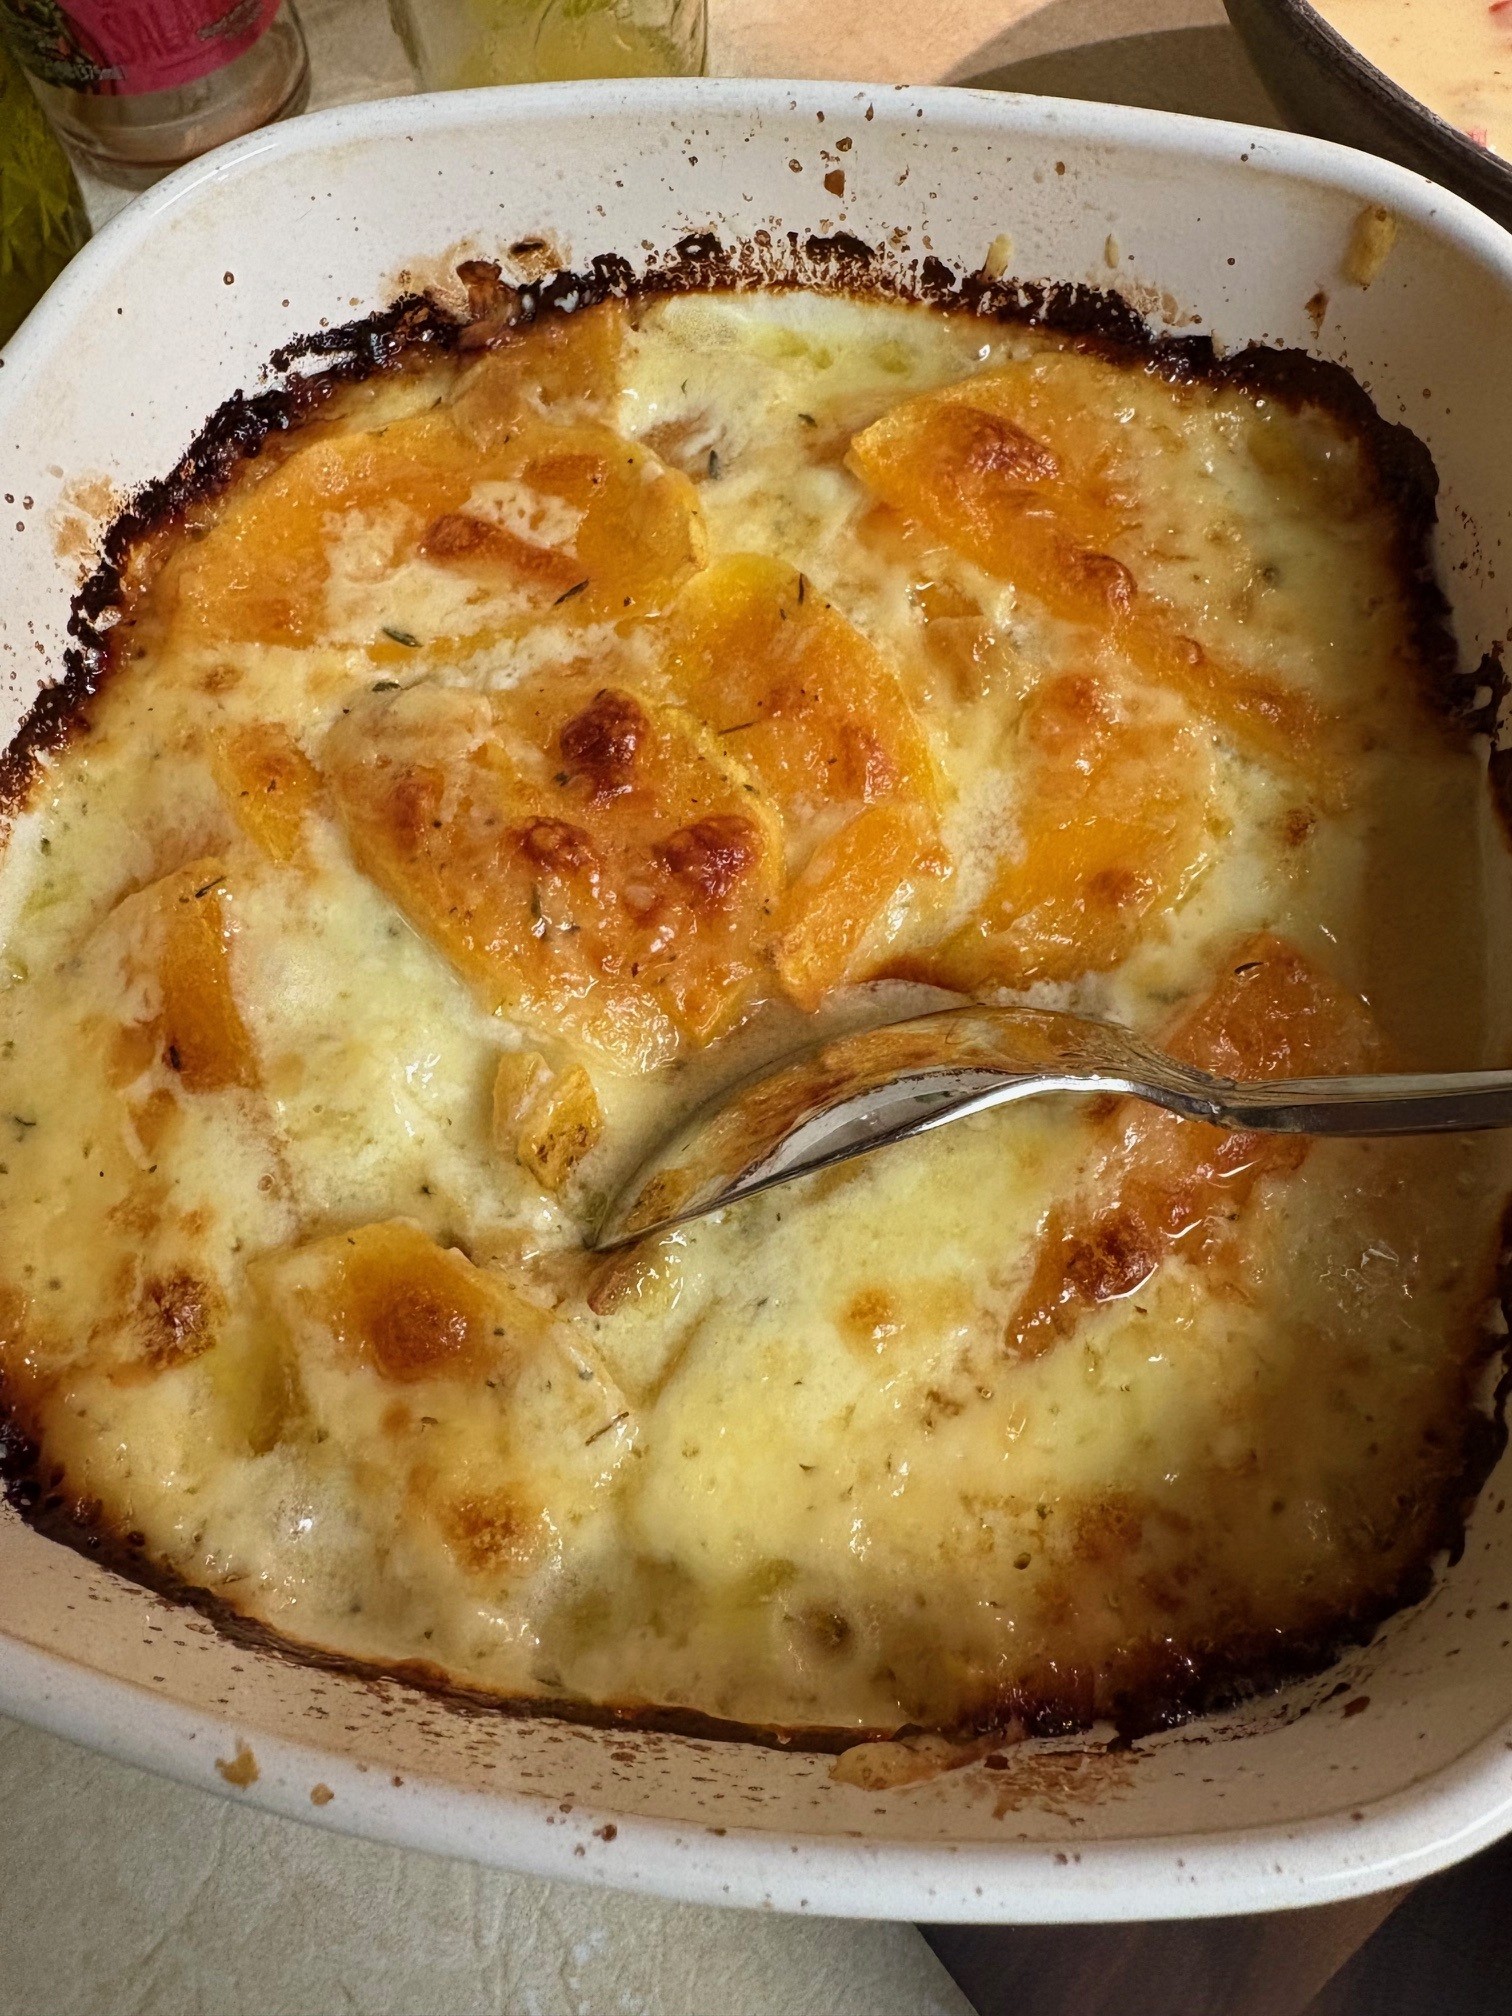
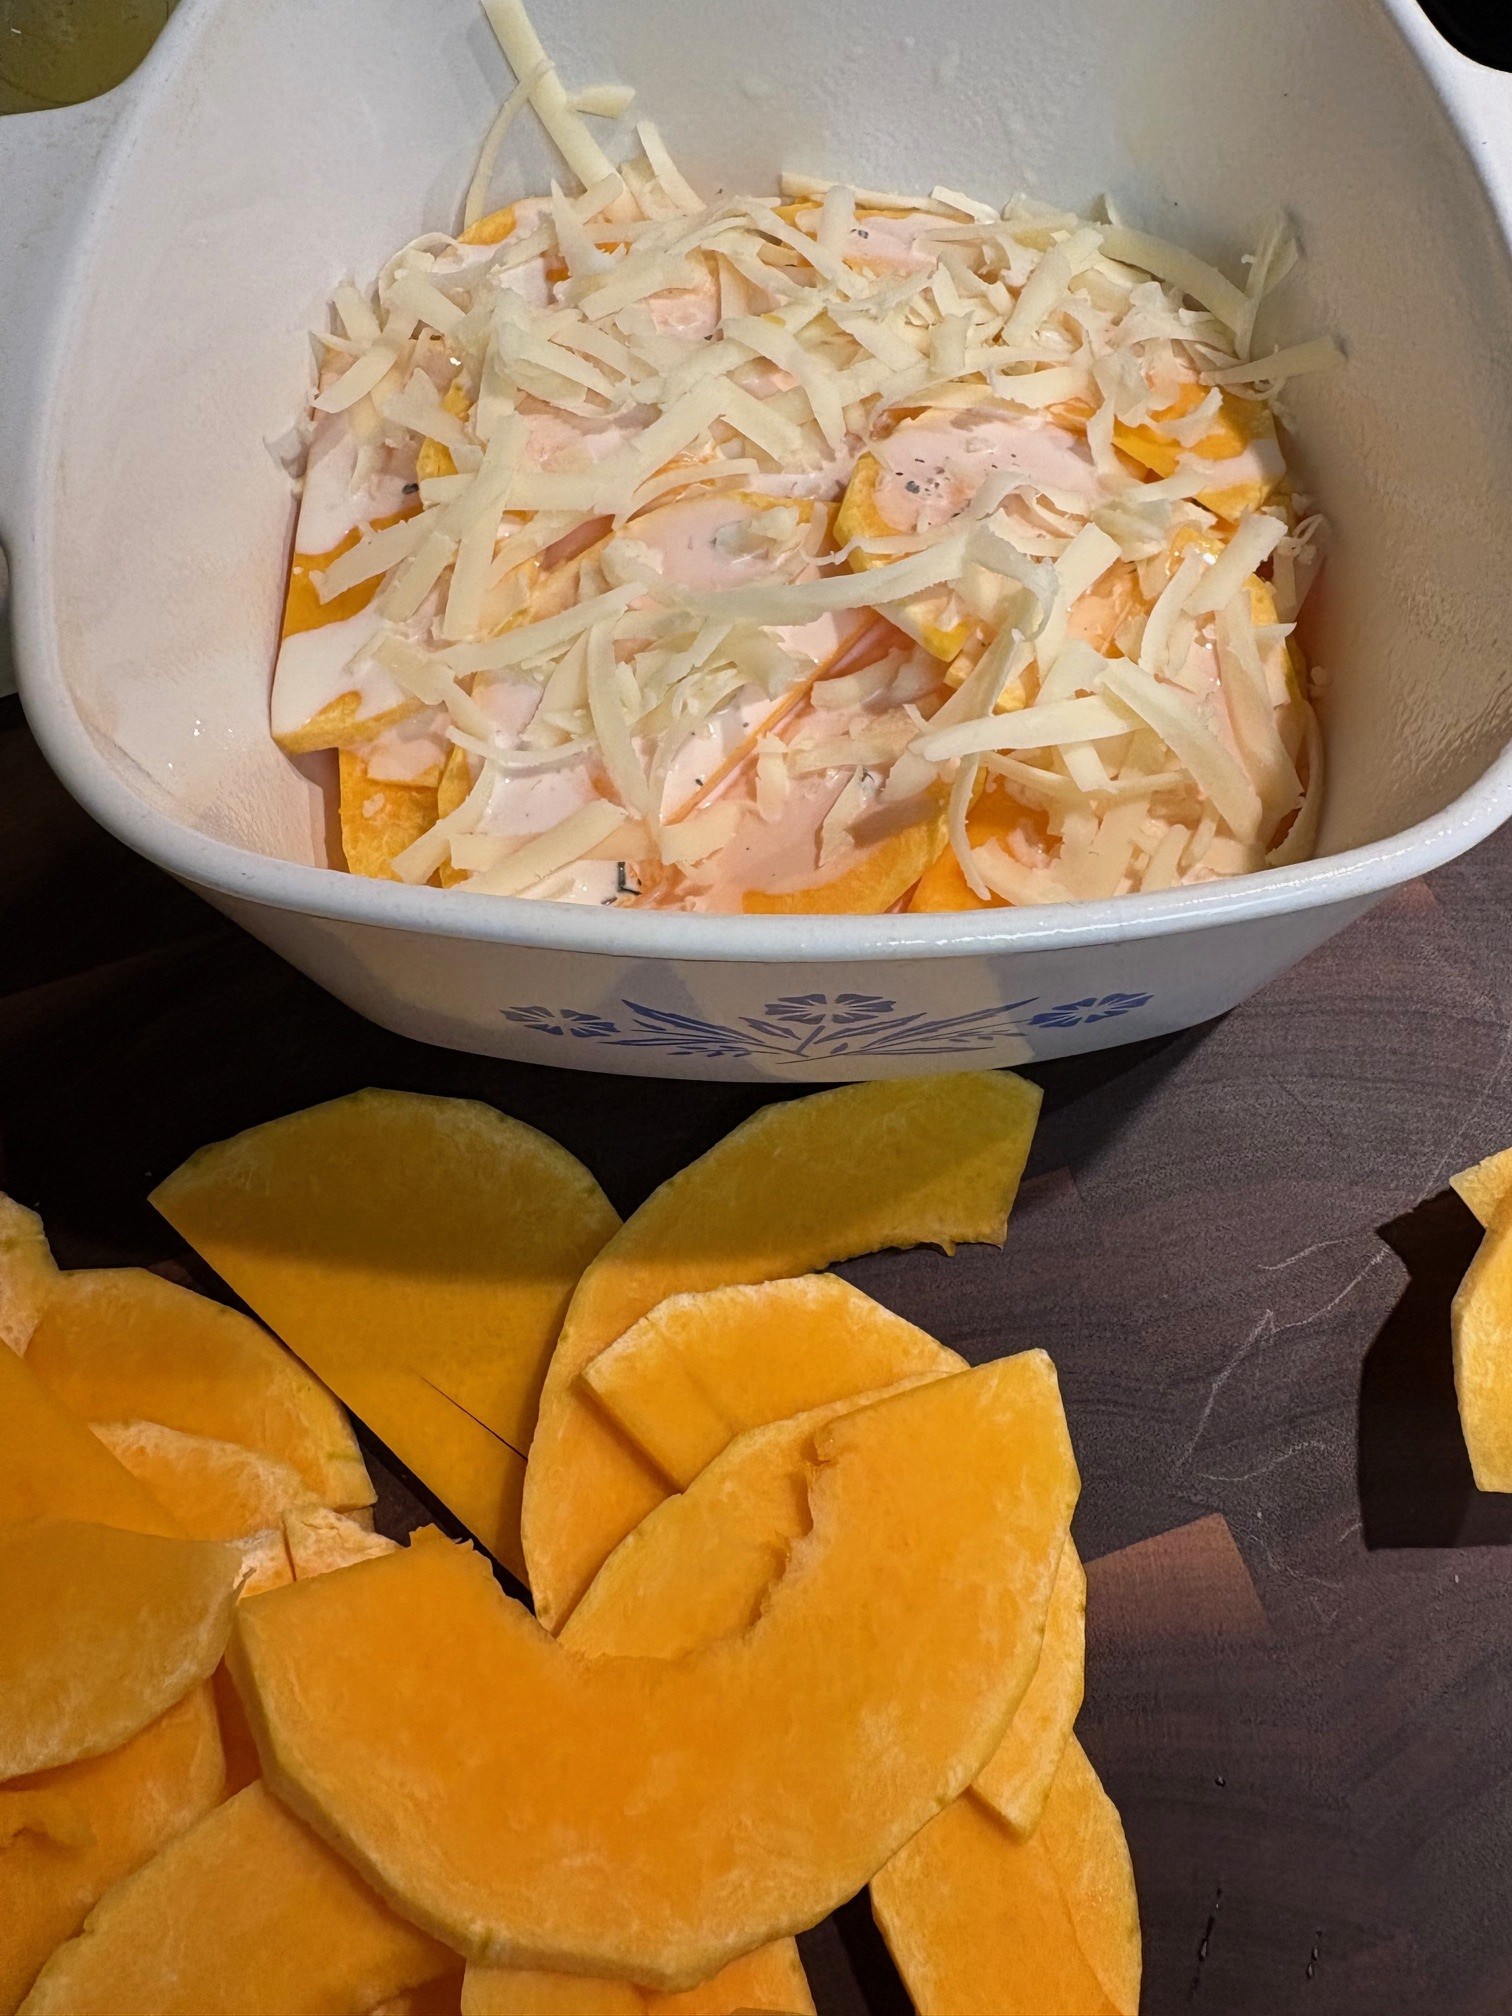
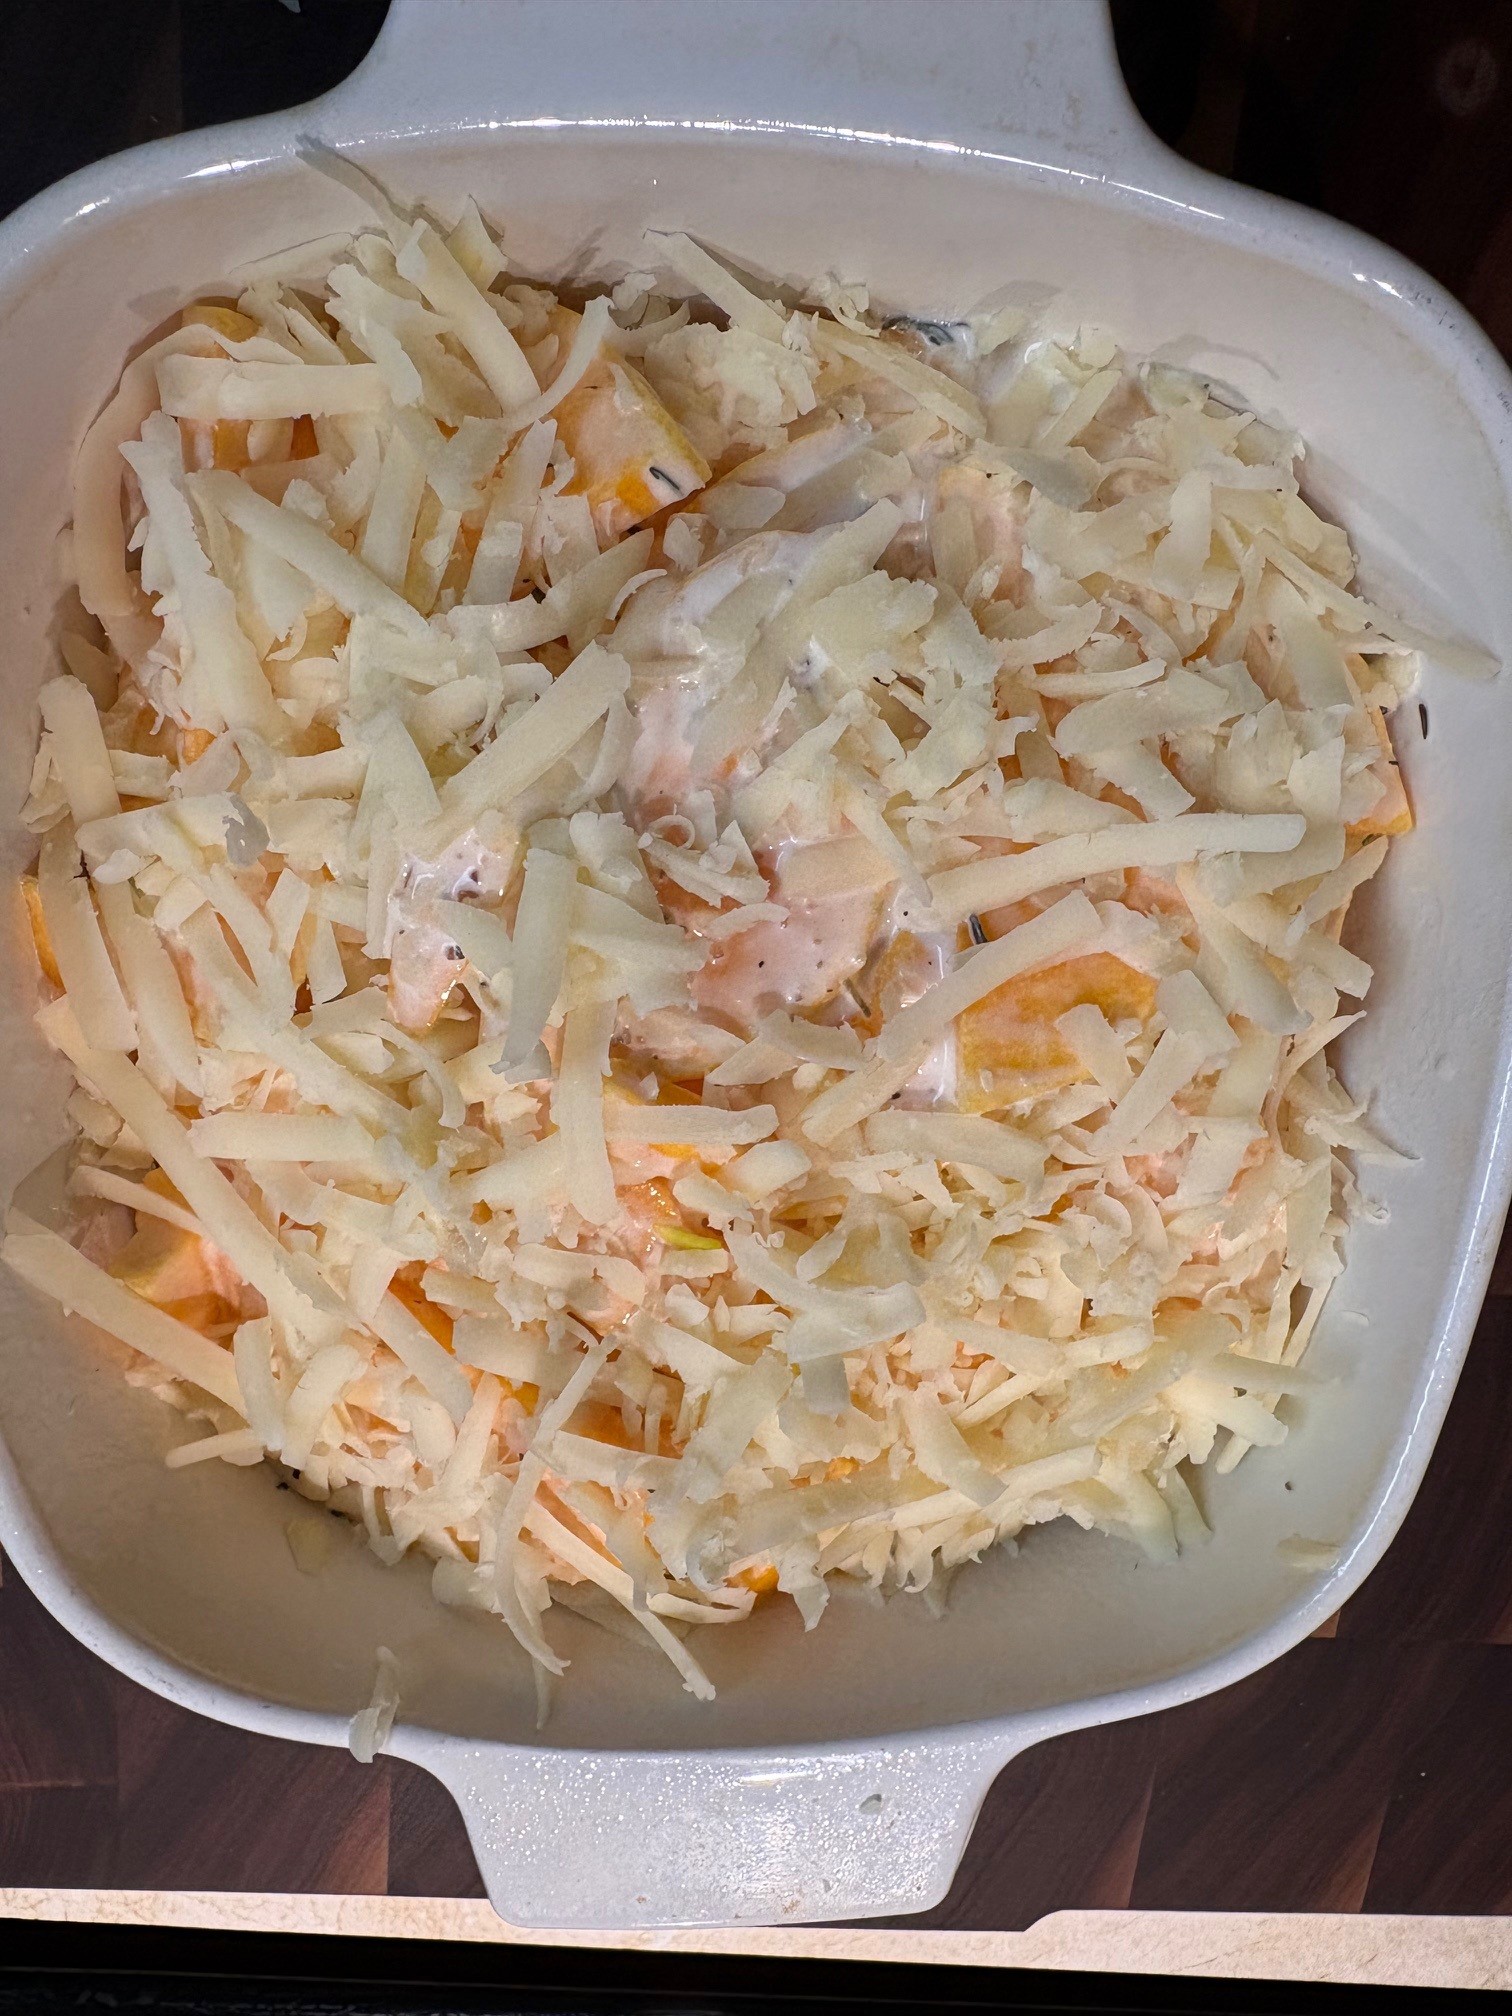
In the prepared baking dish, layer squash slices and warmed cream and cheese, ending with cheese, until it’s all used. Bake at 375 degrees F, covered, for 40 minutes. Remove cover and continue baking for another 20 minutes until squash is fork tender.
NOTES: Super creamy and delicious! The recipe comes from kitchenpop. It’s not fussy. I used a small baking dish with high sides and made 3 or 4 layers. Two layers in a larger dish would have been just fine. The next day for breakfast, I broke apart the leftover butternut squash and stirred it into a baking dish with 1/2# of cooked breakfast sausage, 6 beaten eggs, and a handful of leftover spaetzle. I sprinkled grated sharp cheddar over the top and baked at 350 degrees F for 45 minutes. It was an easy, hot, superb breakfast. Yum!

- Ingredients
- 1 lb. thinly sliced cabbage
- 3 chopped scallions
- 3 eggs
- 1 Tbsp. Dijon mustard
- Salt and pepper
- 2/3 cup gluten-free flour, or regular all-purpose flour
- 1 tsp. baking powder
- Olive oil
- Shredded cheese (optional)
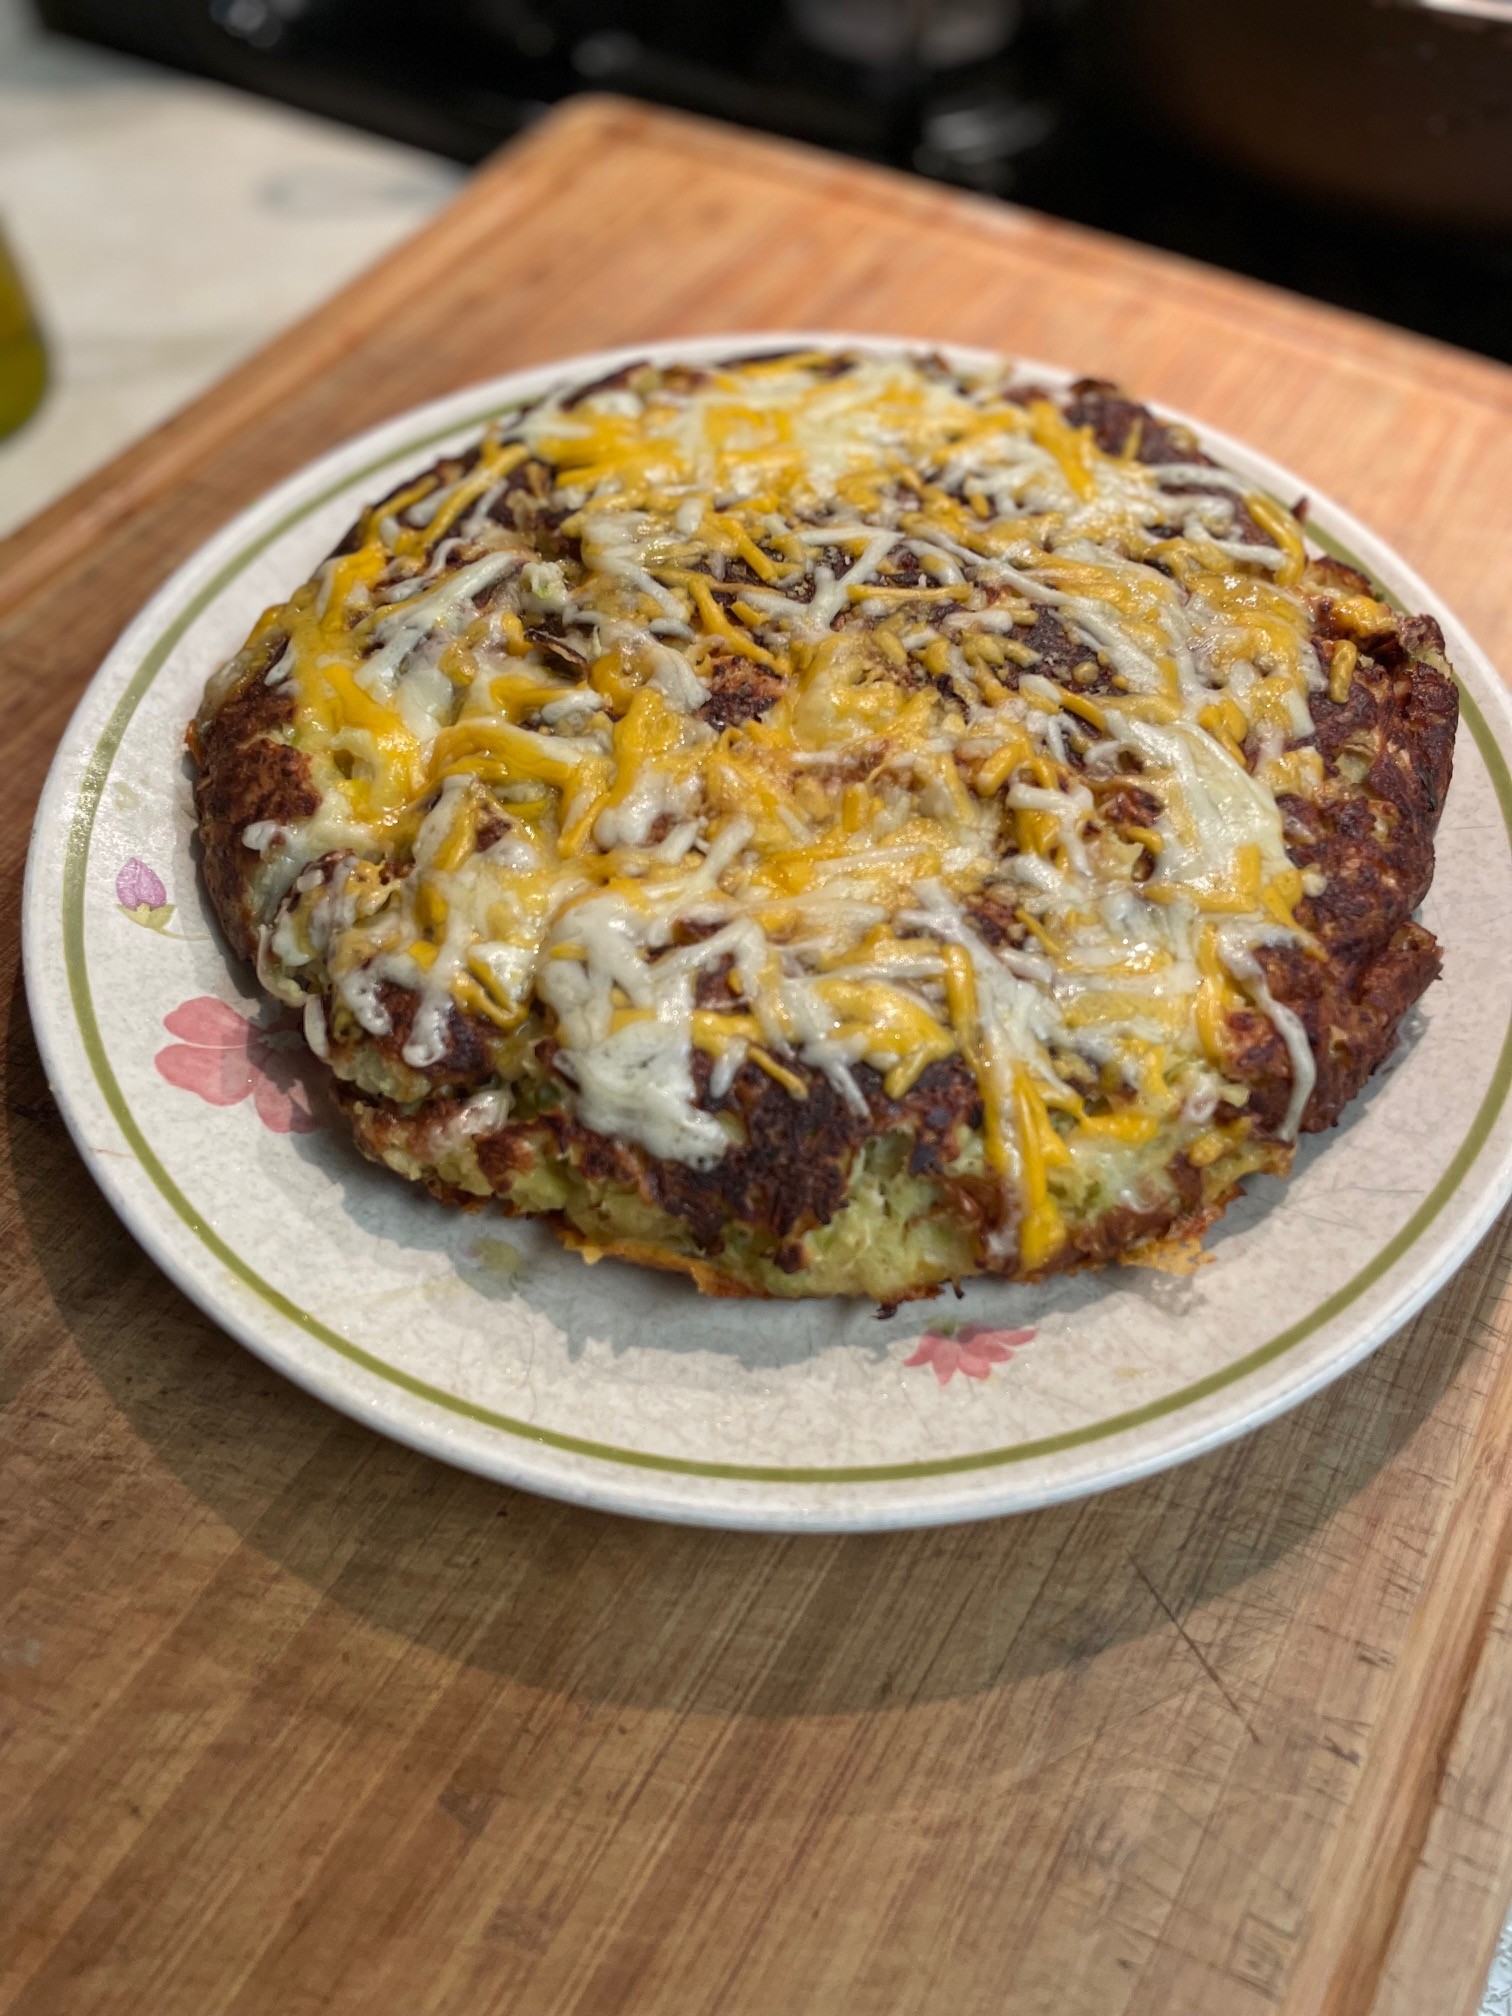
In a very large bowl, mix together the cabbage and scallions. In a separate small bowl, whisk together eggs, Dijon, and salt and pepper. Stir the egg mixture into the cabbage mixture until the cabbage is well coated. Sprinkle flour and baking powder over the top of the cabbage and stir until well mixed.
Heat a skillet (12″ with a sloped edge is best) over medium heat and pour a couple tablespoons of olive oil into it. Swirl the oil so it coats the sides as much as possible. Place the cabbage mixture into the skillet and press it down. Reduce heat to low and cover skillet. Let it cook for 15 minutes. Lift cover and see if the bottom is brown and comes away from the skillet easily. If yes, flip the skillet upside down so that the cabbage slides onto a plate. If it’s not ready, then cover it back up and wait for it to brown and come away from the pan. Swazz a bit more olive oil into the skillet. Heat it and then slide the cabbage into the skillet, uncooked side down. If you’re using cheese, sprinkle it over the cooked top. Cover. Let it cook another 15 minutes. Check that the cabbage is cooked through. Remove from skillet and serve.
NOTES: This smells so good while cooking! It’s a quick and easy dish coming from Irina Macri at Cooked & Loved. I have made this using both green and red cabbage. Irina includes a recipe for a sour cream dill sauce to use as a topping. Tonight I’m roasting a salmon, so I’m going to try the sauce on my salmon.


- Ingredients
- 3 onions, sliced
- 1/2 cup celery, sliced
- 4 Tbsp. butter, divided
- 2 Tbsp. flour
- Salt and pepper
- 3/4 cup milk
- 1/4 cup shredded Parmesan cheese
- 1/4 cup chopped pecans
Preheat oven to 350 degrees F.
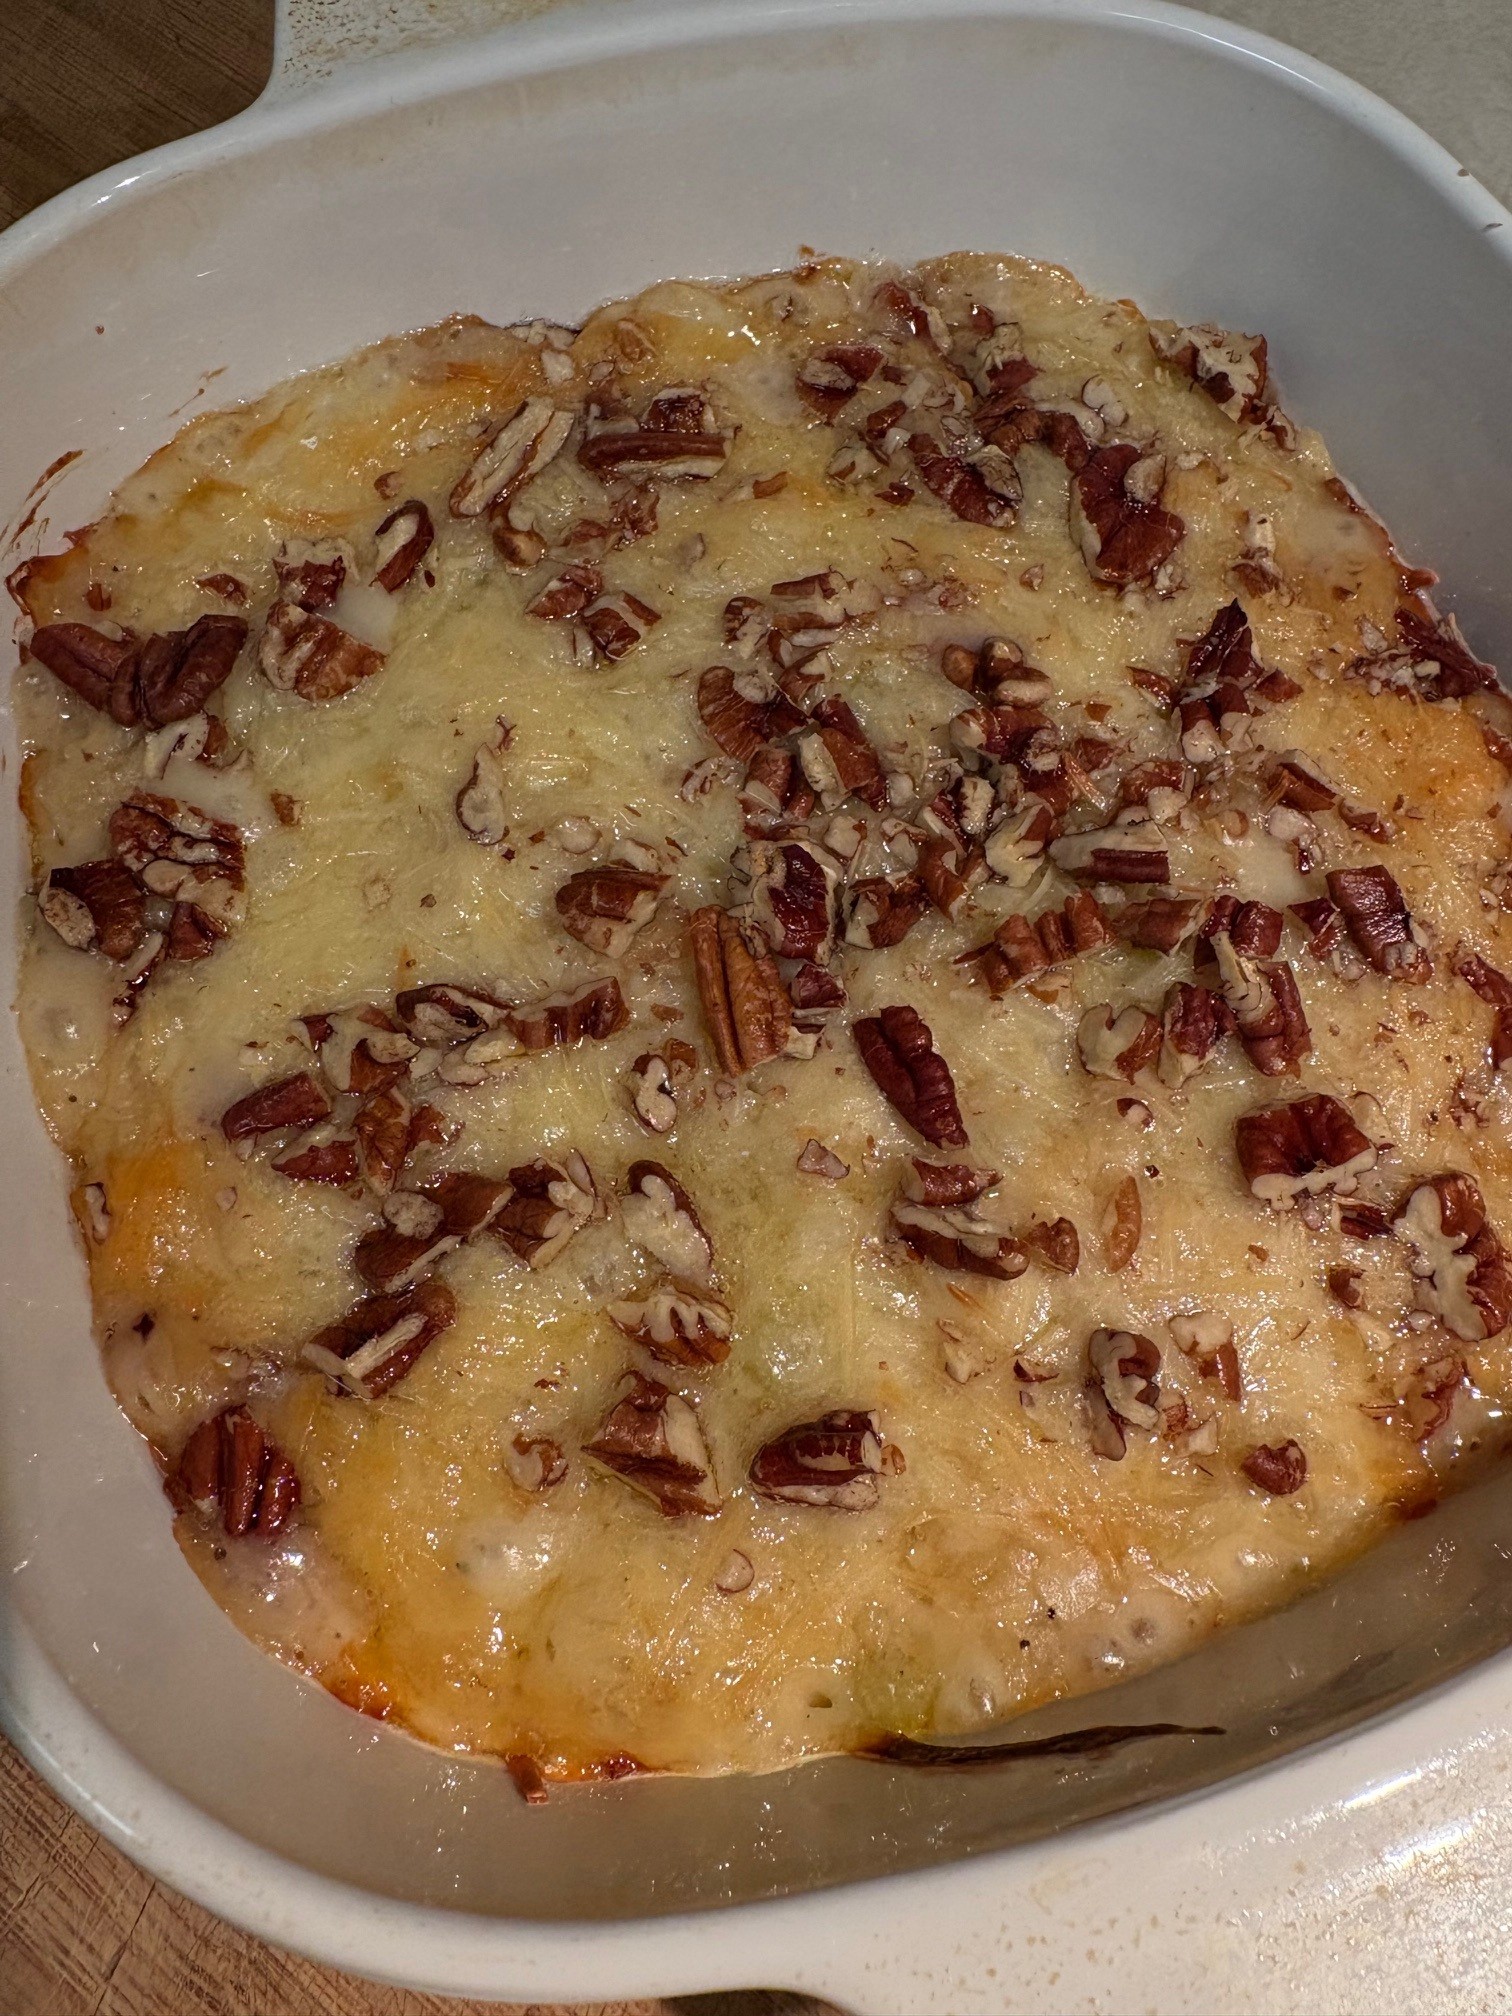
In a skillet, melt 2 Tbsp. butter. Stir fry onions and celery in butter until tender. Set aside.
In a saucepan over medium heat, melt 2 Tbsp. butter. Stir in flour, salt, and pepper. Stir until the flour mixture is bubbly. Gradually stir in milk. Bring to a boil and cook, stirring, for a couple minutes until the sauce is thick. Stir the sauce into the onion and celery mixture until well coated. Pour into an ungreased baking dish. Sprinkle with Parmesan and pecans. Bake, uncovered, at 350 degrees for 20-25 minutes or until heated through. Serves 4 as a side dish.
NOTES: You can use the same skillet to bake the dish in as you used to stir-fry the onion mixture. I’ve done it that way many times. This is a half recipe of the original, so feel free to double this if you like. If you do that, it fits a 9×13″ pan or a large oven-proof skillet. The onions really reduce in volume as they cook, so if I’m eyeballing this I have to tell myself to “add more onions!” The recipe originally appeared in the Oct/Nov 2000 issue of Taste of Home magazine.

- Ingredients
- 1 Tbsp. butter
- 1 shallot, minced
- 1 garlic clove, minced
- 1 lb. brussels sprouts, halved
- White wine (optional)
- Salt and pepper to taste
- Dash cayenne
- 1/4 tsp. mustard powder
- 1/2 cup cream
- 2 slices cooked crisp bacon bits
- 1/4 cup shredded Gruyere
- 1/4 cup shredded sharp cheddar
Preheat oven to 375 degrees F.
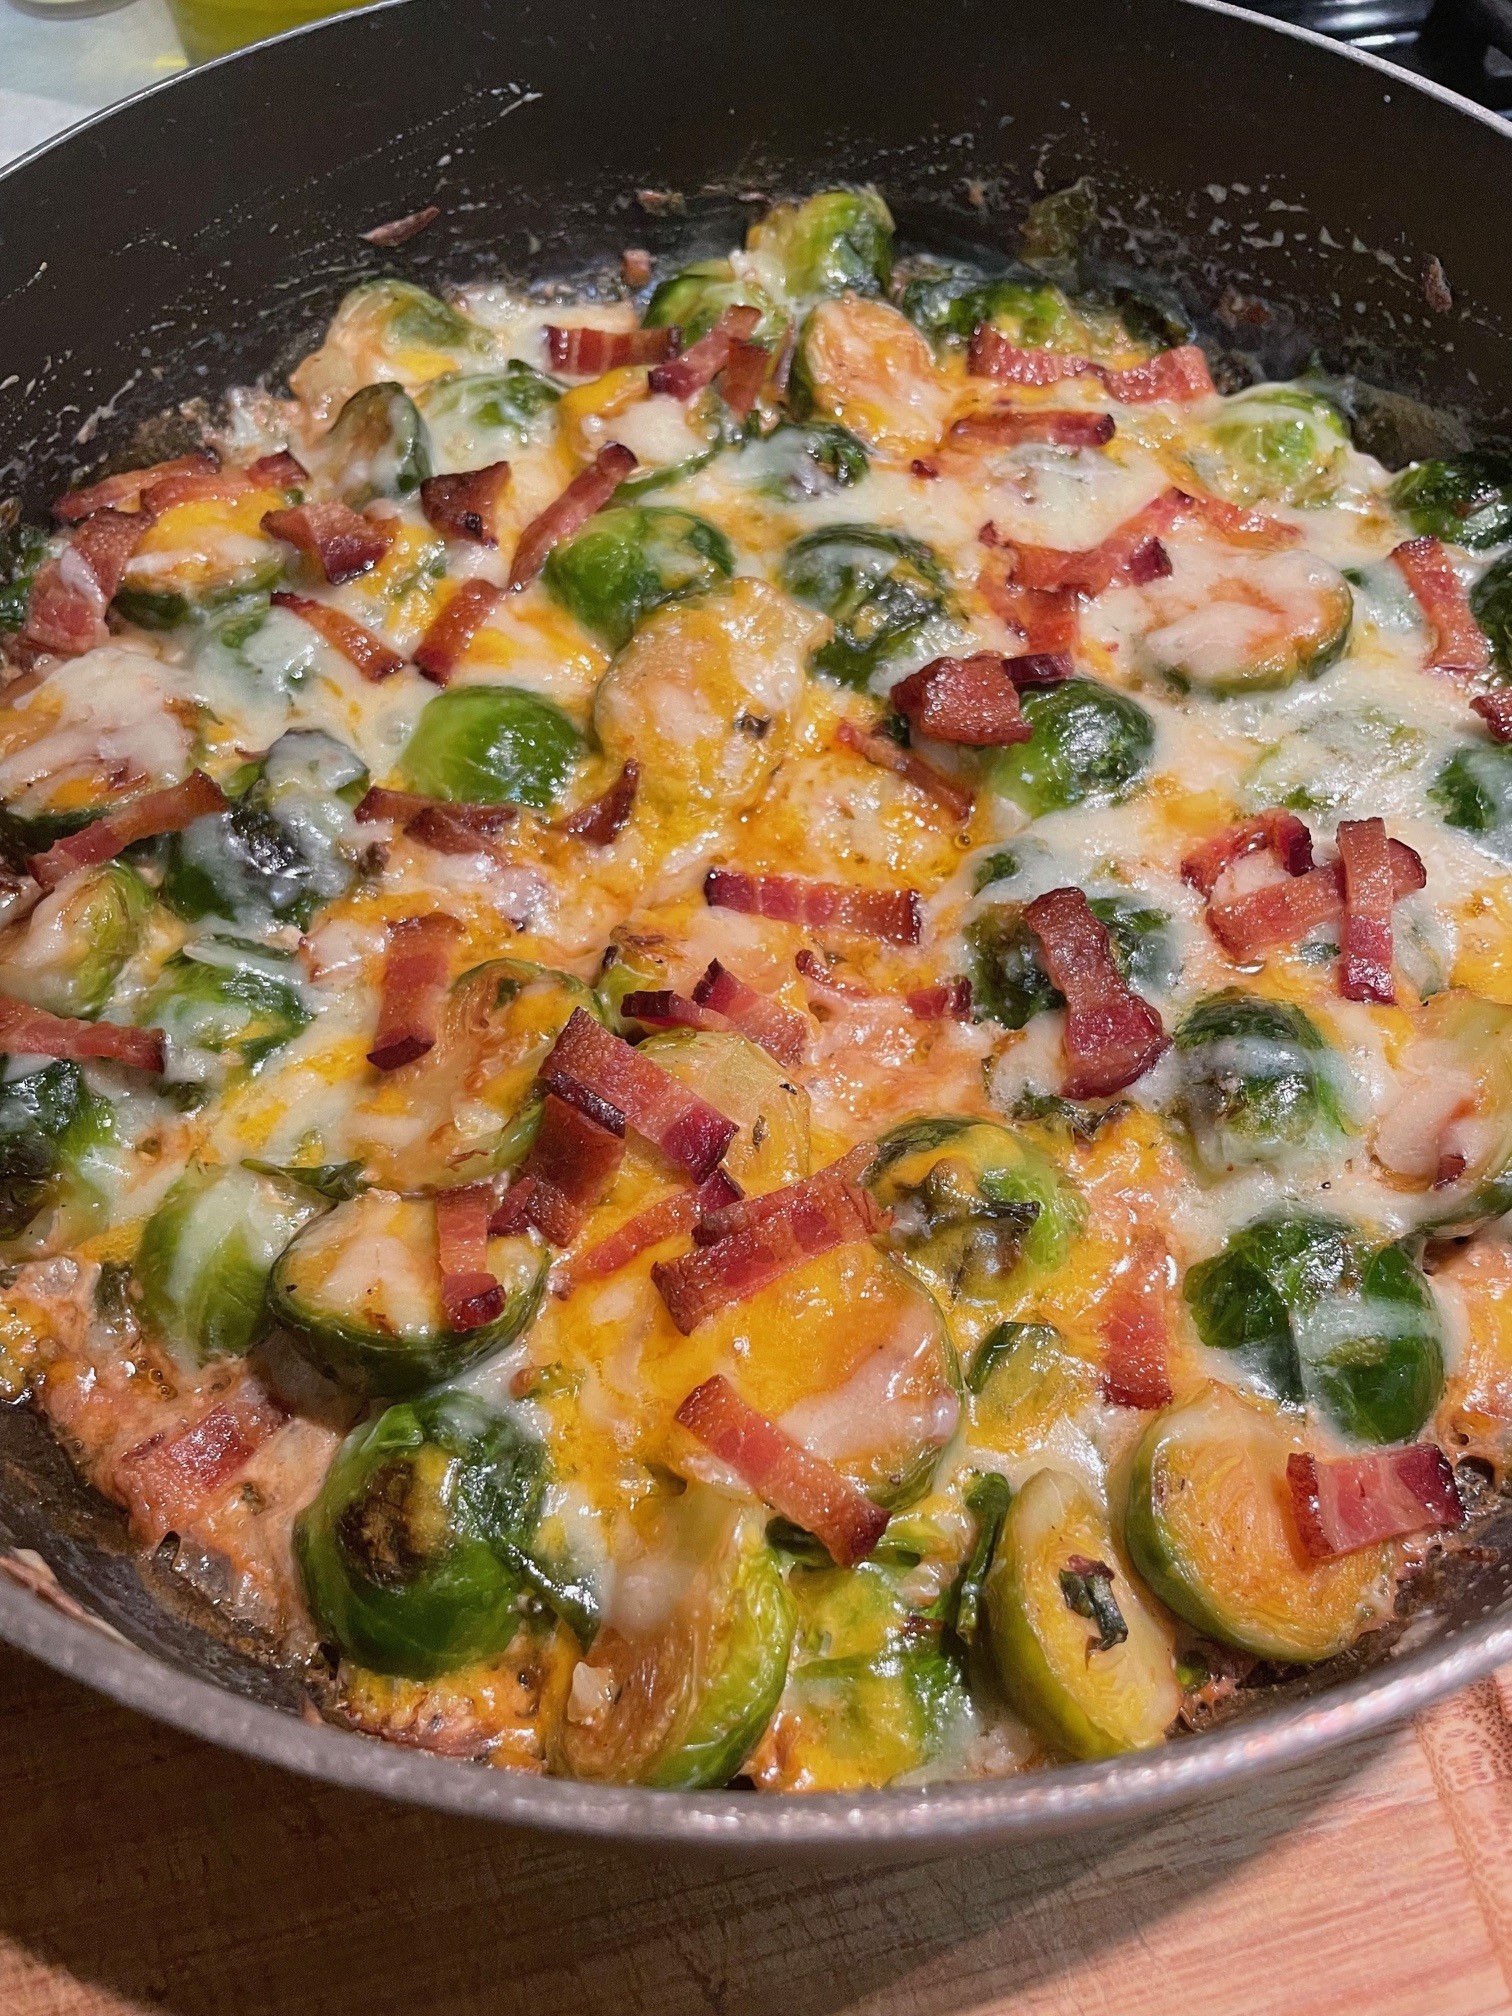
In an oven-proof skillet melt butter and then stir-fry shallot and garlic until soft. Stir in brussels sprouts and stir around until coated with the butter-shallot-garlic mix. Cover and let sprouts steam over medium heat until tender, about ten minutes. Splash a bit of white wine (or other liquid) into the pan during that time if the sprouts start sticking or scorching. Season with salt, pepper, cayenne, and mustard powder. Stir in cream. Heat through. Remove from heat and sprinkle bacon bits and cheeses over the top. Place into a 375 degree F oven for 10-15 minutes until cheese is melted. Serve.
NOTES: This is my new favorite brussels sprouts recipe. So delicious! I found the recipe at TopTeenRecipes. If you do not have an oven-proof skillet, feel free to cook the brussels sprouts and then place into a baking dish. Finish with the cream, bacon, and cheeses.

- Ingredients
- 2-3 large potatoes
- 1/3 cup milk, approximate
- Salt and pepper
- Olive oil
- 2 cups finely sliced cabbage
- 1 cup shredded carrot
- 1 egg
- 1/2 cup flour
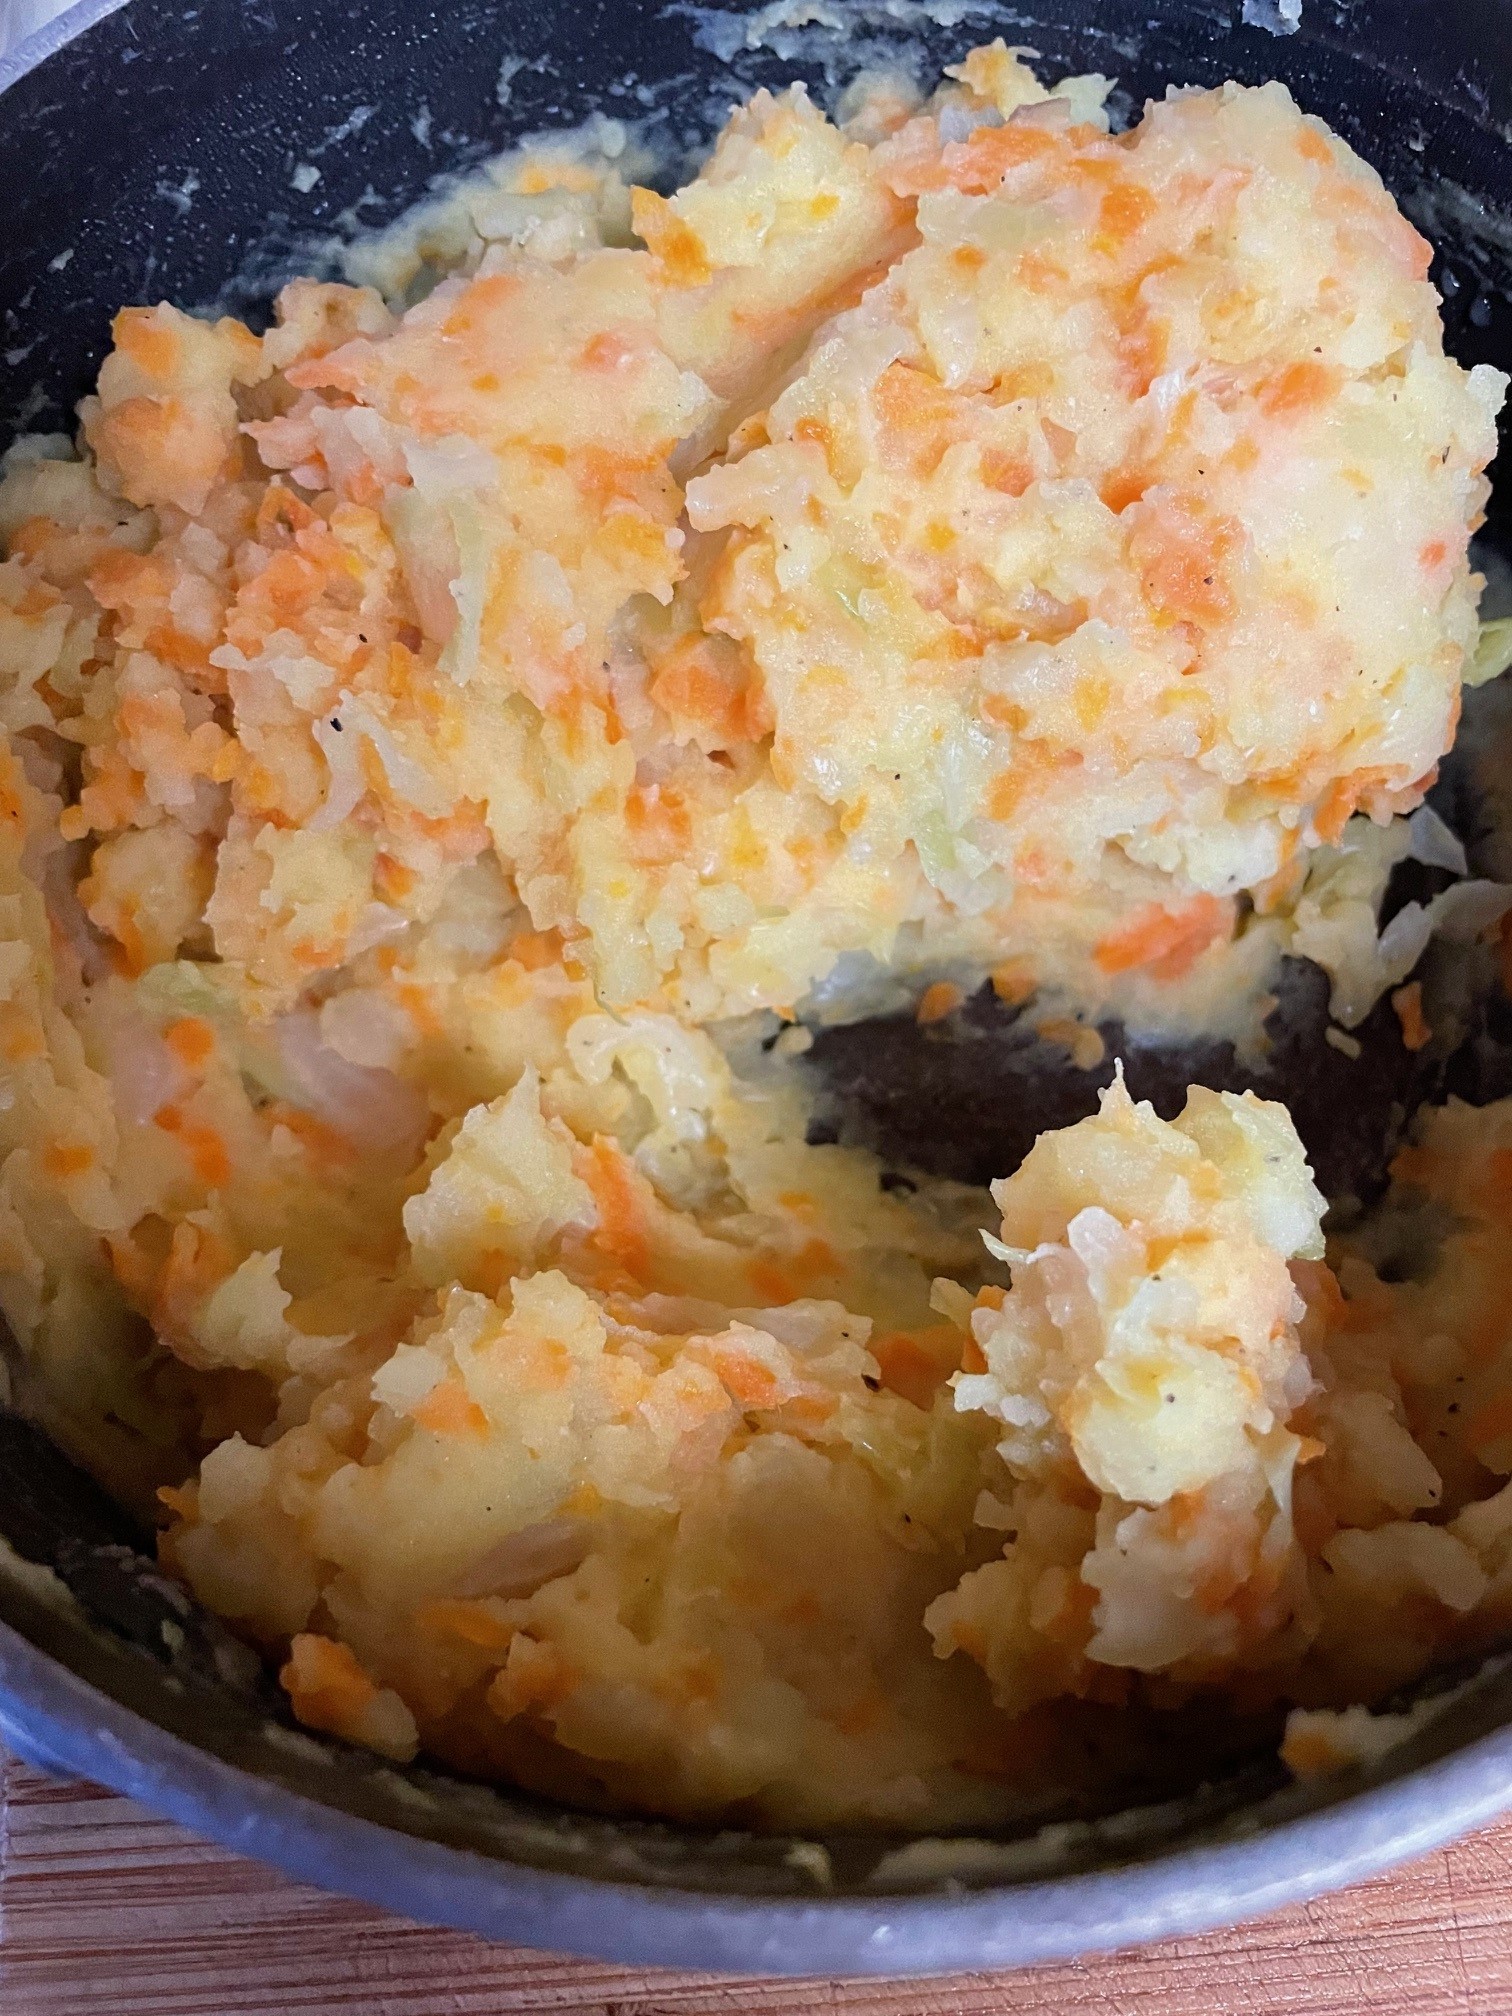
Make mashed potatoes: Cut the potatoes into manageable chunks for boiling and boil until they are cooked. While they are still warm, mash them and stir in milk until they are a firm mash, not too loose. Stir in salt and pepper.
While the potatoes are cooking: Heat olive oil in skillet and stir fry cabbage and carrots until very soft. Sprinkle with salt and pepper.
Stir the cabbage and carrot mix into the mashed potatoes and mix together very well. Set aside to cool to room temperature.
Mix the egg and flour into the mashed mixture.
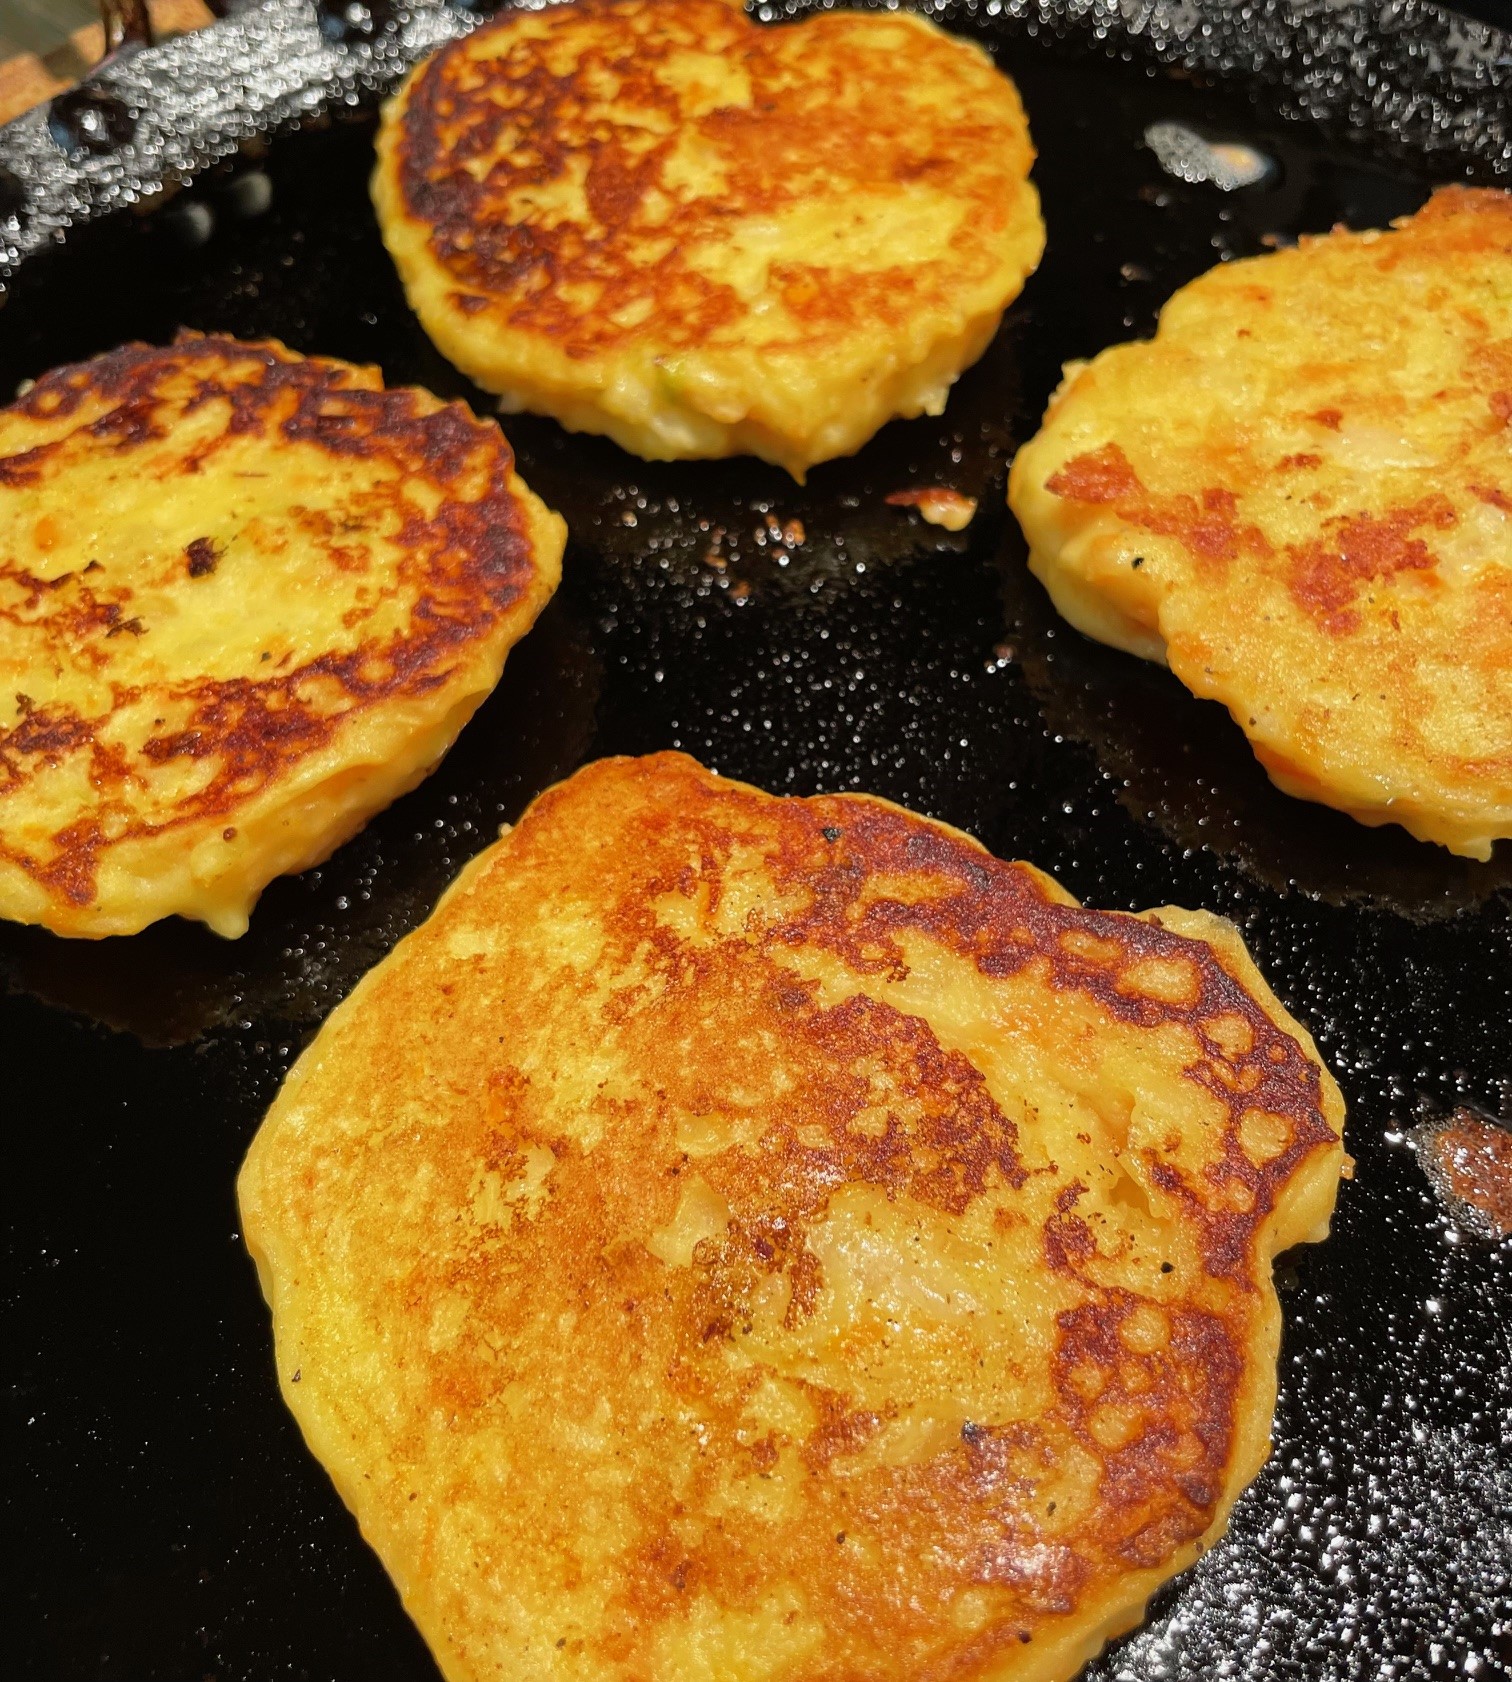
On an oiled medium-hot griddle, dollop about 1/4 cupfuls of mix. Spread the batter around to make the cakes about 1/2″ thick. Once the bottoms are browned, flip over and brown the other side. Make sure the cakes are heated through by using a medium temperature so they don’t get browned too quickly. Yield is about a dozen cakes.
NOTE: These are an excellent side dish for roast chicken or beef stew. I had leftover potatoes, cabbage, and carrots from a corned beef dinner one St. Patrick’s Day and I made these cakes the next day. Wow! They are really tasty. Another time, I added scallions. I suppose you could jazz them up with any number of vegetables or flavorings. In the photos, I used rendered chicken fat/butter to fry my cakes. I had browned a whole chicken in butter and instead of discarding the fat, I fried the cakes in it. These could be made gluten-free by using gluten-free flour instead of regular flour. The dish isn’t at all fussy, so do what you want! I also like these leftover cakes served with eggs for breakfast.


- Ingredients for 9 cups (12 lb. turkey)
- 3/4 cup minced onion
- 1-1/2 cups chopped celery
- 1 cup butter
- 9 cups soft bread cubes
- 2 tsp. salt
- 1-1/2 tsp. crushed sage leaves
- 1 tsp. thyme
- 1/2 tsp. pepper
In a large skillet, cook and stir onion and celery in butter until onion is tender. Stir in about 1/3 of the bread cubes. Turn into a deep bowl. Add remaining ingredients and toss. Stuff turkey just before roasting.
NOTES: Recipe from Betty Crocker’s Cookbook (1969 General Mills, Inc., Minneapolis, MN). It says to “allow 3/4 cup stuffing per pound of ready-to-cook chicken or turkey. A 1 to 1-1/4 Rock Cornish Game hen requires about a cup of stuffing. Allow 1/4 to 1/3 cup stuffing for each rib pork chop and about 1/2 cup per pound of dressed fish.”
I am not a big fan of stuffing so I don’t make this often. People who are fans of stuffing have given this rave reviews. It’s all that butter, Folks. Today (23 Nov 2023) I am using Onion Bread, so I’m not going to use as much onion as called for in the recipe. The onion bread turned out FABulous! I used about 3/4 of the loaf in the stuffing. Just enough of the loaf leftover for 2 Turkey Salad Sandwiches. Delish!

- Ingredients
- 2 Tbsp. butter
- 1/2 onion, sliced
- 2 Tbsp. flour
- 2 Tbsp. olive oil
- 1 cup milk
- 1 cup pumpkin puree
- 1/2 tsp. black pepper
- 1/2 tsp. salt
- 1 tsp. paprika
- 1 tsp. sage
- 2 cups Gruyere cheese, shredded
- 1 small head cauliflower, cut into florets
Preheat oven to 425 degrees F.
Melt butter in oven-safe skillet over medium heat. Add onion and sauté until soft. Stir in olive oil and flour. Continue heating and stirring until the onion and flour mixture has formed a paste. Stir in the milk. Continue stirring until the mixture is bubbling. Stir in pumpkin and spices until evenly mixed. Stir in the cheese a handful at a time until it is melted and you have a smooth sauce. Remove from heat and stir in the cauliflower florets until all are well coated with sauce. Bake at 425 degrees for 25-30 minutes. If you would like the top to brown more, pop the dish under a broiler for a few minutes. Serve!
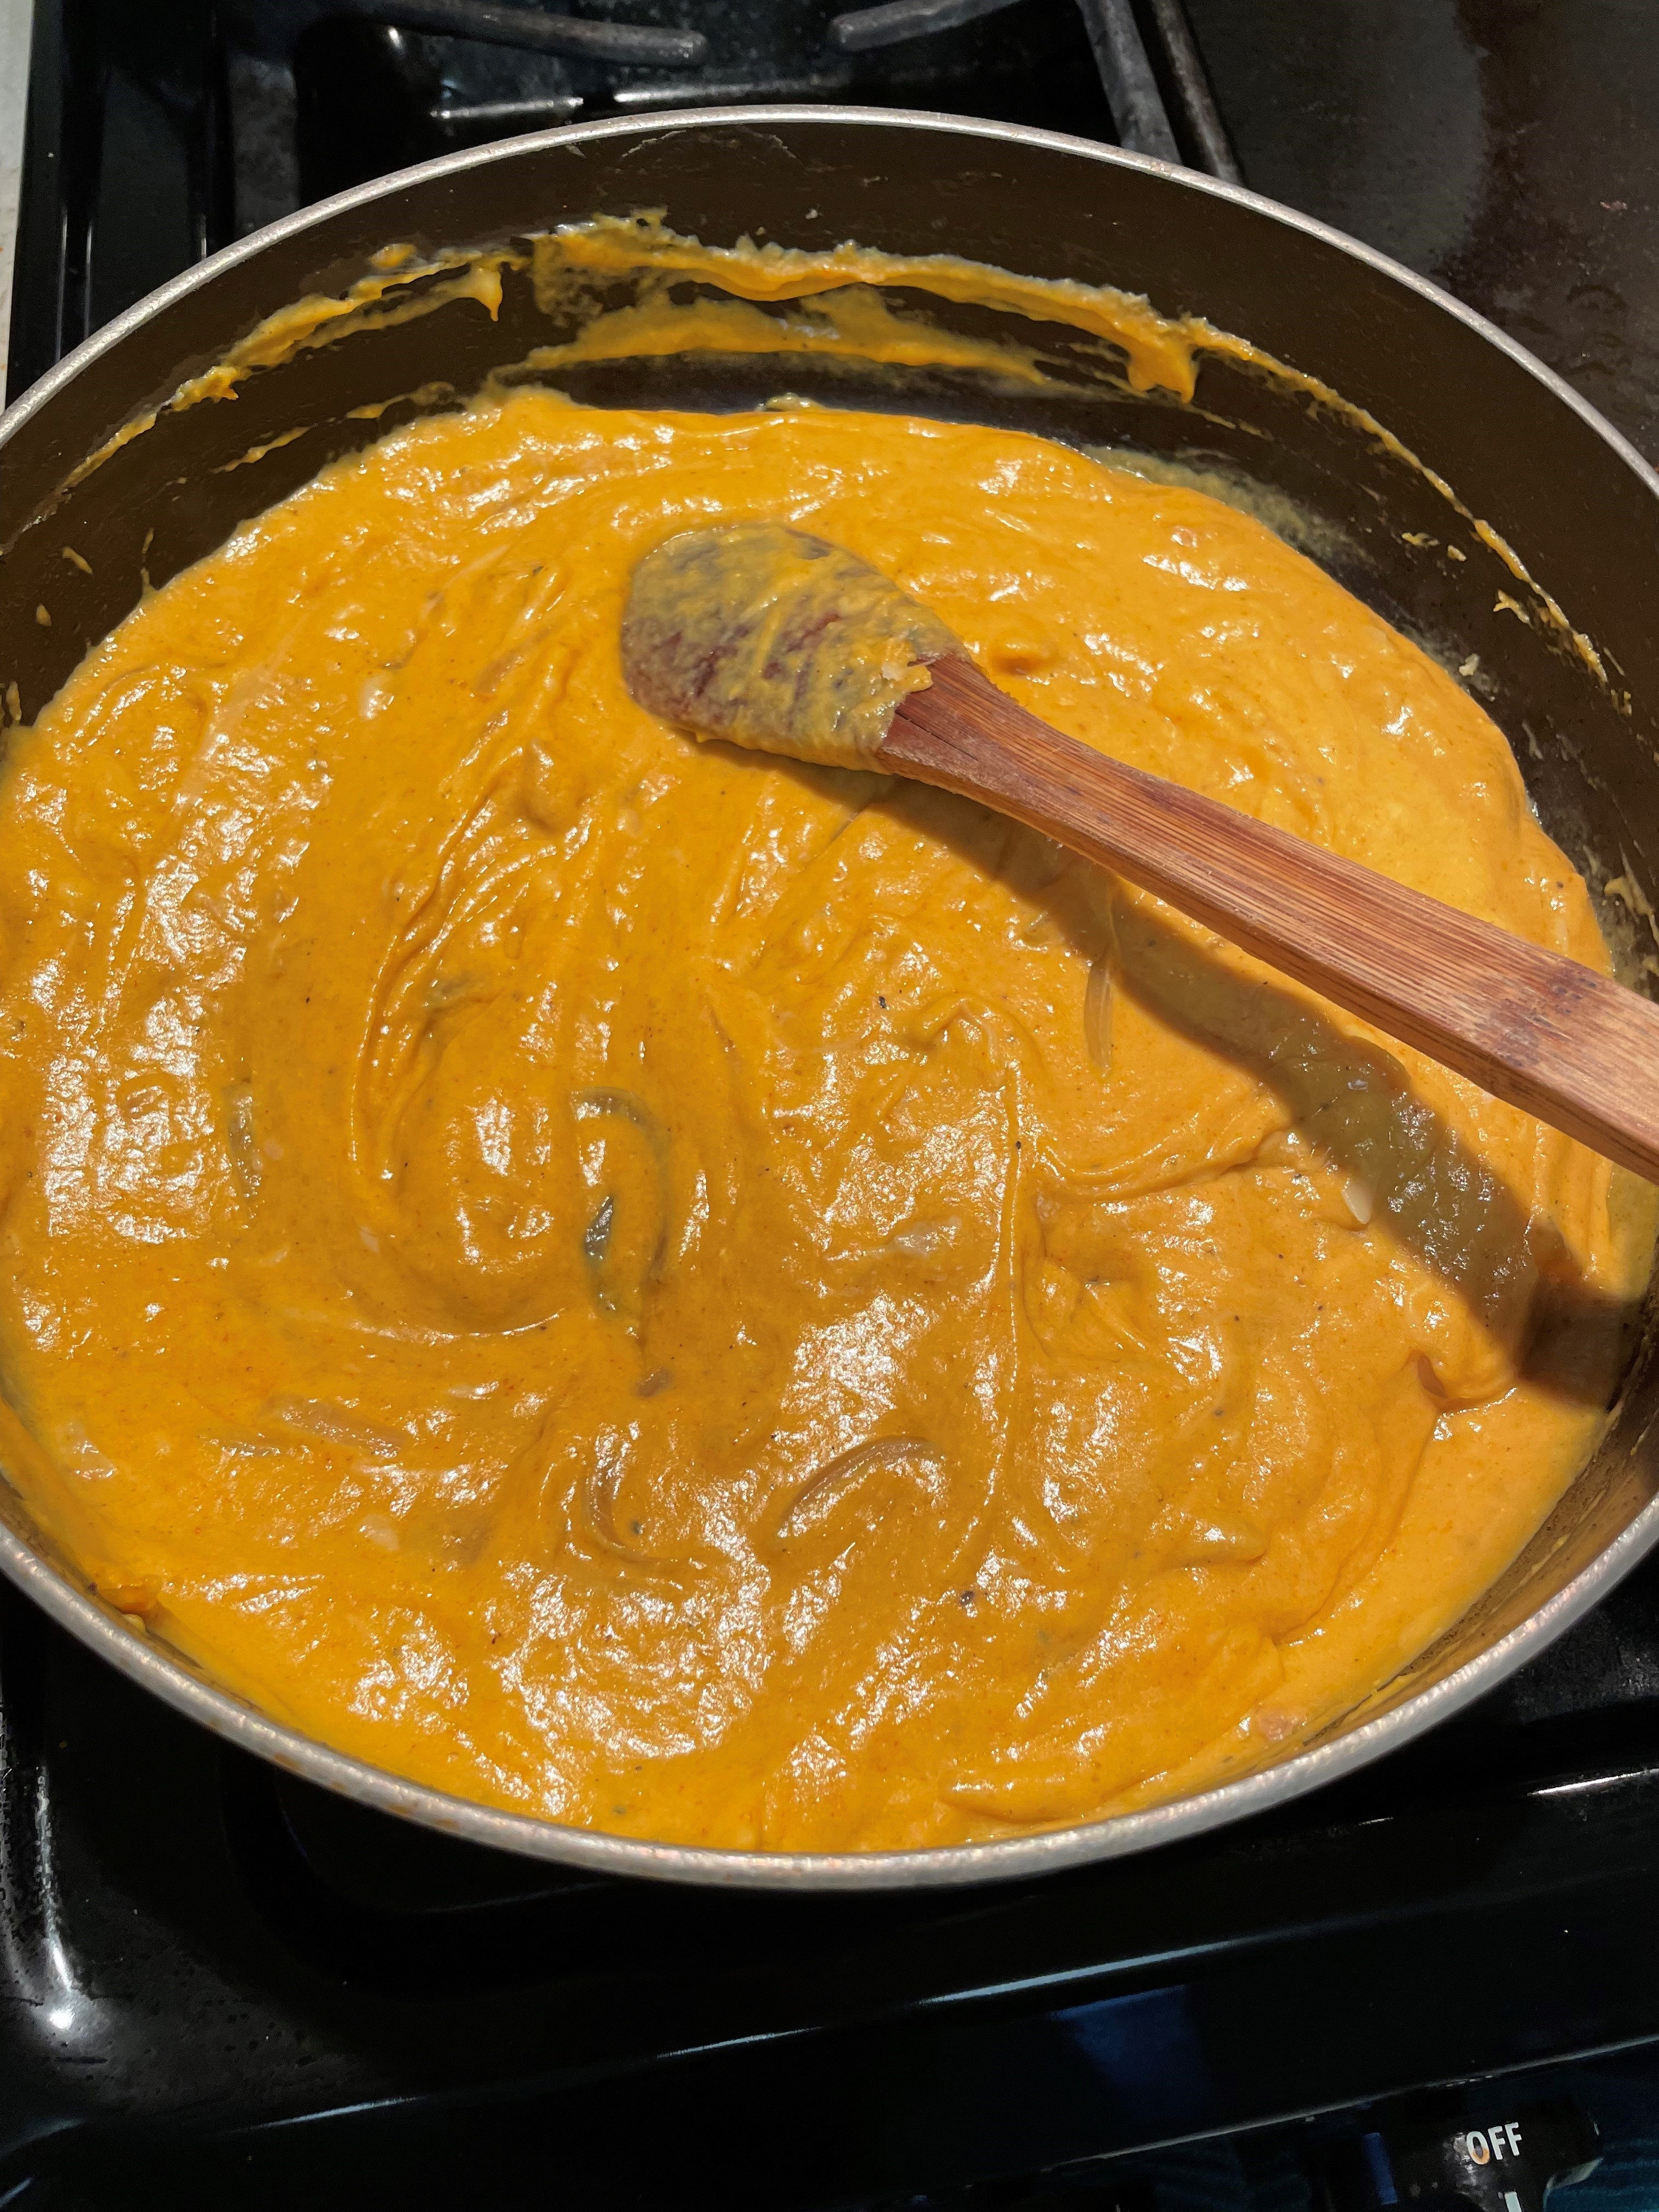

NOTE: It’s funny how one thing leads to another. My cousin texted me that she had made my Pumpkin Apple Muffins. I thought that sounded really good, so I made them, too. But then I had a cup of leftover pumpkin. What to do, what to do. This recipe from wellandfull.com sounded like just the ticket to use the leftover pumpkin. And since I’ve been perfecting my Mac and Cheese recipe, I happened to have Gruyere on hand as well. Amazing! This Pumpkin Cauliflower Gratin is rich and really delicious. I liked that I didn’t have to cook the cauliflower ahead of time.

- Ingredients
- 1-1/2 cups Gruyere, shredded
- 1-1/2 cups sharp white cheddar, shredded (or sharp yellow cheddar as pictured)
- 8 oz. macaroni pasta
- 1/4 cup butter
- 1/4 cup flour
- 3/4 cup milk
- 1-1/4 cups half n half
- 1 tsp. salt
- Pepper
- Dash of paprika
Preheat oven to 325 degrees F. Prepare an 8″ square baking dish by spraying with non-stick spray.
Mix the cheeses together. Set aside.
Cook macaroni pasta until al dente, according to package directions. Rinse lightly. Drain. Set aside.
In a large saucepan, make a roux by melting the butter and mixing in the flour. Stir over heat until bubbly. Stir in milk and half n half. Heat while stirring until the mixture is thick. Remove from heat and add salt, pepper to taste, and paprika. Stir in 1/2 cup mixed cheese. Stir in another 1/2 cup of cheese. At this point, withdraw approximately 1-1/2 cups of sauce from the saucepan and set it aside.
Stir the pasta into the sauce that remains in the saucepan. Pour half the pasta mixture into the prepared baking dish. Sprinkle with 1 cup mixed cheese. Add the other half of the pasta mixture into the baking dish. Sprinkle with remaining cheese. Bake 15-20 minutes at 325 degrees F until cheese is melty and bubbly.
Reheat the sauce you set aside and ladle some over the top of the individual servings of Mac and Cheese as you serve them.
This is simply awesome with my Barbecue-Style Pulled Pork. One half the bowl pulled pork and the other half mac and cheese with extra sauce. You’re welcome.
Note: on October 11, 2022 I stood in line for what seemed like forever (probably an hour) at Hash Smash in London’s Borough Market. All I knew was that I wanted to eat local cheese for my first time in England and we were in the cheese section of the market. We couldn’t get through to the front of the line to see what we were getting, we just took a spots at the end of the queue and waited to see what was being served. It did not disappoint. Mac and Cheese with Barbecue Pulled Pork sounds so American, but I have never had such deliciously cheesy pasta as that day on the sidewalk, eating out of paper baskets with plastic forks. I’ve been trying to recreate the dish for the past year and this is close. Very, very close. The recipe begins at the chunky chef. Lastly, I apologize for the poor photo. I keep forgetting to take a picture before we dive into it.
- Ingredients
- 1/4 cup olive oil
- 1 onion, finely diced
- 5 cloves garlic, minced
- Salt and pepper
- 1 lb. fresh green beans
- 1 14-oz. can diced tomatoes
- 3/4 cup water
- 1/2 lemon juice
- 1 handful fresh dill
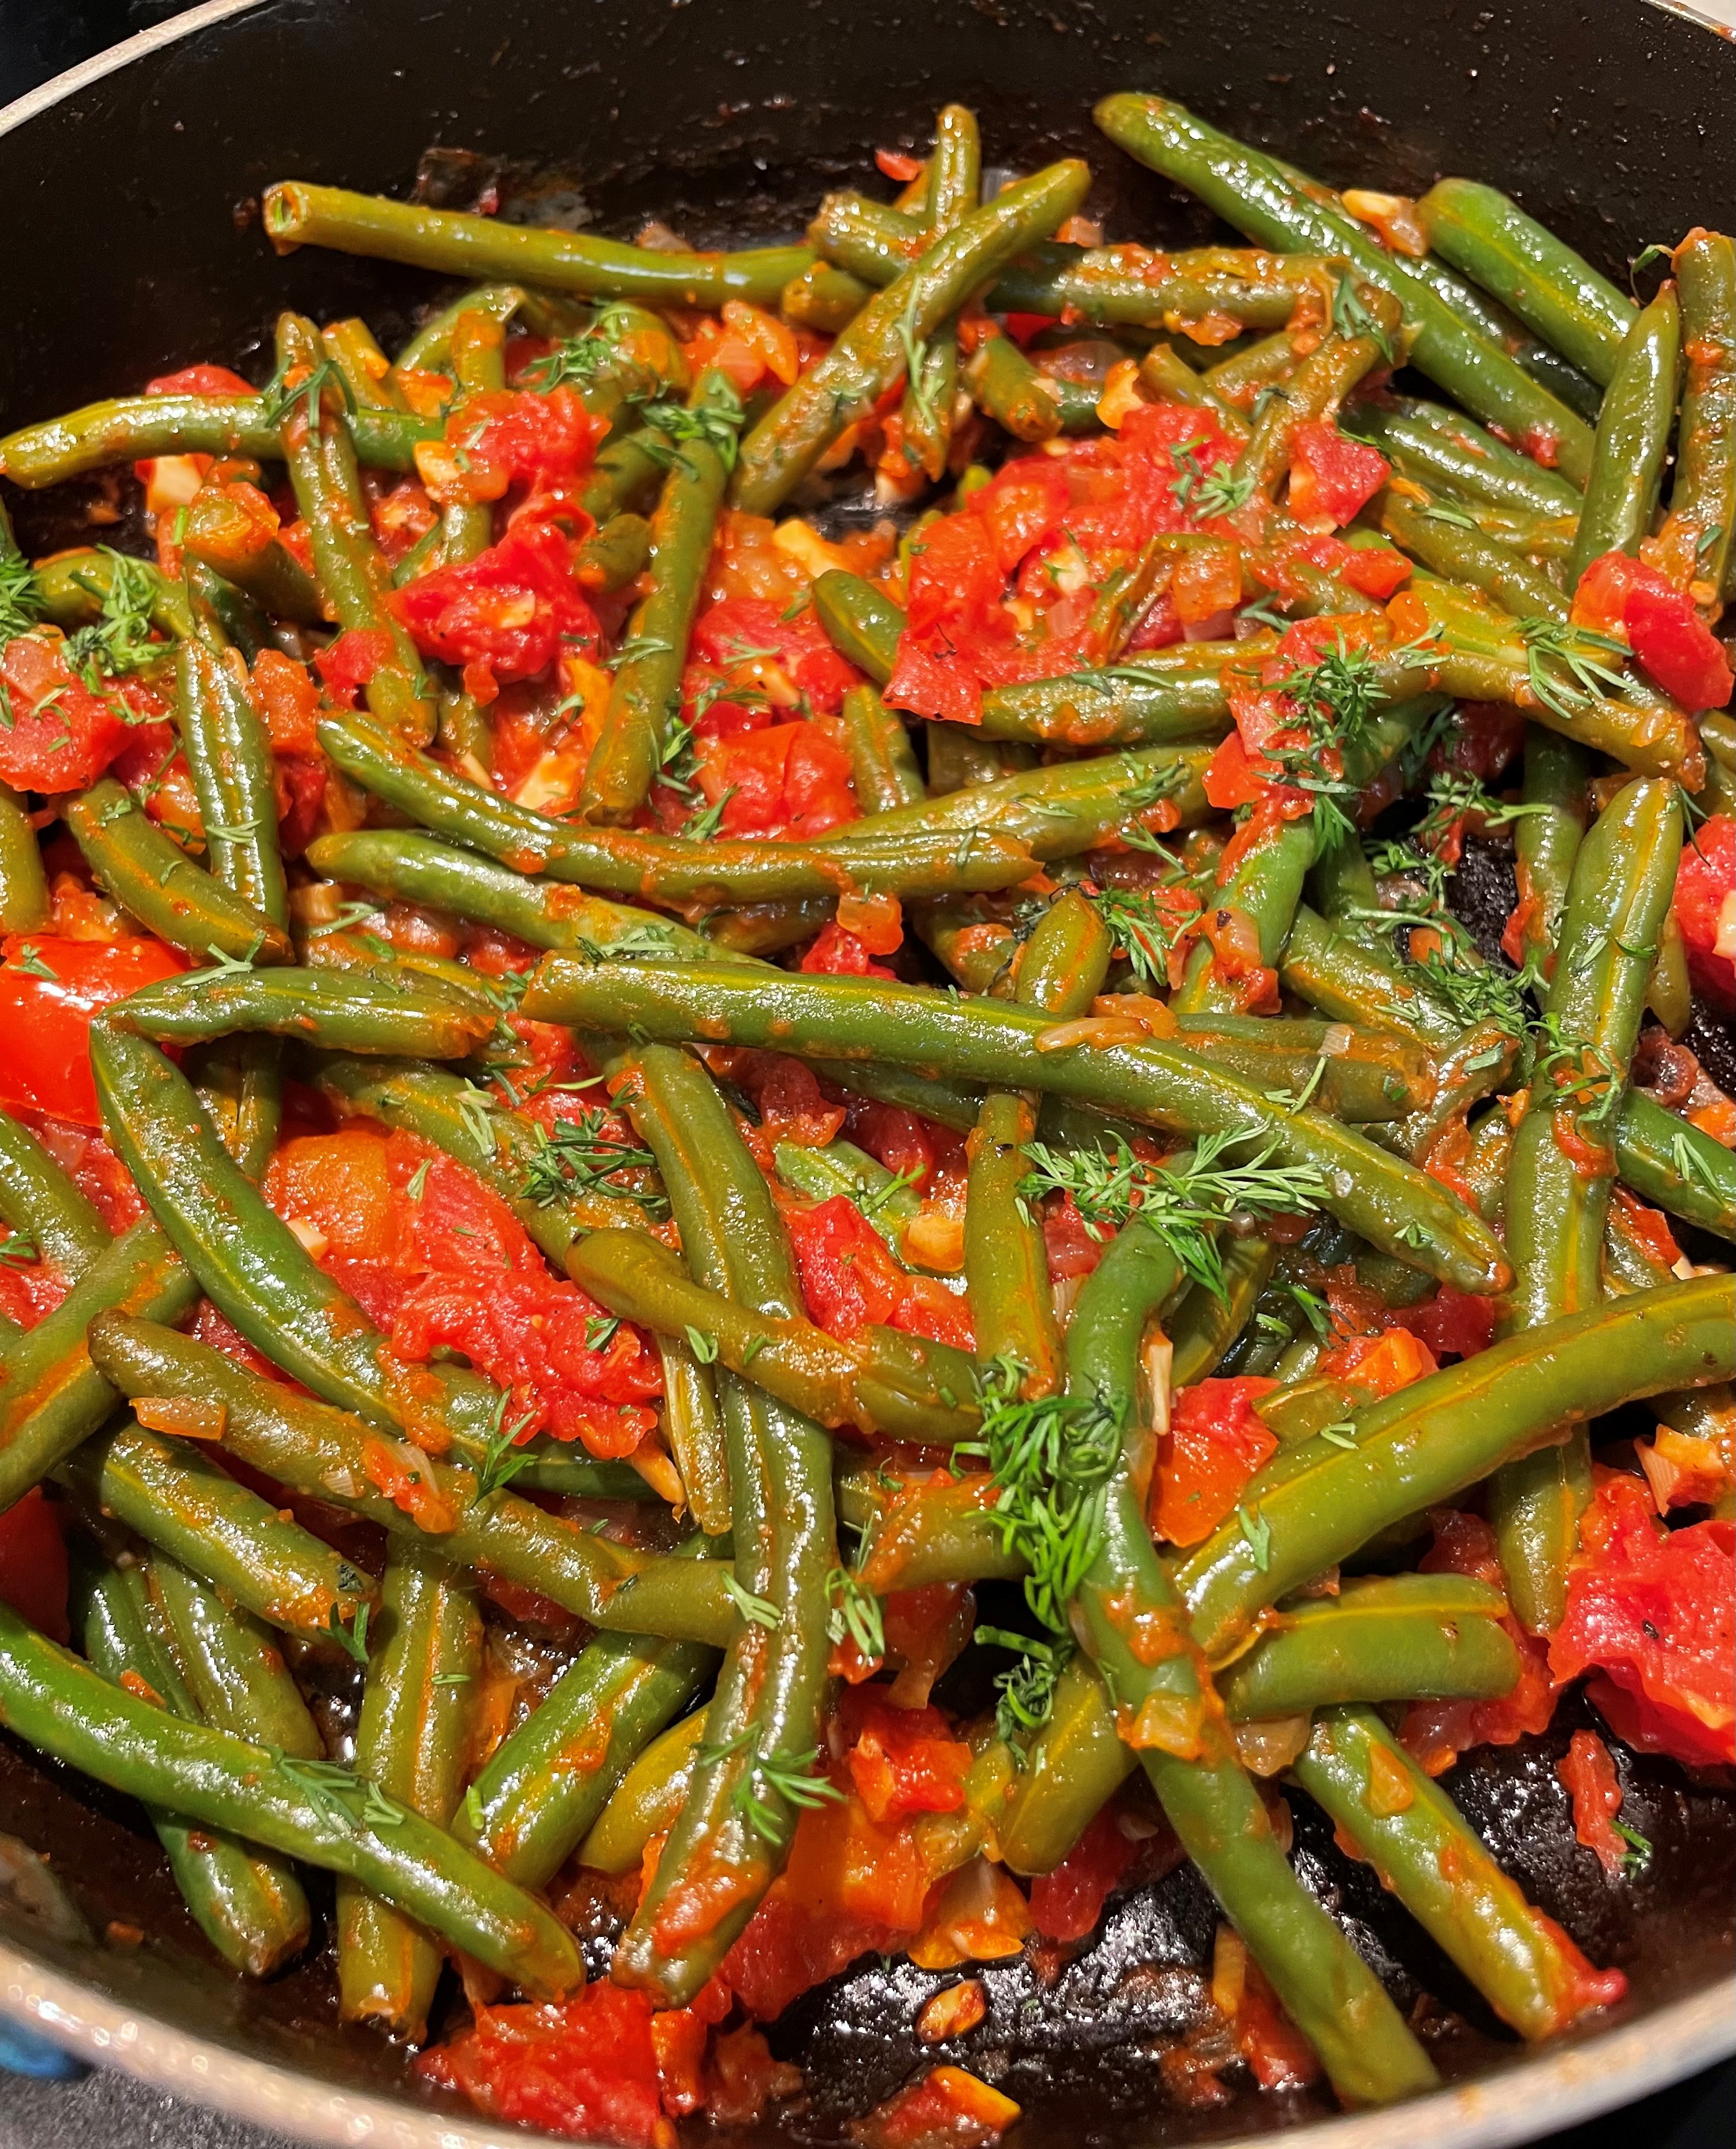
In a skillet, heat olive oil. Stir fry onion over medium heat until nearly transparent, then stir in garlic. Sprinkle with salt and pepper. Stir in the green beans. Make sure they are well-coated with the onion-garlic mixture. Stir in tomatoes and water. Let simmer about an hour, uncovered, stirring frequently. The tomato should cling to the beans by the time an hour is up. Just prior to serving, check the salt and pepper, sprinkle with lemon juice and fresh dill.
NOTES: I don’t eat green beans often, not a huge fan, but I do like them like this. It’s very flavorful. I originally acquired the recipe from Great British Chefs.

- Ingredients
- Zucchini
- Olive oil
- Seasoned Salt (any kind)
- Pepper
- Balsamic vinegar
Preheat the oven to 450 degrees. Yes, very hot.
Cut each zucchini lengthwise in half. Cut in half lengthwise again. Now cut in half cross-wise. Each zucchini should yield eight long pieces. If your zucchini are ginormous, you’ll have to make extra cuts, but you can figure it out.
Prepare a baking sheet by covering with foil. Swazz some olive oil around on it. Using your hands, dredge the zucchini through the olive oil so that the zukes are well coated. Place the zucchini skin-side down on the baking sheet in a single layer. Keep the zukes well-spaced from each other. Sprinkle with your favorite seasoning salt and pepper. I like to use Angelo’s Gourmet Seasoning.
Roast for 8-15 minutes. This usually takes about 10 minutes. Don’t touch them. Remove from oven and sprinkle with balsamic vinegar. Serve hot. Oh, yum! So good!
