You are currently browsing the monthly archive for October 2018.

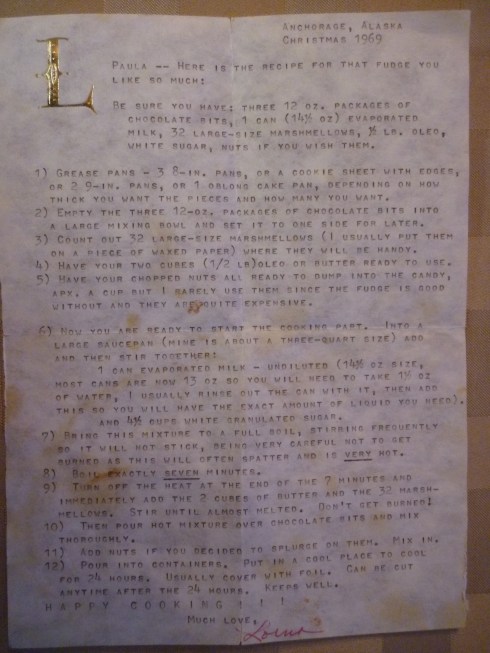
This recipe was given to me as a Christmas gift from Lorna Dingledy, a good friend of my mother, at Christmas 1969. In the package was everything needed to make the recipe. Her directions were spelled out step-by-step. You can see the actual recipe here, but I’m going to re-write it for easier reading. The reason I like this fudge recipe best is that it’s really smooth, not at all grainy.
Be prepared that this makes a lot! Have a good plan for sharing. The number and size of your pans depends upon how thick you want each piece of fudge to be. I use a 13×9″ and a 10×15″. Make sure to butter your pans or line them with parchment paper. What a marvel parchment paper is!
Ingredients:
36 oz. semi-sweet chocolate chips
32 regular-size marshmallows
1/2# butter (2 sticks)
1-3/4 cups evaporated milk (NOT sweetened condensed milk)
4-1/2 cups sugar
1 cup chopped walnuts (optional-I do not use them)
Put the chocolate chips in a bowl and set aside. Count out 32 marshmallows onto wax paper and set aside. Open the butter to have it ready. If the butter is cold, try to rough chop it so it melts more quickly.

In a large saucepan stir together evaporated milk and sugar. Bring to a boil and, stirring frequently, let it boil for exactly seven minutes. Remove from the heat and immediately add the marshmallows and butter. Stir until those are all melted. Stir in the chocolate chips and mix thoroughly. It will be quite thick. Add the chopped nuts if you decided to use them.


Spoon the warm fudge into the prepared pans. Smooth the tops. Let cool. Cover and keep in a cool place for 24 hours. Cut into pieces and serve. This fudge keeps very well for a long time. I leave it out on the counter, but I’m in a cold climate and that may not work as well where you are. I’ve also found that it freezes well. This is a LOT of fudge. And it is so, so yummy!


I like to use the recipe from twopeasandtheirpod.com. Growing up, one of my favorite meals was those little chicken pot pies that were bought frozen and then baked. I would flip mine upside down into a bowl and dive in. So much salty, salty goodness. But now I’ve found that making my own is better!
Ingredients:

1/4 cup butter
1/3 cup diced onion
1 cup diced carrot
1/2 cup diced celery
2 cloves minced garlic
1/3 cup flour
1 tsp. dried thyme
1 Tbsp. dried parsley
1 tsp. salt
1/2 tsp. pepper
1-3/4 cup chicken broth
1/2 cup heavy cream
3 cups shredded chicken (or leftover turkey)
1 cup frozen peas
Pastry for a two-crust pie
1 egg, beaten
Melt butter in large skillet and saute onion, carrot, and celery until tender. Stir in garlic and continue to saute until garlic is fragrant, about a minute. Stir in flour, thyme, parsley, salt, and pepper. Let saute until flour is well incorporated and bubbly. Stir in chicken broth and heavy cream. Continue stirring until it boils, then reduce heat and let it simmer until it is thick, about 10 minutes.
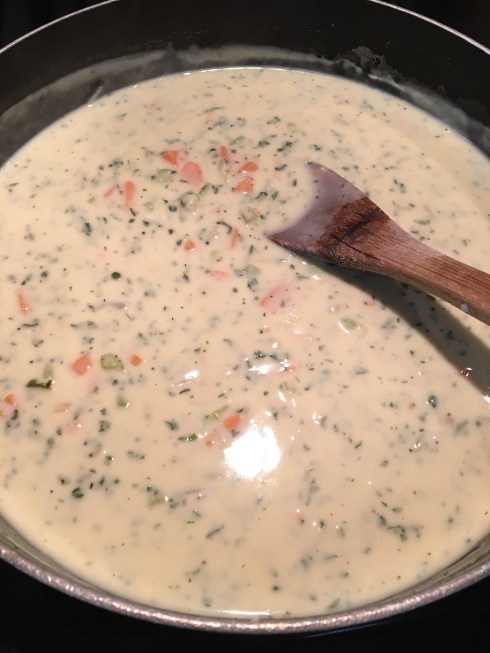
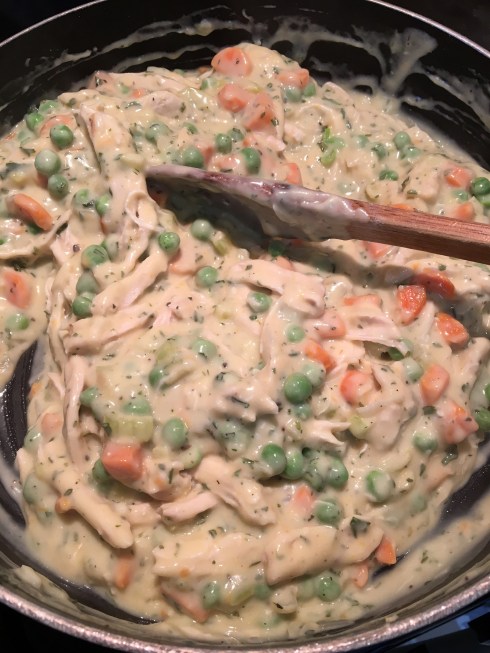
Once it is thick, remove from heat and stir in chicken and peas. Preheat oven to 400 degrees F.
Set one pastry into 9″ pie plate. Spoon in the filling. Cut slits into the second pastry and then place it on top of filling, pinching the edges with the bottom crust to seal as best as possible. Brush beaten egg across the crust to give it that lovely golden color. Bake for 45-55 minutes, until you see the filling bubble through the top pastry slits.
Note: I don’t usually have cooked chicken or turkey, so I cook it in water with onions, celery, and/or carrots. Then I use that liquid for the broth called for in the recipe and the chicken for the shredded chicken.
Once again I’m reaching into Preserving by Oded Schwartz (Dorling Kindersley, 1996). What an amazing and wonderful book. Mostly I wanted to remember how I did this, where I got the recipe. I processed these in pint jars. They look good.


20 Aug 2019 update: these turned out to be a tart pickle, but very tasty. This year I have processed them in smaller jars, half-pint and 3/4-pint size so we can enjoy them throughout the winter. It adds a bit of variety to lunch. Processing time for these smaller jars was fifteen minutes in a water-bath canner. I would do twenty minutes in larger jars.
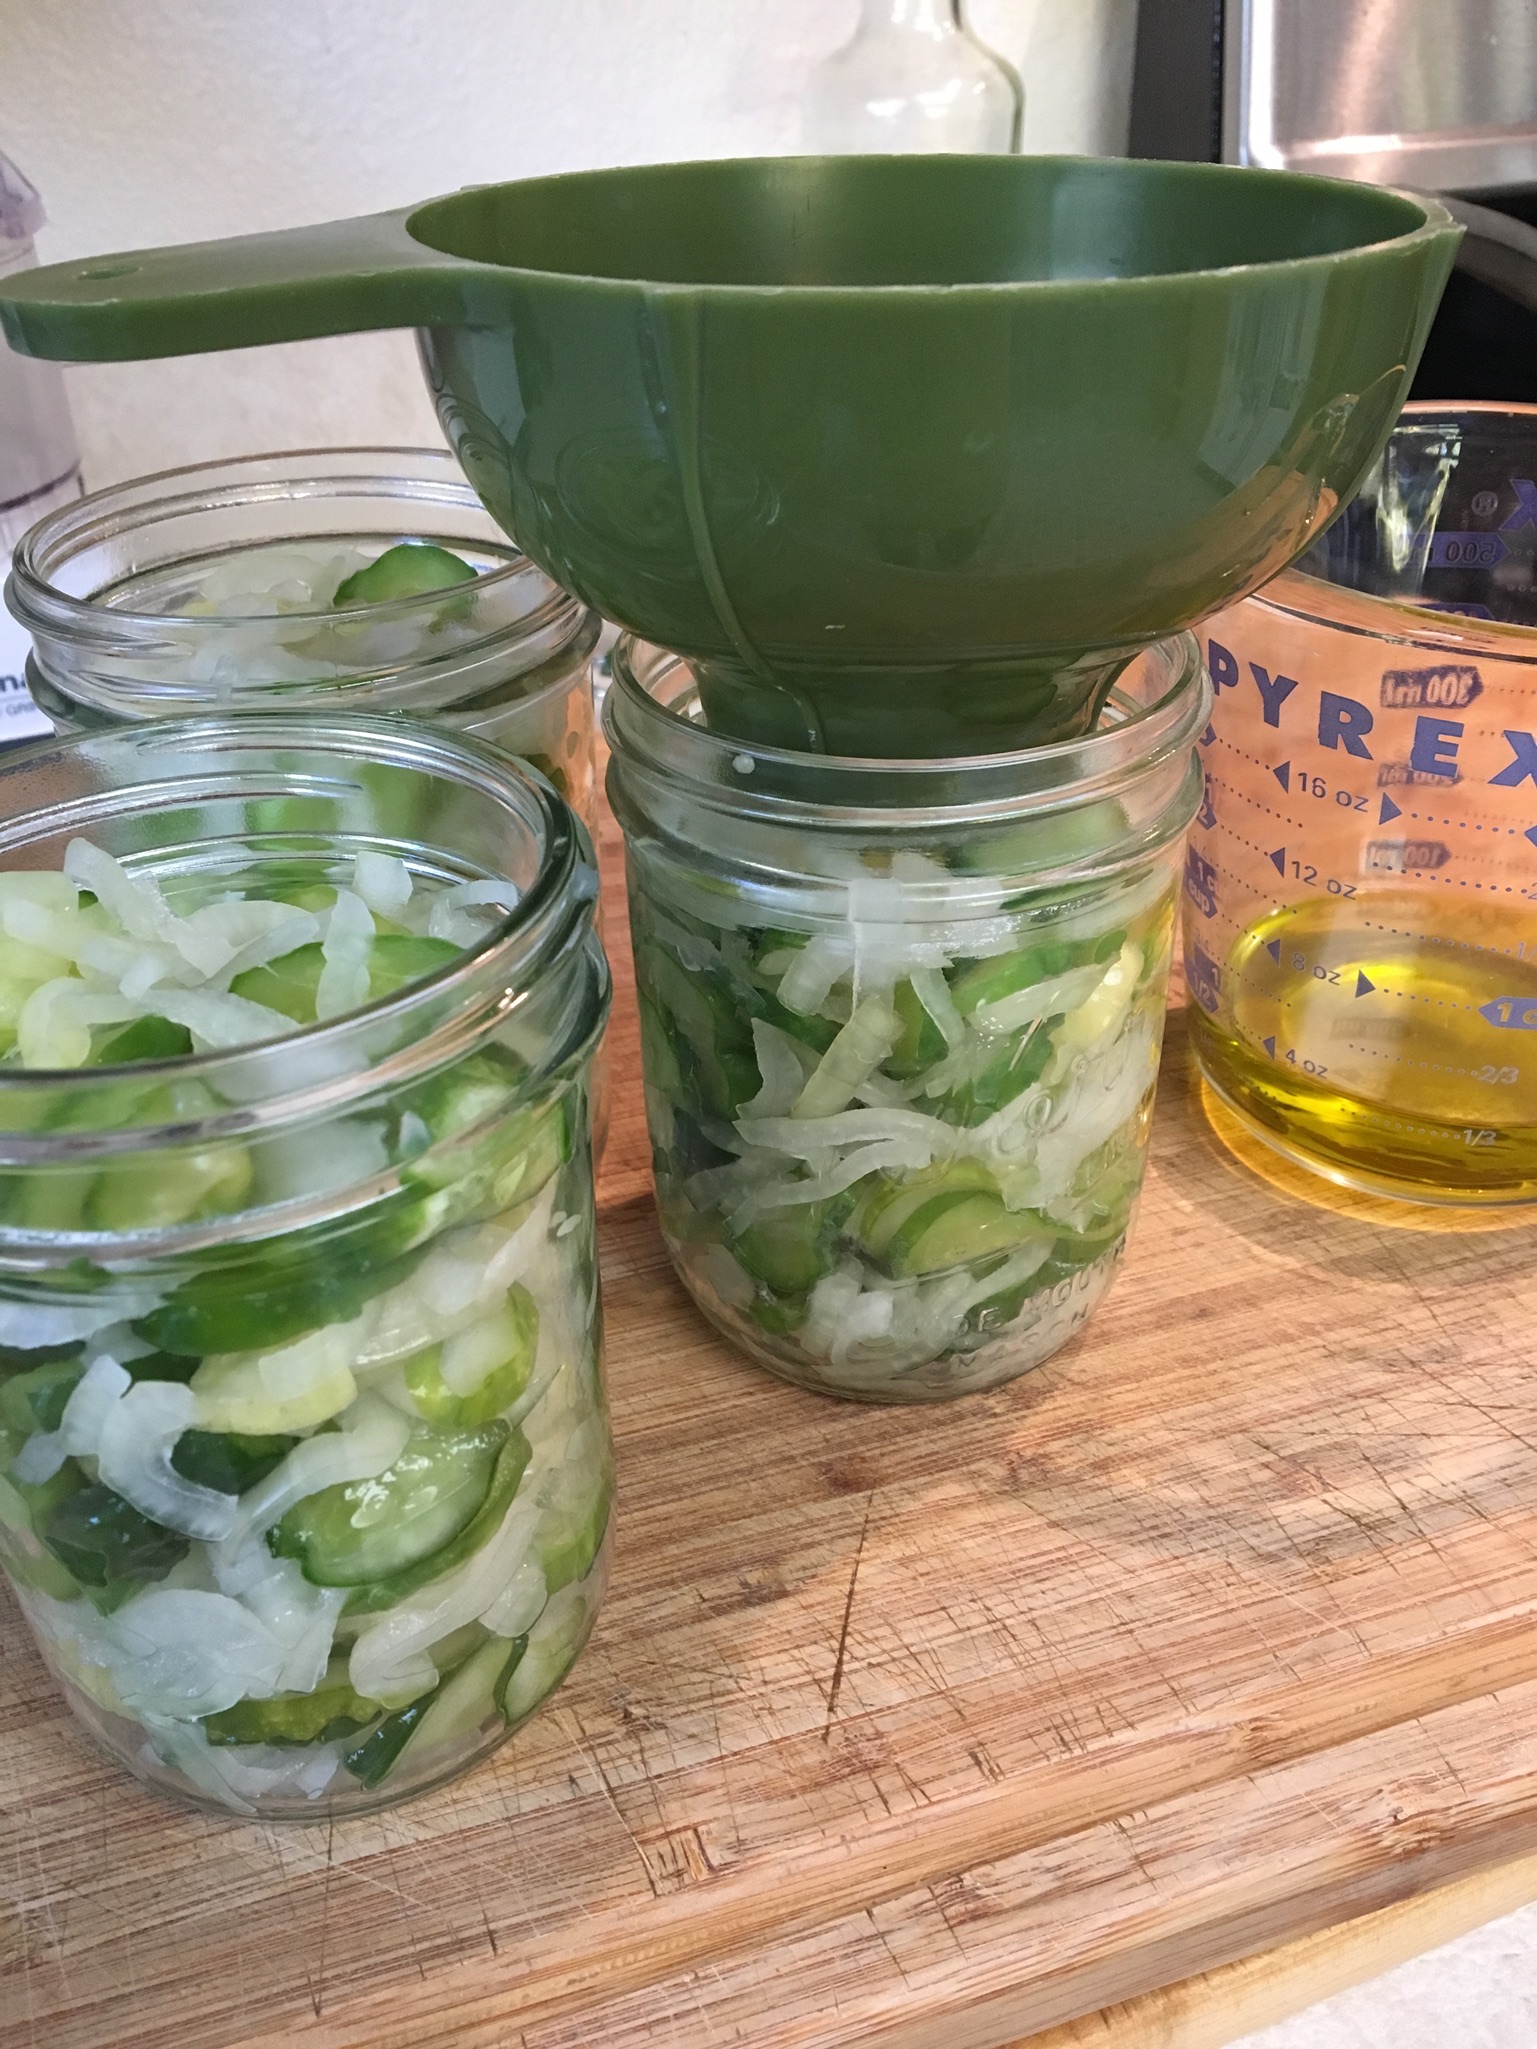
So I heard a local radio guy go on a rant about what a dirty trick it was to use dill pickle relish instead of sweet pickle relish in potato salad and/or tuna salad. I have to say that I agree with him. I never expect that sour pickle flavor in those dishes. His rant was on my mind the entire time I was making this dill pickle relish. I had so much cucumber though, what else could I do! I won’t be using it in potato salad or tuna salad, that’s for sure. I’m not sure what I’m going to do with it. Here is the recipe just in case I come up with some fantastical use for it this winter and need to do it again next fall.
The recipe comes from cottageatthecrossroads.com. I made half of her recipe and it was four pints. I used half-pint jars. It was very simple to make. Here is how I did it.

Ingredients:

4 lbs. cucumbers, chopped
1/4 cup canning/pickling salt
1 tsp. ground turmeric
2 cups water
1-1/4 cups onions, chopped
1/4 cup (SCANT) sugar
1 Tbsp. dill seeds
2 cups white vinegar
In a food processor fitted with the S-blade, working in batches, finely chop the cucumbers, transferring them to a large glass bowl. Sprinkle with salt and turmeric and mix with hands. Add water, cover, and let stand for 2 hours. Drain through a XXX and rinse with cool water. Fill the glass bowl with water and place the cucumber in it again, then drain through the XXX again. Using your hands, squeeze out as much water as you can.
Prepare your canner, jars, and lids.
Process the onions in the food processor so that they are finely chopped, like the cucumber. Place them into a large pot. Stir in the cucumber, sugar, dill seeds, and vinegar. Bring to a boil over medium-high heat. Reduce heat and simmer, stirring occasionally, until slightly thick and vegetables are heated through, about 10 minutes.
Ladle hot relish into hot jars, leaving 1/2-inch of head space. Run a table knife around the jars to remove any air bubbles and adjust the headspace, if necessary, by adding more hot relish. Wipe the jar rims and screw lids onto jars.
Process in hot water bath canner for 15 minutes. Makes four pints.
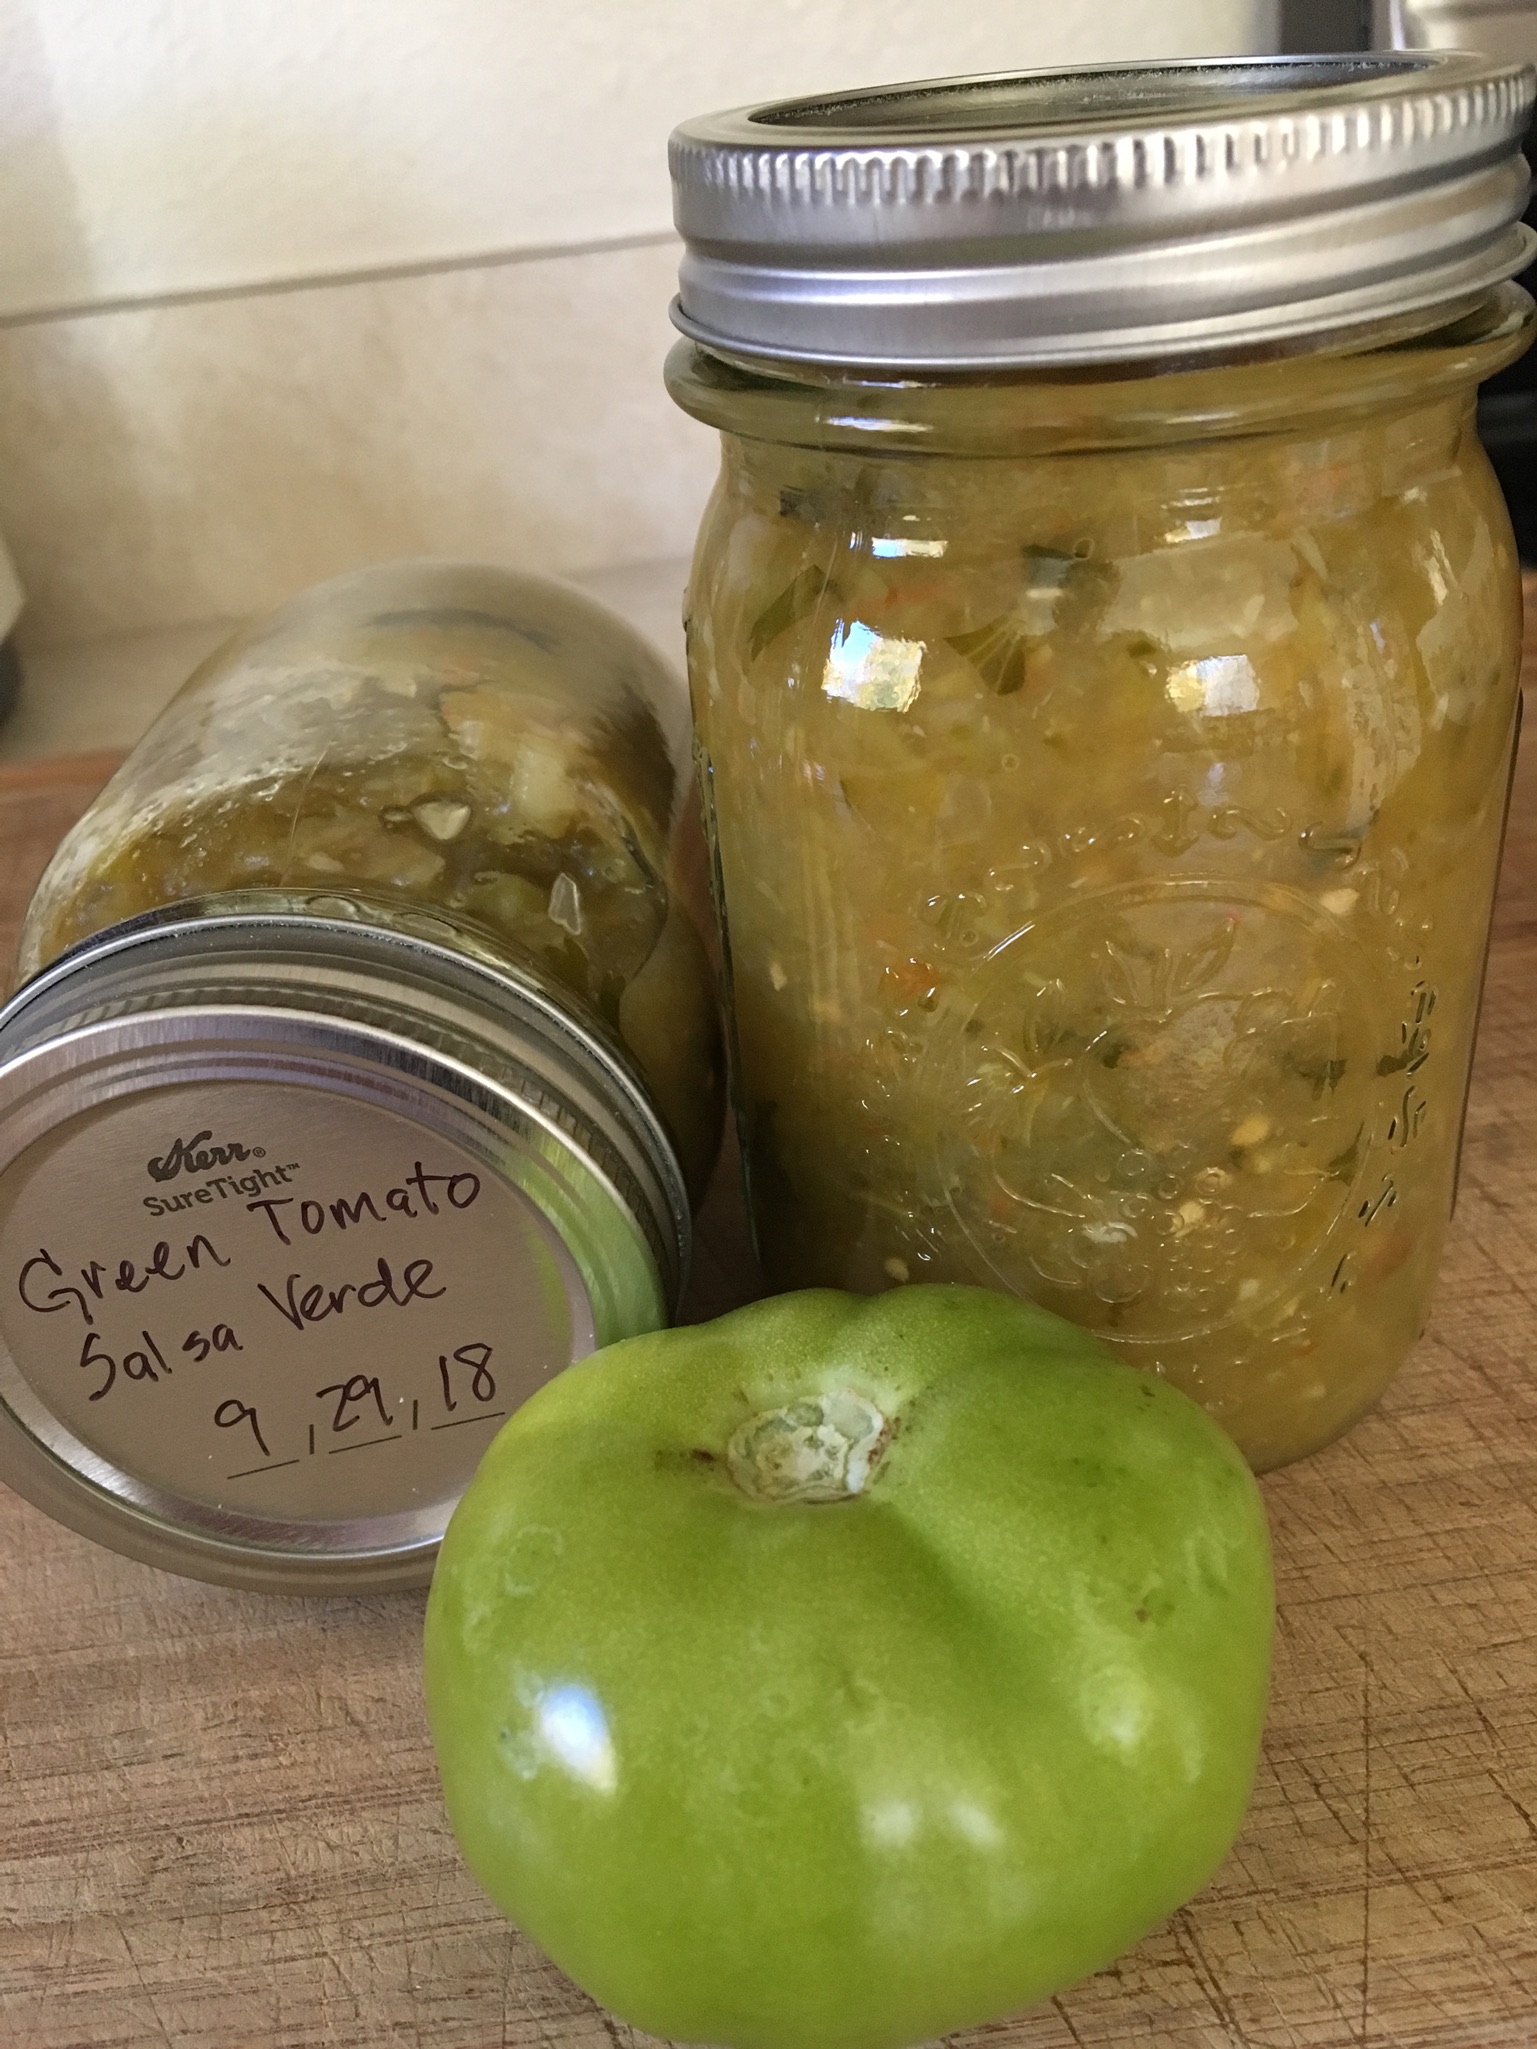
So, this is now my favorite green tomato recipe. I found it at MontanaHomesteader.com. I was making so many pickle-type things yesterday, it’s hard to keep it all straight.
This recipe makes about three pints. I water-bath canned two pints and then used the remainder for dinner. I had some leftover Cuban-style pork roast, so I layered a few corn tortillas, salsa verde, meat, and cheese. Then another layer of tortillas, salsa verde, and cheese. Baked for 35 minutes and delish!!
Ingredients:
7 cups green tomatoes, cored and rough chopped
2 jalapeño peppers, seeds removed, chopped
2 cups onion, rough chopped
3 cloves garlic, minced
1/2 cup lime juice
1/2 cup cilantro
1 tsp. salt
In batches, run the green tomatoes through a food processor fitted with the S-blade so that it’s very small pieces. Be careful not to over-process into mush. Place green tomatoes into a very large pan. Now run the jalapeño peppers, onion and garlic through the food processor and add to the pan. Stir in lime juice. Bring to a boil and let simmer for ten minutes. Stir in cilantro and salt. Remove from heat.
Ladle it into pint jars, top with lids, and water-bath process for ten minutes. Voila! Yield: 3.5 Pints

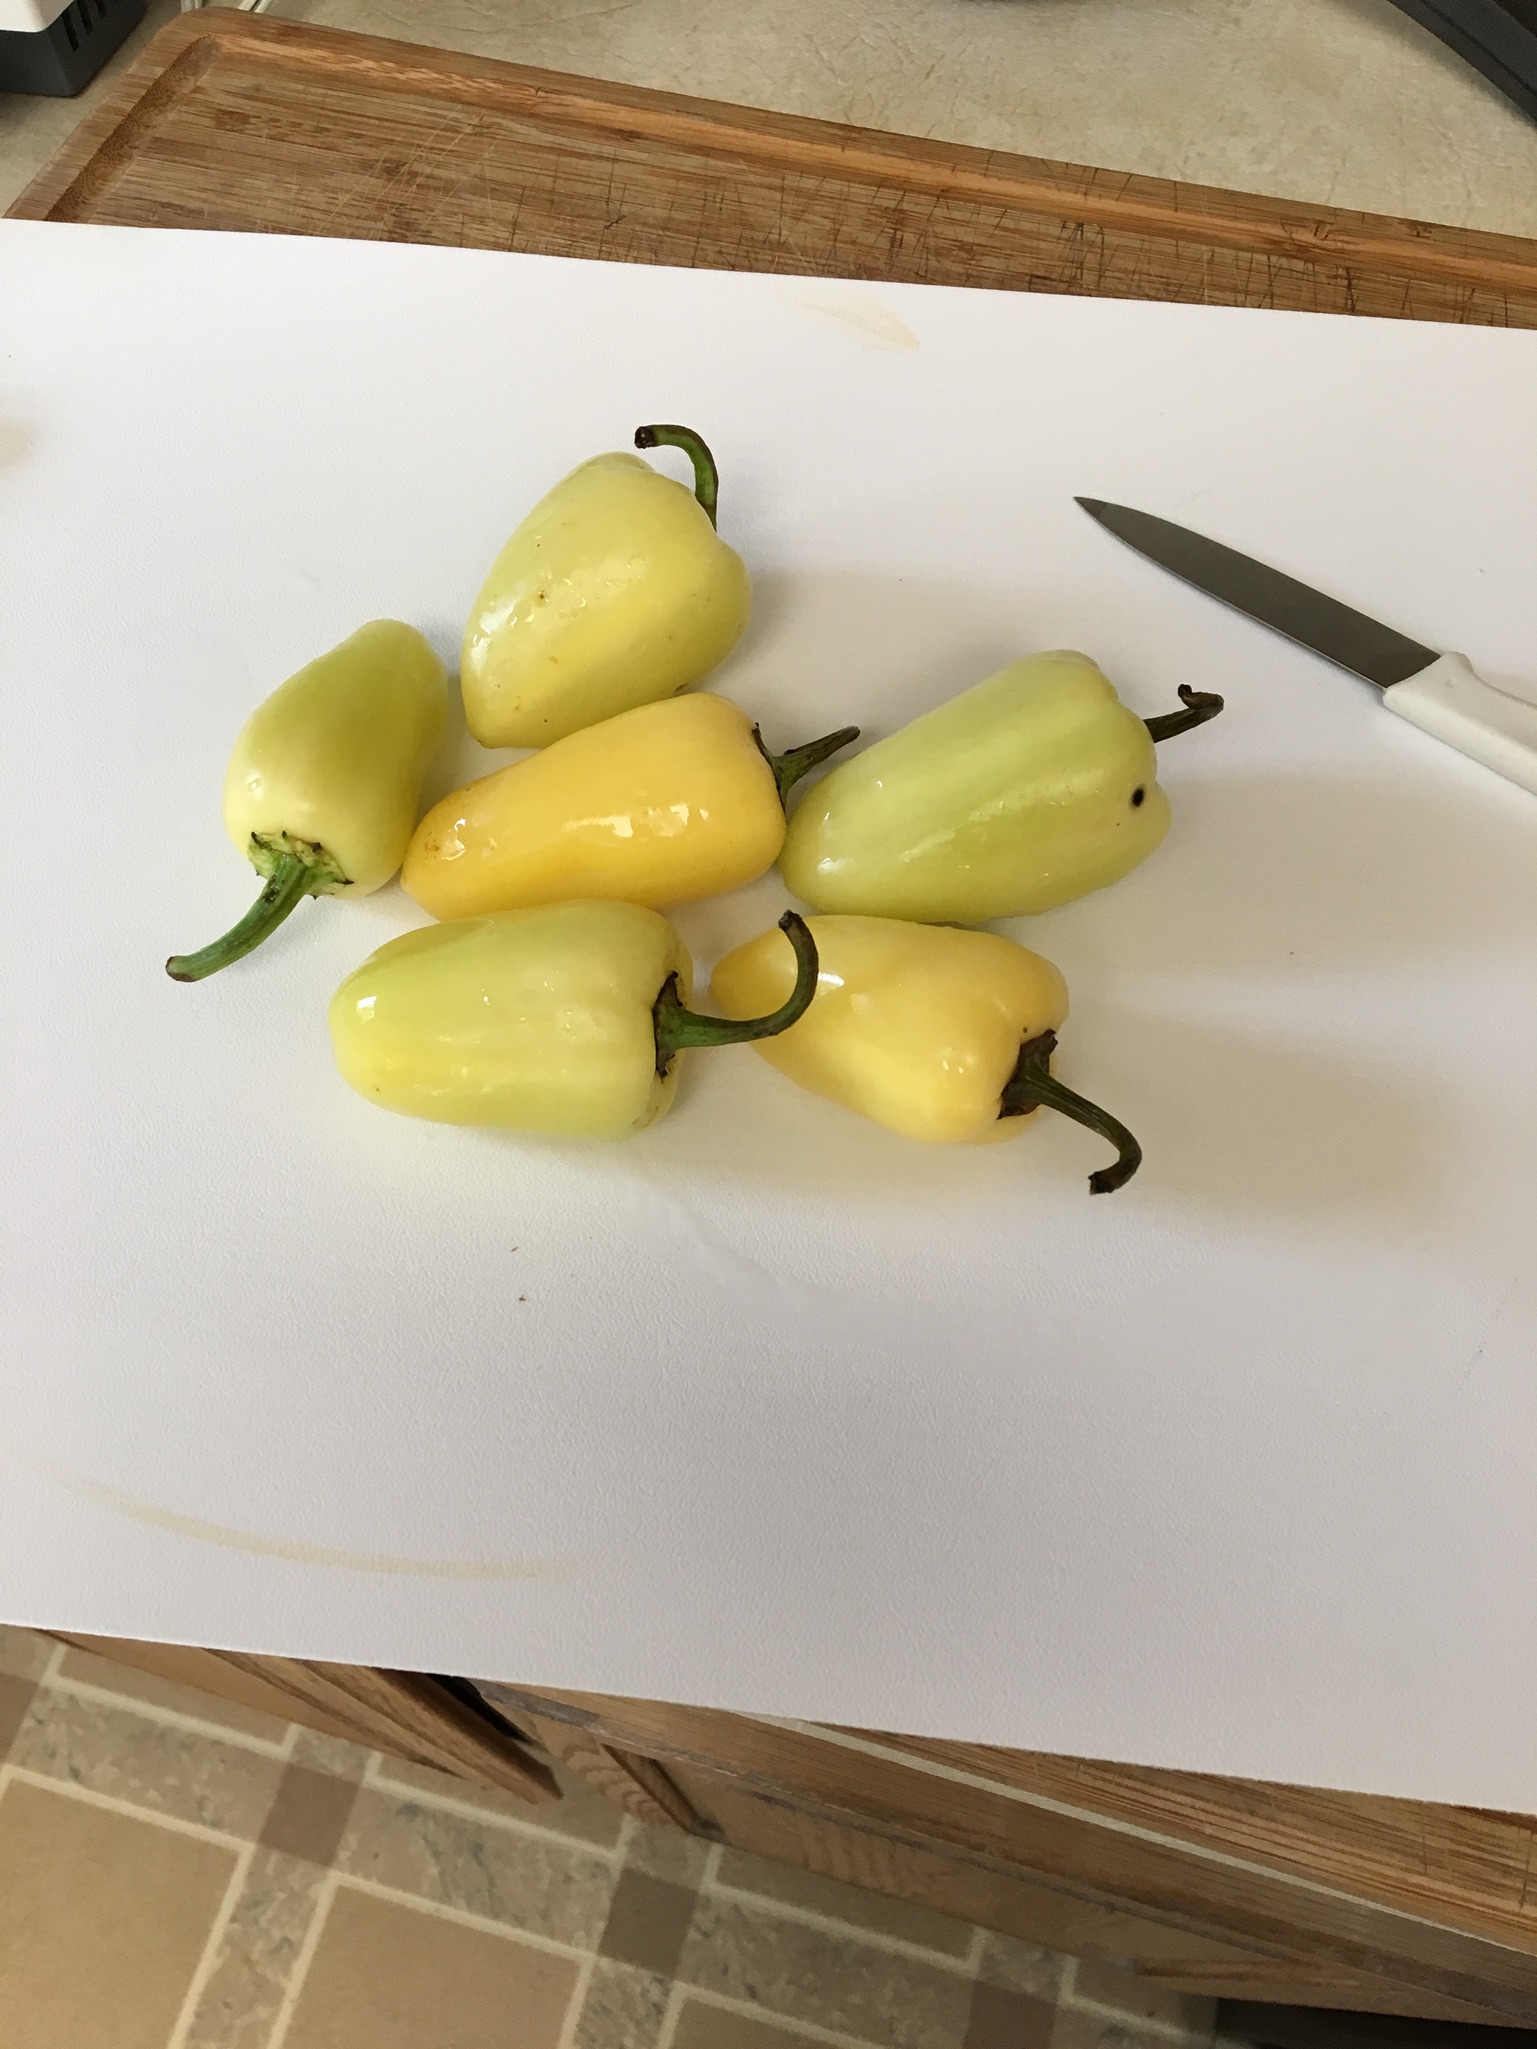
I had something approximating this at a Mexican restaurant in Palm Springs a few years ago. I came up with my own way to make them, without using rice as a filler. There is no set recipe, just a description. They are a super-delicious snack.
On this day I used six yellow chiles, (these are no longer than your index finger and very mild), 3/4 lb. of raw shrimp (any size), grated cheese (I used sharp cheddar). That’s it for ingredients.
Preheat the oven to 400 degrees F.
Remove the “core” of the chiles, then cut a slit down each chile, and remove the seeds. This is the most tricky part of the whole process.
Make a shrimp paste using about 2/3 of the shrimp. I use a small food processor. Hand-chop a few more of the shrimp into pieces and stir the pieces into the shrimp paste. Then stir in grated cheese.
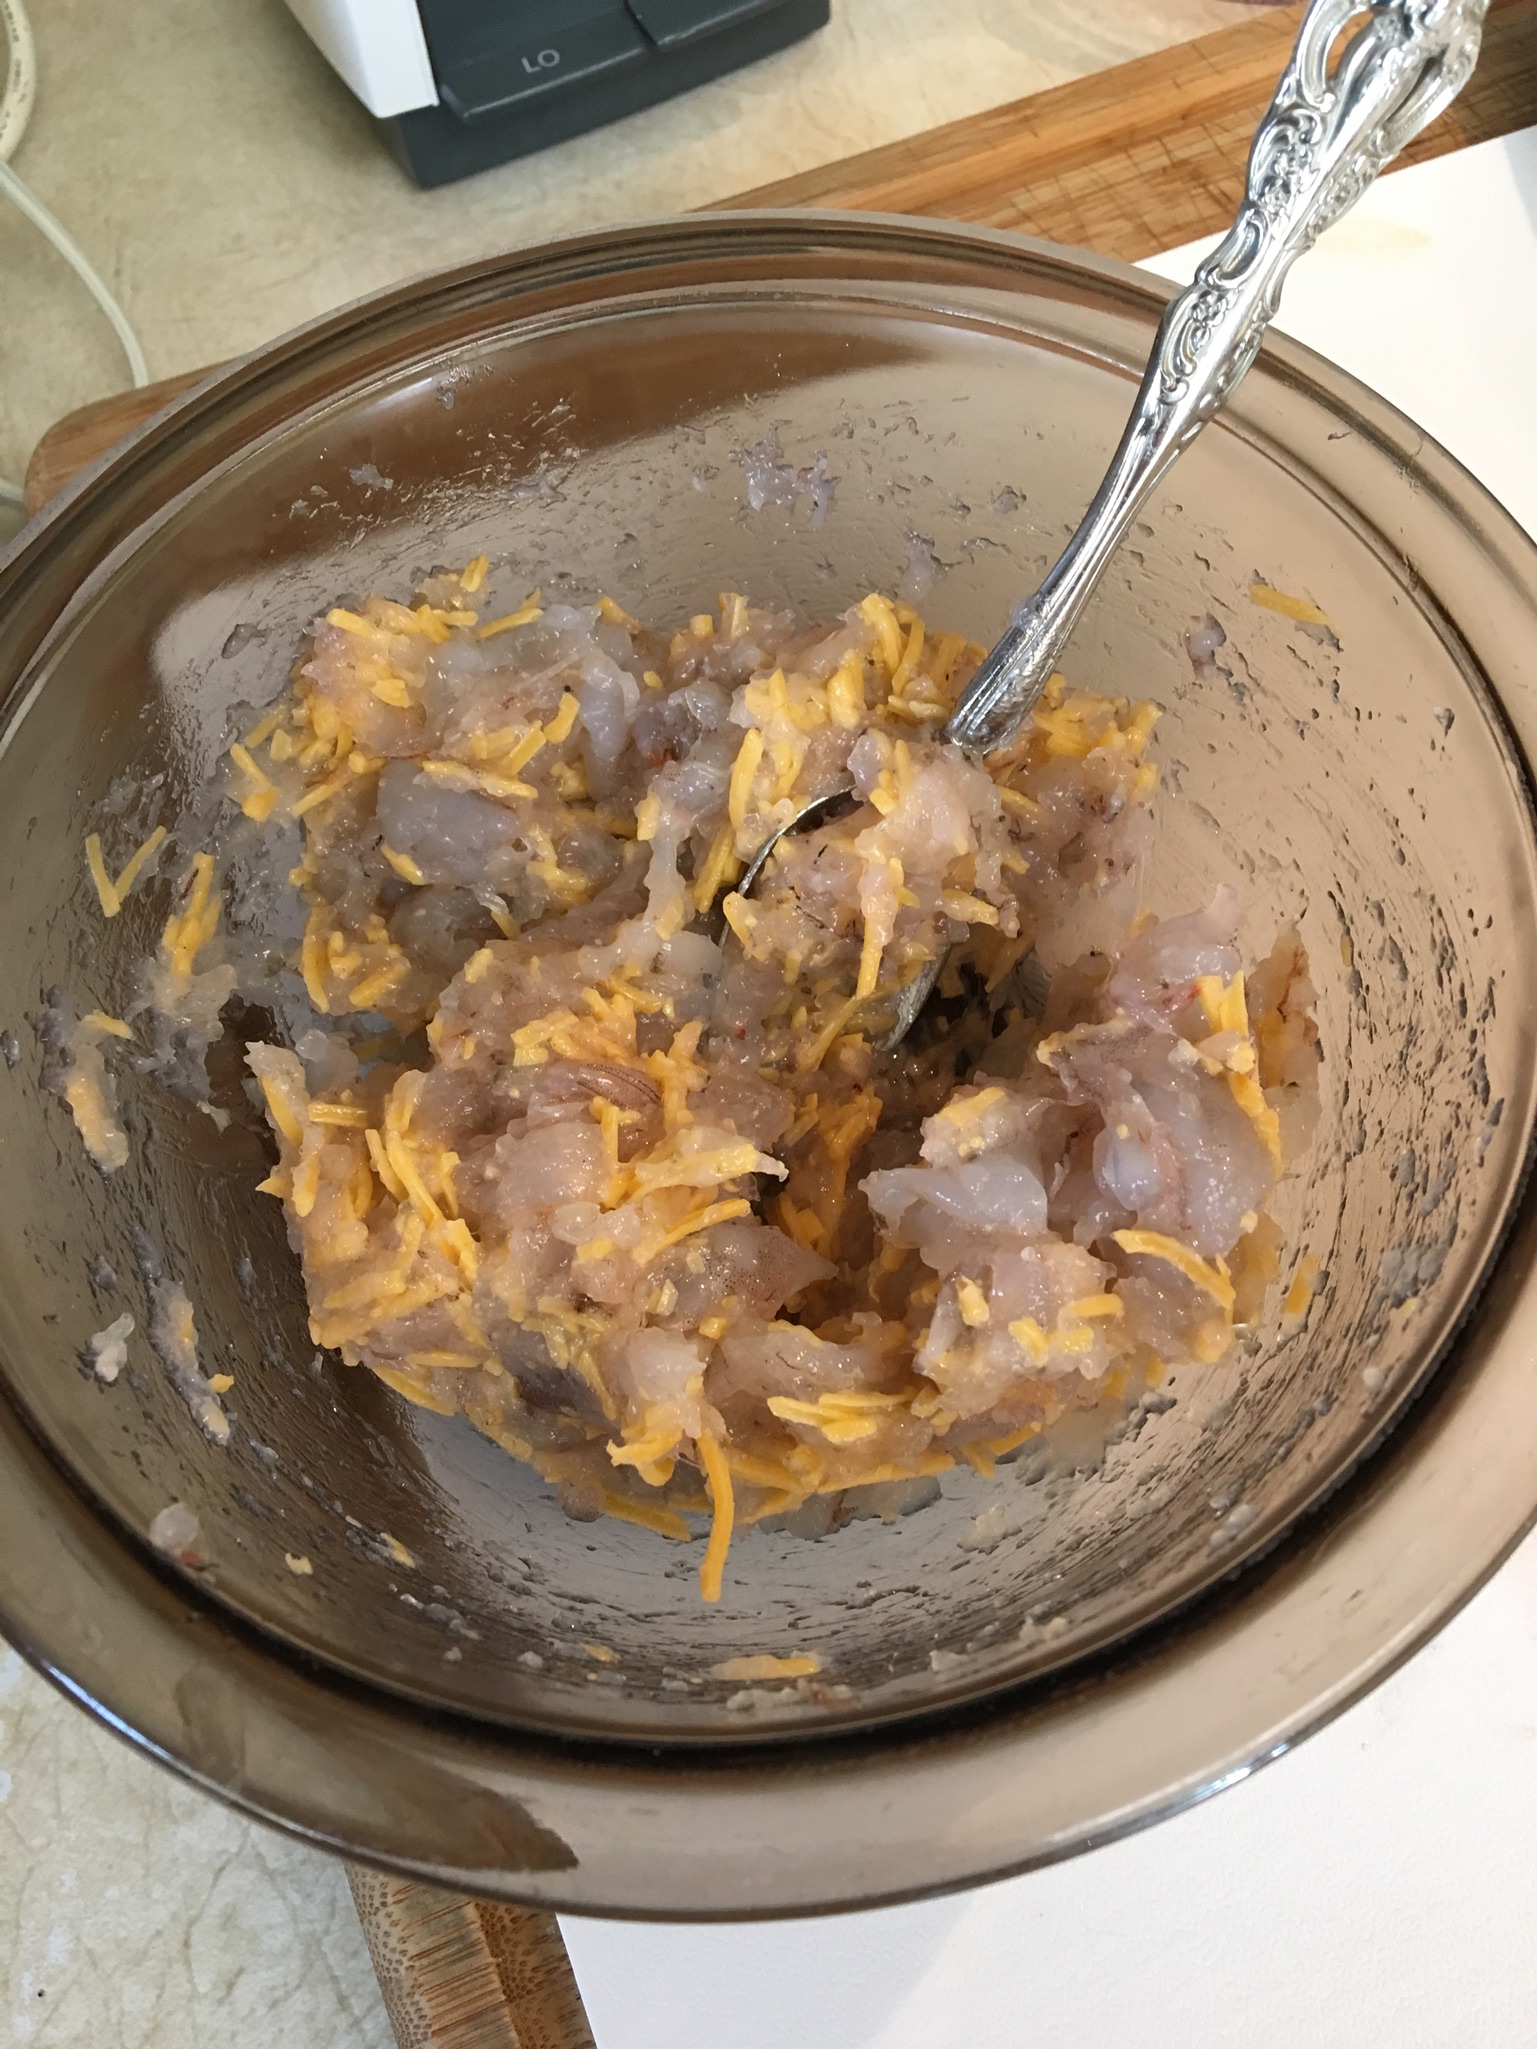
Use a teaspoon as a tool to stuff each chile.
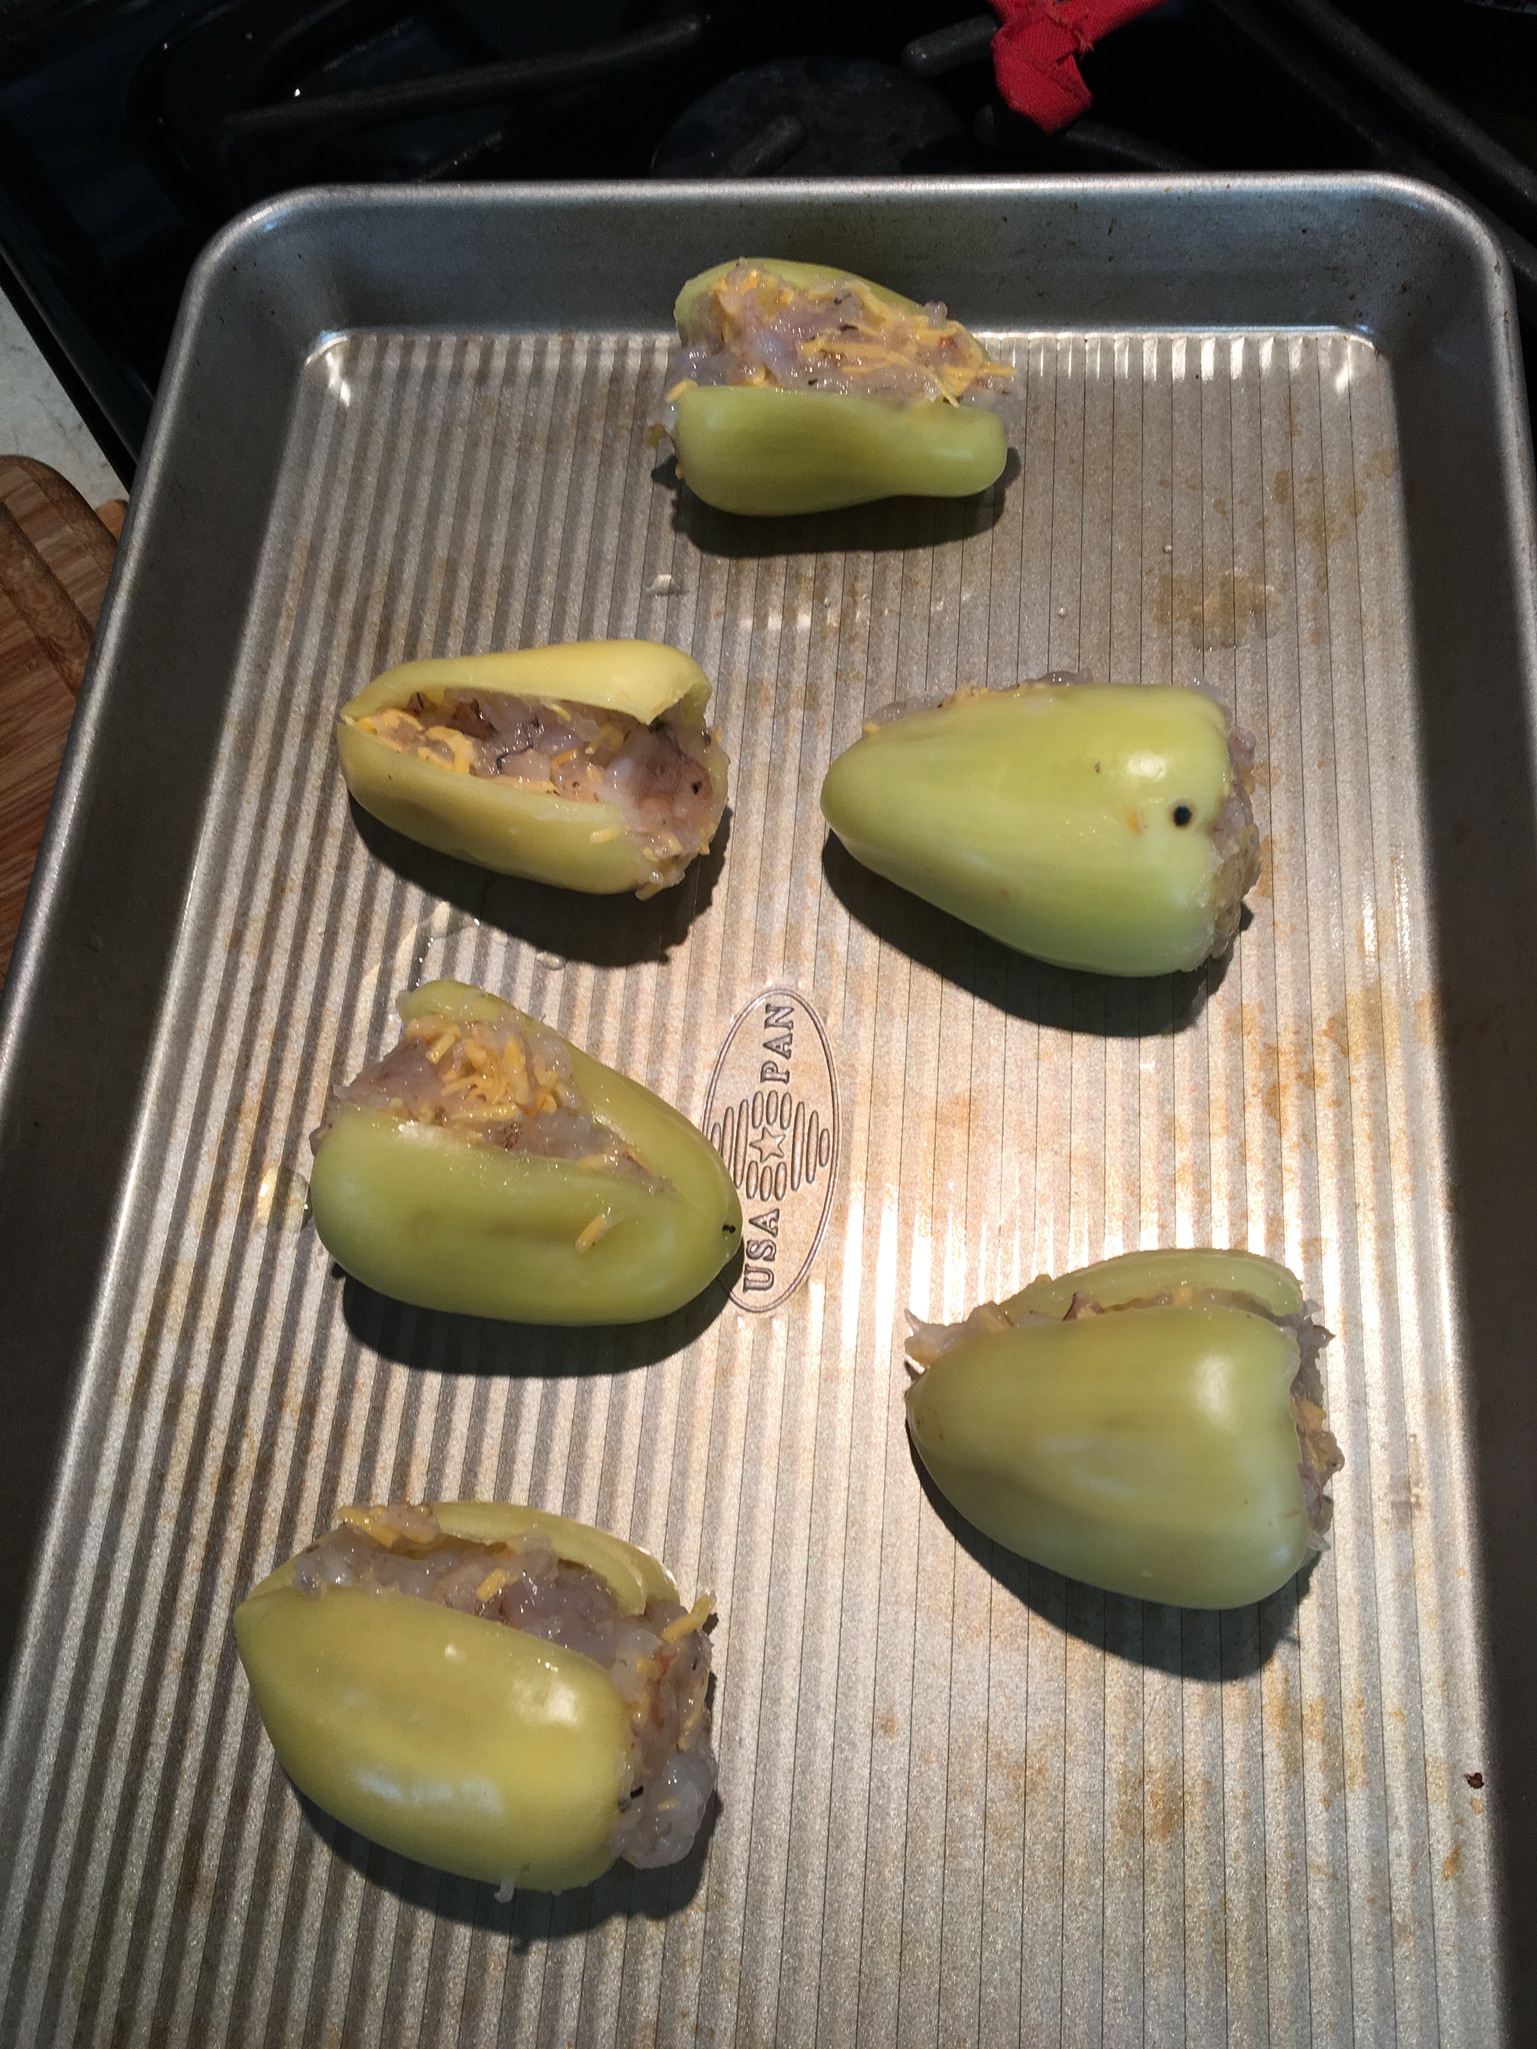
Place stuffed chiles on an ungreased baking sheet. Bake at 400 degrees F for 20-25 minutes.
 I don’t add any dips when serving mine, but I’ve heard that soy sauce or mayonnaise can be used to dip your gueritos in.
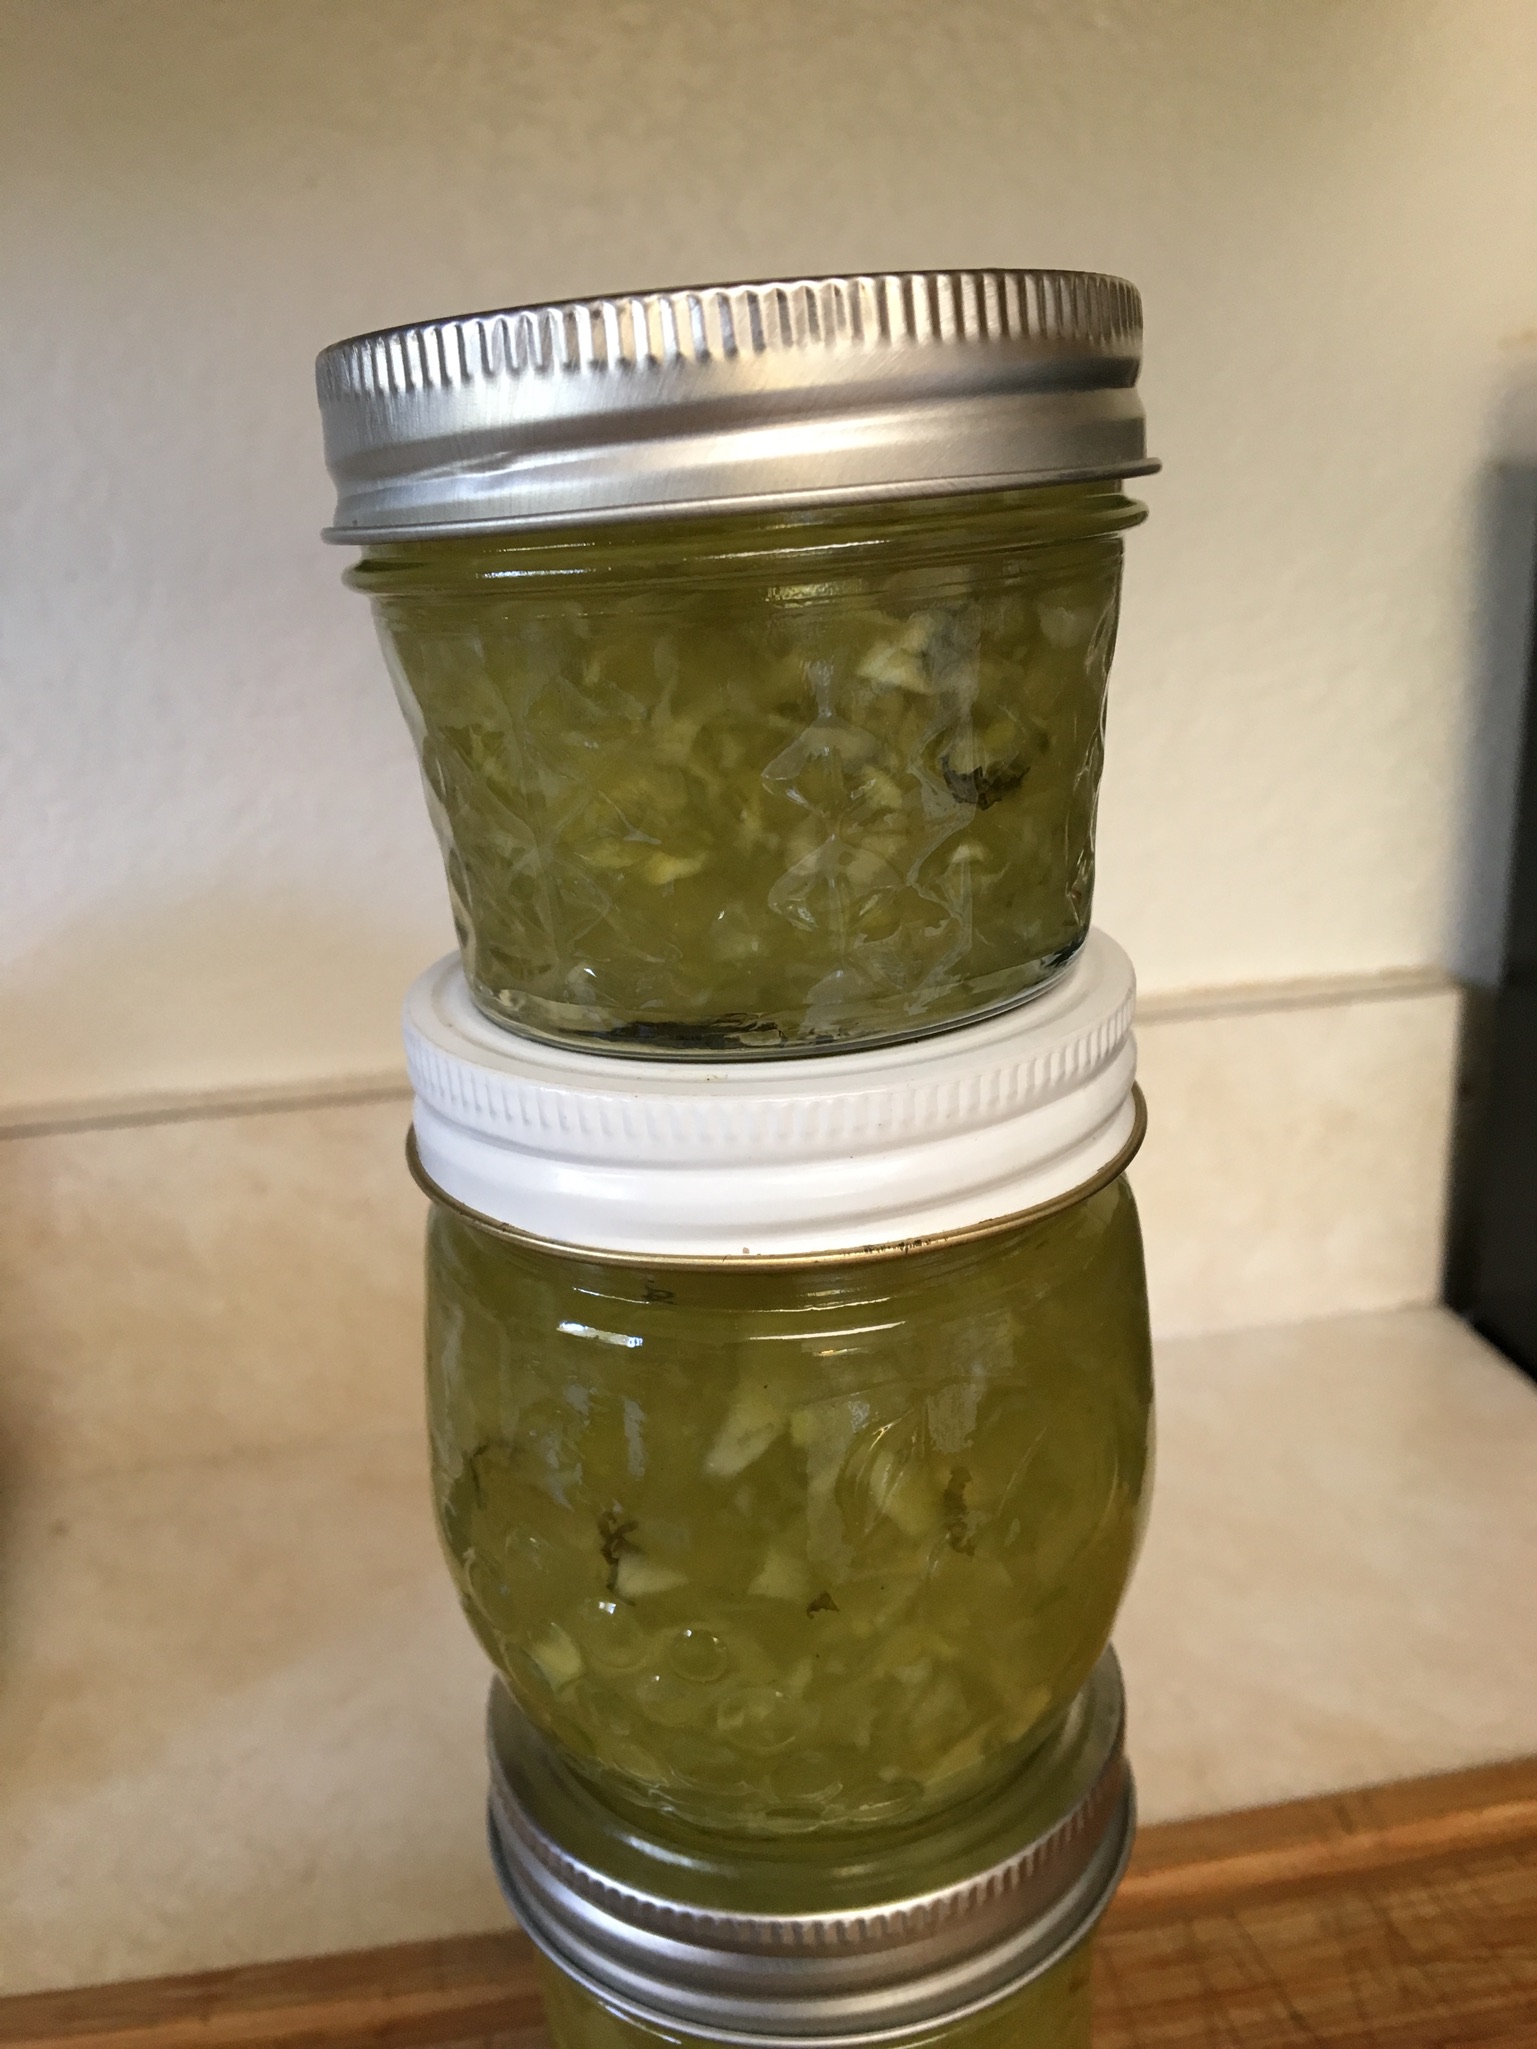
 I have a glut of cucumbers and we can only eat so many pickles. Since I do prepare lamb chops pretty frequently, this jam may be a good accompaniment to that and other meats. It also would taste amazing with cream cheese or brie on salty crackers. Oh, yeah!
I started with a recipe found at Homespun Seasonal Living, but then branched way off to do my own thing.
I am not a canning expert. Please remember that as I tell you how I did this. I have made a lot of jams and jellies in my life. This is how I do it, right or wrong.
Ingredients:

6 cups cucumbers, peeled, seeded, and rough chopped
3/4 cup lemon juice
3/4 cup cider vinegar
6 cups sugar
1 envelope of Certo liquid pectin
Few drops of green food coloring, if necessary
4-5 Tbsp. finely sliced fresh mint leaves
Run the cucumbers through a food processor using the S-Blade, just a few pulses should do. Don’t make your cucumber pieces too small. Place the processed cucumbers into a large pan. Stir in lemon juice, vinegar, and sugar.
Sterilize 8 half-pint jars. Heat lids in water. Cut open the envelope of Certo and place the envelope upright in one of the jars for easy access when needed. Get a ladle ready, as well as your canning funnel if you have one.
All set up? Okay, heat the cucumber mixture over high heat until it comes to a rolling boil. Let it boil for one minute. Turn off the heat and immediately stir in the Certo. Continue stirring while you quickly add green food coloring, if needed, and the mint.
Ladle the jam into the jars. Remove the lids from hot water. Wipe off the jar rims and screw the lids on tightly. Invert the jars. Let them sit upside down for at least 30 minutes. Shake the jars around over the course of the next few hours, every so often, to try and get the pieces evenly distributed throughout the jars.
Notes: I found that there was no foam, so this did not require skimming. Easy! I used lemon cucumbers for 2/3 of the cucumbers and regular green cucumbers for the other third. I didn’t realize the color would matter as much as it did, so I added green food coloring at the end. It’s really nice looking. I used a mix of half-pint and quarter-pint jars. This didn’t set well until the next day. Be patient. And I had a few tablespoons extra, so I’ve tasted it and deem it GOOD! It was great with brie!