You are currently browsing the category archive for the ‘Miscellaneous’ category.

This is a recipe based upon one given to me by my friend Bella. I like it because the orange and the dried cranberries really cut the tartness of the lingons. Today I put the sauce into three half-pint jars and a small bowl. I would guess if you wanted to put all of it into jars, you’d get about eight half-pints.

In a large pan, cook 6 cups fresh or frozen lingonberries with 2 cups of water until the lingons are tender. I started in a pan that was too small and had to pour into a larger one to finish. Just sayin’.
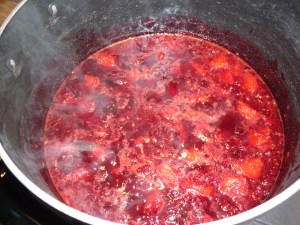
Add the grated rind and chopped pulp of 3 medium oranges along with 1 cup dried cranberries (Craisins). Cook for 10 minutes.
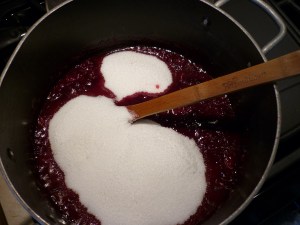
Add 4-1/2 cups sugar and simmer, stirring frequently, until thick (about 30 minutes).

Pour into sterile jars and seal with hot lids. Like jam, this has enough sugar to preserve it.

Tip the jars upside down for about thirty minutes until the lids do not pop back up when pressed.

Here ’tis. Very tasty and ready to serve with our Christmas turkey or Swedish meatballs or sandwiches or ham or . . . whatever!

This is an appetizer based upon a recipe found at EatingWell. It’s the first time I’ve made it. I make smoked salmon every year and then can some of it. Our favorite way to eat these pint jars of smoked salmon is to mix one jar with a half-pound of warmed cream cheese and serve it with crackers. Leftovers? Never. It’s delish.
When a recipe calls for smoked salmon it’s hard to know what they mean. Usually, I think they mean a style of smoked salmon like lox. Our smoked salmon is more what you would call kippered. It’s very sweet and dry. For this recipe where it calls for 8-oz smoked salmon, I opened a pint jar of my smoked salmon. I flaked it with my fingers to make it very fine so it would mix well with the other ingredients. Making the little patties was quite difficult because I just wanted to get a spoon and start eating the mixture. It smelled SO good! The cakes turned out delicious, but I think the sauce leaves a little to be desired. A cream cheese sauce with a little dill might be just the ticket.
Quinoa Cakes with Smoked Salmon Recipe
Prepare the quinoa by bringing 1-1/4 cup water and ¾ cup quinoa to a boil in a medium saucepan. Reduce heat to maintain a simmer, cover and cook until the water is absorbed, 10 to 15 minutes. Transfer the quinoa to a large bowl and spread out to cool, about 15 minutes. I set my pan outside, it’s -10 degrees F today, so it didn’t take that long to cool. Ha!
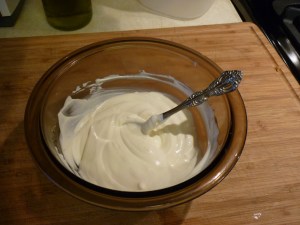
To prepare the sauce combine 1 cup reduced-fat sour cream with 1-1/2 tsp. finely grated lemon zest and ½ tsp. freshly squeezed lemon juice.
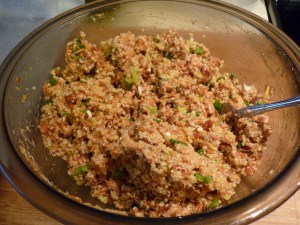
To prepare the cakes: Mix together 8-oz. salmon, 2 large eggs plus 1 egg white, 1/2 cup breadcrumbs, 1/2 cup finely chopped scallions (green onions), 1 tsp. dried dill weed, 1 tsp. lemon zest and pepper (to taste) with the quinoa. The wonderful smell will drive you crazy at this time.
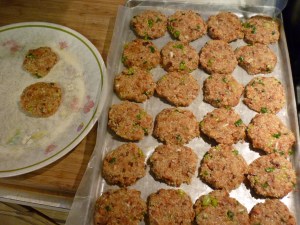
Using your hands, thoroughly combine and squeeze the mixture to bring it together. Using 2 rounded tablespoons of the mixture for each and keeping your hands damp (wet hands is important to keep mixture from sticking to them!), form 32 small cakes, about ¾ inch thick and 2 inches wide, pressing firmly to help them hold together. Place the cakes on a large baking sheet and/or a large plate. I ended up with 24 cakes, so a little too large, but still yummy.
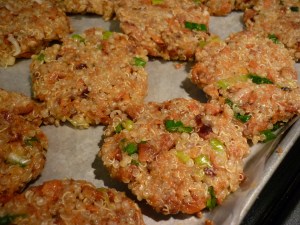
Cover with plastic wrap and refrigerate for at least 30 minutes (or up to 6 hours).

Use a couple tablespoons of olive oil to coat your skillet and fry the cakes in three batches until golden brown.

Serve warm or at room temperature, garnished with sauce.

I debated posting this as I don’t think most people are really interested, but then Reno asked me for the recipe today and I thought it would be easier and make a nice permanent record. So . . . here goes with Salmon Pickles. This is a salty pickle, not a sweet pickle. The fish is not cooked, but instead it is preserved with salt and vinegar.
Sanitize quart jars. Making these pickles is a two-step process and I start with quart jars, then finish in a few days with pint jars.
Mix together in a pitcher, or other pouring vessel, 1/3 cup pickling salt and 1 quart cold water. Add 1 quart vinegar . The ratio is one part salt brine to one part vinegar. The vinegar can be any kind as long as it is at least 4 percent (40 grains). I have made this using white vinegar, cider vinegar, and rice vinegar. My favorite is cider vinegar. If you make too much brine-vinegar solution, save it, you’ll need it in four days.
Remove skin from red (sockeye) or silver (coho) salmon, don’t worry about medium and small bones because they soften and are quite edible. Cut salmon into strips, about 1”x4”. You will cut the fish into bite-size tidbits during the second step of the process in a few days.
Place salmon strips loosely into quart jars. Pour the brine-vinegar solution to the top. The salmon strips need to be coated on all sides with brine-vinegar so don’t pack them in. Put lids on the jars and refrigerate for four days. I tip the jars occasionally, even placing them upside down for awhile.

For the second step of the process, sanitize pint jars. Prepare leftover brine-vinegar or a new batch. Drain quart jars, saving the salmon strips, but discarding the used brine-vinegar solution. The salmon is now a pink color and feels firm.
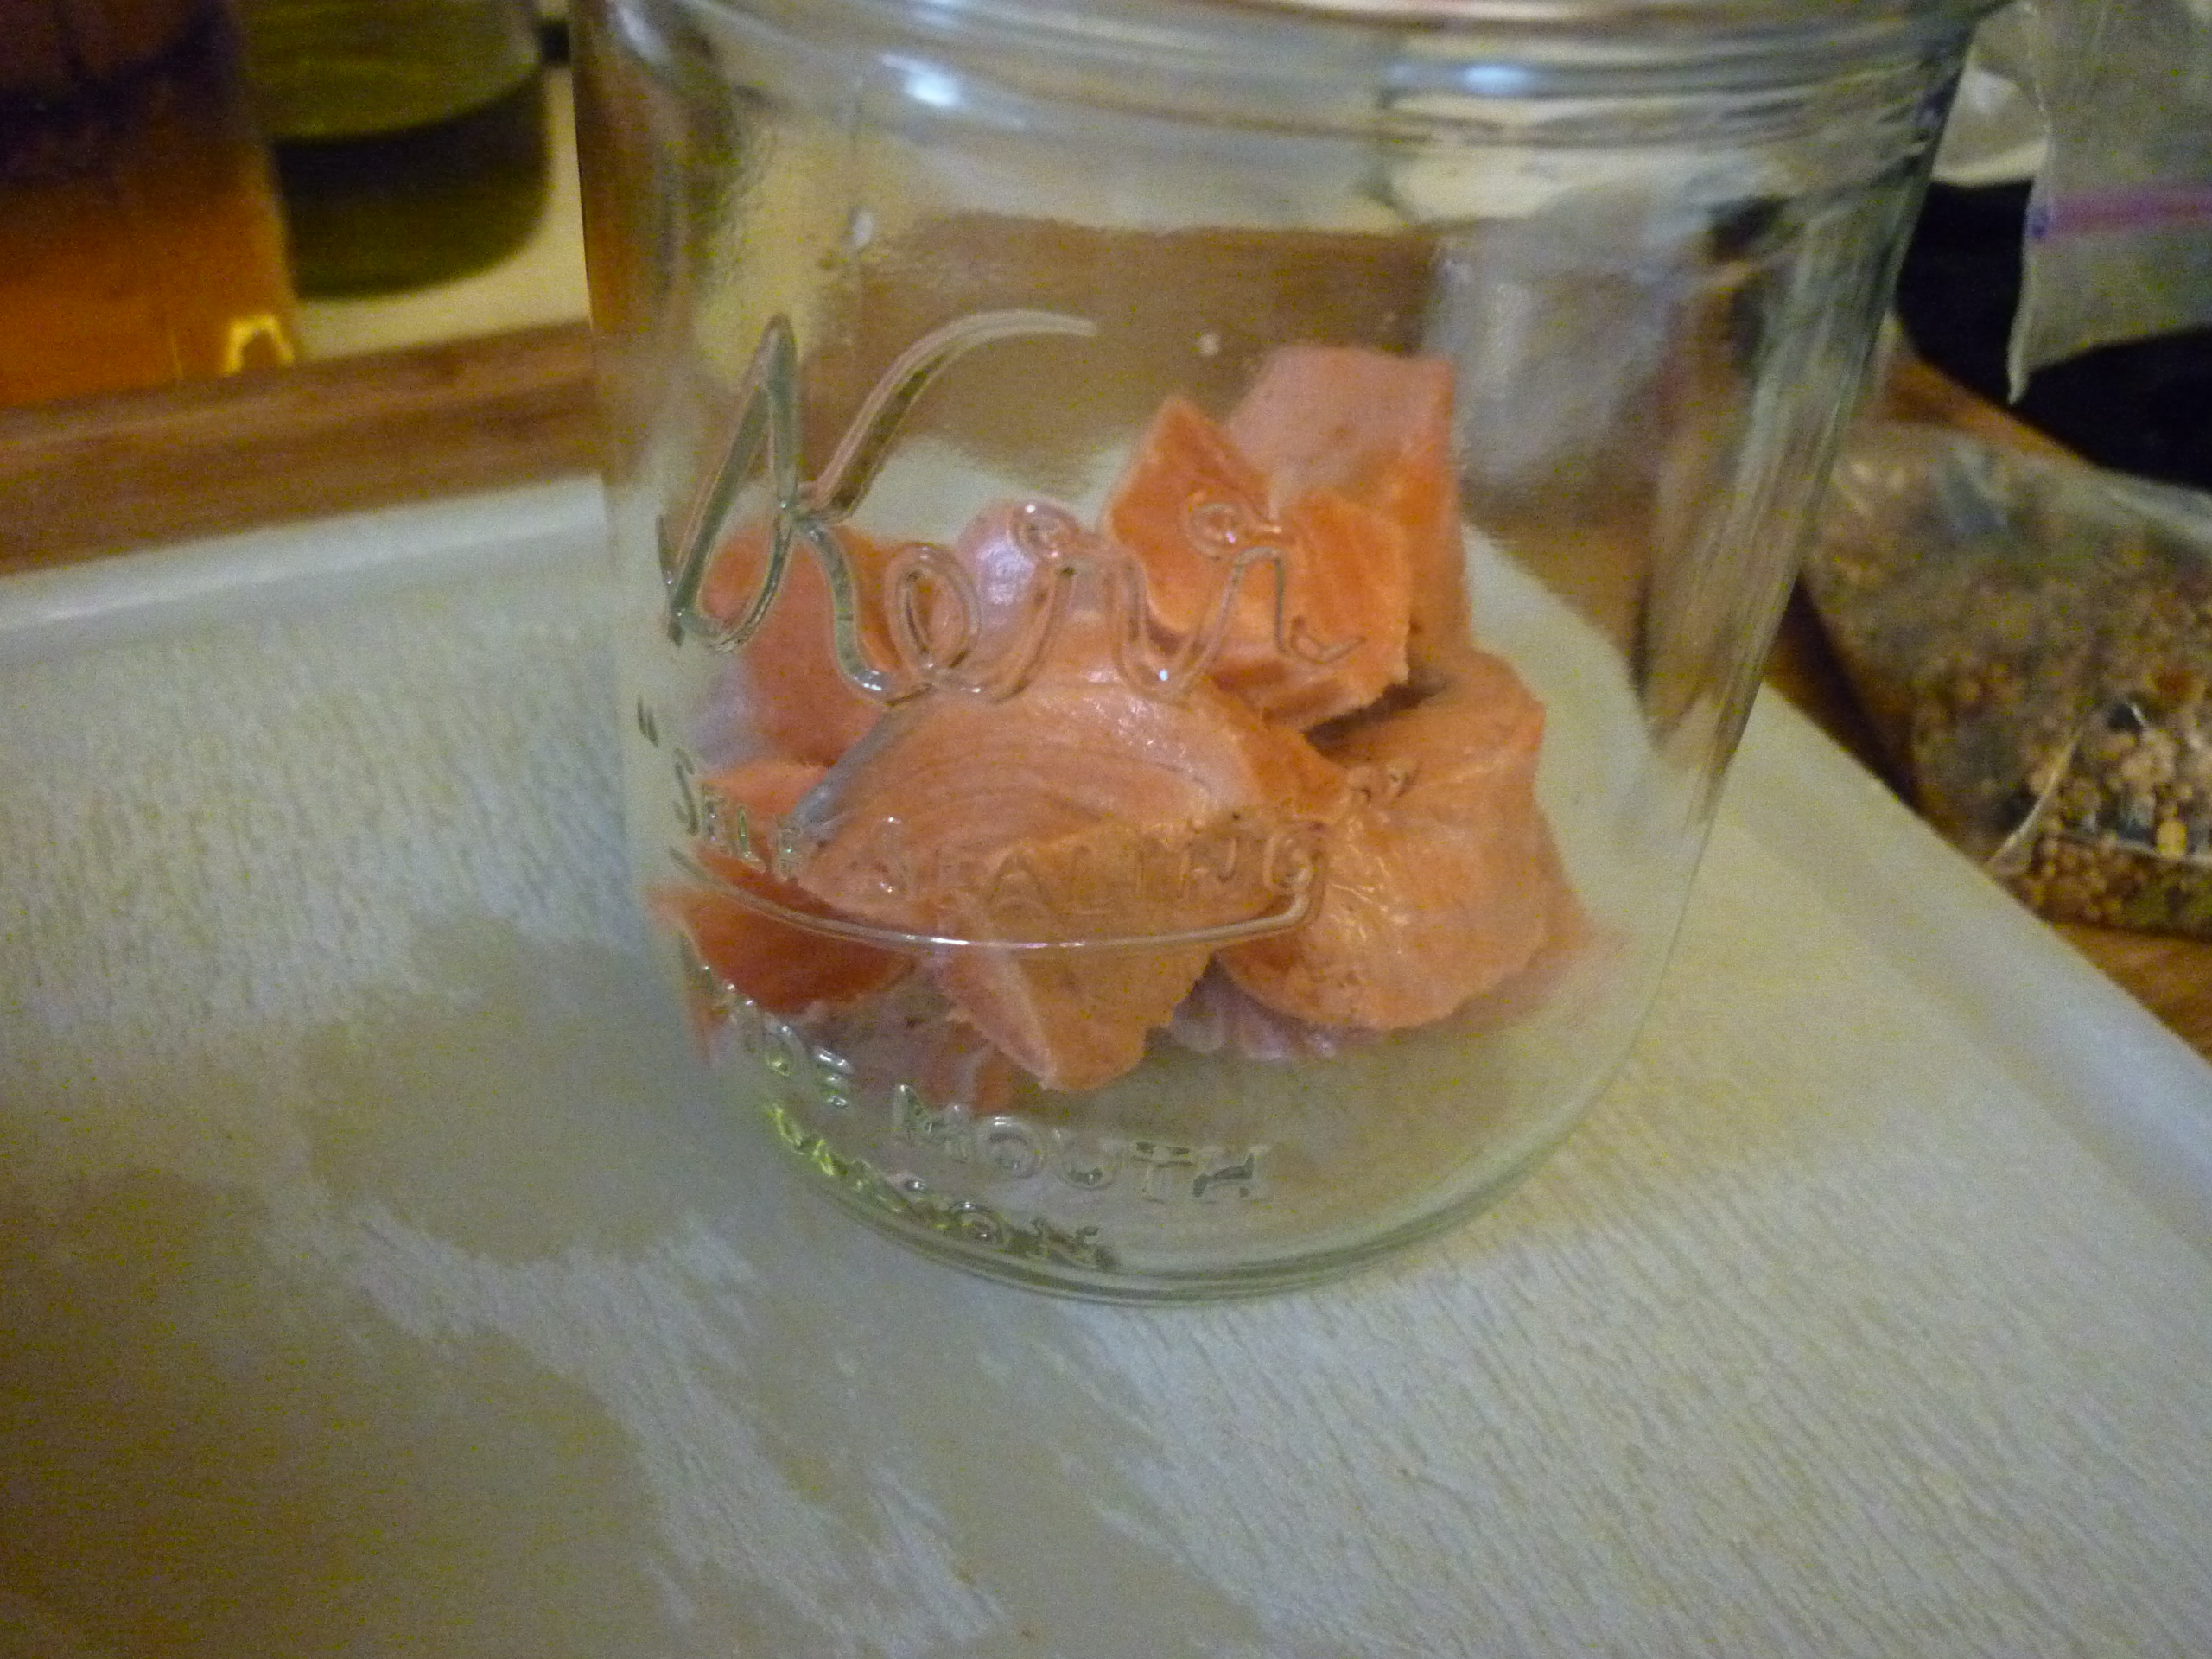
Cut the salmon into tidbits. Slice onions. Slice oranges (or lemons). Have pickling spice handy.
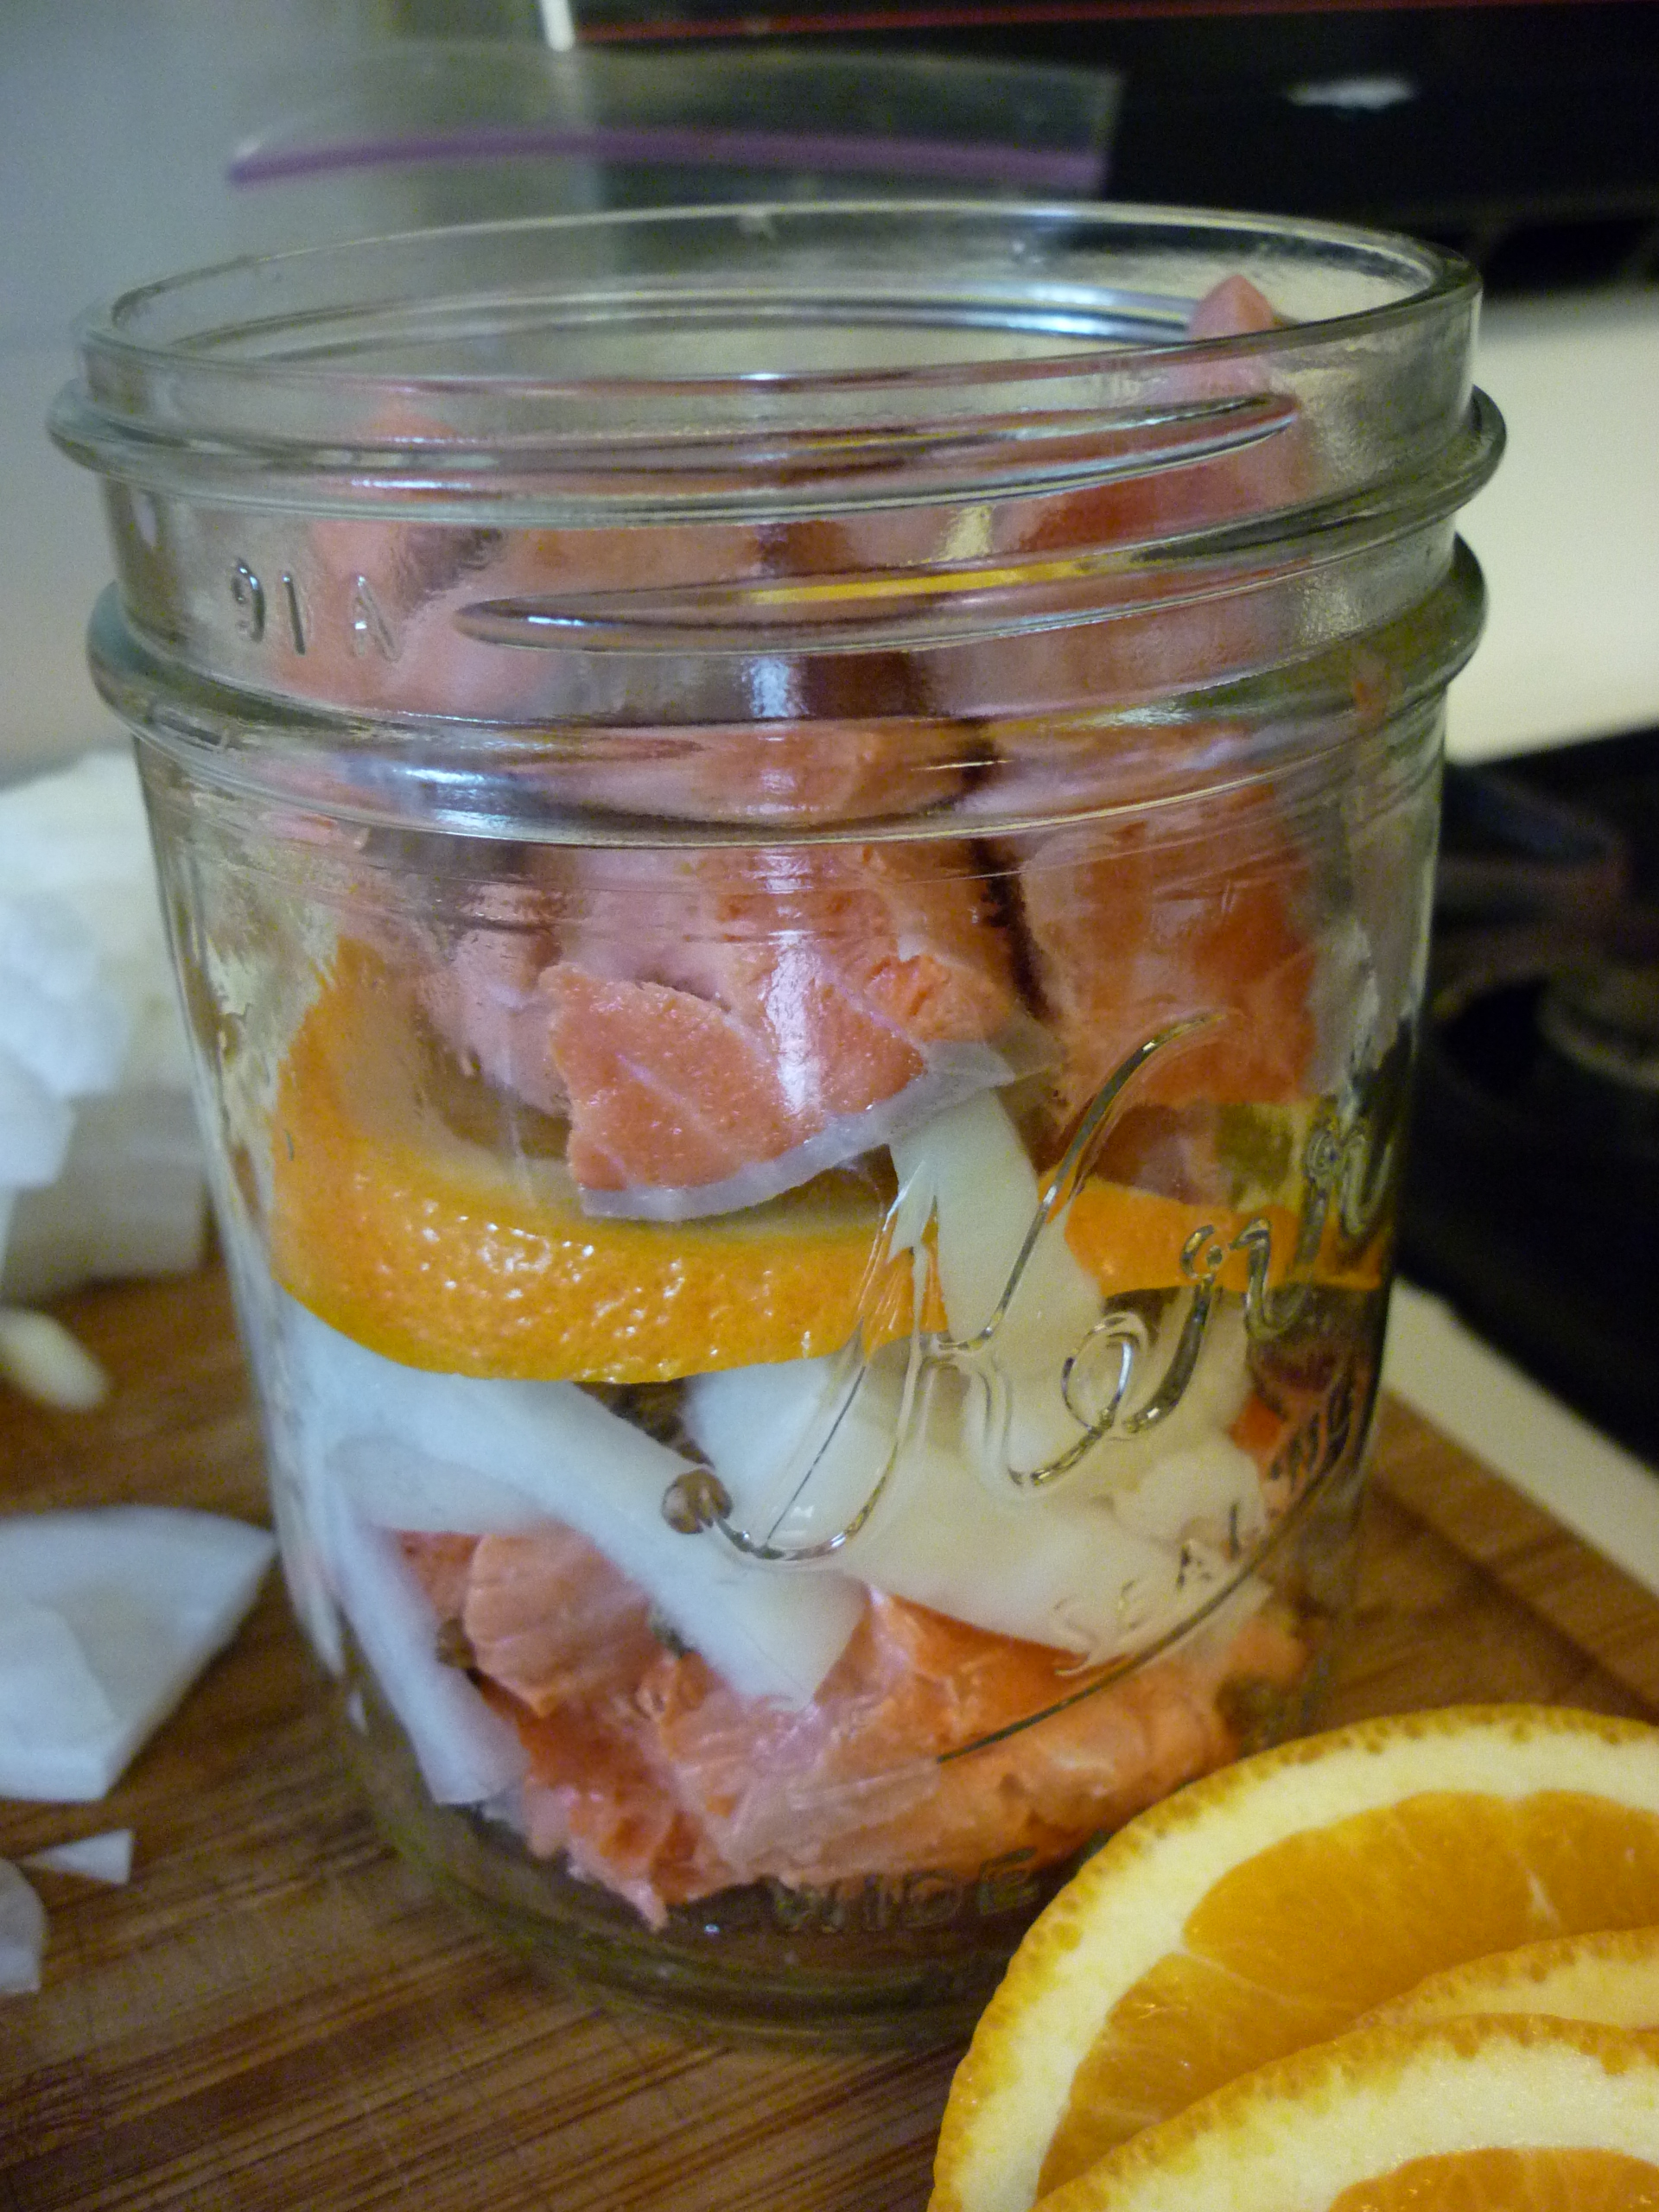
In pint jars layer salmon tidbits, sliced onion, sliced orange, and pickling spice.
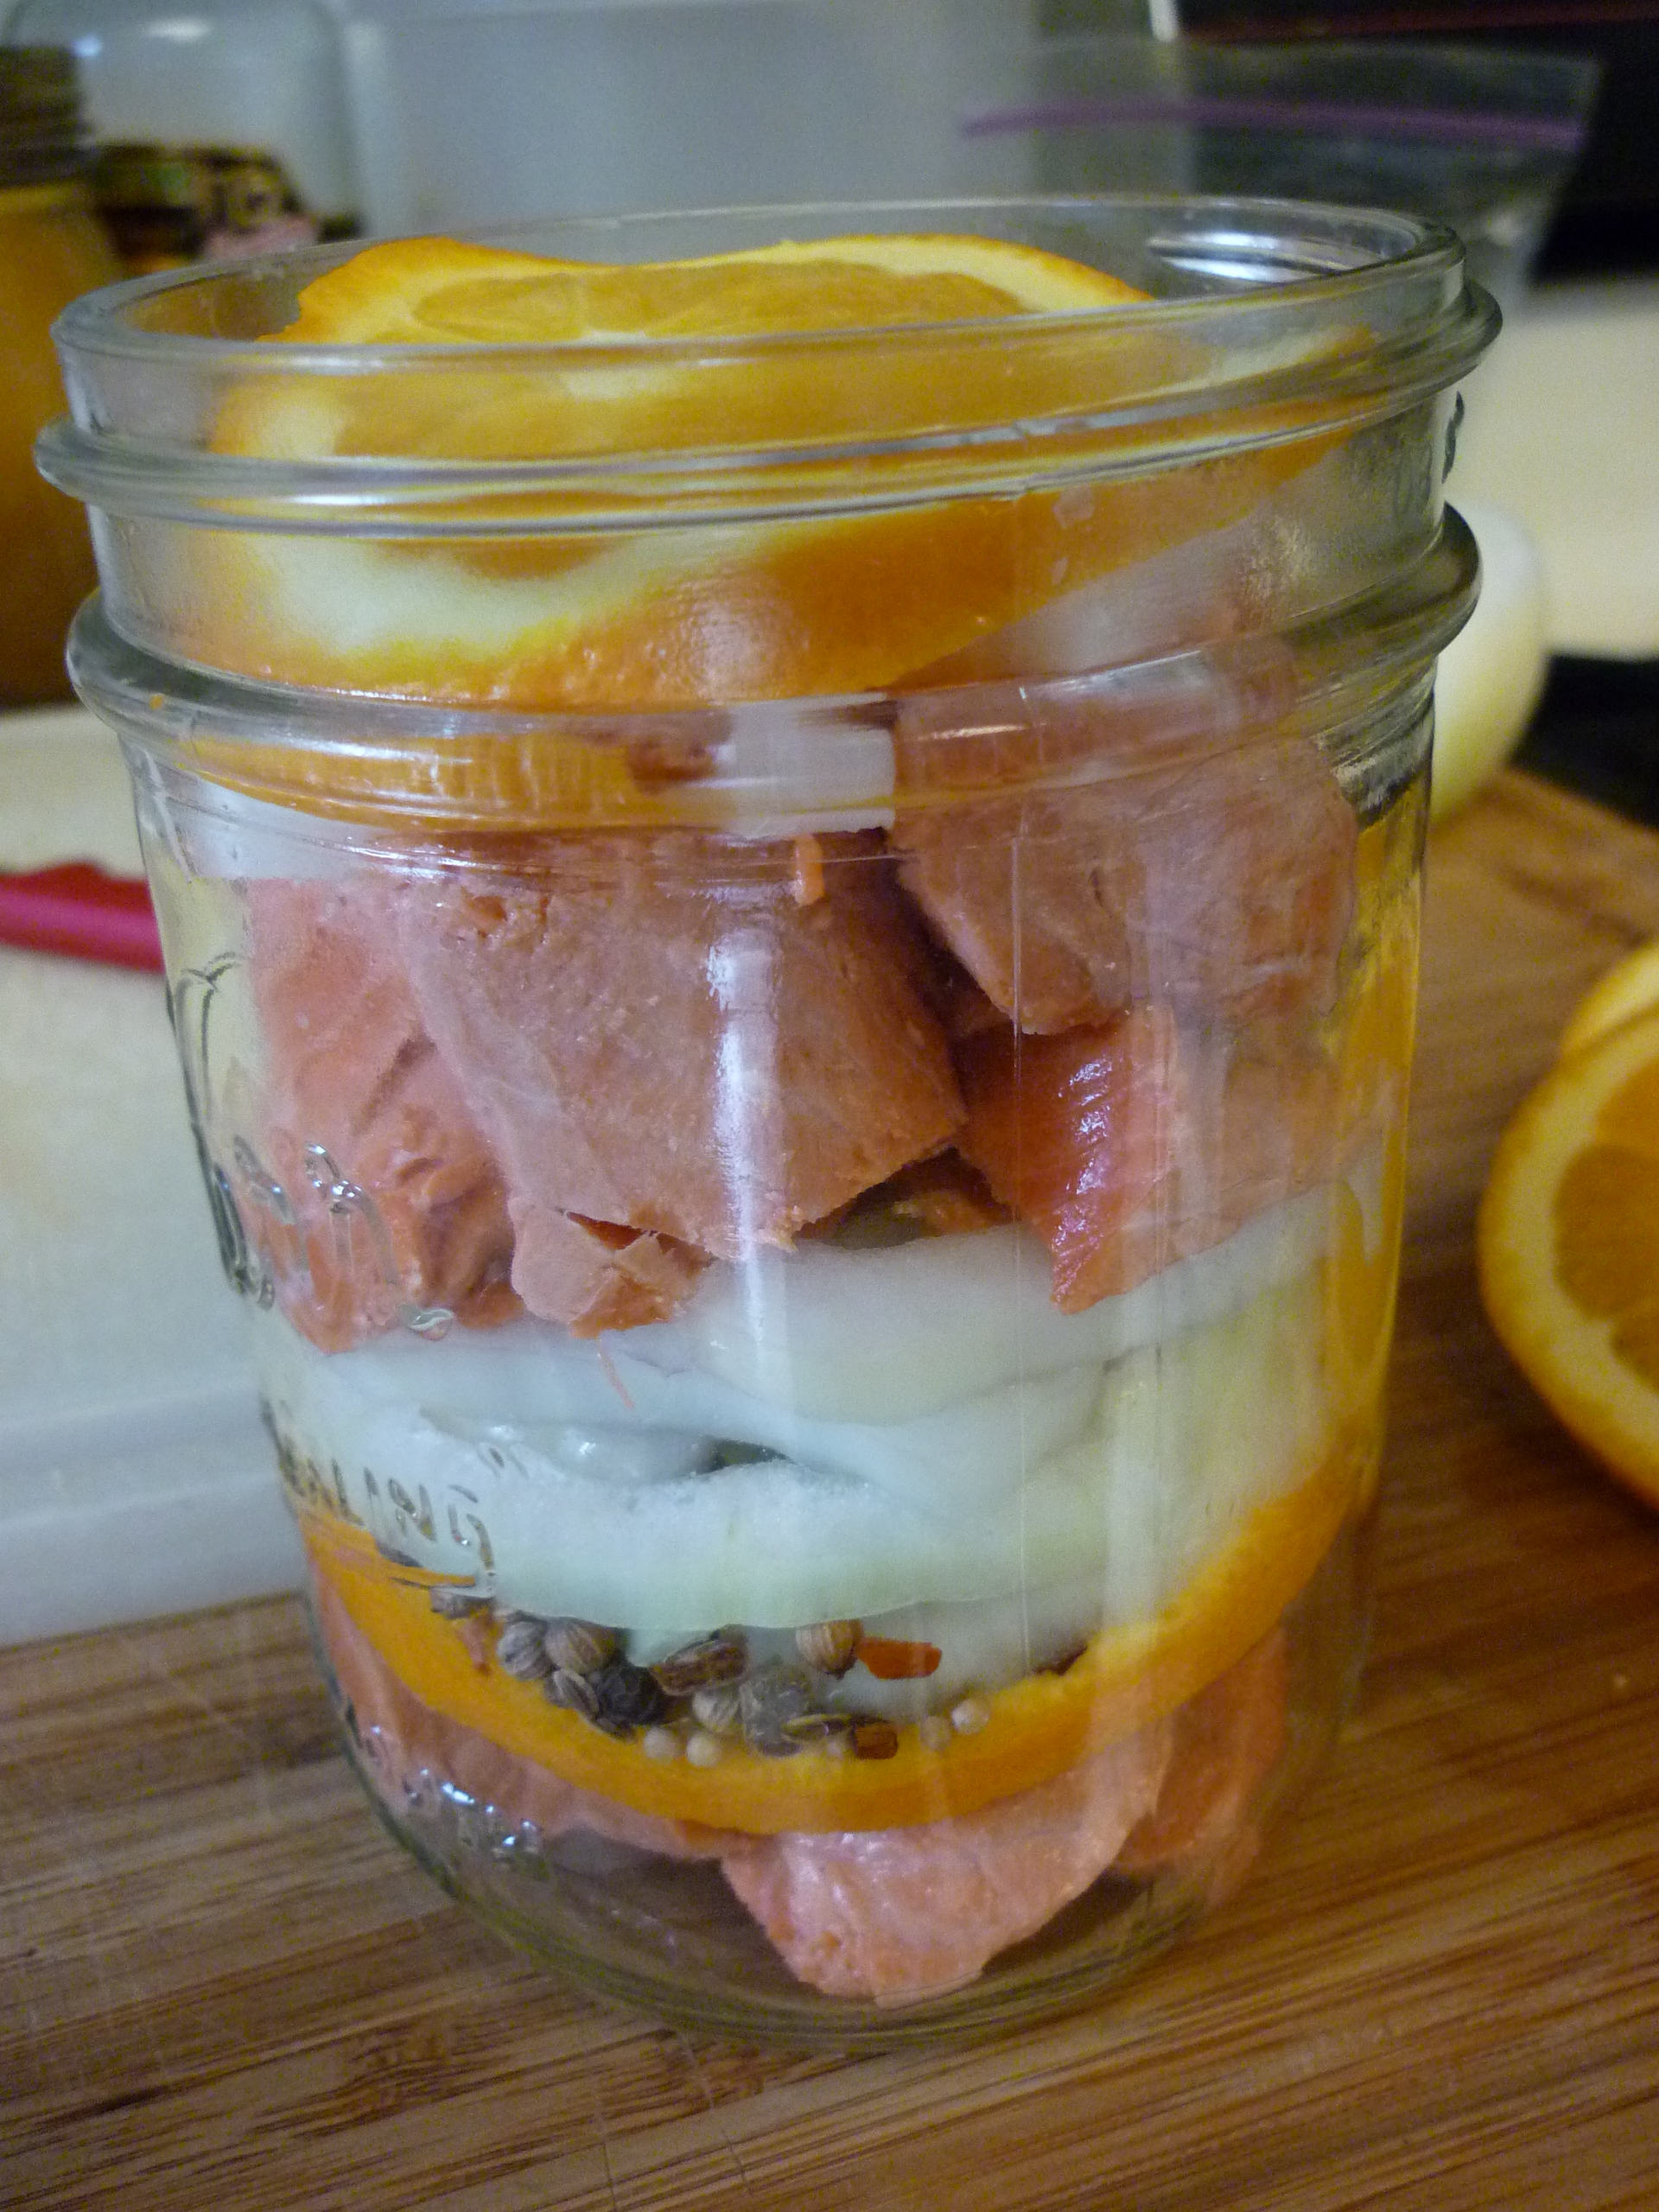

Pour brine-vinegar solution to the top, make sure to release bubbles so that everything is thoroughly coated. Put lids on jars and refrigerate for four days. Serve!


Keep refrigerated. Keeps for six weeks under refrigeration.
Side note: Better salmon pickles are made by withdrawing a filet from a salt barrel (salmon filets that have been layered with pickling salt for months . . . or dare I say, years?), let it soak in cold water that is refreshed occasionally for 24 hours. Cut into tidbits and layer with onion, pickling spice, and orange in pint jars. Pour in vinegar that has been cut to about 85 percent vinegar to 15 percent water. Let sit in refrigerator for a few days and then serve. But who has a salt barrel these days? Anyway, that is the way I was taught to make salmon pickles back in the dark ages.

Oat Pancakes
My kids are home from college and they’ve brought friends with them. The friends are from Sweden. We talked about the use of airplanes instead of cars in Alaska and I pulled out the Alaska maps so they could get oriented. I pointed out Nome where I was born and Naknek where I graduated high school. One girl asked if all the food was flown to Nome. They use barges for the most part, I said. When I was a young child, my mother placed her food order for the year and she got very excited when the ice moved out so the barge could come in. At this point of the conversation with the Swedes my youngest daughter started laughing. My pantry could probably feed a family for several months. I’m not a survivalist or preparing for the apocalypse, it’s just the “waiting for the barge” mentality. I have never been able to shake the food stockpile habit. My daughter laughed because her friends would come over to bake cookies or what not and they would decide to double or triple the recipe and her friends would say, “We’ll have to go to the store if we do that.” And my daughter would reply, “No, it’s no problem. Look,” and off to the pantry room they would go, to look at pounds of chocolate chips and boxes of graham crackers and cases of sweetened condensed milk. It’s not normal in this city. You can take the girl out of the Bush, but you can’t take the Bush out of the girl. That’s what I always say.
So, I am cooking for a crowd of about ten people now. This morning I made Oat Pancakes. Please note that this must be started the night before, so planning is involved.
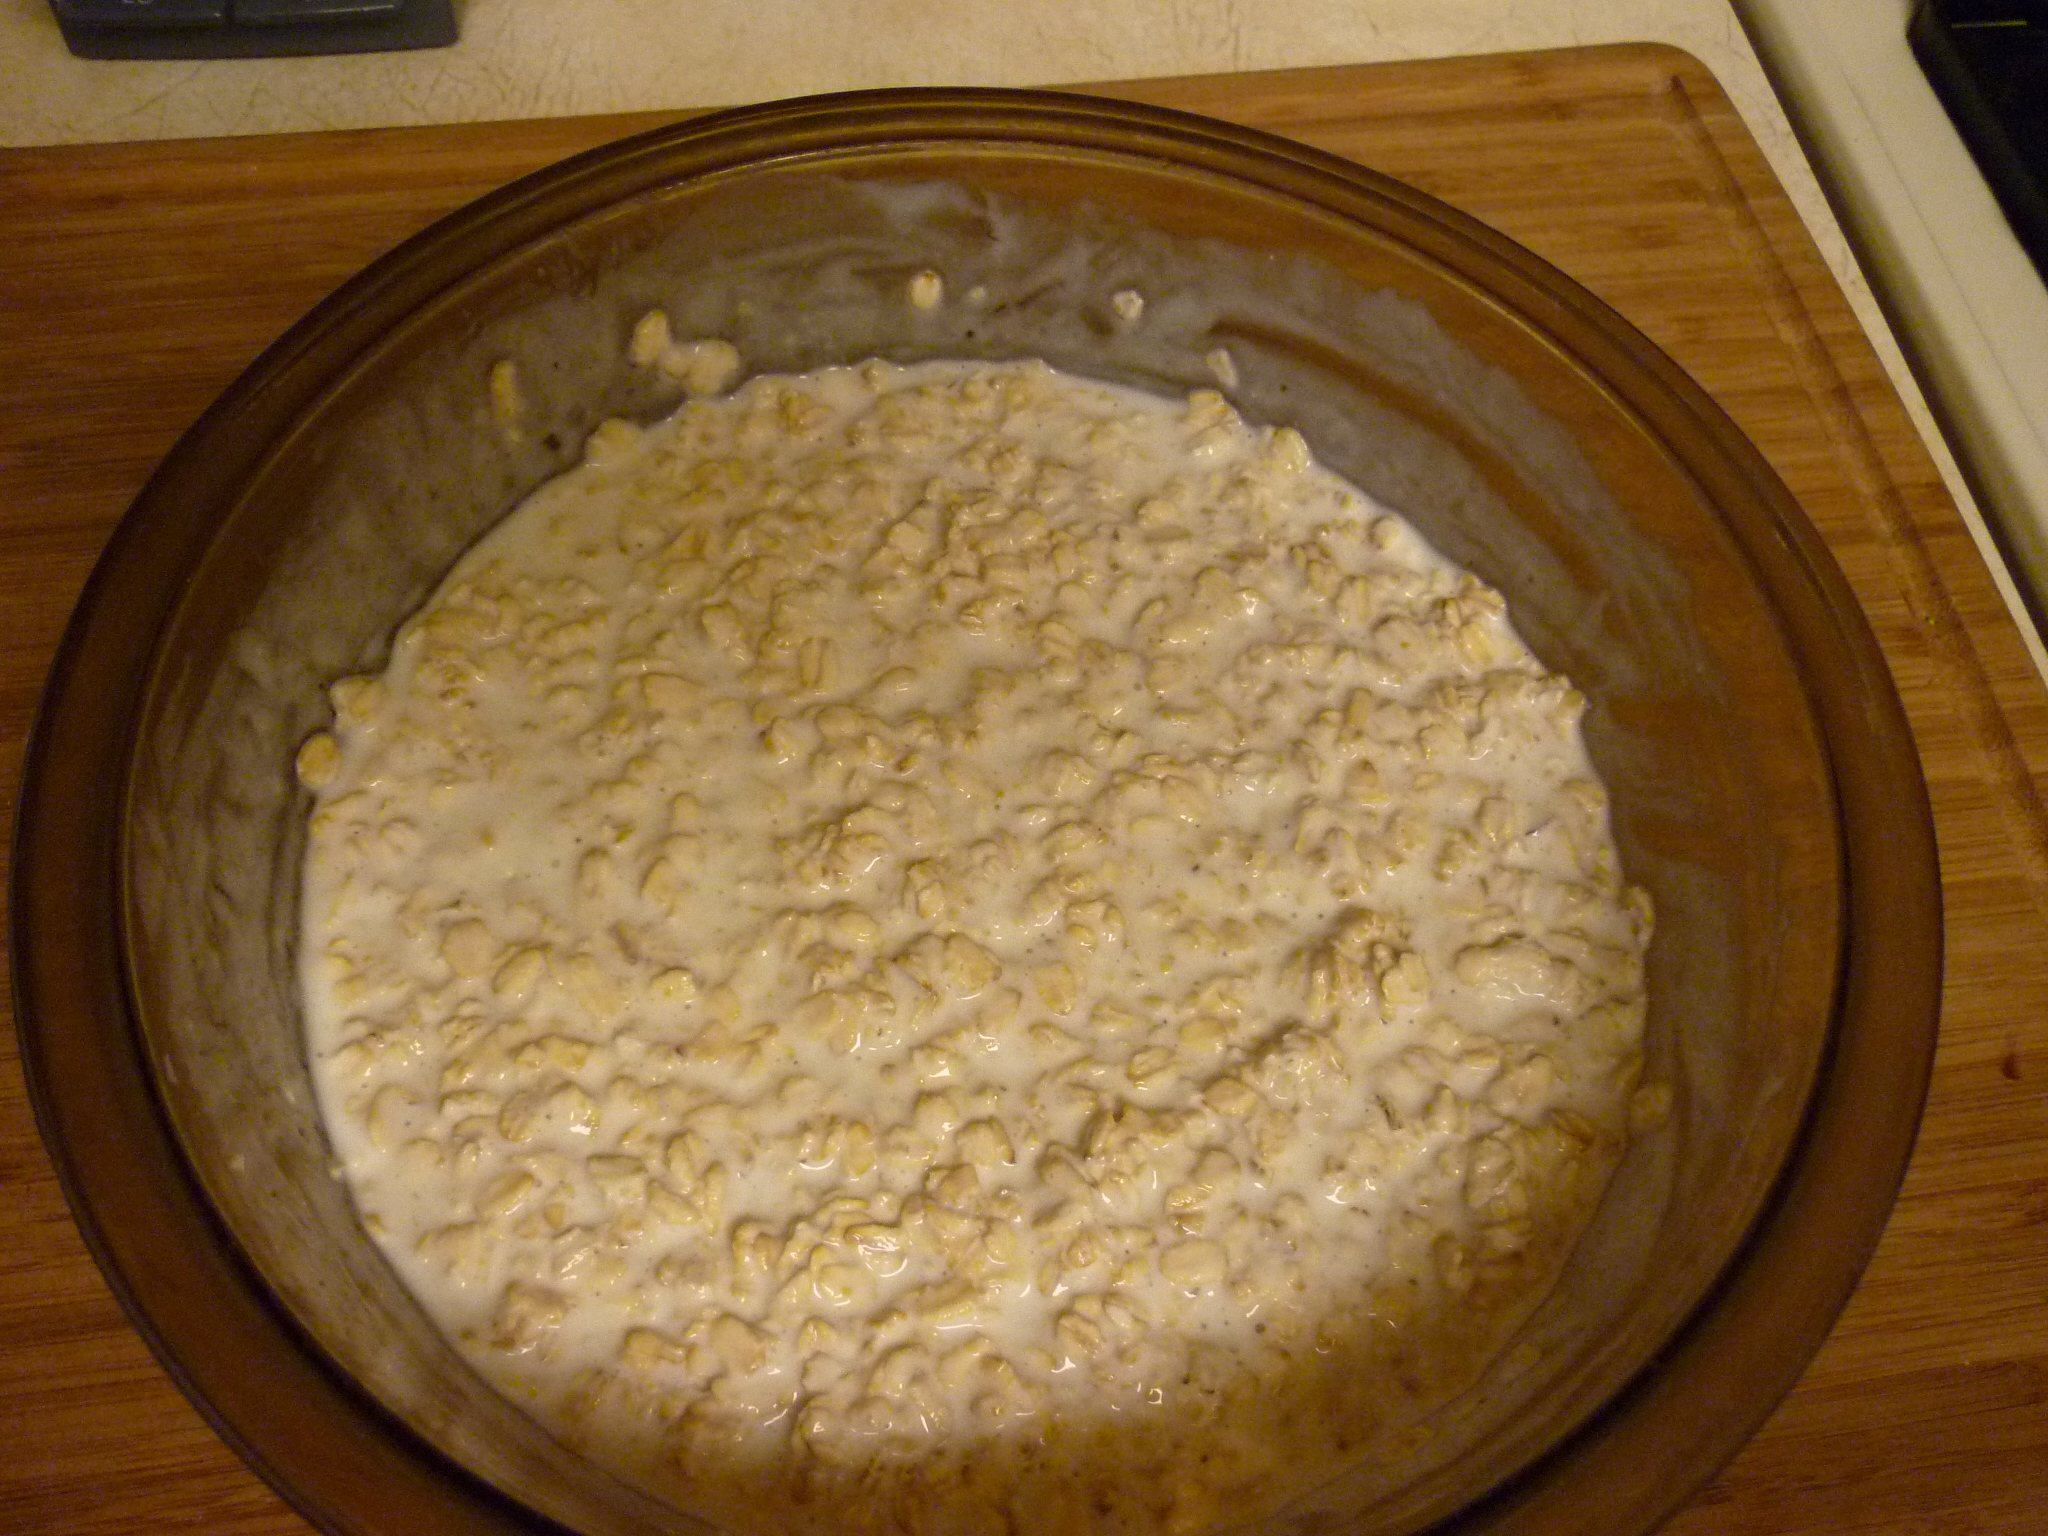
The night before, combine 2 cups rolled oats and 2 cups buttermilk. Cover and let stand in refrigerator overnight.
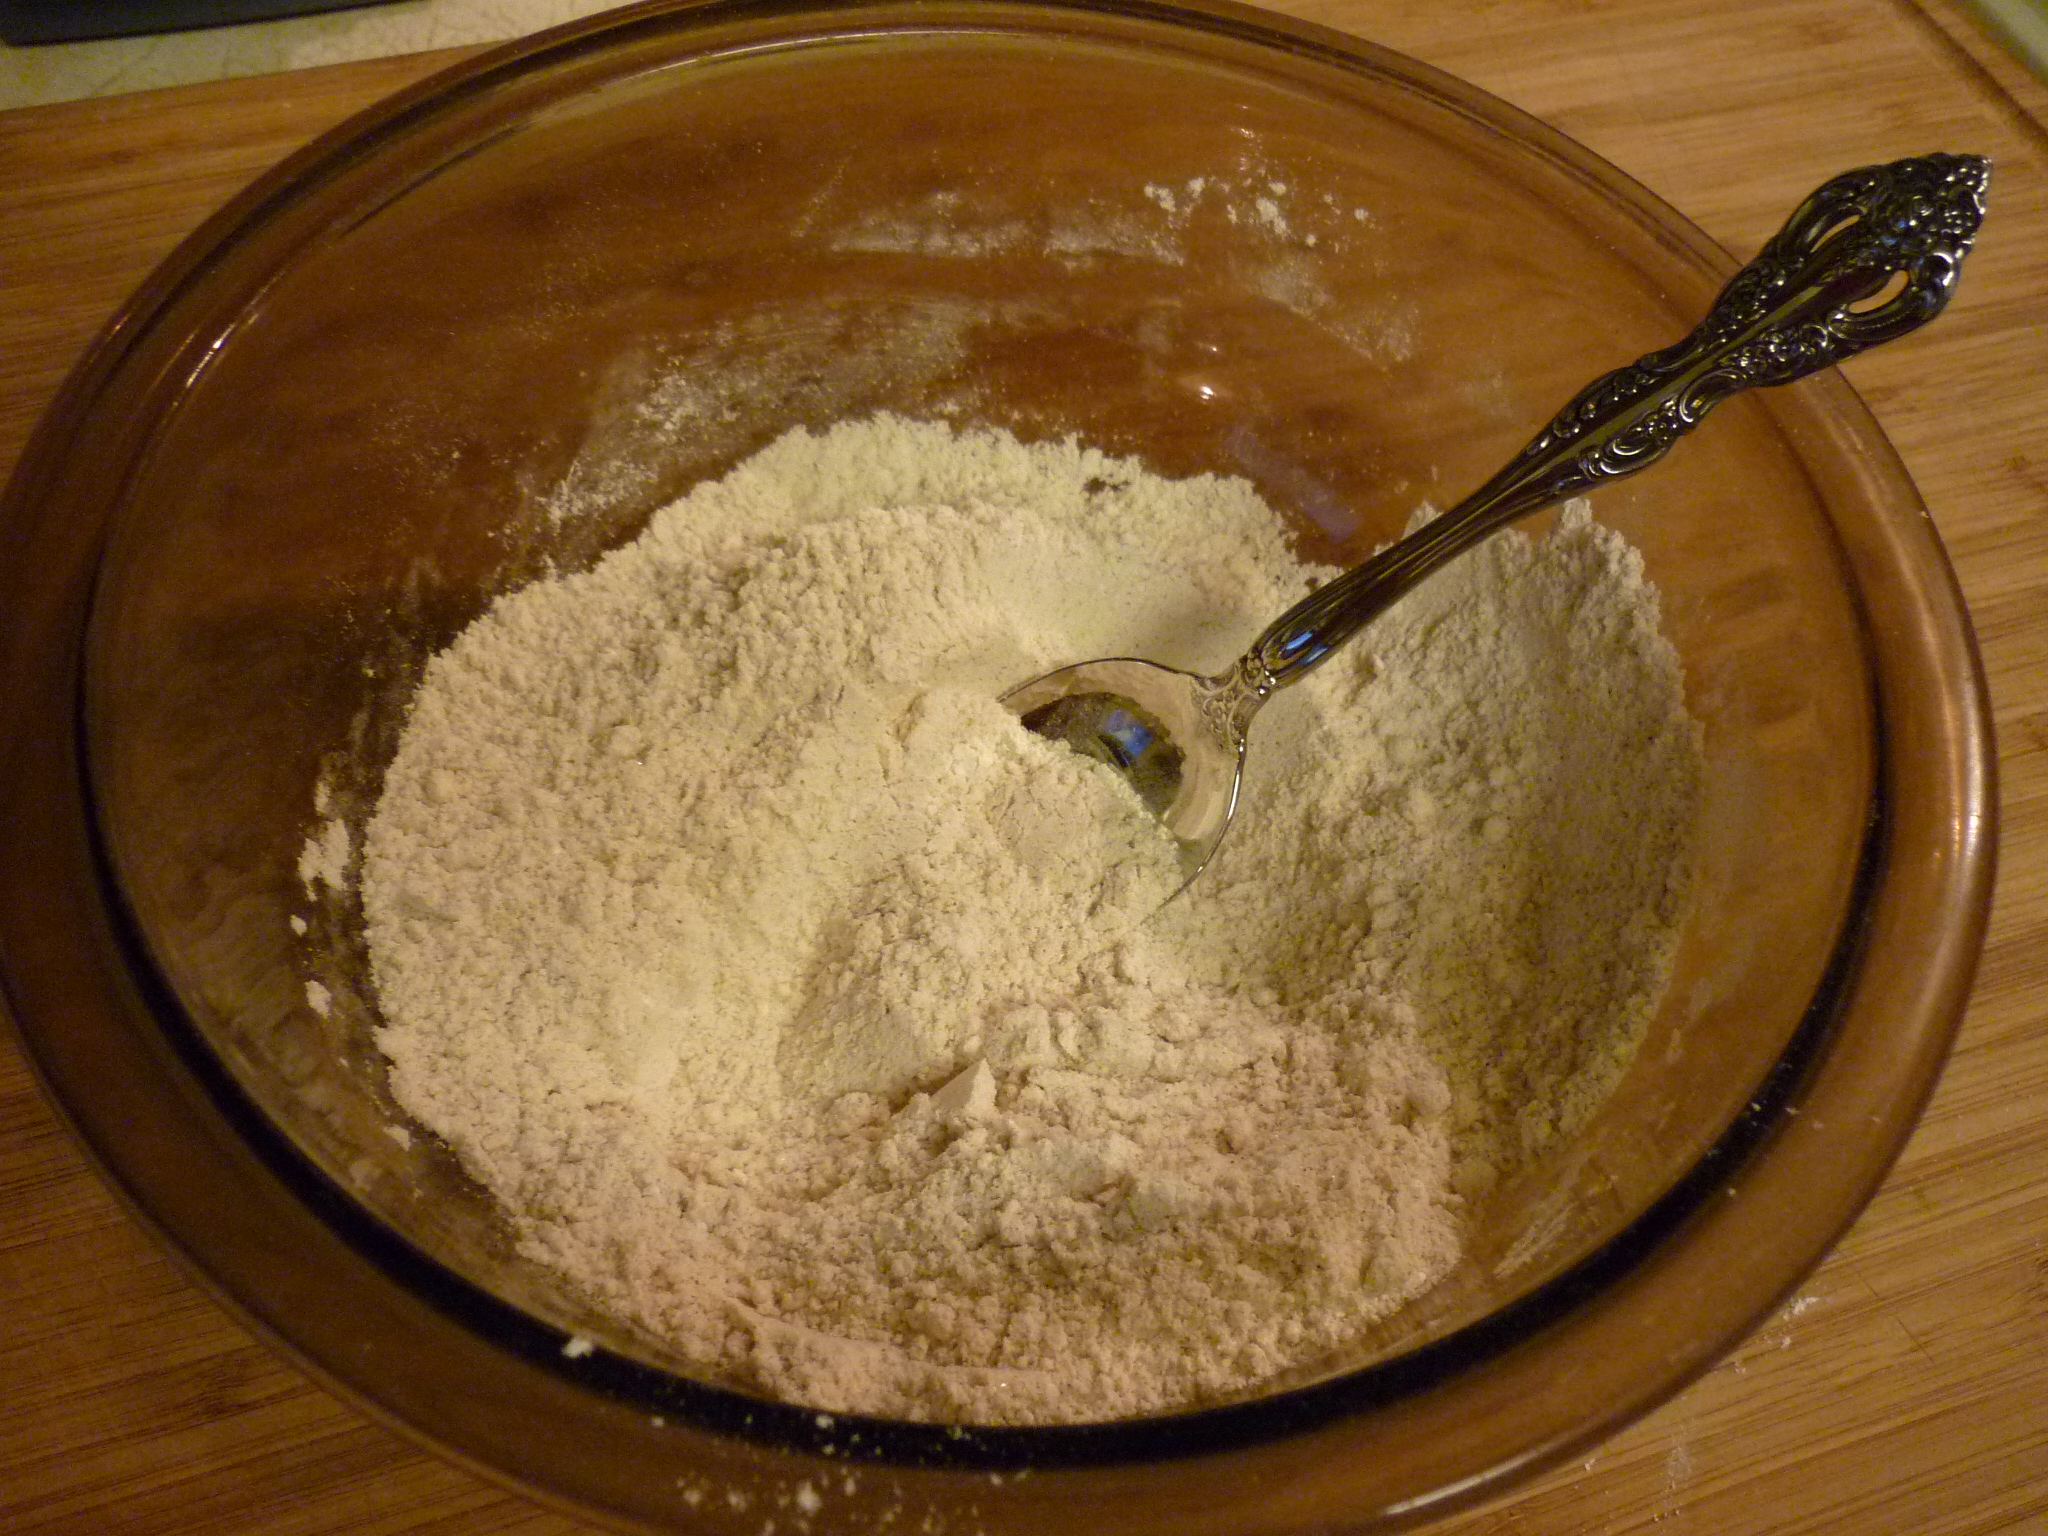
In a medium bowl stir together 1/2 cup flour, 2 Tbsp. sugar, 1 tsp. baking powder, 1 tsp. baking soda, 1/2 tsp. cinnamon, 1/3 tsp. salt. I do this part the night before as well. That way when I wake up there are only a few steps remaining.

The next morning beat 2 eggs and melt 4 Tbsp (1/2 stick) butter. Stir into oat mixture just until blended.
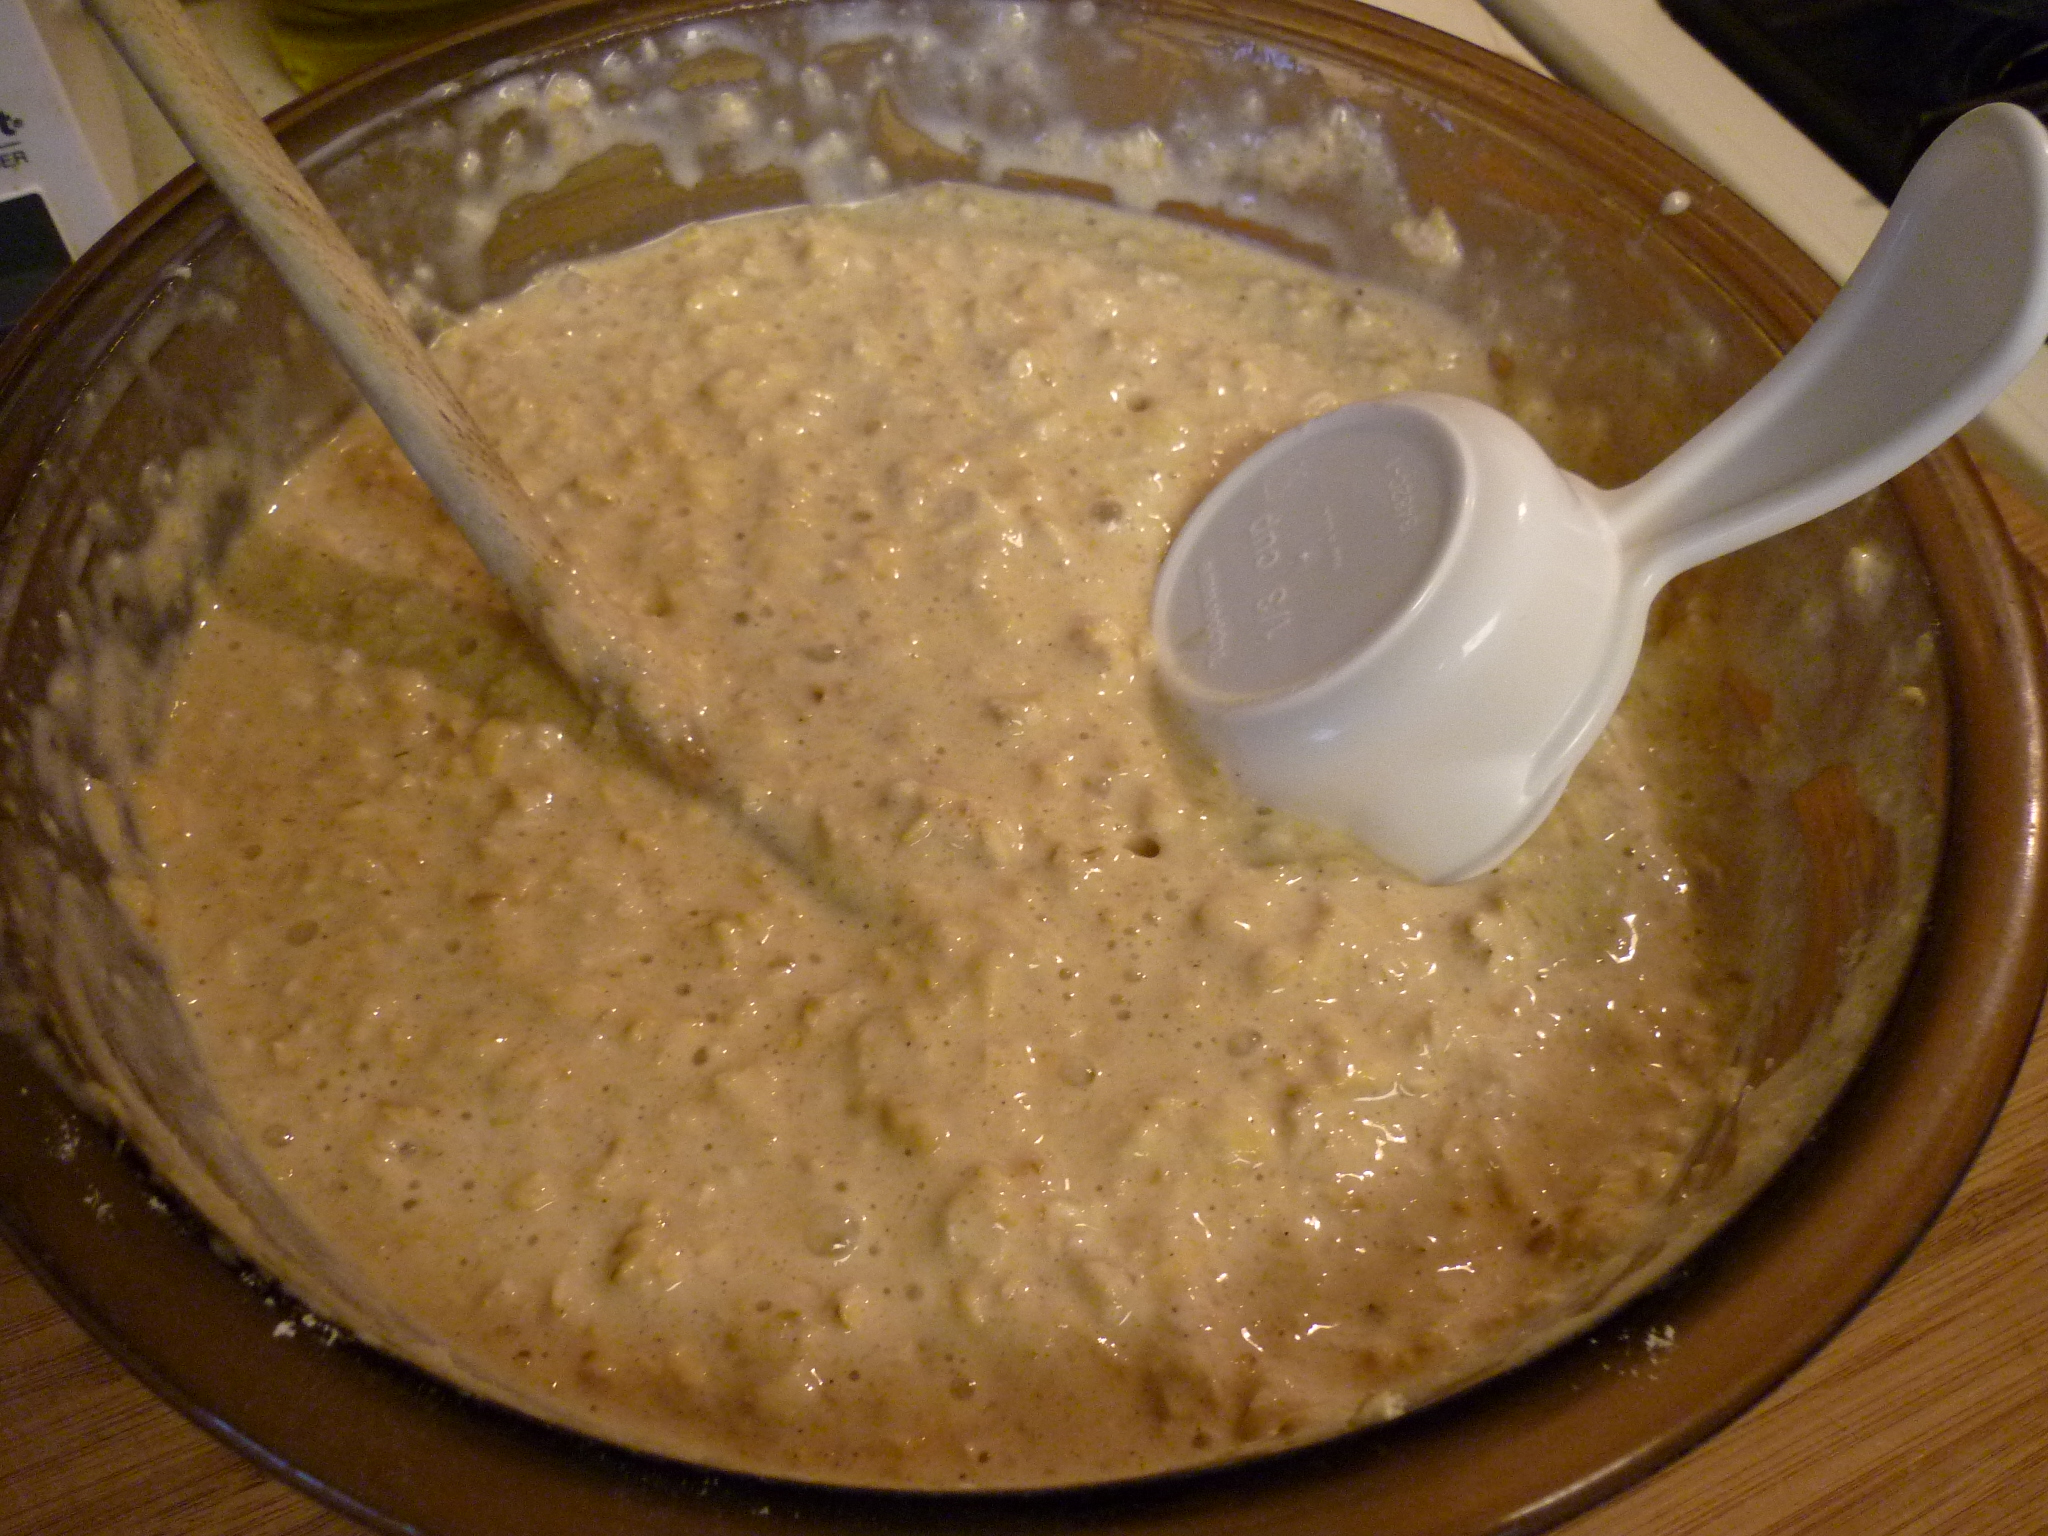
Stir in dry ingredients, just until moistened. If the batter seems too thick, add a tablespoon or two of buttermilk to thin it out.

Lightly grease griddle. I spray mine with canola oil. Spoon batter, about 1/3 cup for each pancake, onto griddle, and spread out to make circles about 4 inches in diameter.

These pancakes cannot be hurried. There is a tendency to not cook in the middle if you try to use high heat and hurry things along. No more than medium heat should be used. It does take time. When they begin to look dry around the edges and bubbles form throughout, then flip them over.
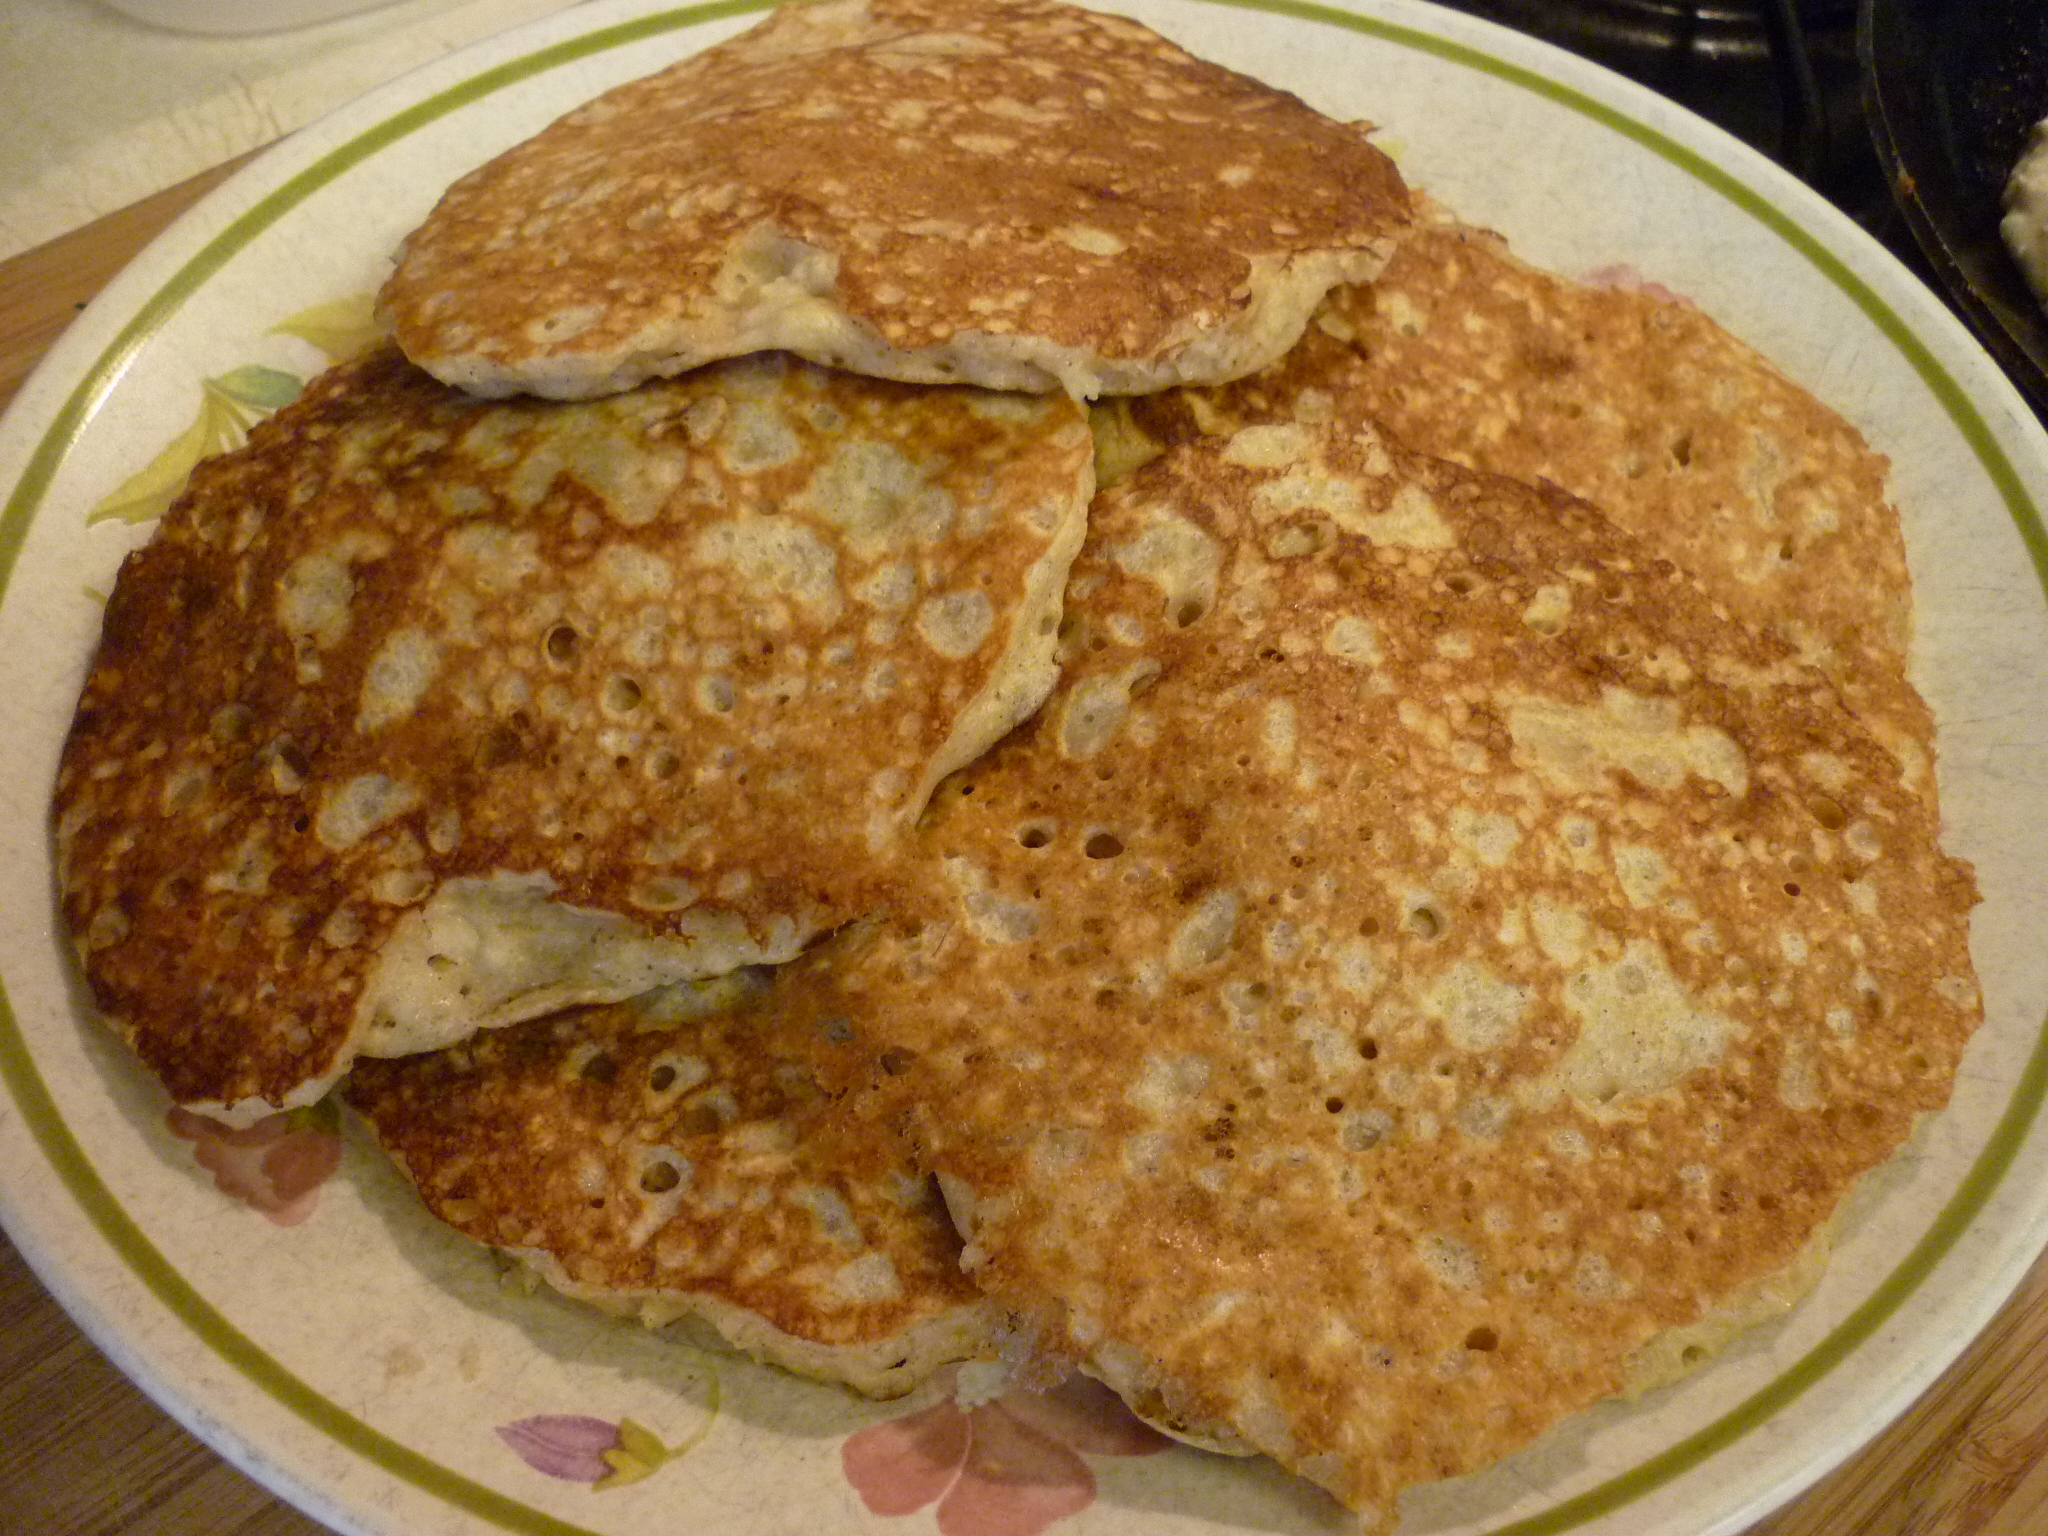
Oat Pancakes
2 cups rolled oats
2 cups buttermilk
2 eggs
4 Tbsp. melted butter
1/2 cup flour
2 Tbsp. sugar
1 tsp. baking powder
1 tsp. baking soda
1/2 tsp. cinnamon
1/4 tsp. salt
In a large bowl, combine oats and buttermilk. Cover and let stand in refrigerator overnight.
The next day, beat eggs and add to oat mixture, along with butter. Stir together just until blended. In a medium bowl stir together flour, sugar, baking powder, baking soda, cinnamon, and salt; add to oat mixture and stir just until moistened. If batter seems too thick, add more buttermilk (up to 3 Tablespoons).
Preheat a griddle or wide frying pan over medium heat; grease lightly. Spoon batter, about 1/3 cup for each pancake, onto griddle, and spread out to make circles about 4 inches in diameter. Cook until tops are bubbly and appear dry; turn and cook until other sides are browned. Makes about 1-1/2 dozen pancakes.
Granola
At my house granola has been a work in progress. The whole family really likes granola. It’s easy to make. The availability of parchment paper has made it easier still. Most of the ingredients I purchase in bulk at the natural foods section of the grocery store. I’ve spent the last couple years experimenting with various recipes. I used one recipe consistently that called for honey and had little oil. It seemed more healthy. Then last summer my friend Kate gave me a recipe that was like candy and I was cured of trying to be healthy. The granola was a little unwieldy because it stuck together in a glob. This did not detract from the taste whatsoever and no one cares how much trouble it is if they’re not the ones making it. The real problem with granola is that my family members eat it so quickly that I have to make it a couple times a week and it becomes a chore. And that’s using double batches. Sigh.
I’ve found a new recipe to try. It’s based on Best Ever Granola at Alexandra’s Kitchen. She makes candied nuts and adds them, with dried fruit, to the granola at the end. Oh, my. Two of my kids are coming home from college soon. They are bringing several visitors from Sweden. I need to stock up on food, like granola, so here goes. I’m going to give you the doubled recipe. I just don’t know how normal people can make four cups of granola and call it good. Go big or go home.
First, make the candied nuts.
Candied Nuts
Preheat oven to 350 degrees. Prepare two rimmed baking sheets by covering with parchment paper. Don’t trim the paper too close, make sure to leave enough along the edges to grasp with your fingers.
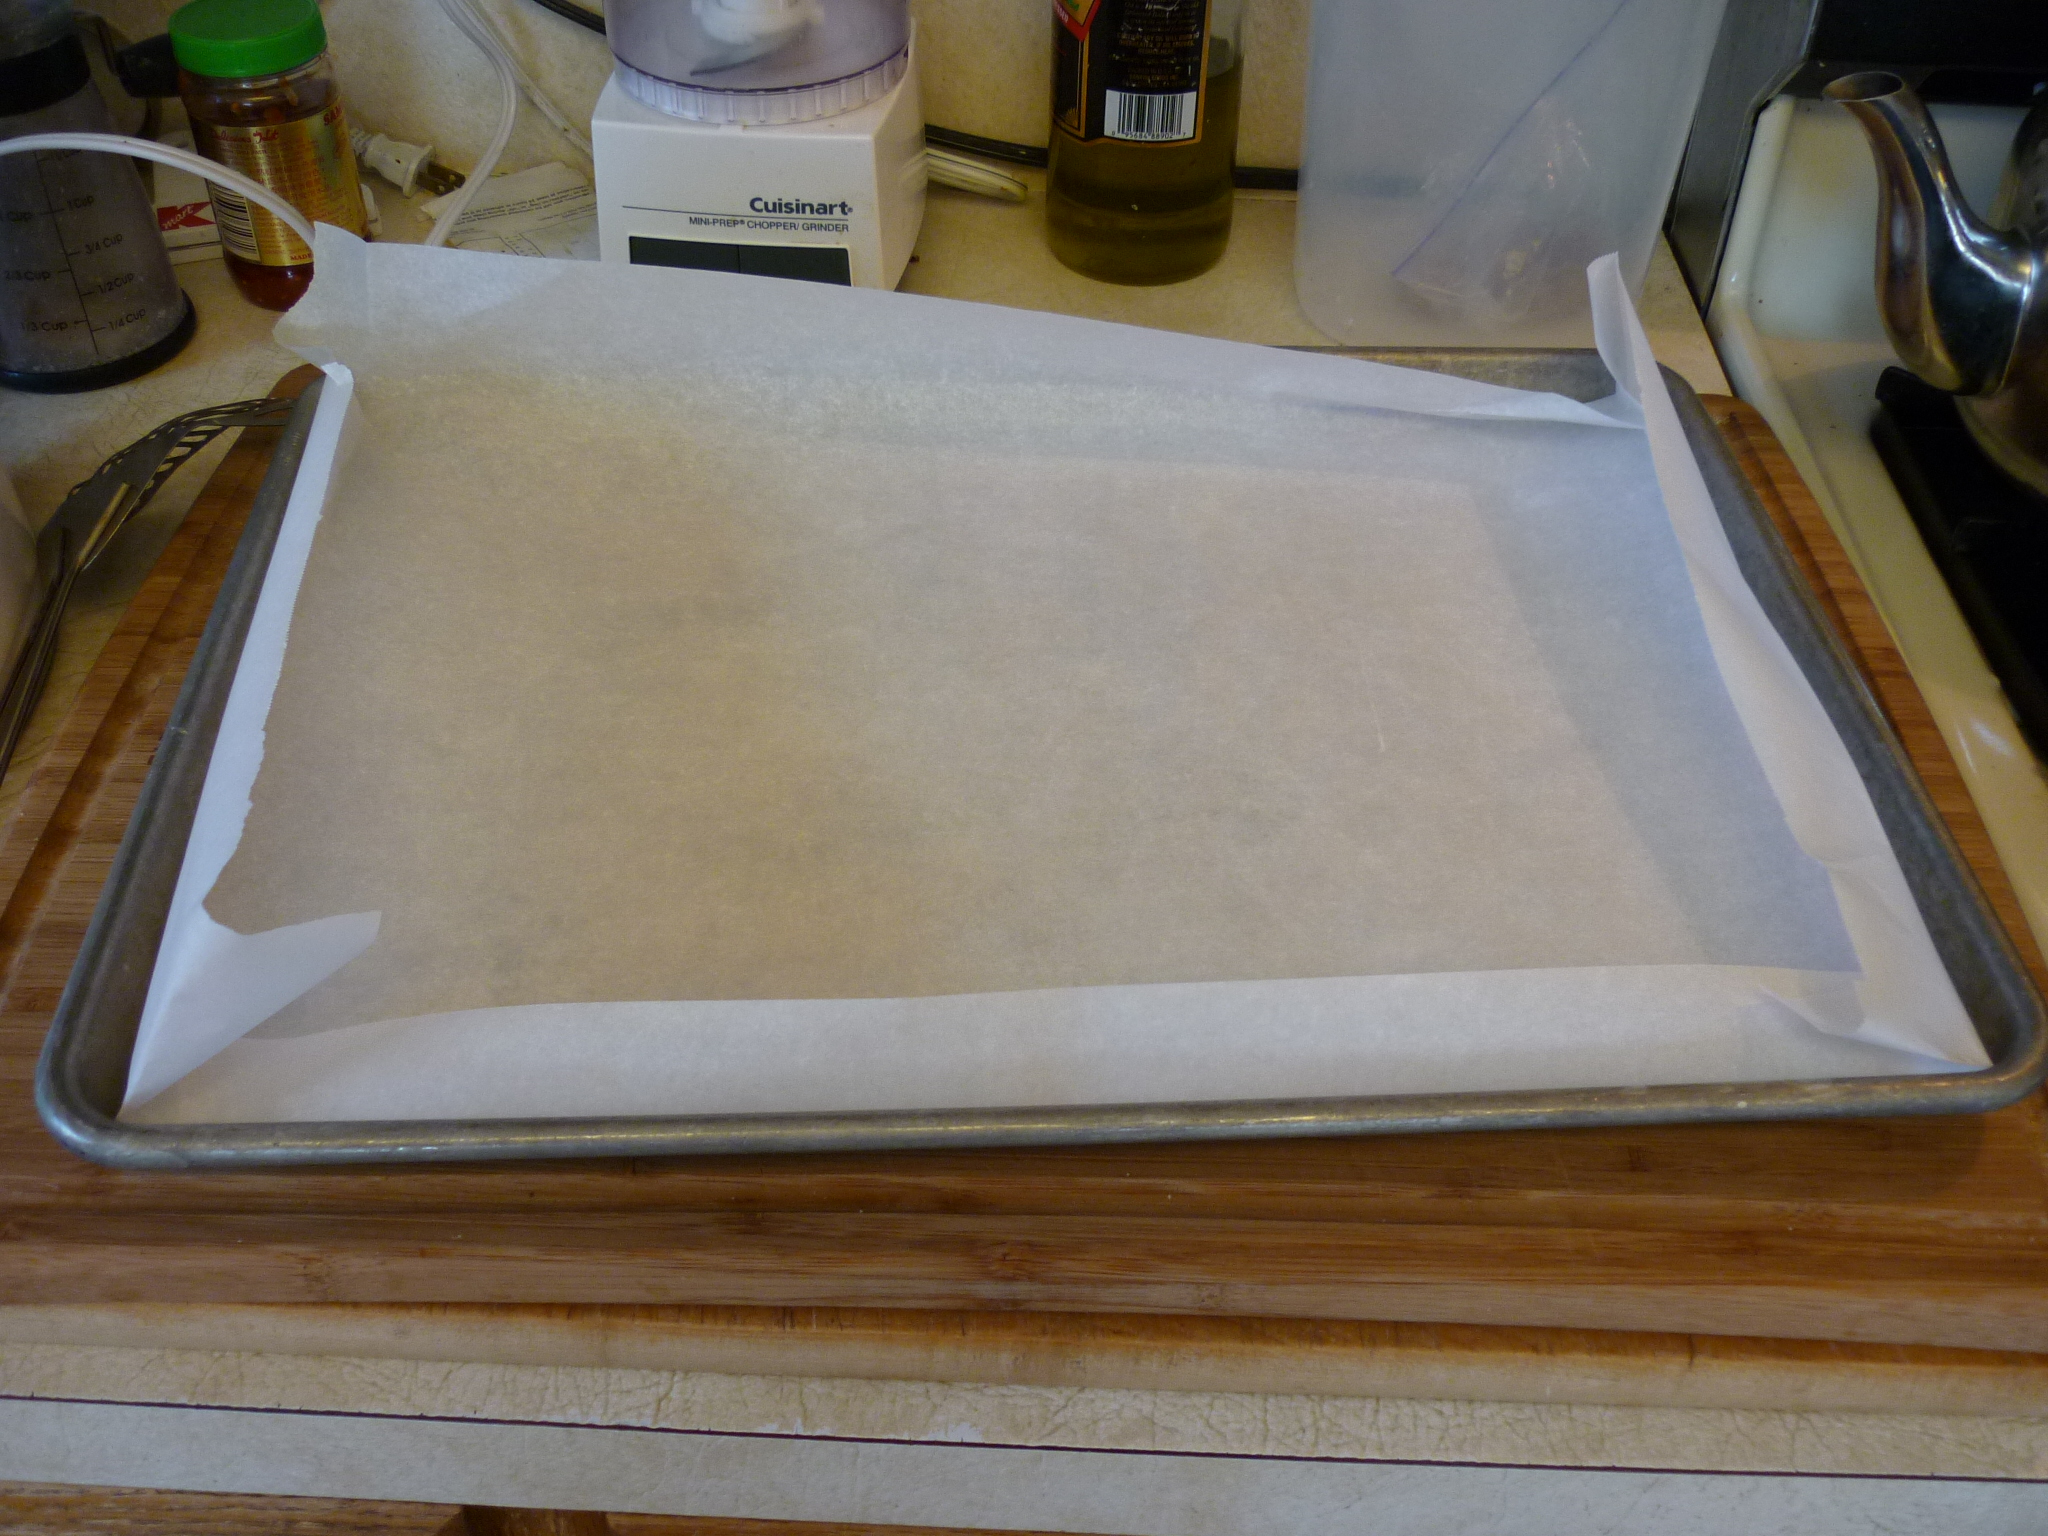
Prepare the pans with parchment paper.
In a medium saucepan stir together 2/3 cup sugar, 1/2 cup water, 1 tsp. salt, 1 tsp. cinnamon. Bring to a boil.

Make a syrup.
Stir in 3 cups raw whole cashews and 3 cups raw whole almonds. Let simmer one minute.
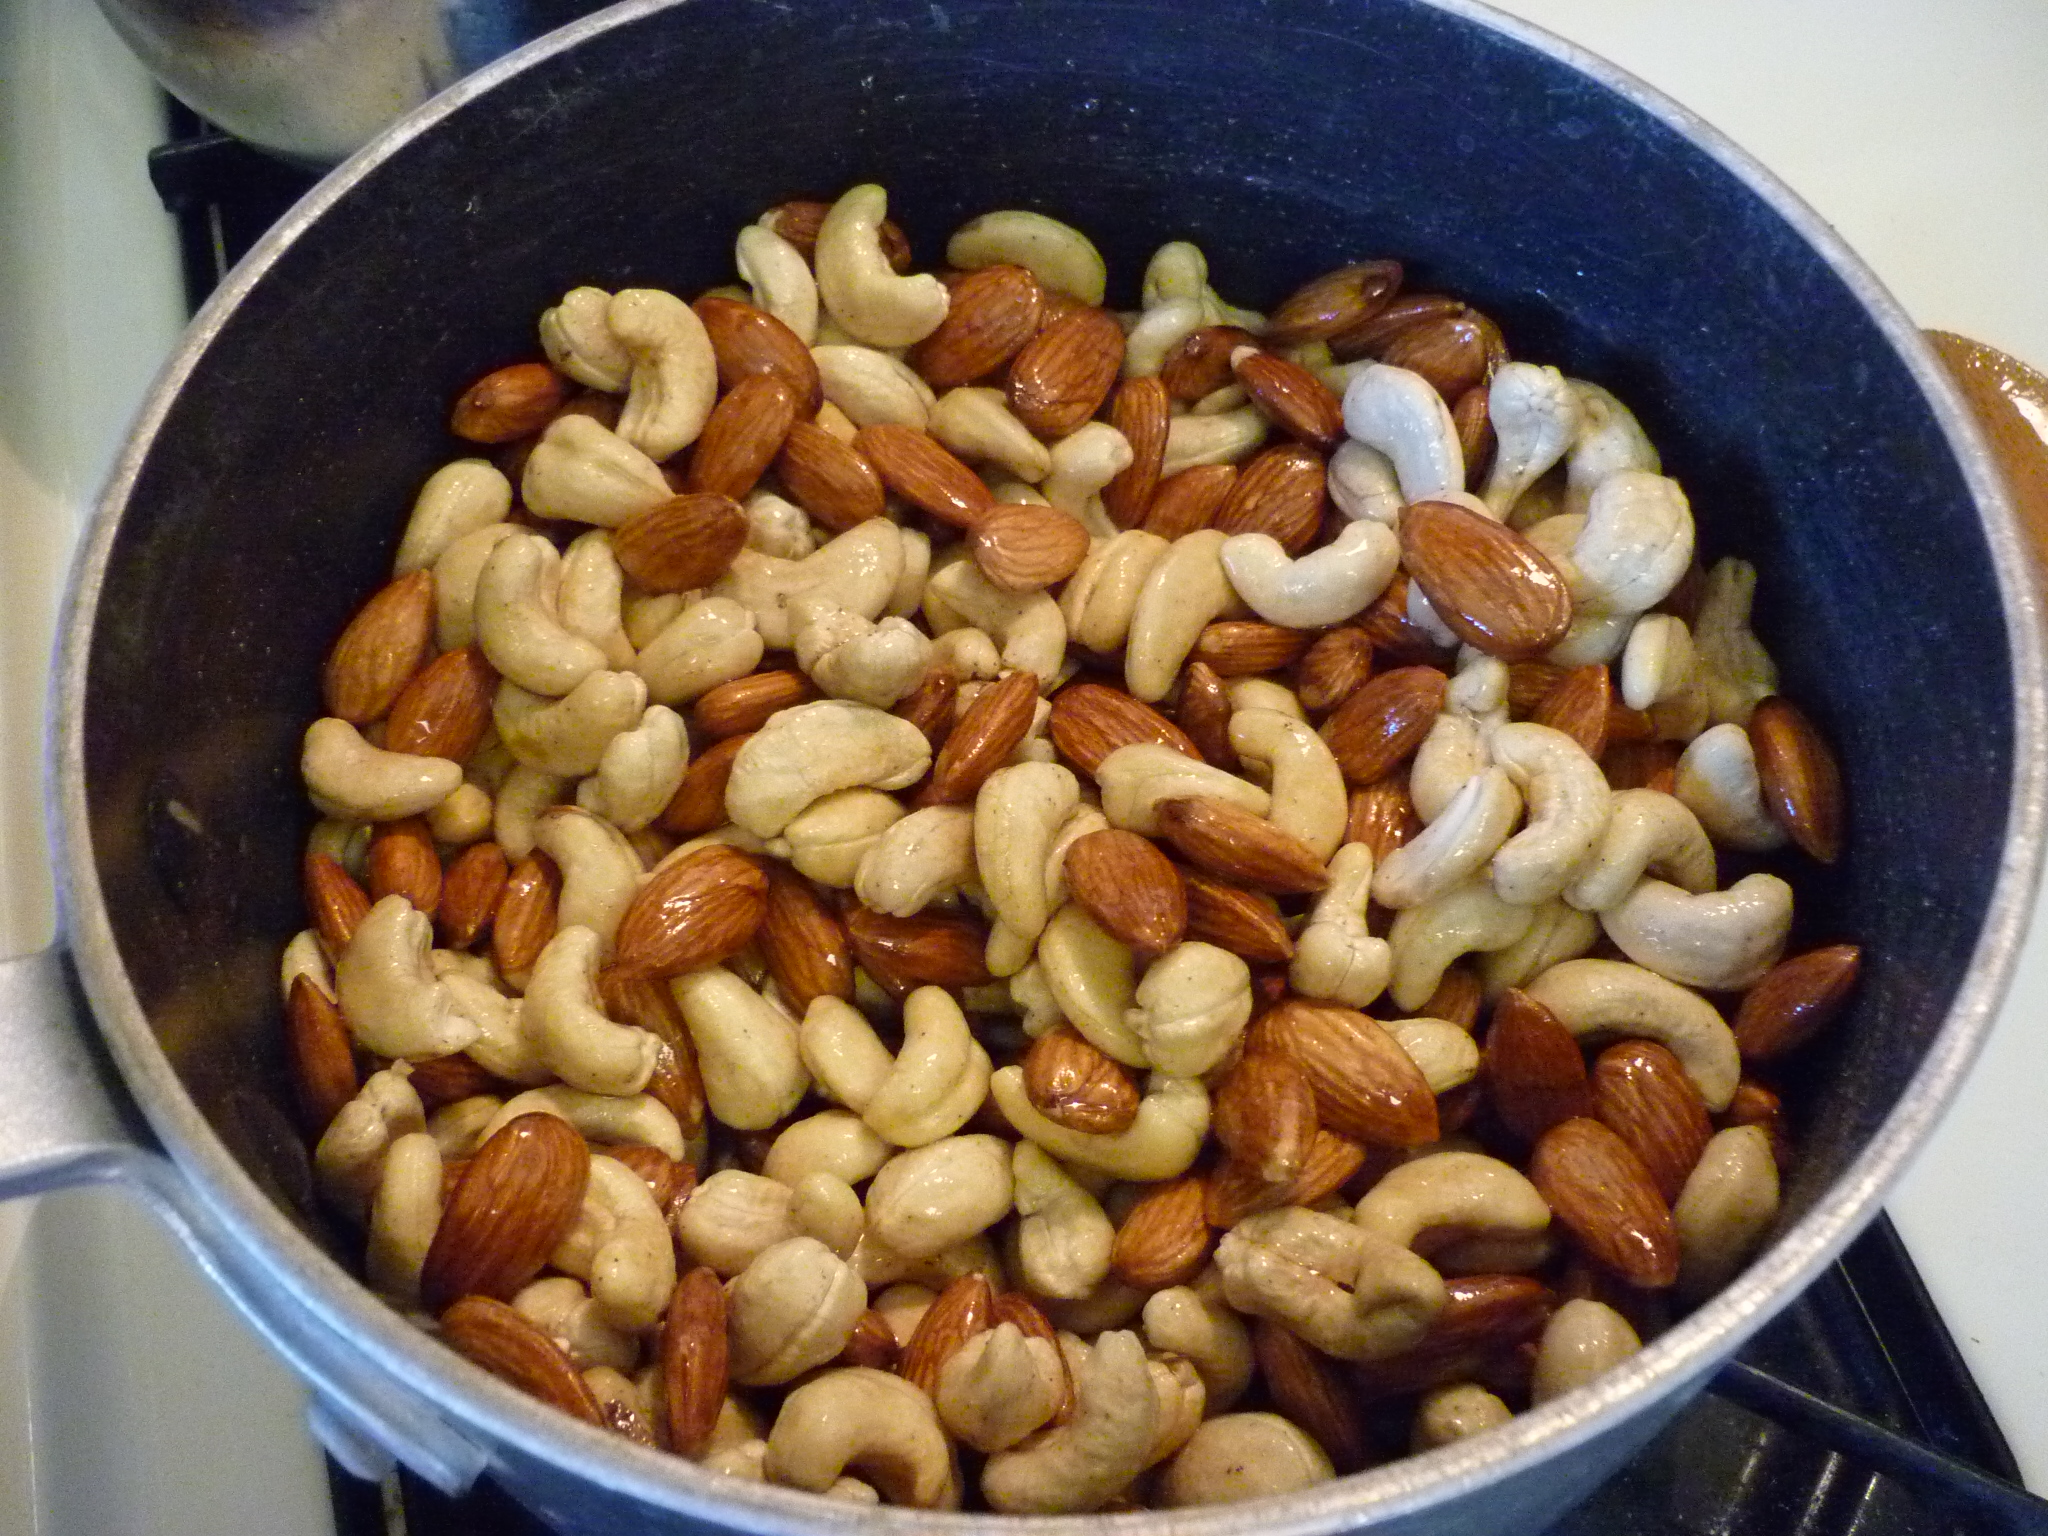
Stir in nuts.
Remove from pan with a slotted spoon and distribute across the prepared pans.
Resist the temptation to pour the leftover syrup onto the pans because it will burn. (I was really, really tempted. Note to self here . . . next time, after pulling out the nuts, sprinkle a little cayenne into the leftover syrup and dredge pecans through it, then bake the pecans, and use for a different purpose, like spinach salad. I think it would work and would taste amazing. I digress.)
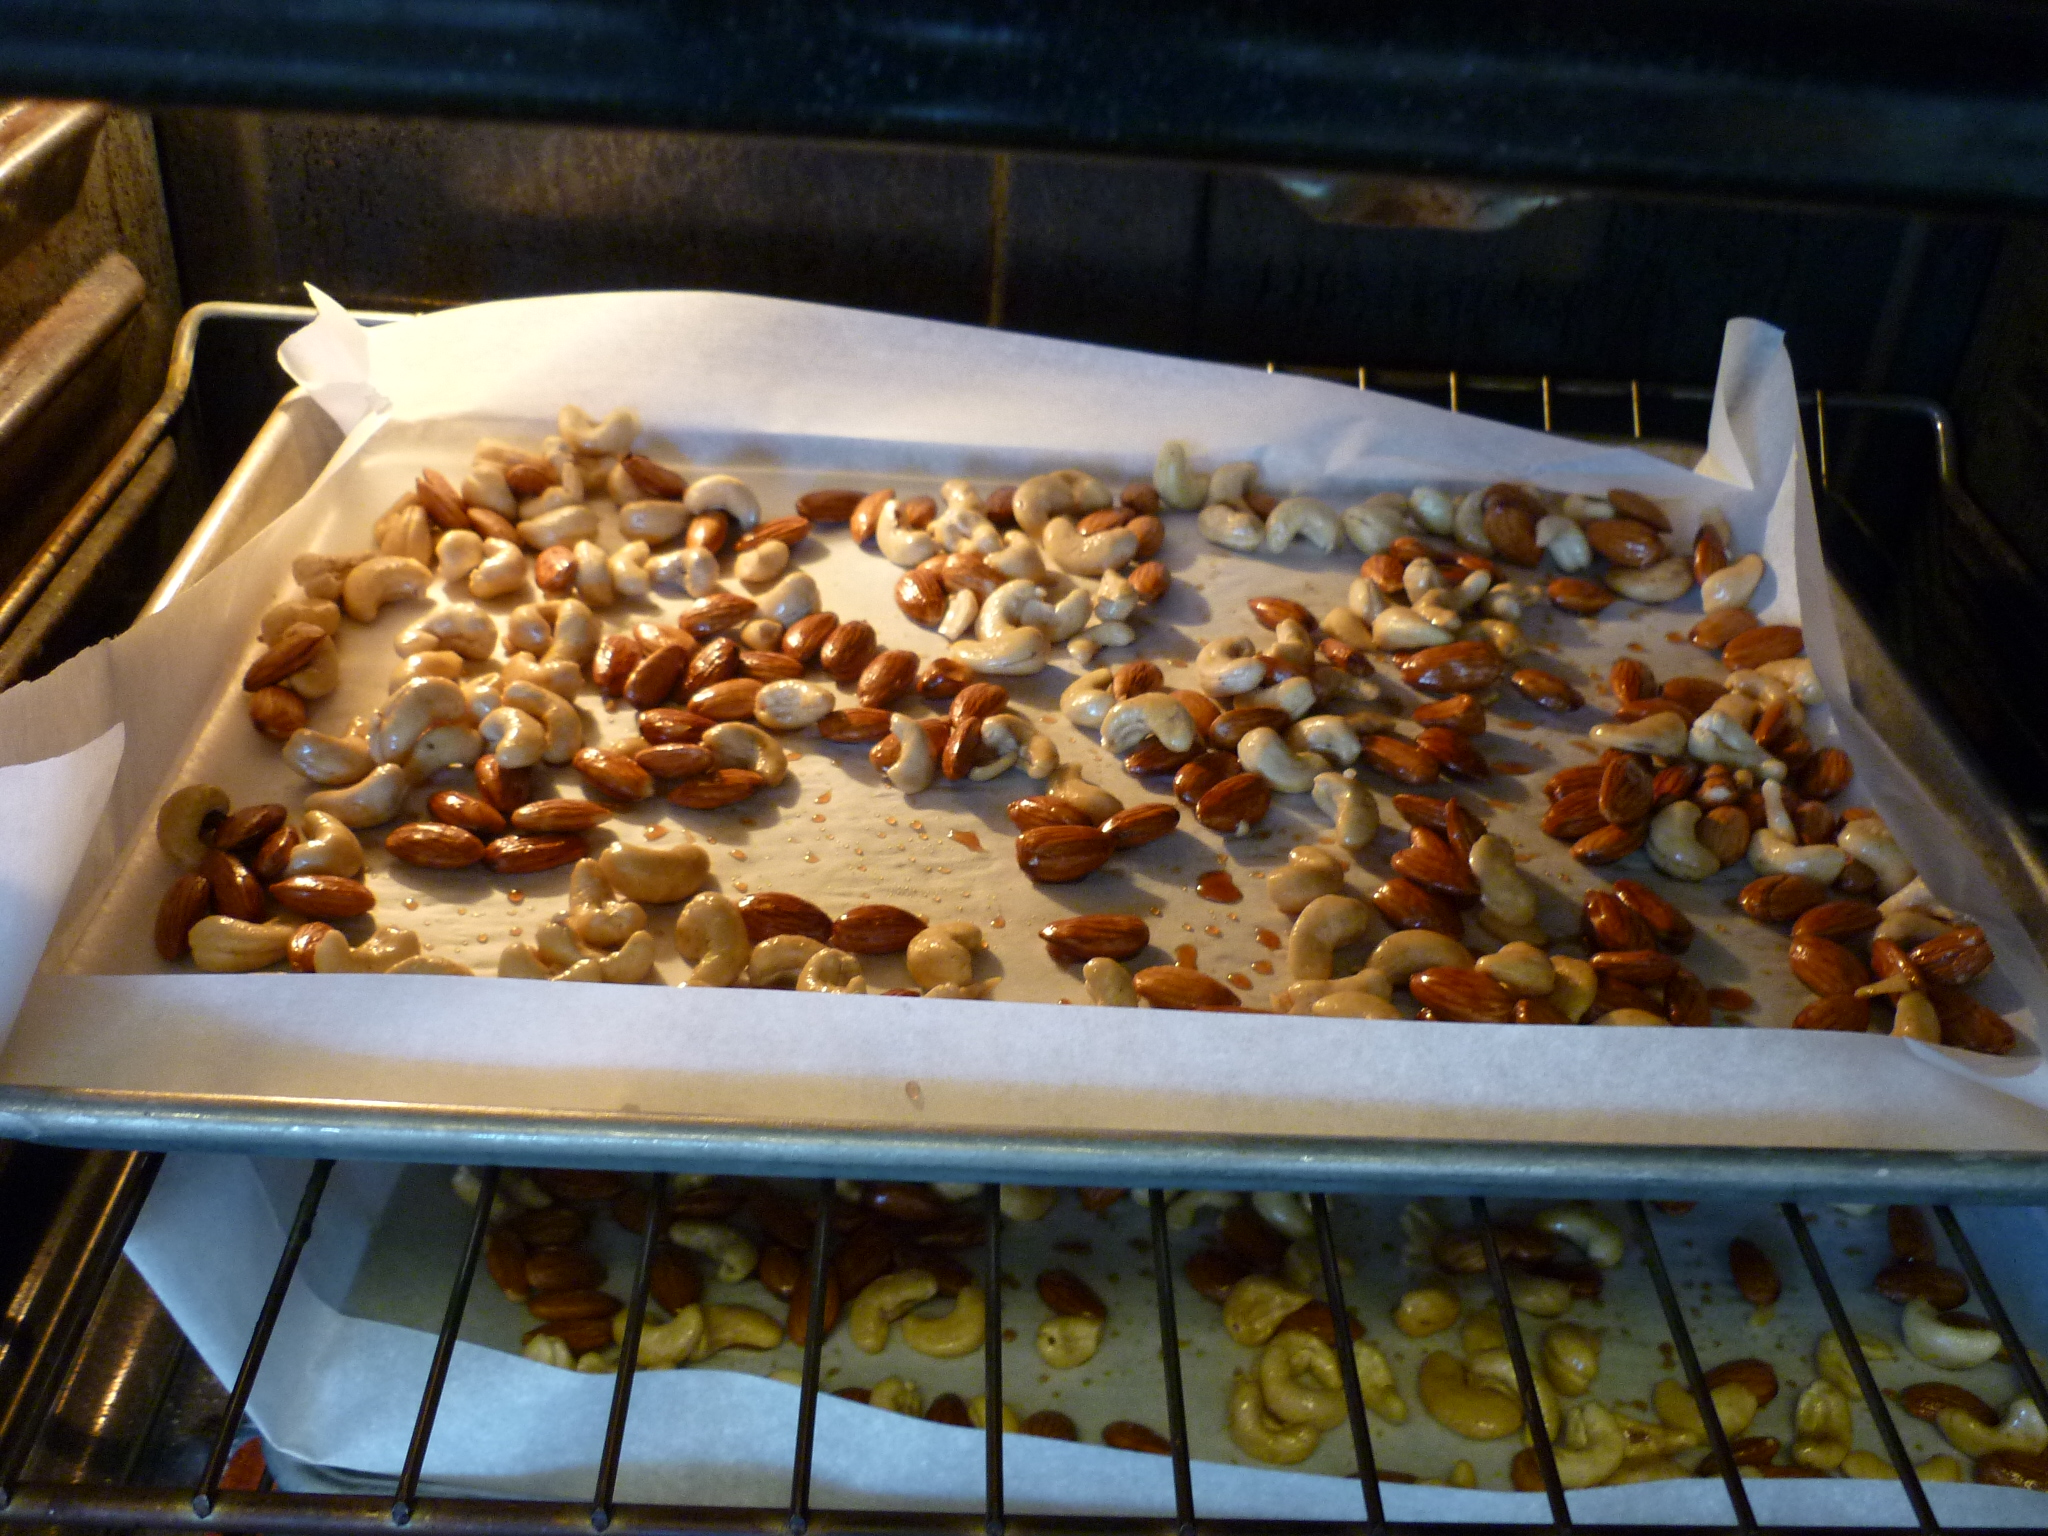
Spread nuts on paper and place into 350 degree oven for 15 minutes.
Bake for 15 minutes. Remove from oven and stir around. You’ll need to hold the parchment paper between your fingers so that it doesn’t slide off the pan onto the floor while you’re stirring. The pan is hot, of course, but the paper you should be able to grip. Put the pans back in the oven for another five minutes or so. Keep a good eye on it and remove when the nuts turn golden.

Bake until golden.
Let them cool on the pans for a little while, then transfer to a bowl. Do not throw away the paper, set it back on the pans.
Granola
In a sauce pan stir together 1 cup oil (I used canola), 1-1/3 cups honey, 2 tsp. vanilla, 1 tsp. salt. Warm the mixture.
Heat the liquid ingredients.
Meanwhile, in a very, very large bowl (mine is a 32-cup Tupperware) mix together 8 cups rolled oats, 14 oz. (4 cups) shredded coconut, and 4 cups sliced raw almonds.

Mix together dry ingredients.
Stir in the warmed oil and honey mixture until it is mixed through. Distribute evenly across the two parchment-prepared pans.

Spread granola across two prepared pans.
Place in the oven to bake for 15 minutes. Remove from oven and stir. You’re trying to move the more browned parts away from the edges and under. Place back in oven for 5 minutes. Remove and stir. Back into the oven again. Keep repeating the process, reducing the amount of time in the oven until it has turned golden. Watch it carefully, a minute or two in the oven toward the end. Let cool. Another note: try to work quickly or you’ll find that you’ve eaten all the candied nuts by the time you’re finished toasting the granola.
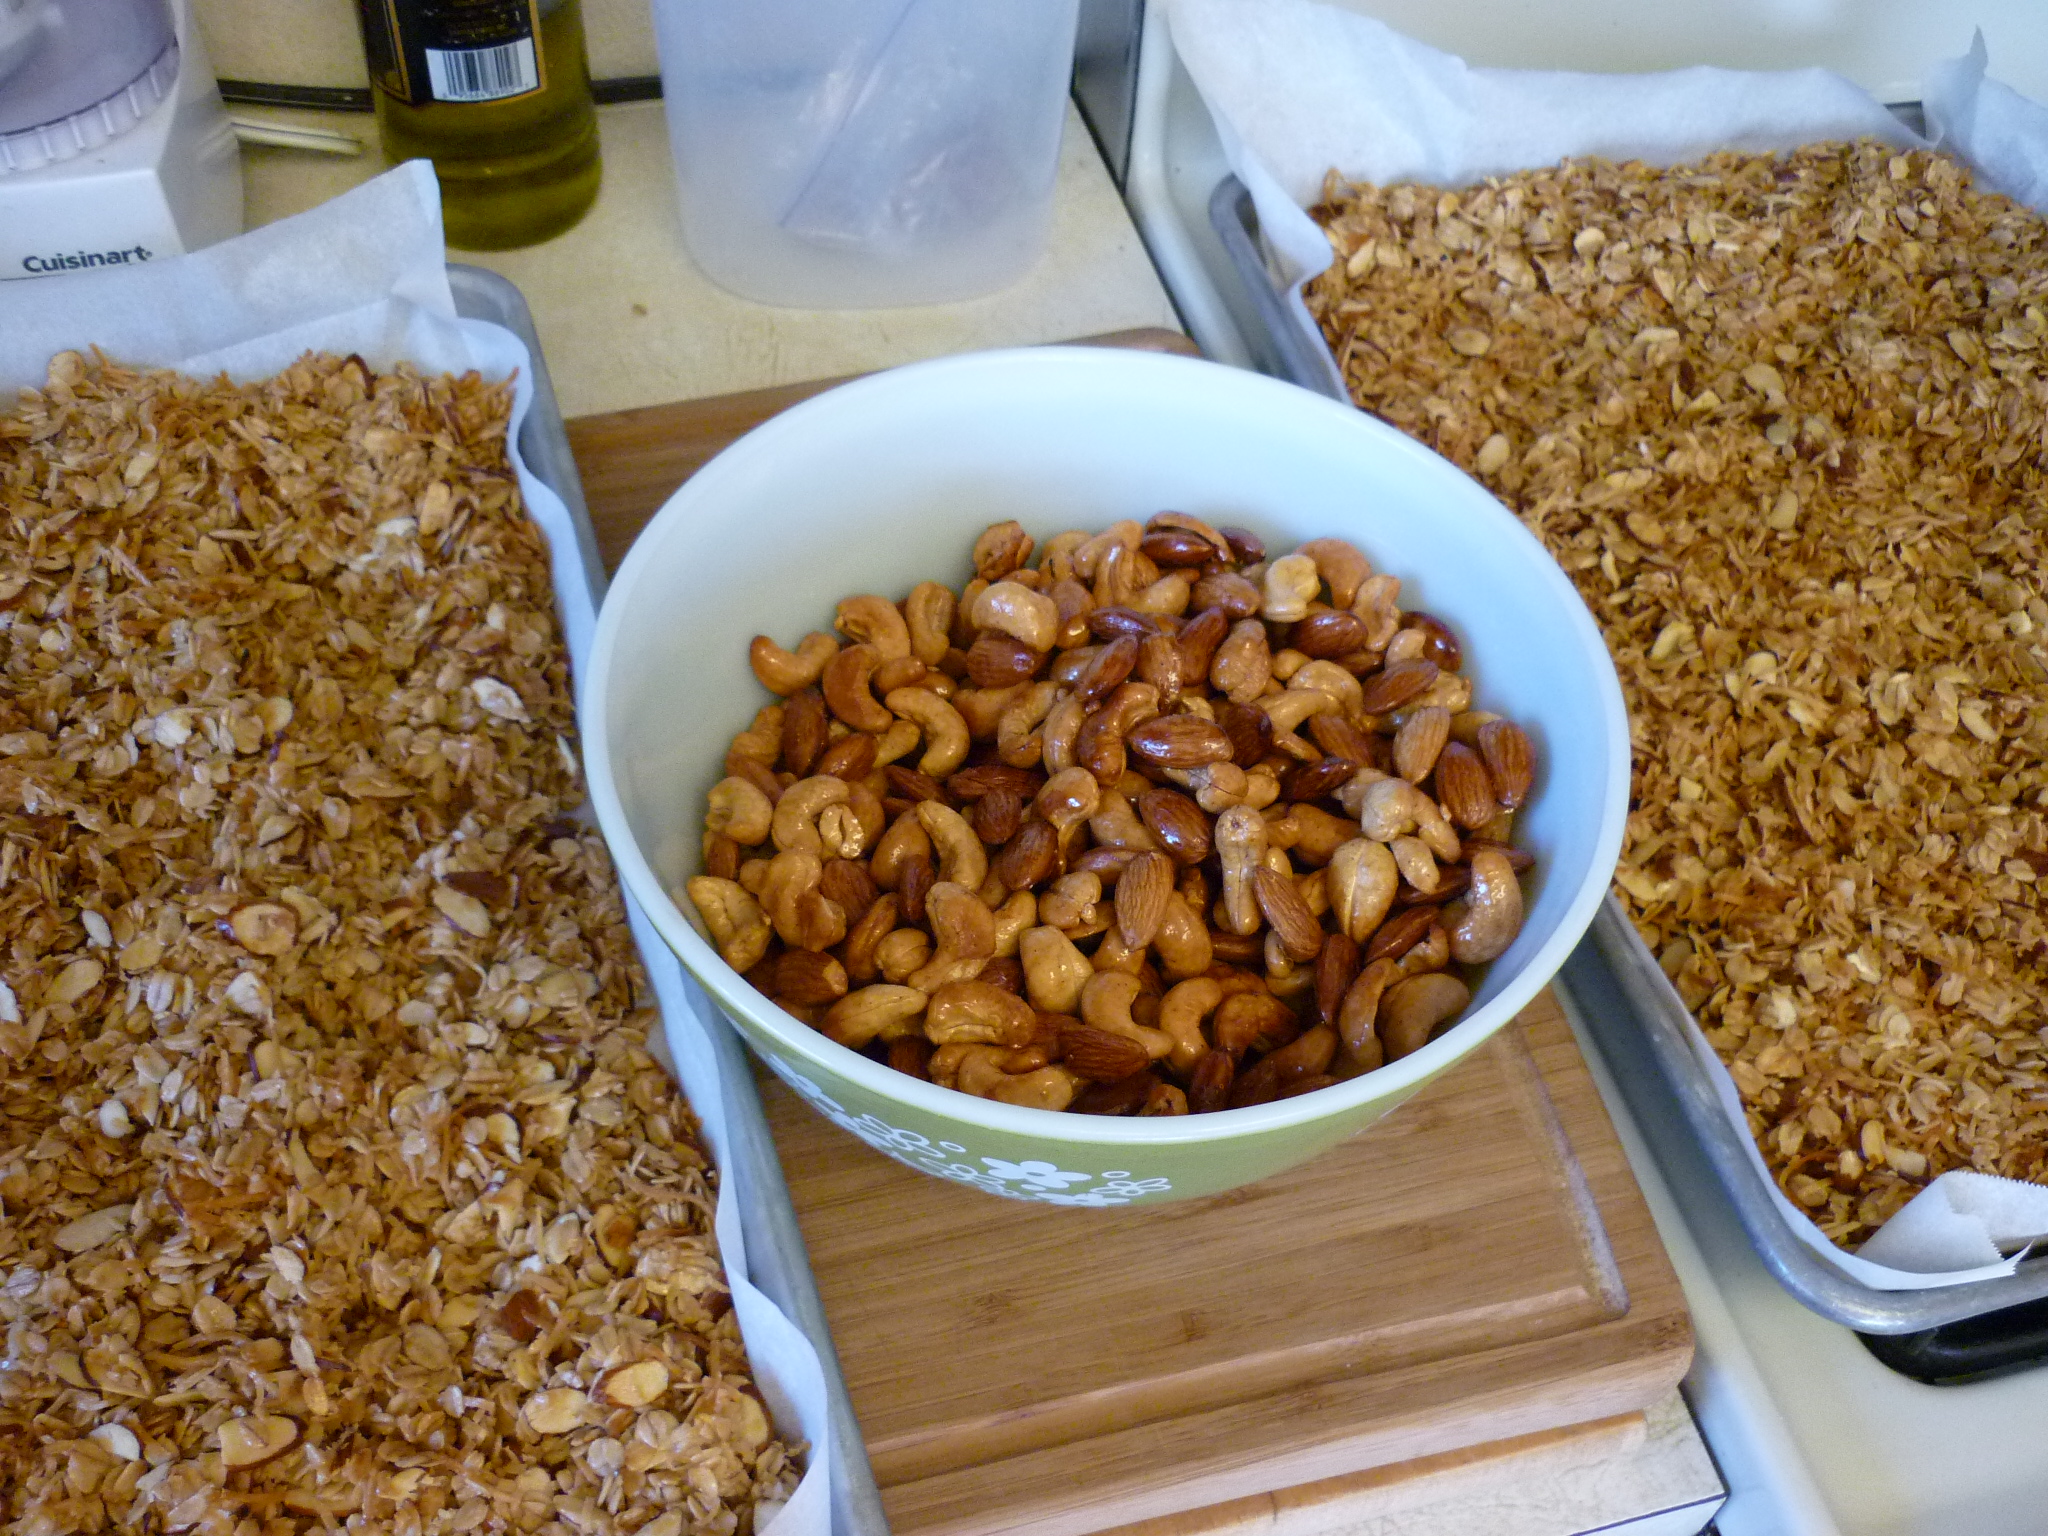
Voila! Toasted granola and candied nuts.
Once cool, break up the granola a little and mix with the candied nuts. Add a couple cups of dried fruit, like cherries or cranberries. Tastes great with yogurt or milk or ice cream.
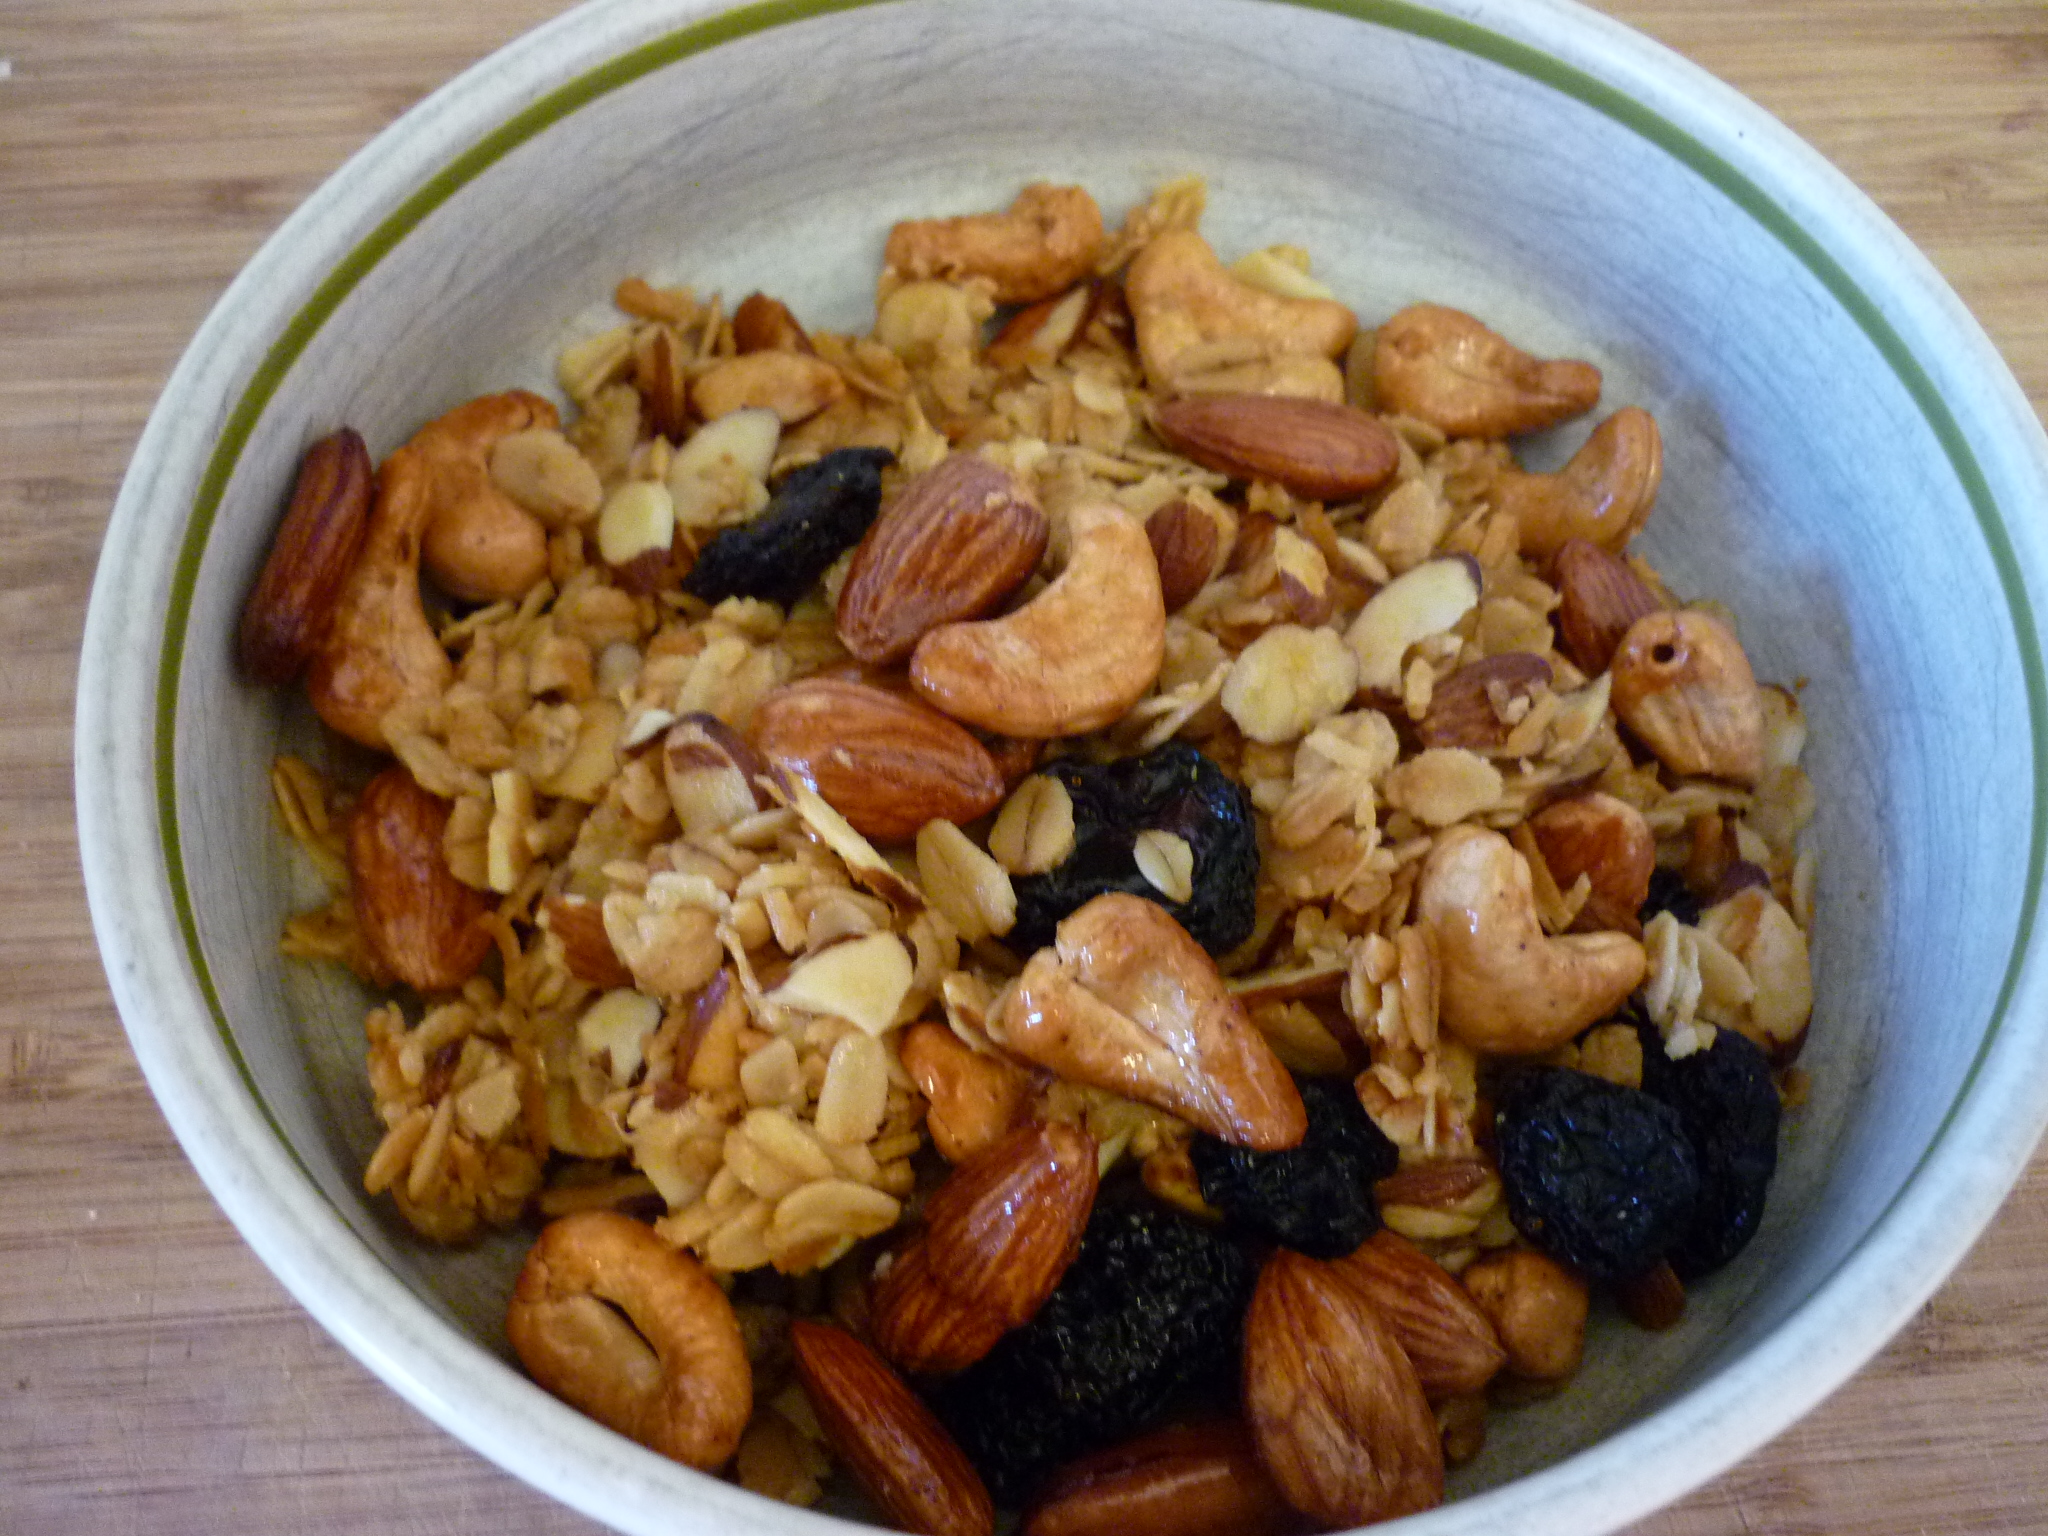
Granola

