
You are currently browsing the category archive for the ‘Miscellaneous’ category.
- Ingredients
- 1 cup olive oil
- 4 large cloves garlic, minced
- 1-2 sprigs fresh thyme
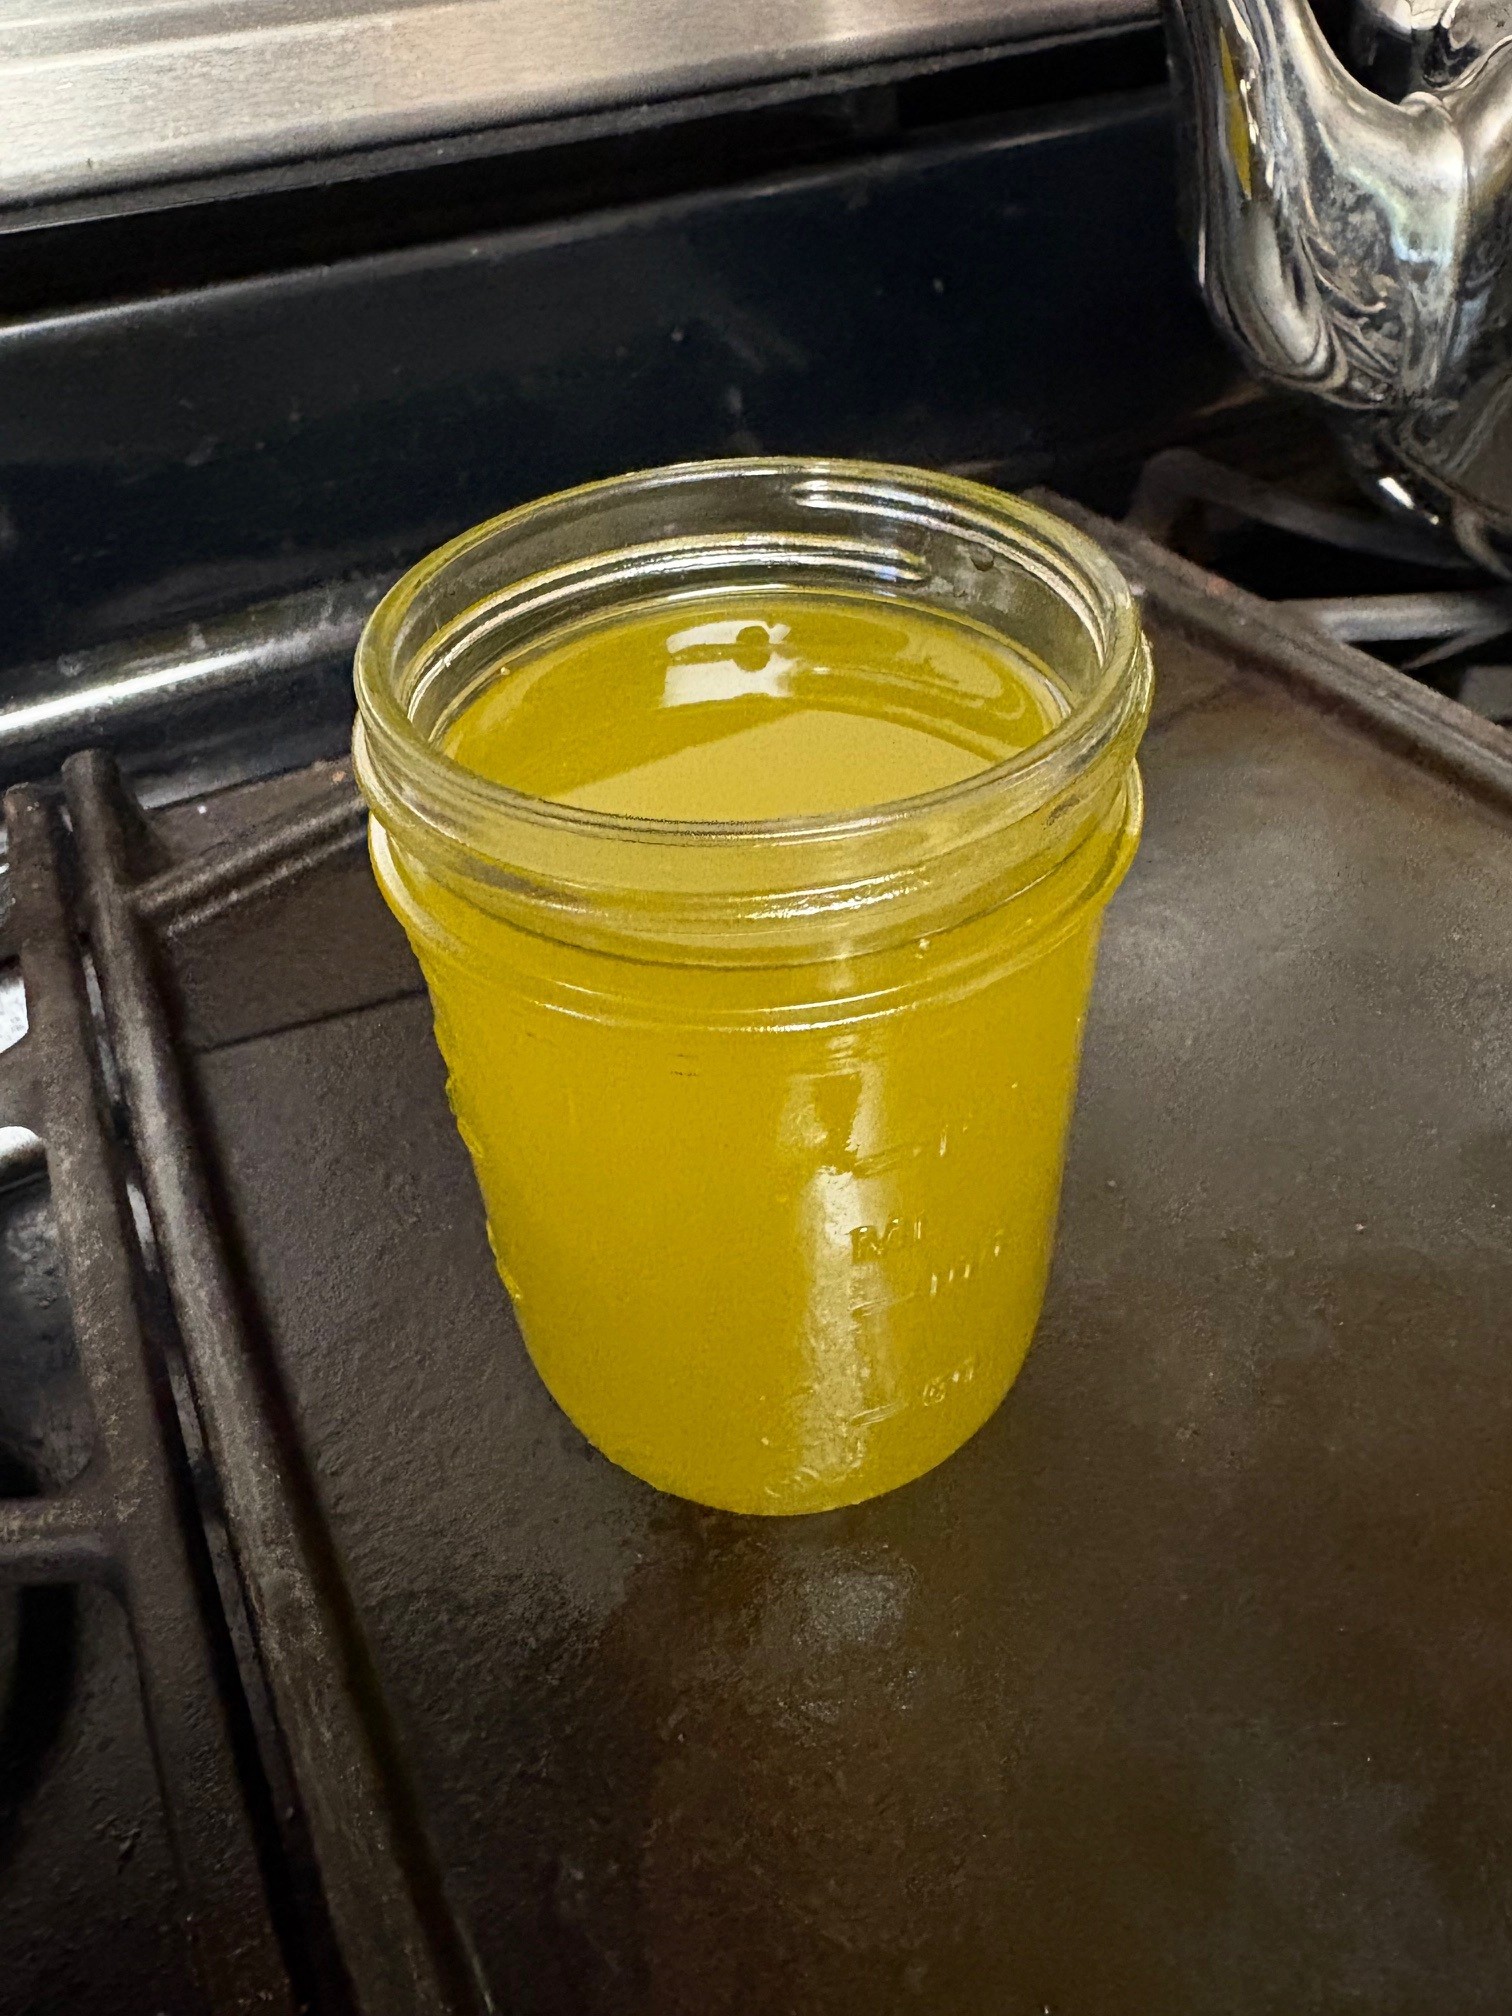
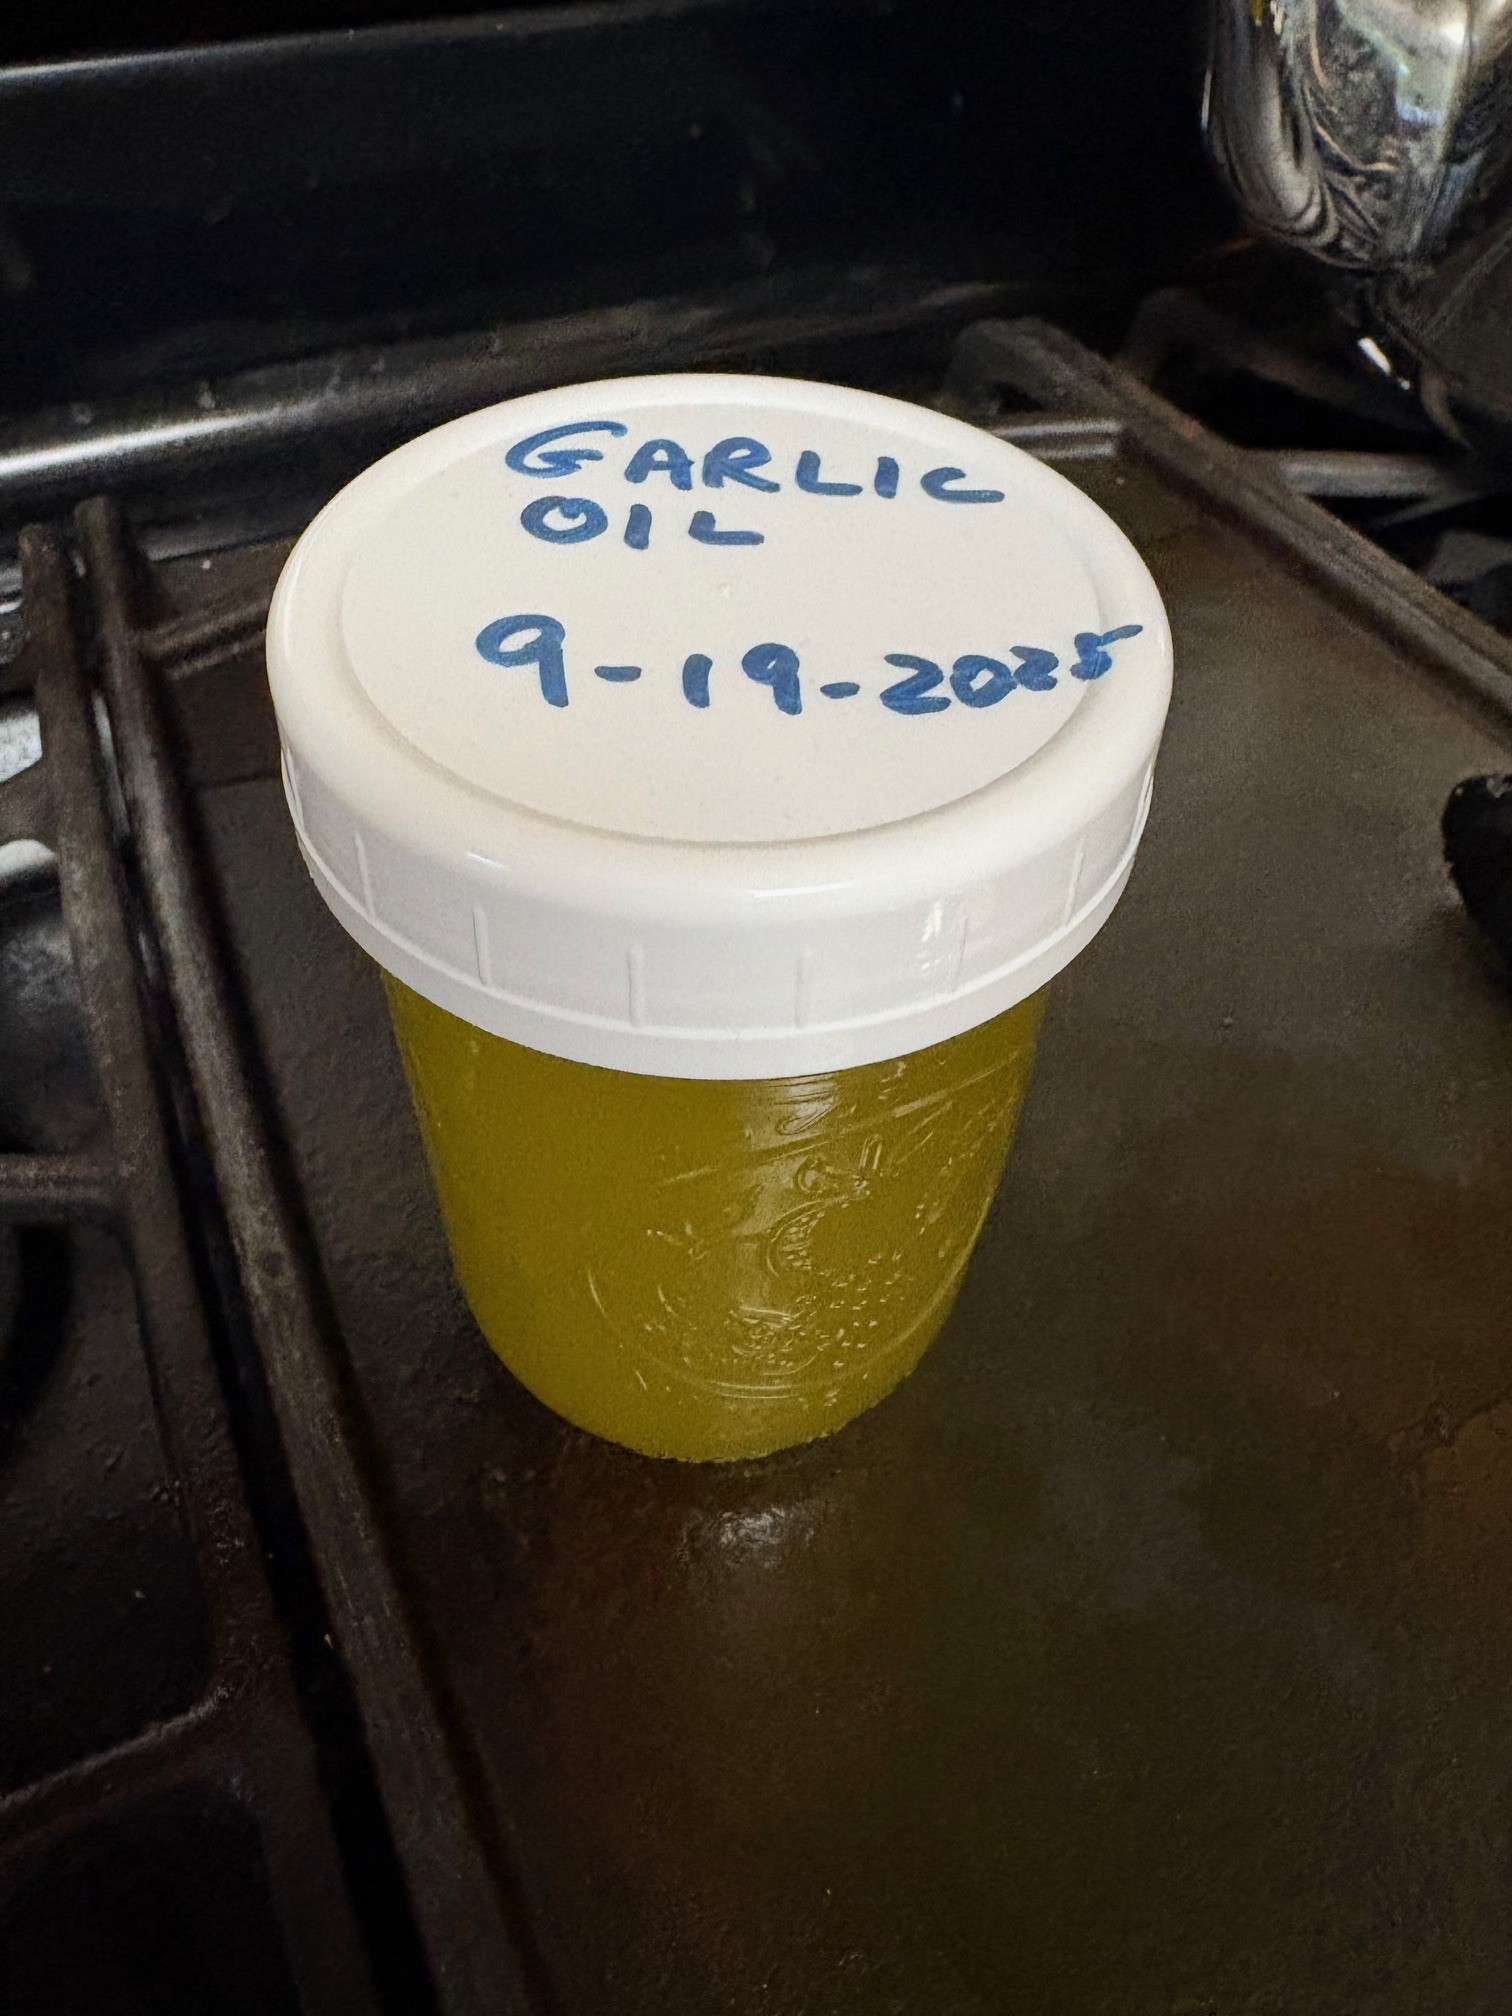
In a small saucepan, heat all ingredients. Let simmer for 15-20 minutes. Strain and pour into container.
I use this on A LOT of things . . . Drizzle on chicken before roasting. Rub onto sweet potatoes before roasting. Sprinkle over asparagus before roasting. Mix with vinegar and Dijon mustard and seasonings for salad dressing. I used the strained garlic cloves on toast the other evening. The oil smells divine and is absolutely delicious. Worth keeping on-hand!
NOTES: I use extra-virgin olive oil, the organic kind from Costco (because it’s the least expensive). I’ve been making this often lately. It gets used rather quickly. I had bought some on one of our travels, but was really stingy using it because it was so expensive. Then I read something online that showed me how easy it would be to do myself. Voila! Full disclosure, I’m not sure if it’s shelf stable or what. I have used it all up within a couple weeks, so for me it is no problem. I also live in a cold climate, so it’s not like a toxic environment for the growth of bacteria. These are things I don’t really worry about. I’m from a locale that would have probably been considered third-world regarding electricity and/or refrigeration when I was a child. On an aside, a friend who is a load-master here in Anchorage posted today that his last barge of the season to Nome had departed. A flood of memories washed over me from when I was a young child, of my mother’s excitement when the first barge would arrive in Nome in the spring. Count your blessings! Name them one by one!


- Ingredients
- 2# ground pork
- 2 Tbsp. mustard seed
- 1-1/2 Tbsp. Kosher salt
- 1/2 tsp. celery salt
- 1/2 Tbsp. garlic powder
- 1/2 Tbsp. onion powder
- 1 Tbsp. smoked paprika
- 1/2 tsp. pink curing salt (Prague Powder #1)
- 1 tsp. ground black pepper
- Dash pepper flakes
Mix all ingredients together thoroughly. Split the mixture in half and form each half into about a 1-inch log. Pack it as tightly has possible. Roll each log in parchment paper and twist the ends. Refrigerate for 24 hours. Unwrap the sausage rolls and gently place them into a parchment-lined baking pan. Place on smoker at 225 degrees F until a thermometer reads 160 degrees F. Mine took about 5 hours, but it was a cool day and the smoker was stuffed with other things, too. Remove and let cool.
NOTES: I smoke quite a number of things in disposable aluminum baking dishes and/or parchment paper. I did not try this on the racks, only in the pan for easy clean-up. I used to make summer sausage many, MANY years ago in my oven before I had a smoker. Back in the day, I used game meat, like moose or caribou. Now I have a lot of ground pork, so pork it is. This turned out quite beautiful and really tasty. I made up my own recipe, but many thanks to Rosemarie’s Kitchen for reminding me that summer sausage can be easily made at home. I do not think that the curing salt is absolutely necessary. Please, please do not confuse it with Himalayan Pink Salt. It is not the same. If you do use curing salt, remember to err with less, rather than more.

- Ingredients
- Ham, chopped
- Mayonnaise
- Dijon mustard
- Hot sauce
- Worcestershire sauce
- Vinegar
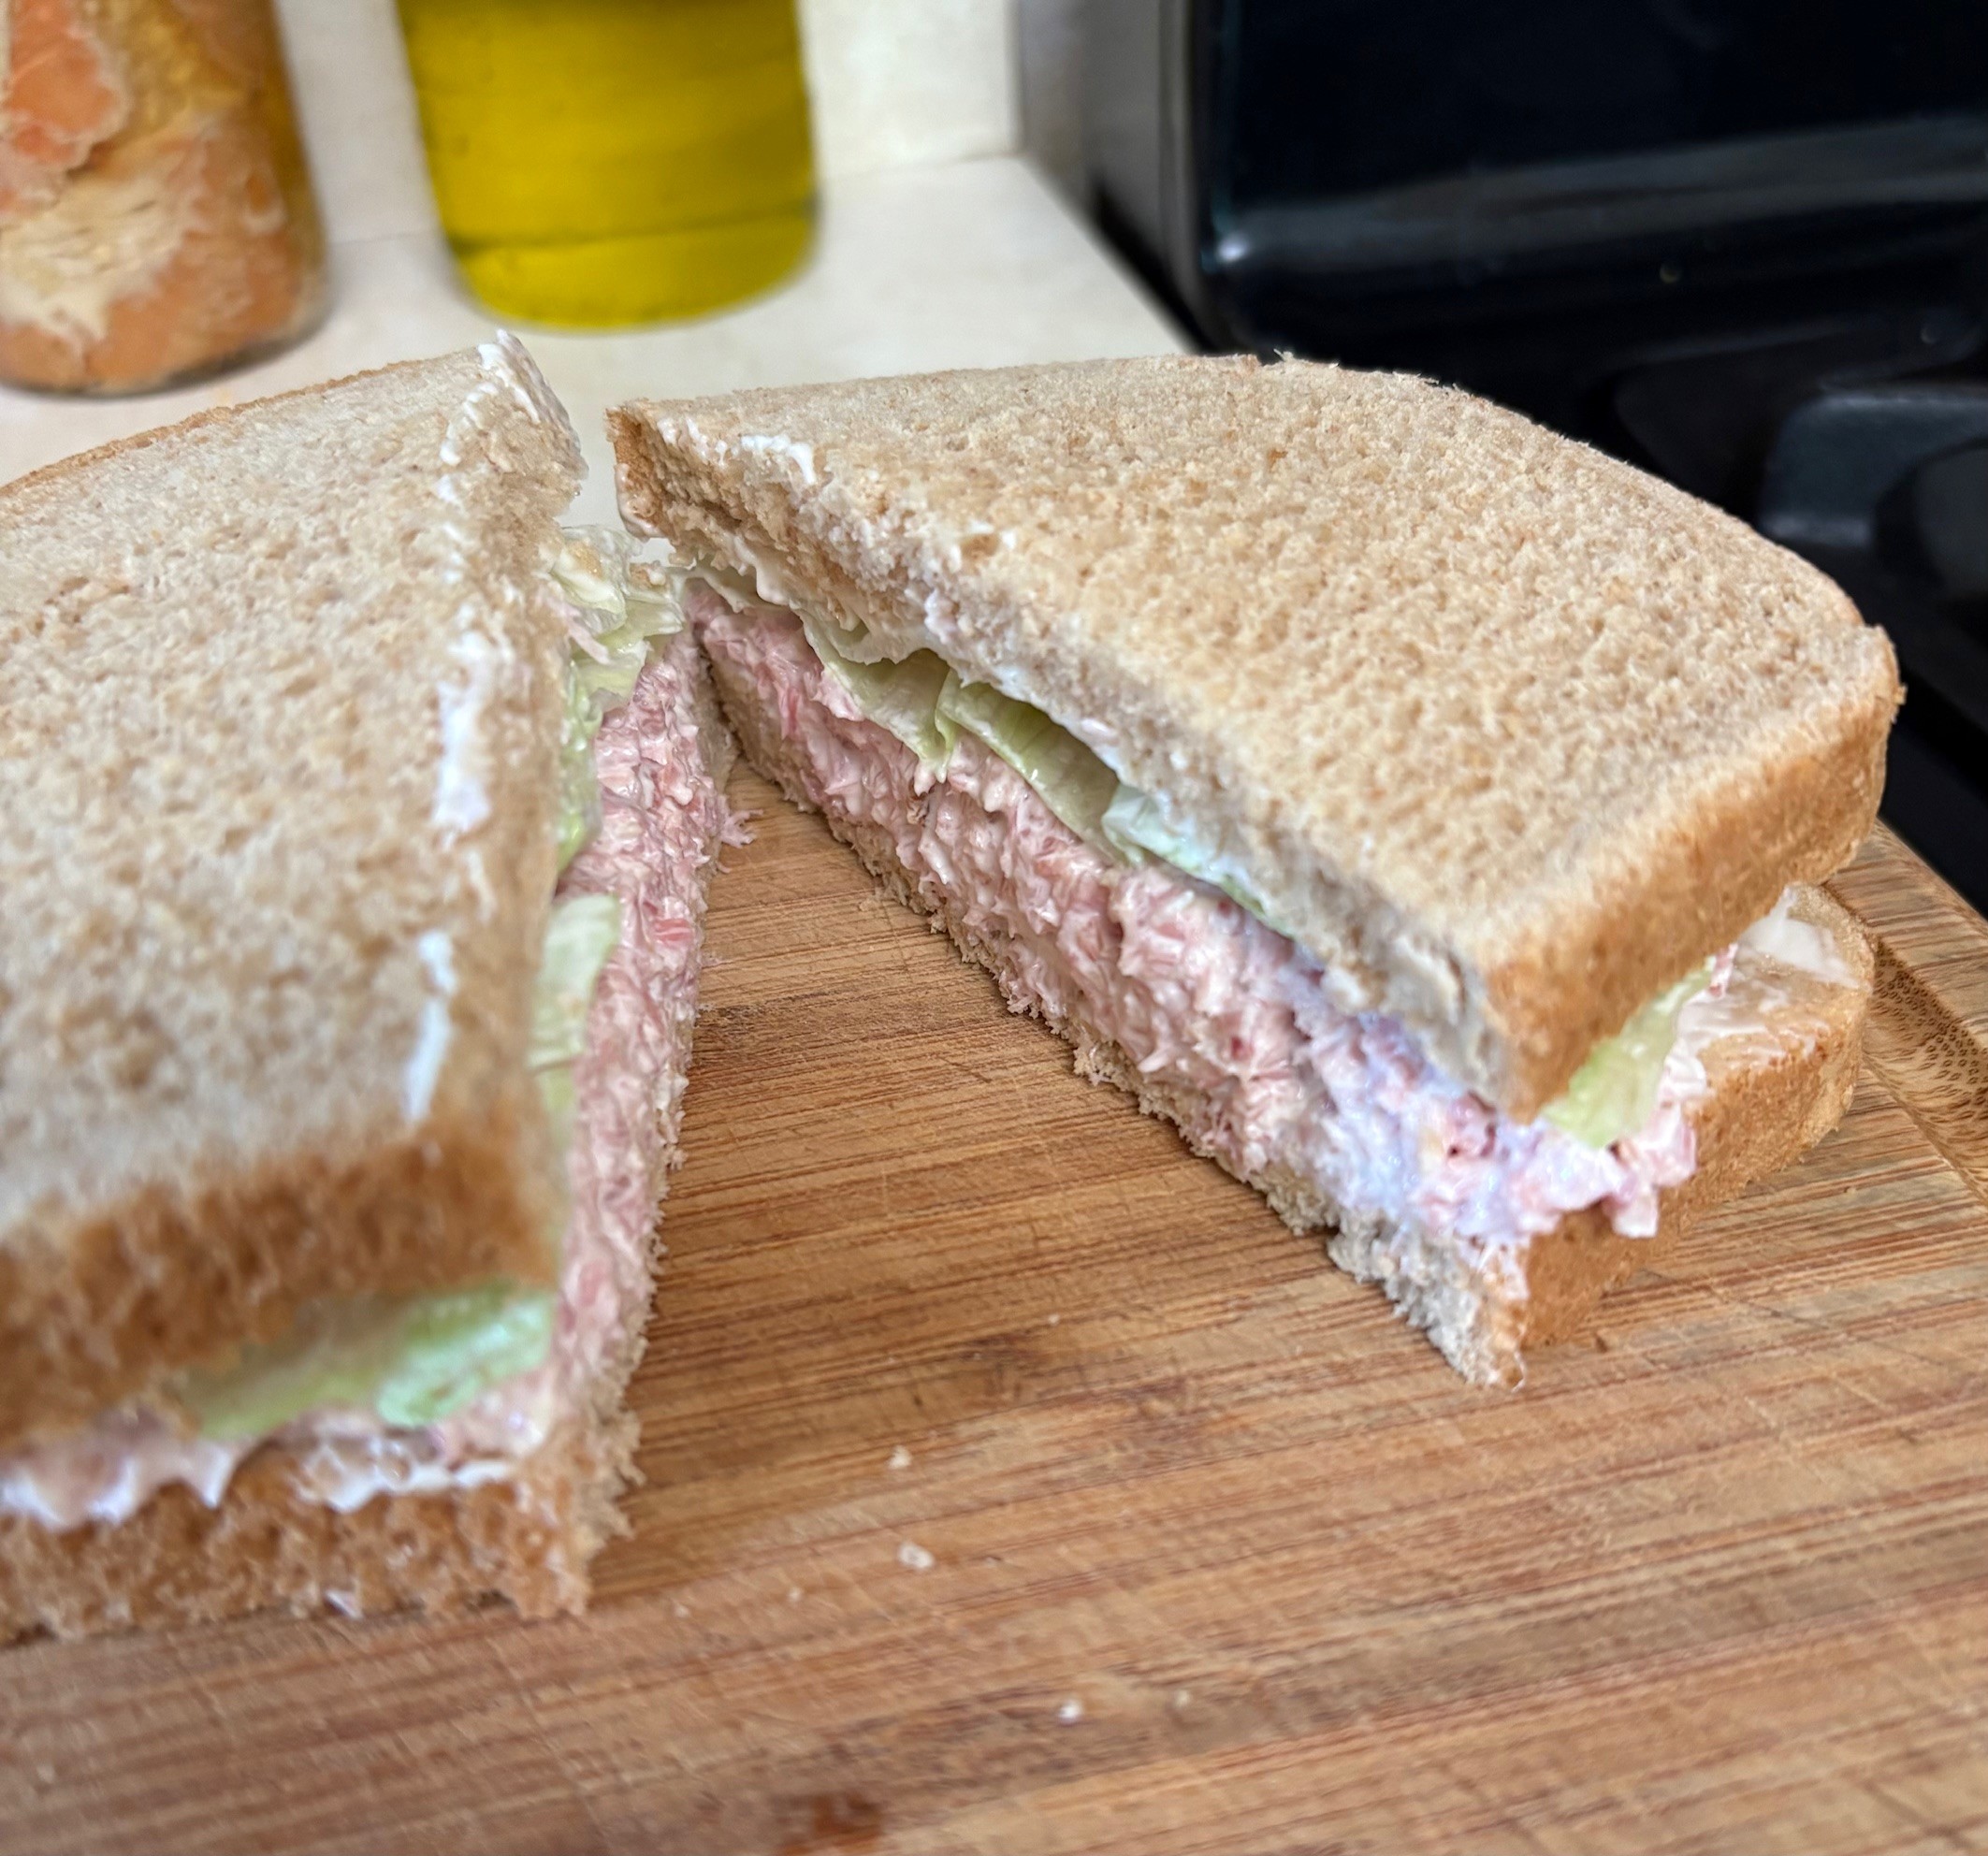
Process ham in a food processor until it’s finely minced. Keep an eye on it, so it doesn’t puree. In a bowl, stir together enough mayonnaise to bind the ham, a dab of Dijon mustard, a splash of hot sauce and Worcestershire, and a spoonful of vinegar. Stir in the ham until it’s well mixed and is the consistency of a spread. Refrigerate for awhile to develop the flavor. Serve. Can be used as a sandwich spread or on crackers or on a bed of lettuce with tomatoes.
NOTES: This is an easy way to use leftover ham. Just eyeball the amounts. I got the recipe from SouthernBite.

- Ingredients
- 1 cup mayonnaise
- 1 tsp. garlic powder
- 1/4 tsp. cayenne pepper
- 1/2 tsp. smoked paprika
- 1/2 tsp. liquid smoke
- 3 cups shredded sharp cheddar cheese (or extra sharp)
- 1/4 cup chopped pickled jalapeno peppers
Into mayonnaise, stir garlic powder, cayenne, paprika, and liquid smoke. Mix well. Stir in cheese until it is well incorporated. Stir in jalapenos.
Serve with crackers or tortilla chips or over baked potatoes or anything else you can think of. The flavors will develop if you let it sit for awhile under refrigeration before serving.
NOTES: Echo Lake Meats in Kenai, Alaska is known for developing this recipe, but I do not know if they were the first. They sell it commercially and it is WORTH the detour down Kalifornsky Beach Road to go get it, if you happen to be in the area. Now you can buy Kenai Dip in nearly all the grocery stores here in Anchorage, but it is not the same. The grocery stores use WAY too much mayonnaise trying to stretch their dollars and it doesn’t look very appetizing at all and there’s not much flavor. This recipe nails it. It’s a CHEESE dip, not a mayonnaise dip. I think the liquid smoke is the key. And also the sharp cheddar. All that being said, I don’t measure out my ingredients, but rather add them to what I think looks like Echo Lake’s version. I usually start with a small base amount of mayo, and once the dish is done if it seems too dry I’ll add more. That hasn’t happened yet. It’s a CHEESE dip. Enjoy!


I usually, not always, use Certo Liquid Fruit Pectin for my jam. This time I used the recipe that came inside the Certo package and then I water-bath canned this batch. Because I got an electric canner for Christmas that I finally had time to open and play with. Such fun! It will do pressure canning or water-bath canning, as long as the jars are only pint or half-pint.
- Yield: 7 cups
- Ingredients:
- 6 large jalapeno peppers
- 1 red bell pepper
- 1 green bell pepper
- 6-1/2 cups sugar
- 1-1/2 cups cider vinegar
- 1 Tbsp. crushed red pepper
- 1 pouch CERTO liquid fruit pectin
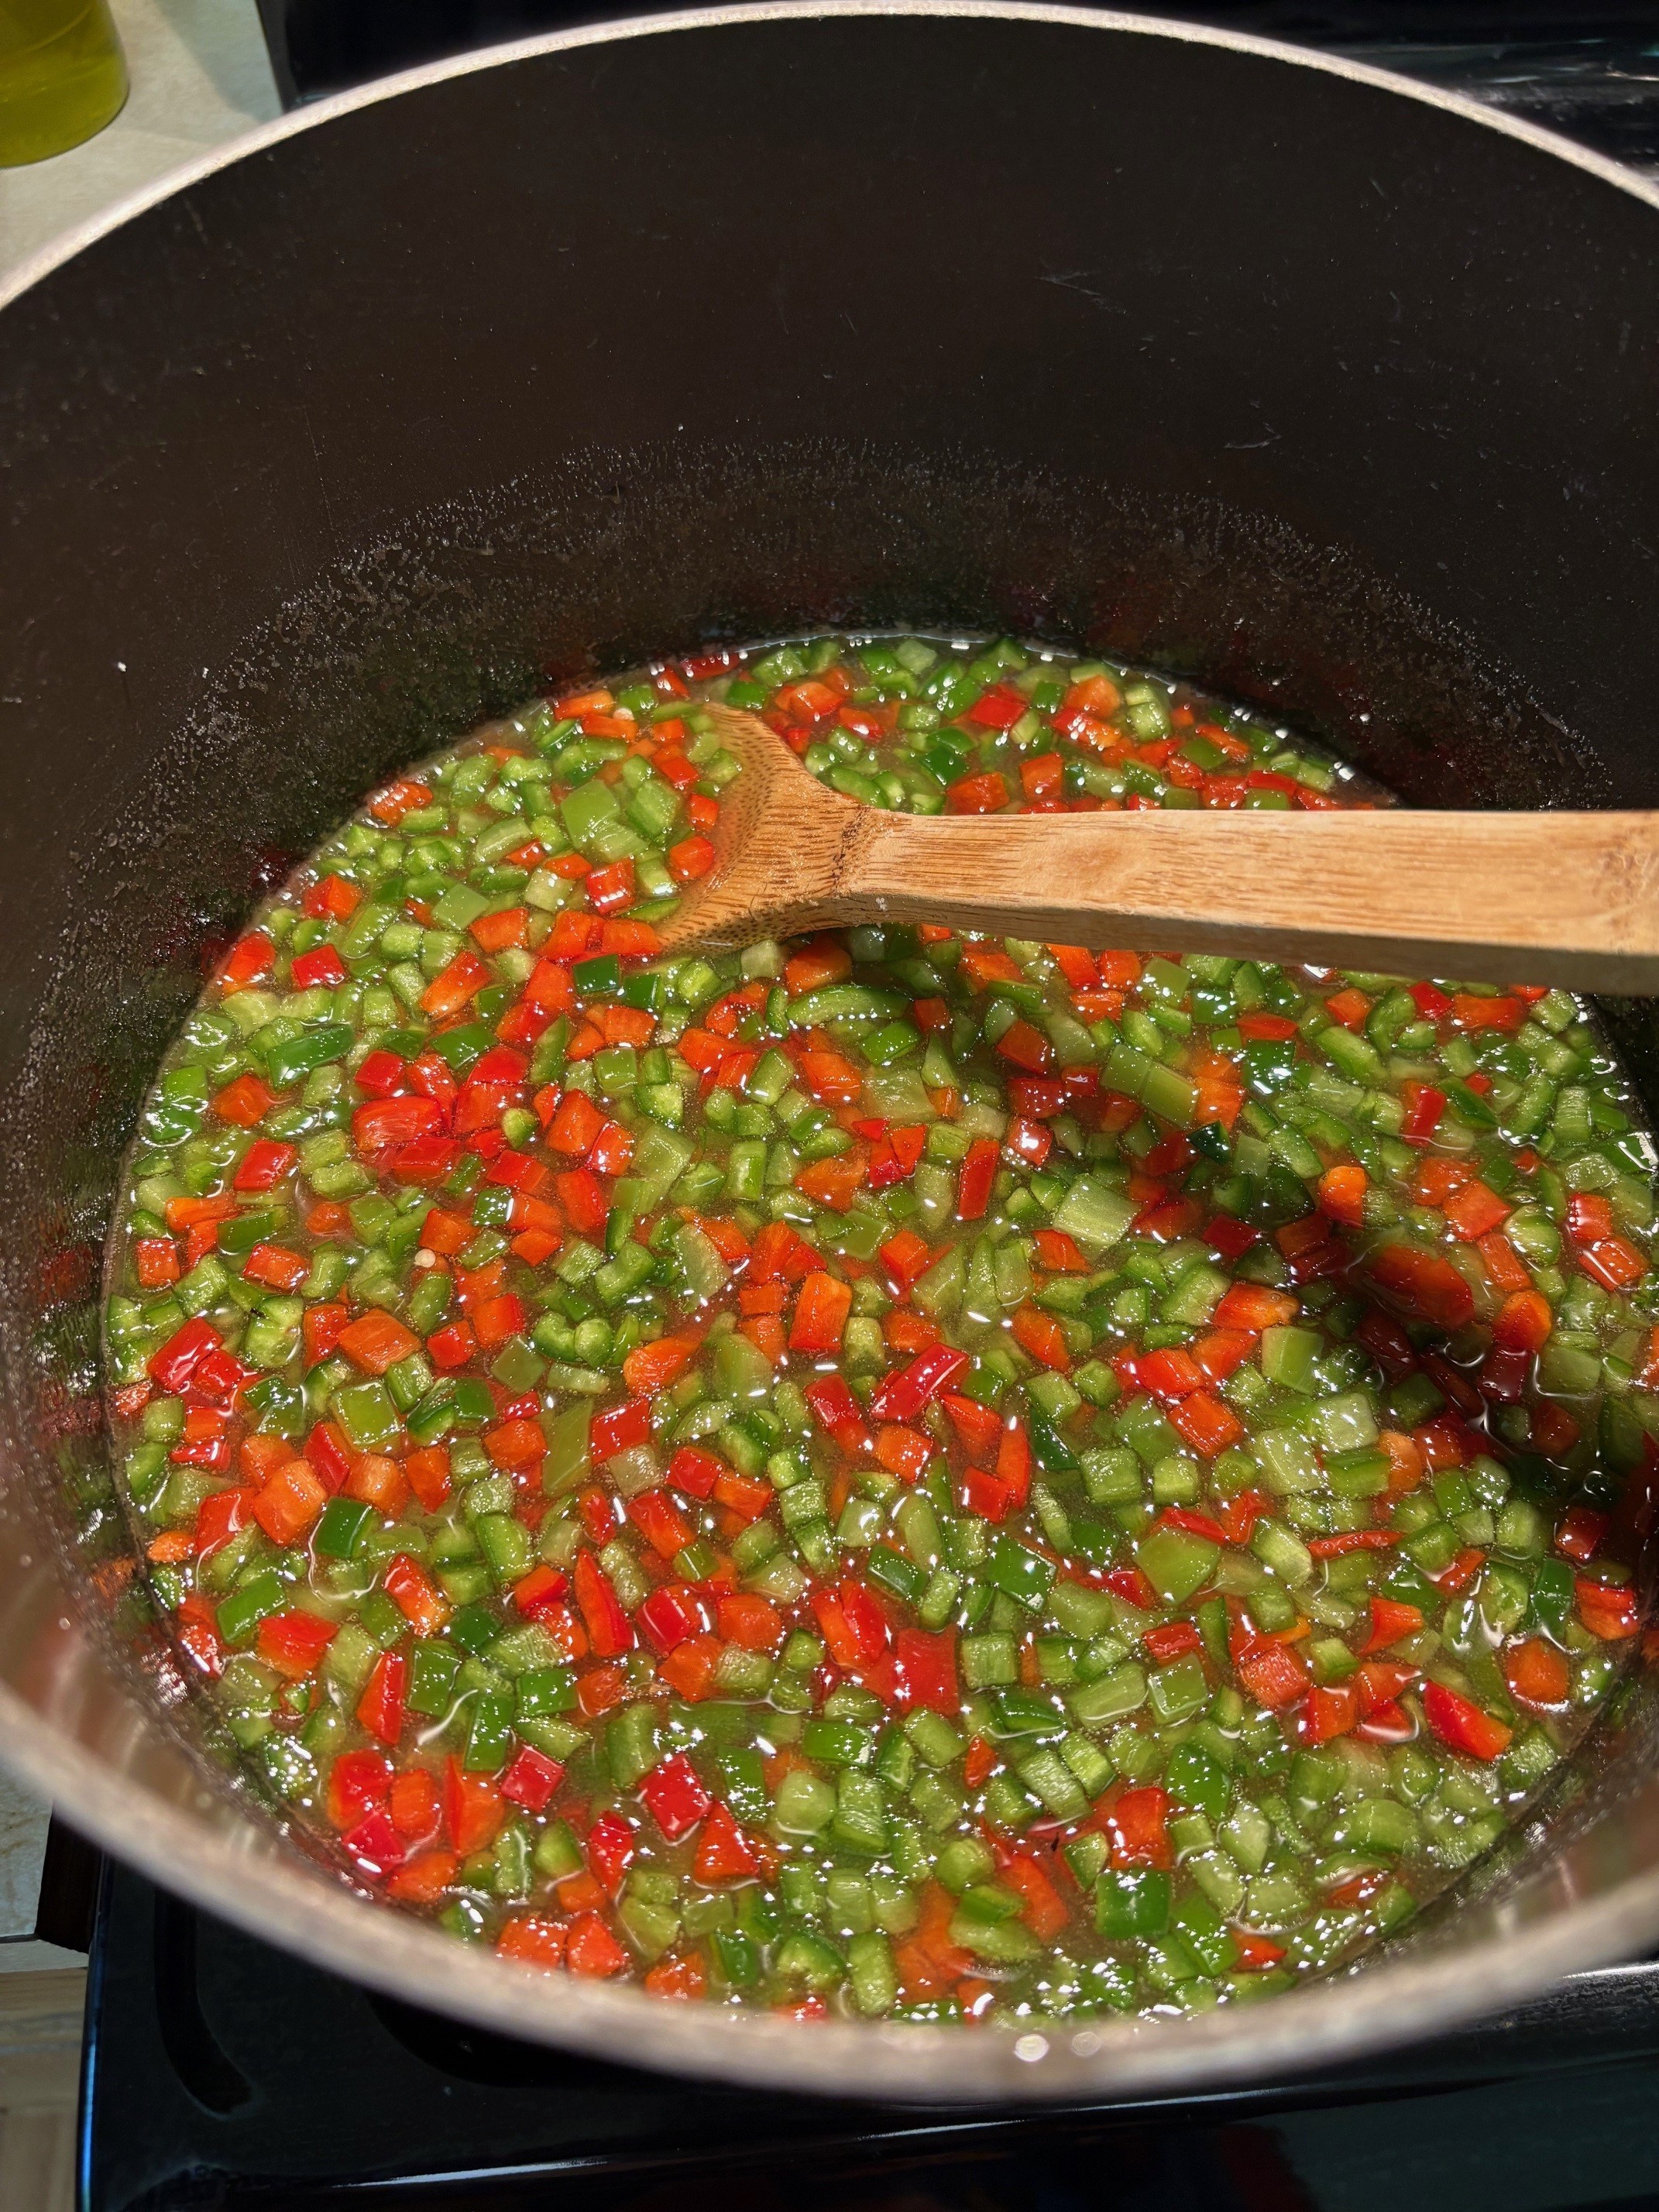
Deseed the peppers and dice very small. Measure 2-3/4 cups peppers into a large saucepan. Stir in sugar and vinegar. Stirring frequently, bring the mixture to a full rolling boil over medium-high heat. Let it boil for exactly one minute, stirring constantly. Remove from heat and immediately stir in crushed red pepper and CERTO. Skim any foam off with a metal spoon. The pepper jelly is ready and now it is a matter of preserving it. That part I leave up to you.
Notes: I didn’t use all 6 of my jalapeno peppers. I realized I was going to have too much “fruit” so I measured as I diced so as not to waste any. If you decide to process the jelly in jars, as it cools you will need to shake it around so that the “fruit” is distributed throughout the jar. Otherwise it floats to the top. I think a jar of this jelly would taste amazing heated in a crockpot with a batch of meatballs or brussels sprouts, or served on crackers with cream cheese.


I usually, not always, use Certo Liquid Fruit Pectin for my jam. The recipe booklet that I use is from 1975 when the liquid pectin came in bottles. Now the pectin comes in sealed envelopes and each envelope is equivalent to one half-bottle. My recipe booklet is falling apart. The new recipe sheet that comes inside the packages now isn’t as comprehensive as the old one. I do not water-bath can my jam. There is enough sugar in it to act as a preservative. Using canning lids keeps air from getting in. When I was a child, my mother only used paraffin to cover the jam and many people still do it that way. I have heard that you should not increase the recipe and/or cut the amount of sugar, something about cooking time and setting and preserving. So, stick to the recipe.
- This is how I prep for a jam-making session
- Set out enough sanitized jars and rings to match the yield of the recipe, either pints, cups, or half-cups.
- Put the appropriate number of lids into a small saucepan of water over low heat.
- Set out my canning funnel, a ladle, metal serving spoon, and small dish.
- Cut open the envelope of Certo and set it in the small dish.
- [The small dish is for the foam (which is just as delicious as the jam, only foamy)]
- Rhubarb-Golden Raspberry Jam
- Yield: 8 cups jam
- 3-1/2 cups prepared fruit (about 1-1/3 lb. rhubarb and 1# golden (about 2 cups frozen) raspberries
- 7 cups sugar
- 1 envelope Certo Liquid Fruit Pectin
Slice rhubarb into saucepan. Add 1/4 cup water and bring to a boil. Reduce heat and let simmer until rhubarb is soft, about 1 minute. Measure the golden raspberries. Add enough prepared rhubarb to equal a total amount of 3-1/2 cups fruit. Stir the fruits together in a LARGE pan. Add sugar to pan and mix well.
Over high heat, bring to a full rolling boil and boil hard 1 minute, stirring constantly. Remove from heat; at once stir in Certo. Skim the foam off with a metal spoon. Continue to stir and skim. Ladle into jars, leaving 1/2″ room at the top.
Wipe the rims of the jars and screw on the lids. Turn the jars upside down for at least thirty minutes (or as long as hours and hours–doesn’t matter).
6-14-2025 I thawed a pound of frozen golden raspberries. When measured it was nearly 2 cups. Then I added the softened rhubarb to make 3-1/2 cups total fruit. This turned out REALLY yummy. I’m always trying to find things to do with the golden raspberries. From frozen, they’re mushy and seedy. Compared to red raspberries, they’re a very mild flavor, not tart. When used fresh, they work really well as a fruit in spinach bleu-cheese salad. Anyway, this jam turned out really good and I didn’t have the hassle of de-seeding them first. Since the rhubarb is about half the fruit and rhubarb doesn’t have seeds, the seed-stuck-in-the-teeth-problem is significantly reduced. Yay!

- Ingredients
- 2 Tbsp. coconut oil
- 1 onion, chopped
- 3 cloves garlic, chopped
- 1/2 tsp. chili flakes
- 1/2 tsp. ground cumin
- 1-2 Tbsp. curry powder
- 1 10.75 oz. can tomato puree (passata)
- 1 13.5 oz. can coconut milk
- 1 tsp. salt
In large sauce pan, melt coconut oil. Stir in onion and stir-fry until soft. Stir in garlic, chili flakes, cumin, and curry powder. Stir over heat until it’s all mixed together and the garlic softens. Stir in tomato puree and coconut milk. Stir in salt. Bring to a boil, reduce heat, and then simmer for 10 minutes. Check the salt and add more, if needed. Remove from heat and let cool. Put the sauce in a blender or food processor and blend until smooth.
Serve warm with meat and/or vegetables stirred in and cooked through; or pour the sauce over favorite cooked meat and/or vegetables. Yield about 2-1/2 cups sauce.
NOTES: I have made this many times. I have added chunks of salmon and vegetables, like bok choy, and heated until the salmon was cooked. I’ve served it over rice. Today I’m going to serve it over acorn squash bowls. I usually only use half the recipe and freeze the other half. It saves in the freezer quite well. If the sauce is too thick, you may thin it with broth to your liking. You can make passata by draining a can of tomatoes and blending the tomatoes into a tomato sauce. Passata is thicker than, what we in the U.S. would call, tomato sauce, yet thinner than tomato paste. This is a very forgiving recipe so feel free to add or subtract or substitute. It’s all good! I found the recipe at ketodietapp.com.
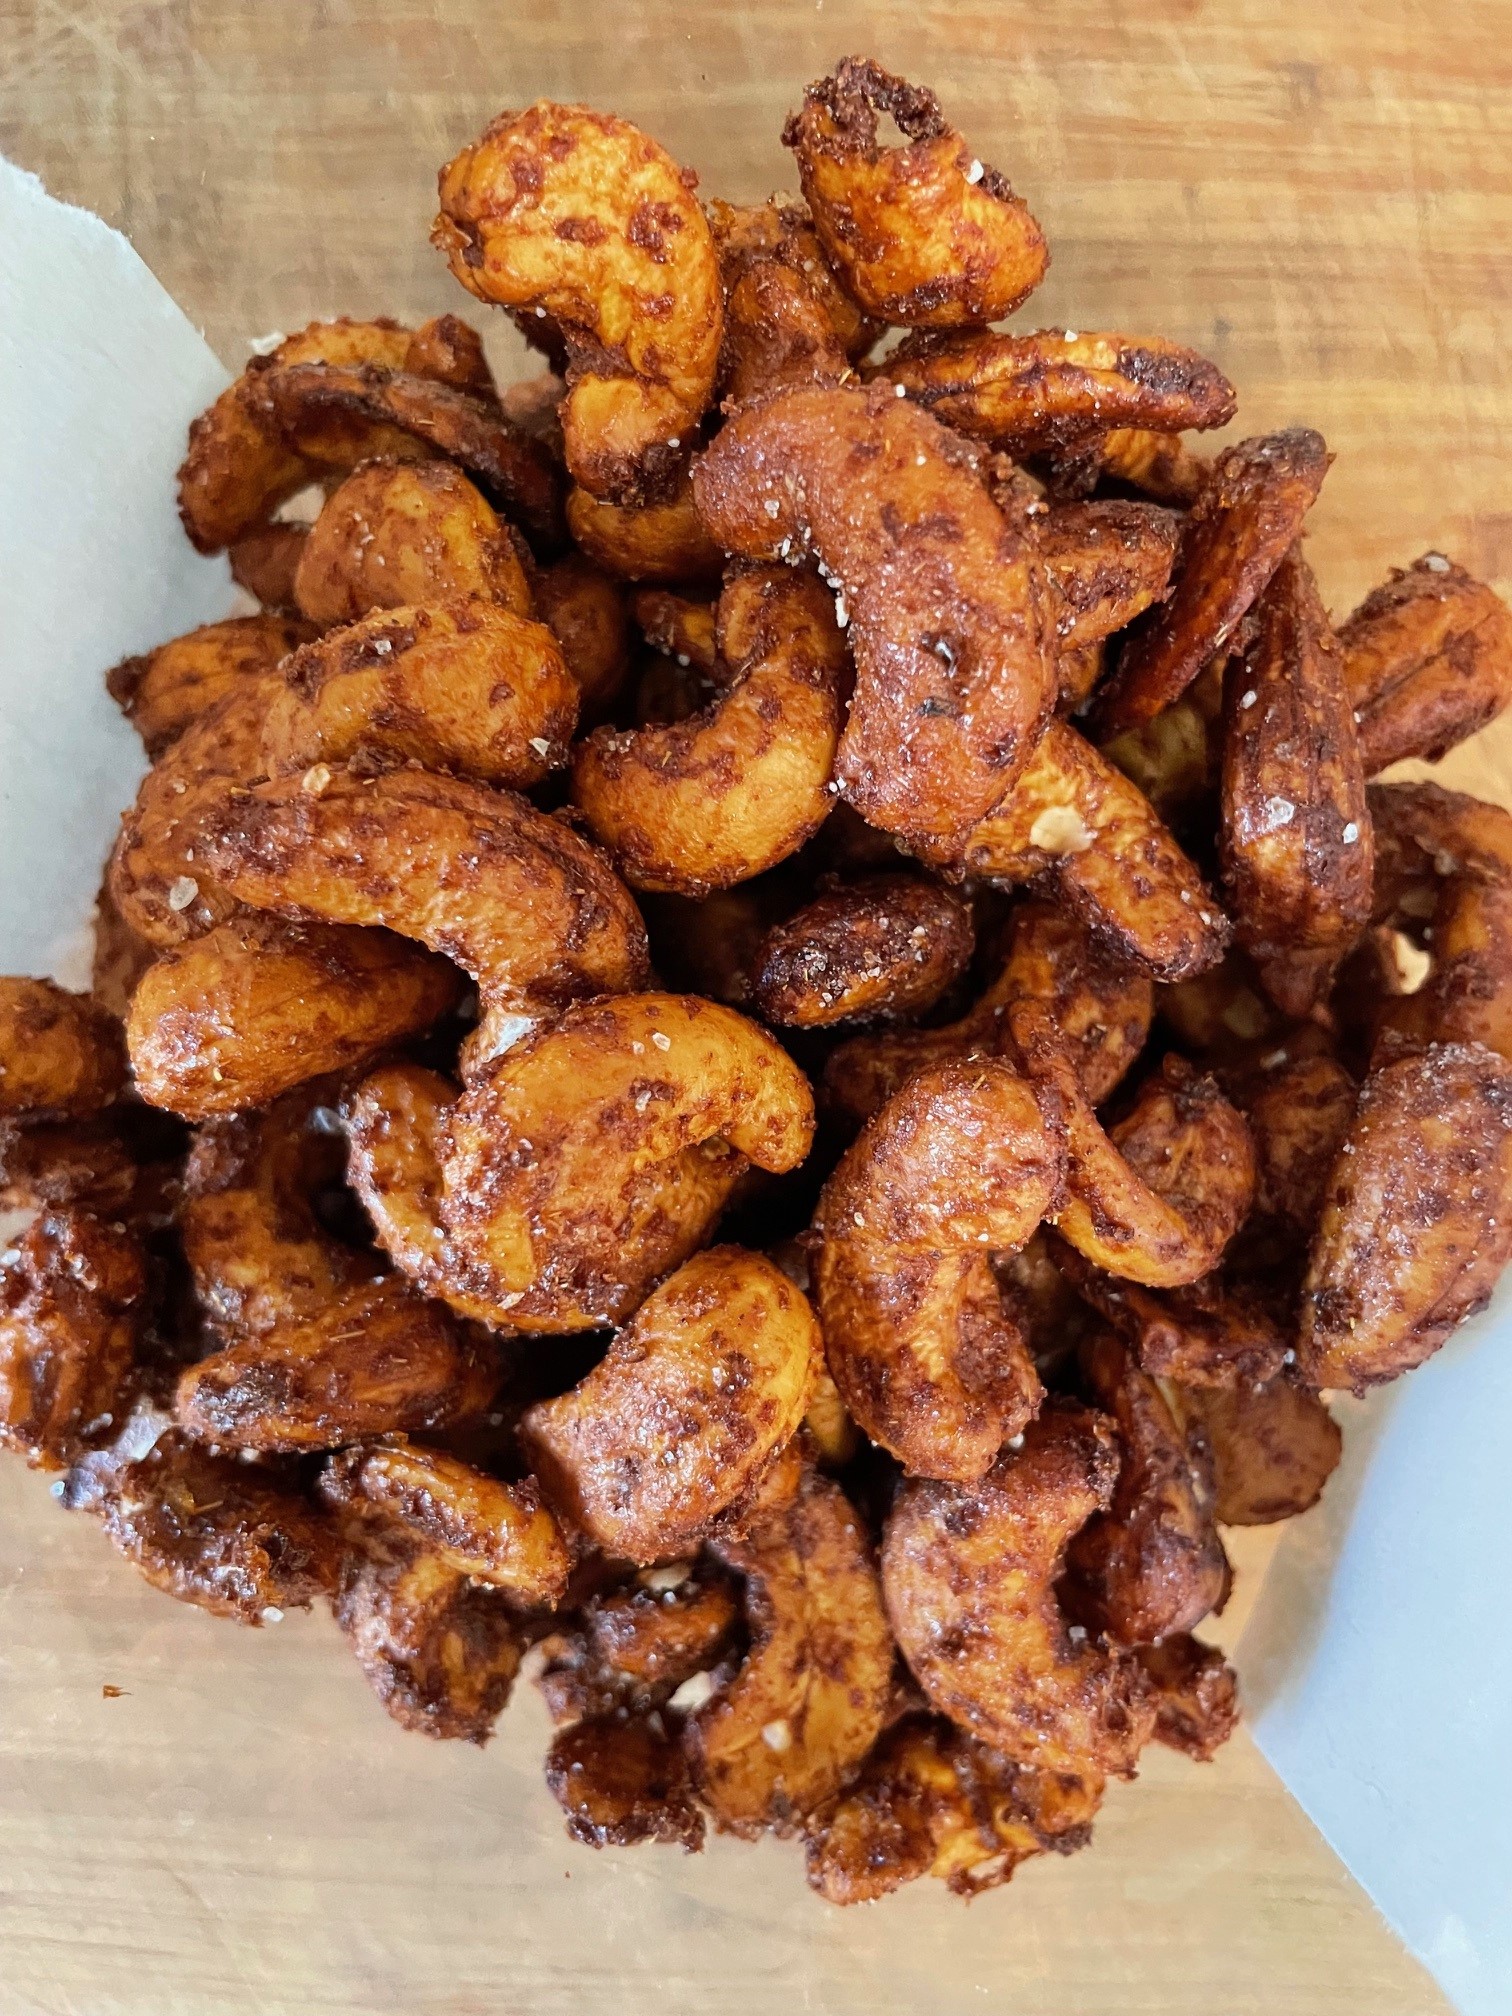
- Ingredients
- 2 cups whole cashews, unsalted unroasted
- 1 tsp. fine sea salt
- 1/2 tsp. cinnamon
- 1/2 tsp. cumin
- 1/4 tsp. paprika
- 2 Tbsp. honey
- 1-1/2 Tbsp. sriracha
- Salt to sprinkle
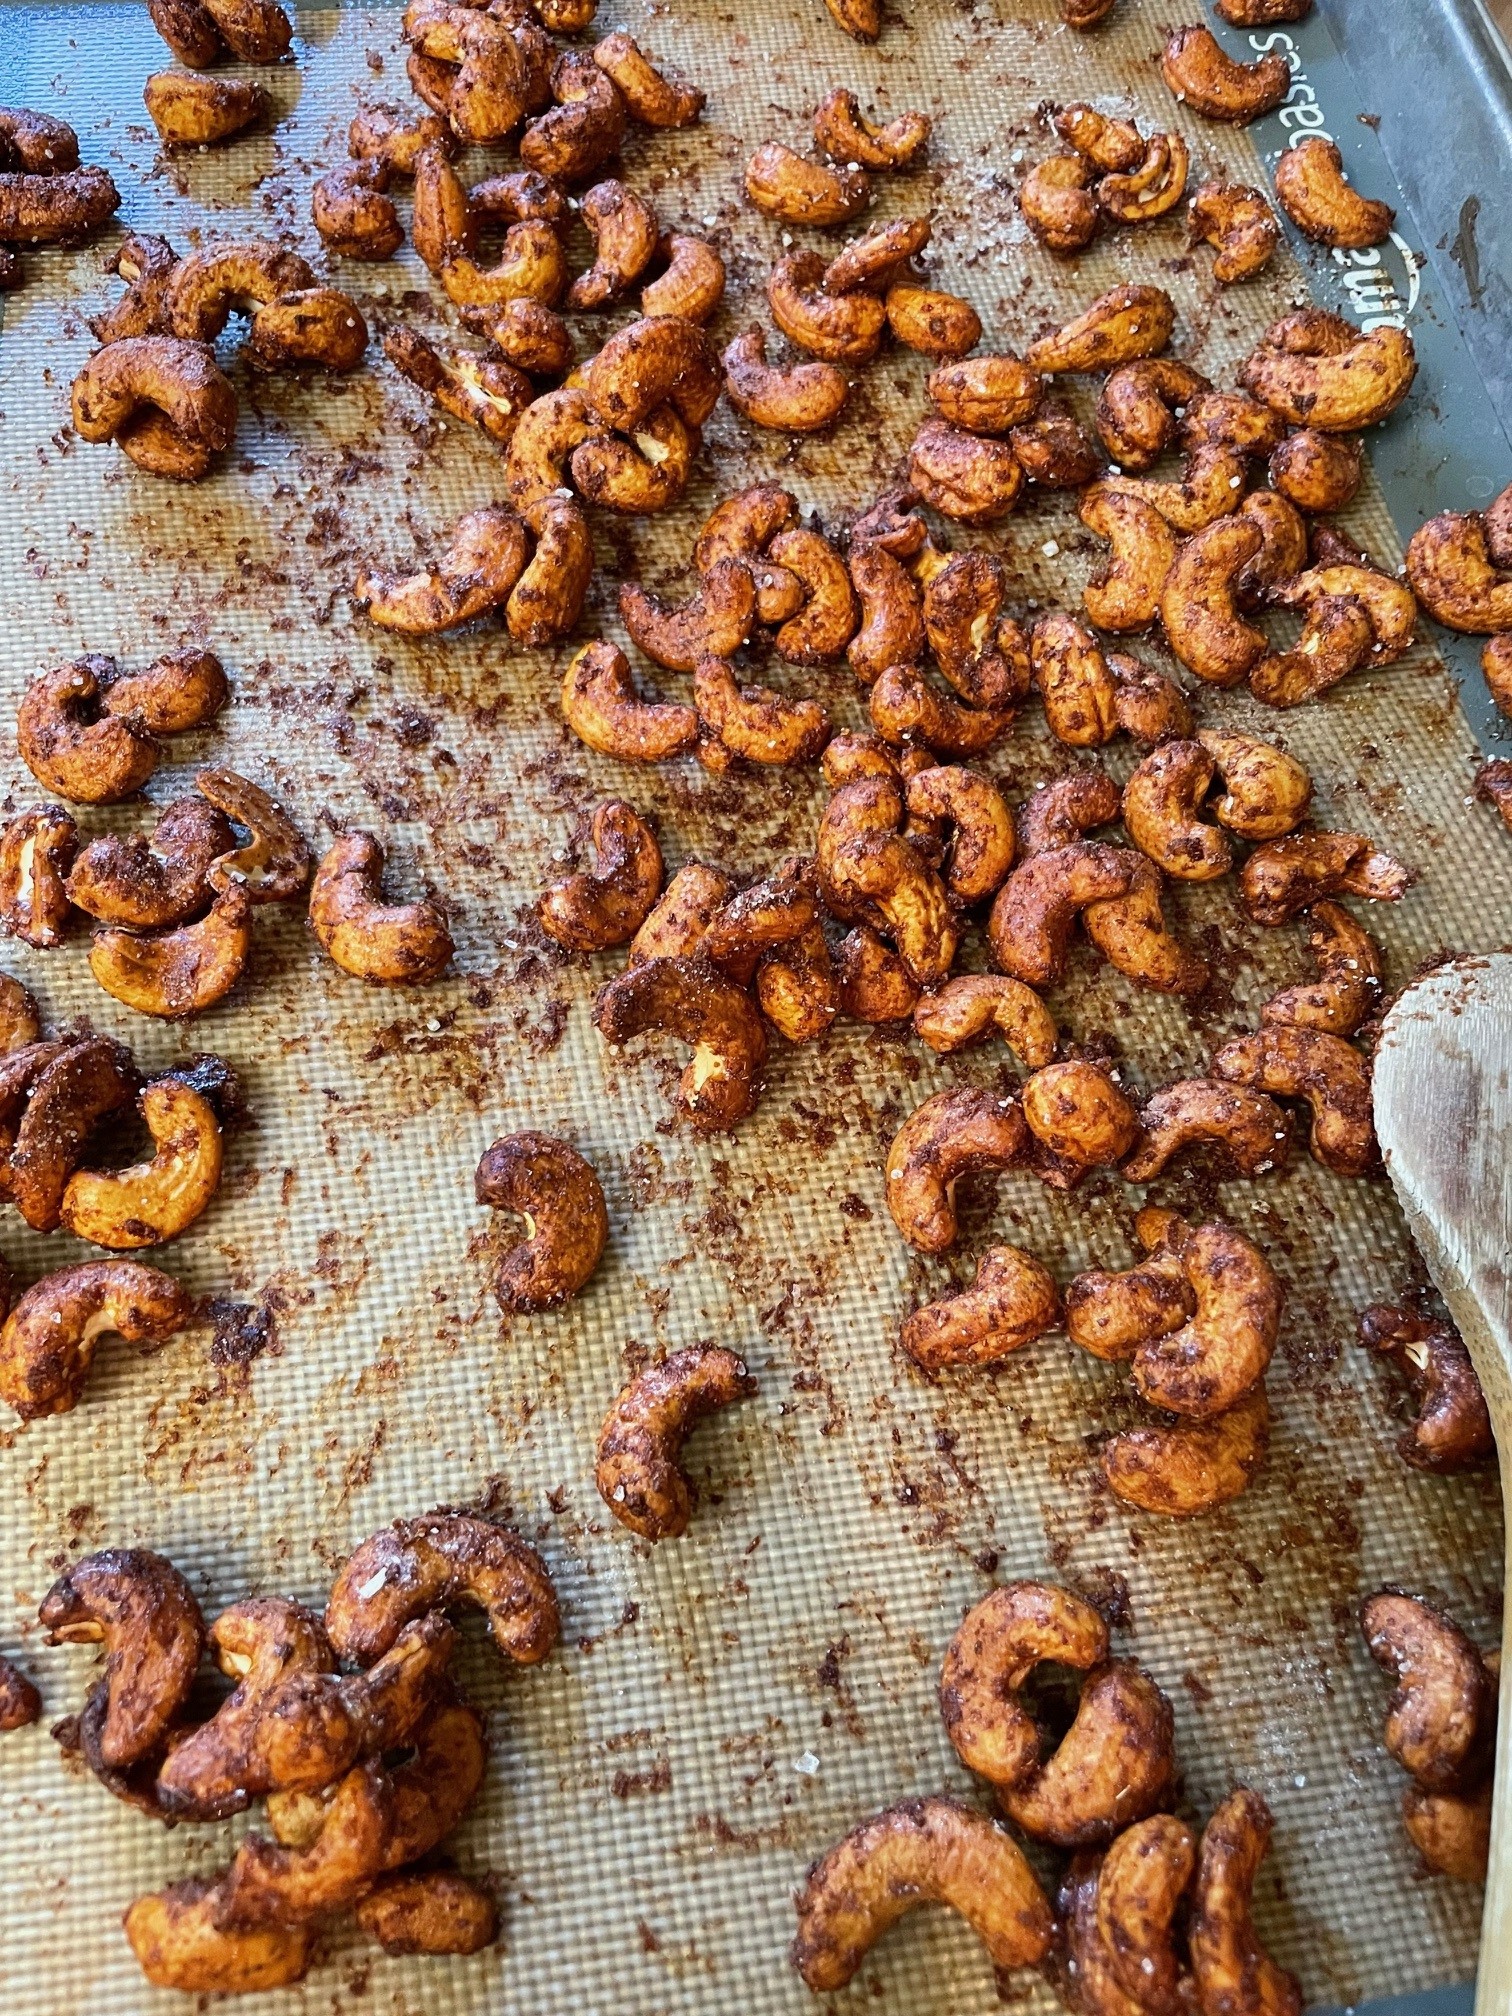
Preheat oven to 350 degrees F. Prepare a baking sheet with a silpat or parchment paper. Spread the cashews across the prepared baking sheet and roast for 5 minutes. Remove from heat and let cool a little bit.
In a medium bowl mix together spices, honey, and sriracha. Stir in the warm cashews and stir until nuts are well coated with the honey mixture. Spread over the baking sheet and roast in 5-minute intervals for 15-20 minutes, stirring every 5 minutes. Remove from heat once they are mostly dry and darkened in color. Sprinkle with salt. Let cool. Serve.
NOTES: Recipe originates with Robust Recipes. VERY good and quite simple to make.
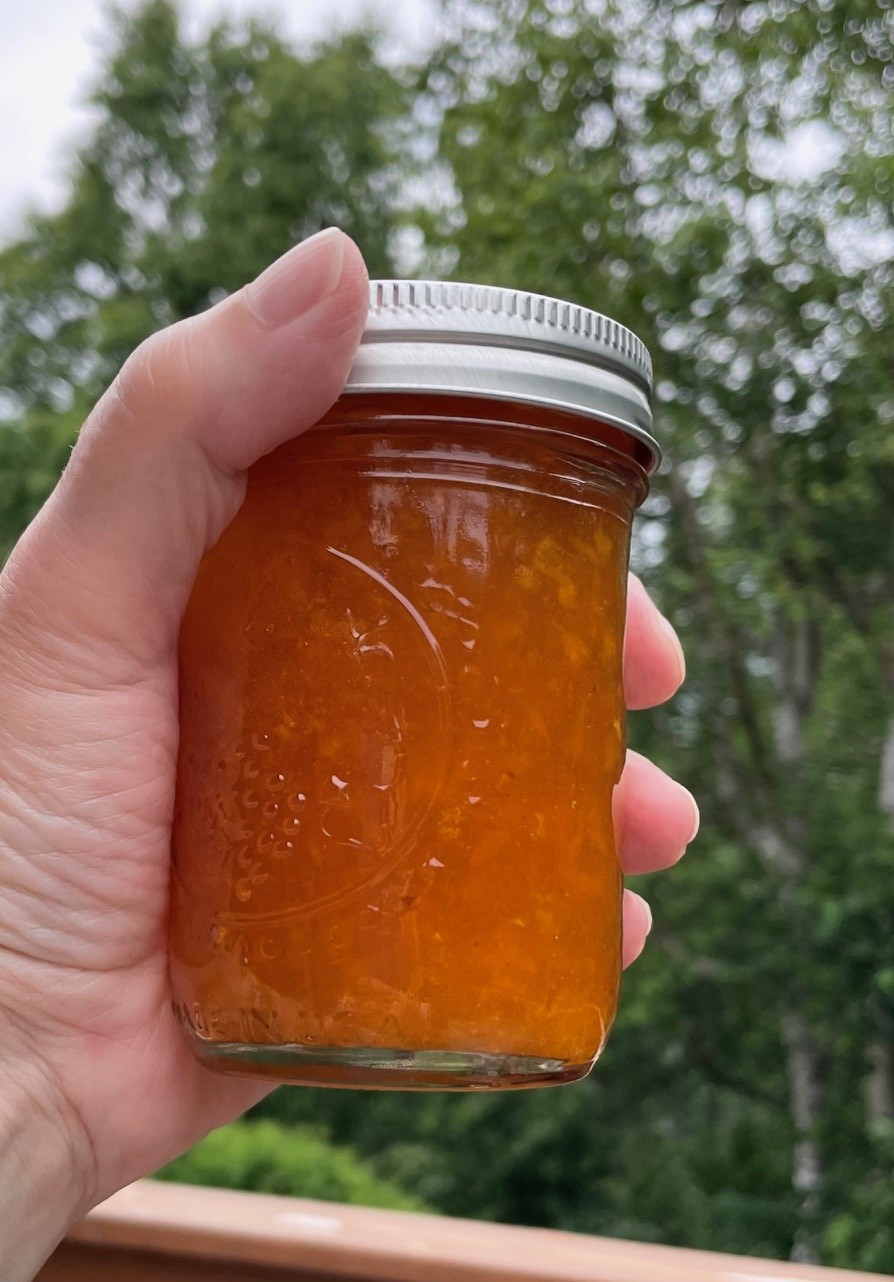
- Ingredients
- 3-1/2 cups prepared fruit (about 2-1/2 lb. fully ripe apricots)
- 1/3 cup lemon juice (2 or 3 lemons)
- 6-1/2 cups sugar
- 1 envelope CERTO liquid fruit pectin
Prepare the fruit by cutting into small pieces and grinding or running through a food processor. Measure 3-1/2 cups into a large saucepan. Stir in lemon juice. Stir in sugar and mix well. Place over high heat and bring to a full rolling boil. Let it boil for 1 minute. Remove from heat and immediately stir in CERTO. Skim the foam off using a metal spoon. Ladle into jars. Yield: 7 cups
You can seal the jars and simply tip them upside down for about half hour. That’s what I do. Sugar acts as a preservative, so it does not have to be “canned.” If you would prefer, you can pour a layer of melted paraffin over the top. That’s what my mother would do. Anything that keeps the air out will work. Or you can water-bath can them. Or you can keep them in the refrigerator. You do you.
NOTES: I was in a grocery store and saw that they had three 2# packages of ripe apricots on sale. I wish now that I had bought all of them. But I didn’t. It turns out that 2 pounds was just enough to make this jam. So, voila! I do love apricots. These were perfectly ripe and a good price for here in Alaska. When I was young, I learned to love apricots when visiting grandparents in California. We visited Chile in 2019 and our tour company owner brought us fresh apricots. It was heavenly! The Chile apricots were memorable because so much of the fruit found in Alaska grocery stores in the winter comes from Chile. It was neat to be where they were actually growing it.

- Ingredients
- 1 Tbsp. lemon zest
- 3/4 cup lemon juice
- 1-1/2 cups water
- 4-1/2 cups sugar
- 1 envelope Certo liquid fruit pectin
- Optional: yellow food coloring
You will need 3-4 juicy lemons to make this. Stir together lemon zest, lemon juice, and water. Let stand 10 minutes. Strain 2 cups liquid into a large pan. Stir in sugar. Heat to a full roiling boil and stir in Certo. Stir in food coloring, if using. Bring to a full rolling boil again and boil 1 minute. Remove from heat and skim off foam. Ladle into jars and seal.
NOTE: I do not water-bath can my jam or jelly. There is so much sugar in it that it acts as a natural preservative. Back in the olden days when my mother made jam and jelly, she poured melted paraffin over the top of the jam or jelly, instead of using lids. Paraffin “sealed” the product and kept air from turning the it brown. I have done it that way, too, but find that lids are less muss. I screw the lids onto the jars and turn them upside down for 30 minutes. The heat seals the jars to keep air out. Of course, I only do this with fruit jam and fruit jelly loaded with sugar.
I used a few drops of yellow gel food coloring in this. Lemon jelly has the same bright taste as marmalade without the rinds or zest. It was super easy to make.
