You are currently browsing the category archive for the ‘Miscellaneous’ category.
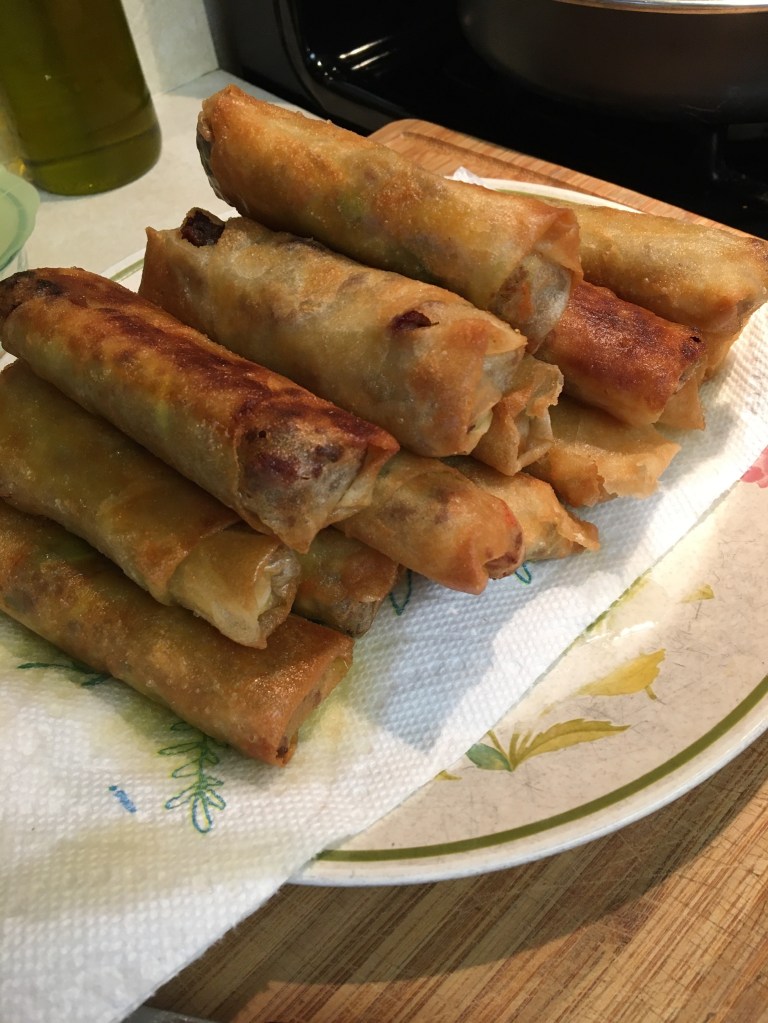
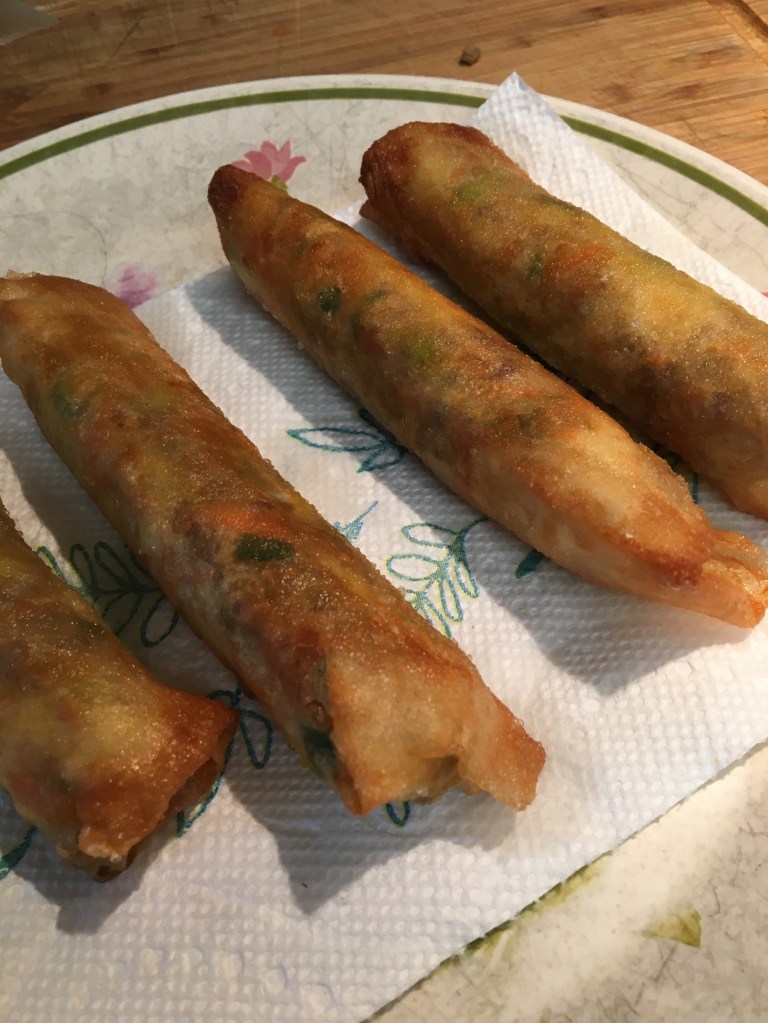
I want to put this on the blog so I can remember what I did because these turned out awesome and are easy to make. It was my first time making them myself. I’ve eaten them many times. All in all, I approached this with a great deal of trepidation, but it turned out to be a lot easier than I thought and I’m well-pleased with the results. It’s something I should make again. I put a lot of notes at the end.
- Ingredient List
- 1-2 Tbsp. cooking oil
- 1 lb. ground pork
- 1/2 cup minced onion
- 3 minced garlic cloves
- 1/2 cup shredded carrot
- 1/2 cup thinly sliced cabbage
- 1/2 cup chopped green onion
- Salt and pepper
- 1 Tbsp. soy sauce
- Lumpia wrappers (14-15 should do it), thawed
- Cooking oil for frying
- Sweet Chili Sauce
Coat the bottom of a skillet with cooking oil and fry the ground pork until no longer pink. Remove from skillet to bowl. Strain off, and discard, all but a couple tablespoons of fat. In the skillet, stir fry onion and garlic until onion is translucent. Stir in vegetables, cooked pork, salt and pepper, and soy sauce. Keep the skillet over heat just a little while to soften the vegetables slightly. They will continue cooking off the heat. Remove from heat and let cool to room temperature.
Set a lumpia wrapper in front of you and place about 3 Tbsp. of filling near the bottom of the wrapper sheet. Roll up a little way, then fold in the sides to make an envelope. Dap the remaining wrapper edge with water and continue rolling. Check to make sure the seam is sealed.
Set the roll onto a plate and go onto the next one. Once you’re finished with the rolls, heat about 1/2-1″ oil in a skillet medium-hot. Using tongs set lumpia into oil. Turn to another side once the first side is brown and continue this way until the roll is brown all over. Remove from skillet and set on paper towels to soak extra oil. Wait till they cool off a little before dipping in Sweet Chili Sauce and wolfing down.
- NOTES
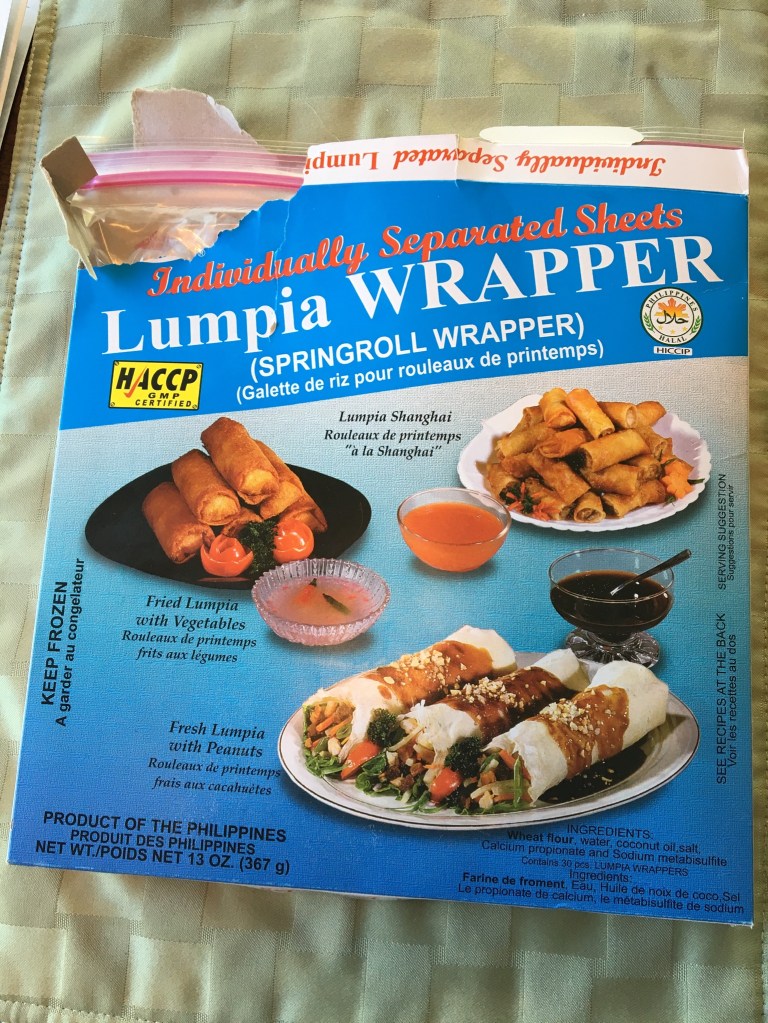
- I use real lumpia wrappers. They are round, about 8″ diameter. They came in a box that was supposed to be frozen, but was thawed by the time it got into my house. I kept the box in the refrigerator for a couple days and they worked just fine. There was no indication of how many were in the box, but my estimate is more than 30. This recipe made 14 lumpia. Lumpia wrappers are incredibly thin. I watched a video of how they’re made and basically the dough is just smeared across the frying pan and then peeled off. Thank goodness the box of wrappers has plastic between each wrapper. The plastic sheet may be thicker than the lumpia wrapper itself.
- Online I’ve seen that many people use egg-roll wrappers instead of lumpia wrappers. I cannot speak to that as I’ve never tried it.
- The good reason for using cooked filling ingredients, rather than raw, is that you can fry the lumpia quickly and get that nice crispy outside texture without worry that the meat is cooked through on the inside. The frying part of this went very, very quickly on a fairly high oil temperature.
- Once you dab water on the lumpia wrapper you need to finish rolling it immediately or the wrapper disintegrates. Just sayin’.
- My friend who makes these a lot uses pork, carrots, cabbage, and french-cut green beans. The filling recipe is flexible and I think every family has their own way of doing it.
- I read online someone said the filling is easier to work with if it’s been refrigerated. That sounds right. I think you’d end up with more uniform rolls and could make them larger.
- Also, I read that you can very easily freeze the lumpia rolls before you fry them, just make sure to separate with wax paper or something like that so they won’t stick to each other. Don’t thaw first, but be careful of spatter while you’re frying frozen food. You might have to fry at a lower temperature, too, but I’m not sure as I have not tried this.
- Lumpia was our dinner and two of us ate a dozen of them.


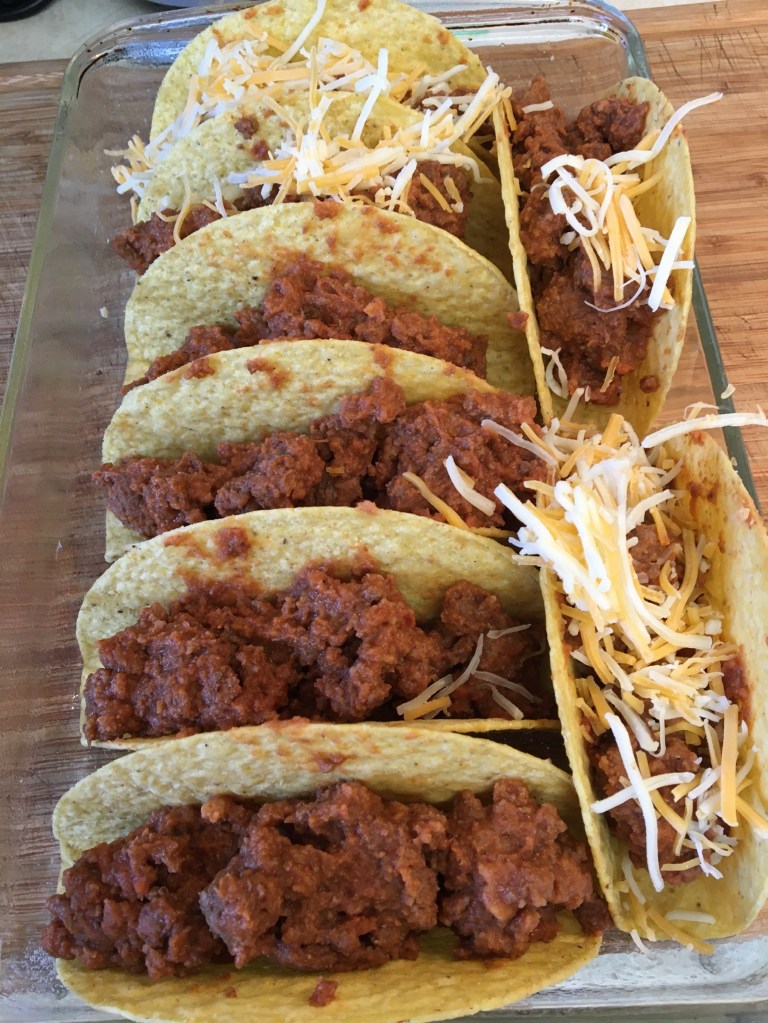
This is a super fast and delicious dish. The recipe started at OneGoodThingByJillee. Hers makes a ton, so I’ve cut it down and changed it slightly. I use Old El Paso brand Stand ‘n Stuff taco shells. There are ten shells in each box. In an 11×7″ baking dish you can fit 8 shells and that makes plenty for three people. They stand up beautifully, so there’s very little finagling. They are gluten-free. If you do not have access to these beauties, you’ll have to eyeball things to make it work. Jill has instructions on her site on how to make hard-shells from soft corn tortillas. I did try that one time, but I found it to be too tricky. The very best thing on Jill’s site is her recipe for taco seasoning and I make that ALL the time. I added a triple-recipe below.

- Baked Taco Ingredients
- 1 lb. ground beef
- 3 Tbsp. taco seasoning (or one store-bought envelope)
- 8 oz. can tomato sauce
- 1 cup (1/2 of a 15oz. can) refried beans
- 8 Stand ‘n Stuff taco shells
- 1 cup shredded cheddar or Mexican mix cheese
- Toppings of your choice (sour cream, salsa, jalapenos, etc.)
Prepare an 11×7″ baking dish by spraying with non-stick spray. Preheat oven to 400 degrees F.
In a frying pan, brown ground beef. Sprinkle with taco seasoning and then stir in tomato sauce and refried beans. Set the taco shells into the dish as pictured. Distribute the ground beef mixture evenly into all the taco shells. Sprinkle shredded cheese over all the shells. Bake at 400 degrees for ten minutes or until the cheese is melted. Top with your favorite toppings. Voila! Done! Inhale!

- Triple-Batch Taco Seasoning Ingredients
- 6 Tbsp. chili powder (I use ancho chili powder)
- 1-1/2 tsp. garlic powder
- 1-1/2 tsp. onion powder
- 1-1/2 tsp. red pepper flakes
- 1-1/2 tsp. dried oregano
- 1 Tbsp. paprika
- 3 Tbsp. ground cumin
- 3 Tbsp. kosher salt
- 2 Tbsp. pepper
Mix all together and use 2-3 Tbsp. for each pound of meat. For tacos, I sprinkle it over cooked ground beef, then stir in a little water and cook until the water evaporates. I also use this mix on beef or chicken fajita-makings and other types of meat. I sprinkle it on before or after cooking, it just depends. No rules! This batch should last you a good long while.

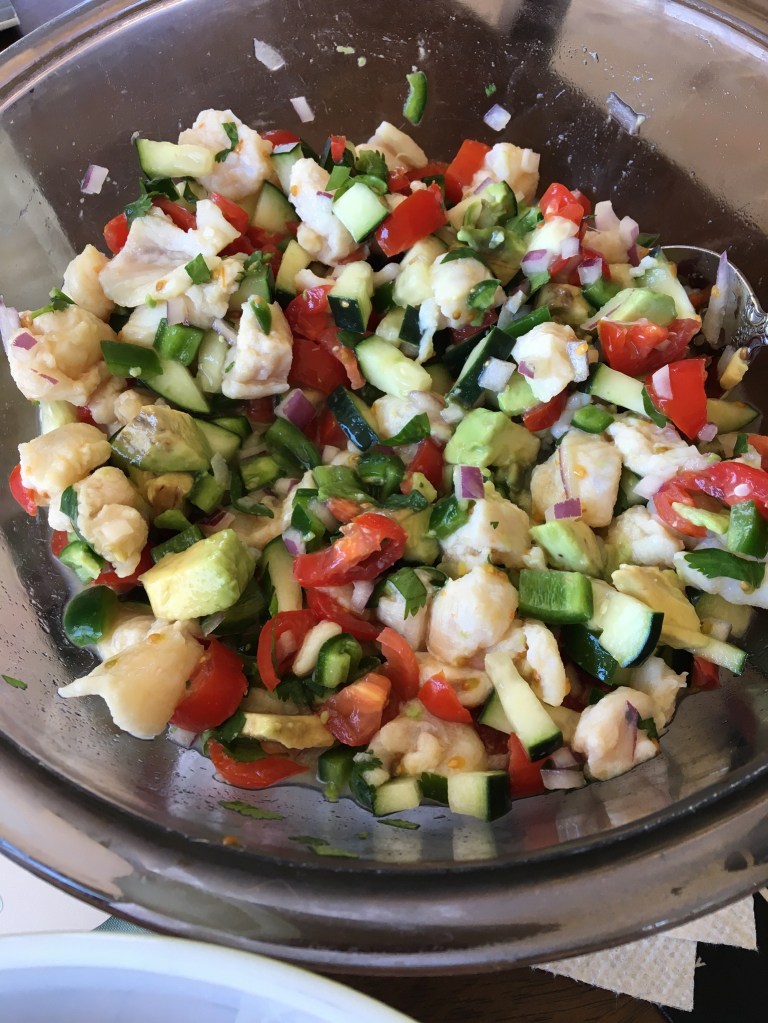
I ate half of this all by myself. Burp. The recipe from my cousin Pam calls for 6 Swai fillets and yields about 10-12 servings as a snack. I cut the recipe and used two fillets. It still makes enough to feed four, or three if one of them eats half of it. Just sayin’. I’m going to list the ingredients, but the amounts are really up to you.
- Ingredients
- Swai fillets (I have used other whitefish at different times, still quite tasty)
- Lime juice
- Salt
- Tomatoes, diced
- Cucumbers, diced
- Jalapenos or serranos (pictured here are jalapenos), diced
- Red onion, diced
- Cilantro, chopped
- Avocado, diced
- Tortilla chips
Slice the fish into tidbits, about 1/2″ pieces. Place into a large bowl and cover with lime juice. This time I used bottled lime juice, but I’ve also squeezed fresh — takes a lot of limes! Make sure there is enough lime juice to cover the fish. Sprinkle generously with salt (for 2 Swai fillets I used about 1/2 Tbsp. salt). Cover the bowl and let stand refrigerated for an hour (longer is fine).
Chop remaining ingredients, except avocado and chips, and stir into the fish mix. Taste for salt and add more if needed. Cover and let stand refrigerated for an hour (longer is fine).
Just before serving, stir in the avocado. Serve with tortilla chips.


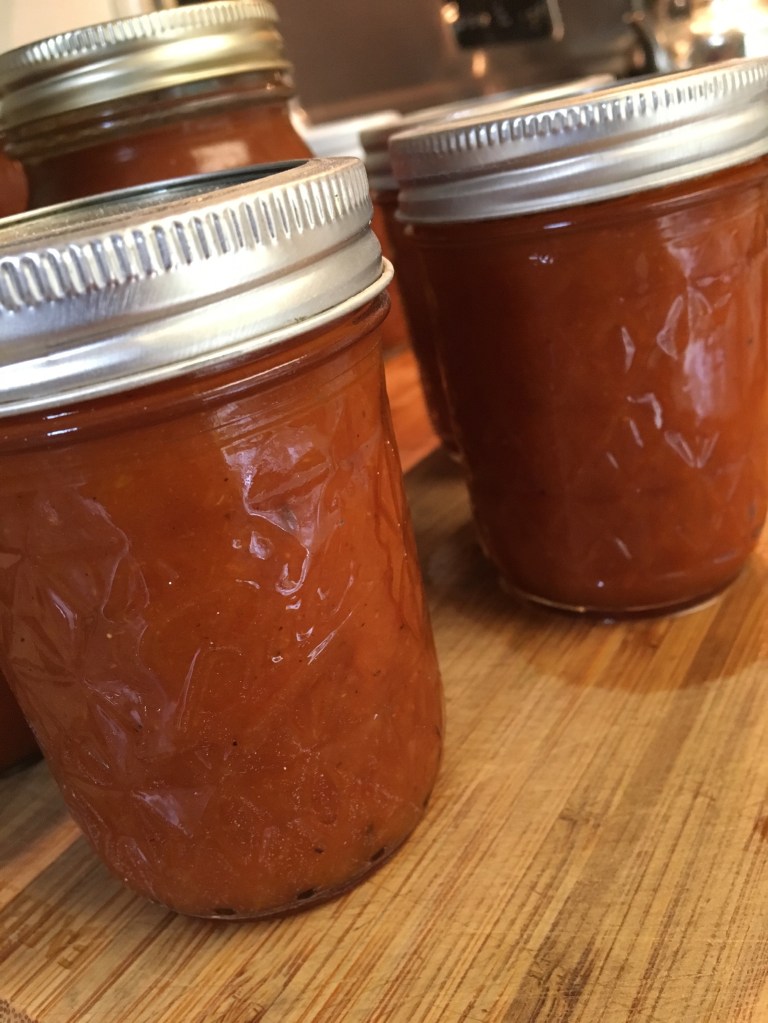
The affectionately named Sweet Baby Jesus! Sauce is a recipe I stole from my brother. It is a peach habanero barbecue sauce. I’ve made it a few times now and it’s universally loved by the people I give it to. Those that can’t take spicy food of any sort will not tolerate this sauce and those that are looking for extreme spiciness will be sadly disappointed. I would characterize it as a medium-spicy sauce. Today’s batch made my eyes water. So, there’s that. It’s got a rich flavor and the heat hits you on the back end. The day that I made this and took the photos, I made a double batch. The recipe given here is for a single batch. The yield is about 4 pints.
- INGREDIENTS
- 8 fresh habanero chiles
- 2 16-oz cans peaches (I use the ones in heavy syrup for more sugar content, but I doubt it really matters)
- 3 cups tomato ketchup
- 1 cup cider vinegar
- 3/4 cup dark corn syrup
- 3/4 cup prepared yellow mustard
- 2 Tbsp. salt
- 2 Tbsp. paprika
- 1 Tbsp. chili powder (I use an ancho chile blend)
- 3 Tbsp. brown sugar
- 1-1/2 Tbsp. ground cumin
- 1-1/2 Tbsp. ground black pepper
- 1 tsp. ground coriander
- 2 tsp. ginger powder
Preparation is key here. WEAR GLOVES for this part. I use a dedicated cutting mat for use with preparing fresh chiles. A small spoon can be helpful in scraping the seeds out. Get everything ready: gloves, special cutting board or mat, spoon for scraping, trash bag, large cooking pot, food processor or blender. WEAR GLOVES! Be careful not to touch anything other than the habaneros, especially your eyes. When you’re ready to do this, remove seeds and stems from the habaneros, retaining the seeds from one chile only. Put the seeds from the one chile into a large cooking pot.

Chop the flesh of the stemmed and seeded habaneros and place them into a food processor or blender with the peaches and their juice. Puree. Pour the puree into the large cooking pot with the retained seeds. Stir in all the remaining ingredients.


Bring to a boil over medium heat and then reduce heat to simmer for 45 minutes to an hour, stirring occasionally. Remove from heat when the mixture has the consistency that you like for barbecue sauce. Voila! You’re done. Keep reading if you want to preserve your sauce in jars.
This yields about 4 pints. I put mine into pint jars, 3/4-pint jars, and 1/2-pint jars.
With the amount of vinegar called for in the recipe, in addition to what’s already in the tomato ketchup and prepared yellow mustard, I doubt that it is necessary to water-bath can these. Simply turning them upside down until they’re sealed is probably enough to keep the food safe. HOWEVER, sometimes I can be paranoid, so I canned these in a water bath for 15 minutes.
In a large cooking pot (or canner), put a rack of some type (I use a telescoping steamer basket) to keep the jars from rocking in the boiling water and breaking (yes, this has happened to me, thus the rack). Fill the pot with water to a point that it won’t spill over once the jars are in it. Fill a tea kettle with water. Bring the cooking pot of water and the tea kettle to a boil. Cover and let simmer on low if you’re not ready yet.
Fill the jars, leaving about 1/2-inch of head space. Make sure your canner water is boiling. Wipe the jar rims. Screw lids onto jars and carefully place the jars into your canner. I have a jar lifter for this purpose. The jars should not touch each other. Pour the water from the teakettle into the canner so that there’s a couple inches of water over the tops of the jars. Let it simmer for fifteen minutes. Carefully remove the jars from the water. Let the jars cool. When pressing the lids with your thumb, there should be no “give.” If it still bounces up and down after canning and cooling, you should keep it refrigerated until it’s used.
So, the time has come. I just placed an order for an actual canner. It comes with a legit rack. This should make things much simpler for me and it’s become worth it since I do a lot of pickle canning in August. Stay tuned!

This is a simple idea that I saw on my Instagram feed by @irina.r.georgescu. Her website is www.lifeinsmallbites.co.uk. She gave a description rather than a recipe, so I’ll do the same thing and tell you how I did this. Keep in mind that in the UK and other places, eggplant is called aubergine. This is a gluten-free snack.
- Ingredients
- Cooking oil
- Eggplant (AKA Aubergine)
- Eggs
- Corn meal
- Spices
Heat cooking oil (about 1/2″) in a skillet. I never test my heat, so I’m not sure what the temp should be. Hot.
I had bought these small eggplants from Costco, they’re about 8″ long and 2″ around, however, you can use regular eggplant. Slice the ends off and then cut the eggplant in half the long way, then into slices, about 1/2″ wide. You’re looking for snacking-size pieces.
Beat 2-3 eggs (I used 3 extra large and it was too much for my one little eggplant, but I wish, I wish I had made these snacks using three of the little eggplants).

Spice up a bit of cornmeal. I used salt and pepper and a liberal amount of white pepper. Whatever you want to do will be fine.
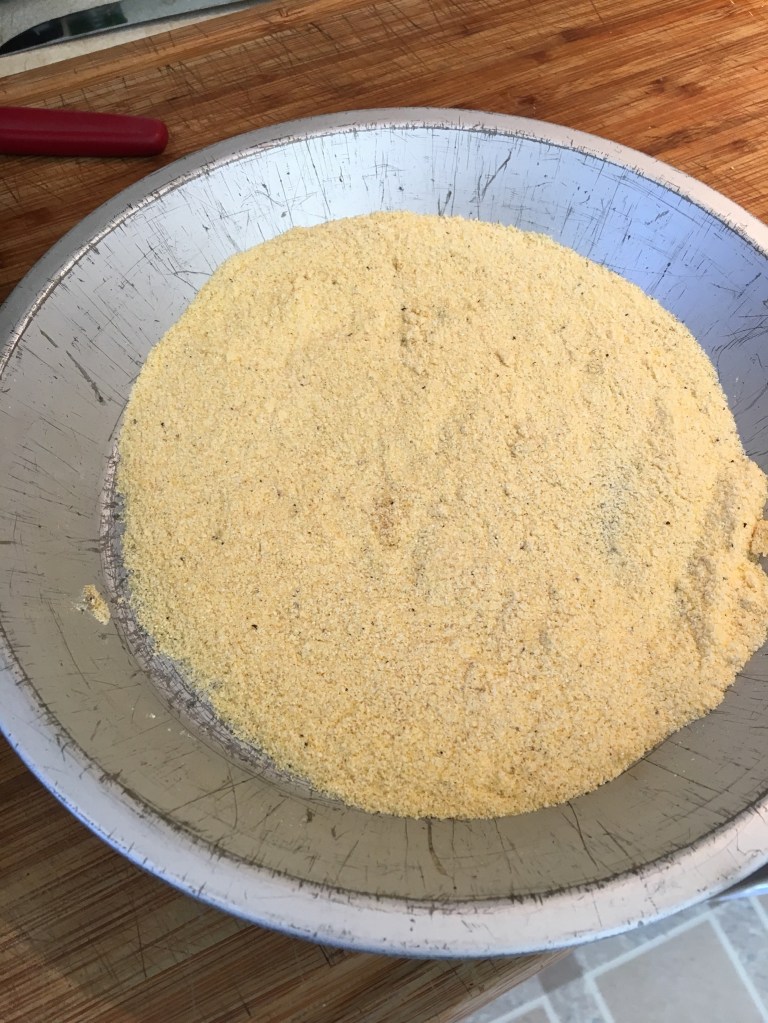
Dip the eggplant pieces, in batches, in the egg and then dredge through the seasoned cornmeal, then into the frying pan. Turn pieces over after a couple minutes, then make sure the eggplant is thoroughly cooked.
Remove from oil with a slotted spoon onto absorbent paper.
Irina dipped hers in a tomato sauce, but I just ate mine plain. I confess I ate nearly the whole thing while I was waiting for the last batch to fry. I wish, I wish I had made more. Irina says it’s not so good once it’s cooled off. I wouldn’t know.
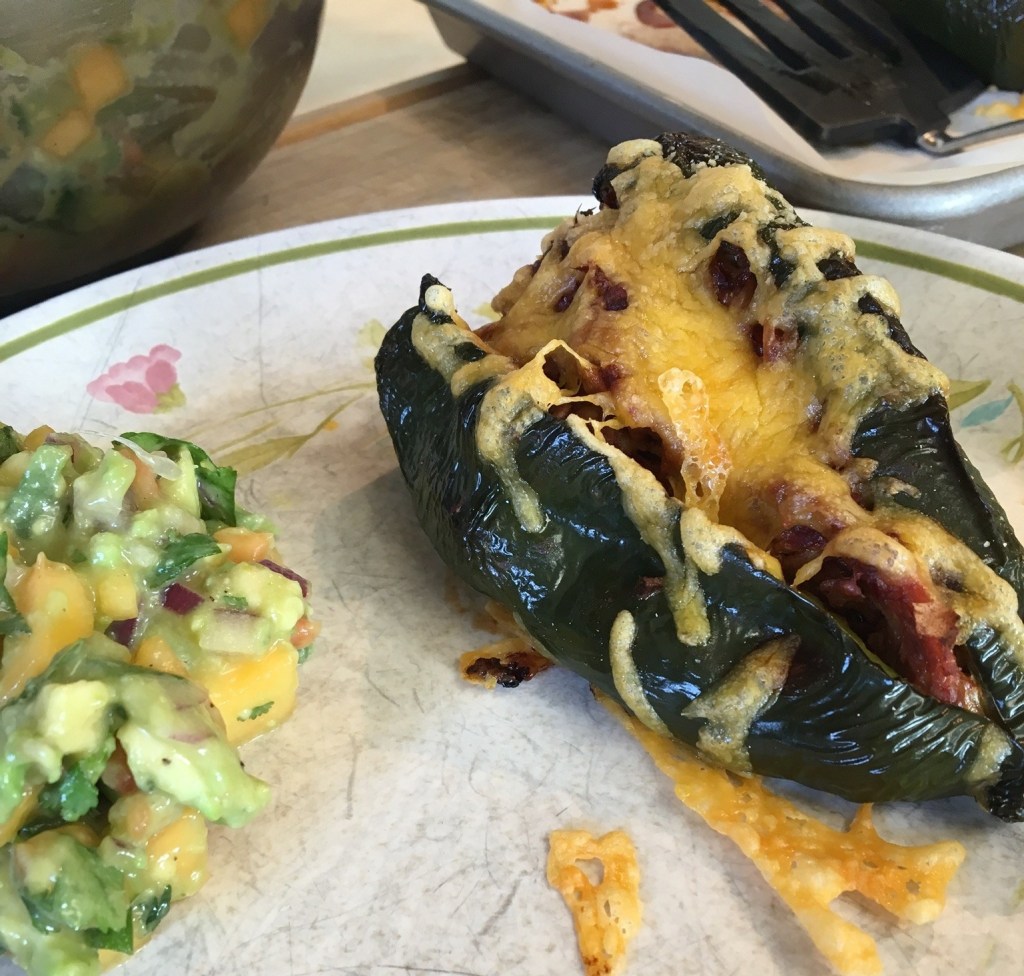
Late last year I tried a modified version of a Texas Chili Con Carne recipe that used dried chiles. It was my first time working with dried chiles. I had seen them in the grocery store, but had not known what to do with them. The chili turned out really, REALLY good. The flavor was deep, smoky, and rich. Early this year I bought a couple more packages of dried chiles and yesterday thought I’d make a sauce to bind my pulled pork in the stuffing for Stuffed Poblanos. I make pulled pork quite often, but with only two of us, always have a lot left over. I confess that I do not have a crockpot. Nowhere to store it. I’ve got a big Dutch-oven style cooking pot so I use that at a low heat to make pulled pork in the oven.
Various ways I’ve used my pulled pork is to add sauce and make sandwiches, top baked sweet potatoes, fill sopes or enchiladas, and to stuff poblanos. The poblanos are a real low-carb option. If you’re unfamiliar with poblanos, they’re a large chile with a very mild flavor once they’re stemmed and seeded. Once in awhile I’ve had one that’s got a kick at the stem end. I use gloves to stem and seed them.
The basis for the enchilada sauce is from foodiecrush.com. Heidi at foodiecrush.com called for 2 oz. of dried guajillo chiles and 1 oz. of New Mexico chiles. I just happened to have a 6 oz. package of guajillos and a 3 oz. package of New Mexicos. Hmmm. Do the math. Because I find stemming and seeding dried chiles quite tedious, I decided to make a triple batch and freeze the unused sauce, so I wouldn’t have to do it again anytime soon.
I wore gloves to stem and seed the chiles. It took me about 50 minutes hunched over my garbage can to stem and seed them. Like I said, tedious.
I’m a lazy cook when it comes to presentation, so I don’t strain my sauce. I really don’t see what difference it makes since enchilada sauce is usually added over, under, or with stuffed tortillas. Who cares if it’s not smooth?
- GF Enchilada Sauce
- 6 oz. dried guajillo chiles, stemmed and seeded
- 3 oz. dried New Mexico chiles, stemmed and seeded
- 9 cups water
- Olive oil
- 3/4 cup chopped onion
- 1-1/2 cups chopped tomato (I used grape tomatoes)
- 3 large garlic cloves, chopped
- 3 tsp. kosher salt
- 1-1/2 tsp. dried oregano
- 1-1/2 tsp. smoked paprika
- 3/4 tsp. ground cumin
In a very large cooking pot, place the dried chiles and water. Bring to a boil and then let simmer, covered, for thirty minutes. Remove from heat and strain the chiles out of the cooking water. SAVE THE COOKING WATER! Set aside the chiles and the water.
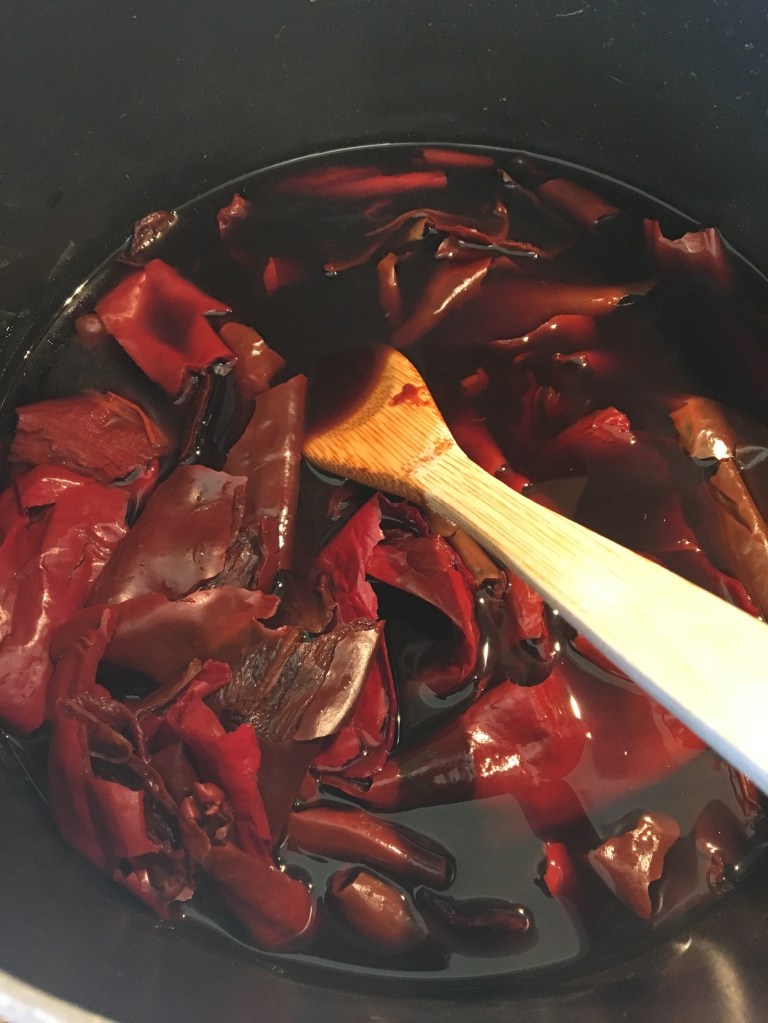
In a medium skillet over medium heat, swazz the olive oil and then add the onions. Let them cook until translucent. Add the tomatoes, garlic, salt, oregano, paprika, and cumin. Let it cook down until it’s thick and pasty.
Scrape the onion-tomato mixture into a very large food processor and add the chiles and a bit of the chile-cooking water. Let it process, adding chile-water as necessary to get a sauce consistency that is to your liking. I tried to get my consistency as smooth as possible in the processor because I didn’t want to strain it afterward. Don’t throw out the remaining chile water! More to come.
Pour the processed mixture back into the large cooking pot. I rinsed my skillet out with a little chile-water and added that to the cooking pot, too. Bring to a boil and then let simmer, uncovered, for ten or fifteen minutes. Add more chile-water as necessary. Don’t skip the cooking step, it really creates the flavor.
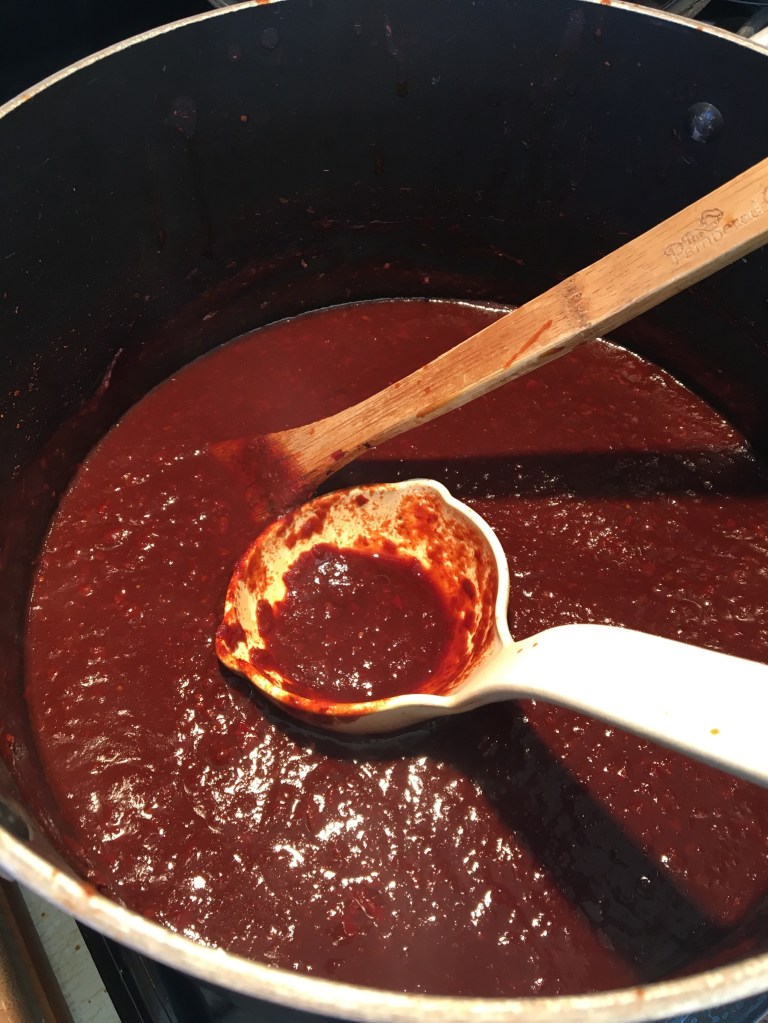
My yield was about 6-1/2 cups. I stirred 1/2 cup into my pulled pork at that time and then saved the sauce and the leftover chile-water in the refrigerator until the next morning. The next morning, the sauce had thickened a bit, so I stirred in more of the chilled chile-water. In the end I froze three 2-cup portions in vacuum-sealed bags. I discarded about 2 cups of remaining chile-water. Another note on this recipe: I’ve read that the flavor REALLY comes out if you roast your dried chiles on a skillet first, but that’s a step too far for me.
- Stuffed Poblanos
- 4 fresh poblano chiles
- 2-1/2 cups spiced shredded pork or chicken
- 1/2 cup enchilada sauce
- 1 cup shredded sharp cheddar cheese
Prepare a baking sheet with parchment paper. Preheat the oven to 400 degrees F. Cut the stem-end out of the poblano chiles and cut a slit down one side. Remove the seeds carefully. Place the chiles onto the baking sheet, slit side up.
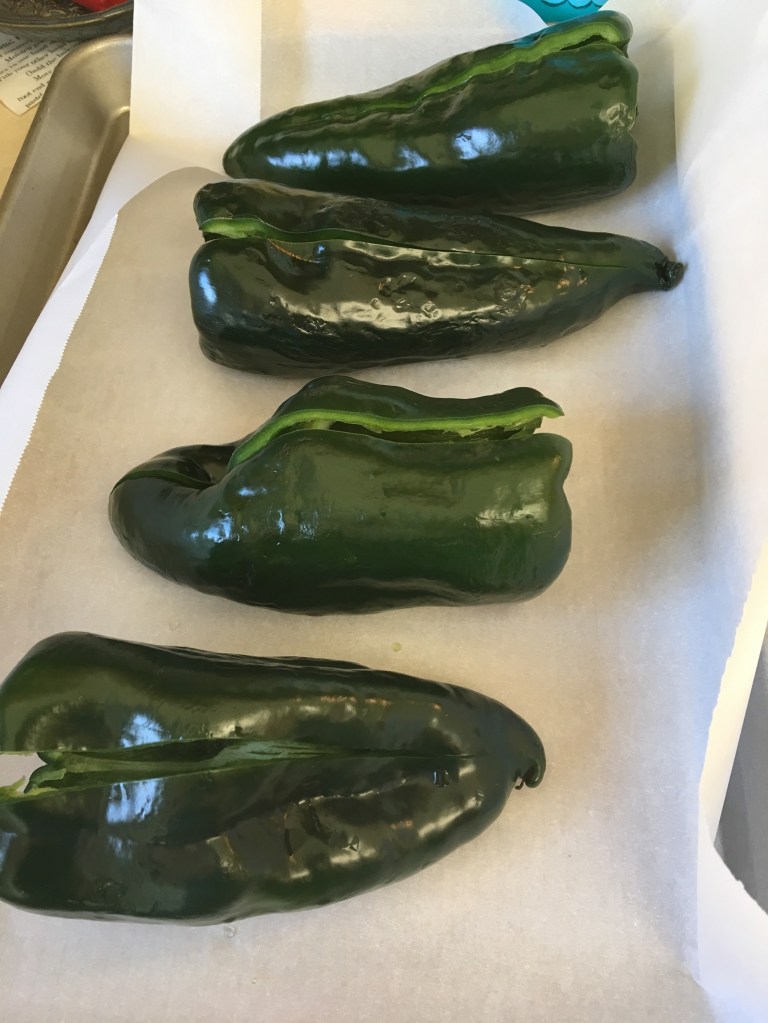
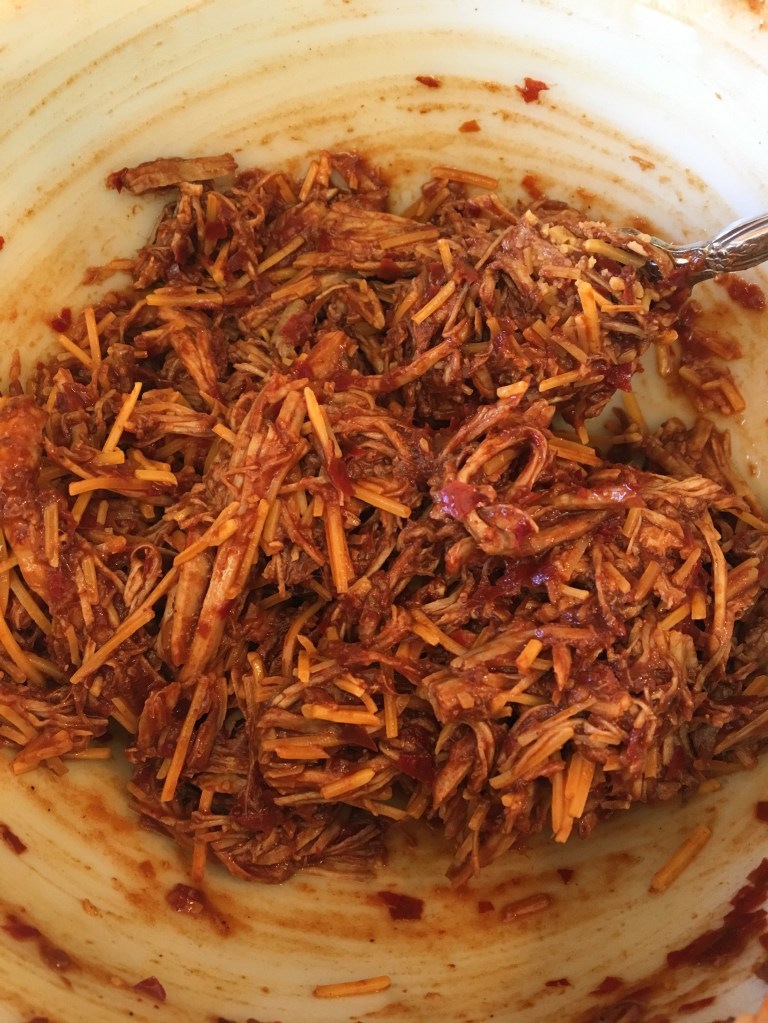
Stir enchilada sauce into the meat and then stir in about 2/3 cup of the shredded cheese. All these quantities are approximate. I eyeballed the amount of shredded pork, sauce, and cheese that I would need. No worries, it’s a forgiving recipe, hard to go wrong.
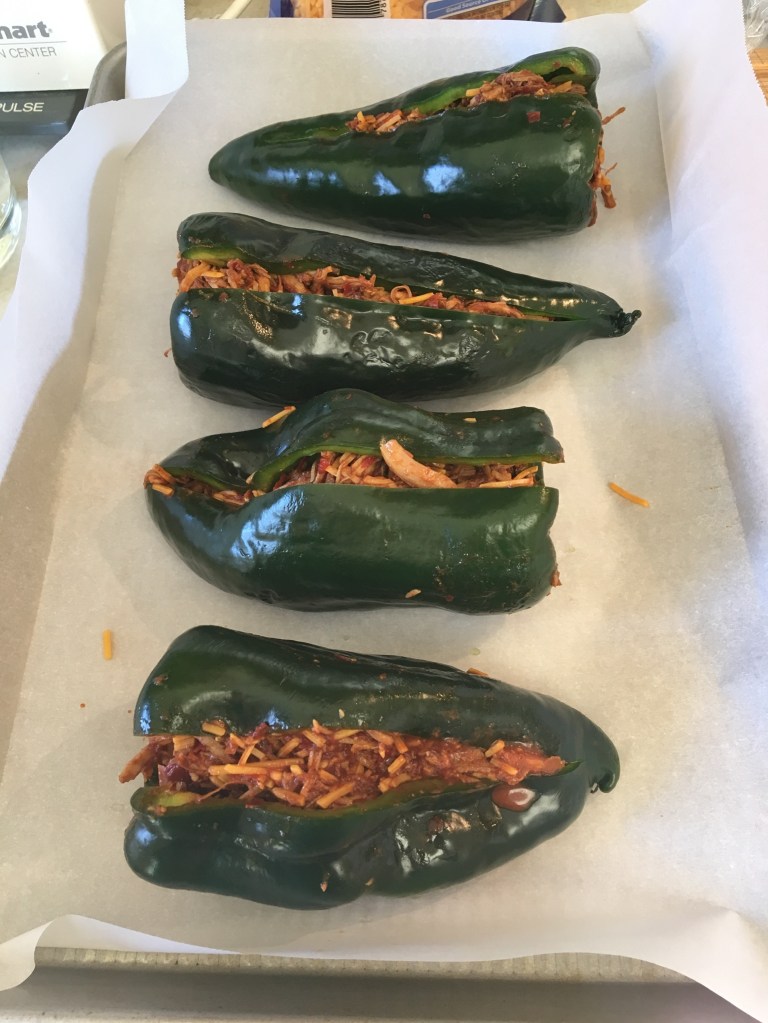
Stuff the chiles. I use a fork and my hands to try to get filling all the way into the tips of the chiles.
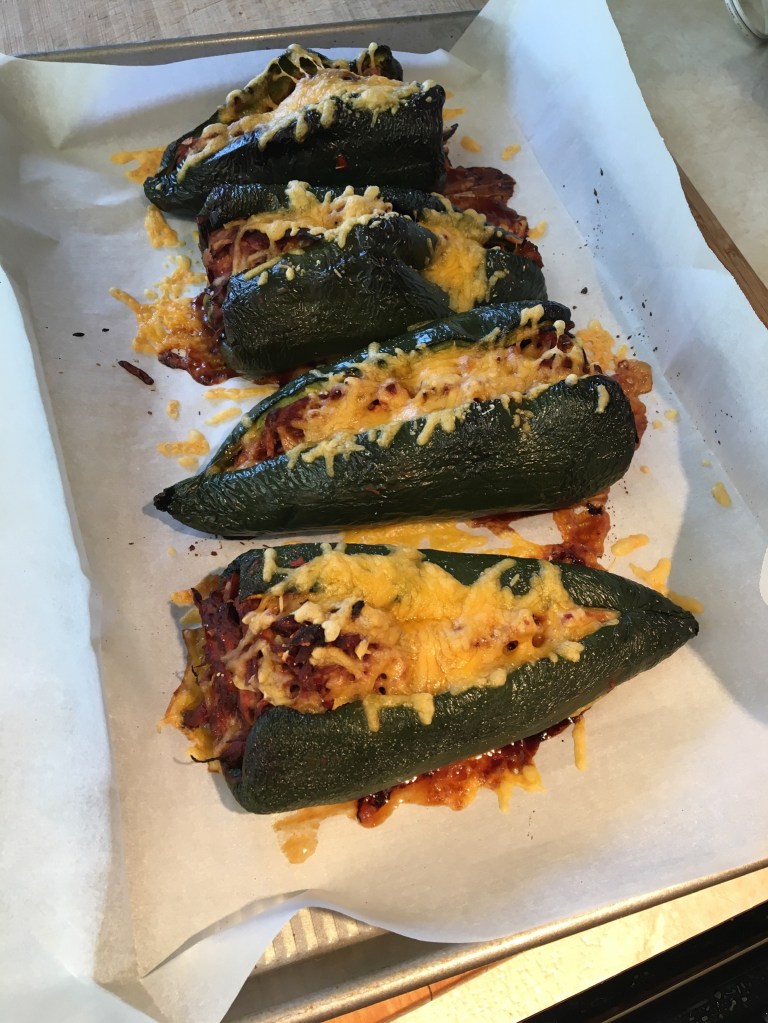
Bake at 400 degrees for thirty minutes. Remove from heat and sprinkle shredded cheese over each chile. Return to the oven for another 5-10 minutes.
Just so you know, I’ve made stuffed poblanos with all kinds of filling: ground turkey, ground beef, beans, shredded chicken, etc. It doesn’t really matter as long as it holds together. You can use tomato sauce, fresh tomatoes, refried beans, whatever you want as a binder. There are several recipes on Pinterest that give good ideas of various fillings you can use. There is no reason to pre-cook the chiles, just stuff and bake!
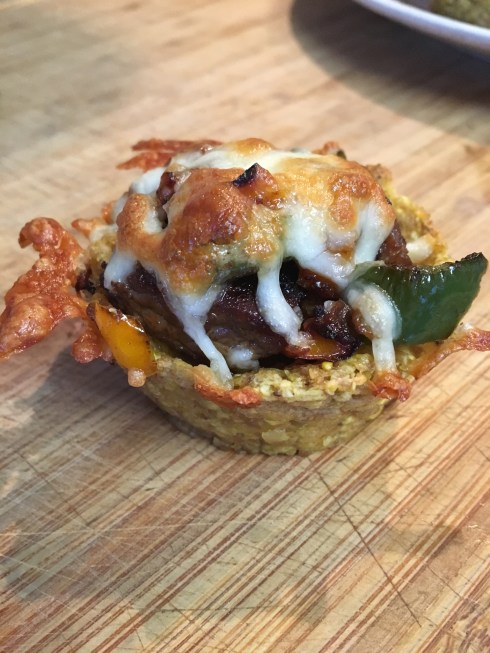
Legs tired, we chose an outside table at a restaurant in Old San Juan, Puerto Rico and collapsed into chairs, ordering dos cervezas. It was a pleasant afternoon on the plaza, watching the world go by. We asked the waitress what was good to eat and she recommended Plantain Cups. They really hit the spot that day. Once home, I tried to recreate the dish because of how delicious they are. Plantains are readily available here, but I’ve never cooked with them before. I found a recipe at SimpleByClara on her Dominican Cooking website and used her basics of how to make the cups. They are really yummy and quite easy to make. I’m still not sure how to select a plantain at the grocery store and I suspect what I’m choosing are not as good as they could be, but it’s a work in progress.
- Ingredients for Cups
- 3 large (or 4 medium) ripe plantains, peeled
- 1 tsp. salt
- Oil for basting
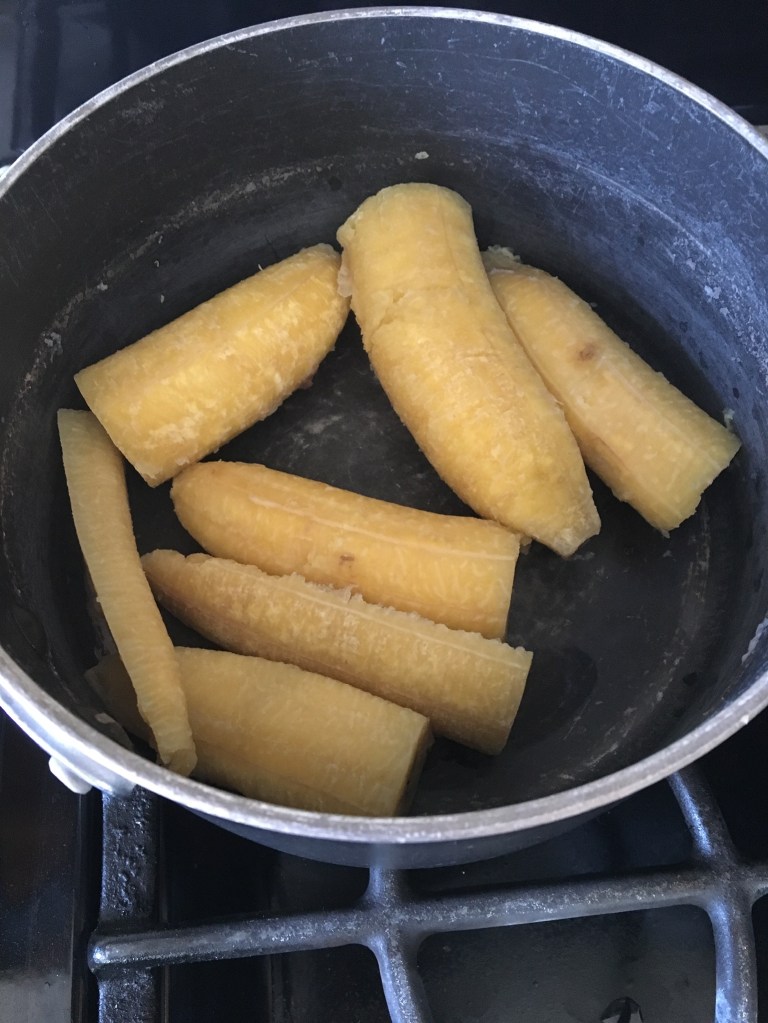
Cut the plantains in half and place into a large saucepan. Try to disabuse yourself of the notion that these are bananas. They’re not. They’re more like potatoes. Add water to cover and add salt. Bring to a boil, reduce heat and let simmer until plantains are soft, about 15 minutes. Remove plantains from water and let cool a little. Mash the plantains. I always end up using a food processor, which works well. I’m not sure if it’s because I’m not cooking them long enough or if they’re old plantains. In any event, mine are always too hard to mash by hand, but the food processor works great.

Prepare a muffin tin by spraying or greasing. Preheat the oven to 425 degrees F.
Mashed plantains are sticky, and so it’s easy to form the cups. Grab a handful of mashed plantain and press it into a muffin cup. Make them very compacted. I got 10 plantain cups last time. Brush oil lightly over each cup. I used olive oil, but any type of oil should work.
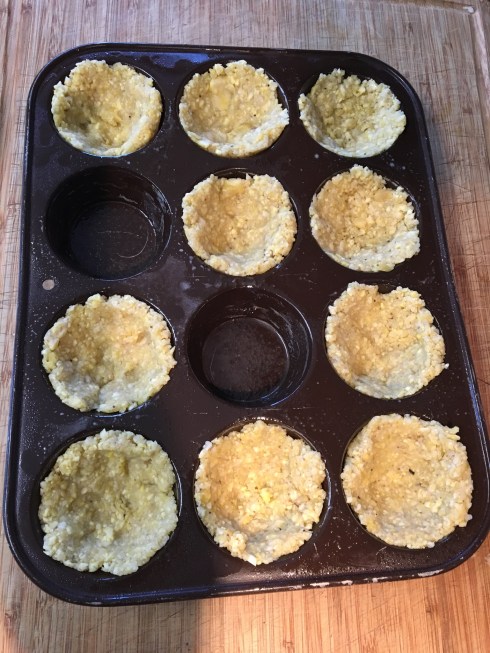
Bake at 425 degrees for about 18-20 minutes.
Remove from oven and fill with your favorite topping.
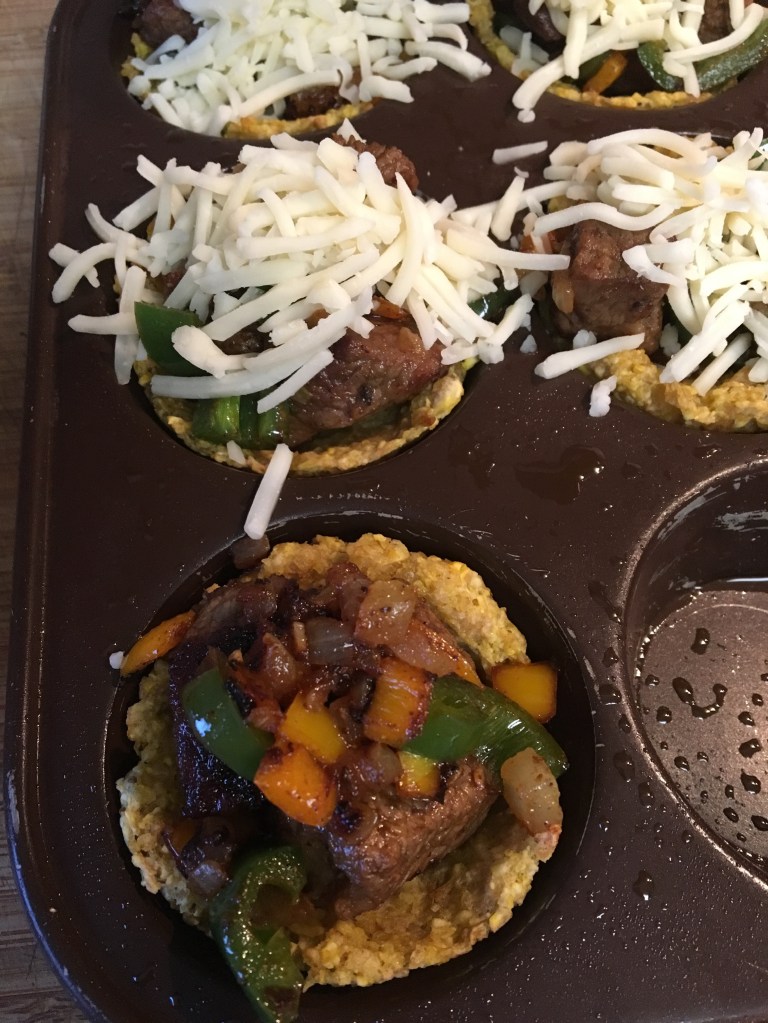
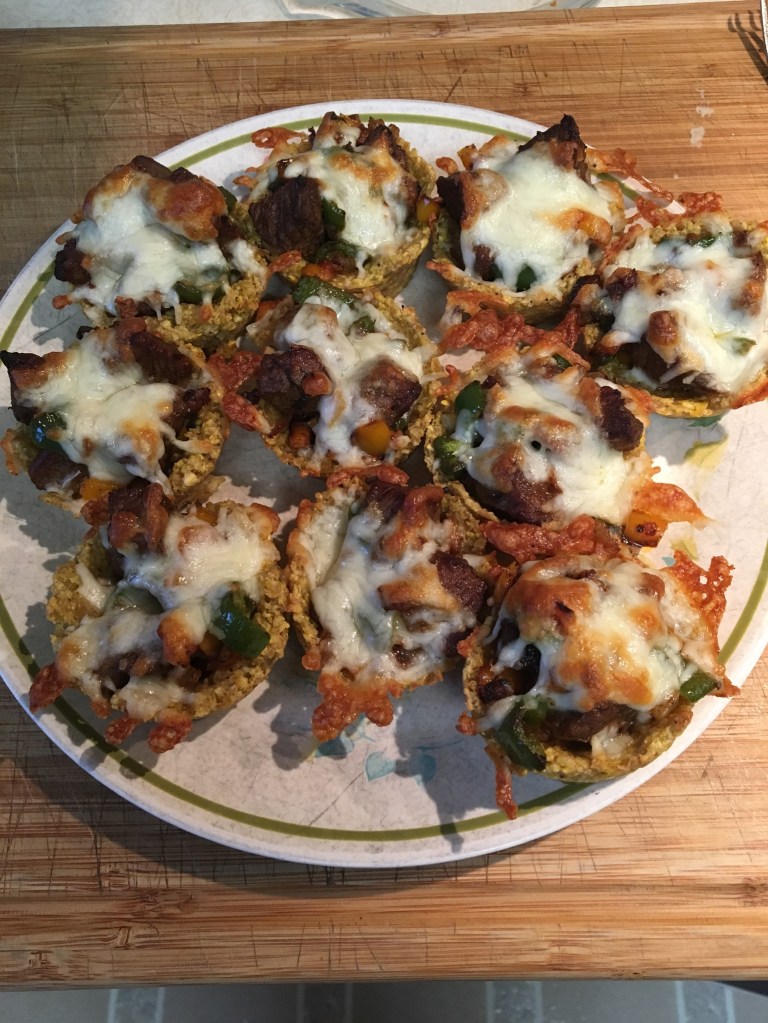
The ones we had in Puerto Rico were filled with little tidbits of spiced beef and a tasty sauce. Here is what and how I did what’s pictured (they were delicious), but I’ll probably never make these the same way twice.
I cut beef Tri-Tip Steak strips into 1″ cubes. I sprinkled taco seasoning over the meat. I preheated a skillet on high heat and added a bit of olive oil. I added the meat to the pan and seared it on all sides as well as possible. I removed the meat from the pan and set it aside. To the skillet I added diced onion, diced sweet mini peppers, and diced garlic. I let it saute until the onion was translucent, then I added some chopped jalapeno peppers. I stirred the beef back into the pan and cooked a bit longer. I scooped a little bit of the filling into each plantain cup, then sprinkled with Monterey Jack cheese. I baked at 425 degrees F for about 10 minutes. I served these topped with mashed avocado, fresh jalapeno slices, and salsa. Umm, umm, good!
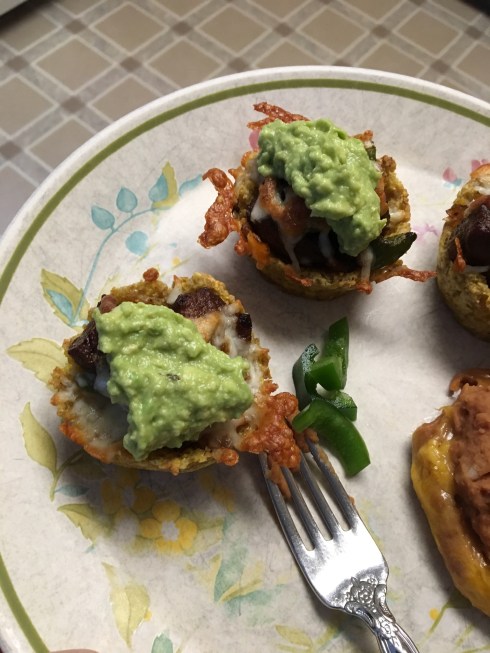
Alternative fillings would be spiced chicken, cheddar cheese, beans and/or corn. Whatever you want to do will be great.
Another reason I like these is that it takes the place of wheat or gluten foods at dinner time. It’s something I can feed my relative with the wheat allergy.
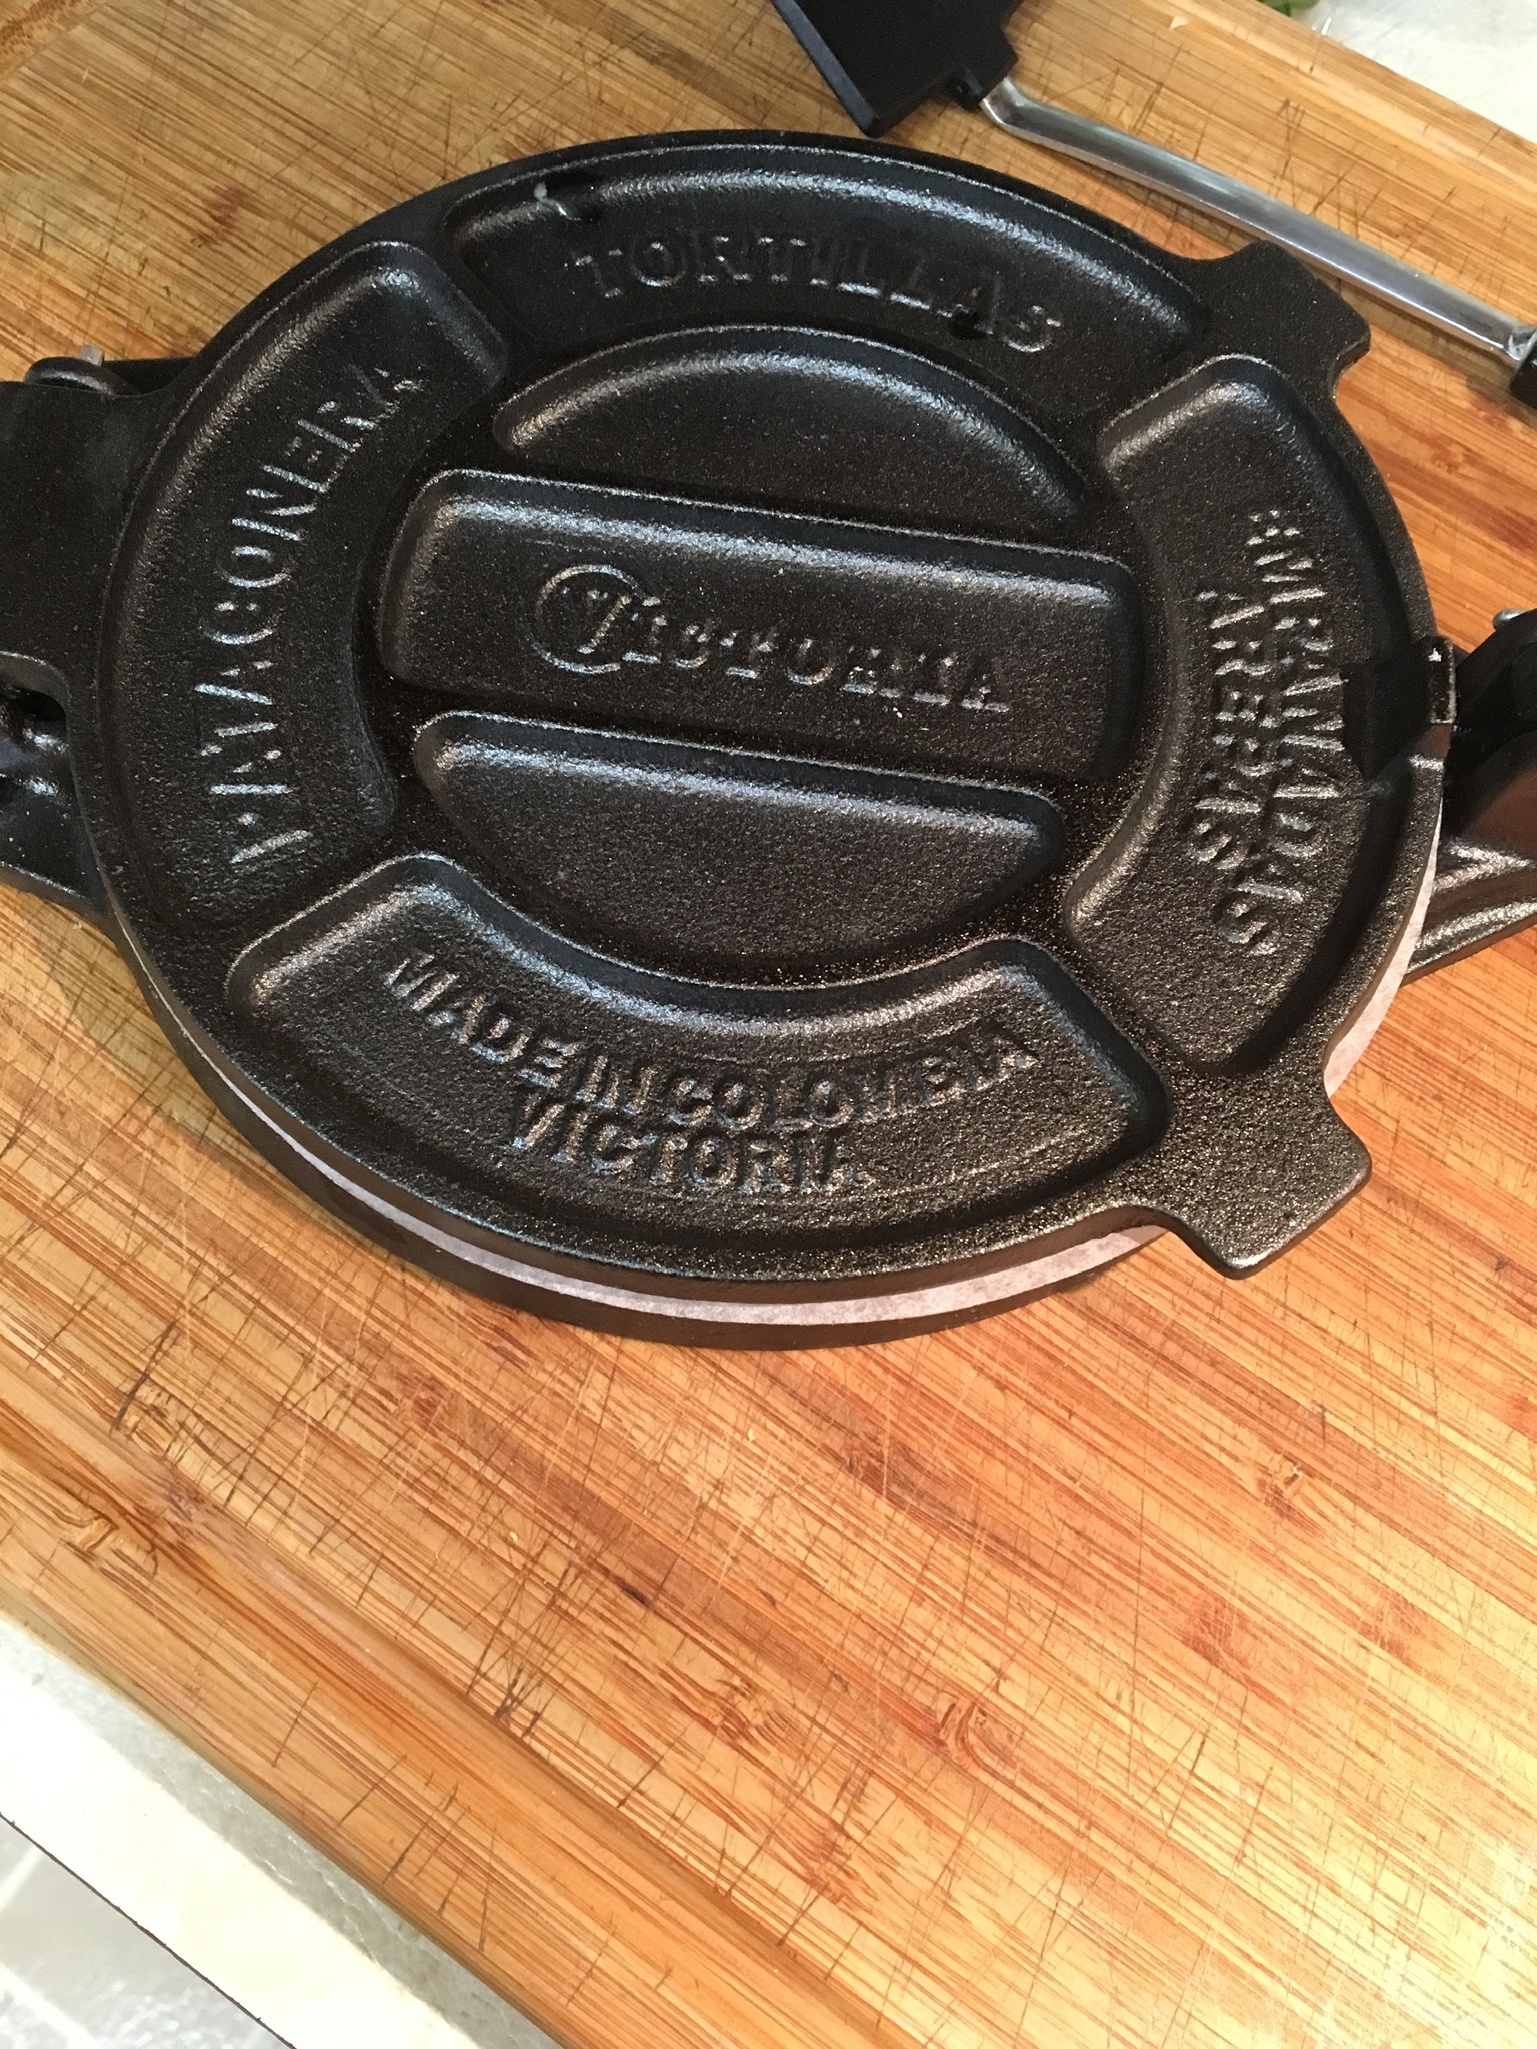
So, in December I purchased a tortilla press . . . and a tortilla warmer . . . and a bag of Bob’s Red Mill Masa Harina . . . and some parchment paper pre-cut into rounds. I realize I was purchasing my own Christmas present, but I’m quite happy with it. I try never to buy anything that only has one use and discourage others from buying them for me. I don’t know what got into me, but I’ve found a place to stow it so it’s all good. Both the recipes found below here are gluten-free. I guess I better say that the Sope recipe below does not require a press or any special equipment. I only used the press for tortillas.
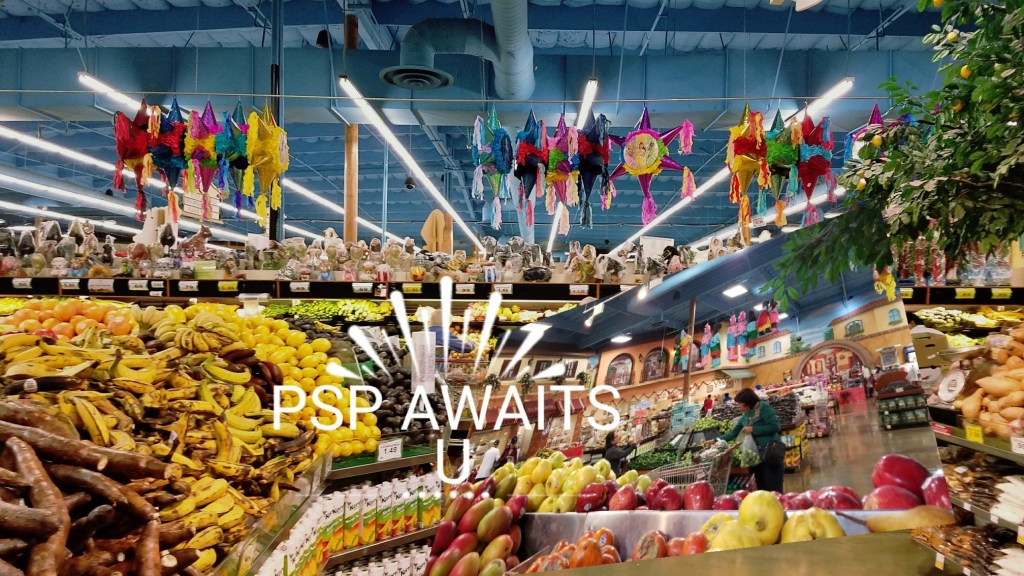
There’s a grocery store in Palm Springs, California called Cardenas and it is like heaven on earth. You can smell the fresh tortillas from the in-store factory. I once filled up a large cooler with fresh produce purchased at Cardenas for about 17 USD and the same produce would have cost me around 100 USD here in Anchorage. Cardenas is a magical place. It reminds me of the big covered markets you see in Mexico full of sights and smells. It’s always hard for me to decide whether to get something they’ve already cooked at the Deli counter or buy the ingredients and make the dishes myself. I usually do both. It drives my mother crazy, “Why are these rice and beans in my refrigerator? What are you going to do with them?” I answer her that by the time I go back home, I’ll have eaten all of it.
Corn Tortillas
I used the recipe from Isabel Eats. Her tortillas get nice brown marks on them, but I couldn’t get mine to do that. My tortillas were still quite fabulous, so I’m thinking it doesn’t matter? The first two times I made these I used Bob’s Red Mill Golden Corn Flour Masa Harina. It’s very yellow with a grainy texture. The third time I made these, I ran about 1/2 cup short of Bob’s and made it up with Maseca Instant Corn Masa Flour. The color is white and the texture is fine, like cake flour. It threw me off, but I sallied forth and came up with a delicious product. A word about Masa Harina: it is ground corn that has been processed with lime (not lime fruit, but lime stone). According to web sources, ground corn is not the same and will not work the same. You need to use Masa Harina.
- Ingredients
- 2 cups Masa Harina
- 1-1/2 cups hot water
- 1/2 tsp. salt
Makes 12 tortillas, about 6″ diameter. Stir the ingredients together until it’s a smooth ball. Cover with a damp kitchen towel and let sit for an hour. Divide the dough into twelve pieces (about 2″ in diameter) and roll each piece into a ball. Keep the dough balls covered with the damp kitchen cloth as much as possible.


As I said earlier, I use parchment paper rounds, top and bottom, to keep my dough from sticking to the press. Most people cut slits in two gallon-size plastic bags and put one bag on the top and one on the bottom. I haven’t tried that yet. Place a dough ball slightly off-center on the parchment on the press and place the second parchment round on it. Flatten the dough ball slightly with your hand and then lean on the body of the press to flatten more. Finish off by pressing on the handle. Be mindful not to break the shear pin that attaches the handle to the body. Pushing down on the body of the press should do most of the work.

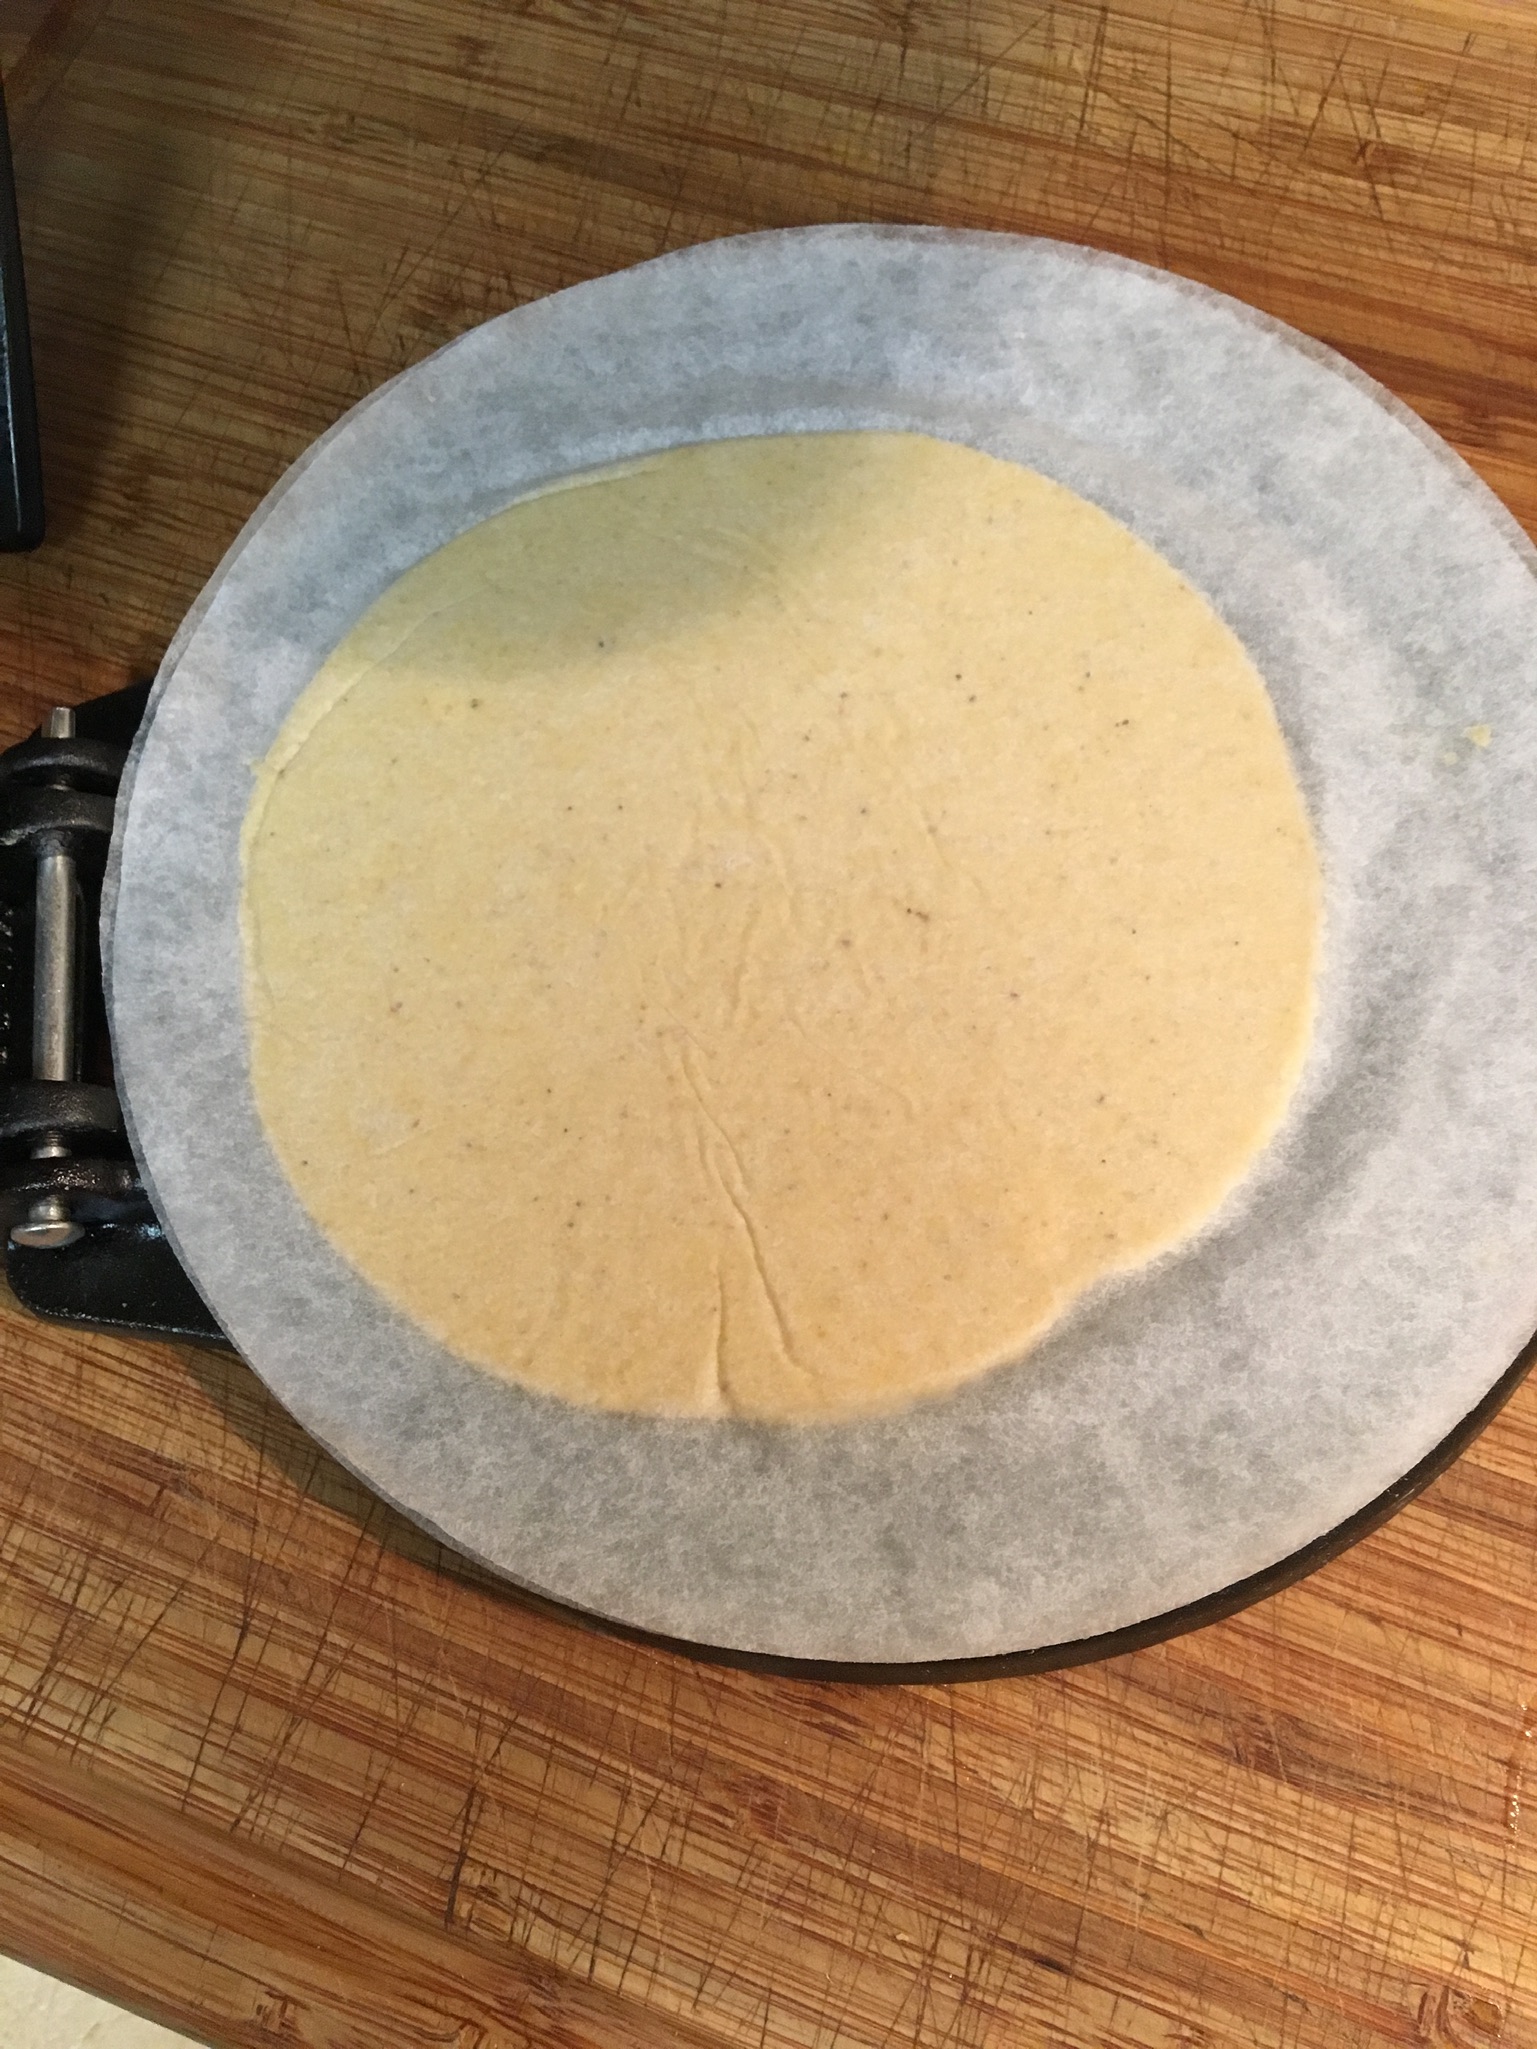
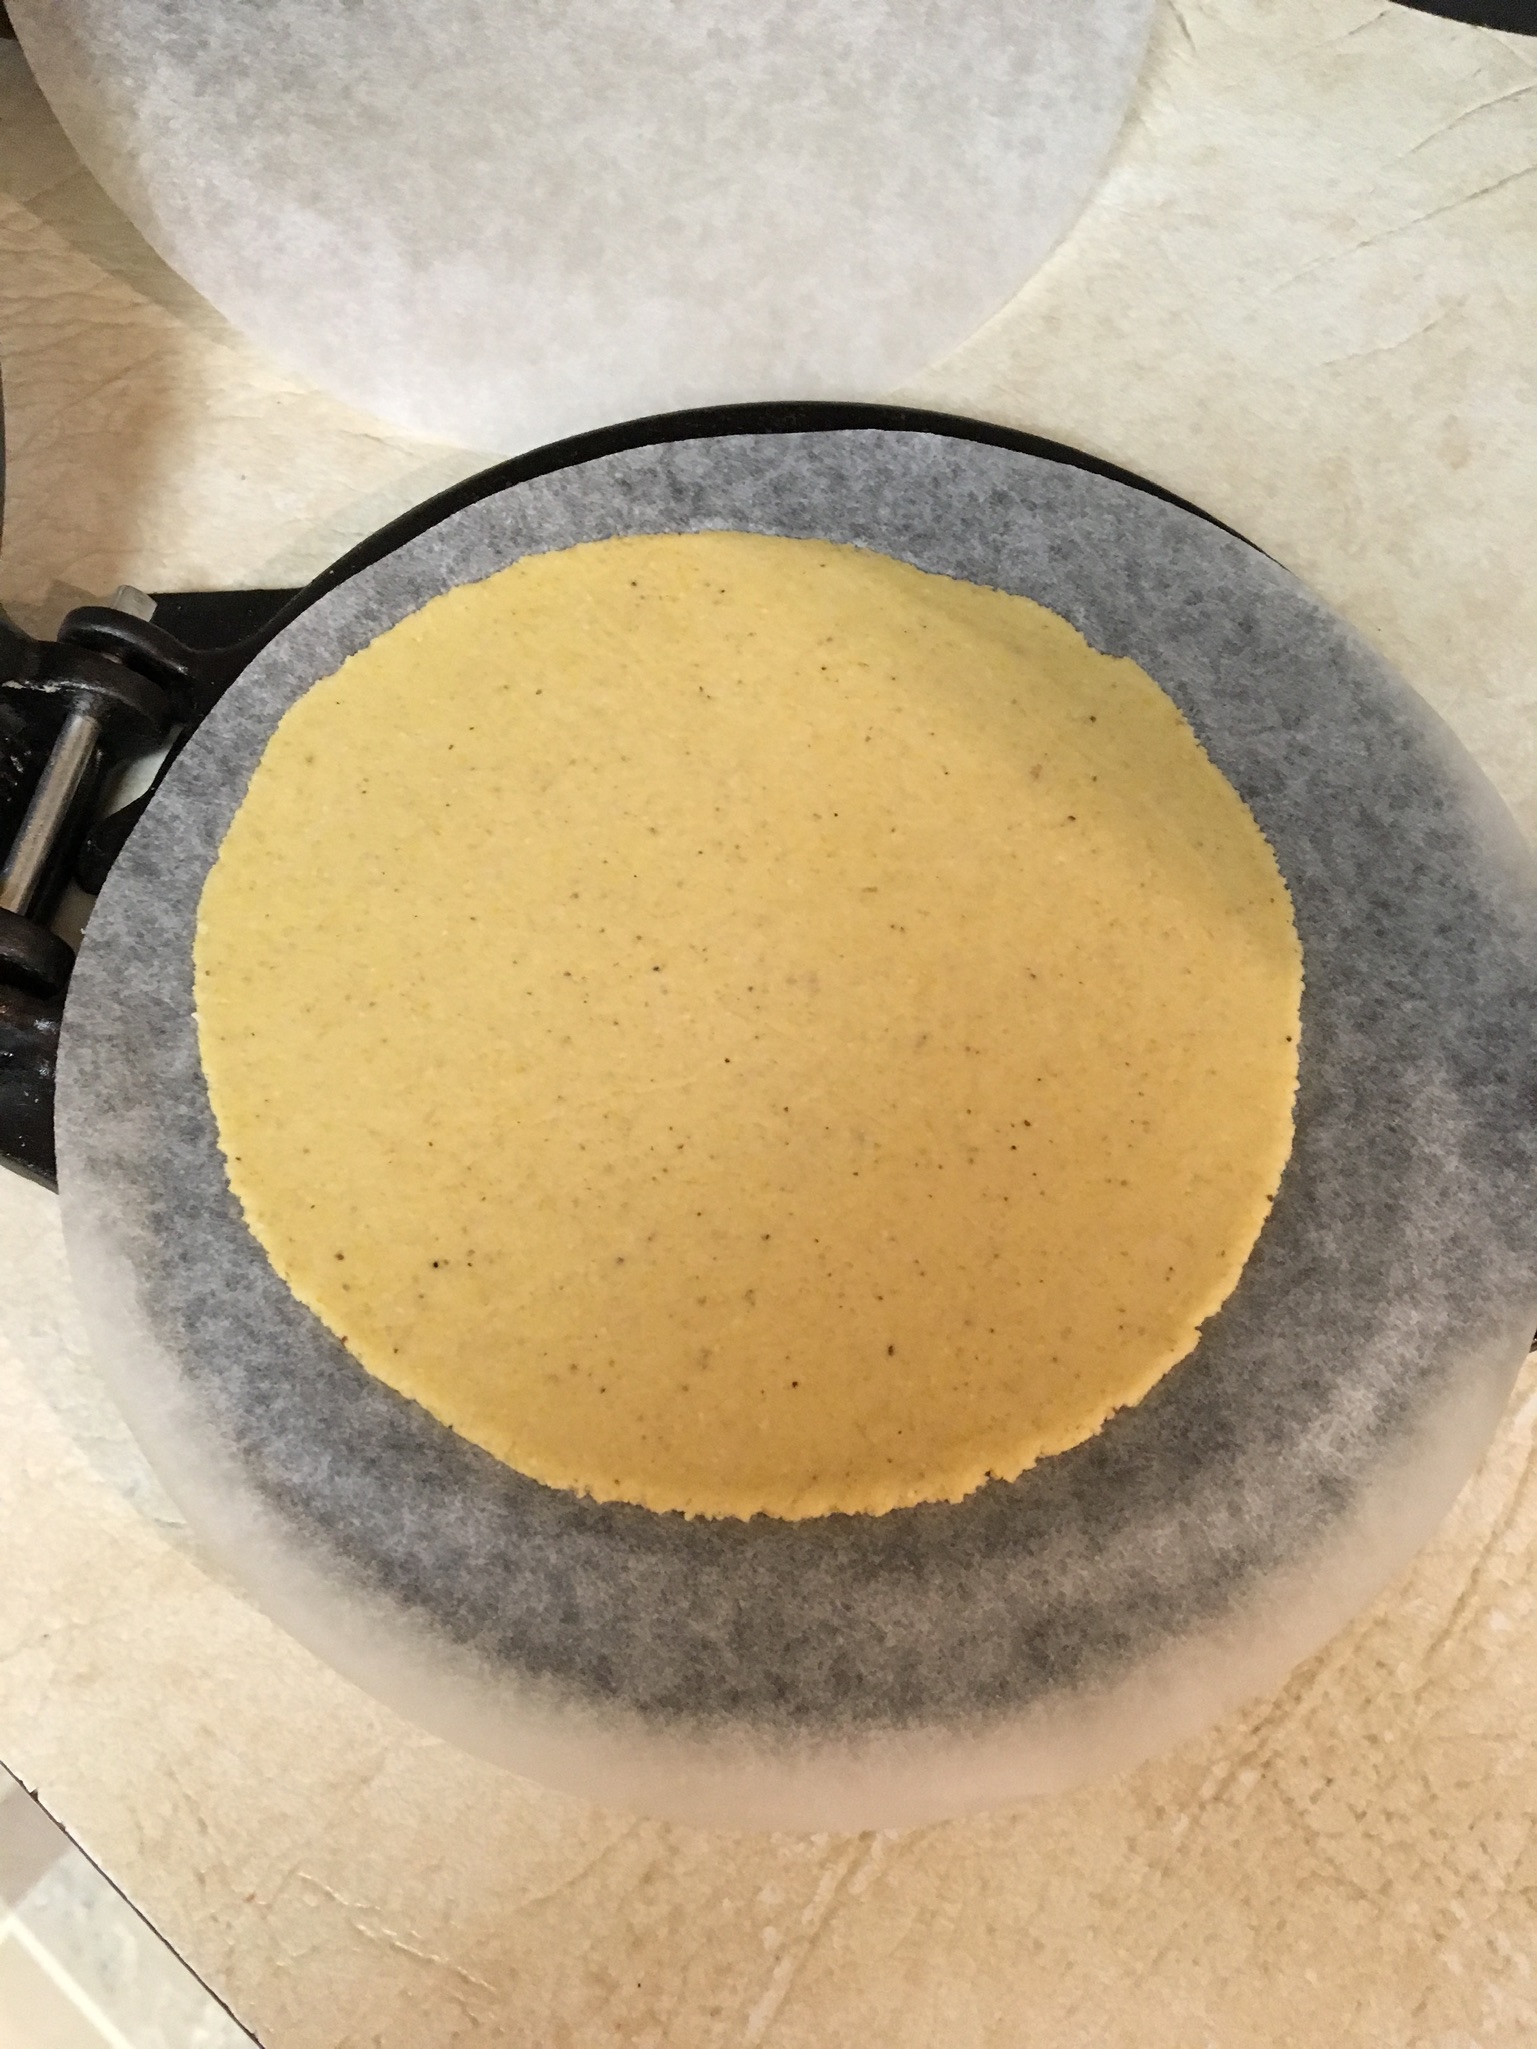
I have an old non-stick griddle and heated it thoroughly over medium-high heat. I sprayed it with non-stick spray and carefully lay the tortilla to fry. I left it for about thirty seconds and then turned it over. I do not want crispy tortillas. I want them soft and easy to manipulate.

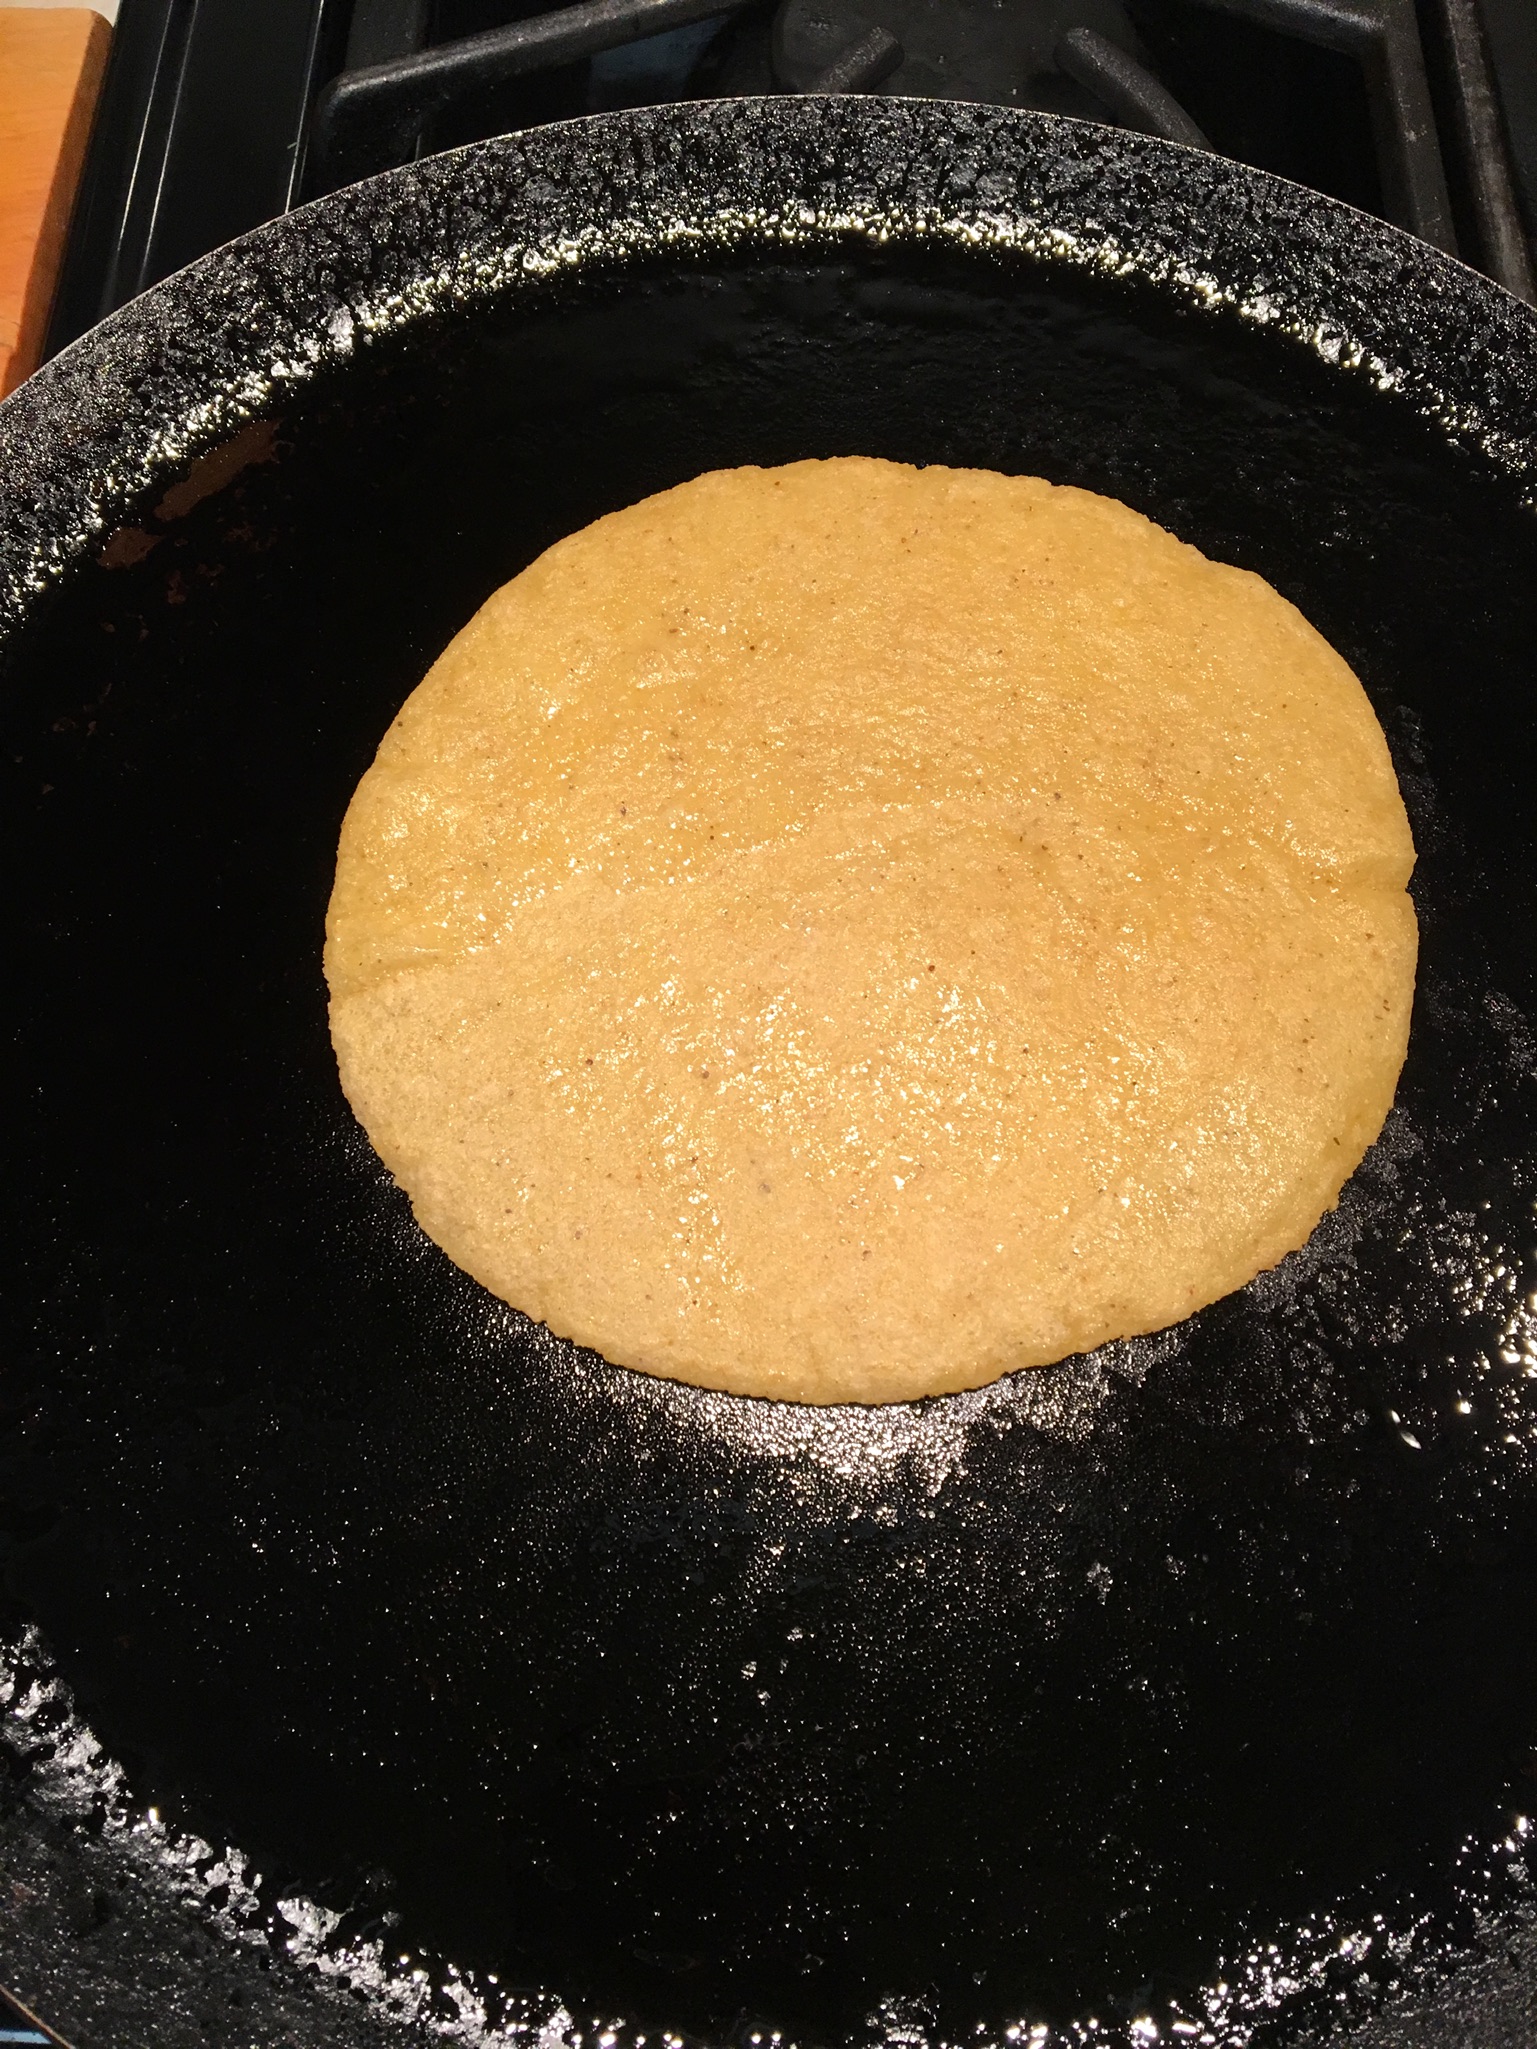
My process was to roll a piece into a ball, press it, and put it on the griddle. While that was cooking, I’d press the next one, etc. A dozen tortillas took me about 50 minutes. I’m usually trying to do too many things at once, so it probably could have gone much faster if this was all I had to do. As they were cooked, I put them into my tortilla warmer.
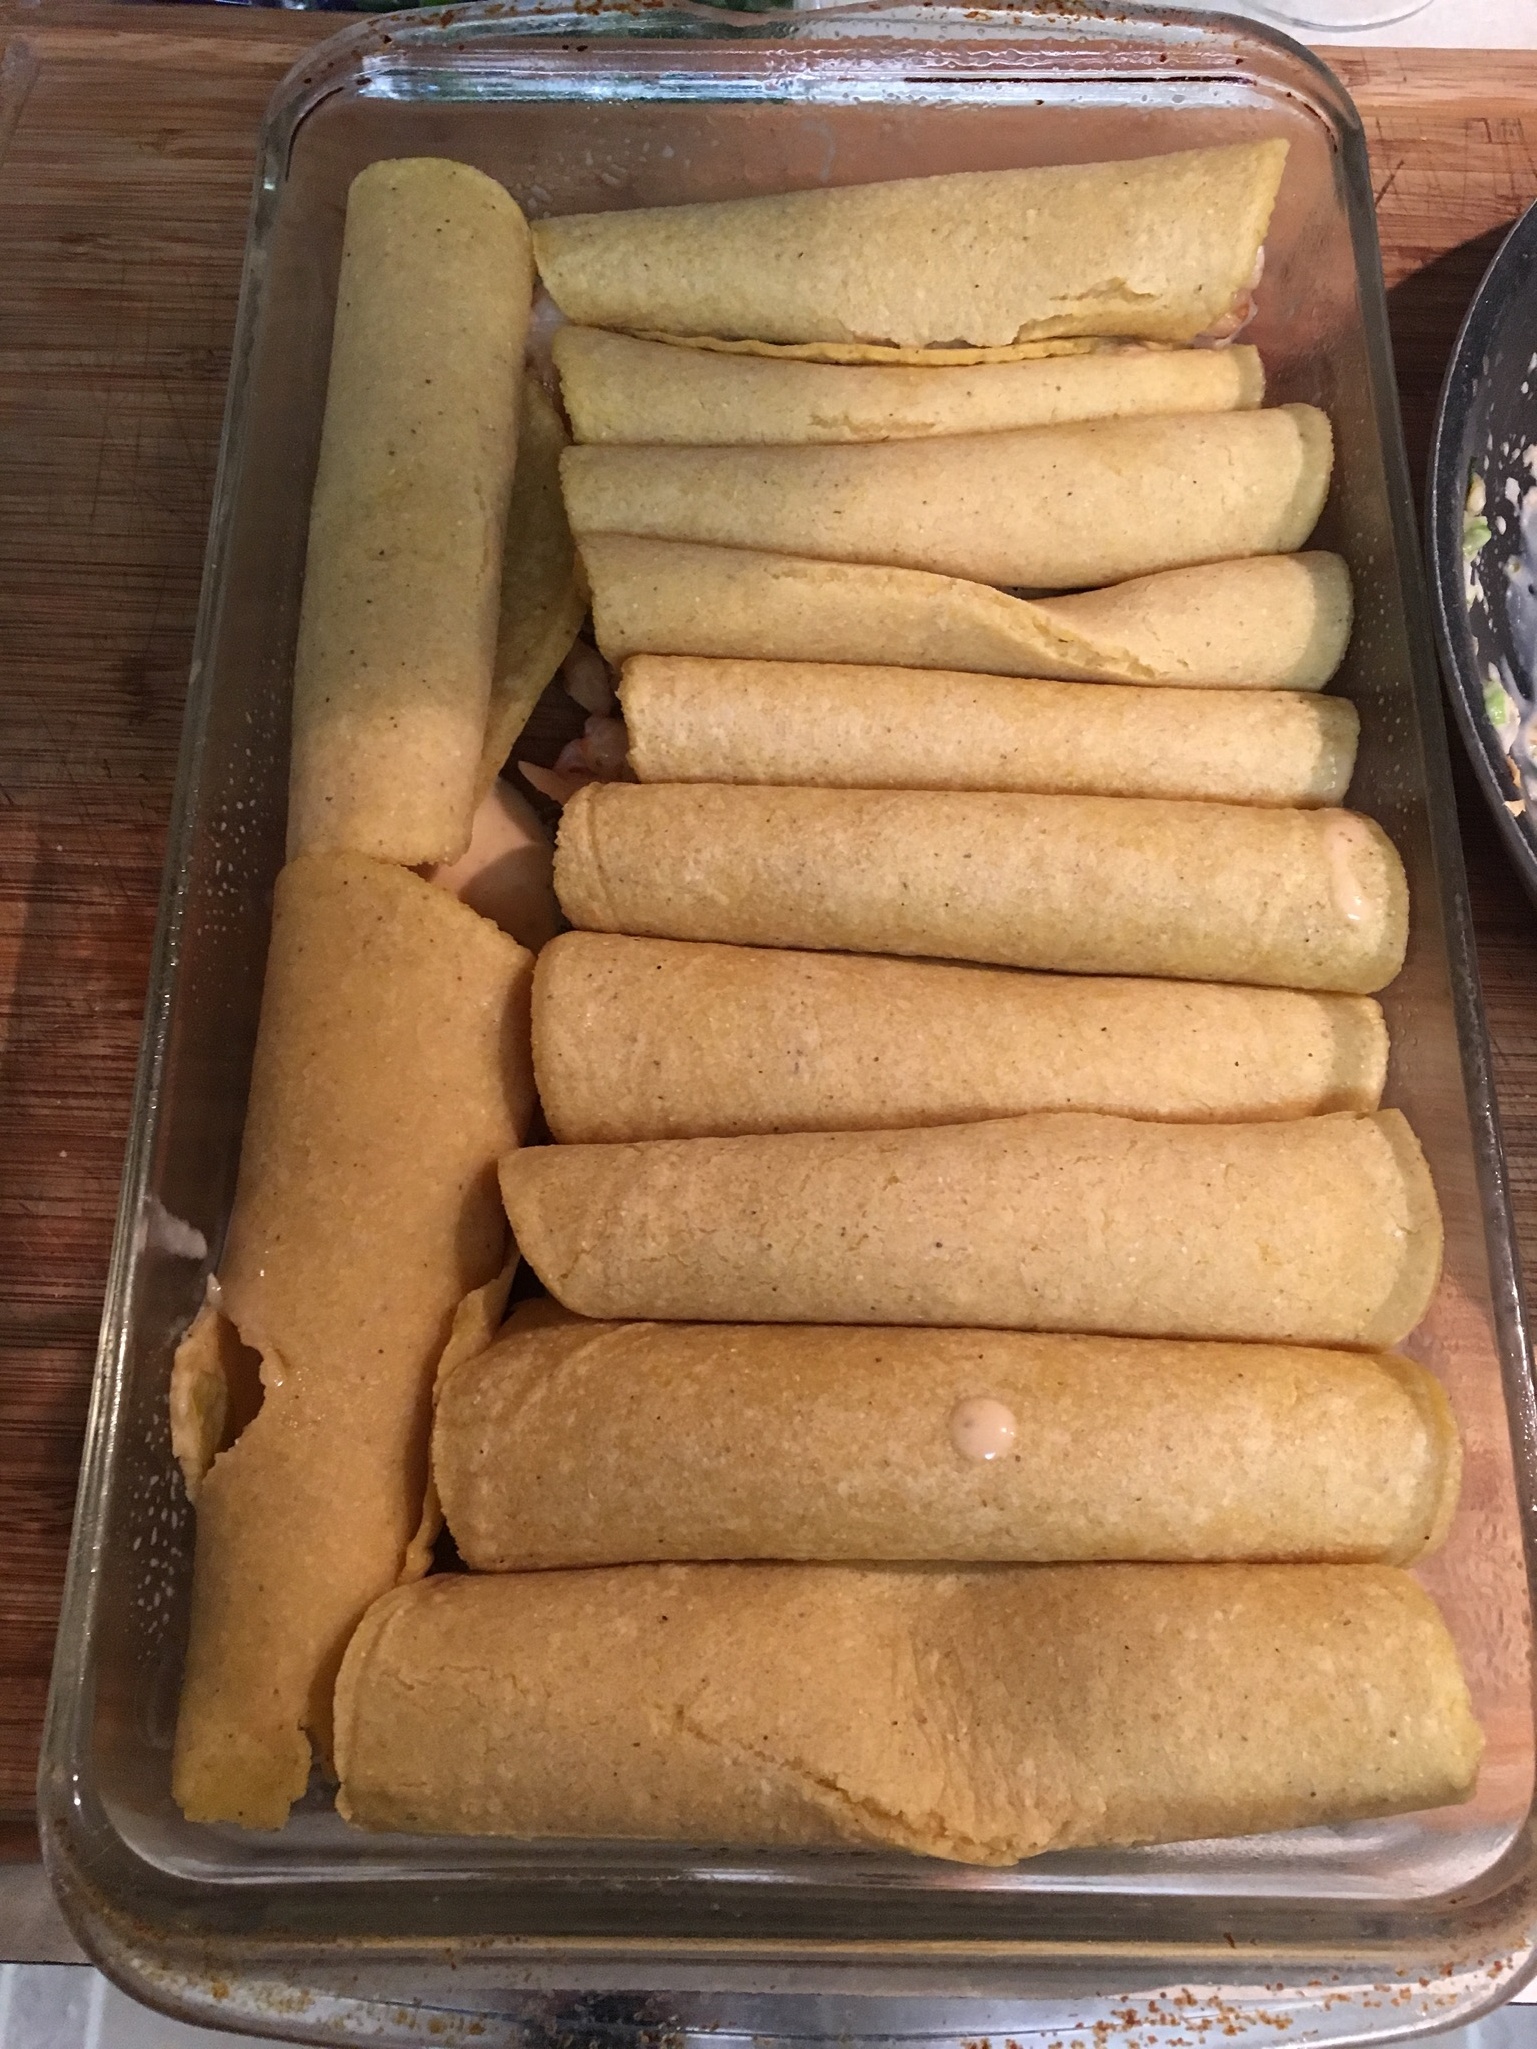
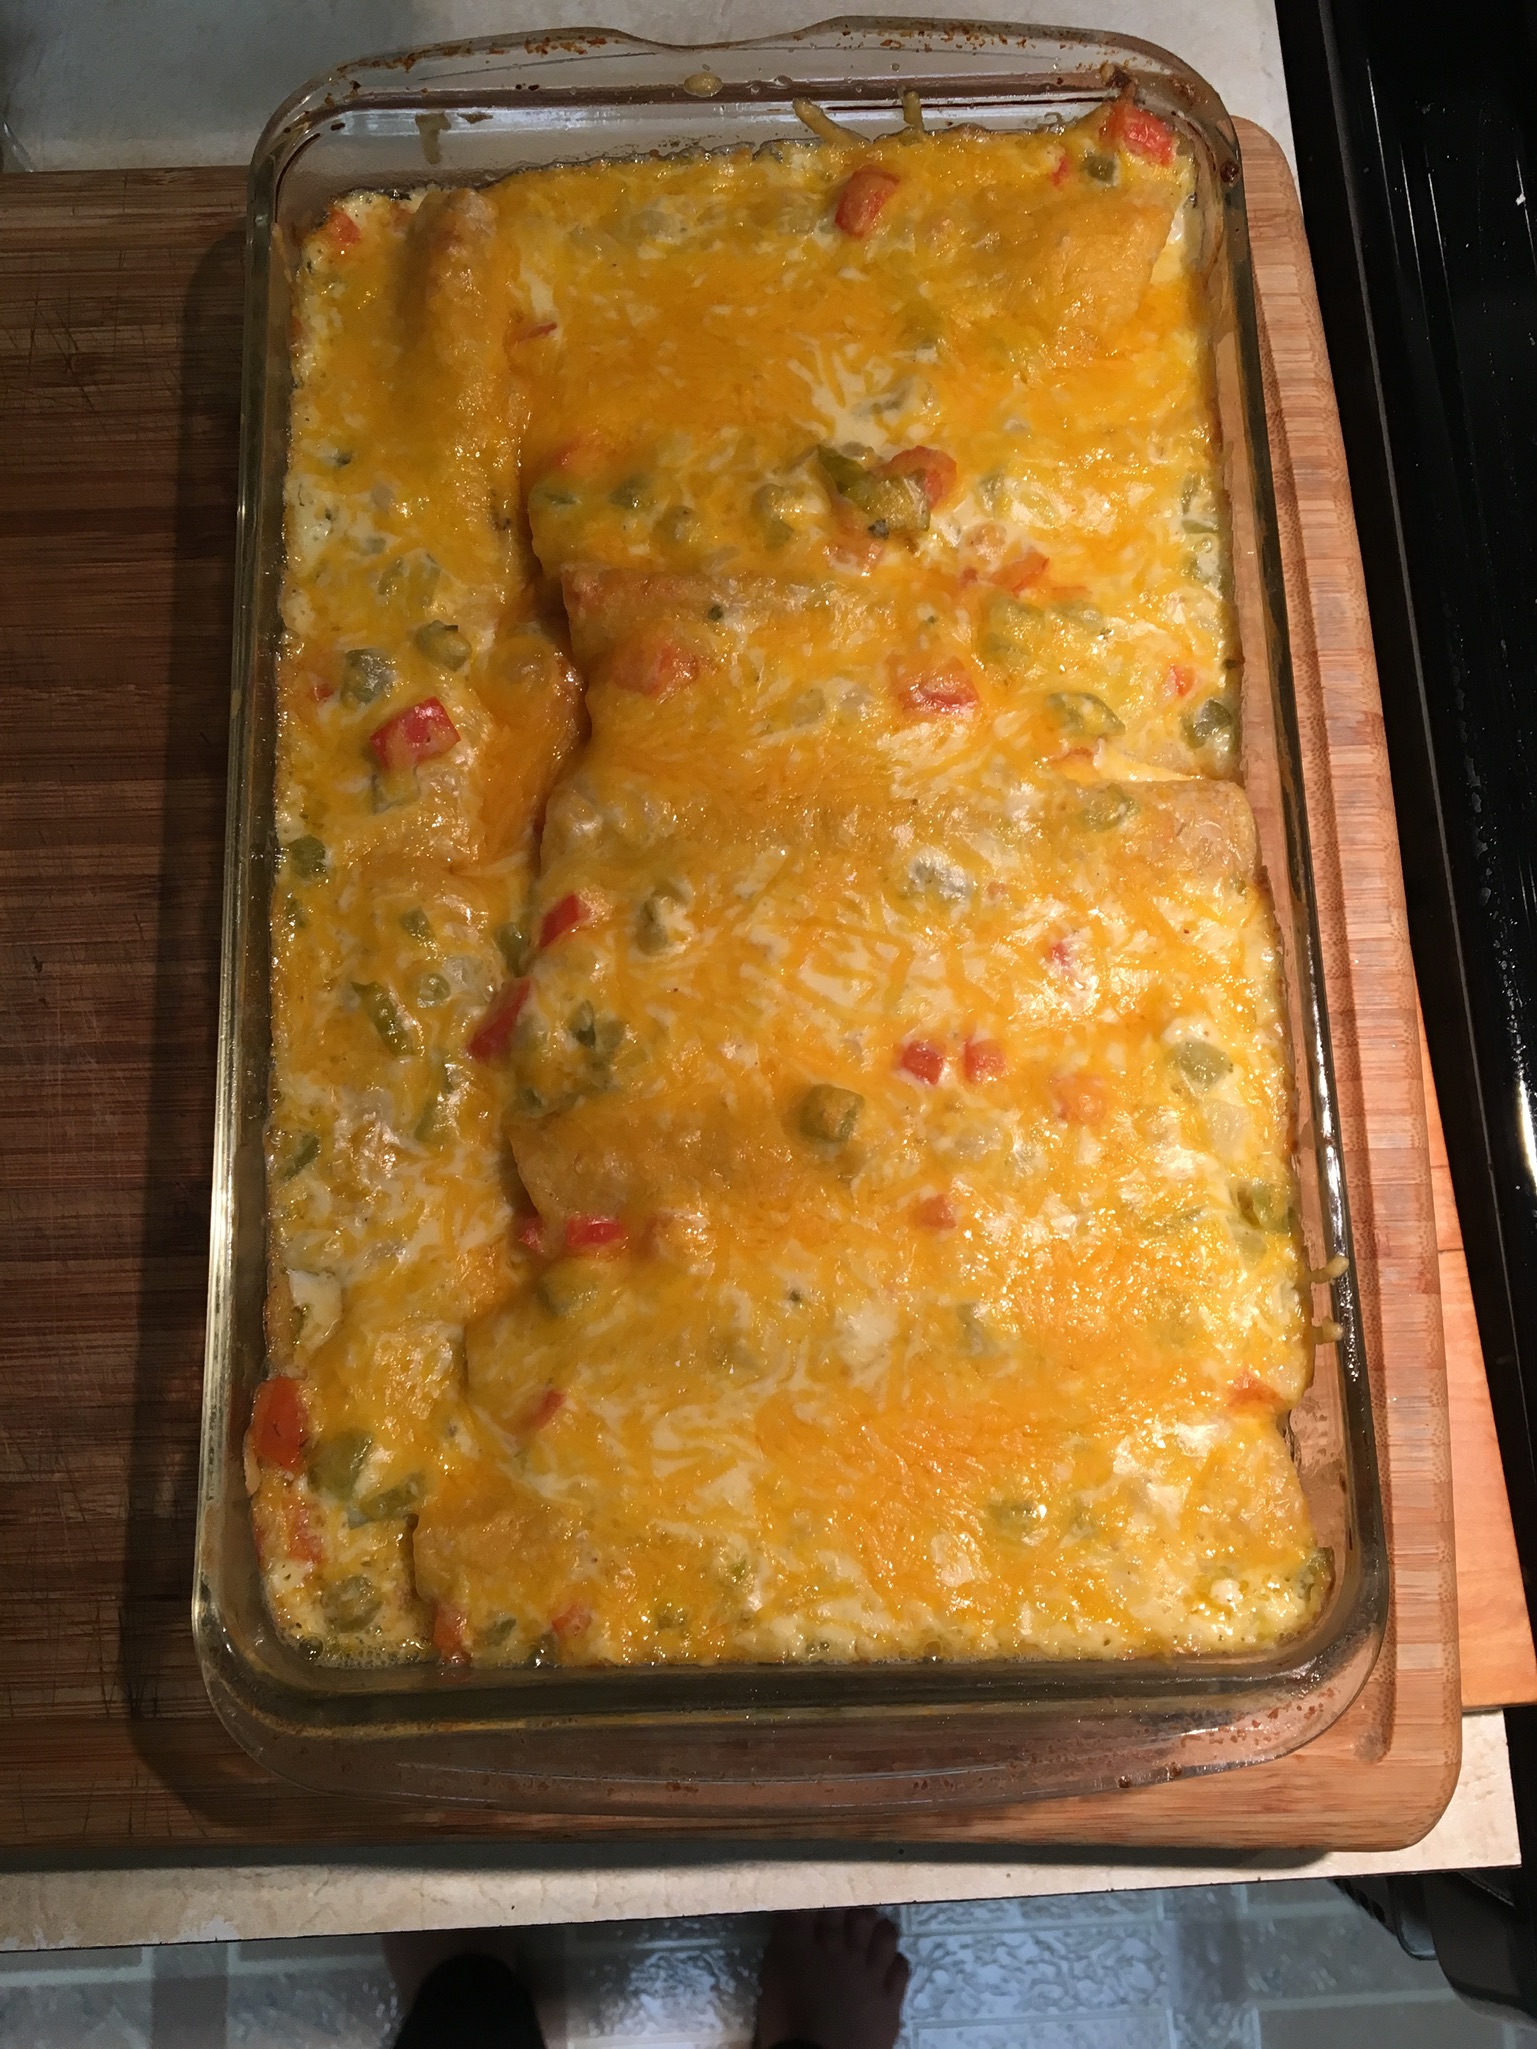
The first time I made these, I used them to make Shrimp Enchiladas. What a glorious flavor! Oh my, oh my! There is just no comparison to store-bought tortillas. My second tortilla-making venture I made tacos with leftover Cuban Pork Roast and grated cheese. The third time I did this, I used more of the leftover Cuban Pork Roast and made enchiladas.
Sopes
I had bought the Sopes from Cardenas one time, but I wouldn’t know where to purchase something like that here. That is to say I did know what my end-product was supposed to look like. This recipe comes from Kristin at Yellow Bliss Road. I looked all over the web and Pinterest and found a lot of Sopes recipes, but they all called for a lot of finagling. Most of them say to press the dough, lightly fry them, then turn up the edges and deep-fry them. Oh, please. No, thank you. It’s hard enough just cooking things once! Kristin’s recipe does not require a press and she only cooks them once. While I was doing this I thought I had made a huge mistake and I would never, ever make them again. I’d have a perfect disc with a lip and then it would stick to my hand and tear. Oy! Keep your hands as wet as possible. HOWEVER, once they were finished, I realized they were darn near perfect and incredibly delicious. I WILL make these again.
- Ingredients
- 1-1/2 cups Masa Harina
- 1 cup warm water
- 1/2 tsp. salt
- Cooking oil (My skillet had about 3/4″ in it)
- Toppings like refried beans, shredded or ground meat, cheese, salsa, lettuce, avocado, tomato, onion, sour cream (whatever strikes your fancy)
Makes about 9 Sopes, approximately 3″ diameter. Stir all ingredients, except cooking oil, together to form dough. Heat the cooking oil over medium high heat until a drop of water sizzles when it touches. Divide dough into golf-ball sized portions and roll into ball shapes. Keep remaining dough balls covered with a damp kitchen towel while working with the others. Using your hands, press each dough ball into a disc of about 1/4″ to 1/2″ thick. Pinch the edges of the disc to form a lip.
If you keep your hands wet, you’ll have greater success forming the discs and the lips. Place the disc, lip side up, in the hot oil and let fry for a little while. Try to get a brown spot on the bottom. Carefully flip the disc over onto the lip and let fry a little longer. I thought this would be a huge mess and fall apart, but it hardens fairly quickly in the oil and becomes easy to get a spatula underneath. You could probably even use tongs. Your goal is to have a crispy edge, but a soft center. Remove from oil and place on paper towels to drain. I did three Sopes at a time in my frying pan and it didn’t take long at all.
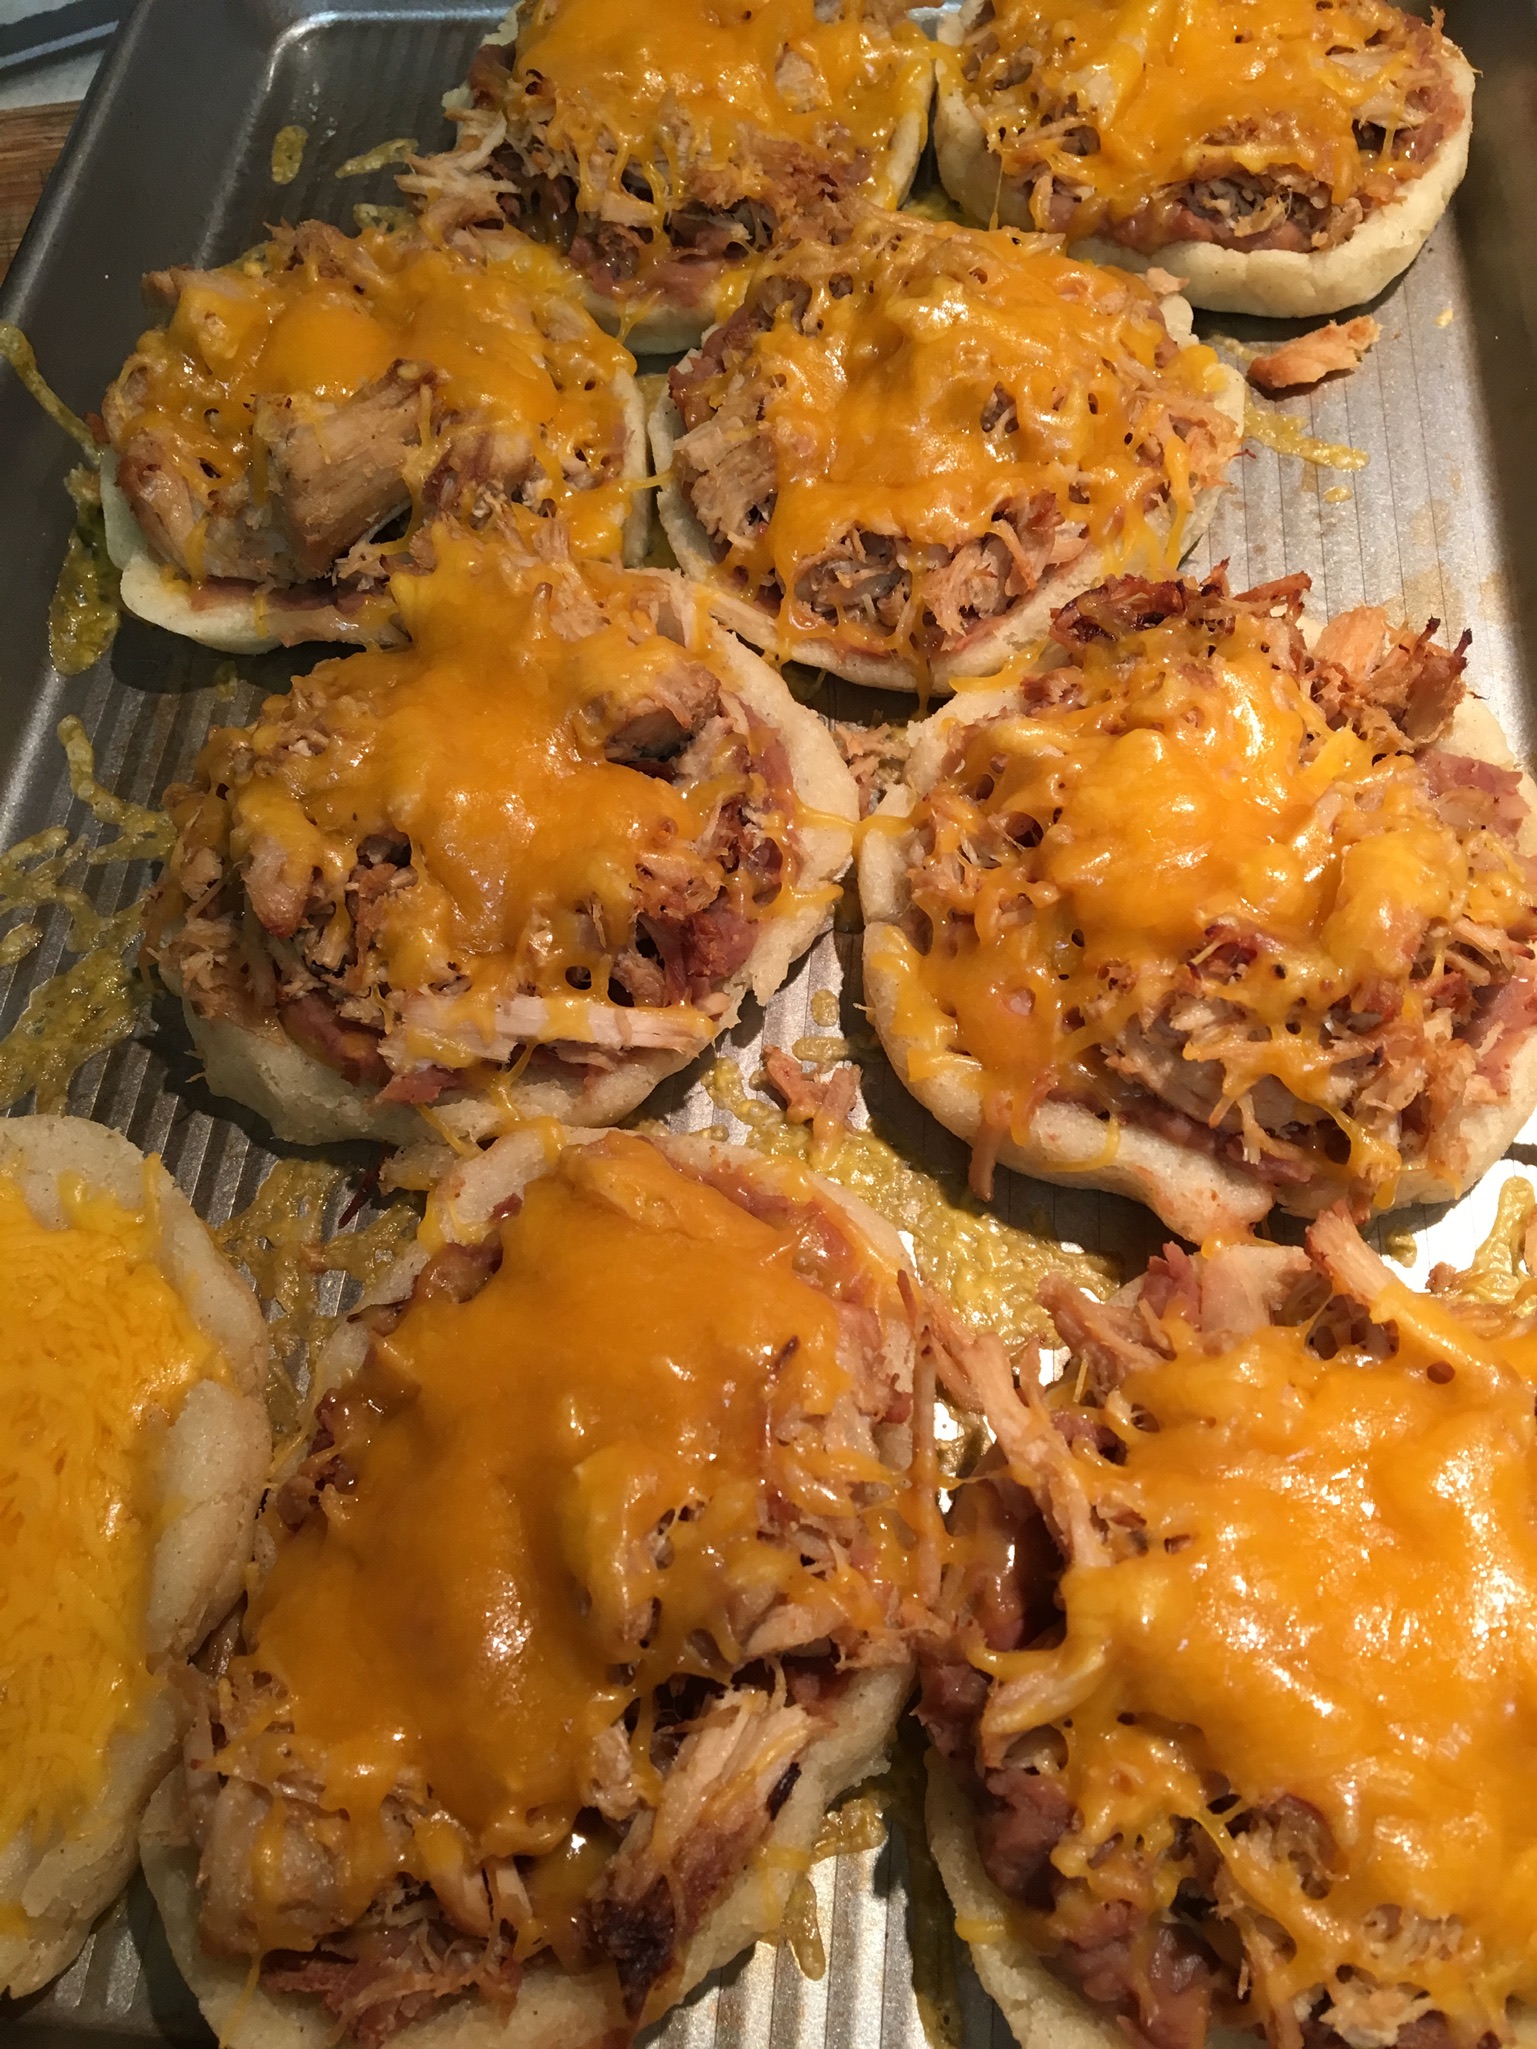
These are now ready to serve, and if you’re using cold toppings like lettuce, sour cream, or tomato, you’re done. I spread a tablespoon of warm refried beans over the bottom of each Sope and then spread warm leftover Cuban Pork Roast over that and sprinkled with grated Sharp Cheddar Cheese on top. Then I popped them into the oven at 400 degrees for about 5-10 minutes until the cheese melted. These were heavenly delicious. I topped them with sliced fresh jalapenos and salsa. They were easy to eat by hand. I see this being a hearty game-day snack.

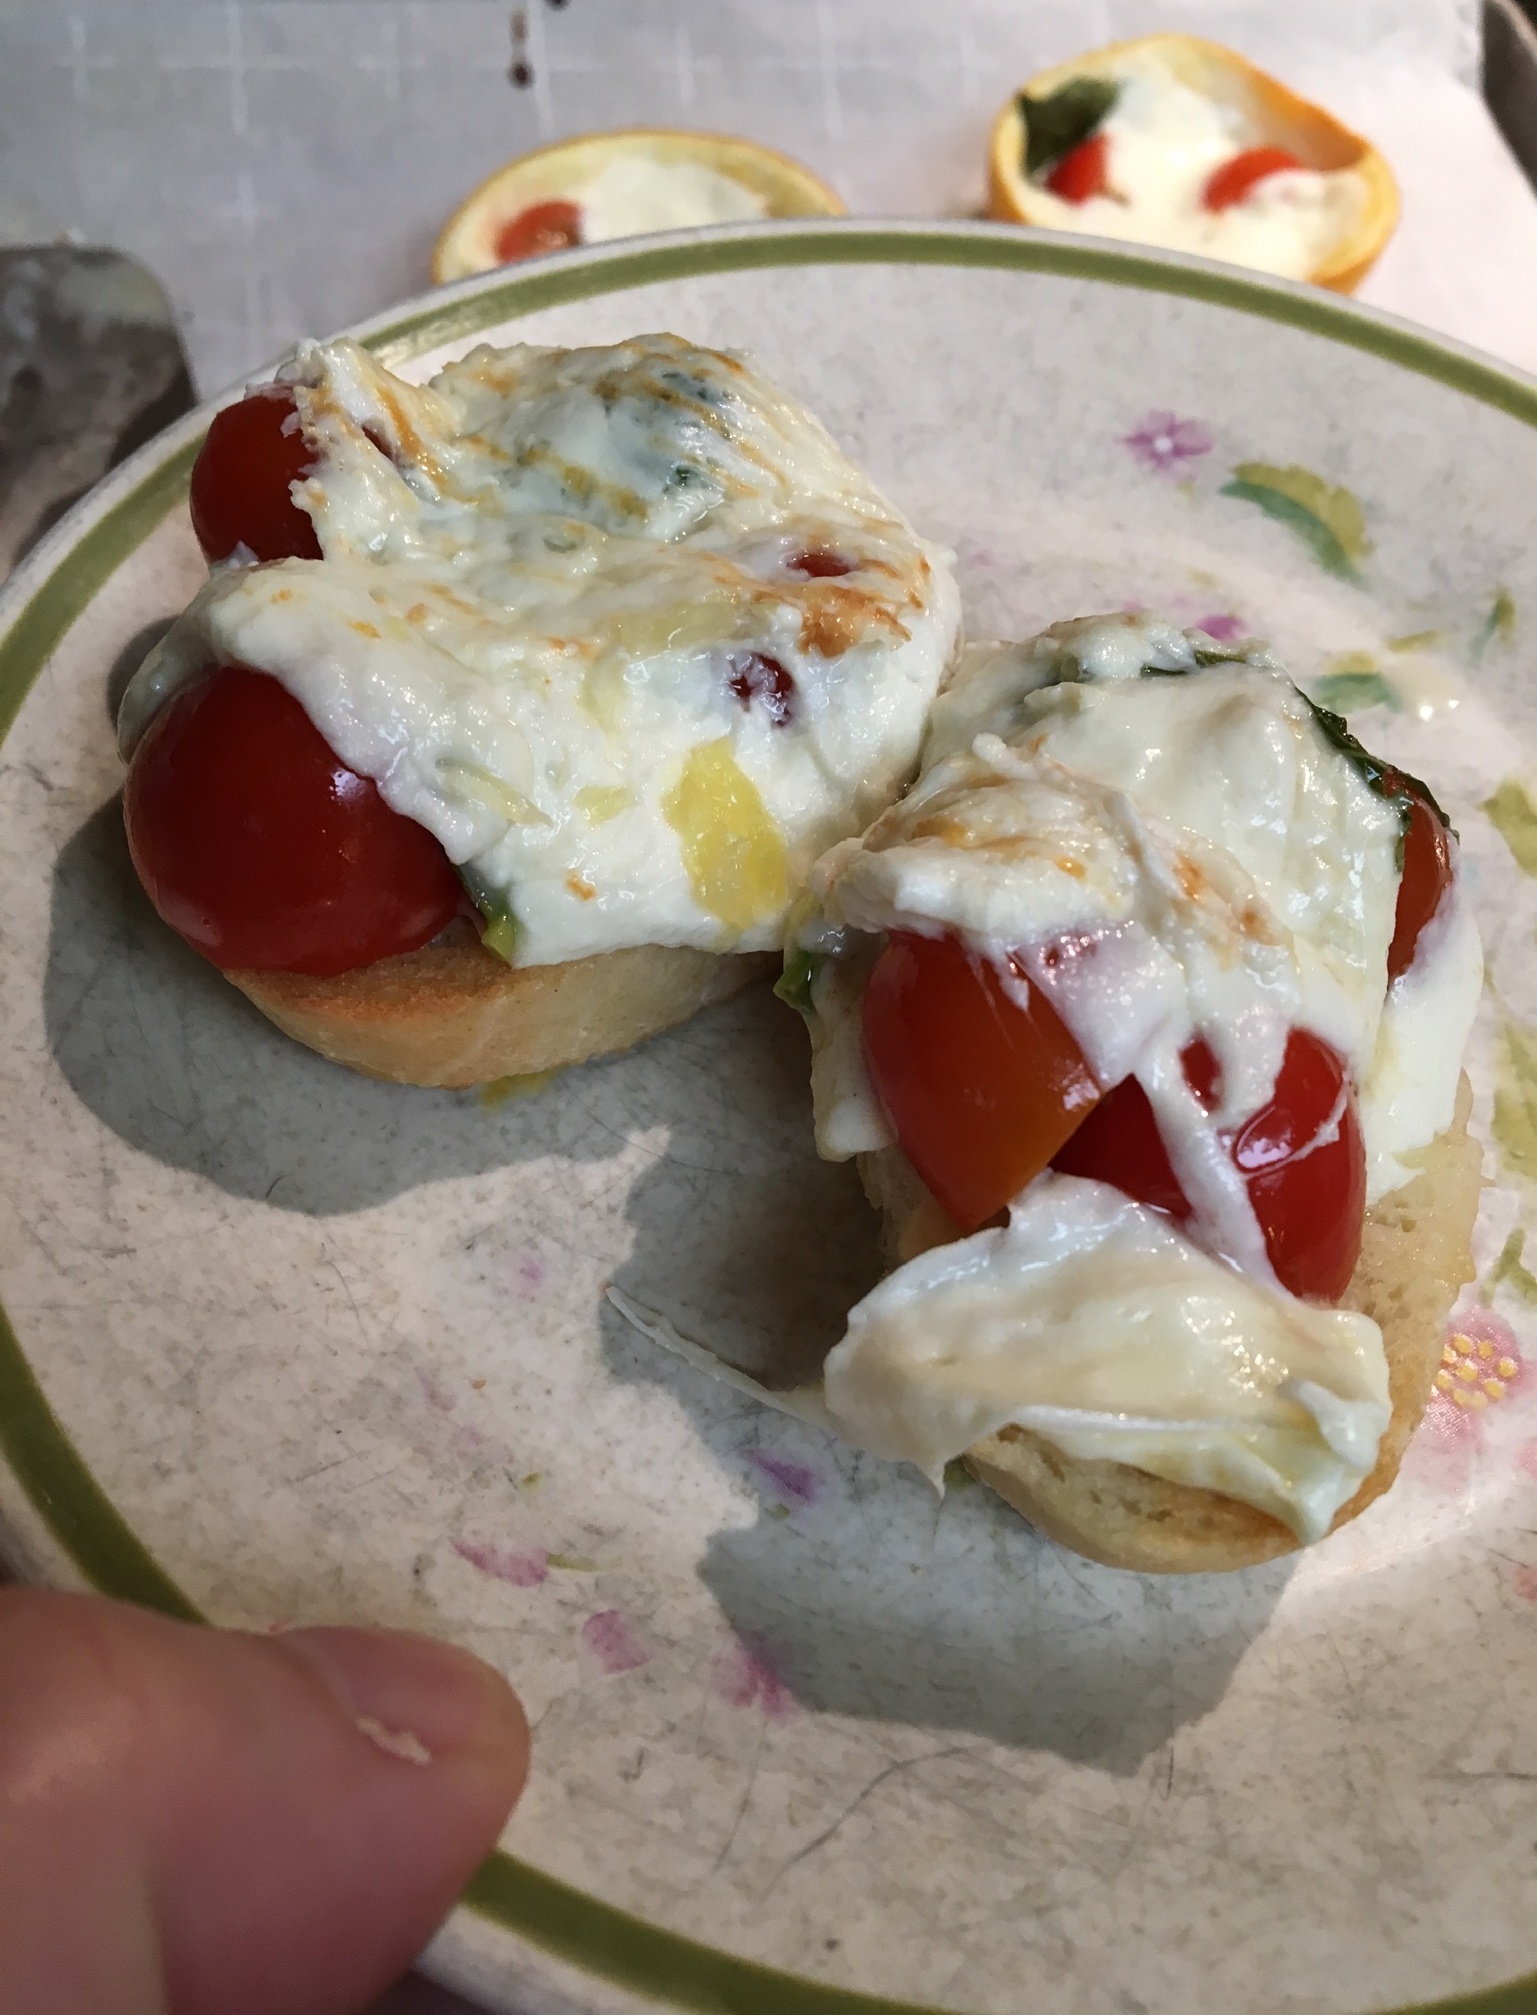
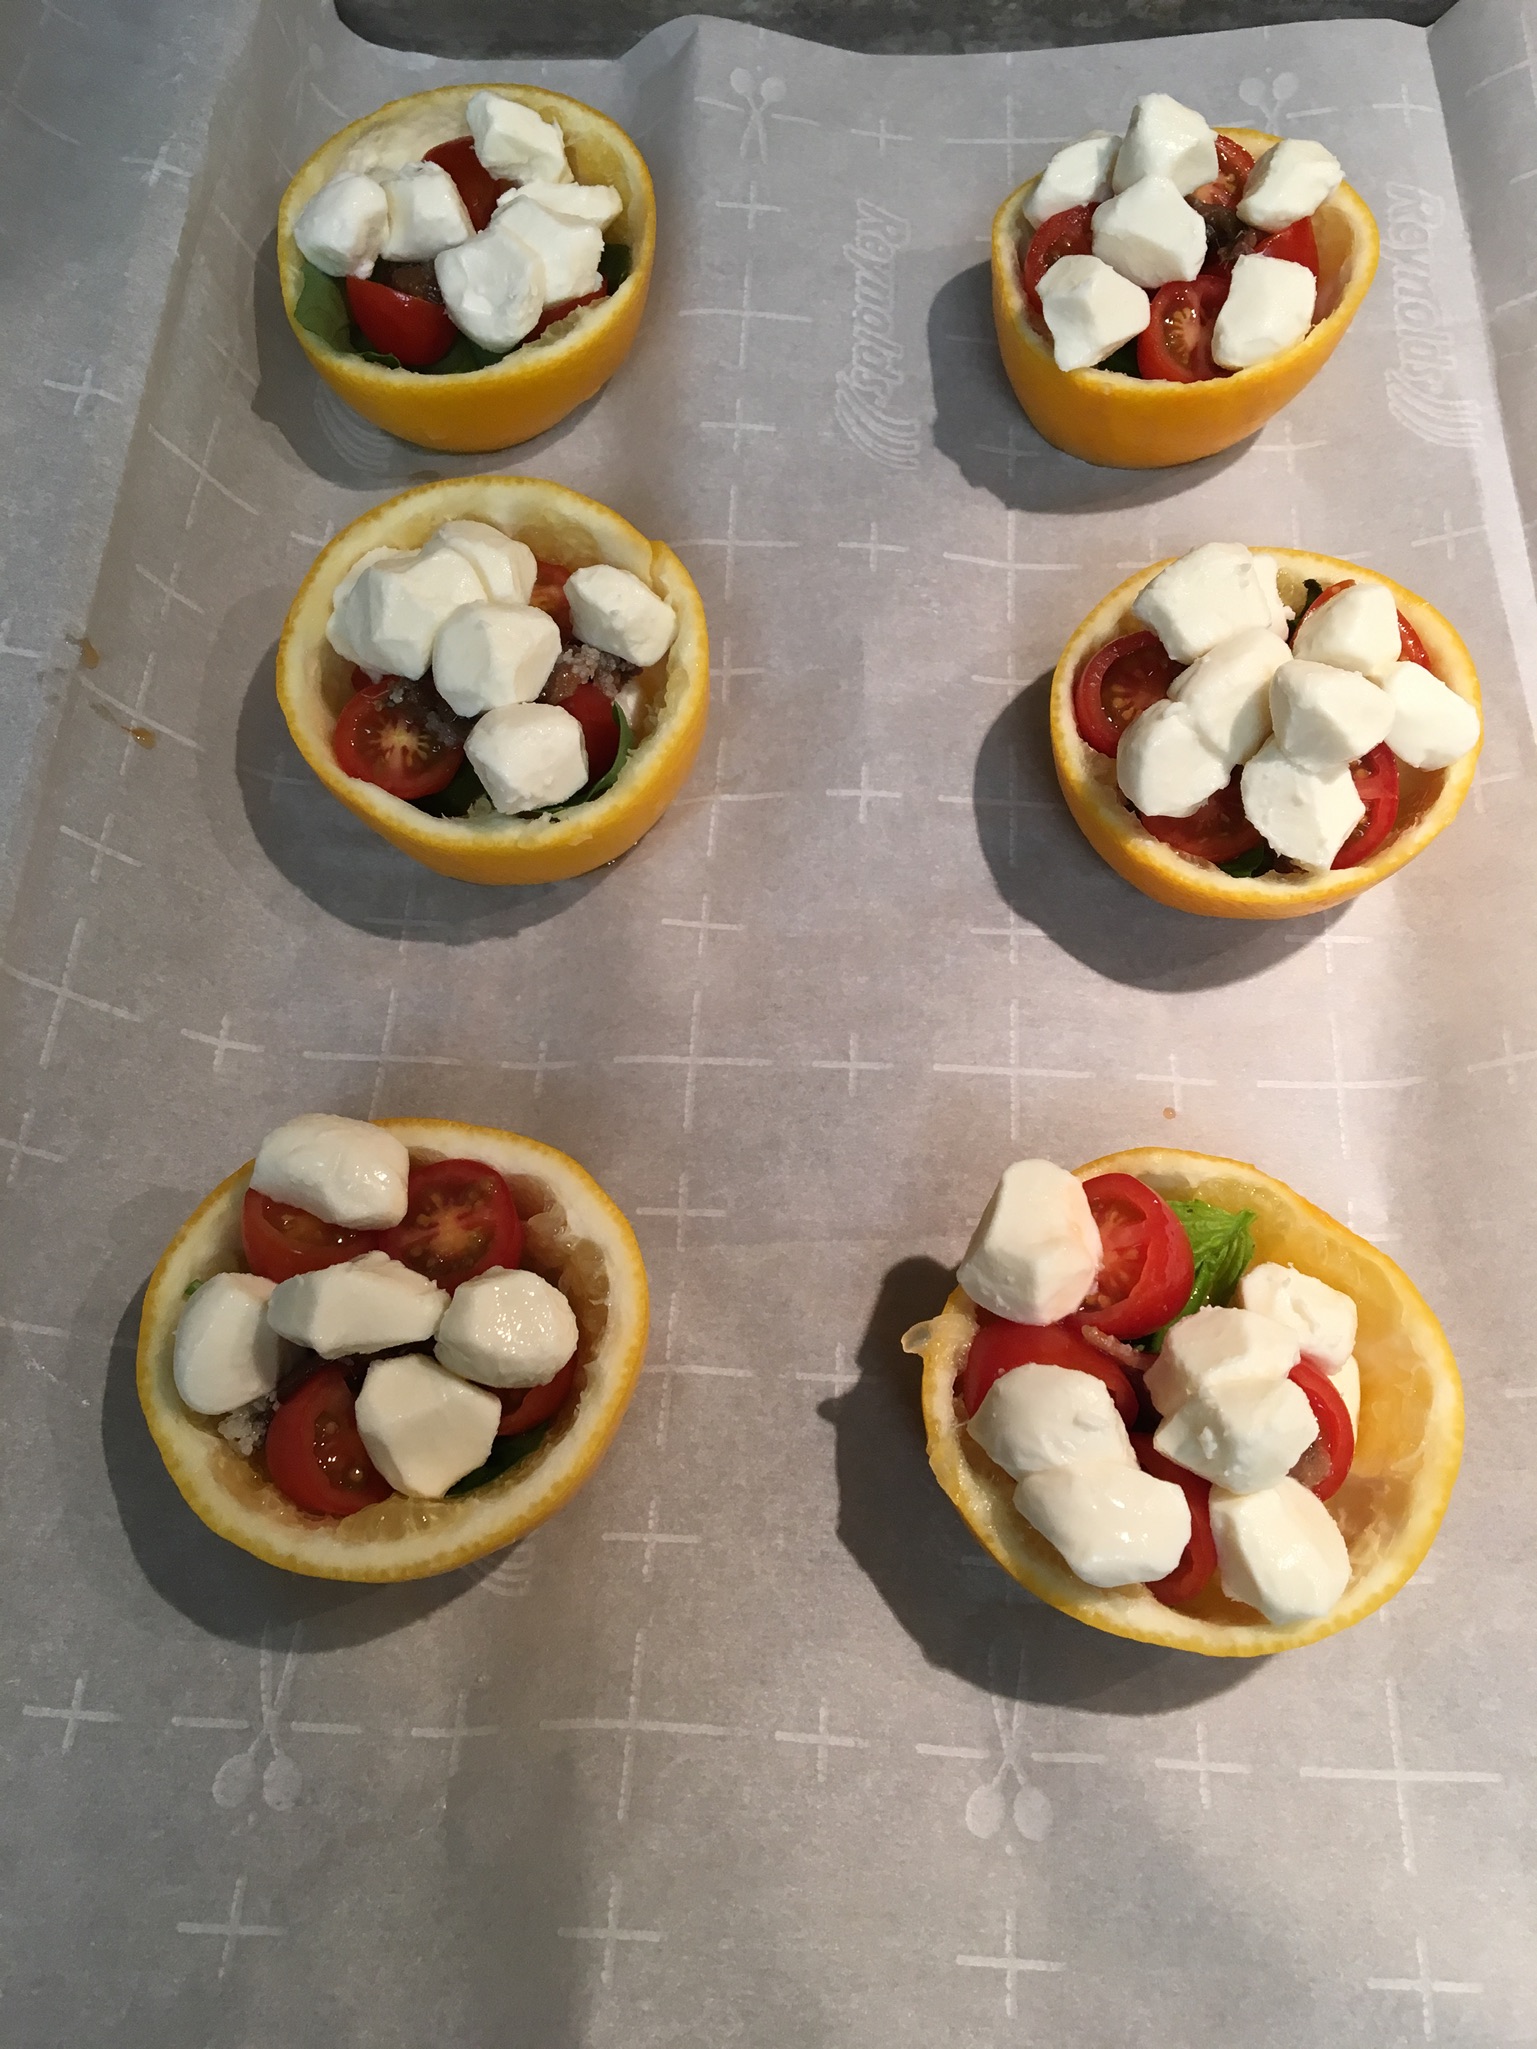
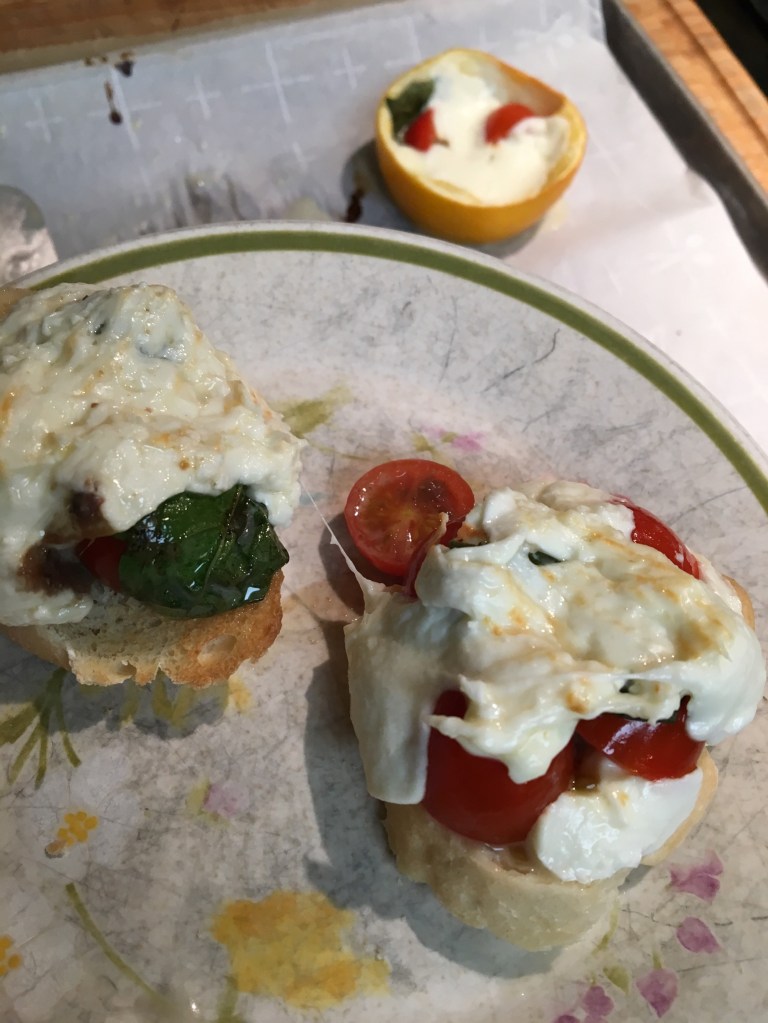
I’ve just returned from California with a bag of Meyer lemons from a tree in my dad’s back yard. This recipe does not require Meyer lemons, but it’s what I had. Also called Limoni de Amalfi Cotti al Forno, the recipe comes from Jamie Oliver (Jamie’s Great Italian Escapes – 2004 – Food Network – Amalfi Baked Lemons). I love this dish because it combines so many ingredients that I love. Anchovies, yes! Basil, yes! Tomato, yes! Lemon, yes! It’s a bit of a messy dish, but oh, so yummy!
- Ingredients
- 3 large lemons
- Approximately 6 oz. Mozzarella (I used Mozzarella Pearls)
- 6 fresh basil leaves
- 3 anchovy filets
- 3 cherry tomatoes (I used 12 grape tomatoes)
- Salt and pepper
- Toasted bread (I used baguette slices)
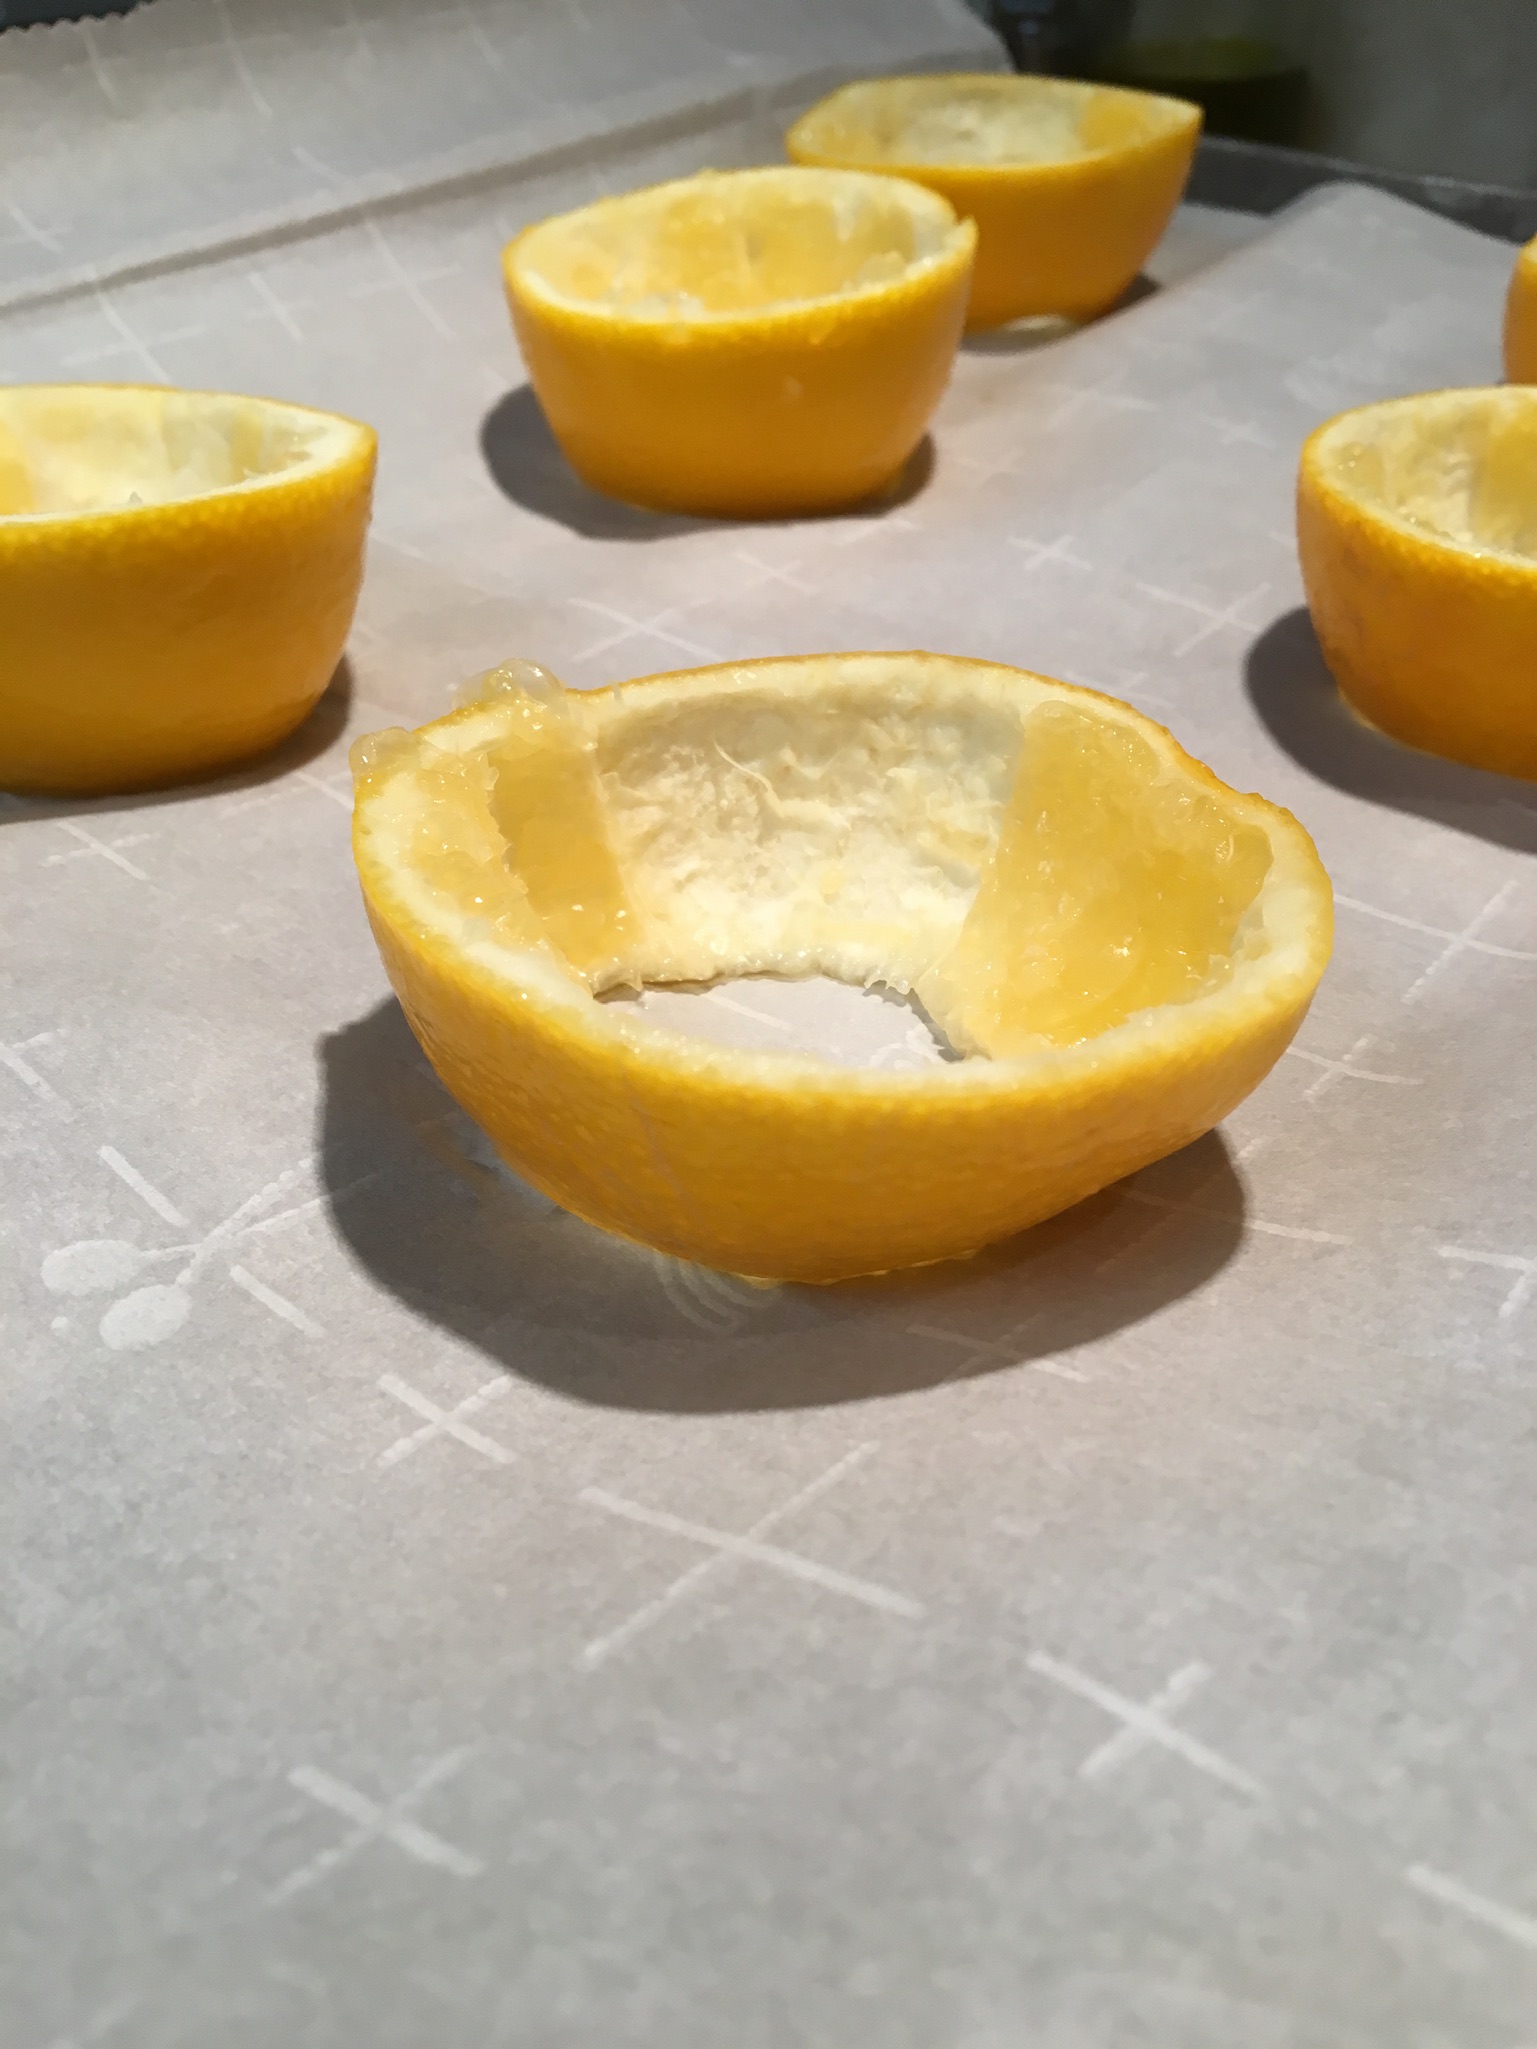
Preheat the oven to 400 degrees F. Cut the tops and bottoms off the lemons, then slice the lemons in half cross-wise. Carefully remove the lemon pulp with a knife. Set the lemon rinds on a parchment paper-lined baking sheet.
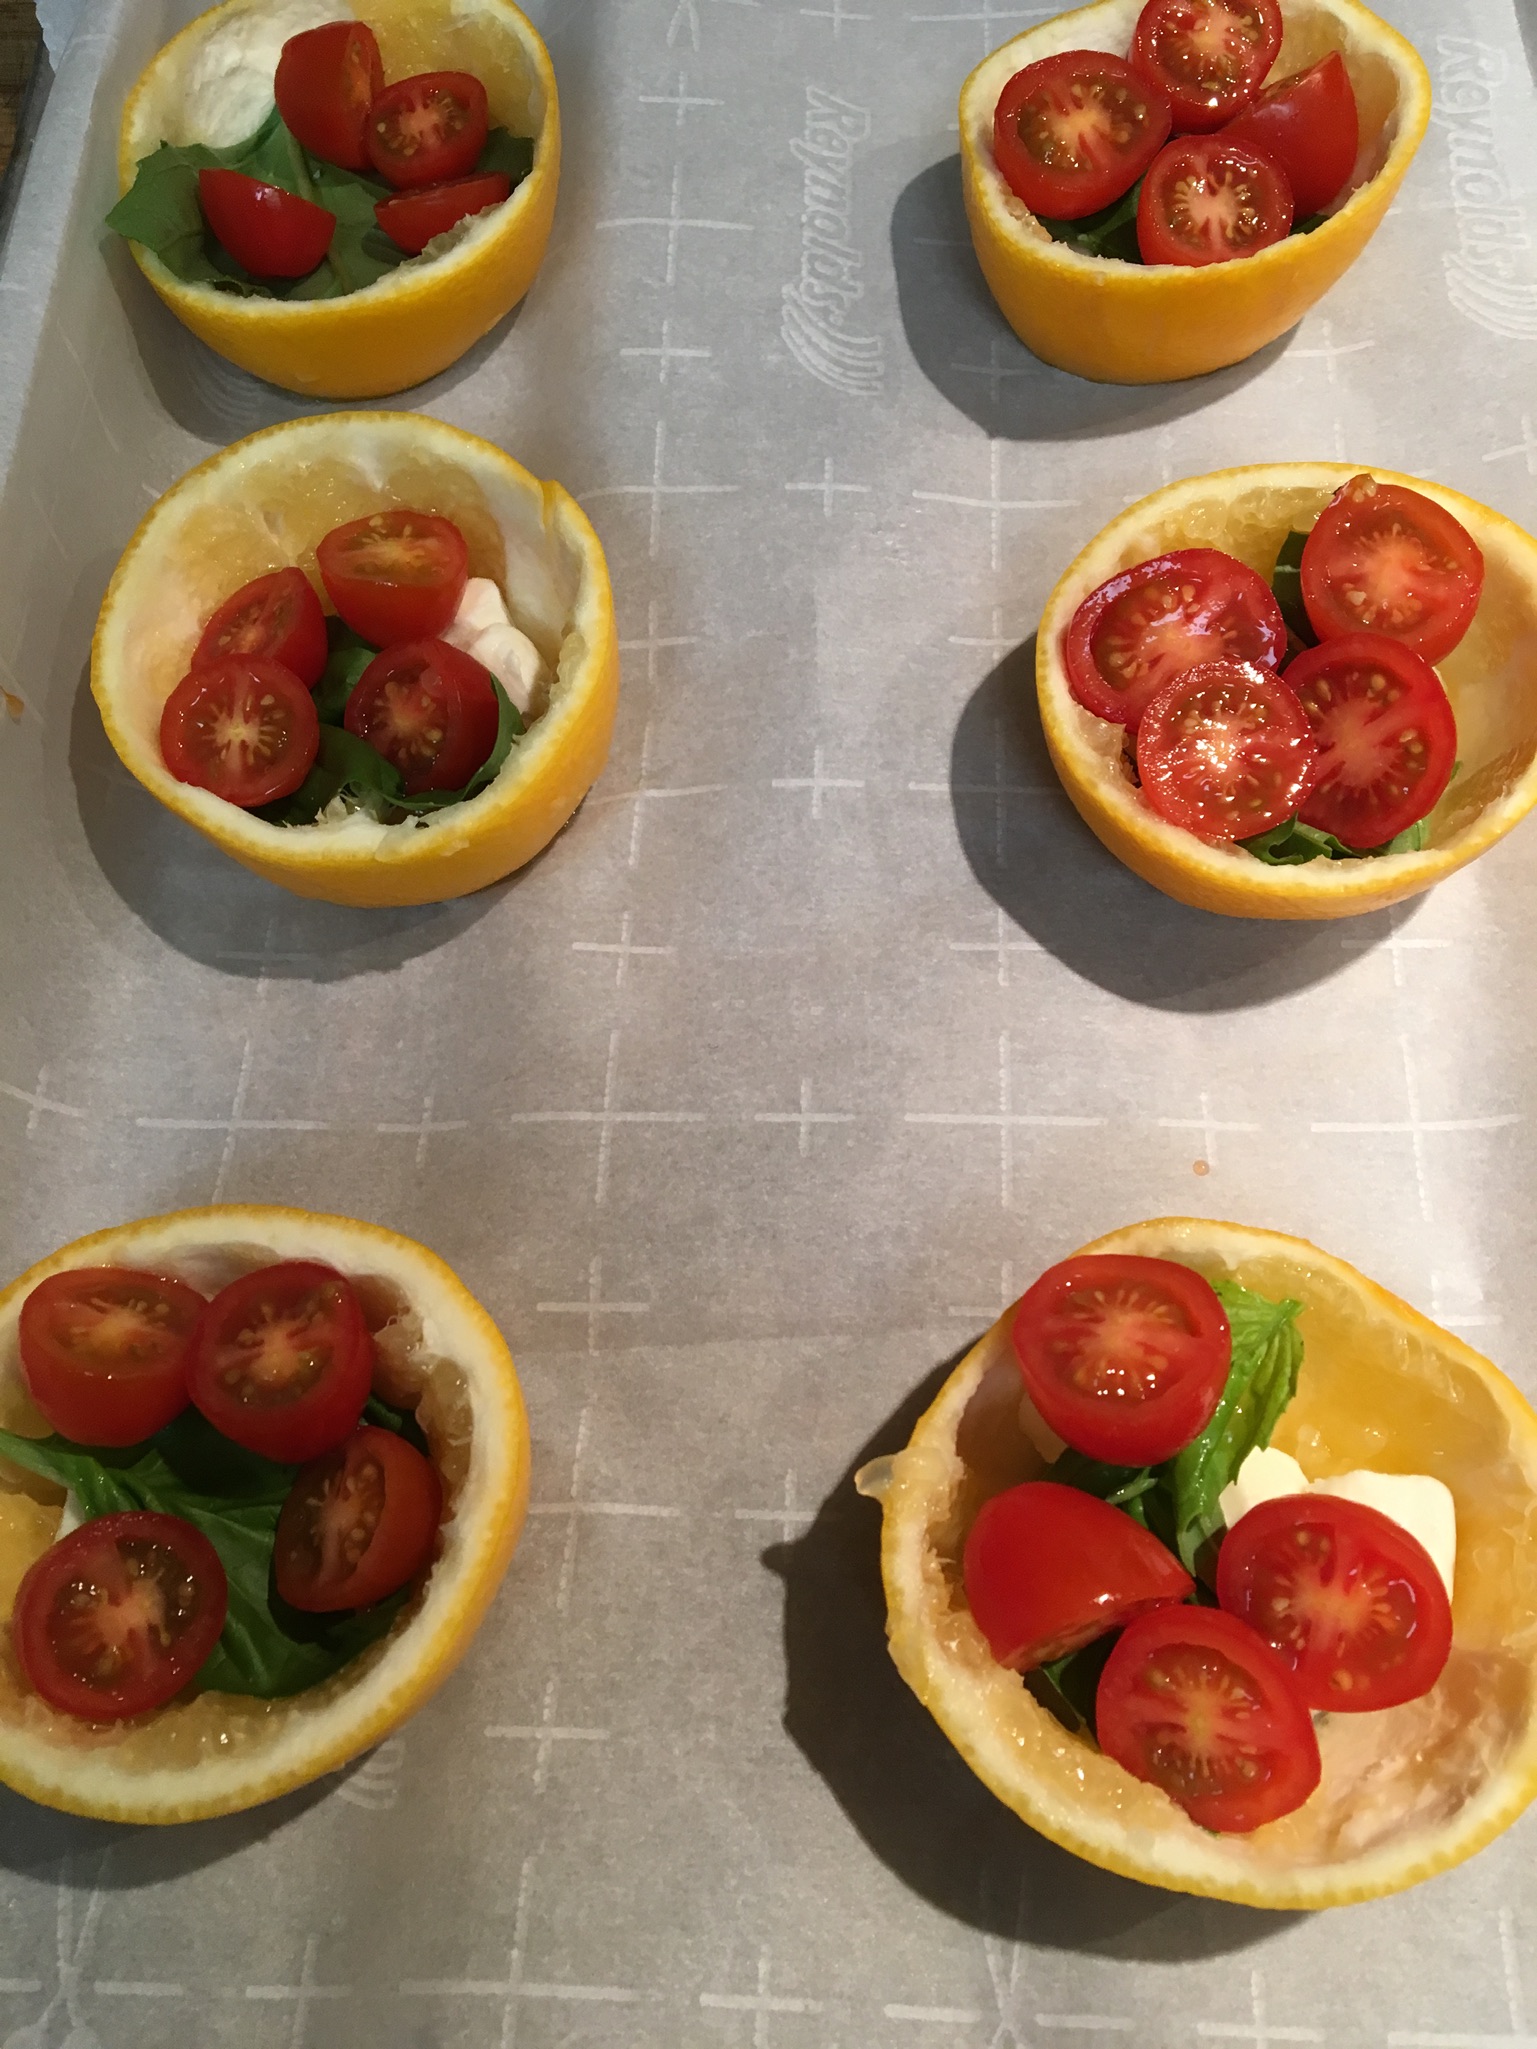
Place a slice of mozzarella into the bottom of each lemon cup (I was using Mozzarella Pearls so I put four of them into the bottom of each lemon). Next add a basil leaf, then half of an anchovy filet, and then half of a cherry tomato (or two grape tomatoes sliced in half). Sprinkle with salt and pepper. Top with another slice of Mozzarella. Bake at 400 degrees for 10-15 minutes. Remove from heat and scoop the filling out of the lemon onto a piece of toasted bread. Eat it while it’s still warm and melty!


Once again I’m reaching into Preserving by Oded Schwartz (Dorling Kindersley, 1996). What an amazing and wonderful book. Mostly I wanted to remember how I did this, where I got the recipe. I processed these in pint jars. They look good.

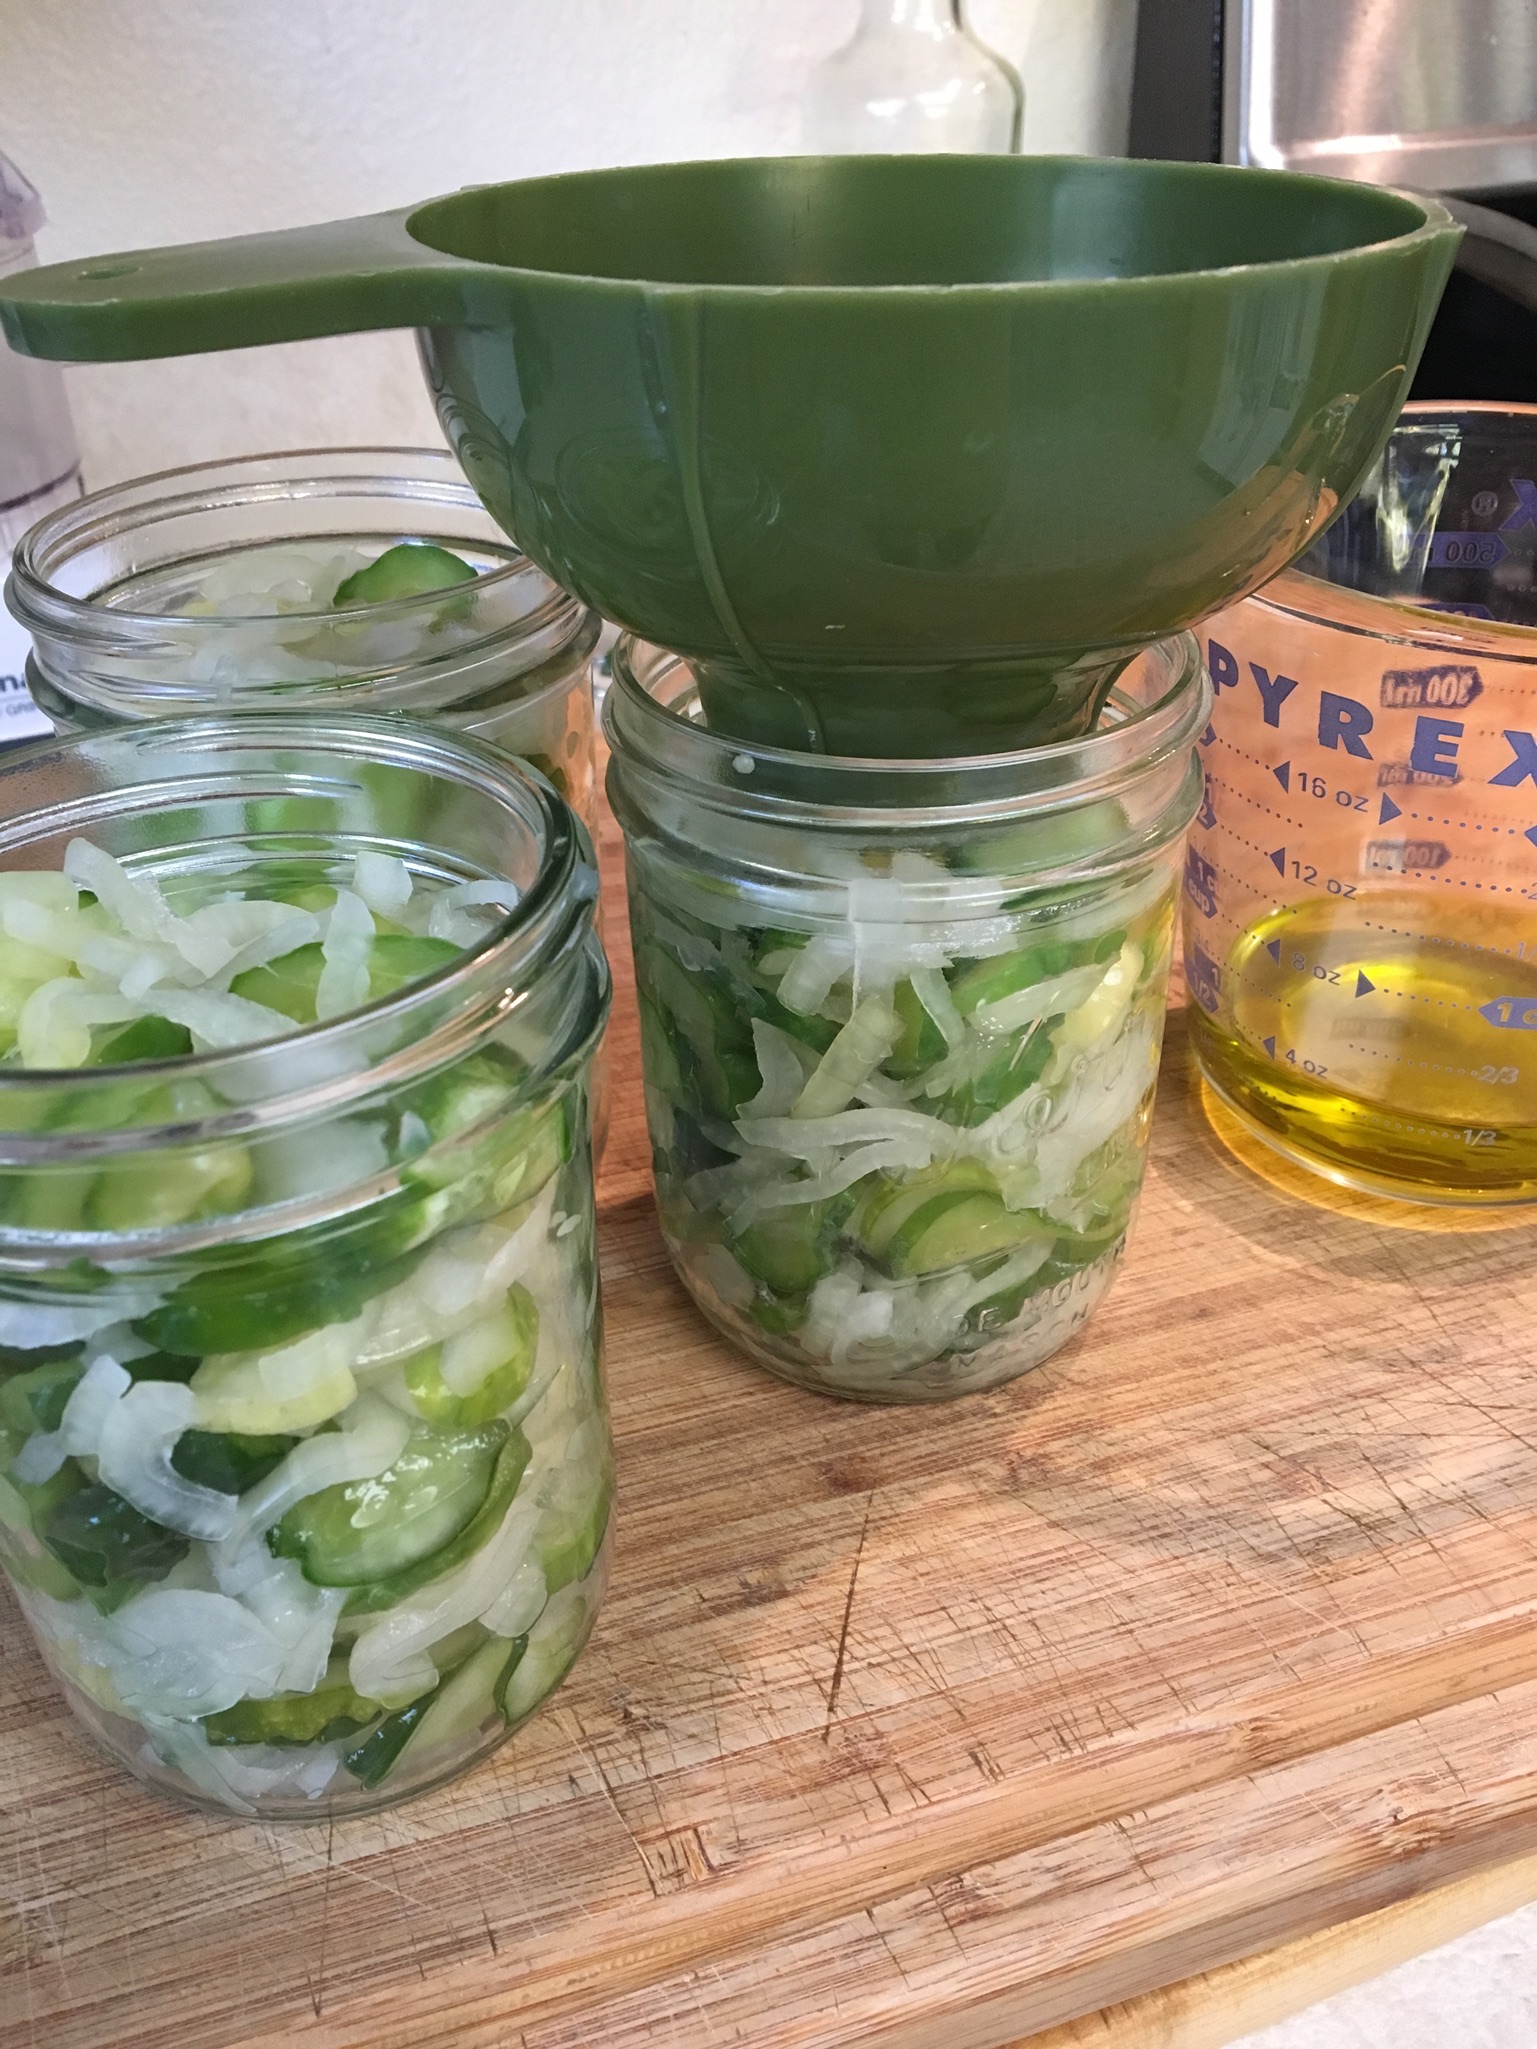

20 Aug 2019 update: these turned out to be a tart pickle, but very tasty. This year I have processed them in smaller jars, half-pint and 3/4-pint size so we can enjoy them throughout the winter. It adds a bit of variety to lunch. Processing time for these smaller jars was fifteen minutes in a water-bath canner. I would do twenty minutes in larger jars.

