Prepare an 8″ square baking dish with butter or by spraying with non-stick spray. Preheat oven to 375 degrees F.
In a large bowl, mix together the melted butter, sugar, and honey until well combined. Stir in eggs, one at a time, until well combined. Stir in buttermilk until well combined.
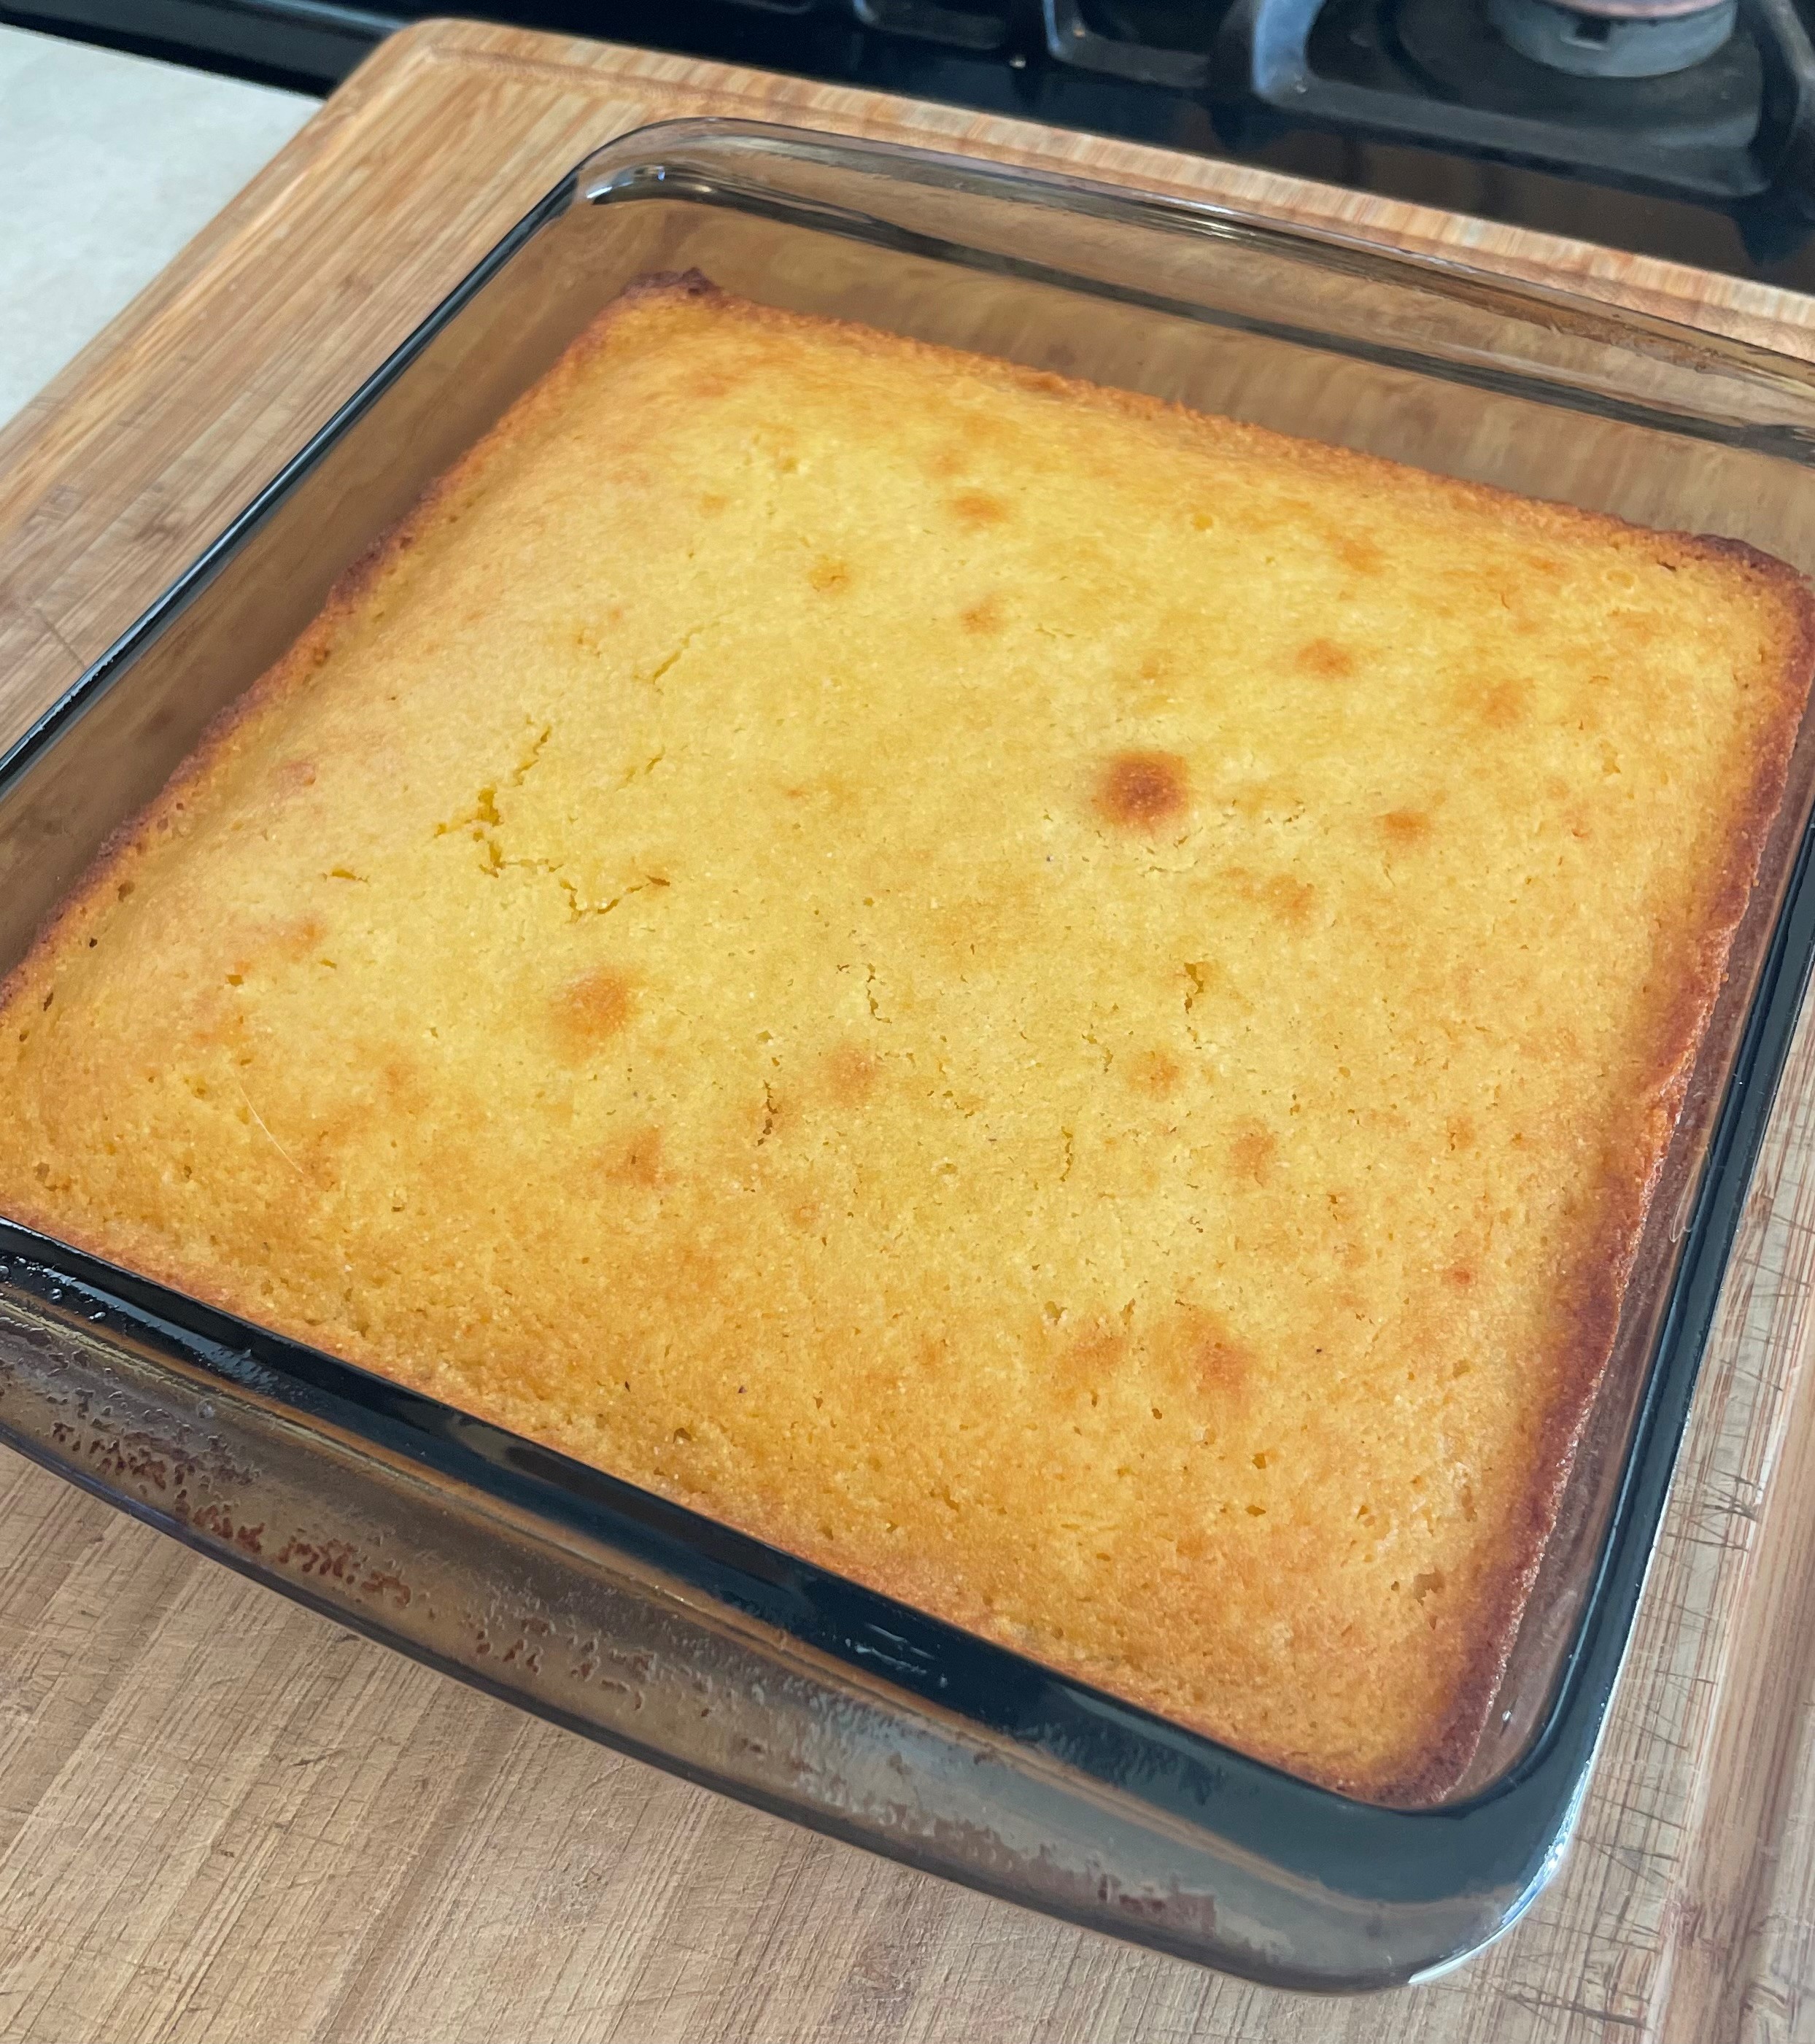
In a separate bowl, stir together dry ingredients. Gently stir the dry ingredients into the butter mixture and stir until most of the lumps are gone. Pour into the prepared baking dish and smooth the top. Let it stand for three minutes. Bake at 375 degrees for 25-35 minutes. It’s done when a cake-tester comes out clean. It will be golden brown across the top. You may brush the optional 1/2 Tbsp. butter across the top of the hot bread. Let stand 5-10 minutes, slice, and serve.
NOTES: This is a SUPER sweet cornbread, but it’s exceedingly delicious and goes great with chili, pulled pork, or soup. YUMMY! The recipe originates with LifeMadeSimpleBakes.
In a large bowl, stir together Dijon mustard, paprika, salt, and pepper. Stir the chicken thighs around in the bowl, so that they are fully covered with marinade. Set aside.
In a skillet, fry the bacon until it starts to brown. Remove it from the pan and set aside. Discard all except about a tablespoon of the bacon fat, or add olive oil if you used pancetta or a dry bacon. Add onion to the skillet and stir-fry until soft. Stir in the thyme and cook for another minute or so. Remove the onion/thyme mixture to the bowl with the bacon.
If the skillet requires more fat, add olive oil. Over medium-high heat, add half the chicken and brown it on both sides. Remove chicken from skillet to a plate and set aside. To the skillet, add more olive oil if necessary, and add the second batch of chicken to brown on both sides. Remove from skillet and set aside.
Add the wine to the hot skillet. Stir and scrape up as many brown bits as you can. Add the chicken, bacon, and onions to the skillet with the wine. Cover the skillet and cook for about fifteen minutes, turning the chicken every once in awhile. Check the chicken for doneness and cook until it’s cooked through.
Remove the chicken to a serving platter. Stir grainy mustard and cream into the sauce in the pan. Heat through. If it’s too thick, add a little warm water. Spoon the sauce over the chicken.
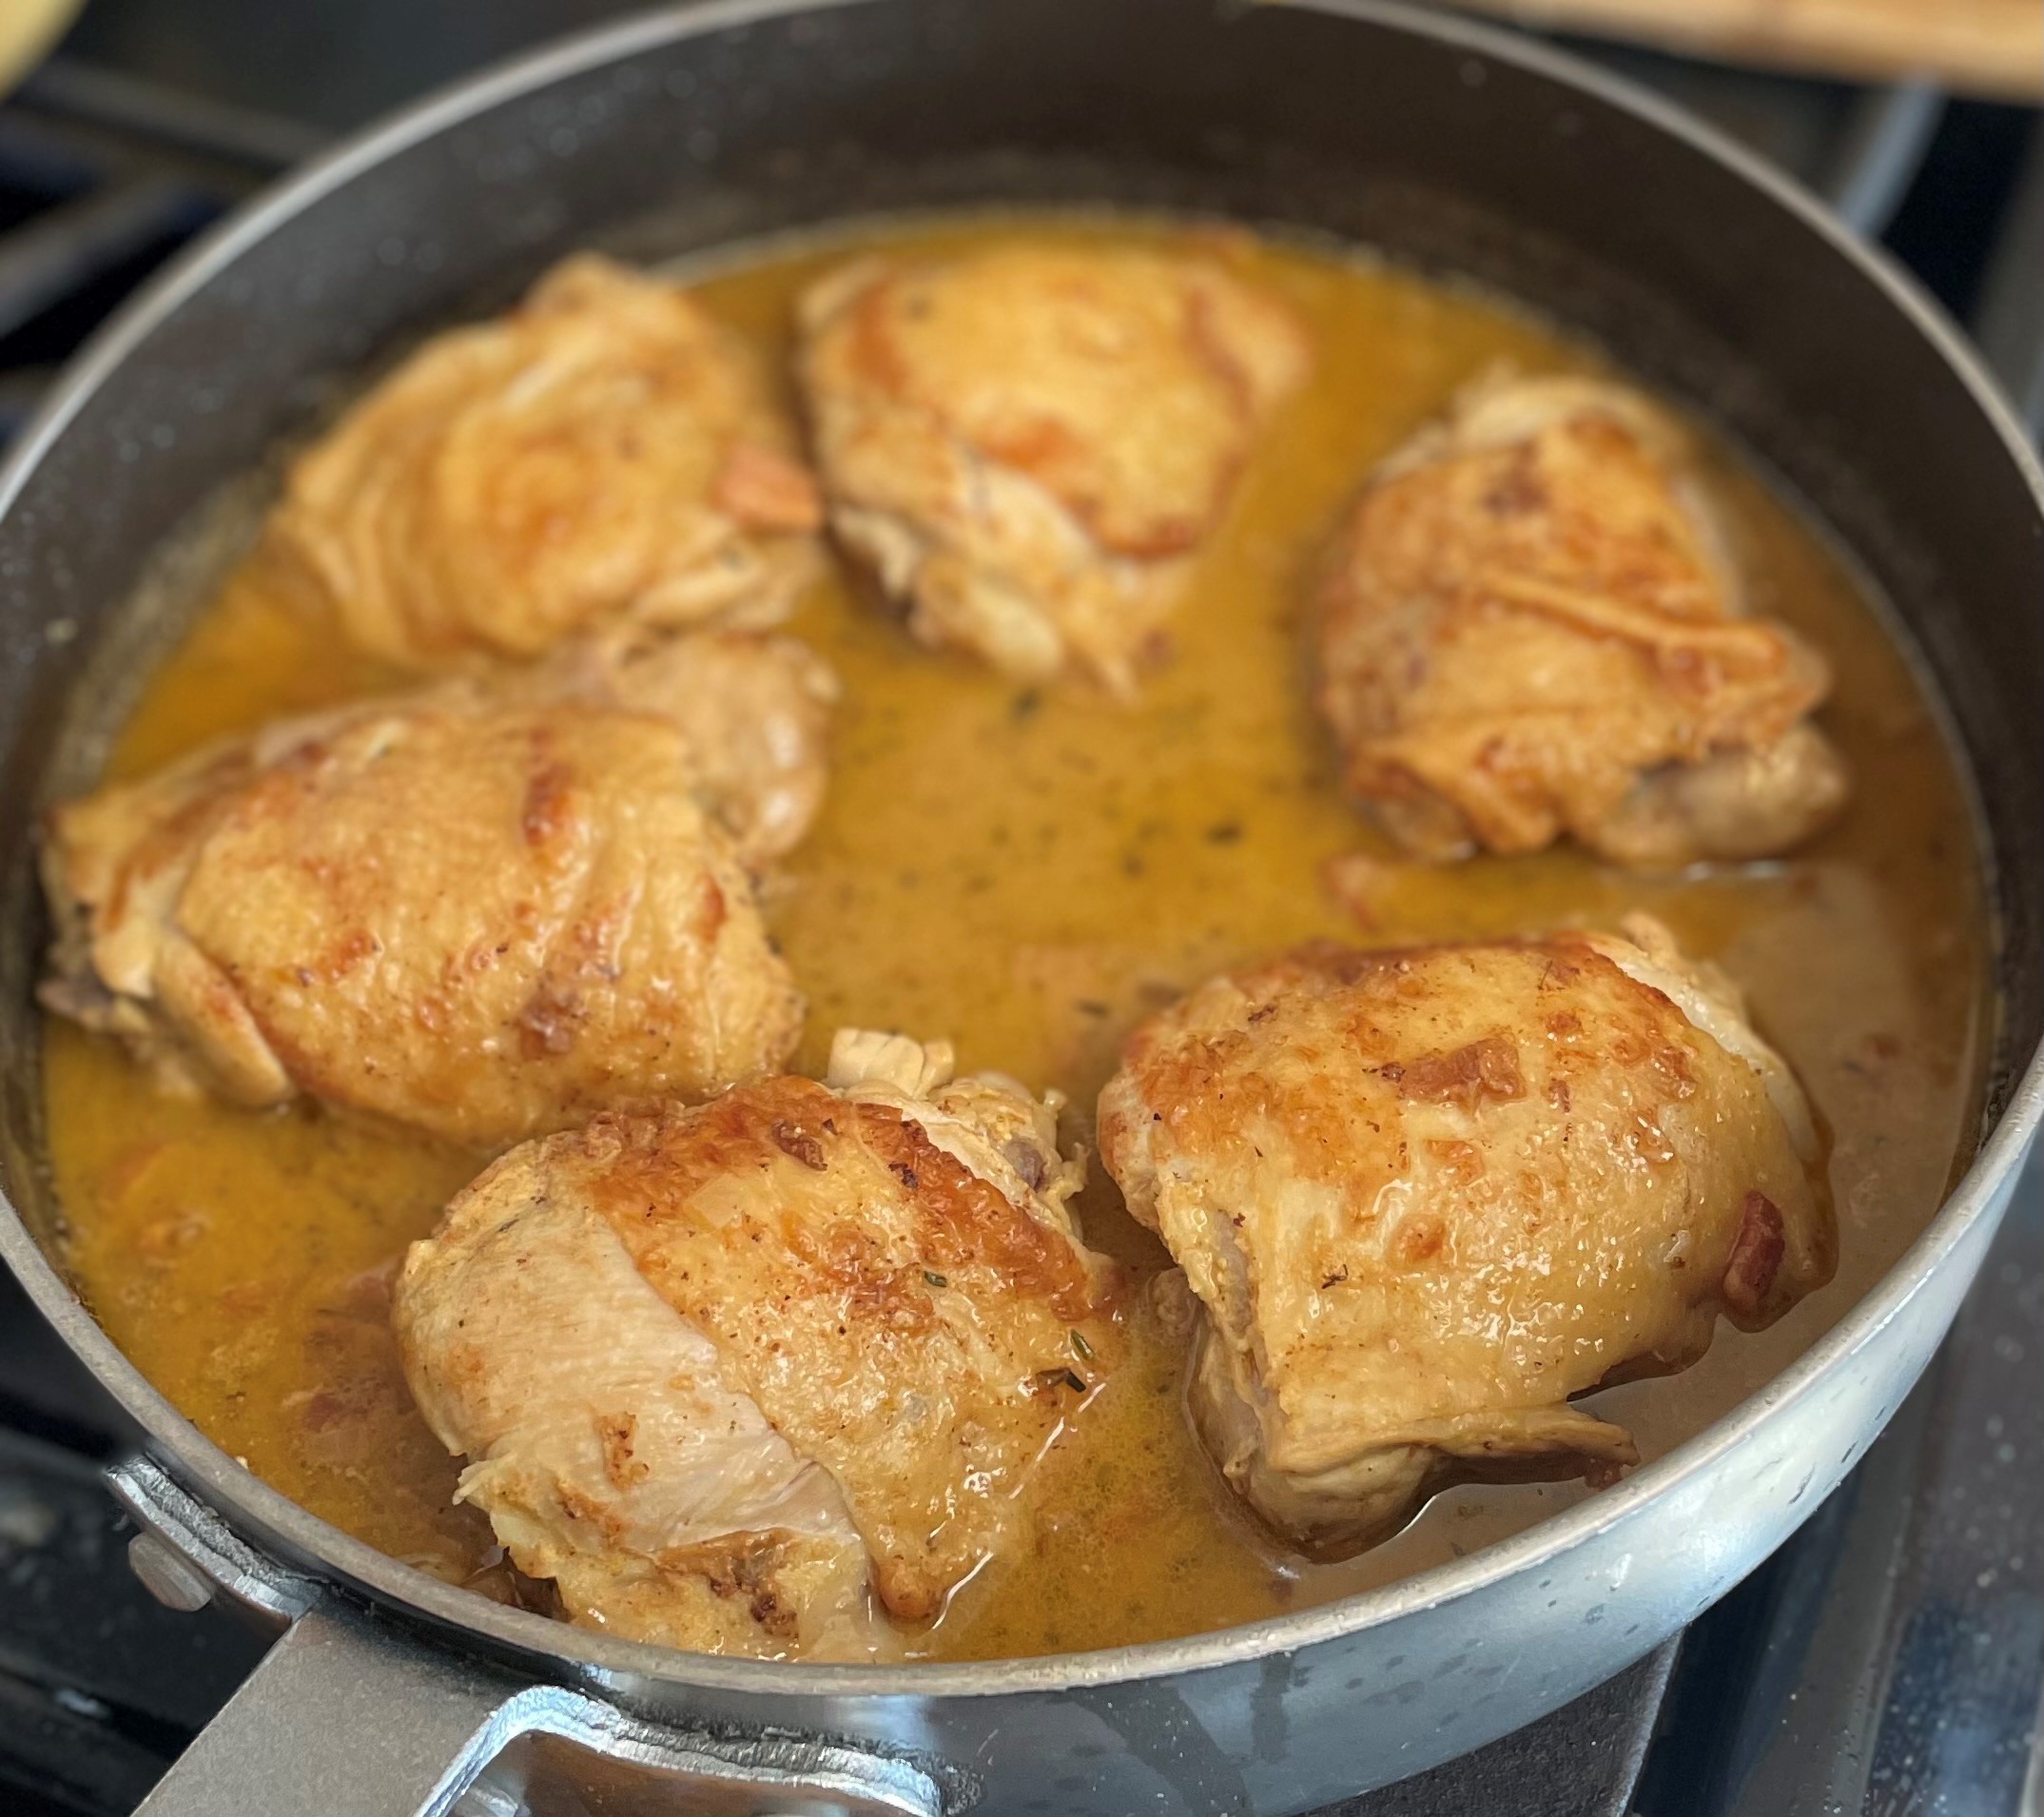
NOTES: I don’t know what it is about this recipe, probably the bacon, but it is super yummy! The recipe originates with Jennifer at Seasons and Supper. She recommends serving with potatoes or pasta. I usually serve this with Twice-baked Cauliflower and a salad. What you see pictured is the recipe using only 6 chicken thighs and, instead of plating it at the end, I put the thighs back into the sauce in my skillet and served it from there. I use Spanish smoked paprika and it’s sublime. I have marinaded the chicken for minutes and for longer than an hour. I’m not sure it makes a difference. There is a lot of fat rendered into the sauce from the chicken. This does not bother me, but it may you.
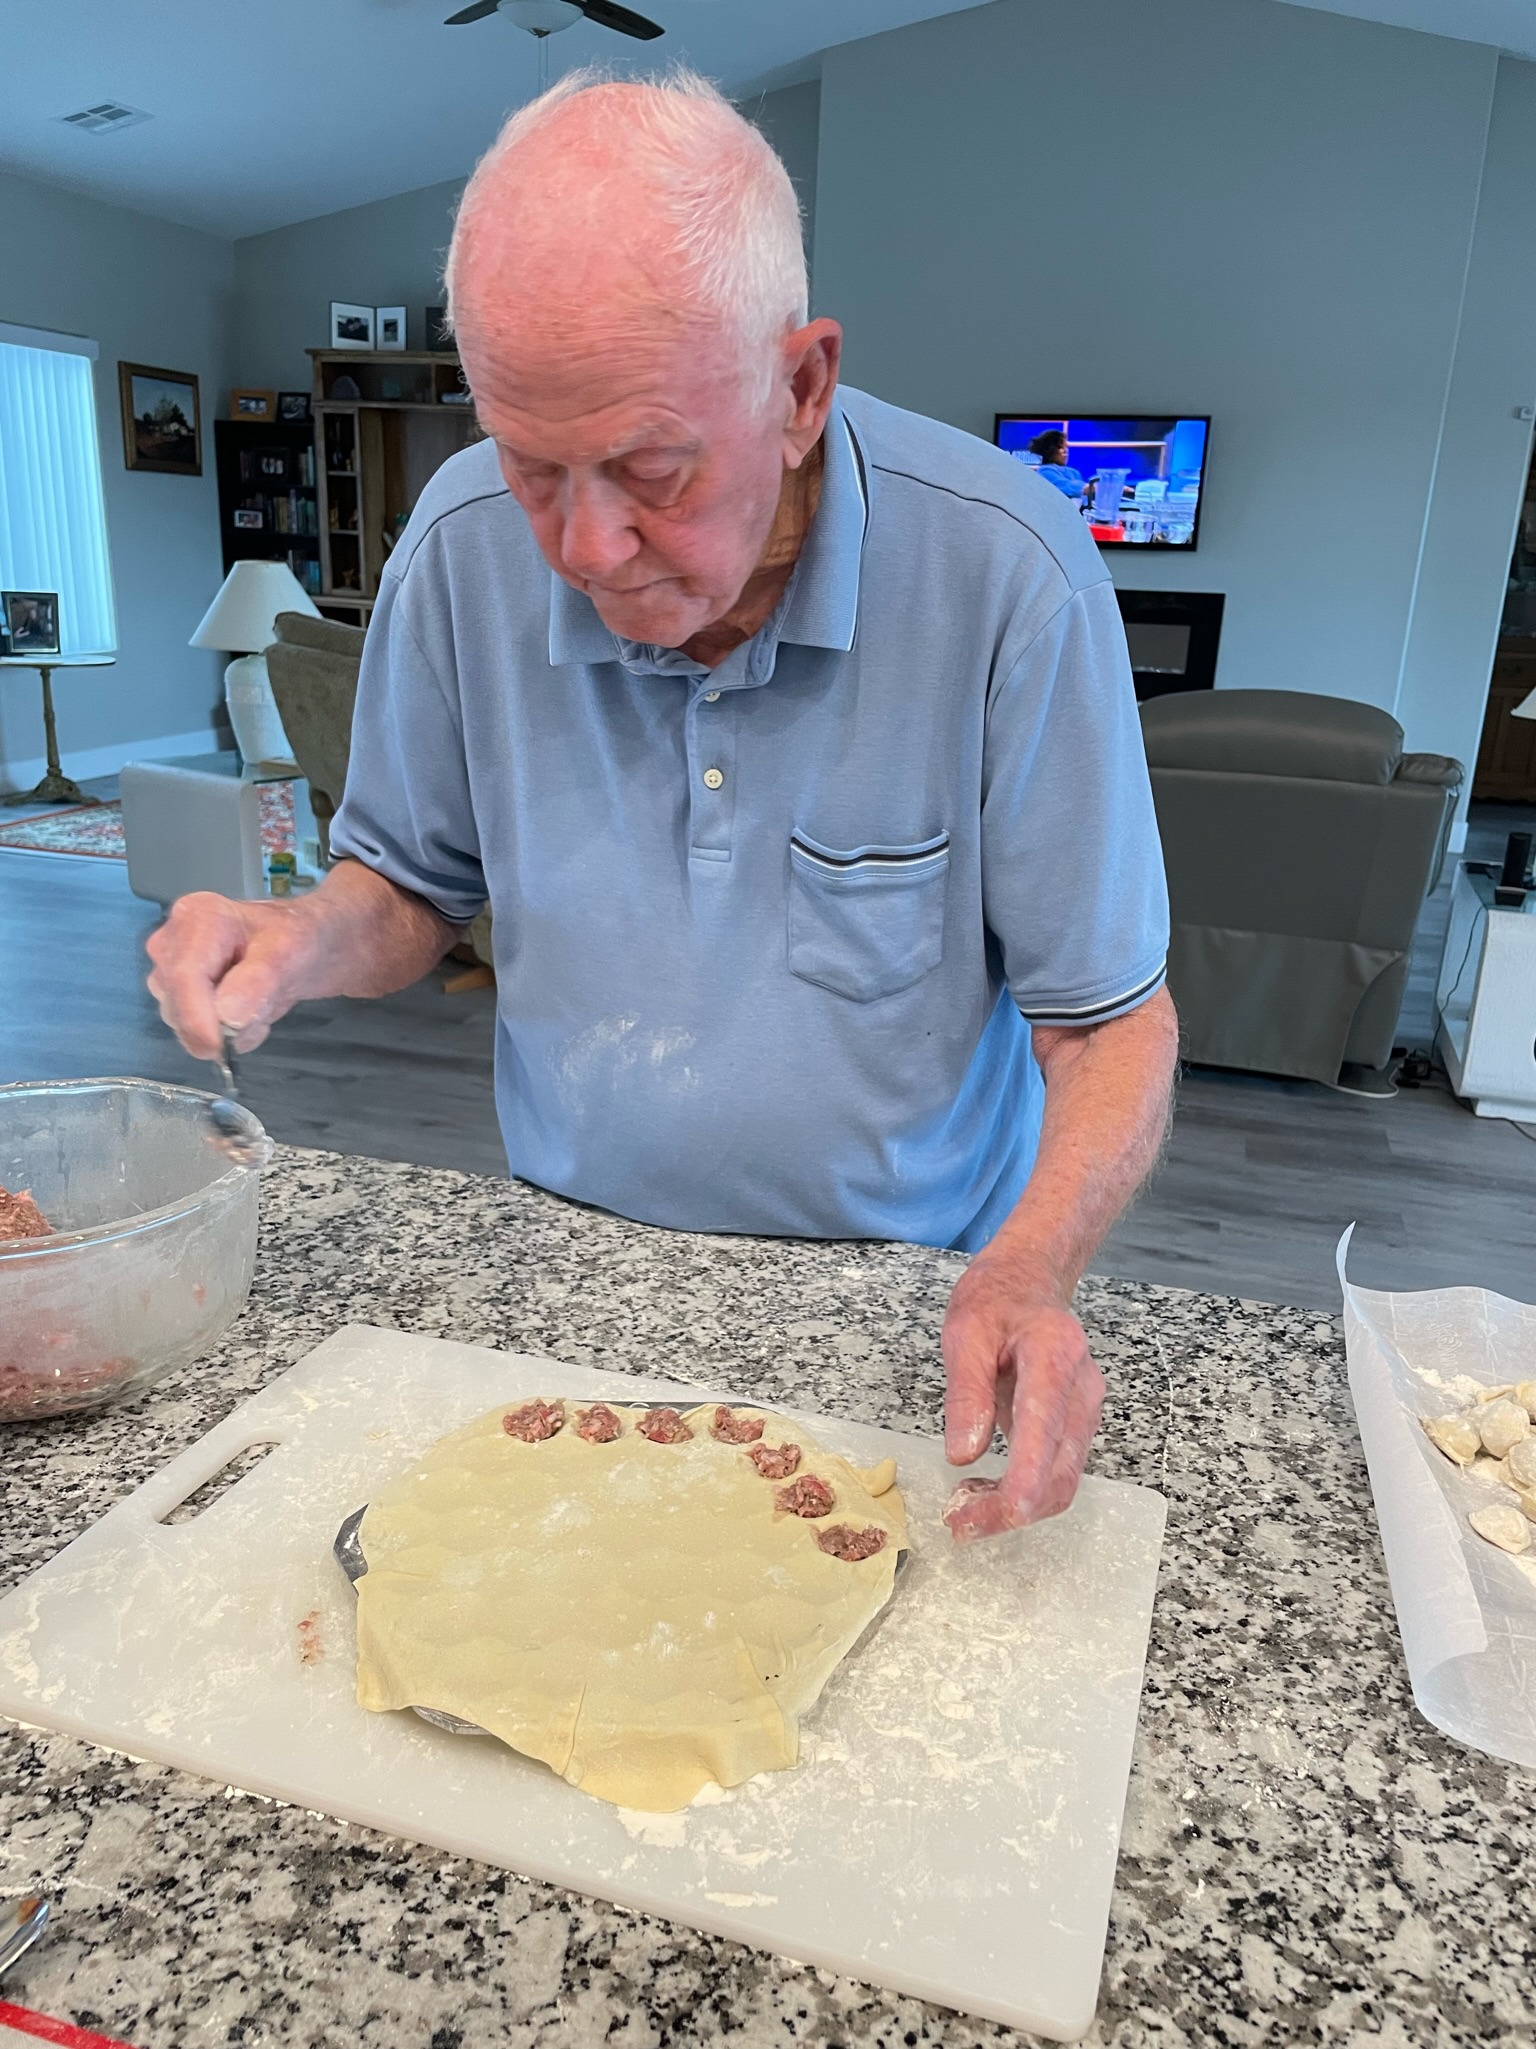
Several of my family members have been visiting my parents in Nevada. Thor decided it was a good idea to order a pelmeni mold and have it delivered here. It was a good idea. It didn’t arrive until after he had left, so I had carte blanche to give it a try. Pelmeni is a small Russian dumpling that my parents love to eat. They buy bags of the frozen dumplings whenever they can find them. Pelmeni are smaller than Polish pierogi, but the fillings and method are probably similar.
I didn’t really understand how to use the mold, and the packaging is in Cyrillic script (I only know English, so there’s that), so I went to YouTube and found JeffMara Cooking’s video to see how it’s done. The video is awesome and gave me the confidence to proceed. I didn’t use their recipes, just their video how-to guide. For the recipe, I turned to Julia Frey’s Vikalinka. It turned out that her dough to filling ratio was just right. I did my own thing as far as mixing dough and making filling. For this first foray into pelmeni making, I used a meat filling, but we have eaten potato and cheese-filled pelmeni before. Mushroom filling also sounds great. Next time!
Dough Ingredients
3 cups flour
1 tsp. salt
1 cup water
1 egg
Meat Filling Ingredients
1 lb. ground beef
1 lb. ground pork
1/2 large onion, grated or run through a food processor
2 tsp. salt
Remaining Ingredients
Generous amount of flour for rolling and keeping pelmeni separated
Large pot of salted water
2 bay leaves
1-1/2 tsp. dried dill weed
Butter and/or sour cream for topping
Other recipes call for making the dough in your food processor, but I don’t have one here, so . . . stir together flour and salt. Whisk the egg into the cup of water. Stir the water mixture into the flour mixture. Stir as best you can until it’s all incorporated. Turn out onto a lightly floured surface and knead until the dough has elasticity. Use as little flour as possible for this stage. Place the dough back into the bowl and cover with a damp tea towel. Let stand thirty minutes.
In a large bowl mix together the filling ingredients. Place the filling in the refrigerator as you wait for the dough.
Set up a work station for forming the pelmeni. You’ll need a place to roll the dough (I have a large silicone baking mat), a place to load the mold with filling (we used a highly floured cutting board), a floured place to drop the pelmeni out of the mold (a parchment-paper-covered cookie sheet).
Divide the dough into four sections. Each section will be divided in two, one for the top and one for the bottom. If it’s easier for you to just divide it into eight sections from the start, go for it. Keep the dough you are not working on in the bowl under the damp tea-towel. The pelmeni mold I used is 10″ in diameter. On a floured surface with a floured rolling pin, roll out the dough to 10″ in diameter. Flour the mold as best you can. This will be easier the second batch. Place the 10″ dough circle on the pelmeni mold. With a teaspoon, or your fingers, set about a teaspoon of filling into each indentation. Make sure you have separation between the indents. Since there were two of us making these and we worked quicky, we did not keep the filling refrigerated between batches, but if I were doing it alone I would. As the filling warms it gets a little messy and more difficult to get into the mold without finagling.
Roll out another 10″ piece of dough and place over the top of the mold. Press the top down lightly with your hands. With the floured rolling pin, starting at the center, using a back and forth motion, roll across the top of the mold until you can see the mold itself sticking through. Remove the dough along the edges and set it aside in the dough bowl under the damp cloth. Turn the mold upside down over a highly floured surface. Some pelmeni may drop out, but you’ll have to poke some out with your finger. Take a care not to pierce the dumplings. This will be easier the second time because flour will adhere to the mold better. Place the dumplings onto a highly floured surface until you’re ready to cook or freeze them.
Repeat until all four batches are made. I then used the scraps to make two more batches. That was hard to do. In retrospect I should have added more water to soften the dough scraps and make it easier to roll them out. In any event, we ended up with about 200 pelmeni.
Add bay leaves and dill weed to a pot of salted water and bring it to a boil. We also had one spoonfull of filling left, so we rolled it into a ball and dropped it into the pot for extra flavor. Drop a single layer of pelmeni into the pot. Once it comes back to a boil, let them simmer for ten minutes. Remove with a slotted spoon and serve hot, topped with butter and/or sour cream. Yummy!
It seems unlikely that you will use all these pelmeni at a single seating. Mom and Dad say that these do not freeze well after they are cooked and all the recipes I’ve seen call for them to be frozen prior to cooking. You can either set a layer of them into the freezer until frozen and then drop them into bags for long-term freezer storage, or you can roll the fresh pelmeni, a few at a time so they remain separated, in cling wrap and place into a bag and then freeze. To cook, we are going to put them directly into boiling water from frozen, wait for the water to come back to boil, and simmer for ten minutes. That’s the plan anyway.
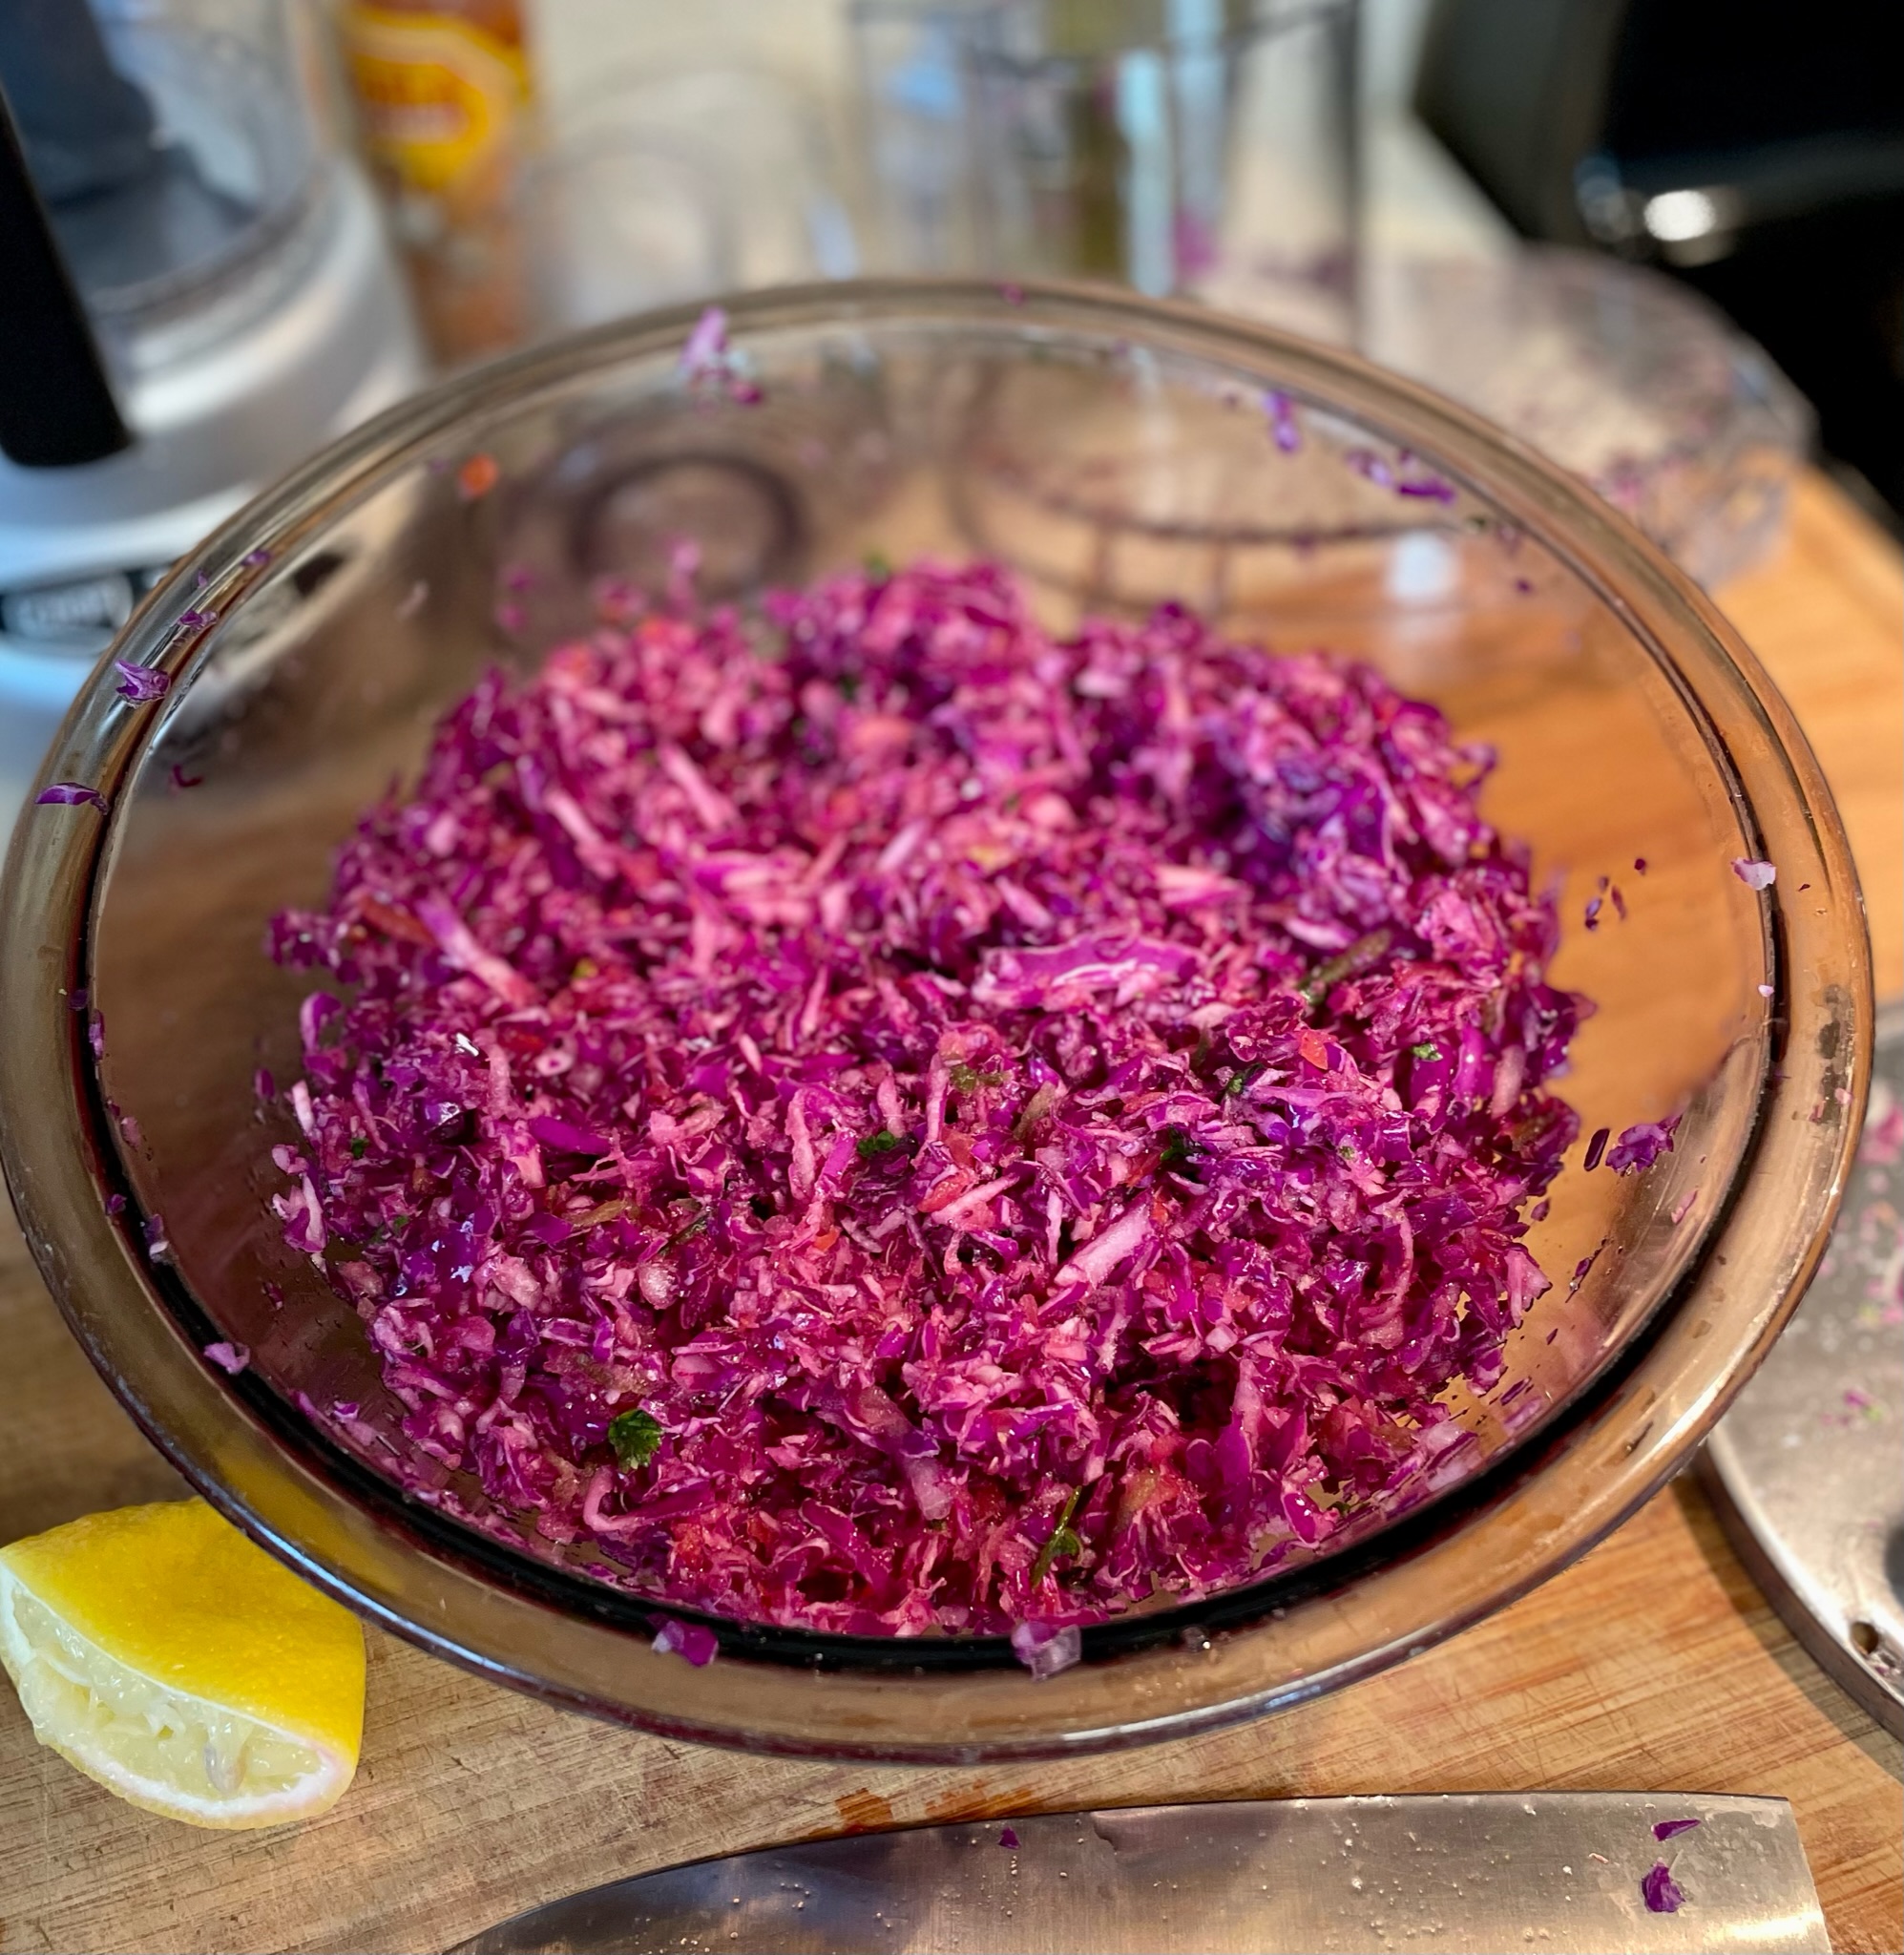
Method: I ran the ingredients, cabbage through cilantro, through my food processor’s shredding blade instead of dicing and chopping. I started with cabbage and ended with cabbage in order to get all the softer vegetables to go through. Sprinkle with garlic sea salt and lemon juice. Stir. Refrigerate for an hour or so. That’s it. You’re done.
1/31/2022: Three weeks ago I was sitting on a beach in Roatan, Honduras soaking in the rays. I rousted myself up to see what was at the lunch buffet and brought a piece of roasted chicken and coleslaw back to the beach on a paper plate with plastic utensils. It turned out to be the best coleslaw I’ve ever eaten and I don’t think it was just because of the sun and sand atmosphere, although that could have something to do with it. I noticed the slaw was not bound with mayonnaise and it had tomato in it. Today I found a recipe on Pinterest called “Mexican Cabbage Salsa” by VeganBlueberry and decided to try a riff on that. Close. Very, very close. I do not have a green cabbage on hand, so used red instead. I’m amazed at how good this tastes. Yum!
I used to make this often using a different, more time-consuming, method. Since discovering Olive Tomato’s method, I’m back to making Briam again. I do love it.
Ingredients (any of the following vegetables — it’s okay if you don’t have them all)
Potatoes, 1/2+” slices
Tomatoes, any kind, chopped
Eggplant, 2″ chopped
Zucchini, 1/2+” slices
Onion, quartered
Bell pepper, sliced
Garlic, minced
Oregano
Parsley
Salt and pepper
Tomato paste (1-2 Tbsp.)
Water
Olive oil
Feta cheese, crumbled
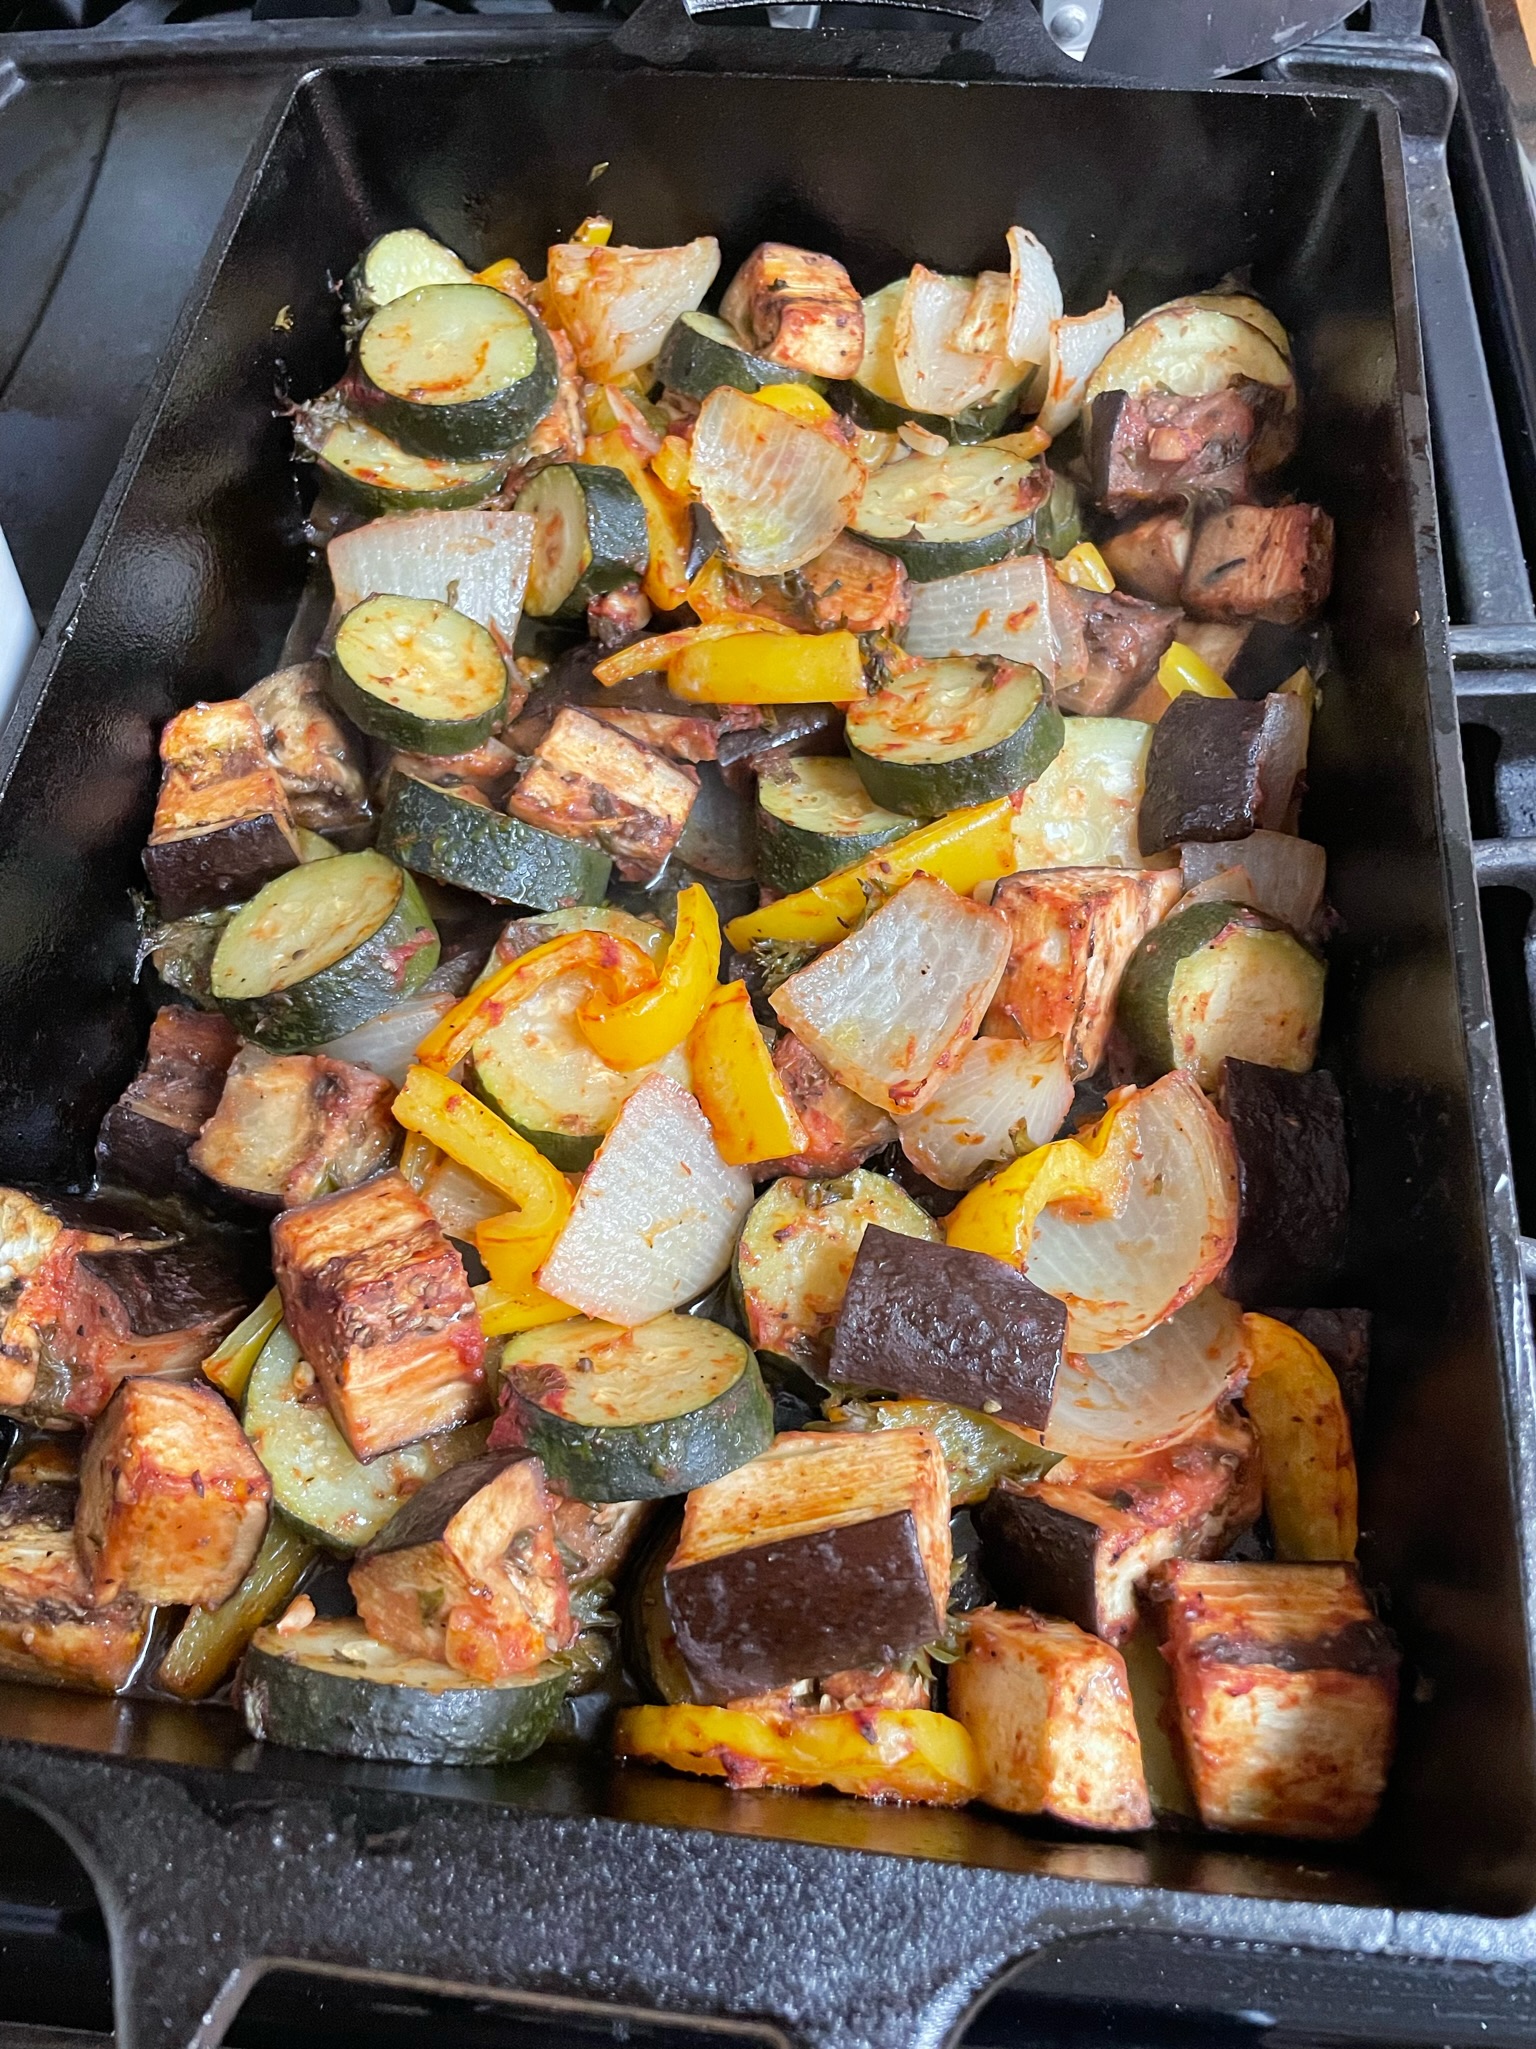
Prepare a sheet pan or other flat baking pan by rubbing with olive oil or spraying with non-stick. I used a cast-iron 9×13″ pan for what is pictured here. I’ve used two 9×13″ glass pans before. The goal is a single layer of vegetables, but since you will be covering the pan to bake it, a sheet pan may be too difficult. I’ve used the 9×13″ with great success. Preheat oven to 350 degrees F.
Into a very large bowl, place all the vegetables. Stir in the seasonings, a pinch of this and that. Dilute a tablespoon or two of tomato paste with a bit of water. Use your hands to stir it into the vegetables. Swazz olive oil over the mixture and also stir it, again, with your hands works best. Place the mixture into the baking pan, scrape the bowl. Without sprinkling the dish with water, pour in about 1/3 cup water and tip the pan to distribute. Cover and roast at 350 degrees for an hour. The vegetables should be cooked. Remove cover and roast an additional 30-45 minutes to brown them.
Remove from oven and serve warm (or let them cool down and serve at room temperature) sprinkled with Feta cheese. Serve some nice warm bread with this and it is perfection.
NOTES: you can see in the picture that I didn’t have potatoes or tomatoes. Last time I didn’t have eggplant or zucchini. It really doesn’t matter, it’s all good. One last thing, I served it with Savory Spinach and Artichoke Bread Pudding and that was a great accompaniment.
Here is a winter warm-me-up. I don’t measure, so I’ll tell you what’s in it and how you get there, but the amounts are up to you and how many people you’re serving, etc.
Ingredients
Bacon, chopped
Onion, diced
Celery, diced
Carrot, diced
Garlic, minced
Tomato paste, 1 Tbsp.
Chicken broth
Bay leaf
Salt and pepper
White beans, like navy beans, canned
Flour
Half-and-half, or milk
Stir fry the bacon, onion, celery, and carrot until the bacon is cooked. Drain off bacon grease, if any has accumulated. Over medium heat, add garlic and stir for about a minute. Stir in the tomato paste. Add chicken broth to cover mixture and a little bit more. Stir in bay leaf, salt and pepper. Simmer, covered, until vegetables are tender. Stir in beans. Add more broth to cover, then let it simmer awhile longer.
In a separate bowl stir together flour and a little half-and-half, or milk. A cup or so should do. Pour the dairy slurry into the soup pot and stir while it comes to a boil and thickens a little bit. You can always add more chicken broth, if needed.
Remove bay leaf and serve.
NOTES: If you want to use dried beans, then you’ll have to start early and rehydrate them according to directions I’m sure you can find elsewhere. I usually make this using one 14 oz. can of beans. I use 2 Tbsp. flour to about a cup of dairy liquid. Sometimes it’s really a thick soup and sometimes not. It’s all good. You could make this gluten-free by using gluten-free flour. You could make this dairy-free by omitting the slurry altogether. That is still a very good Bean with Bacon Soup, I just happen to like it with a bit of dairy.
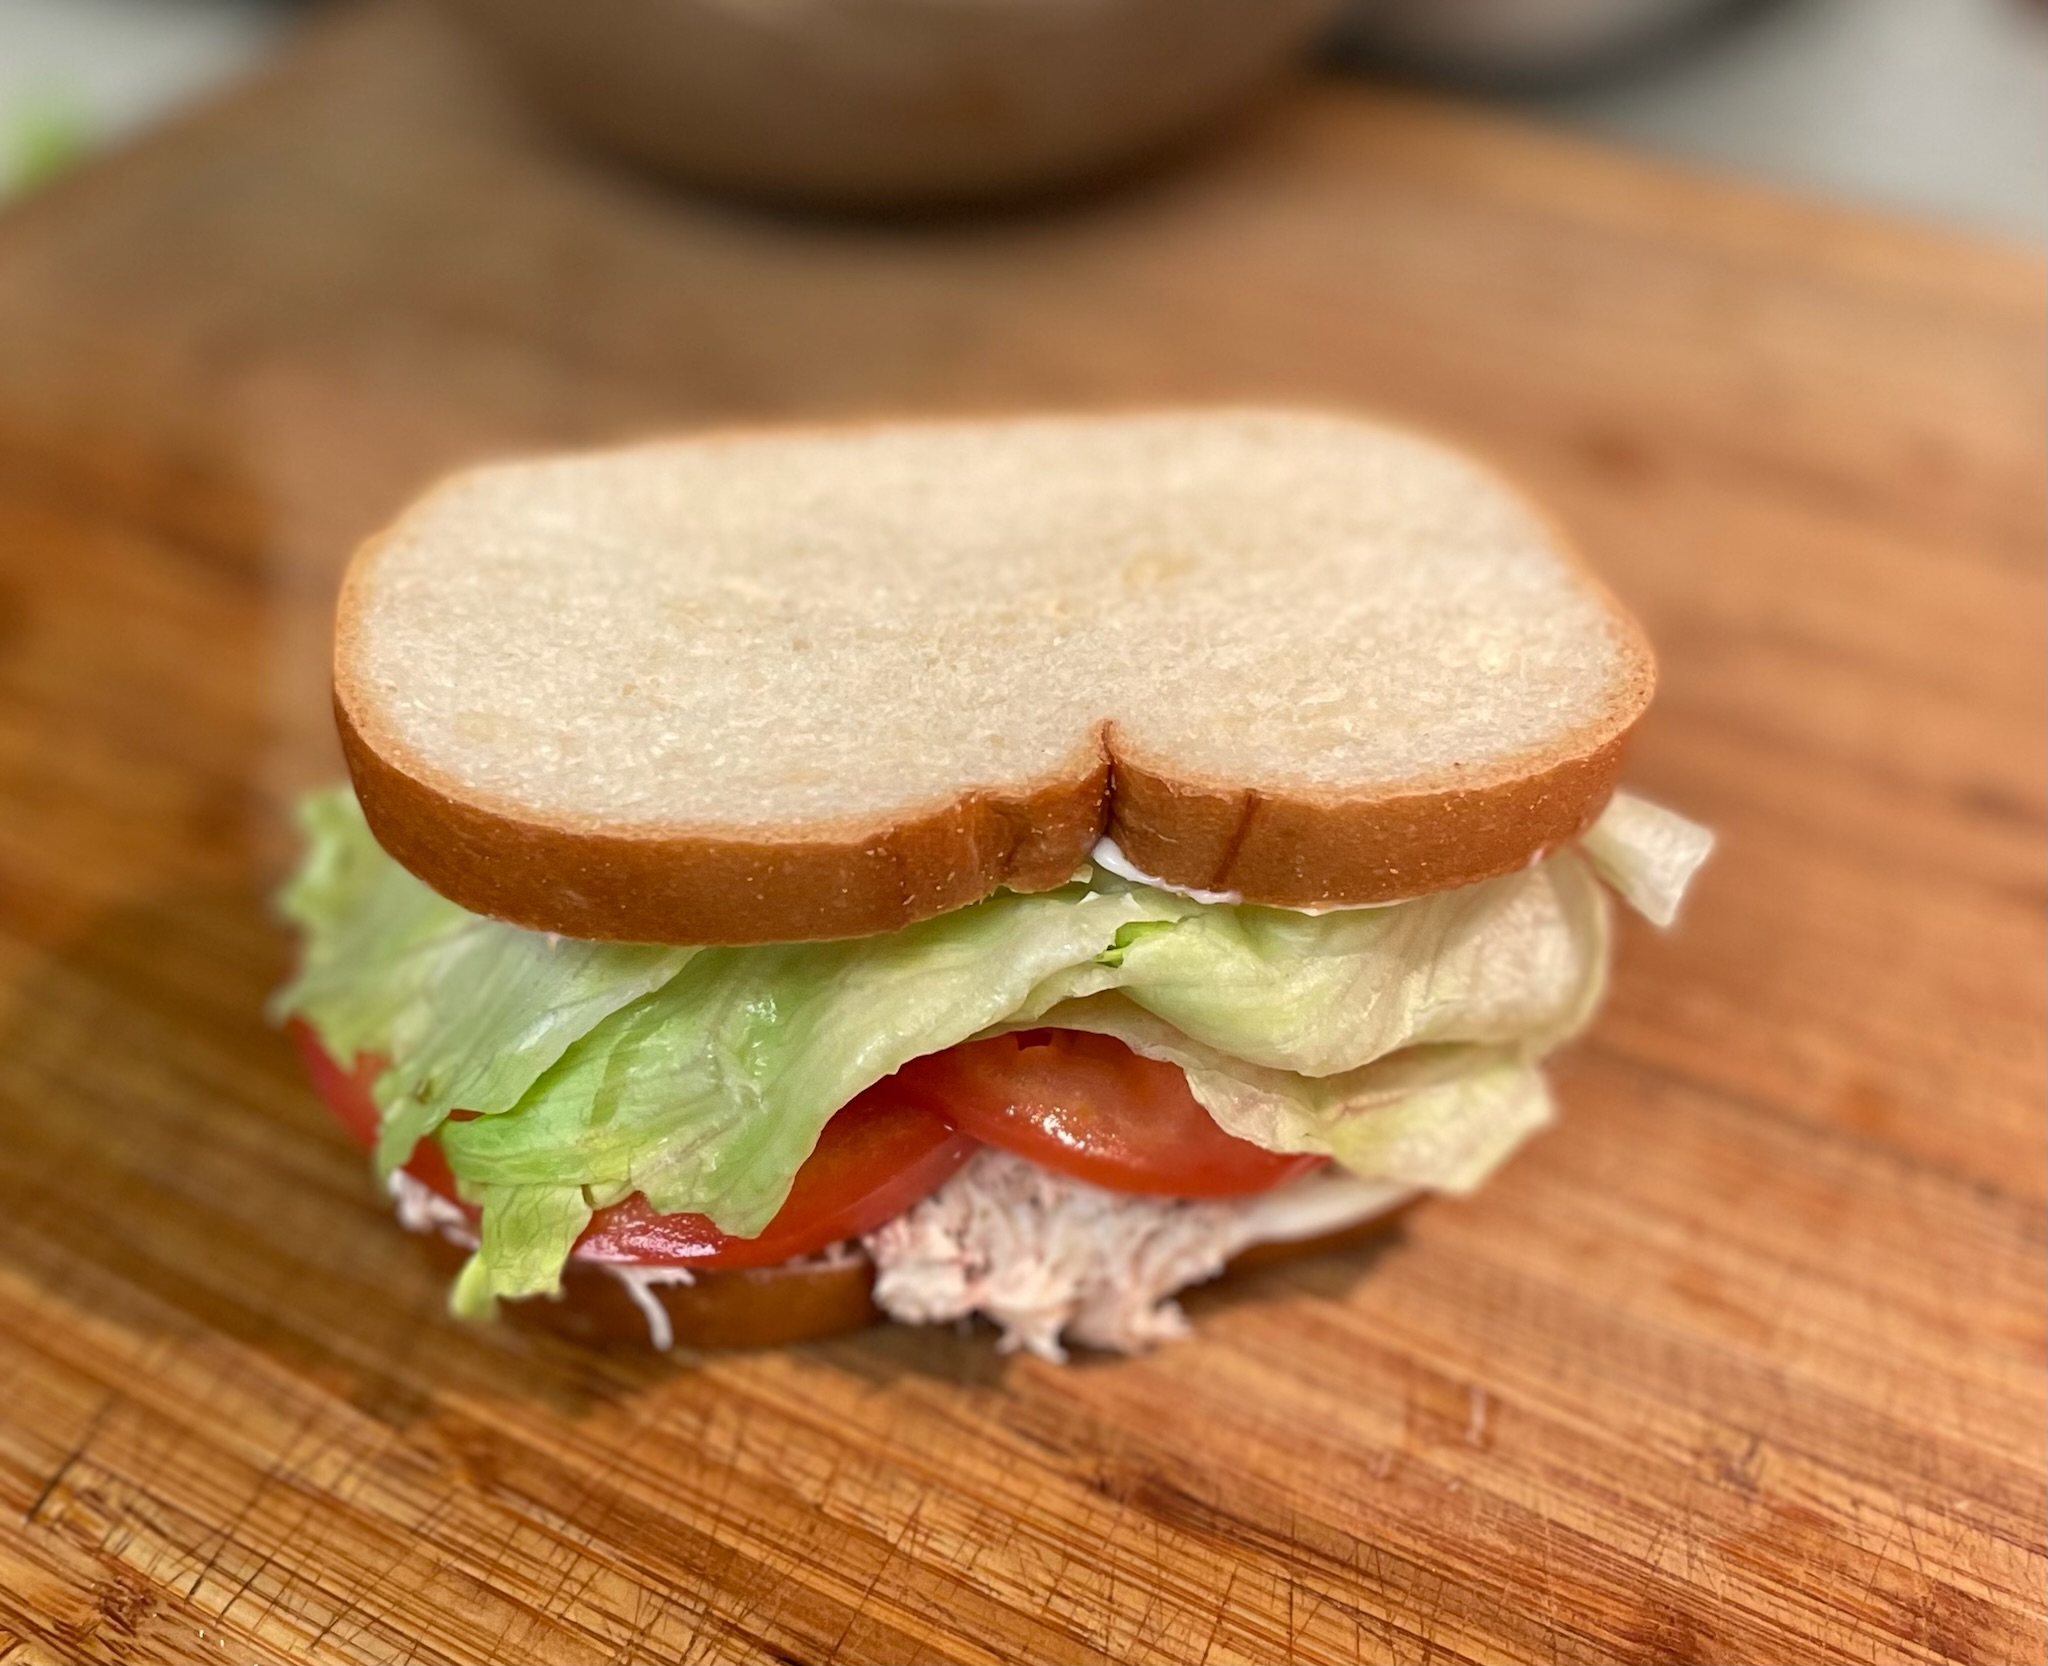
This started as a recipe from spendwithpennies.com and it morphed from there. Press the easy button with this one. It’s very simple if you already have cooked chicken and are wondering what to do with it. Try this! The salad itself is gluten-free. The pictured sandwich is not.
Ingredients
1/2 cup mayonnaise
1 tsp. Dijon mustard
1/2 tsp. dried dill weed (or more if you have fresh chopped dill)
1/2 tsp. kosher salt
Several turns of the pepper grinder
2 Tbsp. red onion, finely chopped
1 celery rib, diced very small
2 cups fully cooked shredded chicken
Mix together mayo, mustard, dill, salt and pepper. Stir in onion, then stir in celery. Stir in chicken. If it seems too dry, add a bit more mayonnaise. Serve on bread as a sandwich filling or atop lettuce as a salad.
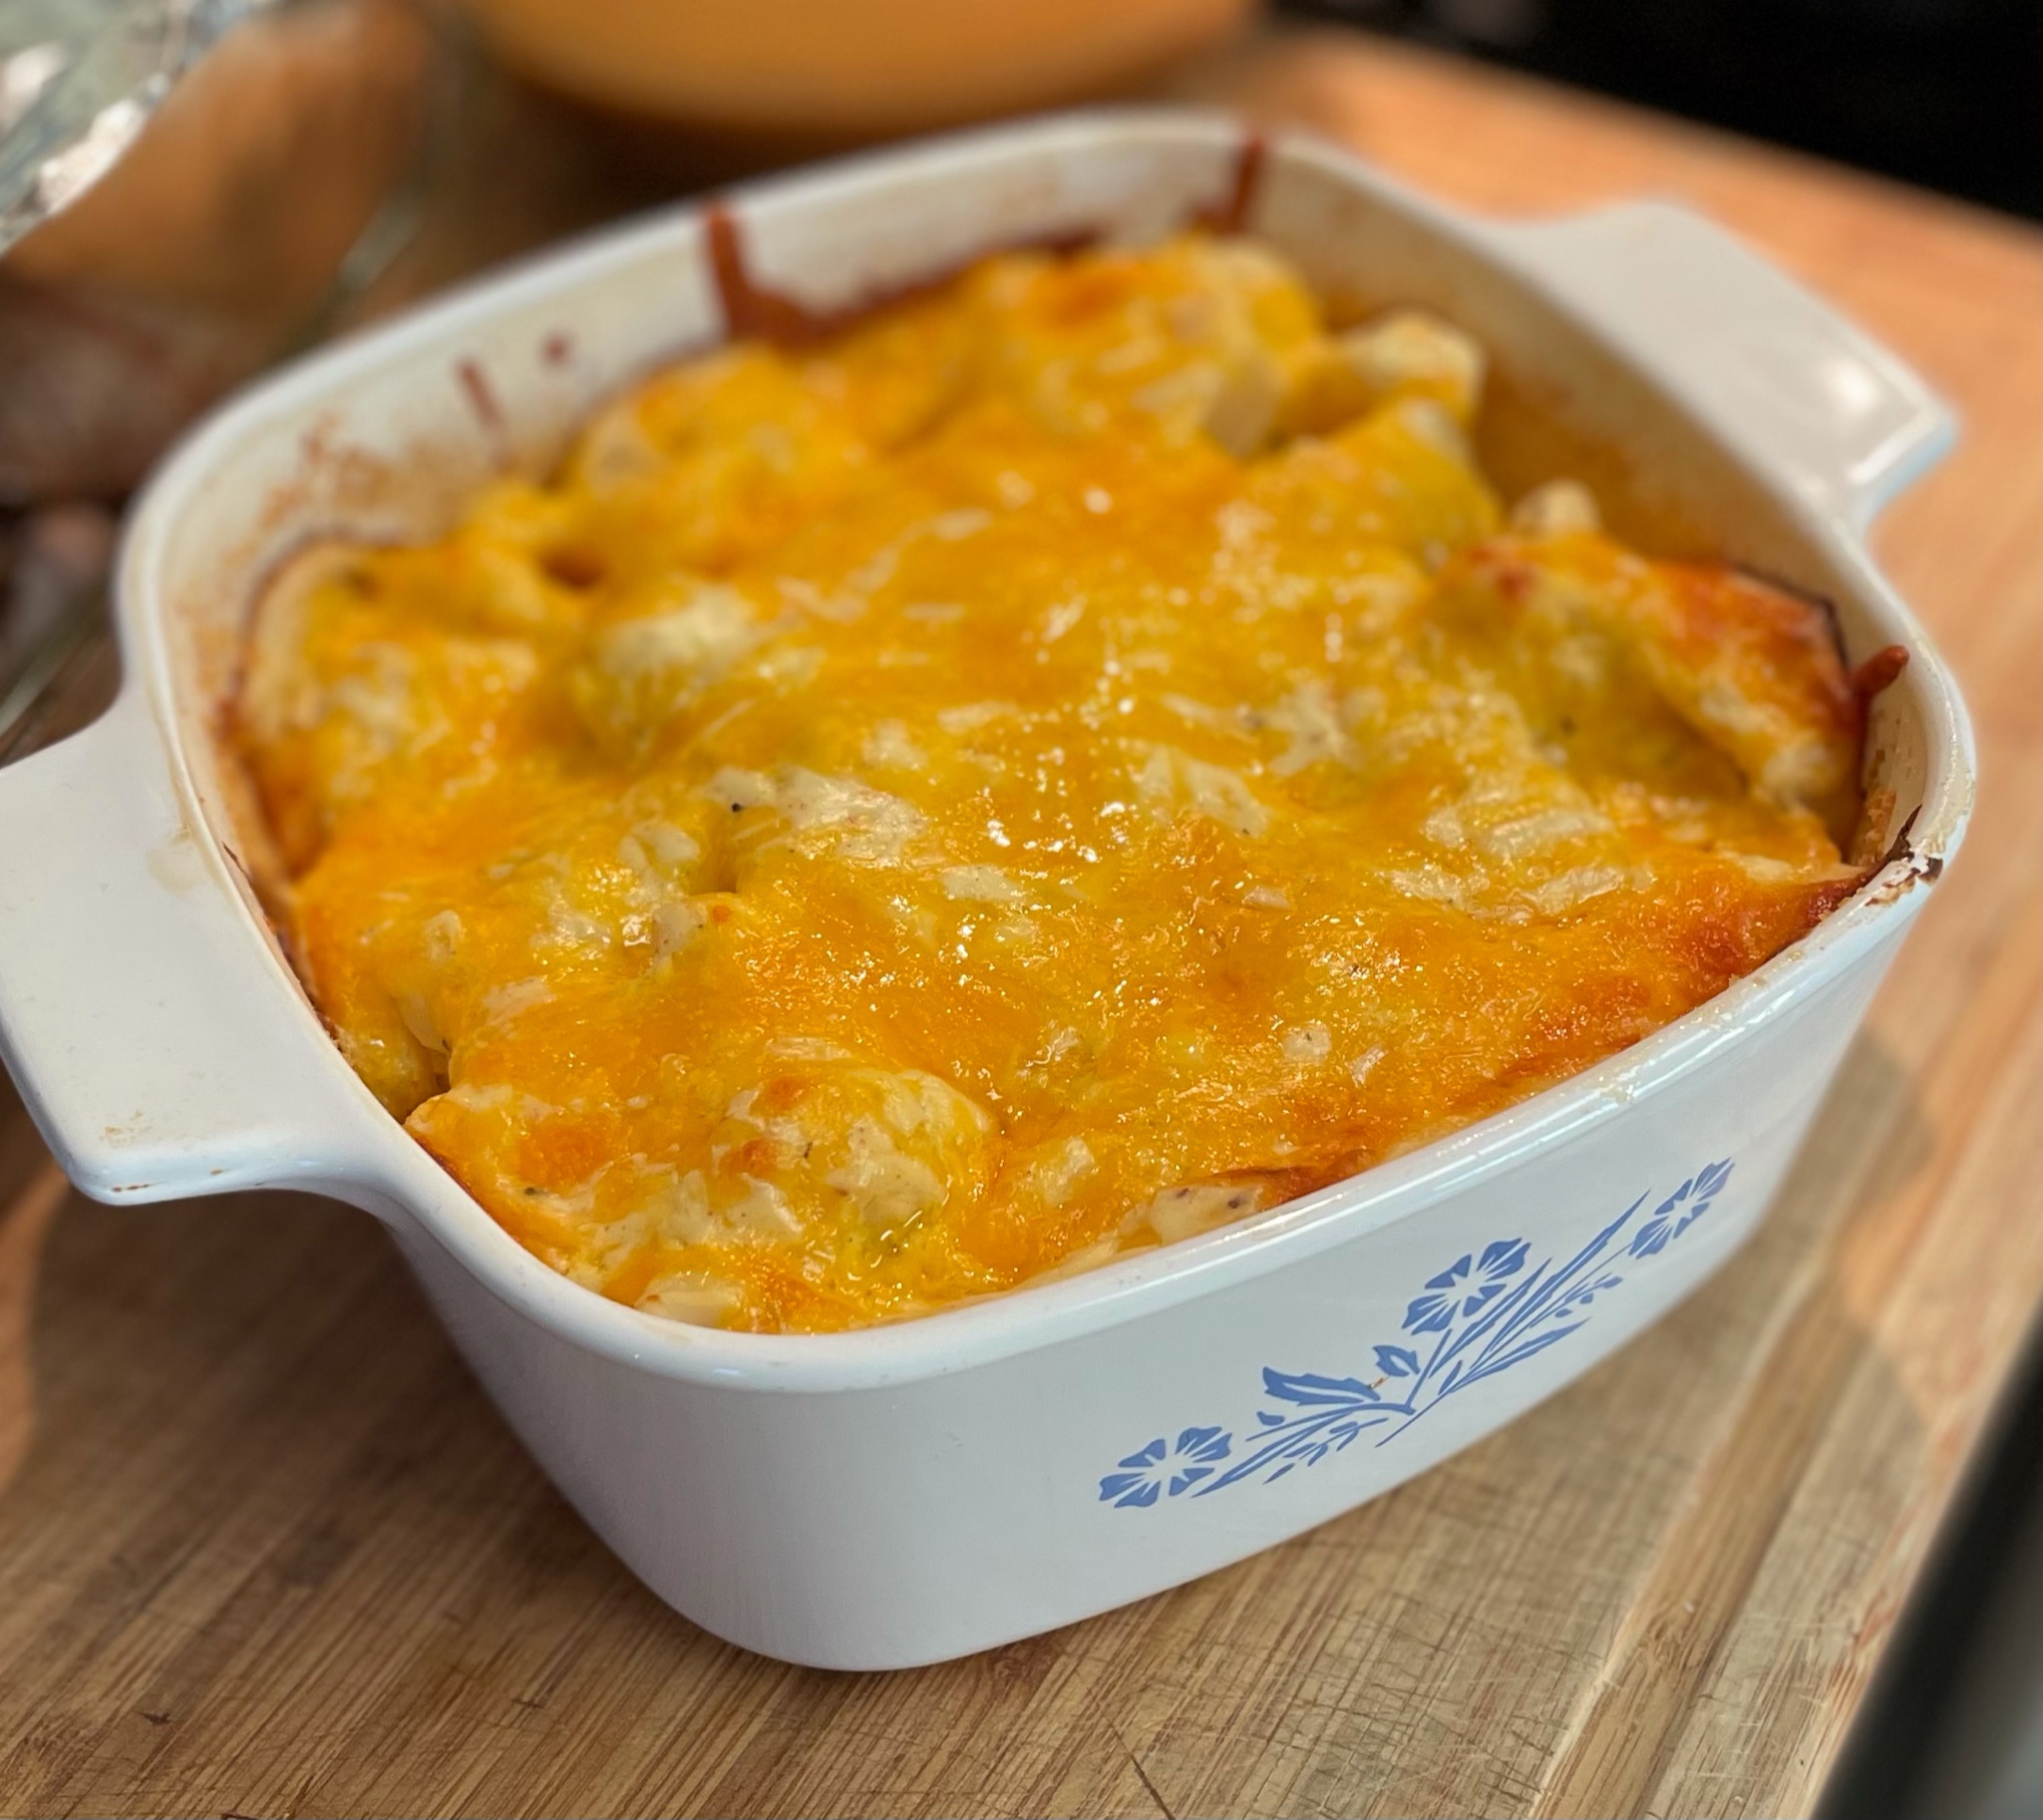
This recipe is based upon the one found in Carpathia by Irina Georgescu (2020 Interlink Books). I cut the recipe in half because there are only two of us and it still serves 3-4 people as a side dish. This is super simple and fast to make. The piquant sour cream with the earthy cauliflower makes a really interesting combination of flavors. Love it!
Ingredients
Butter, for greasing
1/4 cup bread crumbs
1 small cauliflower (about 1#)
3/4 cup sour cream
2 oz. grated cheddar cheese
1 egg, beaten
1/2 tsp. nutmeg
1/2 Tbsp. Dijon mustard
Salt and pepper
Grease a small baking dish with butter and then sprinkle the bread crumbs over the butter until coated. Shake the dish around to evenly distribute any non-sticking bread crumbs.
Cut the cauliflower into florets and then cook in boiling water until slightly soft. Drain off water and leave uncovered to let steam escape and cauliflower to cool a little bit (or a lot).
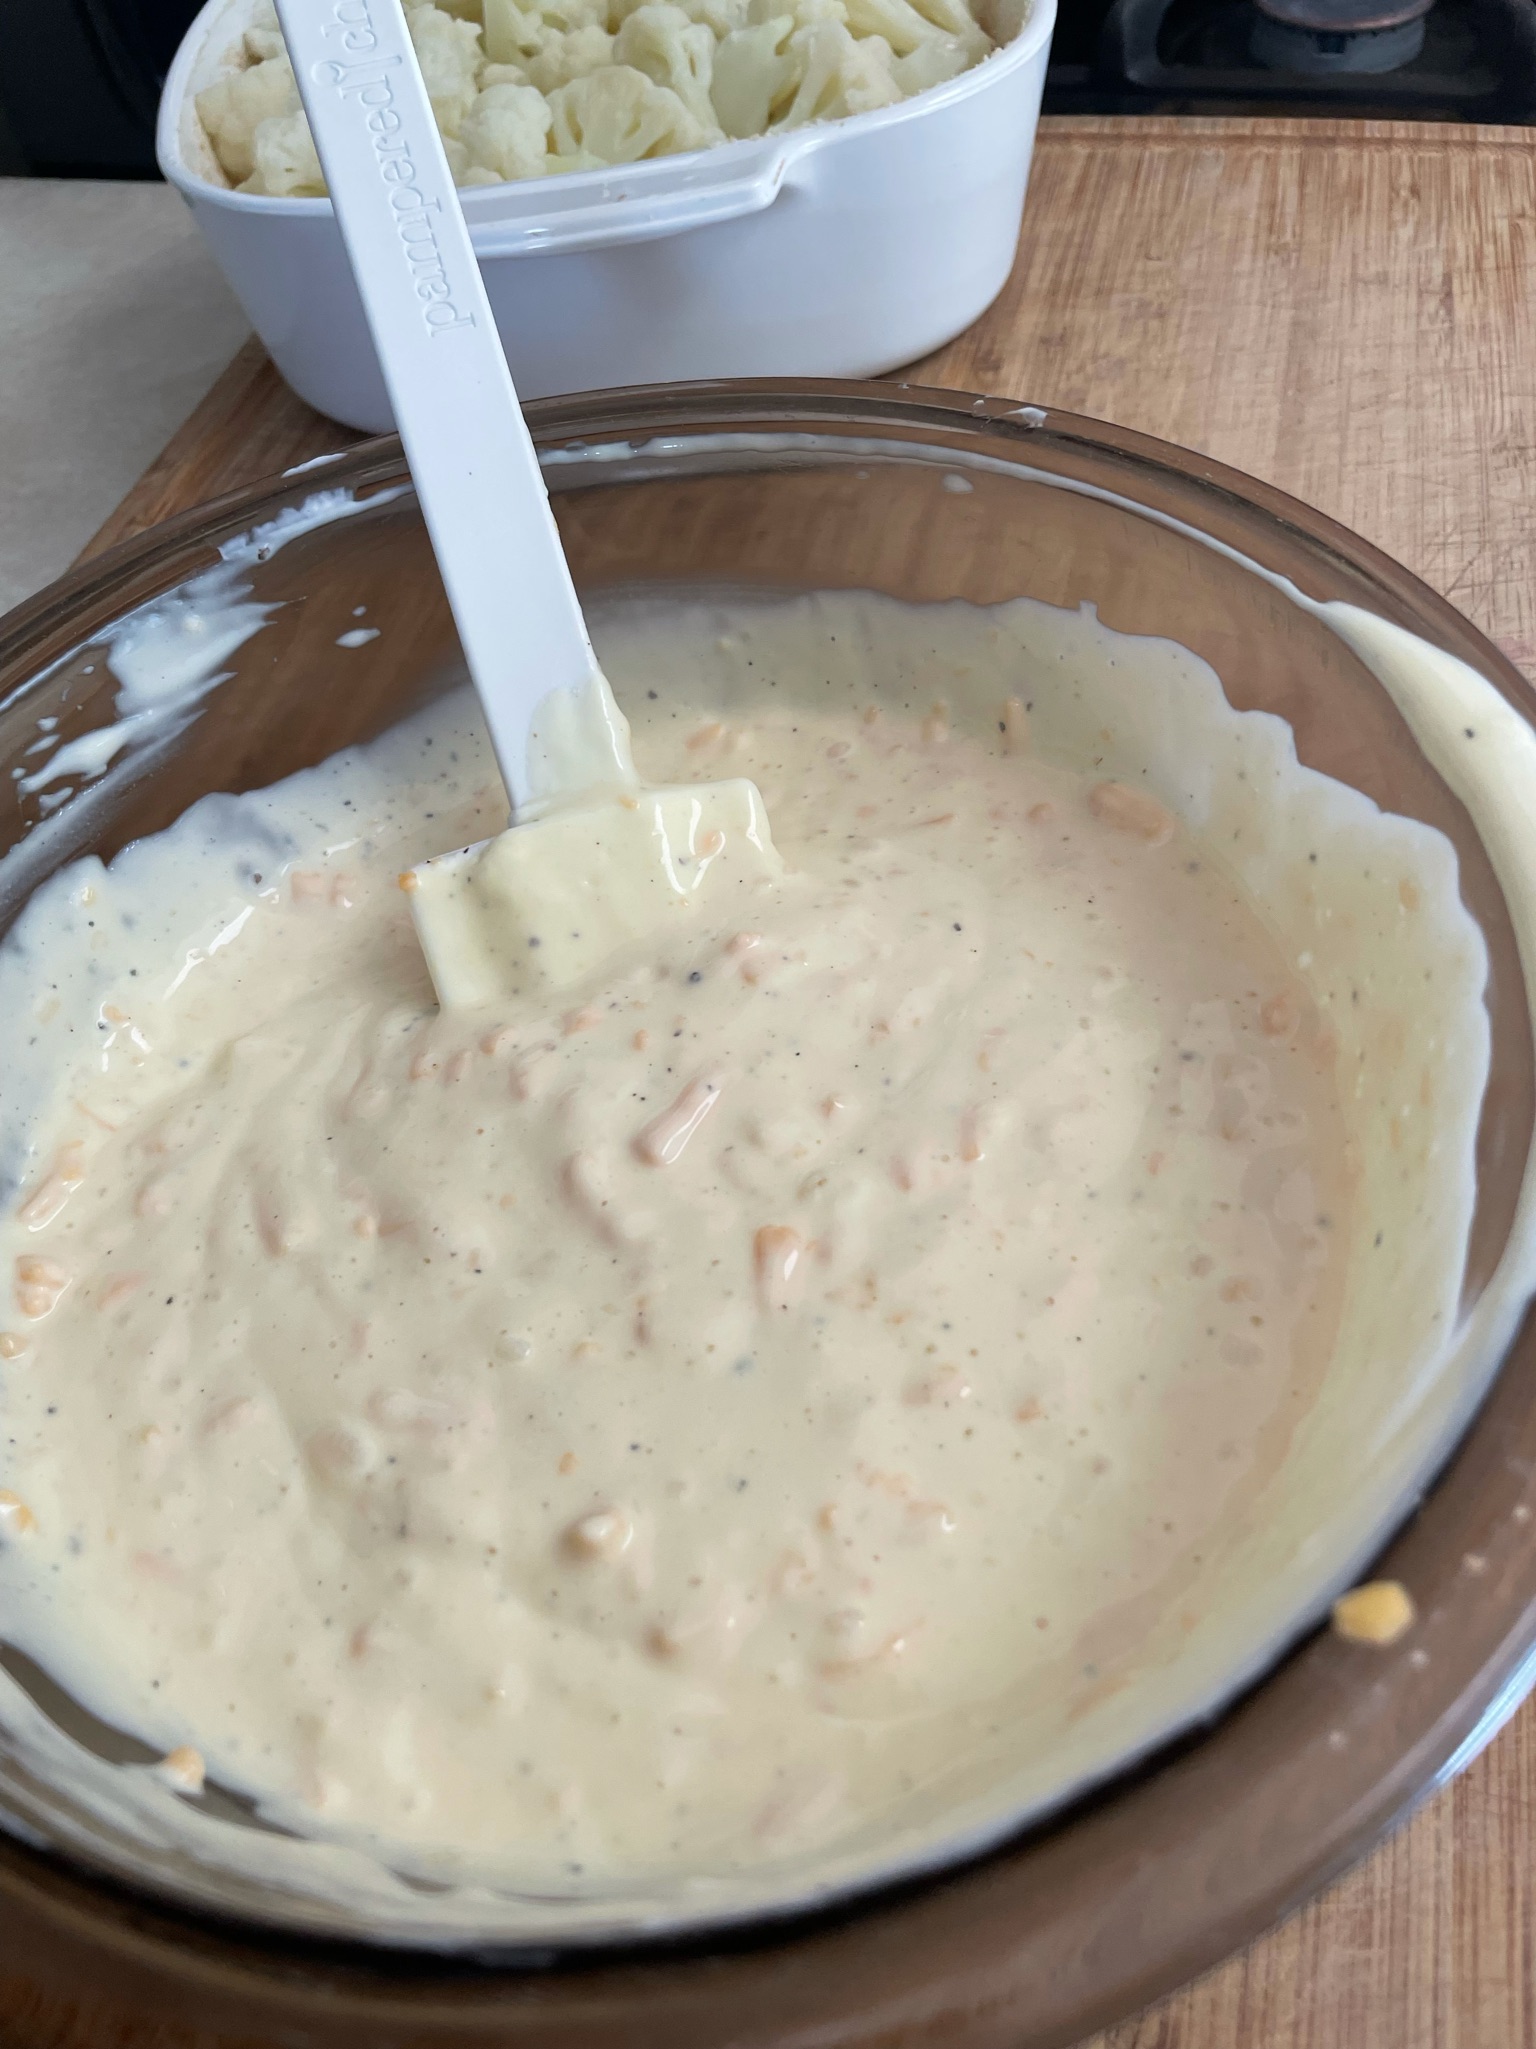
Preheat oven to 400 degrees F. Combine the sour cream, most of the cheese, egg, nutmeg, mustard, salt, and pepper in a small mixing bowl. Place the drained cauliflower into the prepared baking dish. Pour the sour cream mixture over the top of the cauliflower. Sprinkle the remaining cheese over the top. Bake for 20 to 30 minutes at 400 degrees F. Serve warm. Yield: 3-4 side-dish servings.
In a small bowl, soak the dried mushrooms in boiling water, covered, for at least fifteen minutes. Remove and chop the mushrooms, then return to the liquid, or set them aside. Reserve the liquid.
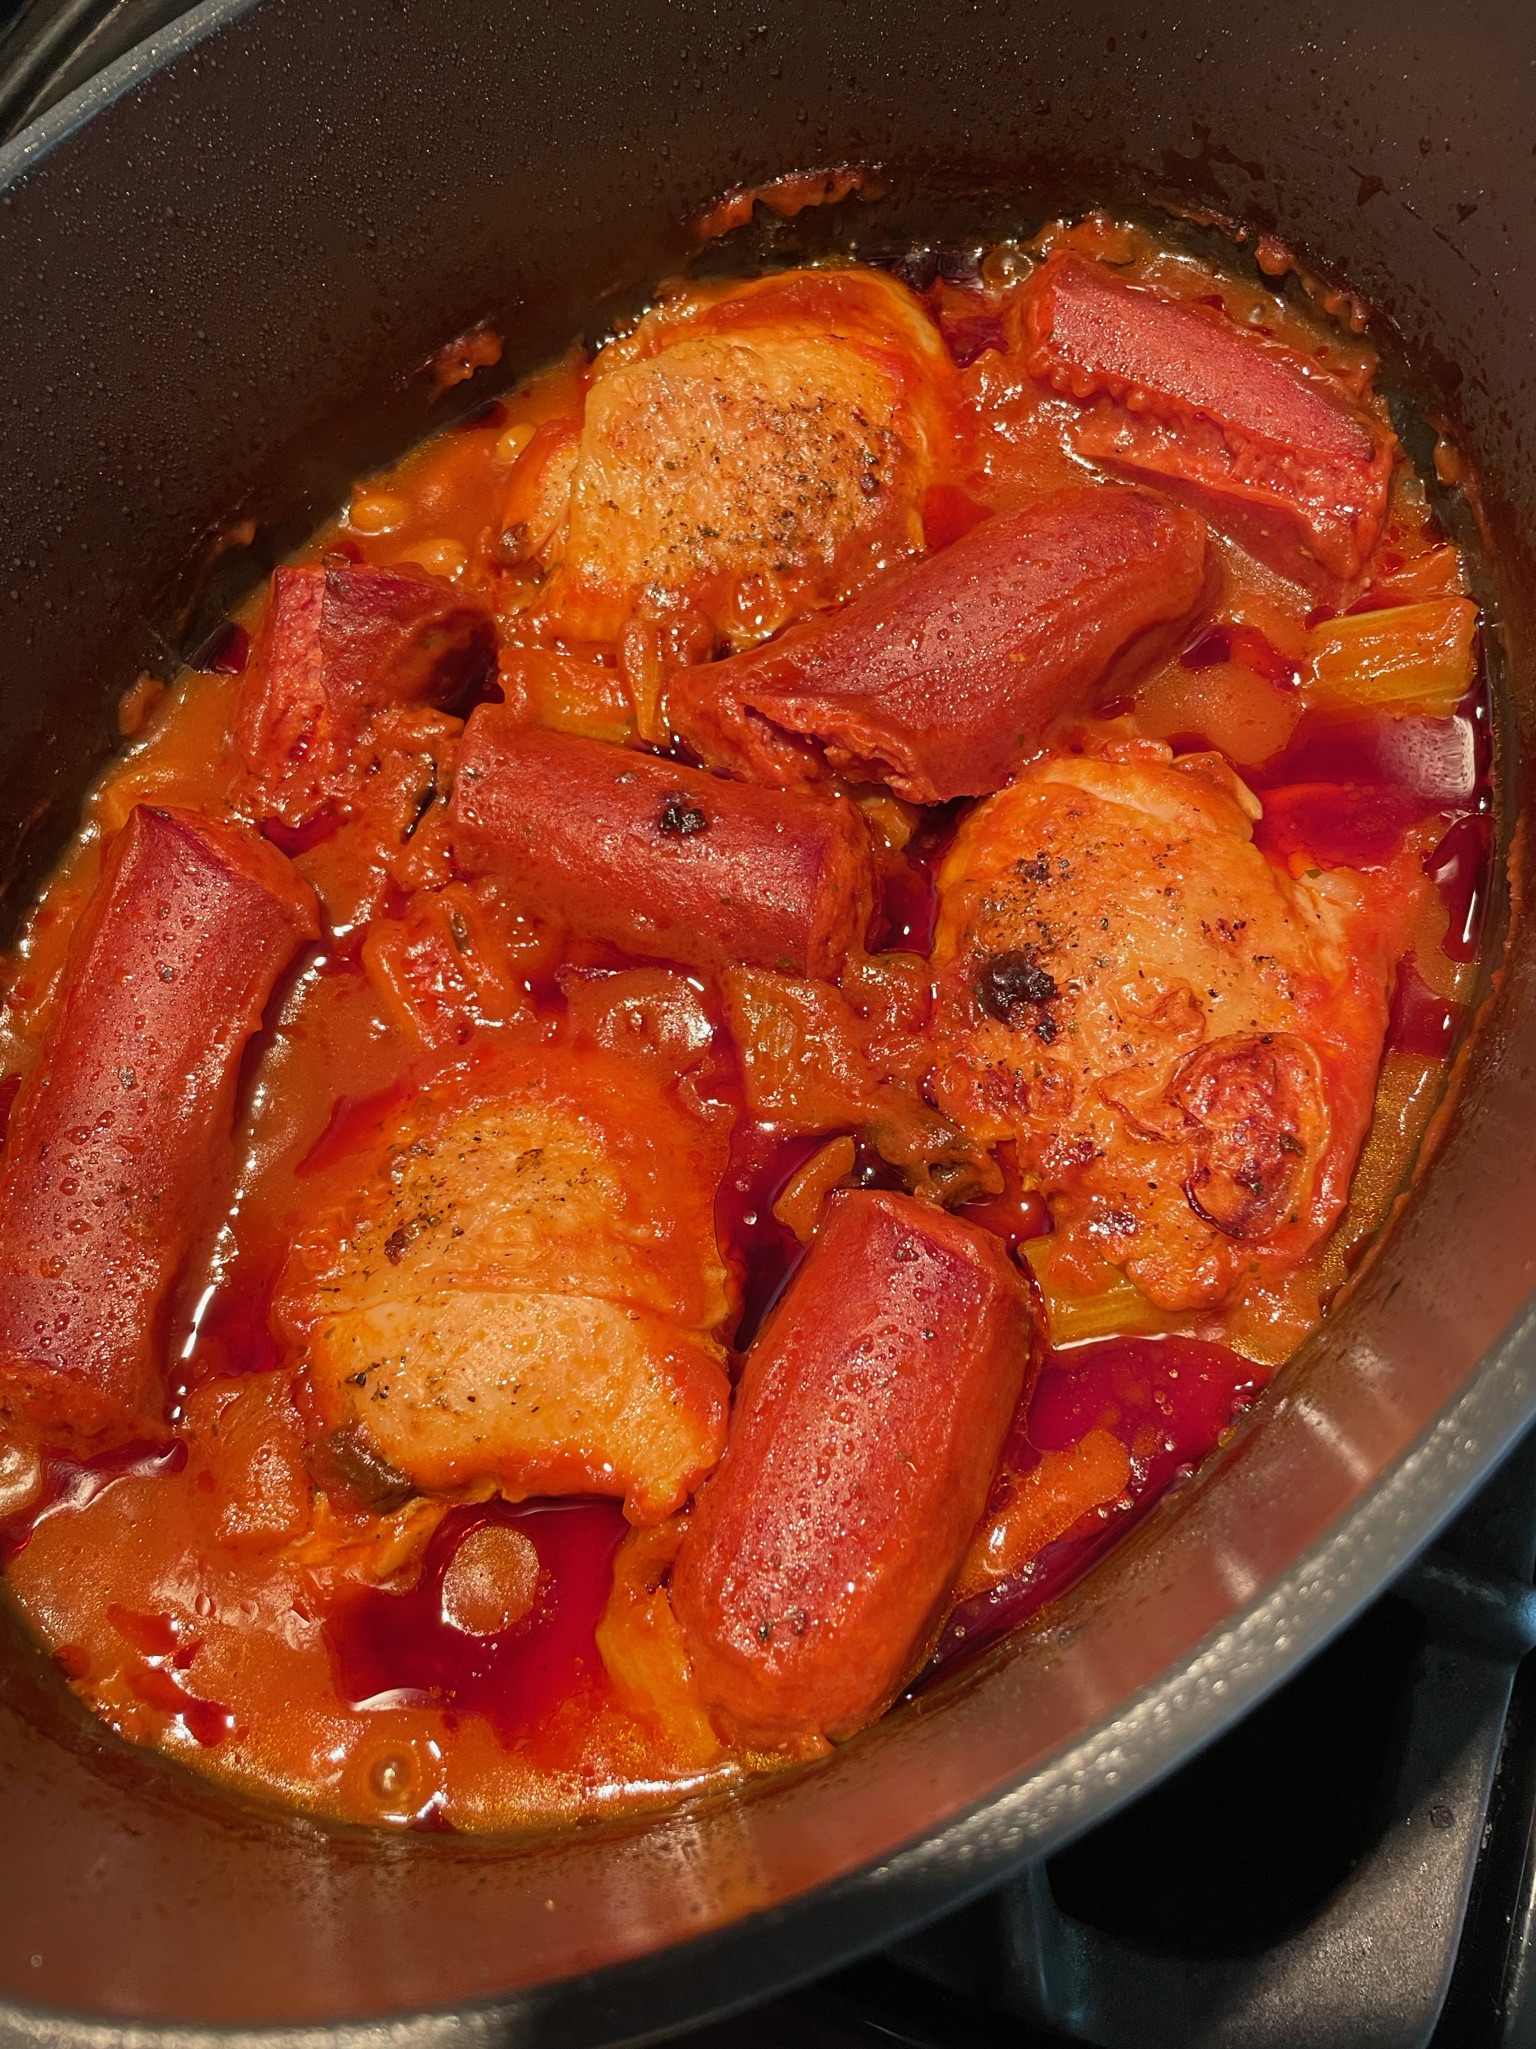
In a Dutch oven, heat 1 Tbsp. olive oil over medium high heat. Season the chicken with salt and pepper. Cut the sausage links into very large pieces, 4 inches or so. Brown the chicken and the sausage in batches until well browned. Add more olive oil as necessary. Remove chicken and sausage to a plate. Into the Dutch oven add the onions, carrots, and celery. Cook until onion is translucent. Add garlic and sage. Let it cook another minute or so. Stir in the wine and bay leaves. Let it simmer until the liquid has reduced by half. Stir in mushrooms with reserved liquid, tomato puree, beans, salt and pepper to taste. Nestle the chicken, skin side up, and sausage into the bean mixture. Cover and bake at 325 degrees for two hours.
Serves 4.
NOTES: Finding unsmoked kielbasa is a challenge. I think the dish will be great if you use a smoked sausage. I’m still using up a case of tomato puree that I bought awhile back. This is one of my favorite recipes for it. I made my own puree once by draining a 14 oz. can of tomatoes and pureeing the remaining tomatoes in a blender. Alternatively, you could try using about 4 Tbsp. tomato paste and a cup of chicken broth. I did not drain the fat from the pan before I added the vegetables, but you could do that if you had rendered what you considered too much fat from the chicken. I have used the automatic setting on my oven, so the dish was finished and sat with the heat turned off for 30-45 minutes. No problem. I was hoping it would be one of those leave-and-come-back-when-it’s-finished dishes and it was! The chicken just fell apart and was fork tender. No knives needed at the table. I suppose if you don’t have a Dutch oven you could use any type of appropriately sized baking dish, then just do everything in a skillet until you get to the baking part. I think 9 x 13″ might make too thin of a bean layer, so a dish with less square inches, but taller sides would be best. You never know until you try, though! Go forth and cook!
Today I don’t have a recipe, just an update. A week ago I got a Traeger pellet grill smoker. Google it if you don’t know what it is. I’ve used it for the protein component of dinner for five days already. I’ll start posting recipes once I get it dialed in. The first night was thin rib-eye steaks for a party we were having. Meh. They weren’t terrible, but it was a waste of good money on good meat, the price of which has skyrocketed the past month. Sigh. But since that first go, I’ve tried lamb chops, chicken leg quarters, and Chorizo Pork Burger. Country-style pork ribs are on the Traeger right now. The lamb chops were to die for. I think it may be the best meal I have ever cooked. Unbelievably delicious. If you’re in Anchorage, Alaska and have access to Costco. Go buy their lamb chops and try this. I sprinkled them with kosher salt and let them sit in the refrigerator for a couple hours. Then I sprinkled them all over with herbs de provence and then sprinkled with olive oil. Onto the Traeger at roughly 225 degrees for an hour or so. If you’re not a lamb chop aficionado, like I am, then just know that lamb chops are meant to be served medium rare. That is perfection. And the whole smoking thing . . . this was simply amazing. I have never eaten such a wonderful meat. Never.
The Chorizo Pork Burgers last night were really tasty. We got caught up in work during the process, so basically it turned into delicious burgers tossed onto buns and called good. I should have done more, but didn’t have time to complement the burgers. Next time.
The chicken leg quarters were okay, I mean good, but not memorable.
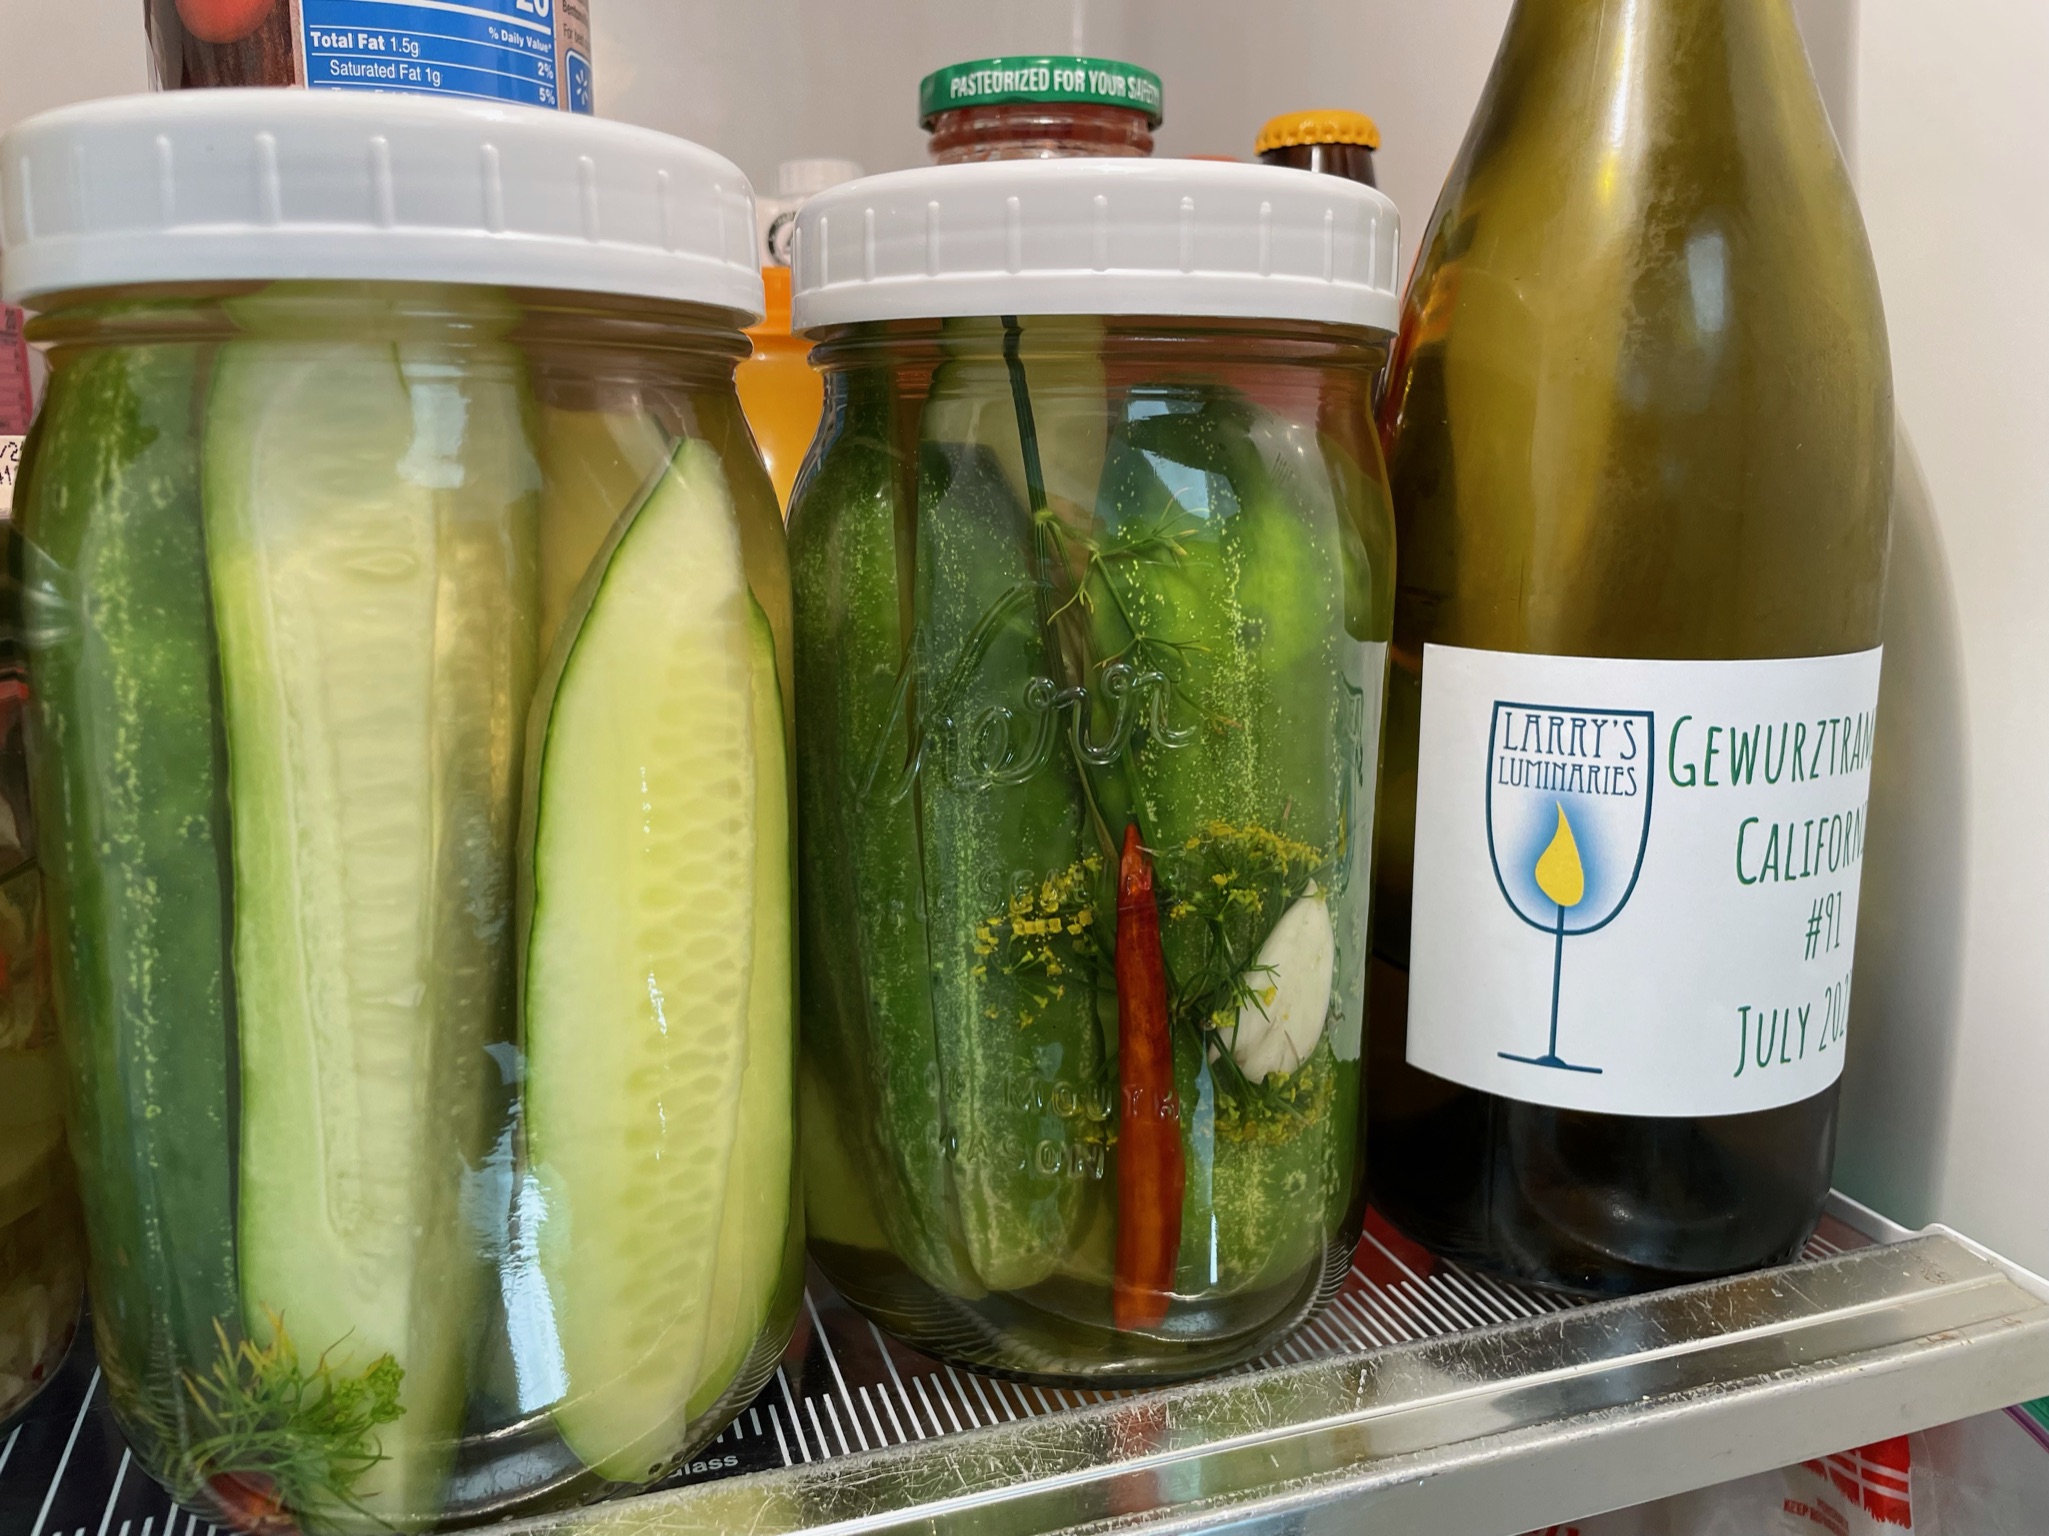
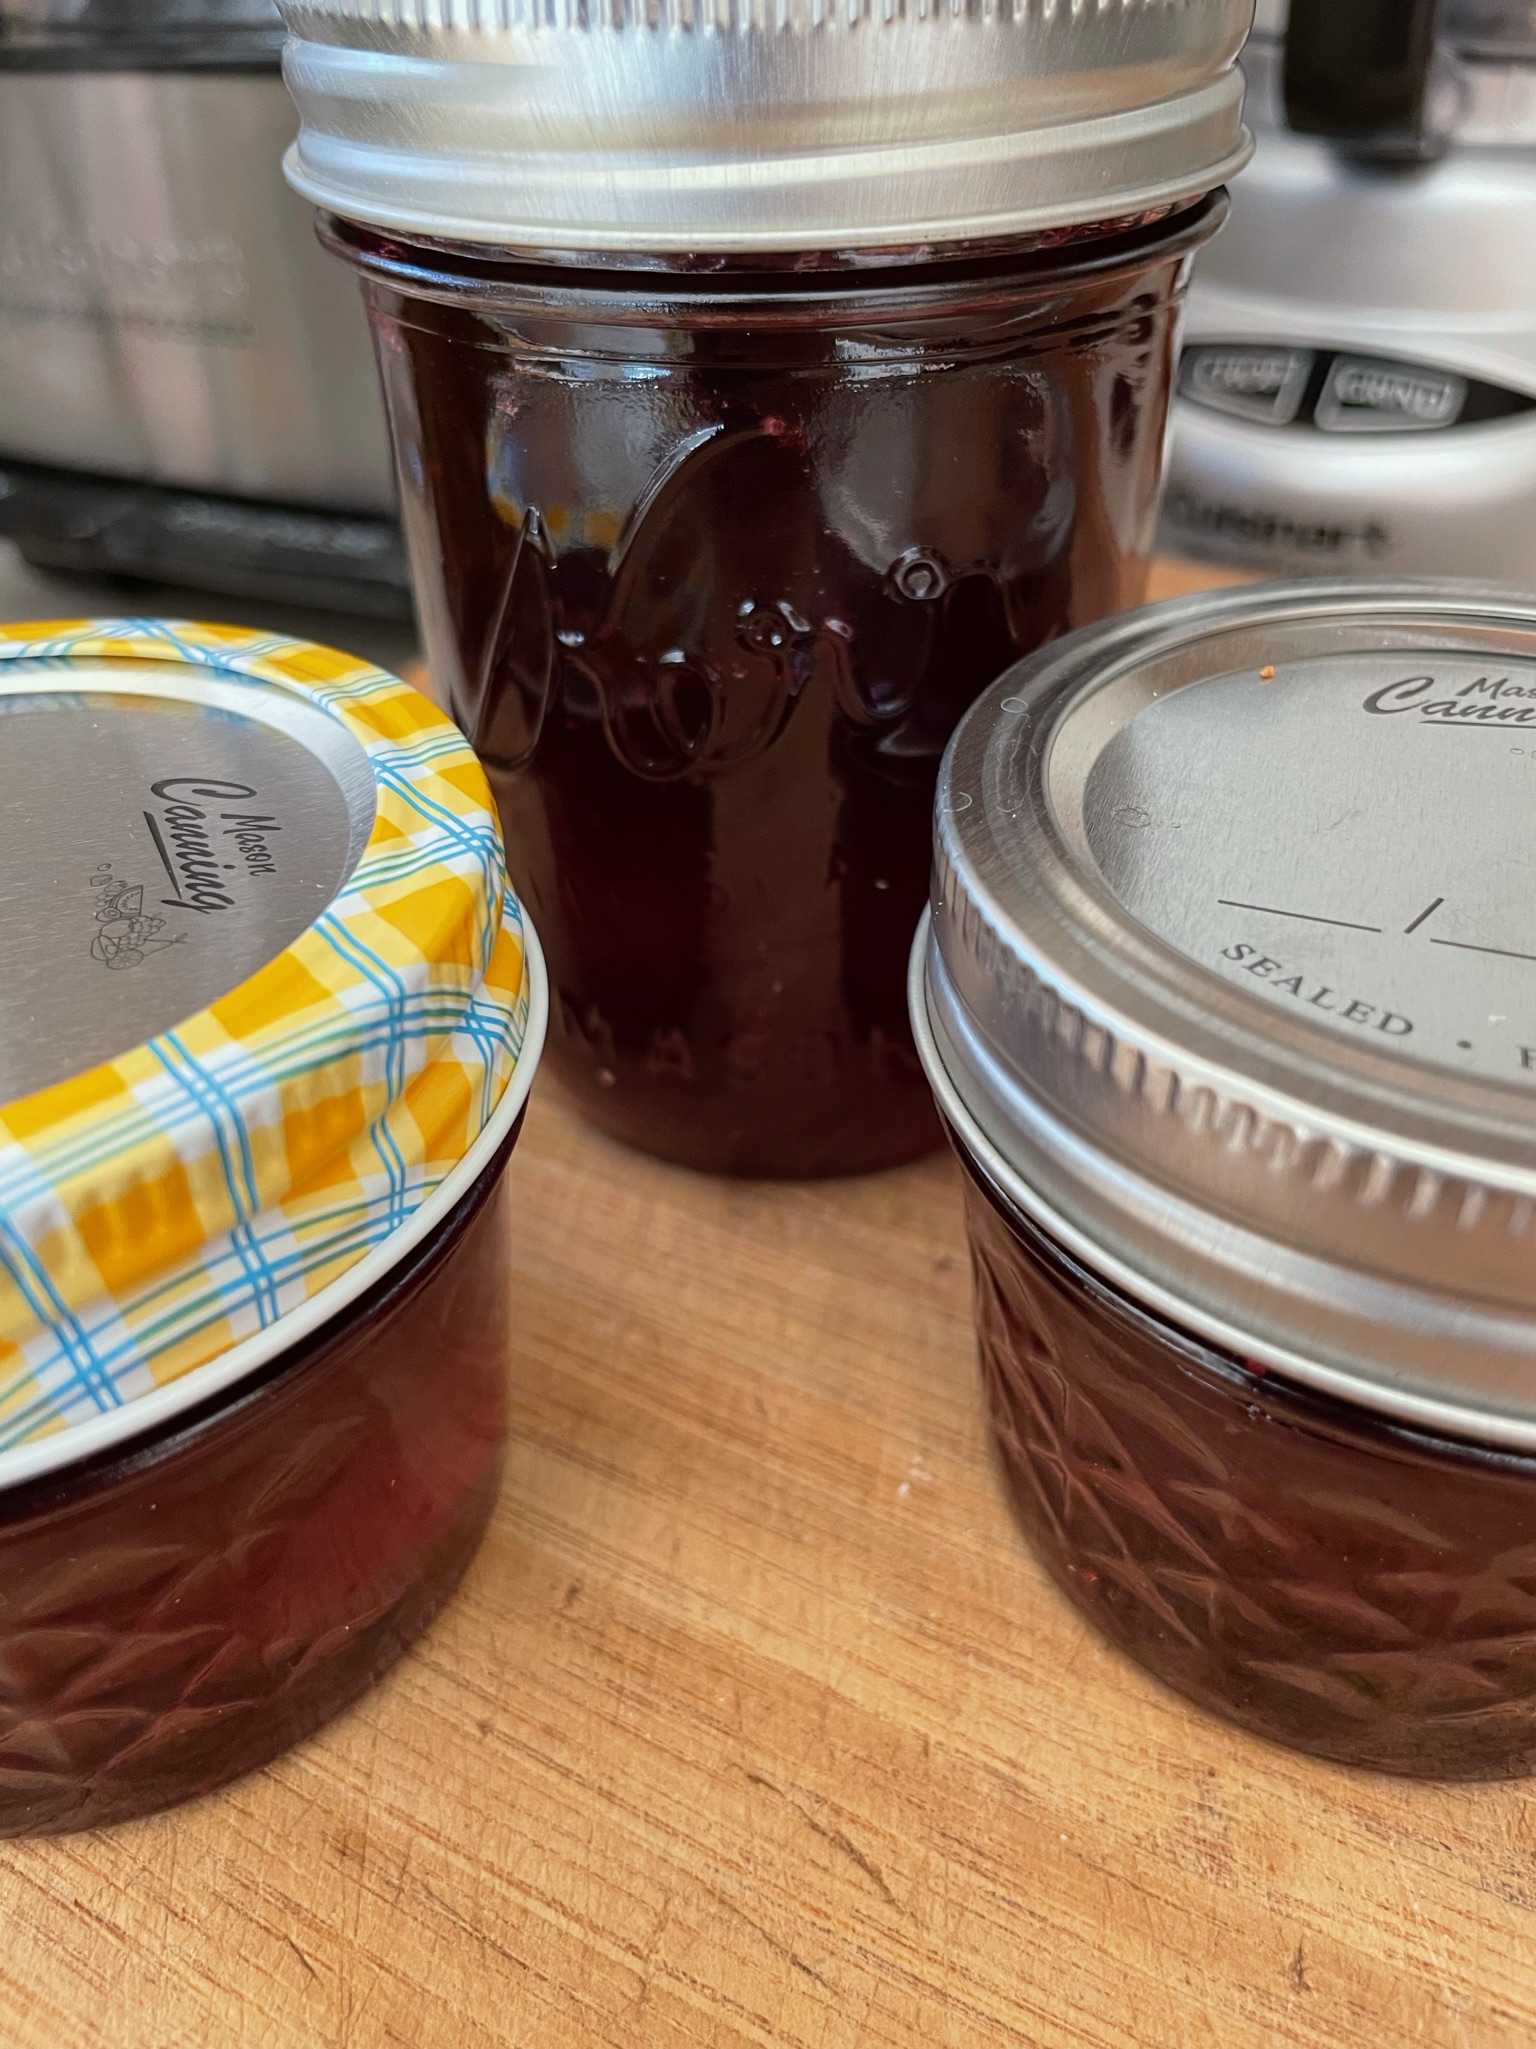
Today. My husband has some ripe cucumbers, so we went foraging through his greenhouse. I made two quart jars of Refrigerator Dill Pickles and canned five pint jars of Spicy Dills. Lo, and behold! while scavenging in the garden area of rogue raspberries I discovered long-lost currants, lots of them! In the end I picked three cups! I’ve updated my currant jelly recipe.
The day started with me making ricotta cheese. My husband has FINALLY acknowledged that I might need a bigger kitchen! I’ve got ricotta cheese, currant jelly, canned and refrigerator dill pickles all done. Apple Razzy Pie is in the oven and I’ve got a couple cups of golden raspberries in a bowl in the refrigerator because I simply do not know what I’m going to do with them. The whole day started with me wanting to make a Ricotta Raspberry Cake. The ricotta is not cooperating. Sigh again. LOL. Welcome to my day in the rain forest of Rabbit Creek, Anchorage, Alaska!