

Several of my family members have been visiting my parents in Nevada. Thor decided it was a good idea to order a pelmeni mold and have it delivered here. It was a good idea. It didn’t arrive until after he had left, so I had carte blanche to give it a try. Pelmeni is a small Russian dumpling that my parents love to eat. They buy bags of the frozen dumplings whenever they can find them. Pelmeni are smaller than Polish pierogi, but the fillings and method are probably similar.

I didn’t really understand how to use the mold, and the packaging is in Cyrillic script (I only know English, so there’s that), so I went to YouTube and found JeffMara Cooking’s video to see how it’s done. The video is awesome and gave me the confidence to proceed. I didn’t use their recipes, just their video how-to guide. For the recipe, I turned to Julia Frey’s Vikalinka. It turned out that her dough to filling ratio was just right. I did my own thing as far as mixing dough and making filling. For this first foray into pelmeni making, I used a meat filling, but we have eaten potato and cheese-filled pelmeni before. Mushroom filling also sounds great. Next time!
- Dough Ingredients
- 3 cups flour
- 1 tsp. salt
- 1 cup water
- 1 egg
- Meat Filling Ingredients
- 1 lb. ground beef
- 1 lb. ground pork
- 1/2 large onion, grated or run through a food processor
- 2 tsp. salt
- Remaining Ingredients
- Generous amount of flour for rolling and keeping pelmeni separated
- Large pot of salted water
- 2 bay leaves
- 1-1/2 tsp. dried dill weed
- Butter and/or sour cream for topping
Other recipes call for making the dough in your food processor, but I don’t have one here, so . . . stir together flour and salt. Whisk the egg into the cup of water. Stir the water mixture into the flour mixture. Stir as best you can until it’s all incorporated. Turn out onto a lightly floured surface and knead until the dough has elasticity. Use as little flour as possible for this stage. Place the dough back into the bowl and cover with a damp tea towel. Let stand thirty minutes.
In a large bowl mix together the filling ingredients. Place the filling in the refrigerator as you wait for the dough.
Set up a work station for forming the pelmeni. You’ll need a place to roll the dough (I have a large silicone baking mat), a place to load the mold with filling (we used a highly floured cutting board), a floured place to drop the pelmeni out of the mold (a parchment-paper-covered cookie sheet).
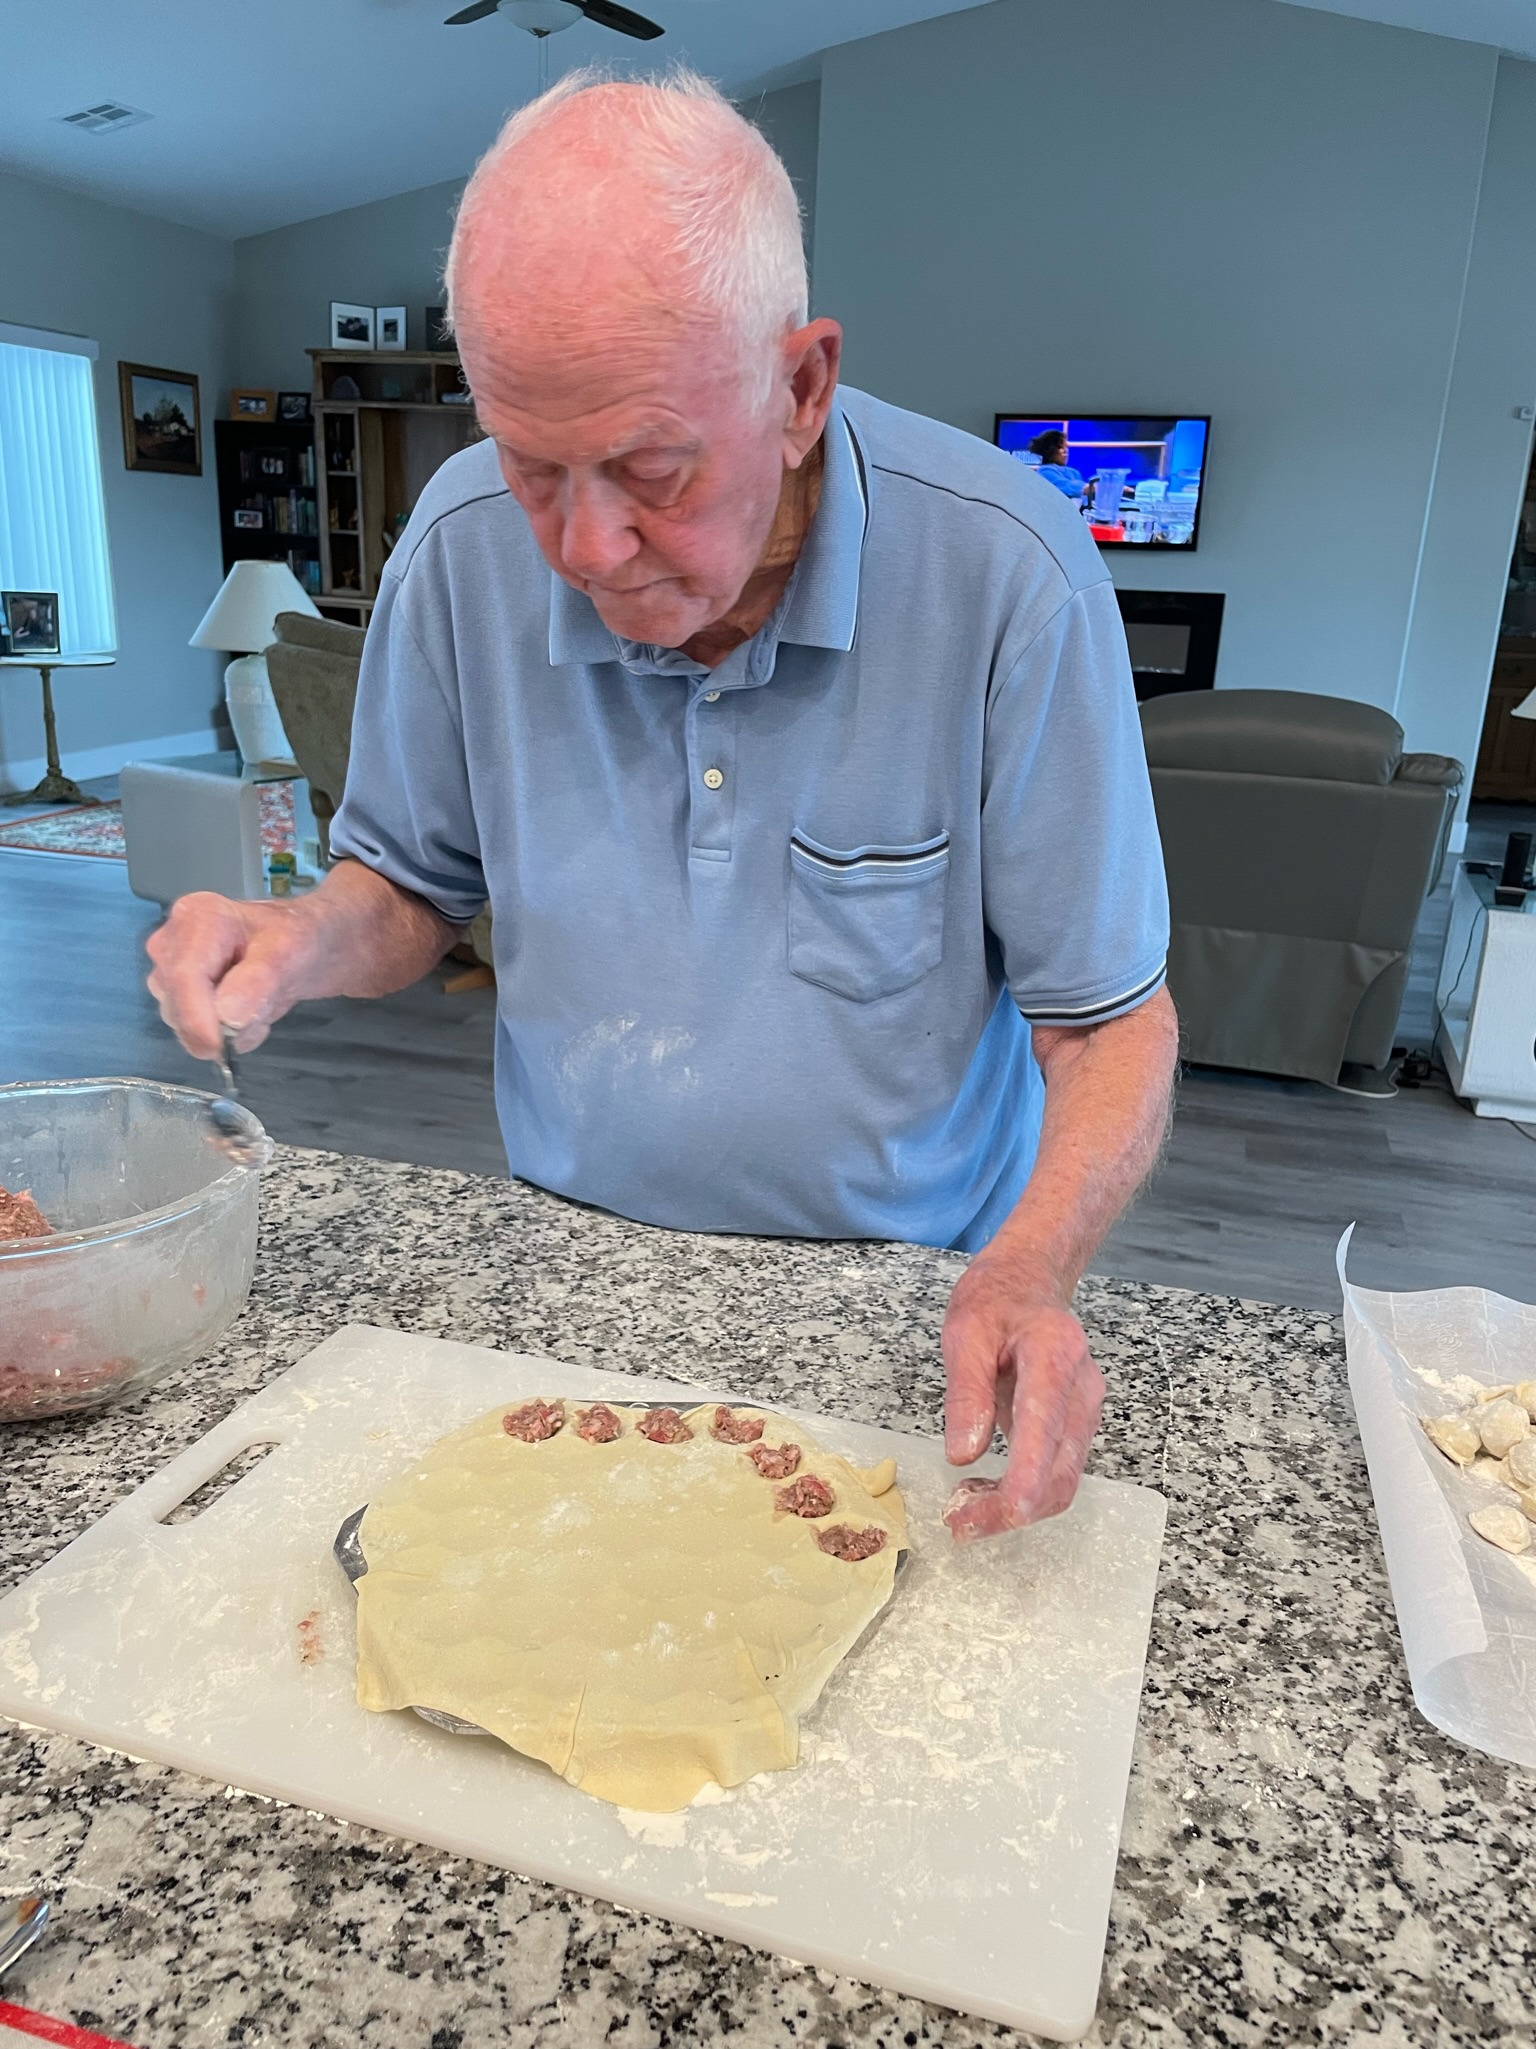
Divide the dough into four sections. Each section will be divided in two, one for the top and one for the bottom. If it’s easier for you to just divide it into eight sections from the start, go for it. Keep the dough you are not working on in the bowl under the damp tea-towel. The pelmeni mold I used is 10″ in diameter. On a floured surface with a floured rolling pin, roll out the dough to 10″ in diameter. Flour the mold as best you can. This will be easier the second batch. Place the 10″ dough circle on the pelmeni mold. With a teaspoon, or your fingers, set about a teaspoon of filling into each indentation. Make sure you have separation between the indents. Since there were two of us making these and we worked quicky, we did not keep the filling refrigerated between batches, but if I were doing it alone I would. As the filling warms it gets a little messy and more difficult to get into the mold without finagling.


Roll out another 10″ piece of dough and place over the top of the mold. Press the top down lightly with your hands. With the floured rolling pin, starting at the center, using a back and forth motion, roll across the top of the mold until you can see the mold itself sticking through. Remove the dough along the edges and set it aside in the dough bowl under the damp cloth. Turn the mold upside down over a highly floured surface. Some pelmeni may drop out, but you’ll have to poke some out with your finger. Take a care not to pierce the dumplings. This will be easier the second time because flour will adhere to the mold better. Place the dumplings onto a highly floured surface until you’re ready to cook or freeze them.

Repeat until all four batches are made. I then used the scraps to make two more batches. That was hard to do. In retrospect I should have added more water to soften the dough scraps and make it easier to roll them out. In any event, we ended up with about 200 pelmeni.
Add bay leaves and dill weed to a pot of salted water and bring it to a boil. We also had one spoonfull of filling left, so we rolled it into a ball and dropped it into the pot for extra flavor. Drop a single layer of pelmeni into the pot. Once it comes back to a boil, let them simmer for ten minutes. Remove with a slotted spoon and serve hot, topped with butter and/or sour cream. Yummy!

It seems unlikely that you will use all these pelmeni at a single seating. Mom and Dad say that these do not freeze well after they are cooked and all the recipes I’ve seen call for them to be frozen prior to cooking. You can either set a layer of them into the freezer until frozen and then drop them into bags for long-term freezer storage, or you can roll the fresh pelmeni, a few at a time so they remain separated, in cling wrap and place into a bag and then freeze. To cook, we are going to put them directly into boiling water from frozen, wait for the water to come back to boil, and simmer for ten minutes. That’s the plan anyway.

2 comments
Comments feed for this article
February 24, 2022 at 7:27 pm
Greg
We cook ours in chicken broth, then use butter, worstishire sauce, and a splash of lemon juice as the toppings. Another way I have seen that is good is: Water and Corn oil for cooking, and then just a little of the water oil in a bowl with the Pelmeni, topped with sour cream and some fresh dill.
February 25, 2022 at 8:19 am
Paula Lindstam
Those sound yummy!