• Ingredients
  • 1 Tbsp. lemon zest
  • 3/4 cup lemon juice
  • 1-1/2 cups water
  • 4-1/2 cups sugar
  • 1 envelope Certo liquid fruit pectin
  • Optional: yellow food coloring

You will need 3-4 juicy lemons to make this. Stir together lemon zest, lemon juice, and water. Let stand 10 minutes. Strain 2 cups liquid into a large pan. Stir in sugar. Heat to a full roiling boil and stir in Certo. Stir in food coloring, if using. Bring to a full rolling boil again and boil 1 minute. Remove from heat and skim off foam. Ladle into jars and seal.

NOTE: I do not water-bath can my jam or jelly. There is so much sugar in it that it acts as a natural preservative. Back in the olden days when my mother made jam and jelly, she poured melted paraffin over the top of the jam or jelly, instead of using lids. Paraffin “sealed” the product and kept air from turning the it brown. I have done it that way, too, but find that lids are less muss. I screw the lids onto the jars and turn them upside down for 30 minutes. The heat seals the jars to keep air out. Of course, I only do this with fruit jam and fruit jelly loaded with sugar.

I used a few drops of yellow gel food coloring in this. Lemon jelly has the same bright taste as marmalade without the rinds or zest. It was super easy to make.
  • Ingredients
  • Potatoes, 4-5 large
  • Salt and pepper, or just seasoning salt
  • Tartar sauce, 3-4 Tbsp.
  • Olive oil
  • Broccoli, one small head, cut into florets
  • Salmon pieces, about 2-1/2 cups (or lightly smoked salmon)
  • Roma tomatoes, about 3 of them, chopped
  • Chives, dried or fresh, about 1 tsp. dried
  • Salt and pepper
  • Juice of 1/2 lemon

Preheat oven to 400 degrees F. Prepare a shallow baking dish with non-stick spray. [I use a 9″ ceramic pie pan.]

Boil potatoes until soft. Strain potatoes and season with salt and pepper (or seasoning salt). Mash the potatoes. Stir tartar sauce into the mashed potatoes. Stir about 1/2 Tbsp. olive oil into mashed potatoes. Spoon the mashed potatoes into the prepared baking dish and tamp it into the bottom and sides with a spoon or rubber scraper. Drizzle with olive oil. Bake at 400 degrees F for 20-30 minutes, until golden.

Steam or broil or otherwise cook broccoli. Set aside.

Stir together salmon, tomatoes, chives, salt and pepper, and lemon juice. Set aside.

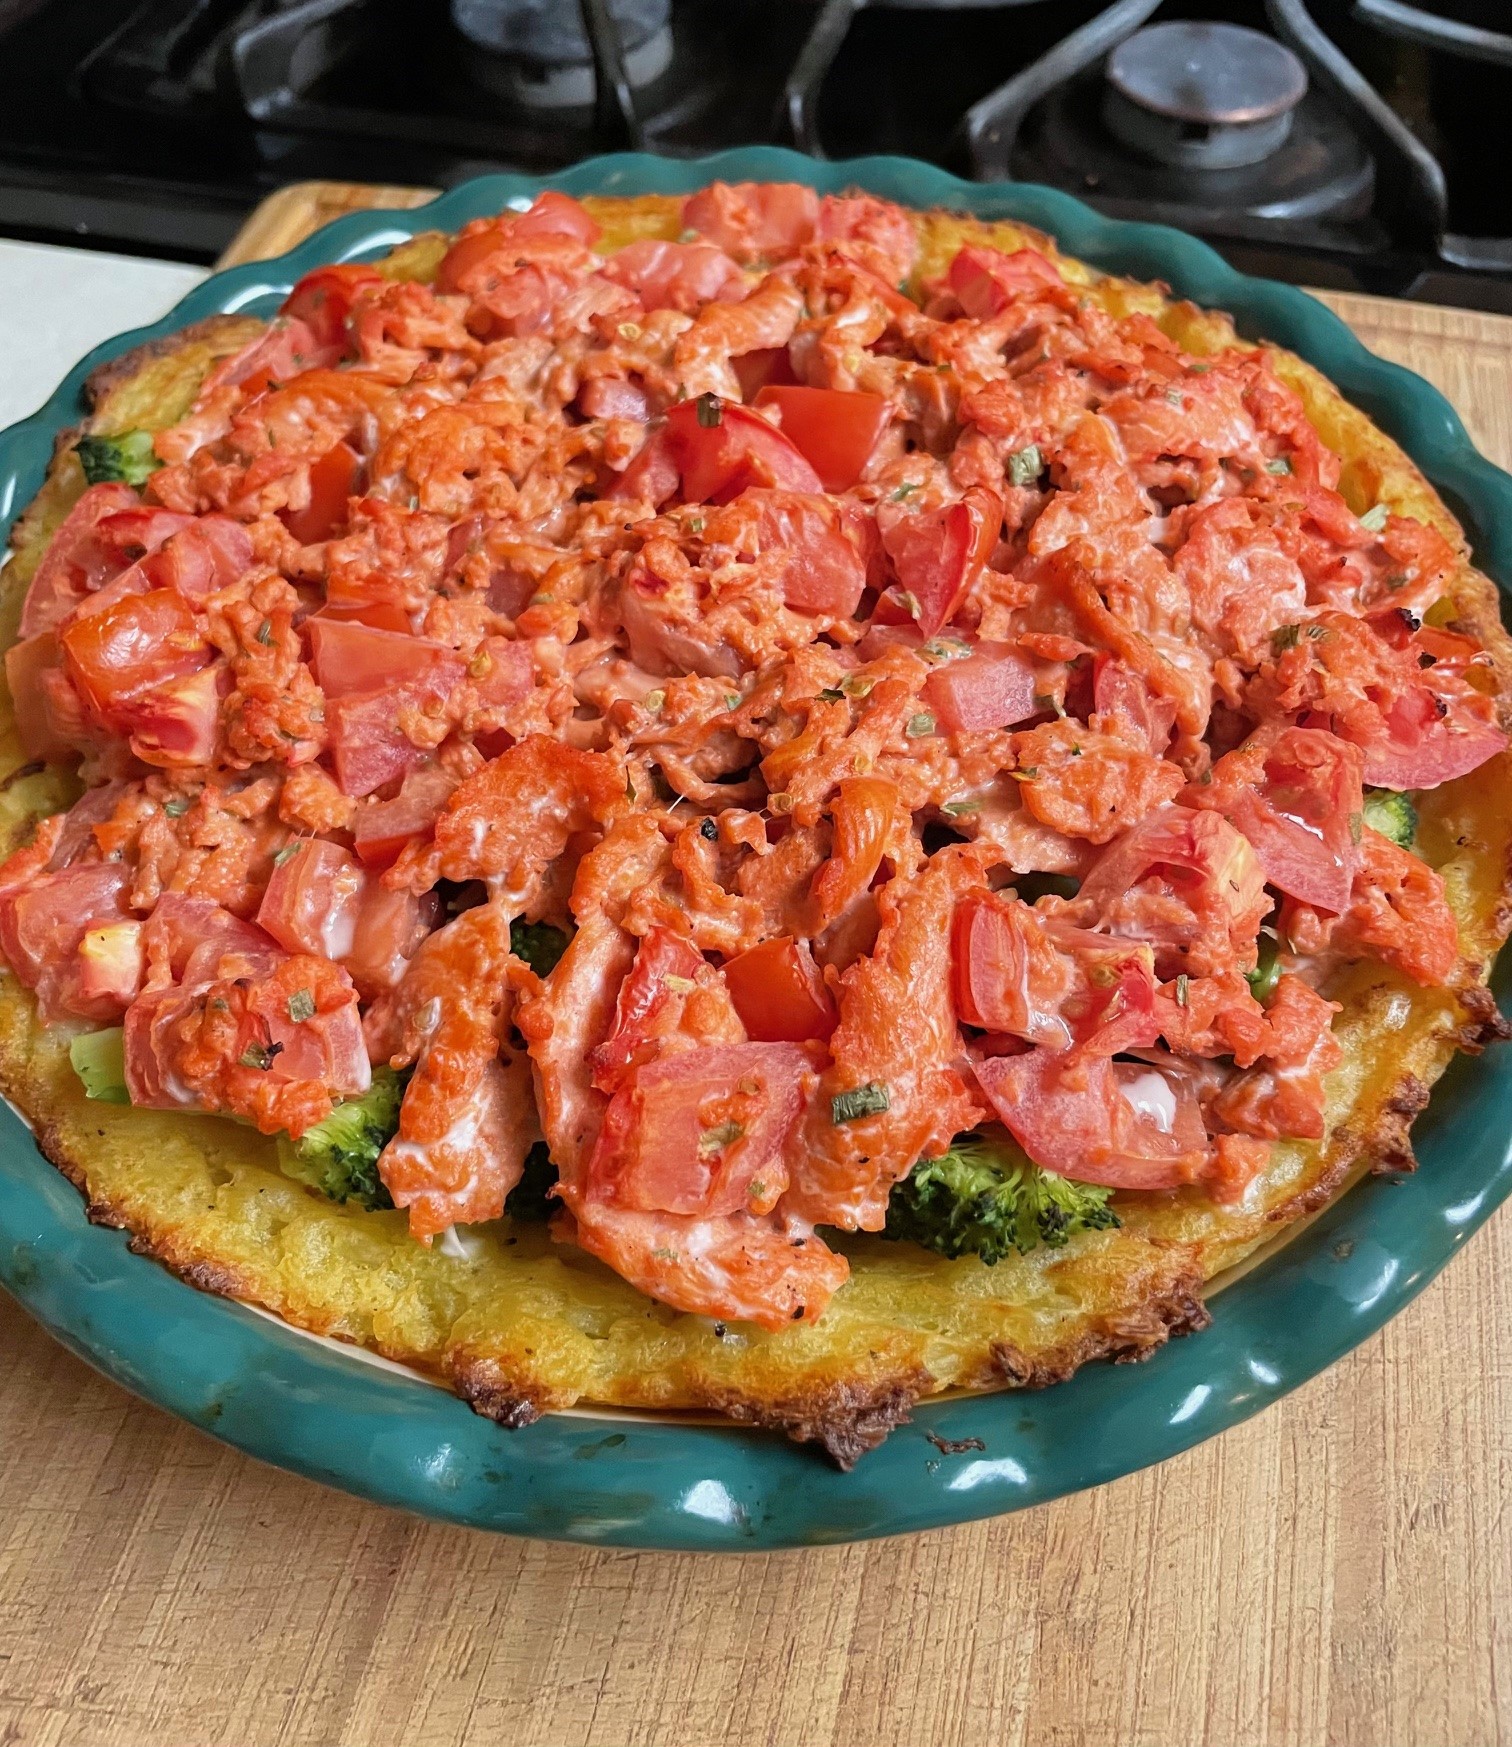
Remove potatoes from oven and arrange broccoli over the top. Scoop the salmon mixture over the top of the broccoli. Bake an additional 15-30 minutes at 400 degrees F, until fish is cooked.

*Lightly Smoked Salmon . . . Spread one salmon filet with Dijon mustard and then sprinkle with salt and pepper (heavy on the pepper). Smoke at 225 degrees F for 1-1/2 hours. Good to go.

NOTES: This recipe started from Jamie Oliver. I have SO MUCH salmon. I had lightly smoked a salmon filet, but then realized I wasn’t having a dinner party so what would I do with it all. Improvise! I couldn’t really figure out where Jamie Oliver was headed just by reading the recipe, but once I started making this, I was like, “Oh, I get it!” So, that time I used smoked salmon instead of regular. It was already “cooked” instead of raw. I didn’t use any prawns because, well, I have SO MUCH salmon. I get salmon from my friend Sandy, and she had sent me a couple frozen bricks of boneless salmon meat. Another time, I used nearly the whole brick making this. It’s perfect! I didn’t have cherry tomatoes, so I used Romas instead. And on and on it goes. Mixing tartar sauce with mashed potatoes was the real mind-blower, but it’s great! I cannot overstate how flavorful this dish is, a mix of earthy and tart. Try it!

  • Ingredients
  • 2-3 large potatoes
  • 1/3 cup milk, approximate
  • Salt and pepper
  • Olive oil
  • 2 cups finely sliced cabbage
  • 1 cup shredded carrot
  • 1 egg
  • 1/2 cup flour

Make mashed potatoes: Cut the potatoes into manageable chunks for boiling and boil until they are cooked. While they are still warm, mash them and stir in milk until they are a firm mash, not too loose. Stir in salt and pepper.

While the potatoes are cooking: Heat olive oil in skillet and stir fry cabbage and carrots until very soft. Sprinkle with salt and pepper.

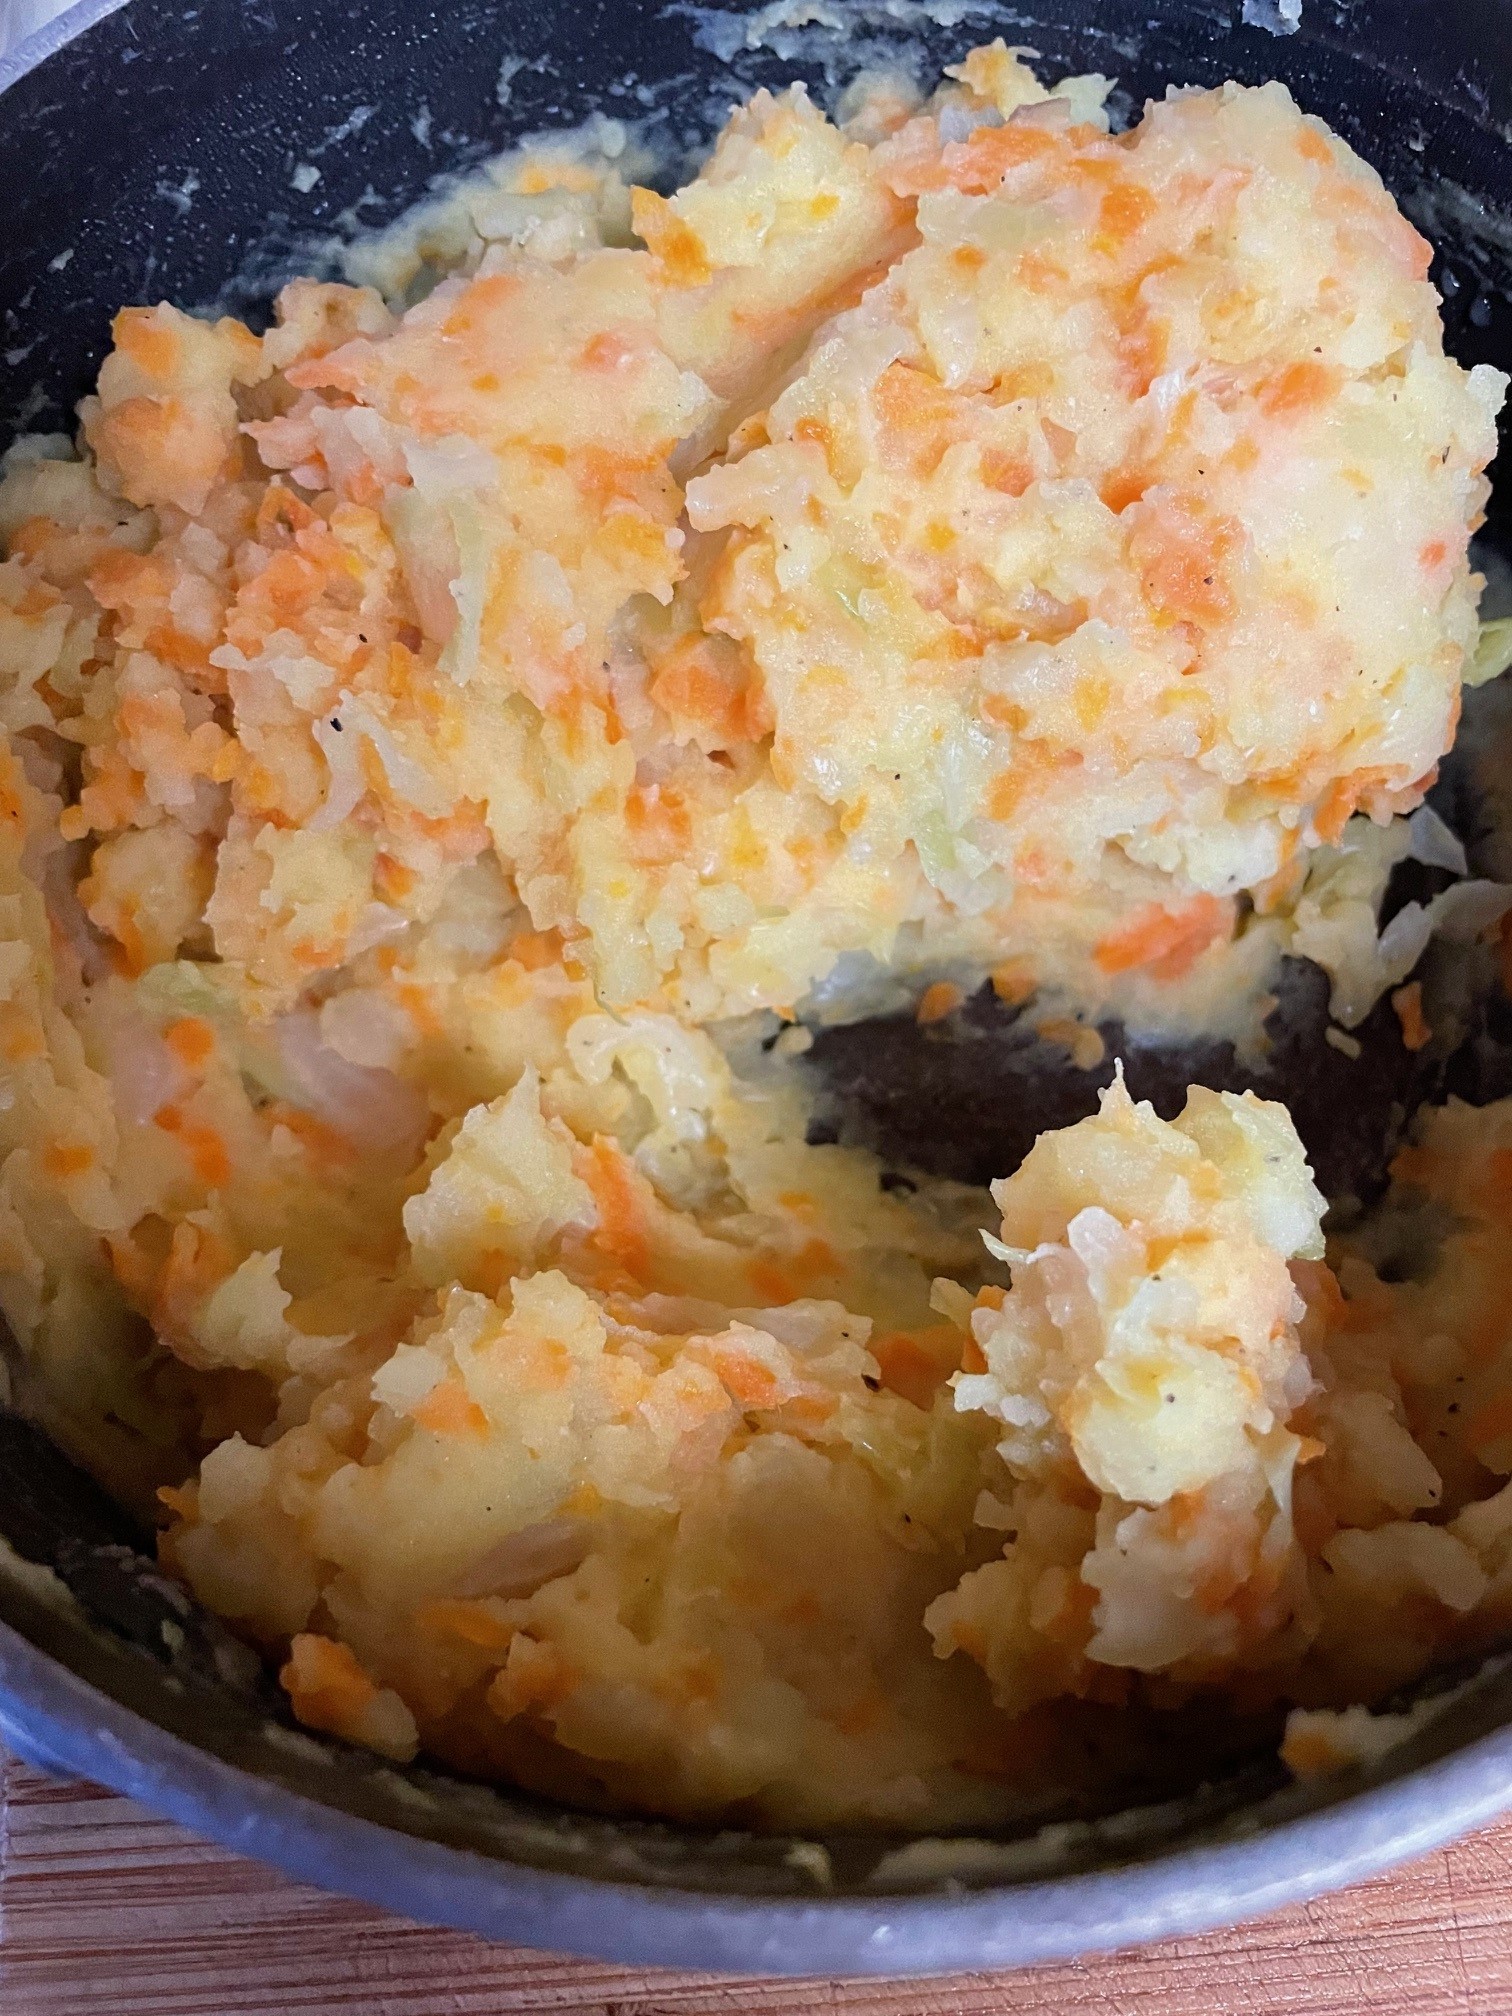
Stir the cabbage and carrot mix into the mashed potatoes and mix together very well. Set aside to cool to room temperature.

Mix the egg and flour into the mashed mixture.

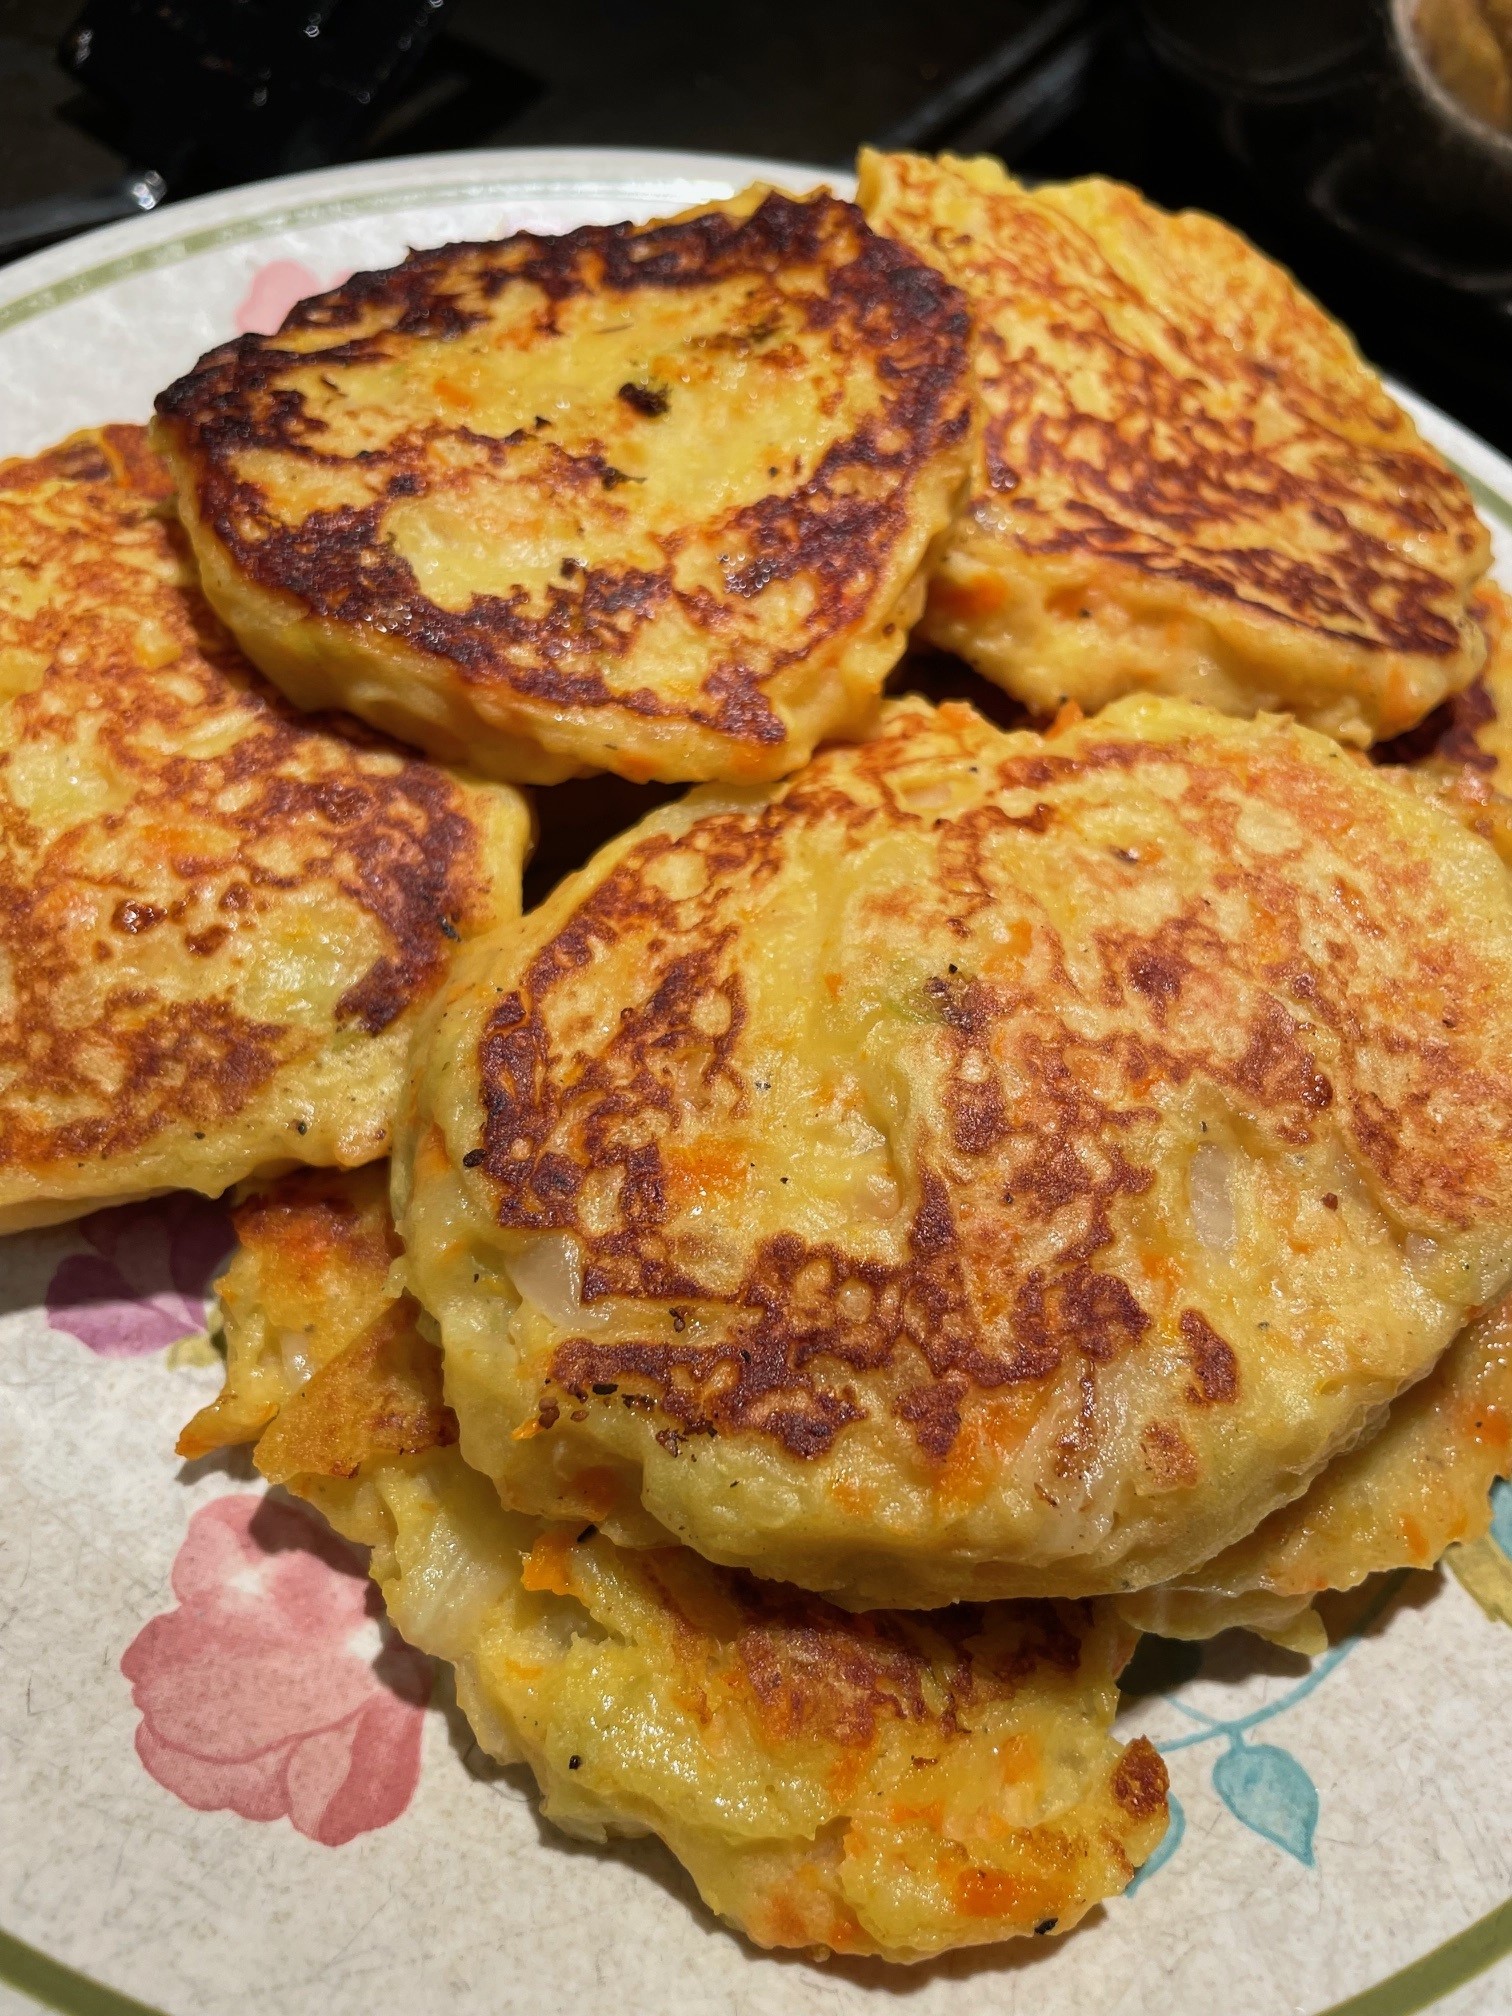
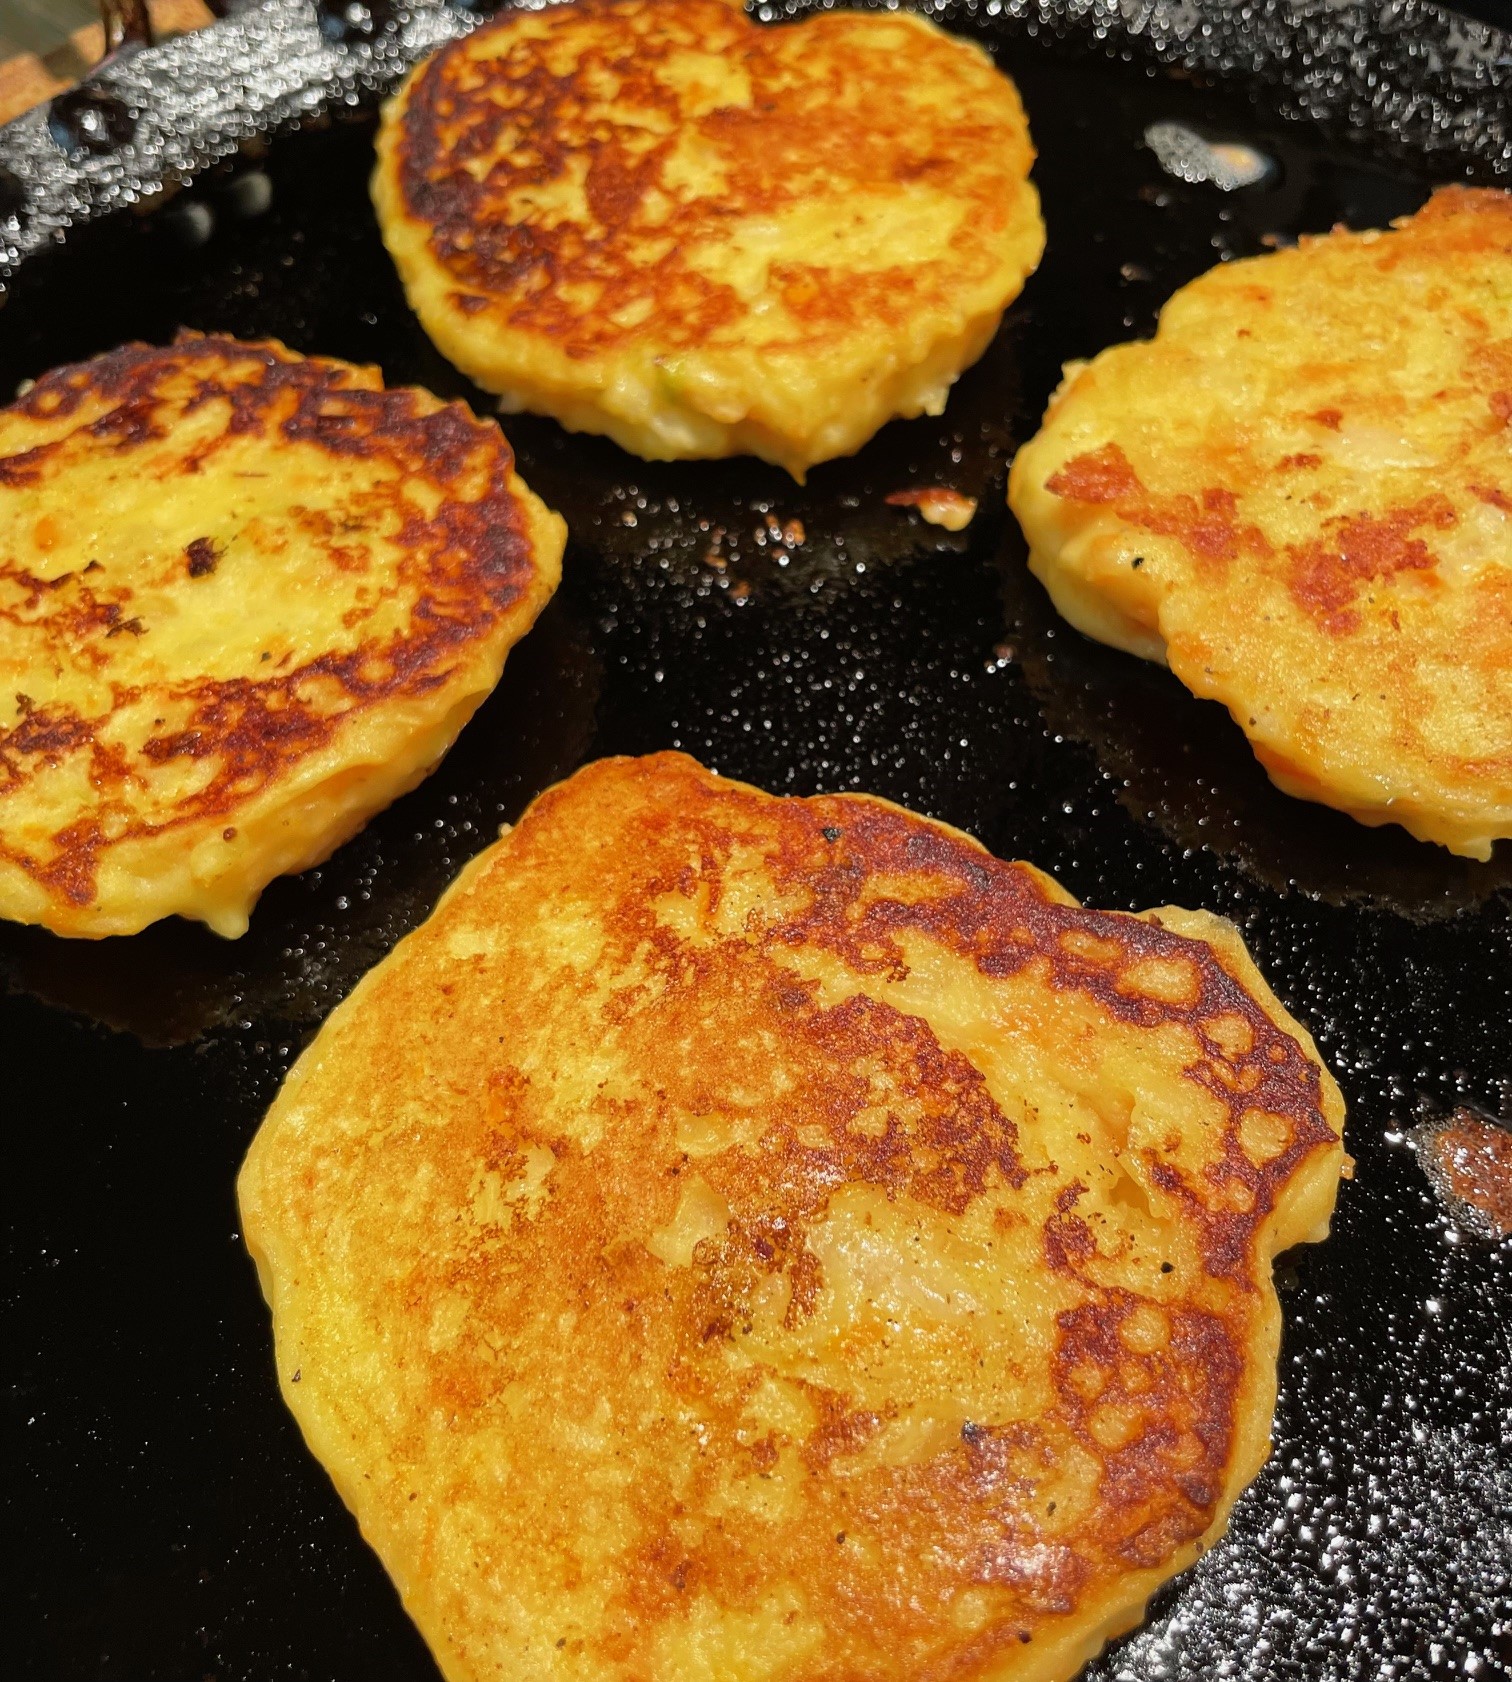
On an oiled medium-hot griddle, dollop about 1/4 cupfuls of mix. Spread the batter around to make the cakes about 1/2″ thick. Once the bottoms are browned, flip over and brown the other side. Make sure the cakes are heated through by using a medium temperature so they don’t get browned too quickly. Yield is about a dozen cakes.

NOTE: These are an excellent side dish for roast chicken or beef stew. I had leftover potatoes, cabbage, and carrots from a corned beef dinner one St. Patrick’s Day and I made these cakes the next day. Wow! They are really tasty. Another time, I added scallions. I suppose you could jazz them up with any number of vegetables or flavorings. In the photos, I used rendered chicken fat/butter to fry my cakes. I had browned a whole chicken in butter and instead of discarding the fat, I fried the cakes in it. These could be made gluten-free by using gluten-free flour instead of regular flour. The dish isn’t at all fussy, so do what you want! I also like these leftover cakes served with eggs for breakfast.

  • Ingredients
  • 2 Tbsp. sesame oil
  • 1 Tbsp. minced ginger
  • 1 Tbsp. minced garlic
  • 1 carrot, chopped
  • Optional: other vegetable, chopped (mushrooms, bok choy, zucchini, spinach, etc)
  • 3 cups broth
  • 1/4 cup rice vinegar
  • 1/4 cup soy sauce
  • 1 Tbsp. shiracha
  • 8-12 oz. frozen potstickers (Japanese gyoza – dumplings)

In a medium saucepan, heat sesame oil. Stir in ginger and garlic and saute until fragrant, a minute or so. Stir in carrot and optional vegetable, if using. Stir fry awhile longer. Stir in broth, vinegar, soy sauce, and shiracha. Bring to a boil and then simmer until vegetables are cooked through. Stir in potstickers and bring to a boil again. Simmer until potstickers are cooked/tender, about 8 minutes. Serve. Serves 2-3 depending upon how hungry they are.

NOTES: The recipe originated at Wholesomelicious, where she created the perfect hot and sour soup base. I’ve made this many times now and each time is different, except for the proportions of sesame oil, ginger, garlic, broth, vinegar, soy sauce, and shiracha. Everything else, I just throw in as I go. I’ve used leftover chicken, yellow squash, spinach, and celery. What you see pictured here is boy choy as the optional vegetable. Wholesomelicous uses mushrooms and a vegetable broth. You can make this vegetarian by using vegetable broth and vegetable potstickers. I cannot emphasize enough how perfect the soup base is. You wouldn’t even have to add postickers if you simply want a hot and sour soup base. It’s absolutely delicious, no matter what you put into the soup.

  • Ingredients
  • 1 3-oz. package of ramen noodles (discard seasoning packet)
  • 2/3 cup sliced almonds
  • 2 Tbsp. sesame seeds
  • 16 oz. shredded cabbage, or a bag of coleslaw mix
  • 1 cup shredded carrot
  • 4 scallions, thinly sliced
  • 2 mandarin oranges, sectioned and then sections sliced in half
  • Dressing
  • Dressing Ingredients
  • 1/4 cup rice vinegar
  • 3 Tbsp. olive oil
  • 2 Tbsp. honey
  • 1 Tbsp. soy sauce
  • Salt and pepper to taste

Break ramen noodles into pieces. In a 425 degree F oven, on a sheet pan, toast noodles and almond slices for five minutes. [I put parchment paper on my pan, but probably didn’t need to do so.] Sprinkle sesame seeds over all, and return pan to oven for 1-3 minutes, watching closely, until everything smells great and looks golden brown. Remove from heat and set aside to cool to room temperature.

Whisk together dressing ingredients.

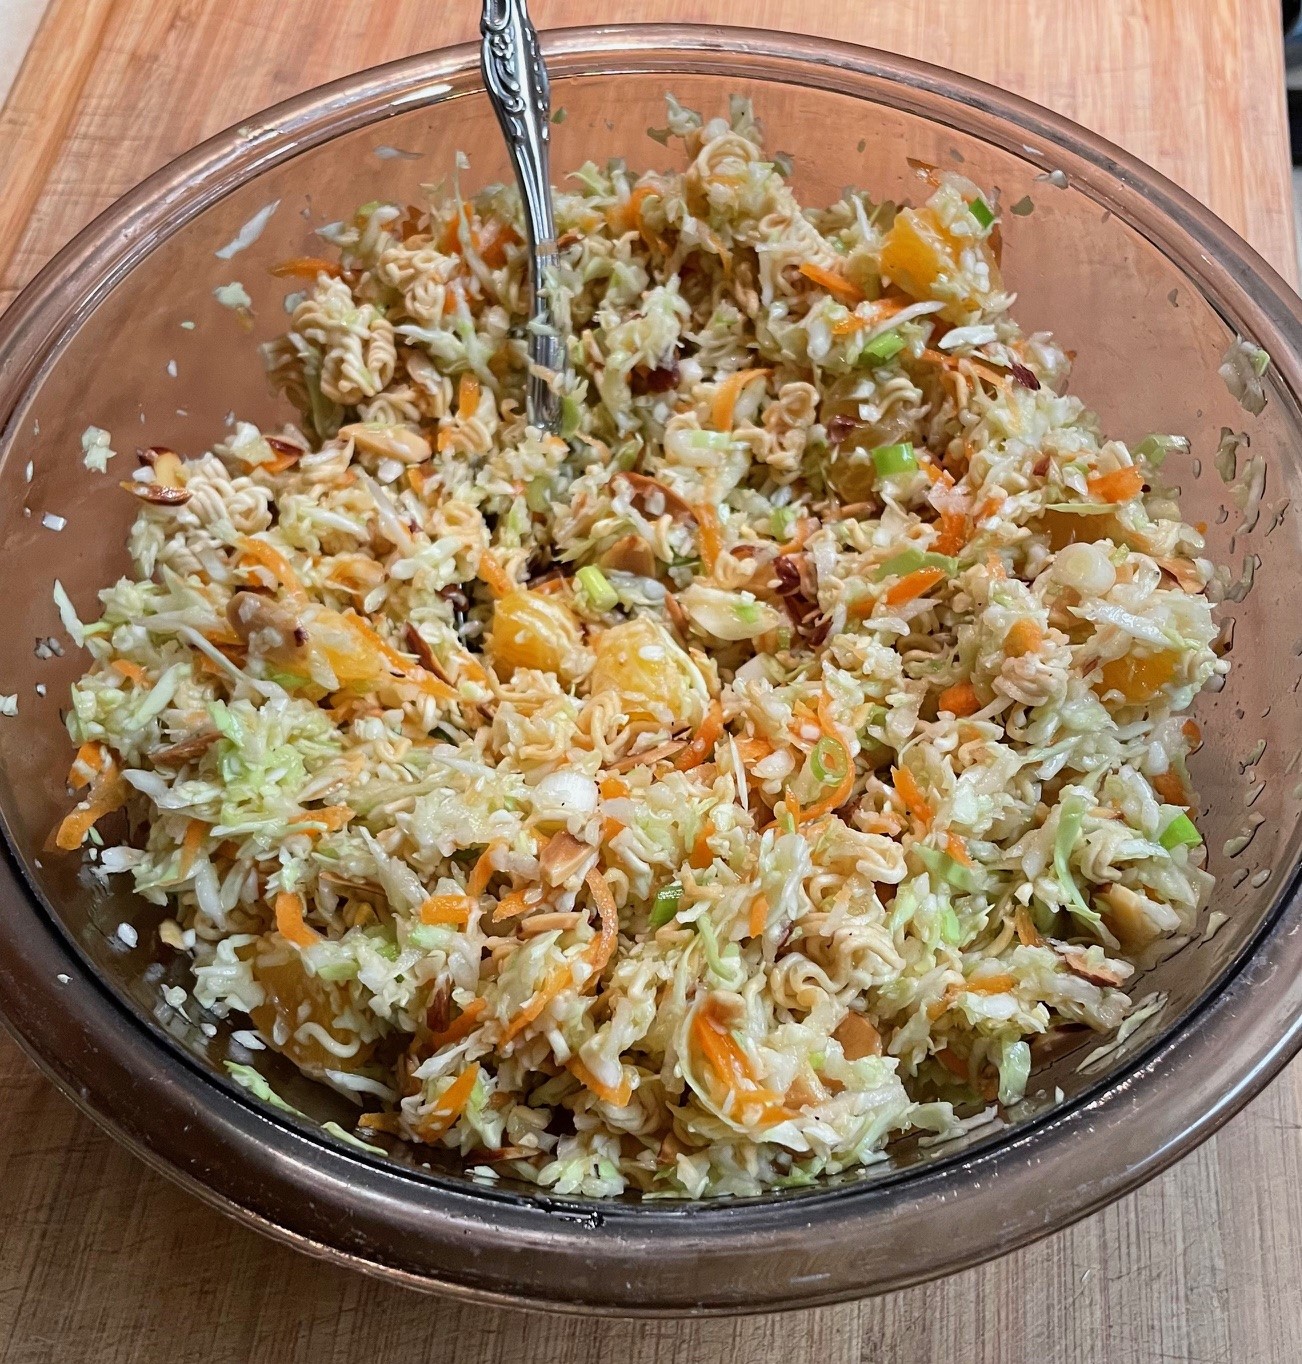
When ready to serve, mix together all ingredients and serve immediately. Yield is about 8 servings.

NOTE: The recipe originated at Well Plated by Erin. What makes the dish delightful is the crunchiness. It starts softening immediately, so you want to serve as soon as you add moisture to the ramen noodles. The salad does save under refrigeration, but it’s a different kind of salad then with soft noodles. I have made this using different recipes, ones that required a cooked dressing so the process had to begin too far ahead. I really like this recipe because it’s super easy. It makes a good potluck dish because that single package of ramen goes such a long way.

  • Ingredients for 9 cups (12 lb. turkey)
  • 3/4 cup minced onion
  • 1-1/2 cups chopped celery
  • 1 cup butter
  • 9 cups soft bread cubes
  • 2 tsp. salt
  • 1-1/2 tsp. crushed sage leaves
  • 1 tsp. thyme
  • 1/2 tsp. pepper

In a large skillet, cook and stir onion and celery in butter until onion is tender. Stir in about 1/3 of the bread cubes. Turn into a deep bowl. Add remaining ingredients and toss. Stuff turkey just before roasting.

NOTES: Recipe from Betty Crocker’s Cookbook (1969 General Mills, Inc., Minneapolis, MN). It says to “allow 3/4 cup stuffing per pound of ready-to-cook chicken or turkey. A 1 to 1-1/4 Rock Cornish Game hen requires about a cup of stuffing. Allow 1/4 to 1/3 cup stuffing for each rib pork chop and about 1/2 cup per pound of dressed fish.”

I am not a big fan of stuffing so I don’t make this often. People who are fans of stuffing have given this rave reviews. It’s all that butter, Folks. Today (23 Nov 2023) I am using Onion Bread, so I’m not going to use as much onion as called for in the recipe. The onion bread turned out FABulous! I used about 3/4 of the loaf in the stuffing. Just enough of the loaf leftover for 2 Turkey Salad Sandwiches. Delish!

  • Ingredients
  • 2-2/3 cup sugar
  • 2/3 cup light corn syrup
  • 1/2 cup water
  • 2 egg whites
  • 1 tsp. vanilla extract
  • 2/3 cup coarsely chopped nuts (optional)

NOTE AND WARNING: You will need a stand mixer and a candy thermometer for ease, and it’s still going to make a mess. This recipe is from Betty Crocker and I’ve never had a problem making it, but there are warnings all over the place about making this candy on humid days. Just sayin’. Go to their website and check it out if you think it may be an issue where you are. If this stuff didn’t taste so blasted good, I would never make it. But it’s easy once you’ve done it a few times, and the clean-up isn’t bad using a LOT of very hot water.

Cook sugar, corn syrup, and water in a medium saucepan over low heat, stirring constantly, until the sugar is dissolved. Continue cooking, without stirring, until the mixture reaches the hardball stage (260 degrees F).

While that’s going on, in your stand mixer, using the whisk attachment, whip egg whites until stiff peaks form. Switch to the beater attachment.

Beating constantly on medium speed, pour the hot sugar mixture into the mixer bowl in a thin stream. Then mix in the vanilla. Keep beating the mixture until it holds its shape. It will get thicker and duller the longer it mixes. Stir in the nuts, if using them. Using a buttered spoon, quickly scoop spoonfuls onto waxed paper. Work quickly. Let stand at room temperature for 12 hours. Store in covered container. The yield is about 40 candies. I used a heaping teaspoon and got 36 of them. Betty Crocker says 48.

NOTES: I toasted chopped pecans in my oven and used those, but any kind of nuts will do. My mother would use raw walnuts, but I think it would have been better to toast the nuts first. I had everything ready to go before I started cooking the sugar mix. My egg whites were whipped, my pecans were chopped and toasted, my vanilla extract was sitting where I could grab it. I used a ladle to scoop spoonfuls of hot sugar mixture from the saucepan into the mixer bowl. Like I said, it was a mess, but they taste SO, SO good!

  • Base Layer Ingredients
  • 1 cup butter (2 sticks)
  • 2/3 cup brown sugar, packed
  • 2-2/3 cup flour
  • Top Layer Ingredients
  • 1/2 cup butter (1 stick)
  • 1 cup brown sugar, packed
  • 1/3 cup honey
  • 2 Tbsp. whipping cream
  • 2 cups roasted cashews, chopped

Prepare a 9×13″ baking dish by lining with parchment paper. Let a little paper overhang on all sides to make it easier to pull the bars out. Preheat oven to 350 degrees F.

Base Layer: In a mixer, mix together butter and brown sugar until fluffy. Stir in flour. Press into prepared pan. Bake at 350 degrees F for 20 minutes.

Top Layer: While that is happening, but wait a little while, in a medium saucepan over medium heat, stir together butter, brown sugar, honey, and whipping cream. Bring to a boil and let boil for one minute. Remove from heat and stir in cashews.

Remove base layer from oven. Pour cashew mixture over top. Spread cashew mix to cover evenly. Place back into the oven for 20 minutes. Remove from heat. Let cool completely on a wire rack. Pull out the bars. Slice. Serve. Oh, so, so good.

NOTES: I had only raw unsalted cashews, so I had to roast them. It was okay. I set the oven temp at 350 degrees F and lined a baking sheet with parchment paper. I sprinkled 2 cups of raw cashews on top of the parchment paper and roasted for 5 minutes, then stirred and added a couple more minutes in the oven. Then stirred and another minute, etc. until they were browned. Then I removed from heat and cooled. Then I dumped them onto my cutting board and chopped them. Voila! Finally done! Ready to stir into the brown sugar syrup. Do not overcook the brown sugar syrup or you will have a rock-hard top on your bars. Baking in the oven is going to create the chewy caramel that you desire.

The recipe originates with Barry at rockrecipes.com. Barry hails from St. John, Newfoundland. Barry says you can drizzle chocolate over these to great effect. Maybe next time. Also, Barry says you can freeze these, so that’s what I’m doing in preparation for creating Christmas cookie trays. I cut the bars and laid them in a single layer in a Ziploc bag and popped them into the freezer.

  • Ingredients
  • 1/2 cup (8 oz.) butter, softened
  • 1/2 cup sugar
  • 1/2 cup brown sugar, packed
  • 1 egg
  • 1 tsp. vanilla
  • 1-1/2 cups flour
  • 1/2 tsp. baking soda
  • 1/4 tsp. salt
  • 1 cup white chocolate chips
  • 1 cup dried cranberries
  • 1/2 cup lightly salted, shelled, roasted pistachio nuts

Preheat oven to 375 degrees F. Prepare a baking sheet with parchment paper, a silpat, non-stick spray, or whatever you use to keep stuff from sticking.

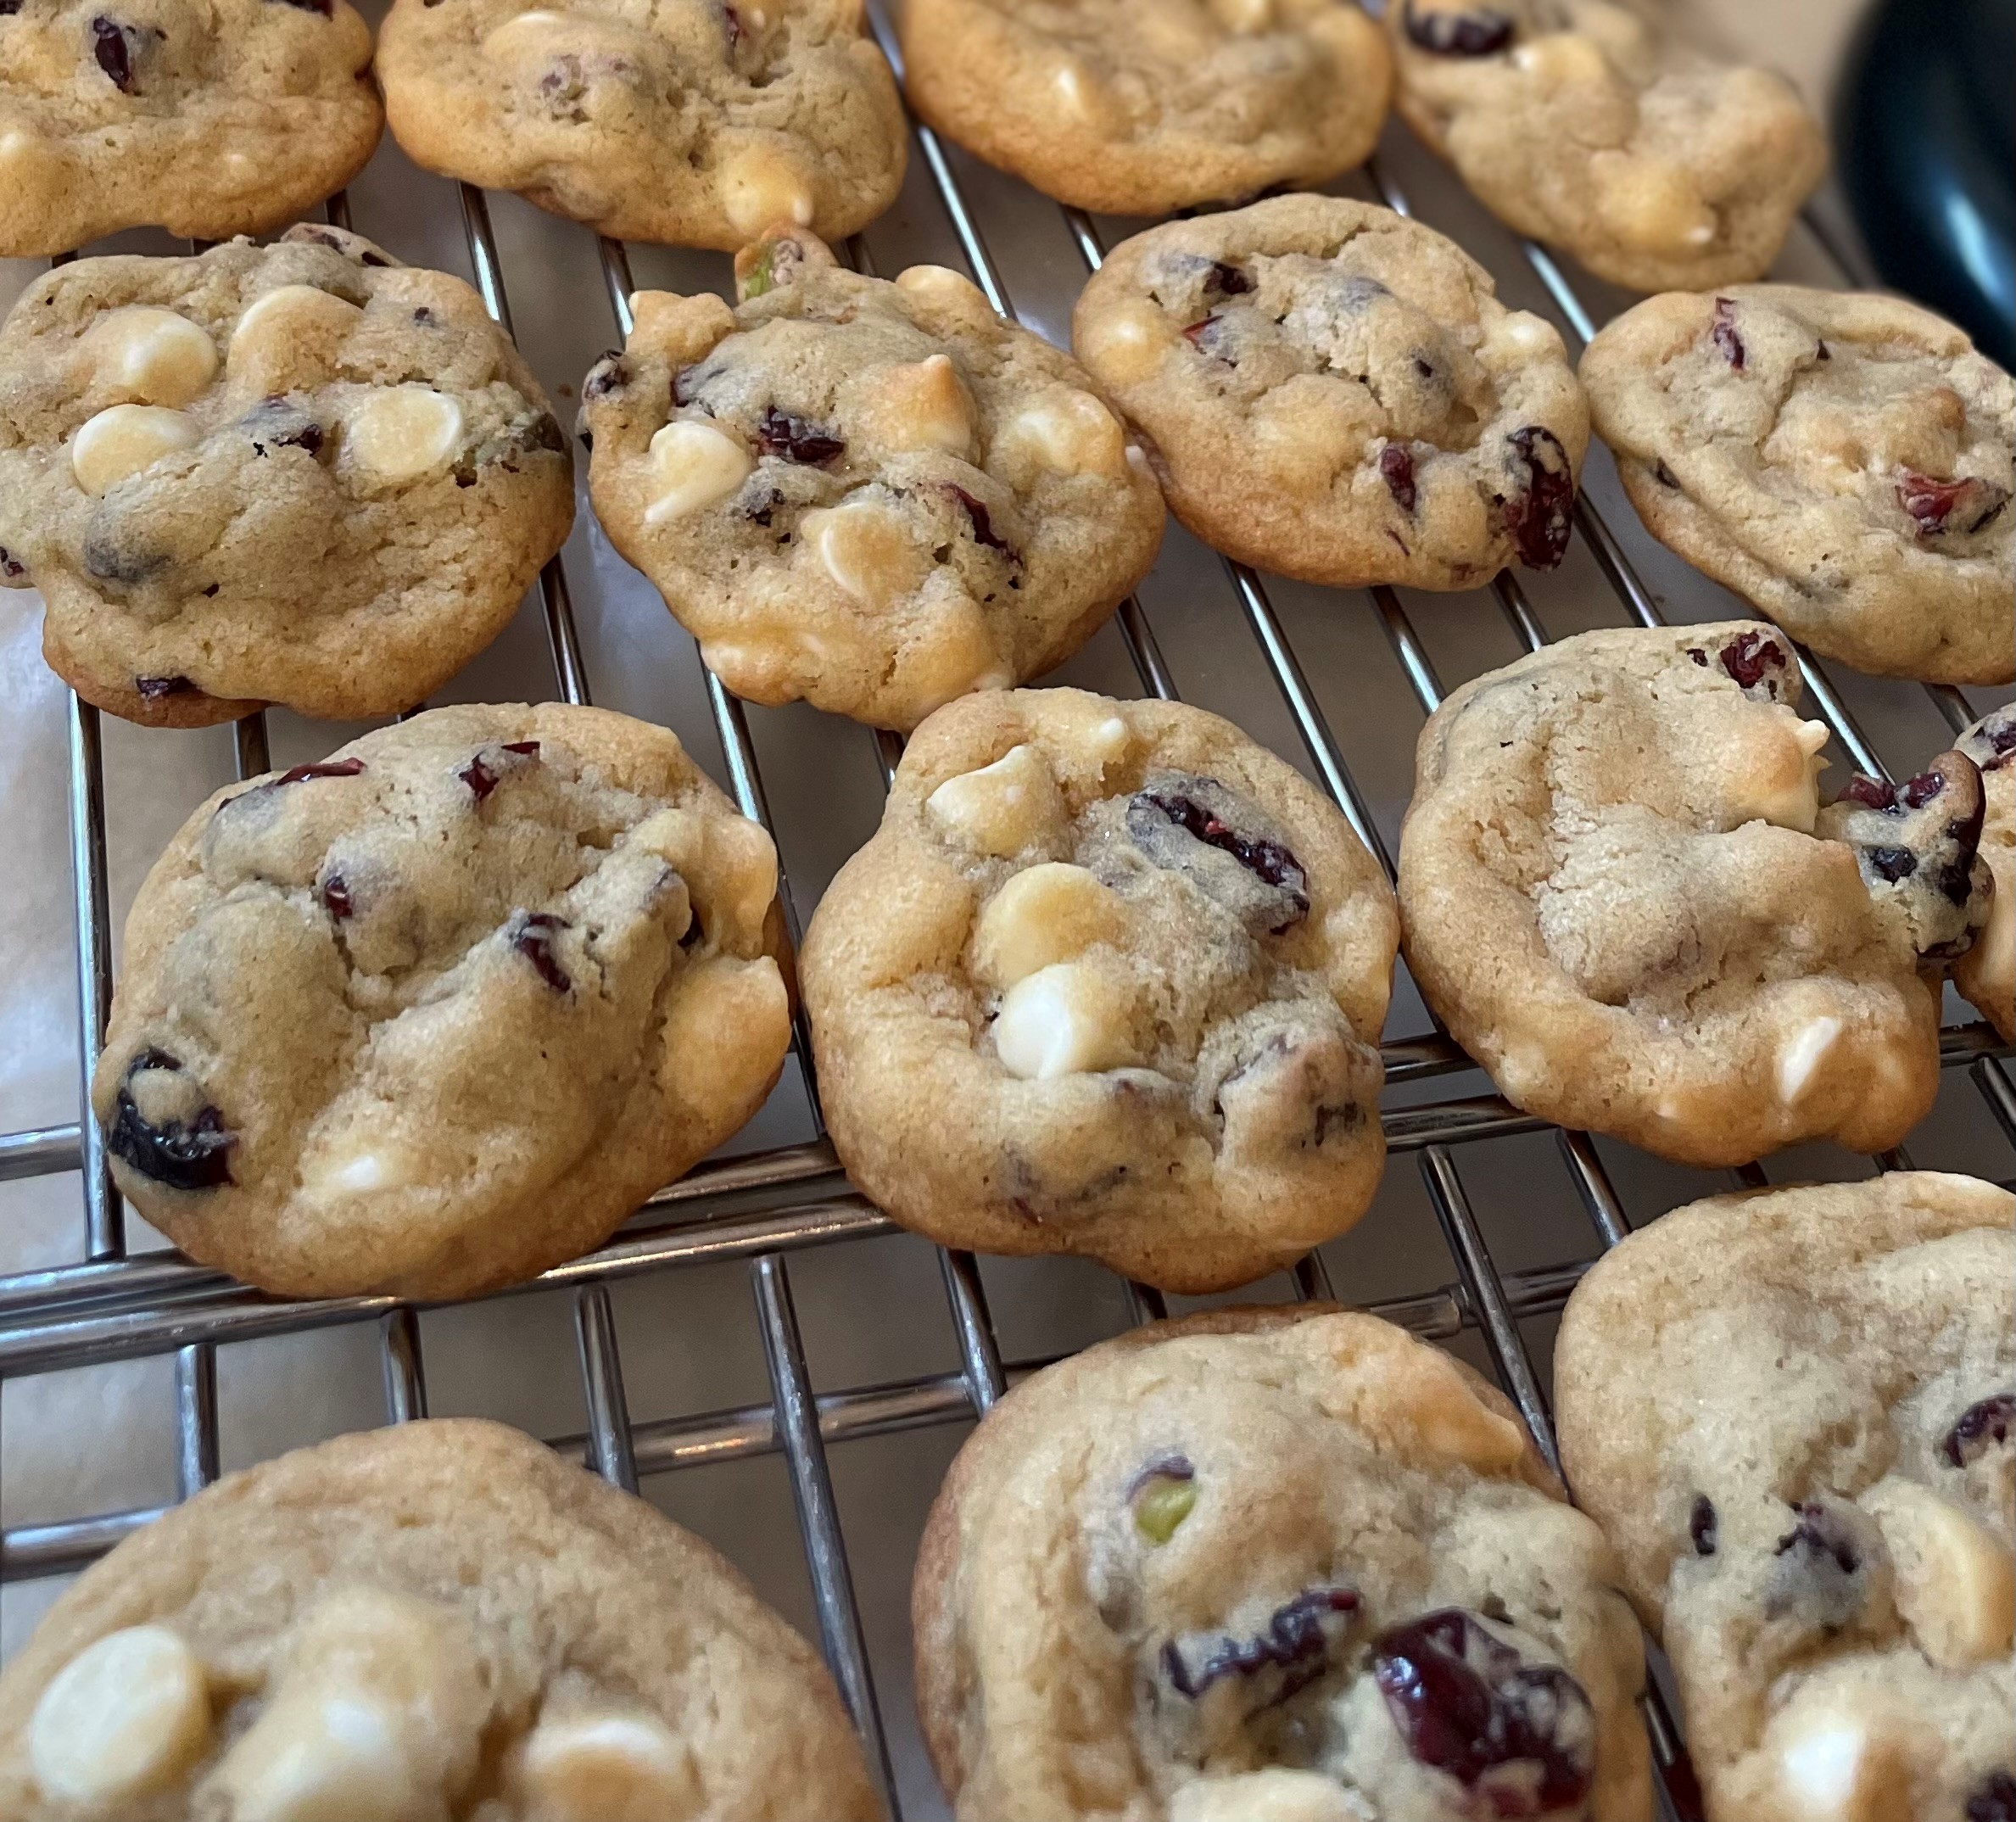
In a mixer, cream together the butter and sugars until light and fluffy. Mix in egg and vanilla. By hand, stir in flour, baking soda, and salt until just mixed. Stir in chips, cranberries, and pistachios until well distributed. The batter will be quite stiff. Drop heaping teaspoons of batter onto the baking sheets. Bake at 375 degrees F for 8-10 minutes. When the cookies are set and light brown, remove from oven. Let them sit for a few minutes before removing to a cooling rack. Makes 3 dozen.

NOTES: The recipe originated for me at daringgourmet.com. If using a full-salt roasted pistachio, omit the salt in the batter. If using a no-salt pistachio, add another 1/4 tsp. salt into the batter. I gave up shaping these with the teaspoons, the dough was too stiff, so instead I rolled these into balls by hand and that worked. In one of the batches I pressed the balls down a little and that also worked and took less time to bake. Either way was fine. I was trying to achieve a cookie that would show the green of the pistachios, but I think my nuts were simply too brown to begin with. No matter. These are tasty and easy to make.

  • Ingredients
  • 1 cup warm water, divided
  • 2 tsp. yeast
  • 1/4 cup sugar, divided
  • 2 Tbsp. melted butter
  • 1 egg
  • 1 tsp. cider vinegar
  • 11.5 oz gluten-free baking blend with xanthan gum (2.75 cups)
  • 1 tsp. salt
  • 1 Tbsp. melted butter (for brushing on the top)

In a stand mixer, place 1/4 cup warm water, yeast, and a couple tablespoons of sugar. Let stand until the yeast is dissolved and the mixture is frothy. In a separate bowl, whisk together gluten-free flour, remaining sugar, and salt. Set aside.

Into the stand mixer, add remaining 3/4 cup warm water, melted butter, egg, and cider vinegar. Mix in flour mixture. Let the mixer run for 3 minutes on medium.

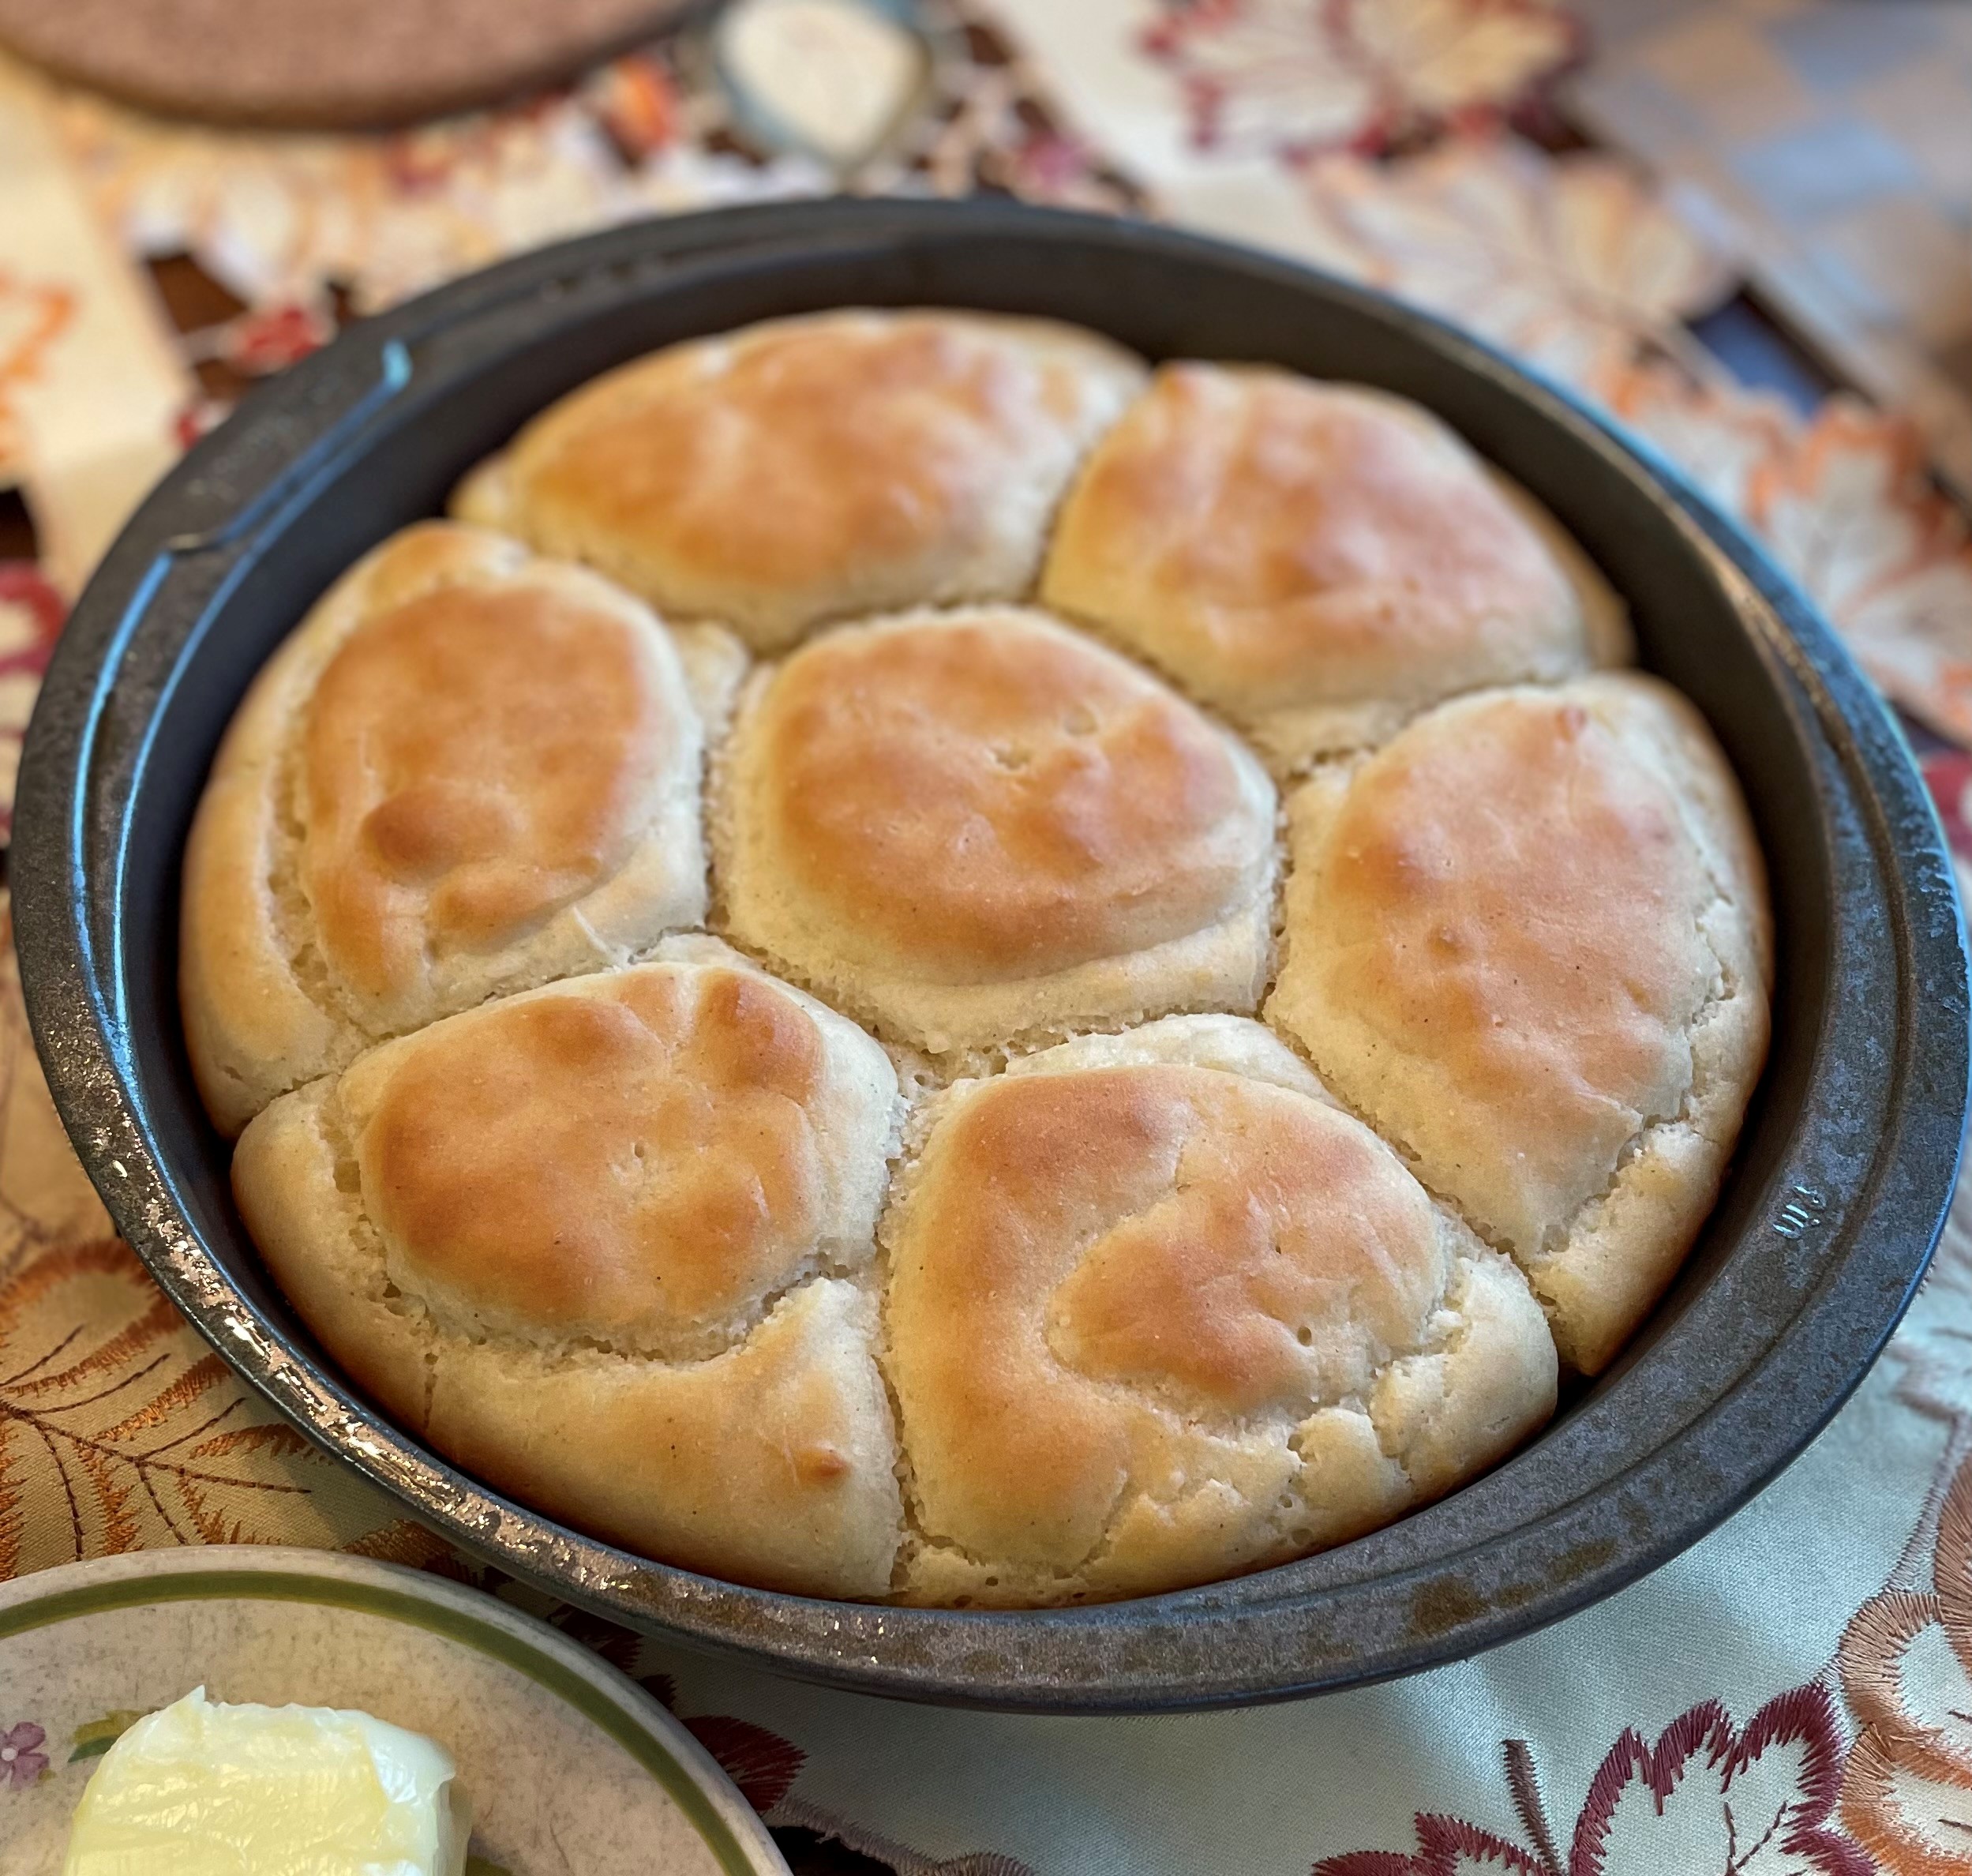
Spray an 8″ or 9″ cake pan with non-stick spray. Using a 1/4 measuring cup, dollop the batter into the cake pan, to get 9 mounds of batter. It’s best to start in the center.

Dip your fingertip in warm water and smooth out the tops of the mounds. Cover the pan with a dry towel. Let rise for an hour or so.

Preheat oven to 400 degrees F. Bake rolls 25-28 minutes at 400 degrees F. The tops should be golden brown. Remove from oven and brush the tops with melted butter. Serve.

NOTES: I was amazed that this worked so well. I used Bob’s Red Mill 1 to 1 Baking Flour. I weighed my flour as that is the most accurate way to measure flour. The recipe is from mygluten-freekitchen.com and I would recommend that you visit her site for more detailed instructions. She offers a lot of options regarding types of gluten-free flour, xanthan gum, yeast, and dairy. I’m just telling you here how I did it.

I learned that since there is no gluten to build, it doesn’t hurt anything to mix it for awhile. Mixing helps the flour to absorb the moisture. I learned that the pan provides the structure. If I had used an 8″ pan, instead of a 9″ pan, my rolls would not have been so flat. I learned that 1/3 cup dollops, as stated in the recipe, was too much so I ended up only with 7 rolls, as pictured. Next time I will use a 1/4 cup measurer. When I started, I used 1/4 cup warm water to activate the yeast. Then I measured 3/4 cup more warm water when it was time, so that it didn’t cool in the interim. Again, visit mygluten-freekitchen.com for more options. All in all, these turned out great and everyone liked them. They were soft and fluffy and went really well with the Beef Bourguignon.

What kind?