• Ingredients
  • 2 cups raw, shelled pistachios (not salted, not roasted)
  • 1 tsp. ground cardamom
  • Pinch of salt
  • 2 heaping Tbsp. honey
  • 2/3 cups bittersweet chocolate chips

Preheat oven to 350 degrees F. Prepare a baking dish, about 7×7, with parchment paper so that the paper overhangs the sides for easy removal from the dish.

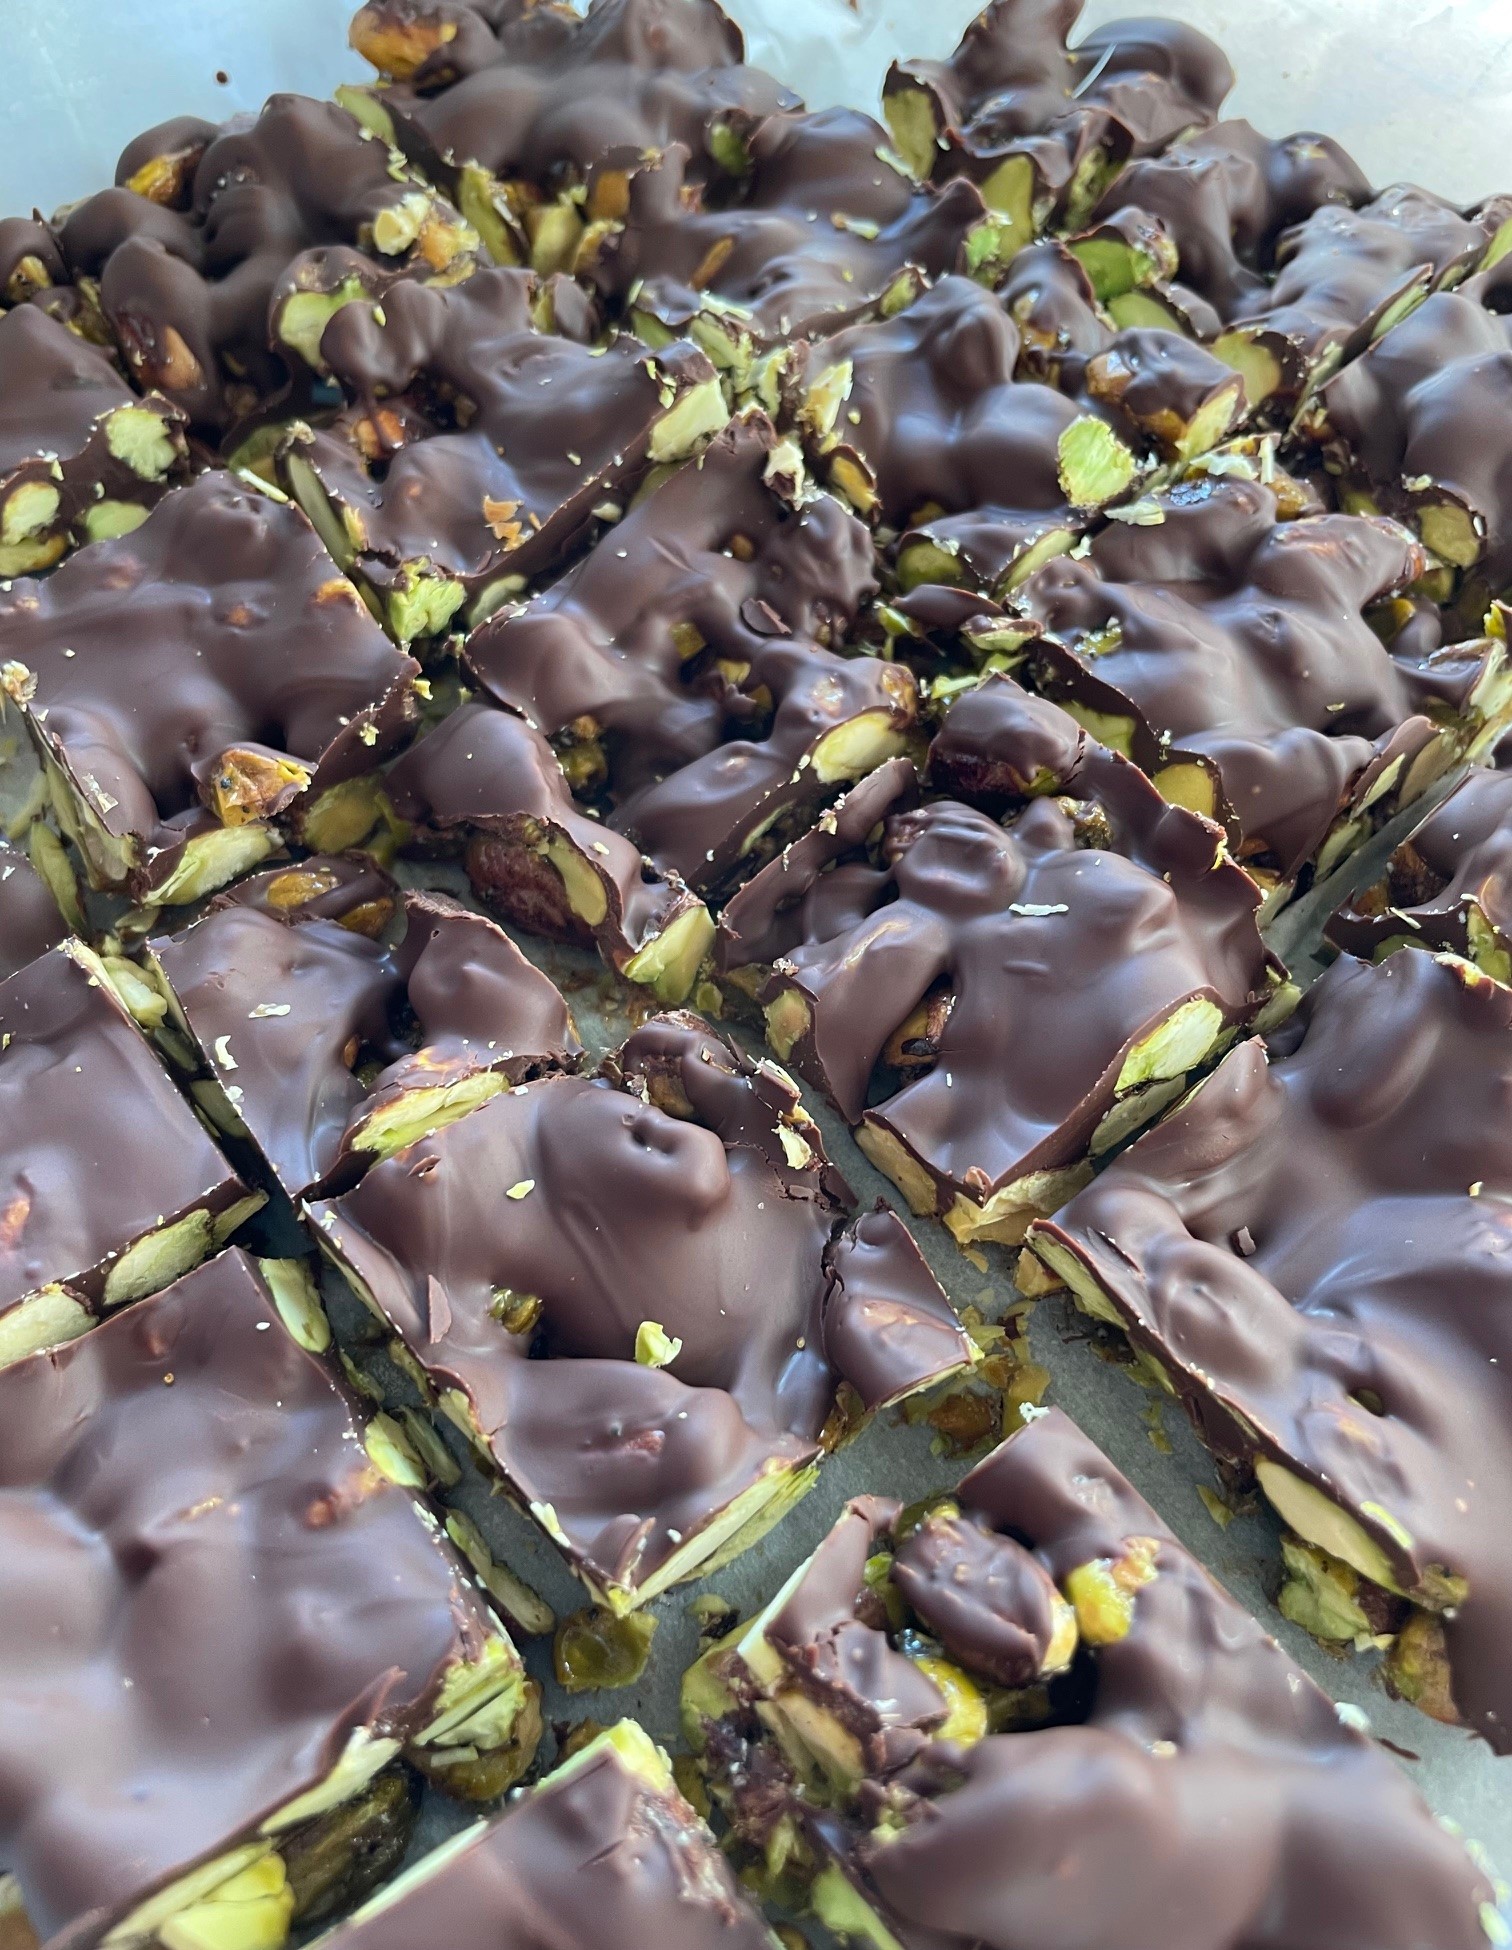
In a medium bowl, stir together pistachios, cardamom, and salt. Stir in honey and mix until nuts are well coated. Place the nuts into the paper-lined dish and spread as evenly as possible. Bake at 350 degrees F for 15-18 minutes. Remove from heat and let cool to room temperature.

Melt the chocolate chips in a microwave (or stovetop). Drizzle over the pistachio mix and smooth out as well as possible. Let cool until the chocolate loses its shine and hardens.

Pull the paper with the pistachio bars up and out of the baking dish. Cut into pieces and serve.

NOTES: This recipe comes from Nadia’s Healthy Kitchen. Nadia’s presentation and photos are simply gorgeous. Go look. She uses metric measurements and I did weigh out my nuts, but I think a couple cups of nuts will do it. These are seriously addictive, so my pieces are cut really small. The flavor is AMAZING! I wonder how these would be with a bit of orange zest or orange flavor. To melt chocolate chips in the microwave, start with 30 seconds then stir. Give it 20 seconds more and stir again. Give it 15 seconds more and stir again. Repeat until no solids remain while stirring.
  • Ingredients
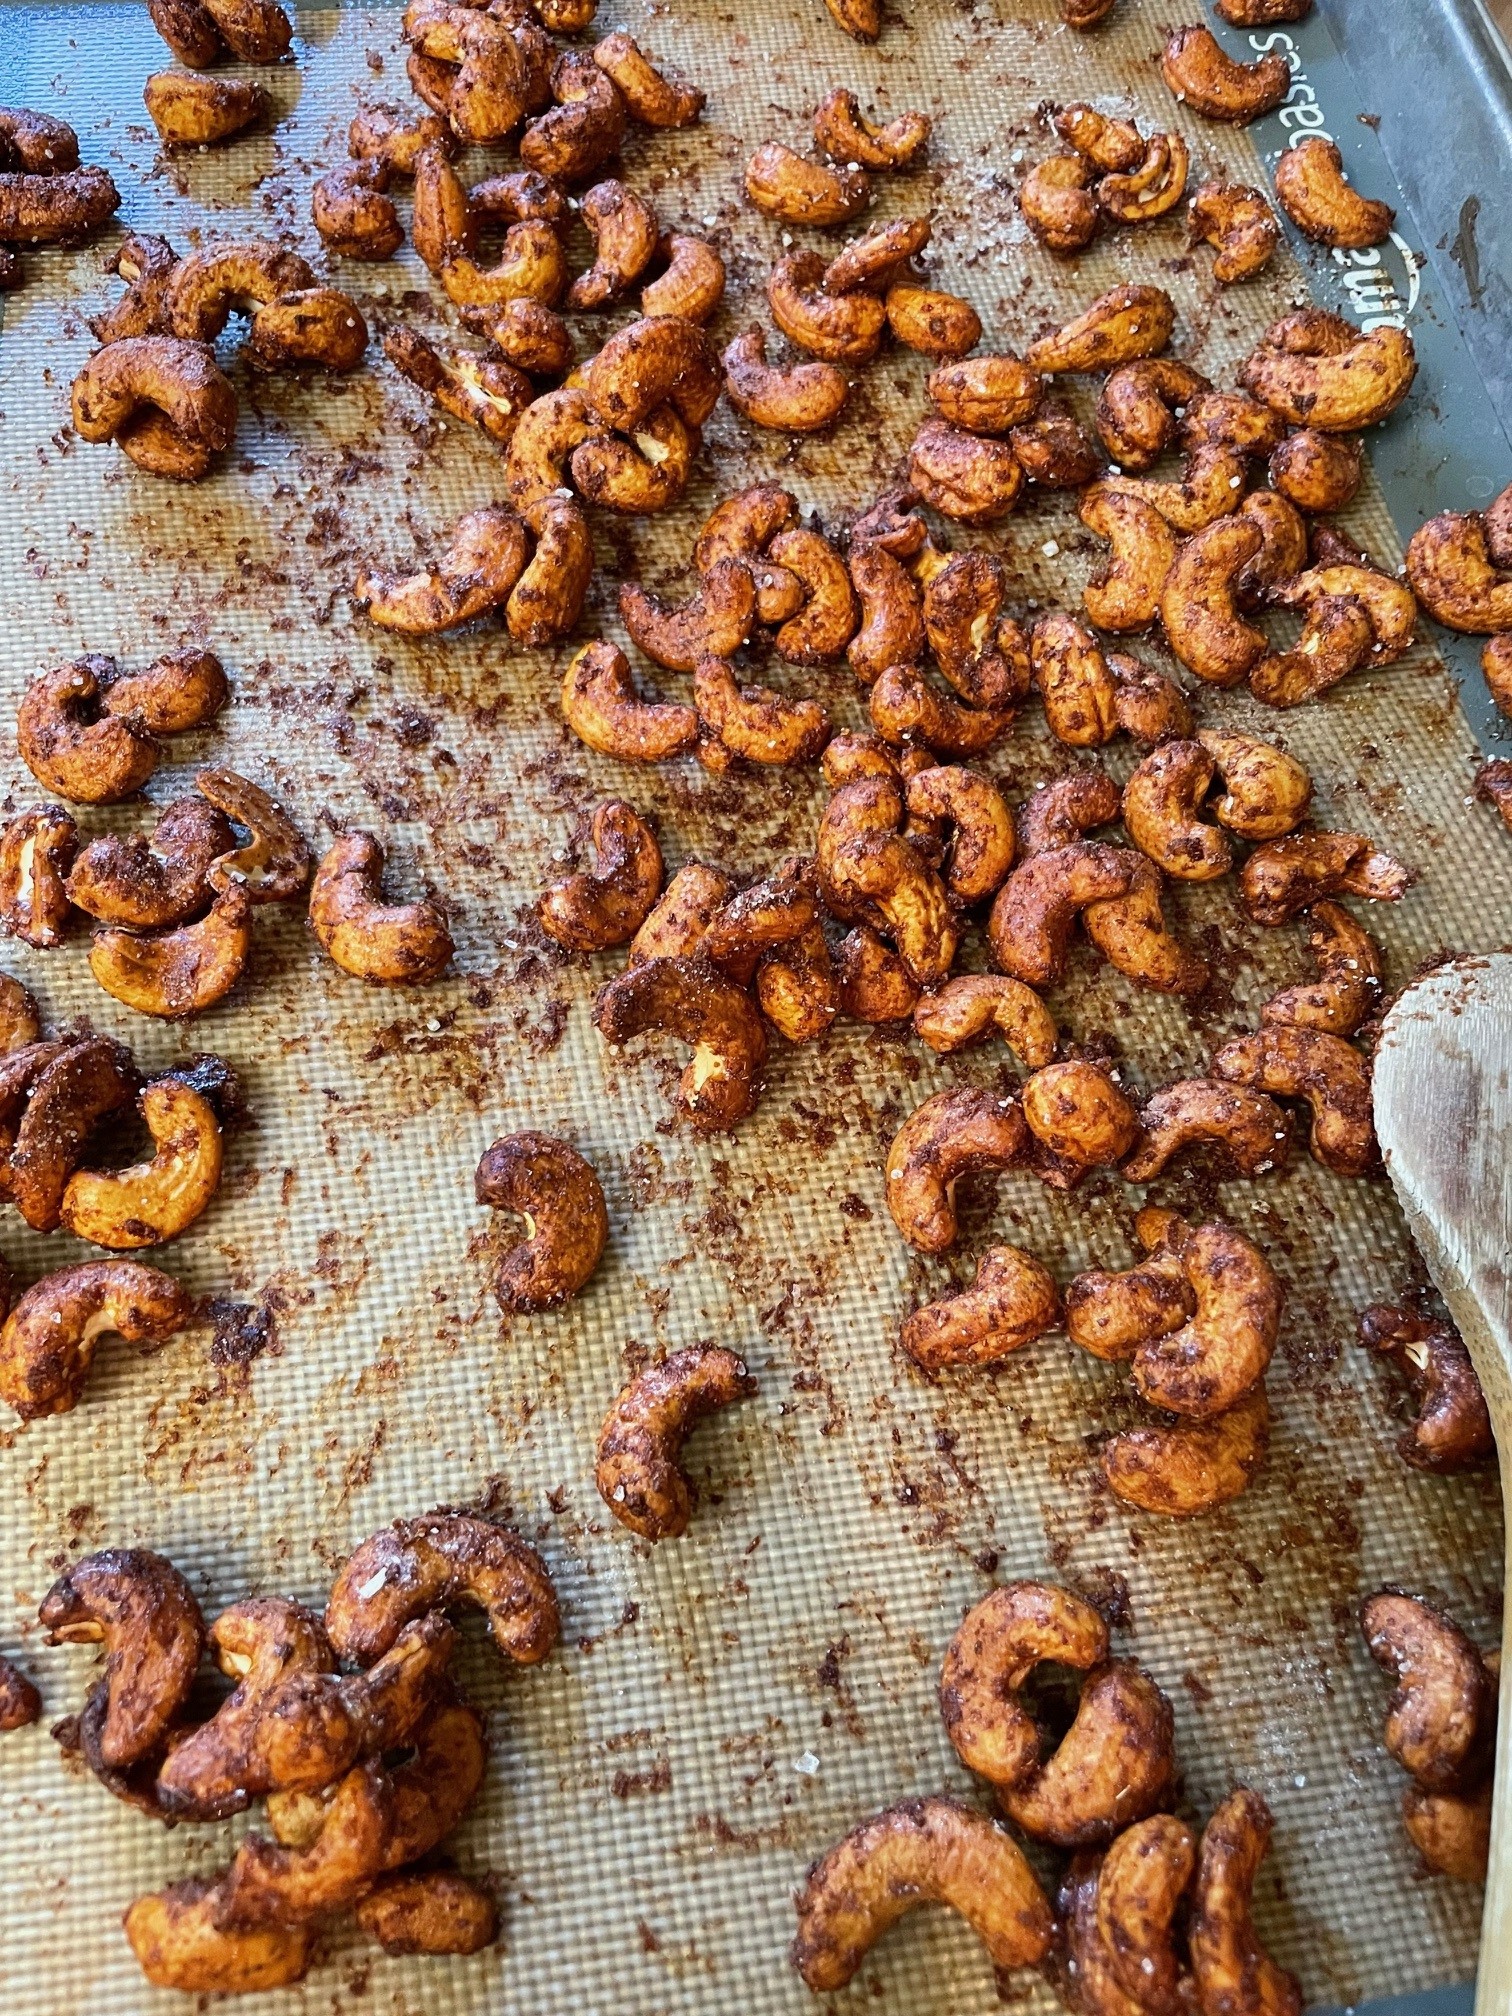
  • 2 cups whole cashews, unsalted unroasted
  • 1 tsp. fine sea salt
  • 1/2 tsp. cinnamon
  • 1/2 tsp. cumin
  • 1/4 tsp. paprika
  • 2 Tbsp. honey
  • 1-1/2 Tbsp. sriracha
  • Salt to sprinkle

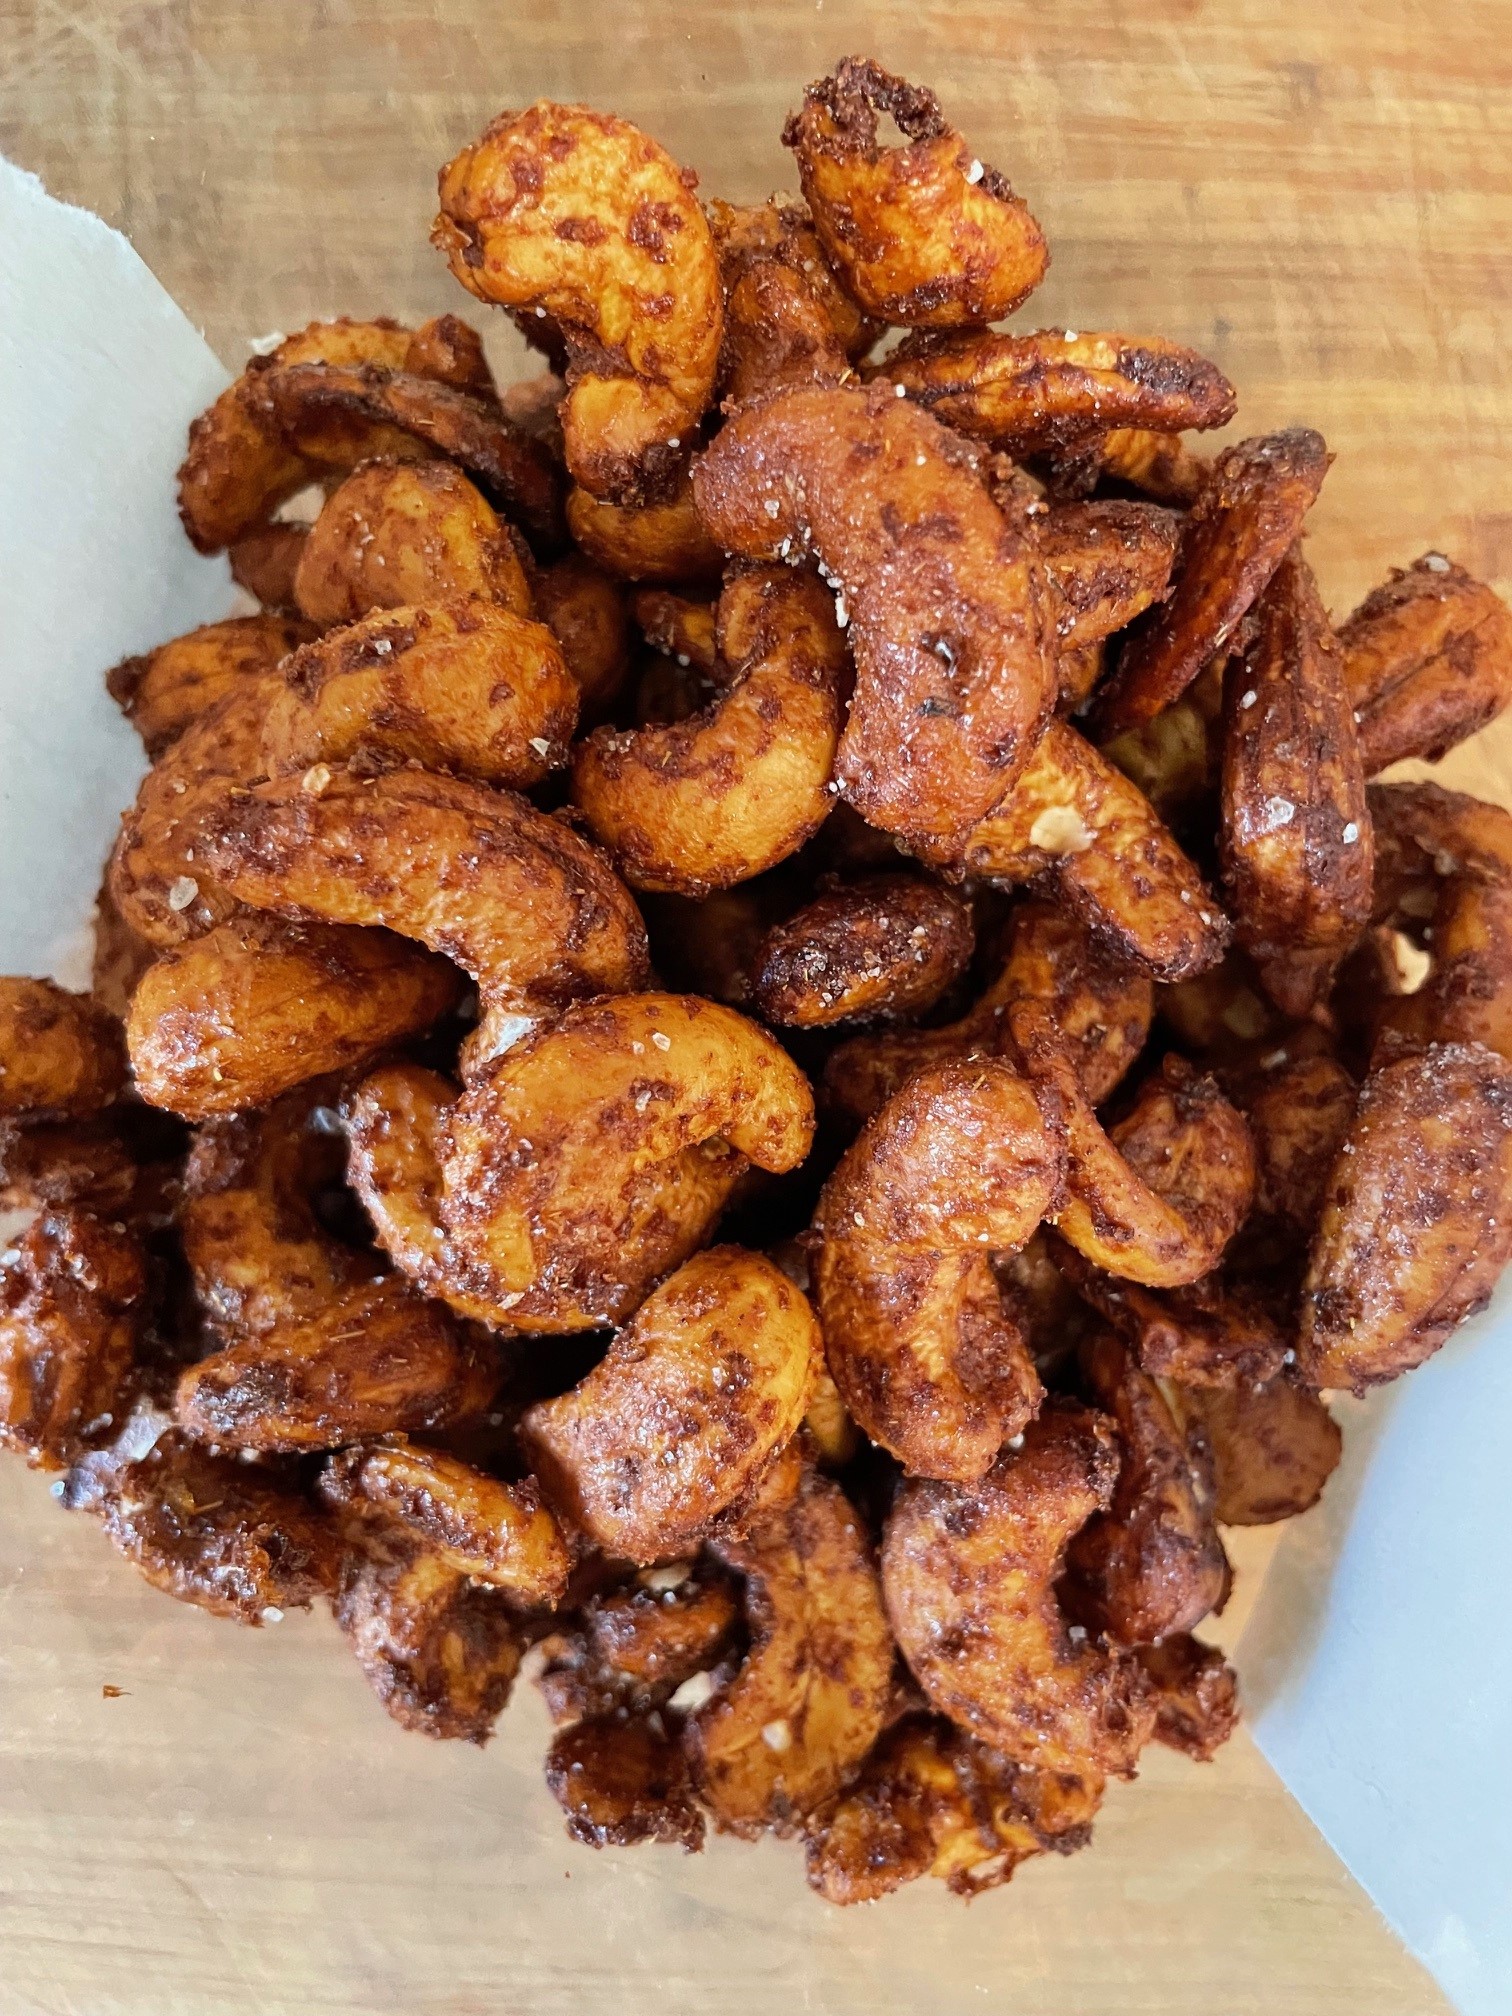
Preheat oven to 350 degrees F. Prepare a baking sheet with a silpat or parchment paper. Spread the cashews across the prepared baking sheet and roast for 5 minutes. Remove from heat and let cool a little bit.

In a medium bowl mix together spices, honey, and sriracha. Stir in the warm cashews and stir until nuts are well coated with the honey mixture. Spread over the baking sheet and roast in 5-minute intervals for 15-20 minutes, stirring every 5 minutes. Remove from heat once they are mostly dry and darkened in color. Sprinkle with salt. Let cool. Serve.

NOTES: Recipe originates with Robust Recipes. VERY good and quite simple to make.

  • Ingredients
  • 4 cups tortilla chips (gluten-free if desired)
  • 1 cup smooth red salsa
  • 6 eggs, scrambled and cooked
  • 1/2 cup shredded Queso Quesadilla cheese
  • 1/4 cup cilantro, chopped
  • 1/4 cup Cotija cheese
  • 1 avocado, diced
  • 2 green onions, sliced
  • Sour cream

Preheat oven to 350 degrees F.

Place tortilla chips into 9×13″ baking dish. Heat in 350 degree oven for 5 minutes.

While that is happening, heat salsa in very large bowl in microwave oven (or on stovetop).

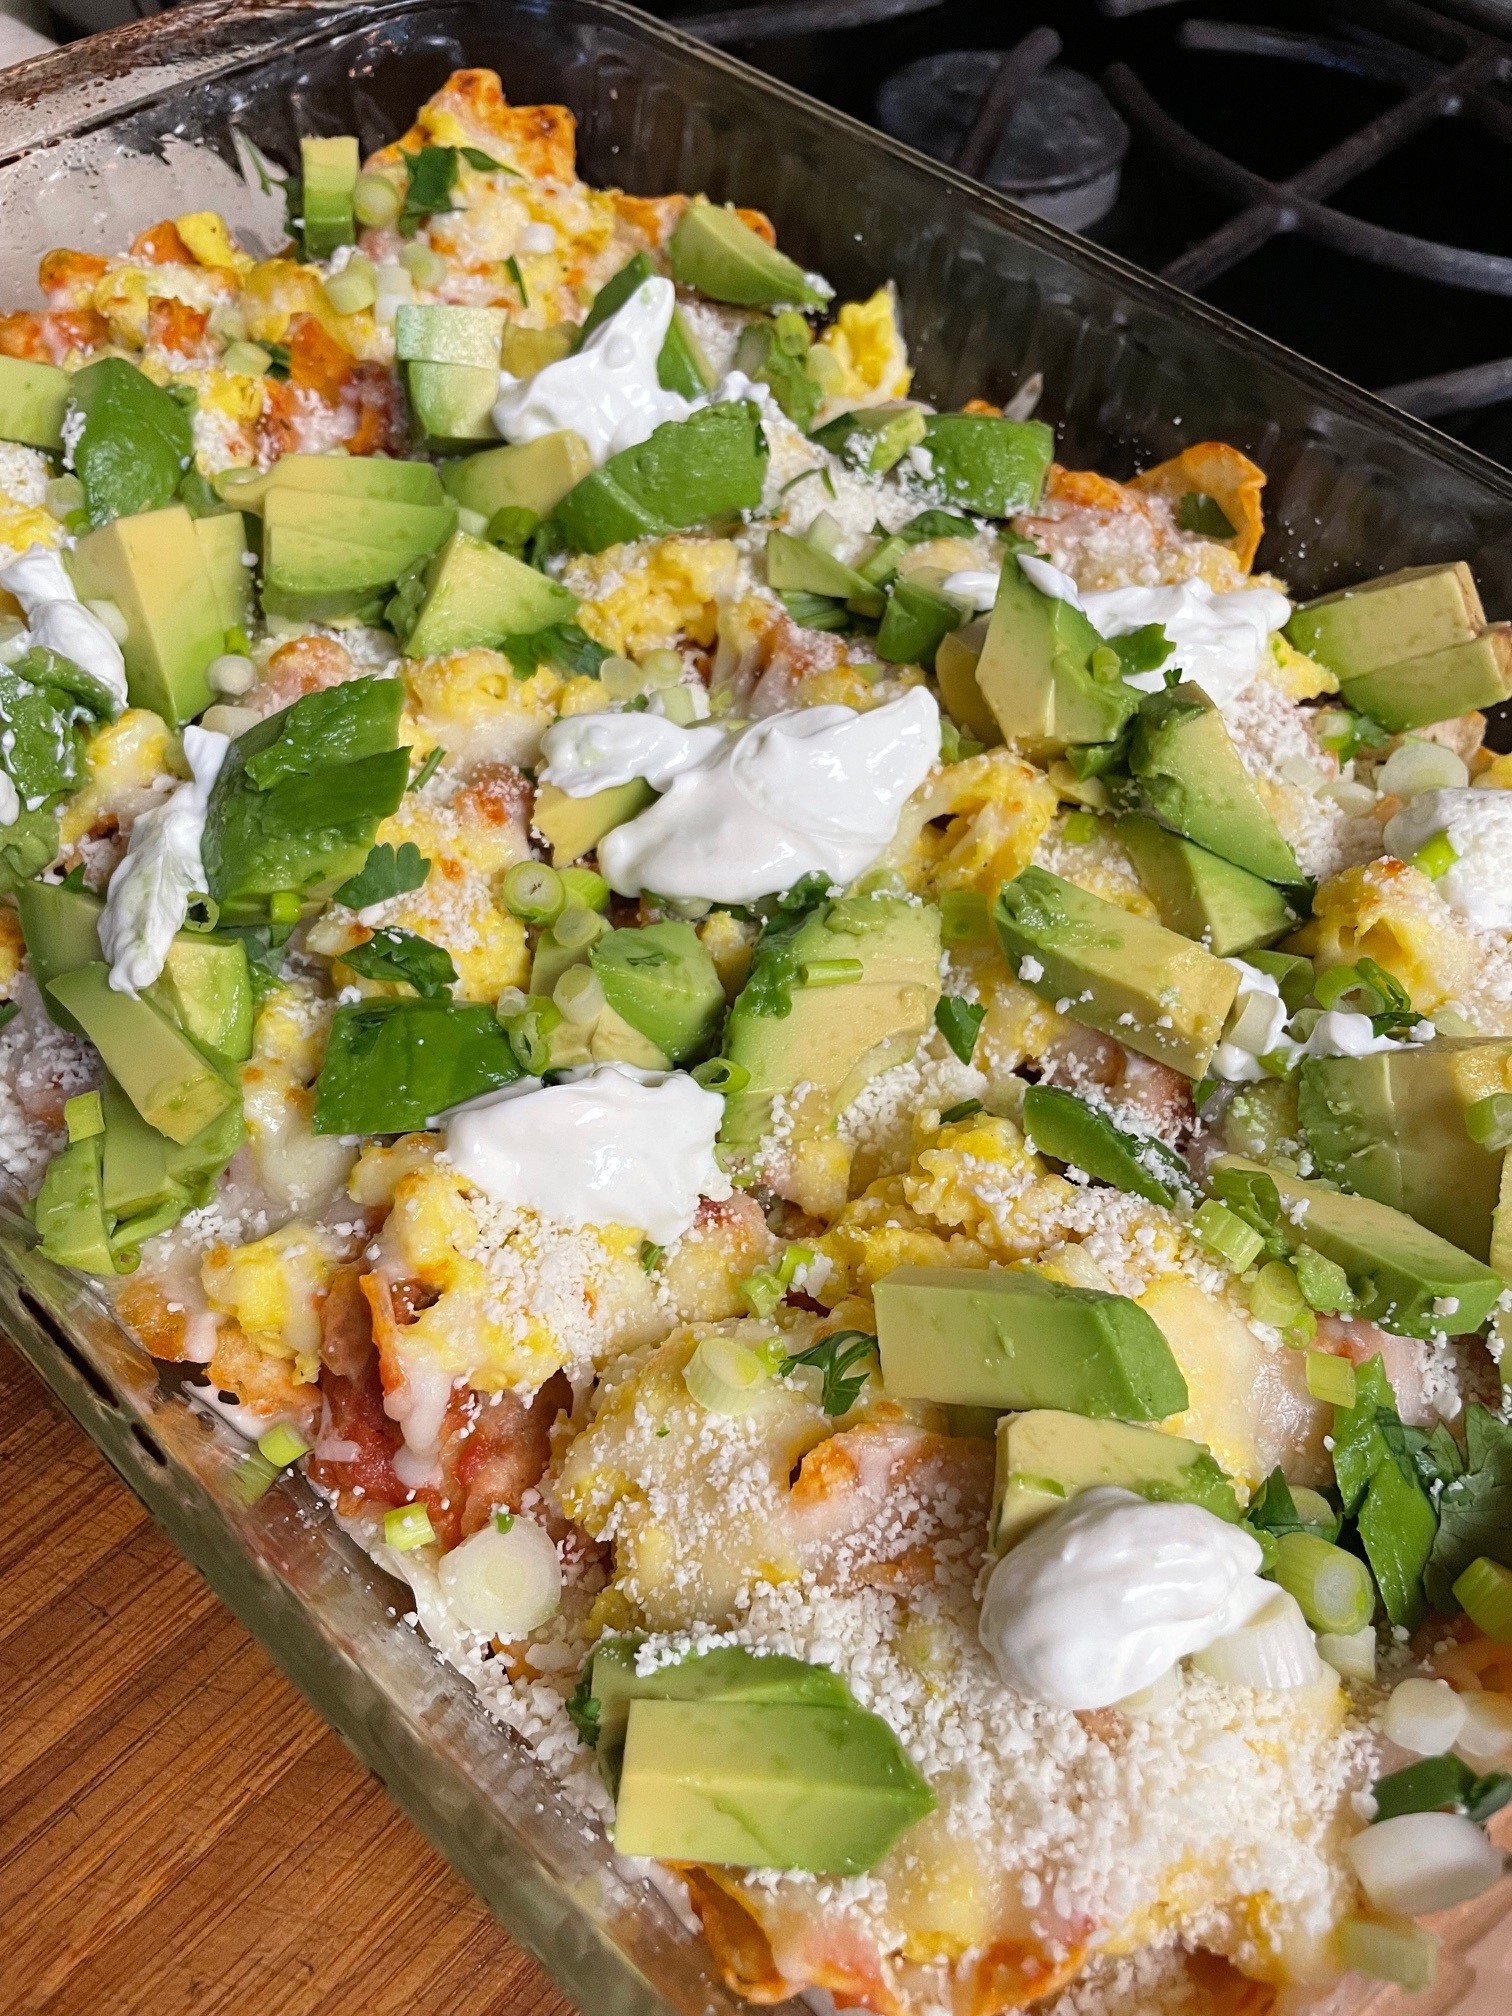
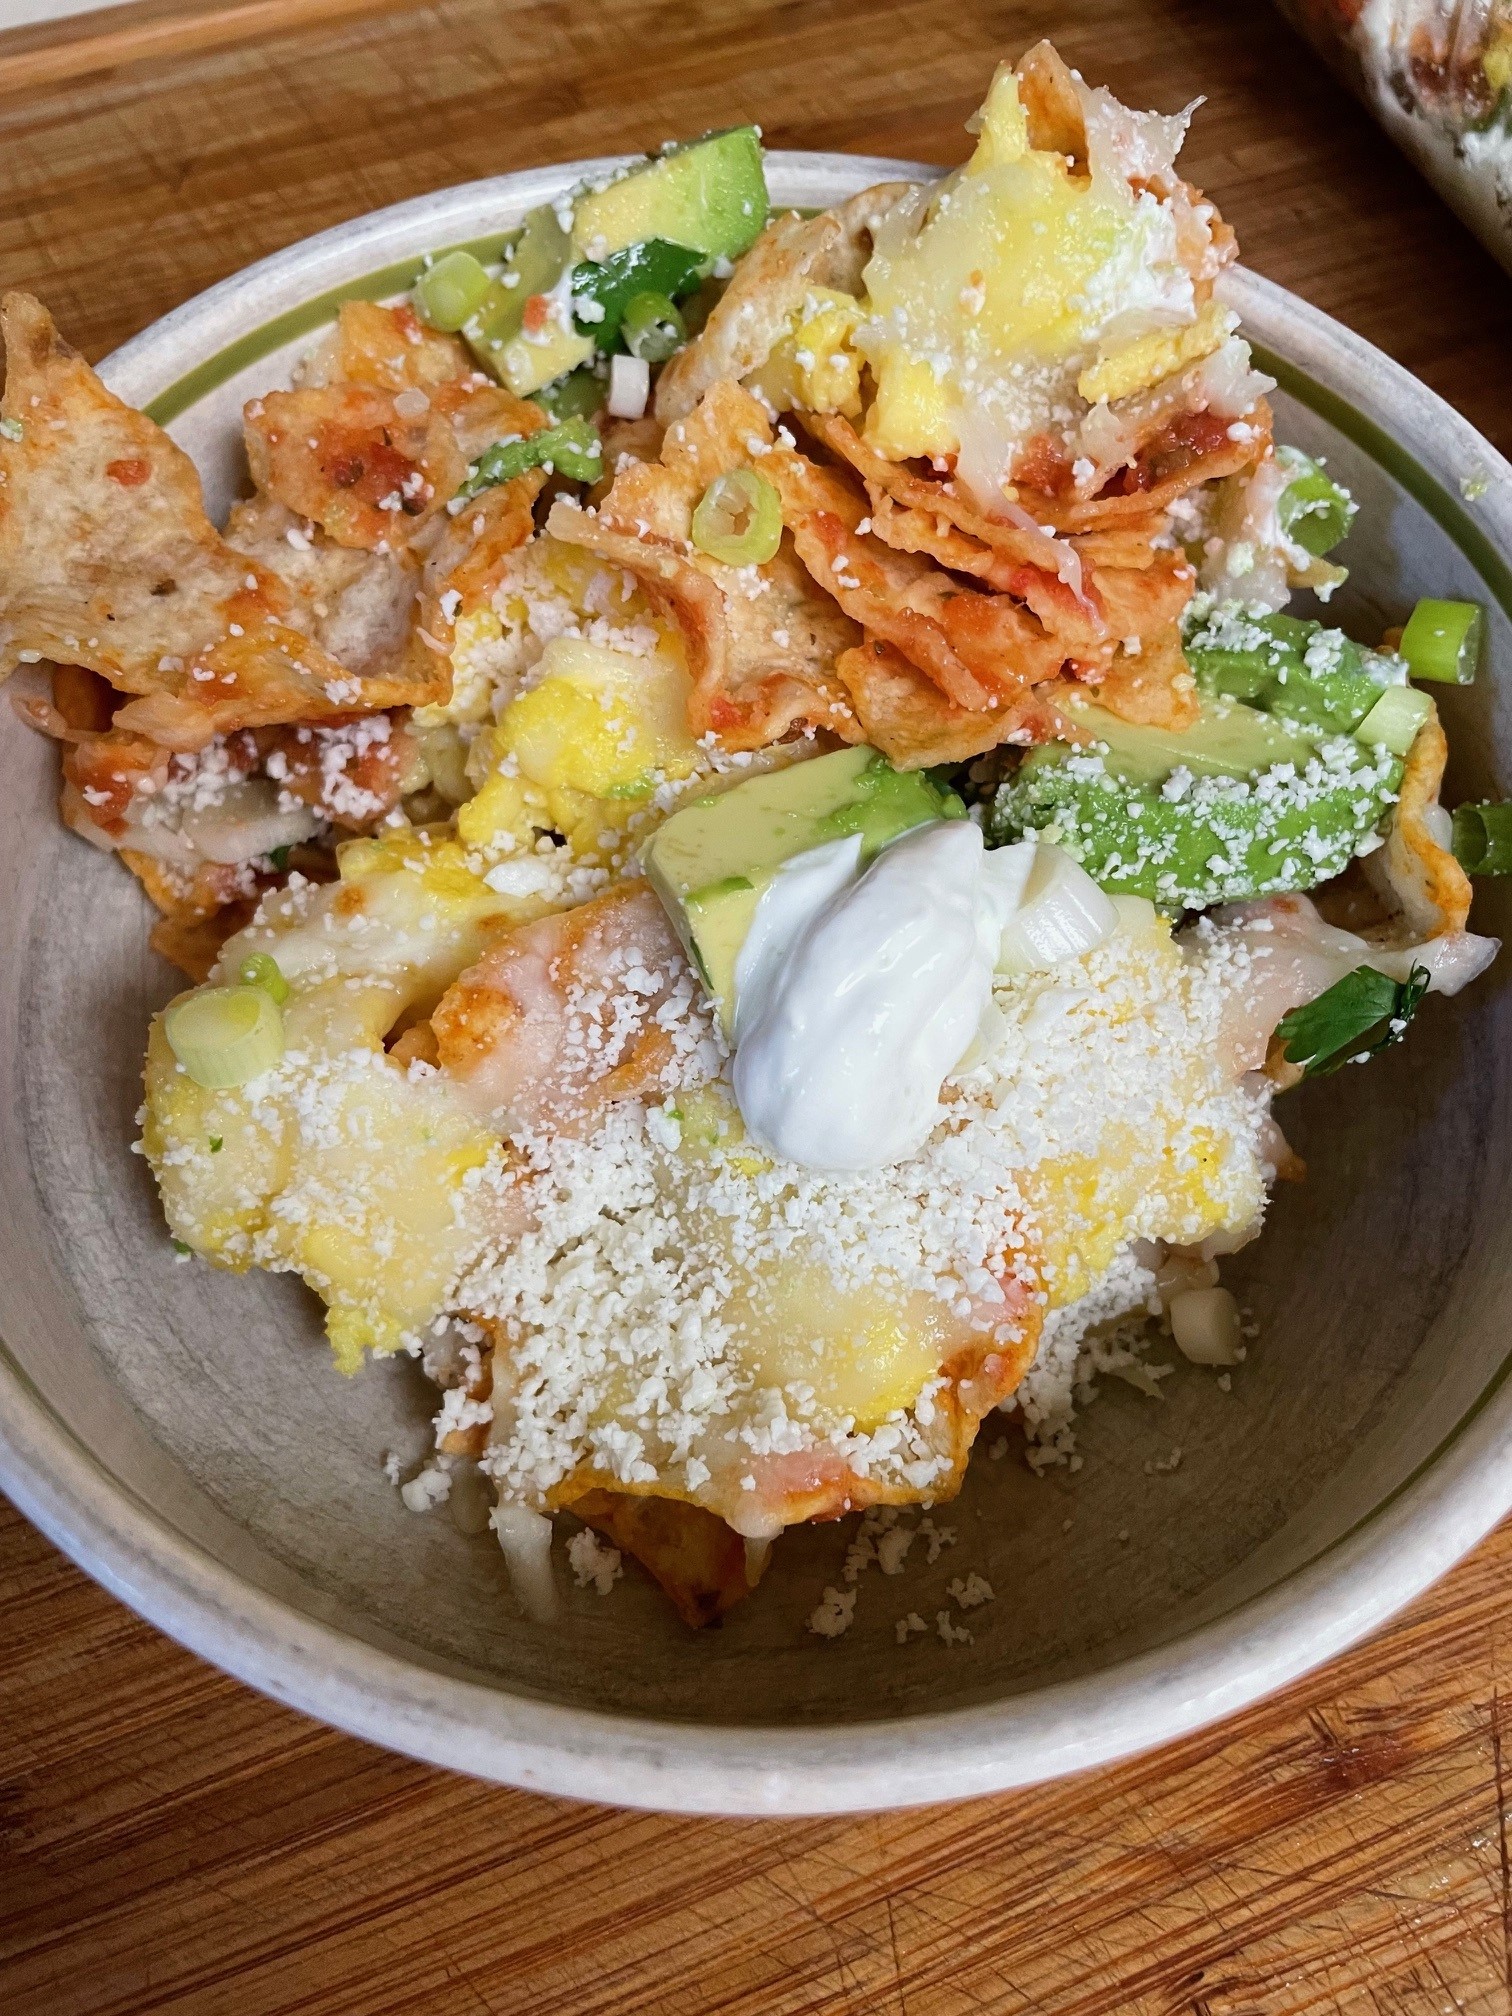
Pour warm tortilla chips into warm salsa and stir until well coated. Spray the 9×13″ baking dish with non-stick spray. Pour the tortilla-salsa mix into prepared baking dish. Distribute the scrambled eggs across the top of the tortilla mix. Sprinkle with Queso Quesadilla cheese. Place under broiler flame until cheese melts. Remove from heat. Sprinkle with cilantro, Cotija, avocado, and green onions. Dollop sour cream across top, as desired. Serve warm. Serves 4.

NOTES: I had never eaten this before, but it is delicious! The chips soften to a good consistency and the flavors are great. Super simple to make, although it created a lot of dirty dishes. Yum!

  • Ingredients
  • 3-1/2 cups prepared fruit (about 2-1/2 lb. fully ripe apricots)
  • 1/3 cup lemon juice (2 or 3 lemons)
  • 6-1/2 cups sugar
  • 1 envelope CERTO liquid fruit pectin

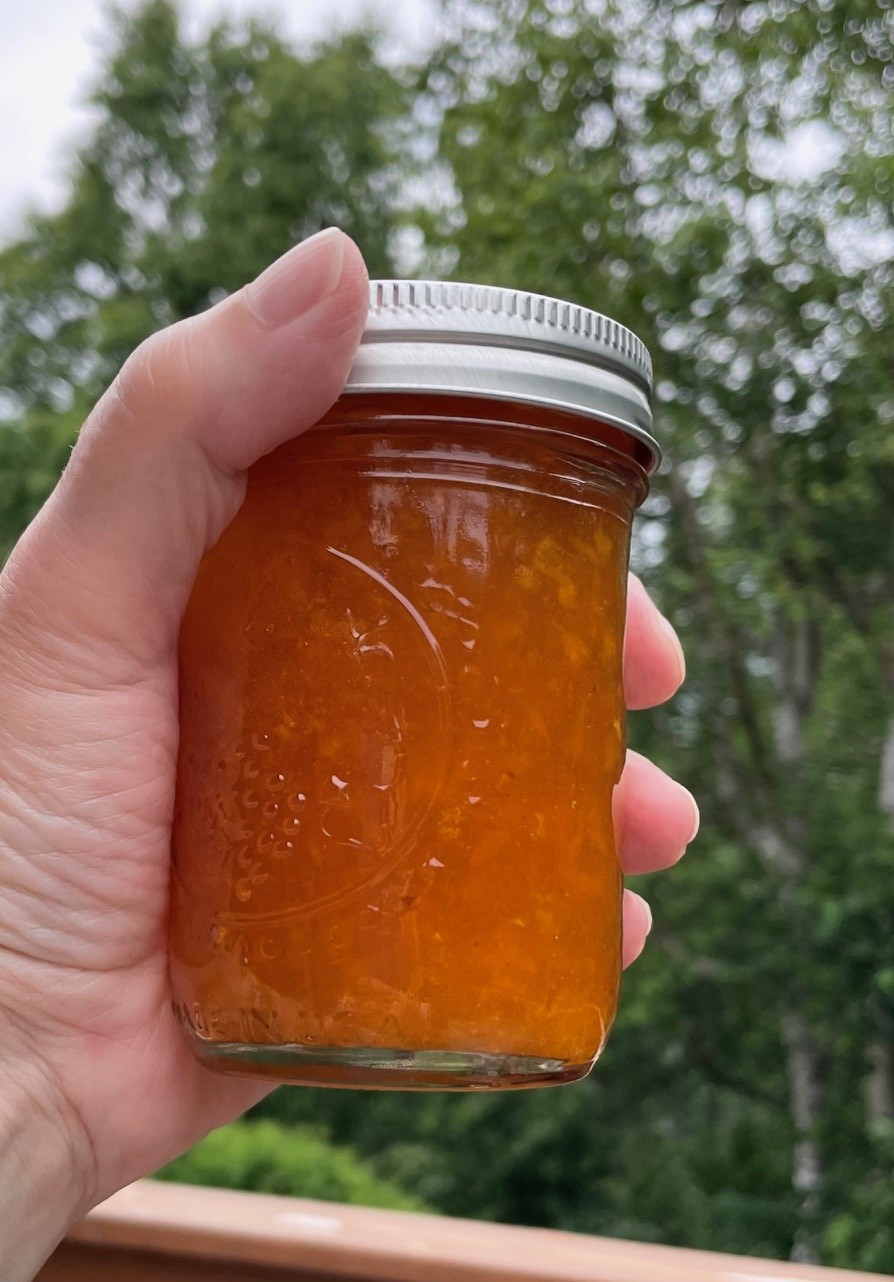
Prepare the fruit by cutting into small pieces and grinding or running through a food processor. Measure 3-1/2 cups into a large saucepan. Stir in lemon juice. Stir in sugar and mix well. Place over high heat and bring to a full rolling boil. Let it boil for 1 minute. Remove from heat and immediately stir in CERTO. Skim the foam off using a metal spoon. Ladle into jars. Yield: 7 cups

You can seal the jars and simply tip them upside down for about half hour. That’s what I do. Sugar acts as a preservative, so it does not have to be “canned.” If you would prefer, you can pour a layer of melted paraffin over the top. That’s what my mother would do. Anything that keeps the air out will work. Or you can water-bath can them. Or you can keep them in the refrigerator. You do you.

NOTES: I was in a grocery store and saw that they had three 2# packages of ripe apricots on sale. I wish now that I had bought all of them. But I didn’t. It turns out that 2 pounds was just enough to make this jam. So, voila! I do love apricots. These were perfectly ripe and a good price for here in Alaska. When I was young, I learned to love apricots when visiting grandparents in California. We visited Chile in 2019 and our tour company owner brought us fresh apricots. It was heavenly! The Chile apricots were memorable because so much of the fruit found in Alaska grocery stores in the winter comes from Chile. It was neat to be where they were actually growing it.

  • Ingredients for Base
  • 3 cups sliced rhubarb
  • 2/3 cup mini-marshmallows
  • 2/3 cup sugar
  • 1/2 Tbsp. tapioca
  • Ingredients for Topping
  • 1 extra-large egg, beaten
  • 2/3 cup sugar
  • 2 Tbsp. hot water
  • 2/3 cup flour
  • 1-1/2 tsp. baking powder

Prepare an 8×8″ baking dish by greasing or spraying with non-stick. Preheat oven to 350 degrees F.

In a bowl, mix together the Base Ingredients. Spread the mixture into the prepared baking dish. Set aside.

For the Topping: beat together egg, sugar, and hot water. Fold in flour and baking powder. Dollop the batter over the mixture in the baking dish as evenly as possible. Bake at 350 degrees for about 40 minutes. Serve warm or at room temperature.

NOTES: This tastes good with whipped cream or ice cream. It’s a weird little dessert because the marshmallows form a crinkly crust, kind of like a pavlova, but underneath the crinkle is a rich cake-like topping on top of a luscious rhubarb sauce. It’s SUPER simple to make and very forgiving if you think it needs more egg or more rhubarb, etc.

  • Ingredients
  • 1 lb. (2 cups) butter, softened
  • 1-1/2 cups sugar
  • 3 cups flour
  • 1 cup sesame seeds
  • 2 cups shredded coconut
  • 1/2 cup finely chopped almonds

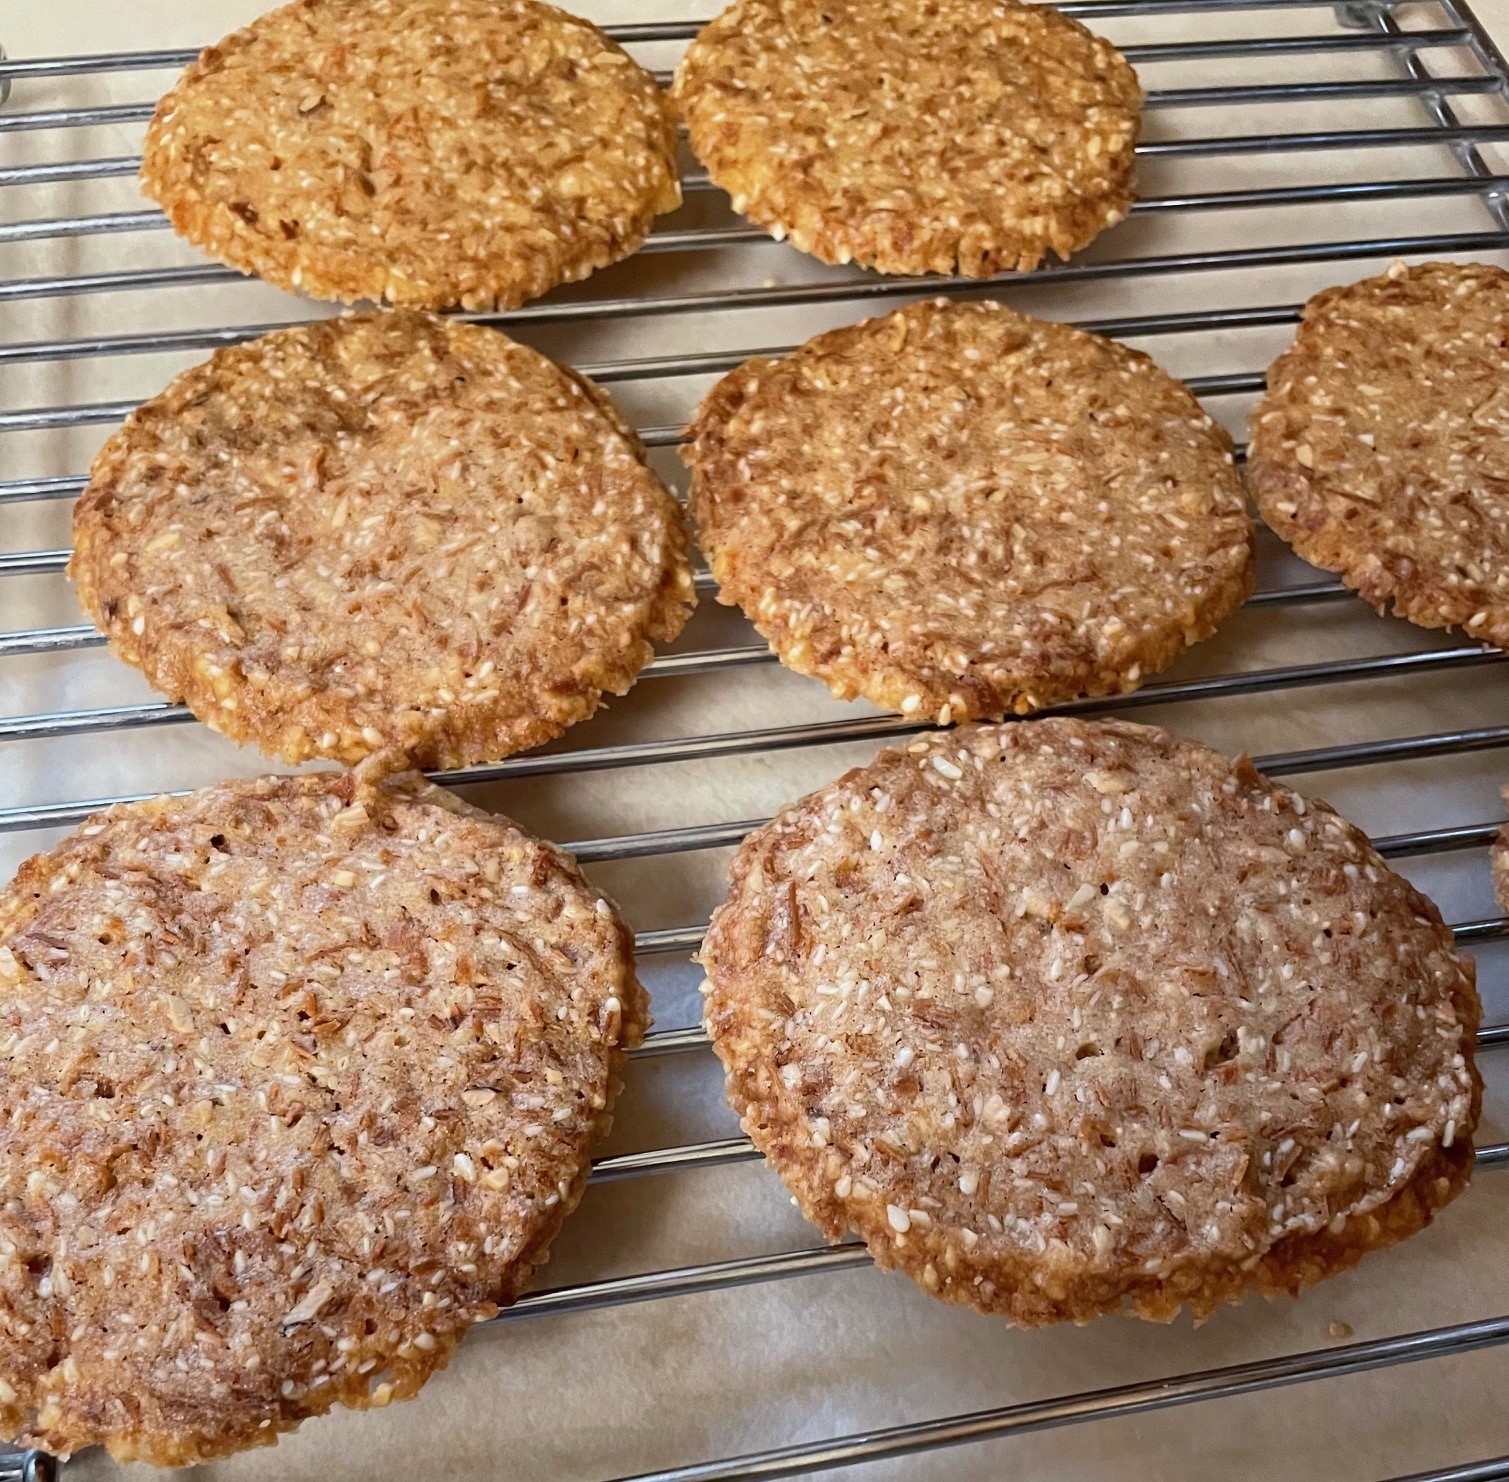
Cream together butter and sugar until fluffy. Gradually add flour. Mix until just combined. Stir in sesame seeds, coconut, and almonds. Divide dough into thirds. Place 1/3 on long sheet of waxed paper. Shape into long roll, 2″ in diameter. Repeat with remaining dough. Wrap and refrigerate until firm. Preheat oven to 300 degrees F. Cut rolls into 1/4″ slices and place on ungreased cookie sheets. Bake for 30 minutes. Remove to wire racks to cool. Yield about 4 dozen.

NOTES: This recipe comes from my late friend Lois Hermansen. They take time because of the baking time. Yes, thirty minutes! These are very crispy, fragile cookies. Oh, so yummy, but they break easily. Find a good box or other flat surface to store them in.

  • Ingredients
  • 6 Tbsp. butter, divided
  • 1 lb. mushrooms, quartered
  • 4 garlic cloves, minced
  • 2 green onions, sliced and divided
  • 1/4 cup broth (or wine)
  • 3/4 tsp. dried thyme (or fresh)
  • Salt and pepper to taste
  • 4 eggs
  • 1 cup flour
  • 1 cup milk
  • 3/4 tsp. salt
  • 3/4 cup parmesan, divided

Melt 2 Tbsp. butter in skillet and saute half the mushrooms until nicely browned. Remove from skillet and set aside. Melt another 2 Tbsp. butter in skillet and add the remaining mushrooms. Saute until nicely browned. Stir in garlic, one green onion, and the set-aside mushrooms. Continue stirring over heat until the garlic is fragrant and soft. Stir in broth, thyme, salt and pepper. Let broth reduce over heat, stirring occasionally. Keep warm over low heat.

In the meantime: Place a baking dish (about 9×13″) or other oven-proof dish into oven and preheat oven to 400 degrees F. In a food processor or blender, add eggs, flour, milk, and salt. Whir until it is thoroughly combined without any lumps. Remove heated dish from preheated oven and drop remaining 2 Tbsp. butter onto dish. Once it has melted, turn the dish so butter coats all sides. Pour batter from food processor into baking dish and sprinkle 1/2 cup shredded parmesan over top. Return dish to oven for 18-20 minutes. Do not open the oven to peek at this. Just wait 18 minutes before checking.

At 18 minutes, the Dutch baby should be puffed and golden brown with crispy looking edges. It may need another minute or two in the oven. Remove from oven and sprinkle the mushroom mixture over all. Sprinkle with remaining parmesan and remaining one green onion. Serve immediately.

Note: Timing is key, don’t start making this unless you can serve it immediately. It doesn’t take long, so that helps. I use the lid of my Dutch oven as a baking dish because it is cast iron and the perfect size. A Dutch Baby is a puffed pancake that falls very quickly, so once it’s removed from the oven it must be served immediately for best taste and effect. Opening the oven to peek, or taking it out of the oven prematurely, will start the falling process and I don’t think there’s any coming back from that. Just leave it alone in the oven and then look at it quickly after the 18-minute mark to see if it needs more time.

  • Ingredients
  • Butter and oil
  • Onion, chopped
  • Cooked corned beef, diced
  • Cooked potatoes, diced
  • Eggs

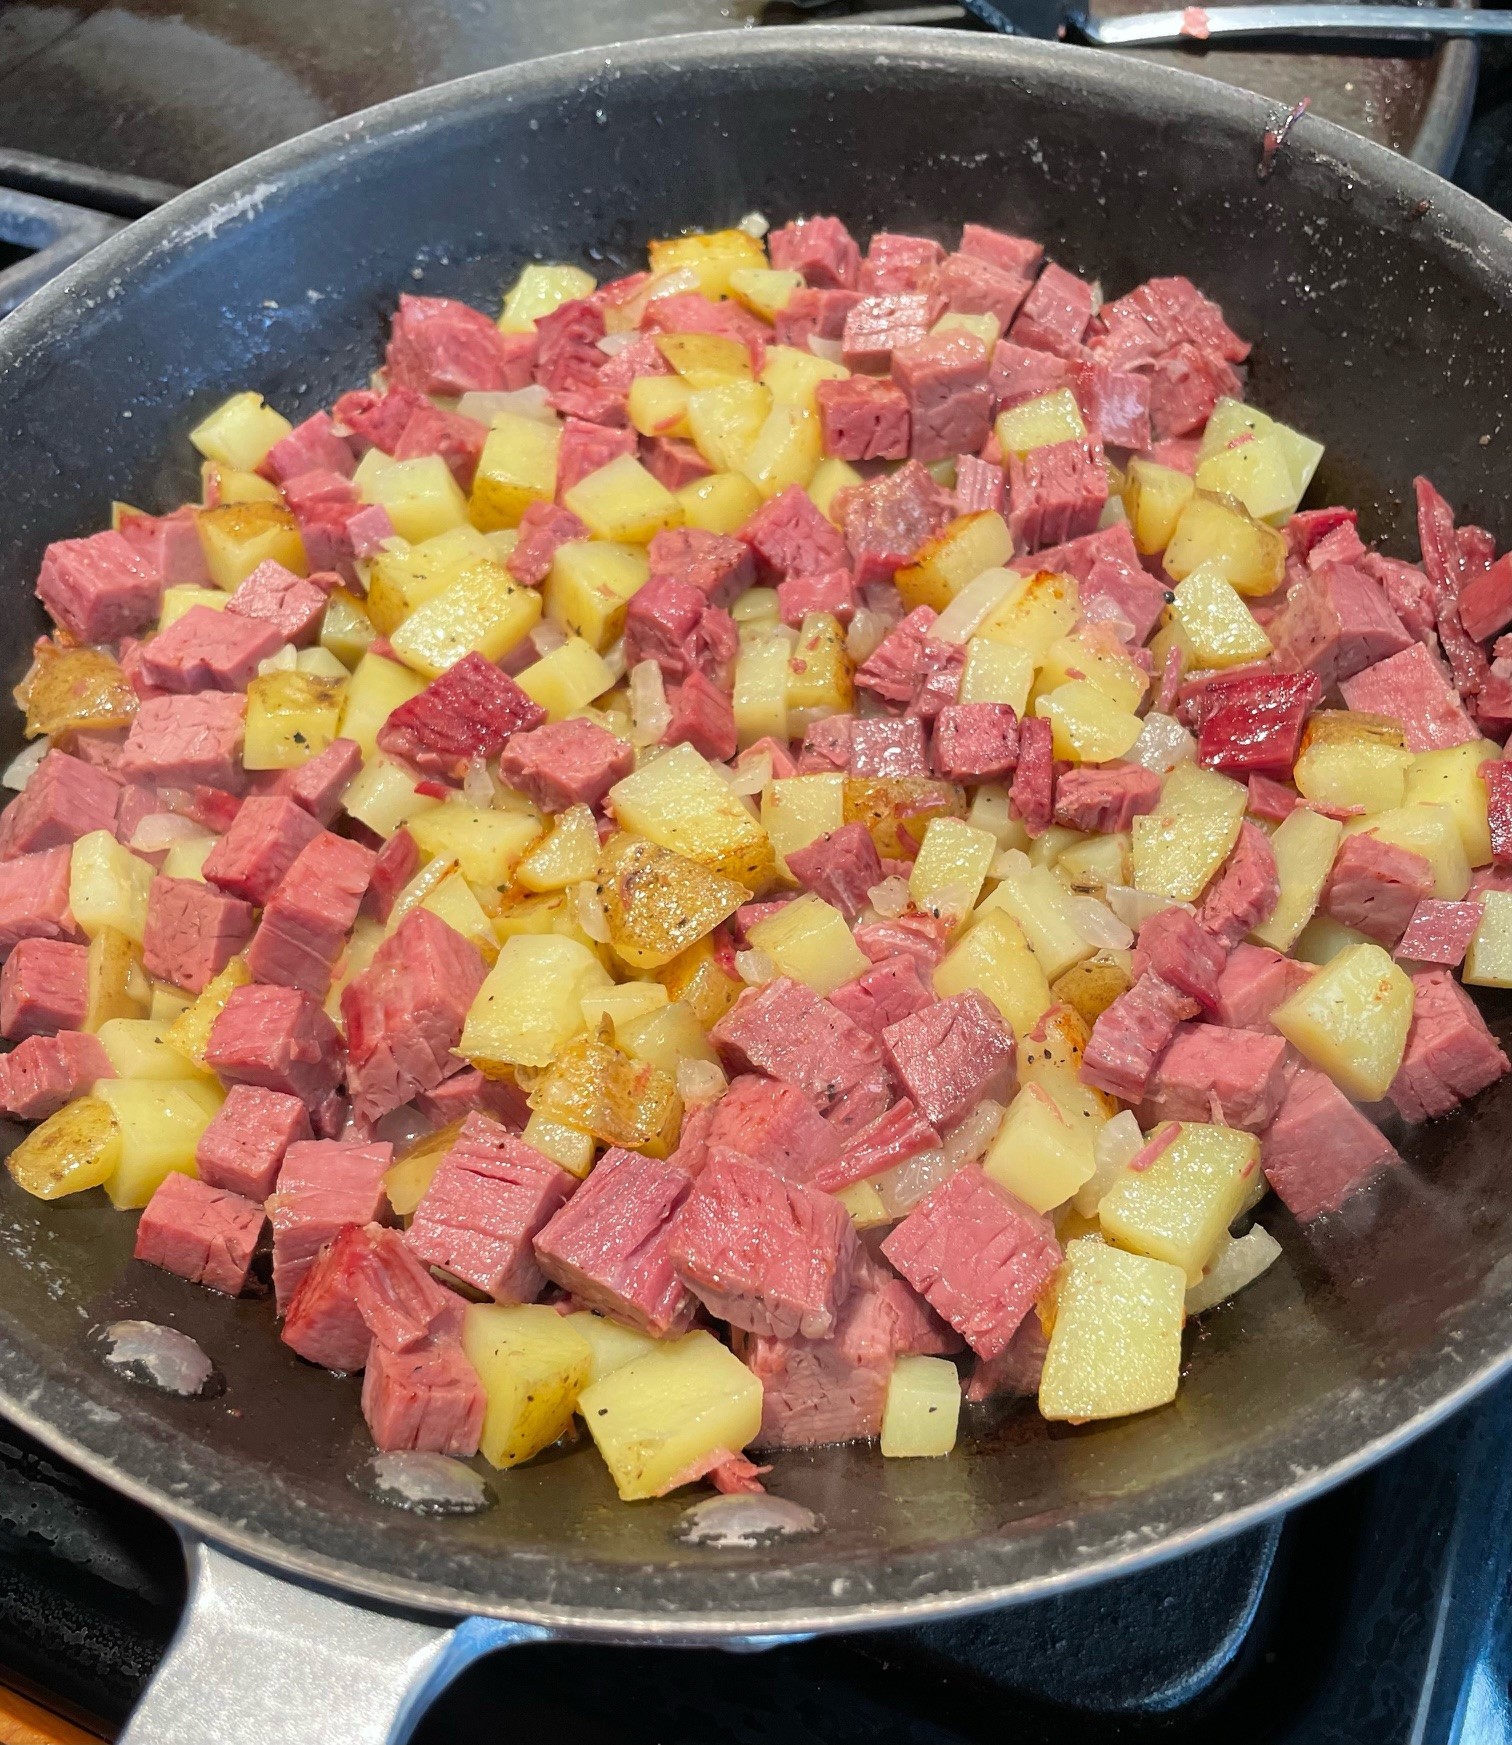
In a skillet, melt a pat of butter with a bit of oil and saute onion in it until transparent. Turn the heat up and stir in equal amounts of cooked and diced corned beef and potatoes. When it’s all well mixed, press down on it and leave it over the flame for a few minutes. Put your spatula beneath the mixture and turn sections of it over, so the browned parts are on top and the bottom gets browned again. Once your hash is a healthy brown color, create indentations in the hash with a spoon and crack eggs into the indents. Reduce heat and cover the skillet until the eggs are done to your liking. My liking is a very soft-cooked egg that forms a sauce in my bowl. Serve warm!

NOTES: Add as many eggs as you feel like eating. You can see in the photograph what I did. It always depends upon how much corned beef I have leftover from dinner (usually St. Patrick’s Day dinner). I do love this dish. I used to make it in the oven for dinner once in awhile. When we go on cruise vacations (frequently), I eat corned beef hash and poached eggs nearly every morning. It’s a bit of a trick up at the buffet deck, scooping up their runny corned beef hash onto a plate and then standing in line waiting for the egg poacher to notice me, hoping the whole mess is still reasonably warm when I find a place to sit down and devour it. First-world problems. I get it. The corned beef hash I make at home is SO MUCH better! And now you can make it, too!

  • Ingredients
  • 2 cups gluten-free flour mix (Bob’s Red Mill 1 to 1 is what I used)
  • 2 tsp. ground cinnamon
  • 1 tsp. ground ginger
  • 1/2 tsp. ground nutmeg
  • 2 tsp. baking soda
  • 3/4 tsp. salt
  • 4 large eggs (I used extra-large)
  • 1-1/2 cups sugar
  • 3/4 cup unsweetened applesauce
  • 1/2 cup oil (I used canola)
  • 1 tsp. vanilla extract
  • 14.5 oz. peeled and grated carrots (about 4 cups)

Preheat oven to 350 degrees F. Prepare 24 muffin cups by using paper liners or another non-stick method.

Stir together gf flour, cinnamon, ginger, nutmeg, soda, and salt. Set aside.

In a large bowl, beat the eggs and then stir in the sugar, applesauce, oil, and vanilla. Beat until combined. Add the flour mixture and stir until just combined. Stop stirring. Fold in the carrots until just combined.

Spoon the batter evenly into the prepared cups. Bake 15-20 minutes at 350 degrees F. They are done when muffin springs back when lightly pressed. It took mine about 24 minutes, probably because my eggs were extra-large.

  • Frosting Ingredients
  • 8 oz. cream cheese, softened
  • 1/2 cup (4 oz.) butter, softened
  • 4 cups powdered sugar
  • 2 tsp. vanilla extract

In a mixer, beat together cream cheese and butter until well mixed. Stir in powdered sugar and vanilla until well combined.

NOTES: The cupcake recipe comes from texanerin.com and she has a variety of ways to do this in different pans, like to make cakes, and also offers ingredient substitution possibilities. I only used her cake recipe, not her frosting. These cupcakes had rave reviews. It may be one of the first things I’ve made gluten-free that I couldn’t tell. They were delicious! Most of the cupcakes I “cored” and filled with my Lemon Curd, then I frosted with Cream Cheese Frosting. I think you could play around with these quite a bit. Orange curd? Orange frosting? I think yes!

  • Ingredients
  • 2/3 cup butter, melted
  • 1 lb. brown sugar (2-1/3 cups, packed)
  • 3 eggs
  • 2-2/3 cups flour
  • 2-1/2 tsp. baking powder
  • 1/2 tsp. salt
  • 1 cup walnuts, chopped
  • 1 cup semi-sweet chocolate chips

Preheat oven to 350 degrees F. Grease, or line with parchment paper, a 9×13″ baking dish.

Stir brown sugar into warm melted butter. Let sit a few minutes. Stir in eggs until well blended. Sift together flour, baking powder, and salt. Stir flour mixture, walnuts, and chocolate chips into sugar mixture. Spread into prepared baking dish. Bake at 350 degrees F for 25-30 minutes. Cool. Cut into squares.

What kind?