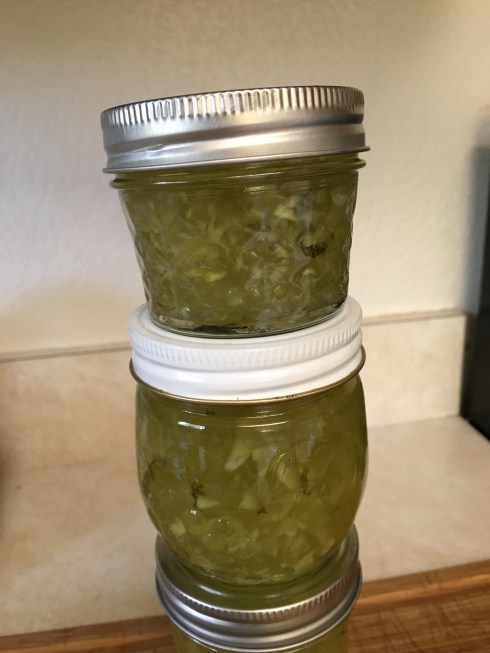
CucumberMintJam1I have a glut of cucumbers and we can only eat so many pickles. Since I do prepare lamb chops pretty frequently, this jam may be a good accompaniment to that and other meats. It also would taste amazing with cream cheese or brie on salty crackers. Oh, yeah!

I started with a recipe found at Homespun Seasonal Living, but then branched way off to do my own thing.

I am not a canning expert. Please remember that as I tell you how I did this. I have made a lot of jams and jellies in my life. This is how I do it, right or wrong.

Ingredients:

6 cups cucumbers, peeled, seeded, and rough chopped
3/4 cup lemon juice
3/4 cup cider vinegar
6 cups sugar
1 envelope of Certo liquid pectin
Few drops of green food coloring, if necessary
4-5 Tbsp. finely sliced fresh mint leaves

Run the cucumbers through a food processor using the S-Blade, just a few pulses should do. Don’t make your cucumber pieces too small. Place the processed cucumbers into a large pan. Stir in lemon juice, vinegar, and sugar.

Sterilize 8 half-pint jars. Heat lids in water. Cut open the envelope of Certo and place the envelope upright in one of the jars for easy access when needed. Get a ladle ready, as well as your canning funnel if you have one.

All set up? Okay, heat the cucumber mixture over high heat until it comes to a rolling boil. Let it boil for one minute. Turn off the heat and immediately stir in the Certo. Continue stirring while you quickly add green food coloring, if needed, and the mint.

Ladle the jam into the jars. Remove the lids from hot water. Wipe off the jar rims and screw the lids on tightly. Invert the jars. Let them sit upside down for at least 30 minutes. Shake the jars around over the course of the next few hours, every so often, to try and get the pieces evenly distributed throughout the jars.

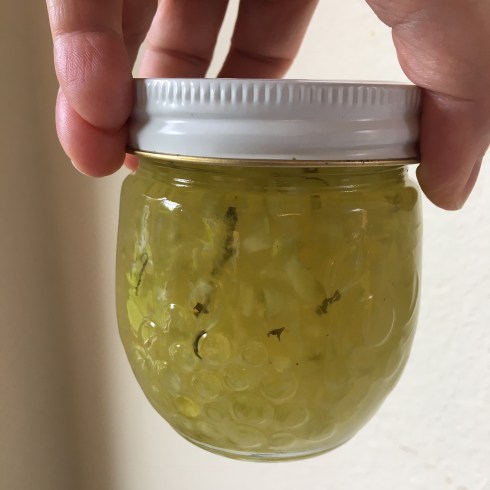
Notes: I found that there was no foam, so this did not require skimming. Easy! I used lemon cucumbers for 2/3 of the cucumbers and regular green cucumbers for the other third. I didn’t realize the color would matter as much as it did, so I added green food coloring at the end. It’s really nice looking. I used a mix of half-pint and quarter-pint jars. This didn’t set well until the next day. Be patient. And I had a few tablespoons extra, so I’ve tasted it and deem it GOOD! It was great with brie!
CucumberMintJam2


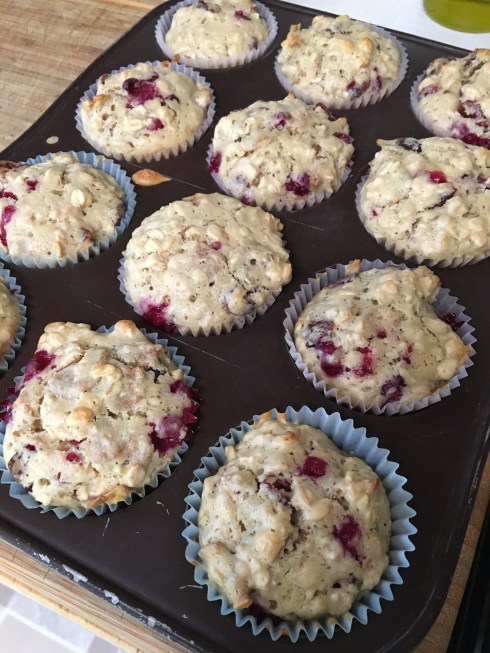
Bran-OatMuffins1

I’ve made these for years and years. I don’t remember where the recipe came from. They are super simple to make and take no time at all. Many times I combine the dry ingredients in a bowl the night before, prepare the muffin pan with papers, and set my oven to come on at 375 degrees fifteen minutes before my morning wake-up alarm goes off. Then in the morning I add the three wet ingredients, distribute the batter into the prepared pan, pop them into the oven to bake while I shower, and have a tasty breakfast all ready for the day.

I’ve probably used every kind of dried fruit imaginable in these, and quite a few different frozen fruits, too. Today’s batch I threw in a handful of dried cranberries and a handful of frozen lingonberries. Yum!

Ingredients:

1-1/2 cups flour
1 cup bran cereal FLAKES (NOT All-Bran)
1 cup rolled oats
1/2 cup brown sugar, firmly packed
1-1/2 tsp. baking soda
1-1/4 cups buttermilk
1 large egg
1/4 cup butter, melted
Optional: handfuls of dried, frozen or fresh fruit

Preheat oven to 375 degrees. Prepare a muffin tin by greasing or using paper liners. I use liners for easy clean-up. In a large bowl, stir together the dry ingredients. In a small bowl stir together the buttermilk, egg, and melted butter. Make a well in the center of your dry ingredients and pour the wet ingredients in. Stir until just combined. Batter will be thick and lumpy. Fold in optional fruit. Spoon batter evenly into prepared muffin pan. Bake at 375 degrees F for 20-23 minutes, until they spring back when lightly touched. Makes 12. These freeze very well.

Bran-OatMuffins2

EggRoll4

This recipe comes from PeaceLoveandLowCarb.com. I have been making this lately when I know that time is short or I just don’t feel like making anything complicated. It is really yummy and filling and warms you up without being sloppy.

Ingredients:

2 Tbsp. sesame oil
3 cloves garlic, minced
1/2 cup onion, diced
5 scallions, sliced, divided between green and white parts
1 lb. ground pork (I assume other ground meats would work fine)
1/2 tsp. ground ginger
Salt and pepper to taste
1 Tbsp. Sriracha
14 oz. bag of coleslaw mix
3 Tbsp. soy sauce
1 Tbsp. rice vinegar
2 Tbsp. sesame seeds

Heat sesame oil in skillet, add garlic, onion, and white part of scallions. Saute until onions are translucent. Add pork, ginger, salt & pepper, and Sriracha. Stir while sauteeing until the pork is cooked through. Add the coleslaw mix, soy sauce, and rice vinegar. Saute while gently stirring until the coleslaw is tender. Sprinkle with the reserved green parts of the scallions and the sesame seeds. Serve hot. Spice it up with a little more Sriracha if you like.


BeanSalad

This is extremely simple, but really yummy. The lemon juice and tomatoes are a nice tart contrast to the earthy bean flavor. You will need small white beans, grape tomatoes, green onions (scallions), lemon juice, olive oil, salt and pepper. There are no set measurements, just use your eyes and your taste buds.

I start with one can of small white beans, drained. Rinse and drain again. While it’s draining, cut grape tomatoes in half. Slice green onions. Stir the beans, tomatoes, and green onion together gently. Sprinkle with lemon juice, olive oil, salt and pepper, then stir gently again. Boom! Done. If not serving right away, keep it refrigerated and then give it a stir when you’re ready to serve.

CauliflowerCake13So, I made this deliciousness last night for dinner. And I mean DELICIOUS! I had to search Pecorino Romano vs Parmigiano Reggiano in order to find out what the difference is. Apparently, it’s an important difference in this instance. Yes, of course, you can use parmesan, but I tell you this was flat out tasty and I think the Pecorino Romano was the reason. The recipe is found at Ciao Chow Bambina. I changed the recipe by using gluten-free flour (Namaste Perfect Blend) and was VERY pleased with the result. The recipe is a bit complicated, but I learned some things along the way and I can say I’ll be making this again.

Ingredients:

1 medium cauliflower, broken into florets (NOT mashed)
1 tsp. salt
1 medium red onion
Olive oil
1/2 tsp. chopped fresh rosemary (I used dried)
2-3 Tbsp. melted butter
1 Tbsp. white sesame seeds
1 Tbsp. black sesame seeds
6 eggs
1/2 cup basil leaves, chopped
1 cup gluten-free flour (I used Namaste Perfect Flour Blend)
1-1/2 tsp. baking powder
1-1/2 cups grated Pecorino Romano cheese
Salt and pepper

Place the cauliflower florets and 1 tsp. salt into a saucepan with an inch or so of water in the bottom. Cover and bring to a boil. Let simmer, checking the florets every few minutes, until they are quite soft. Drain and set aside in a colander.

Cut 3 round slices, each 1/4-inch thick, off one end of the red onion and set aside. Chop the rest of the onion and place in a small pan with a little olive oil and the rosemary. Saute until the onion is tender, stirring frequently. Set aside to cool. Preheat oven to 400 degrees F.

Line the base and the sides of a 8-1/2 inch springform cake pan with parchment paper. I found how to do this on YouTube. Place your pan on top of parchment paper and draw a circle around the outside. Cut out the circle — that’s the bottom piece. Roll your cake pan on its side to measure out how long/wide a piece of parchment paper you need for the sides. Cut it. Butter the bottom and sides of the cake pan and place the parchment paper onto it. It sticks! Voila! Then brush the sides only with melted butter. Mix the sesame seeds together and sprinkle them onto the sides. I rolled the pan slowly while sprinkling. Voila again! They stick. It worked really well.

Place your sautéed and cooled onions into a large mixing bowl. Add eggs and chopped basil. Mix well. Add flour, baking powder, 1-1/4 cups Pecorino Romano, 1 tsp. salt and pepper to taste. Mix until smooth. Add the cauliflower florets and stir gently until well combined.

Carefully spoon the thick batter into the prepared springform pan, spreading evenly and smoothing the top. Arrange the reserved onion rings on top. I pressed mine into the batter a little bit. Place into the preheated 400 degree oven for 45 minutes, or until golden brown and set. It took mine about 55 minutes. Remove from oven and let rest for 15 minutes. Unlock the pan and remove the parchment paper. Serve warm with Pecorino Romano sprinkled over the top. Heavenly.


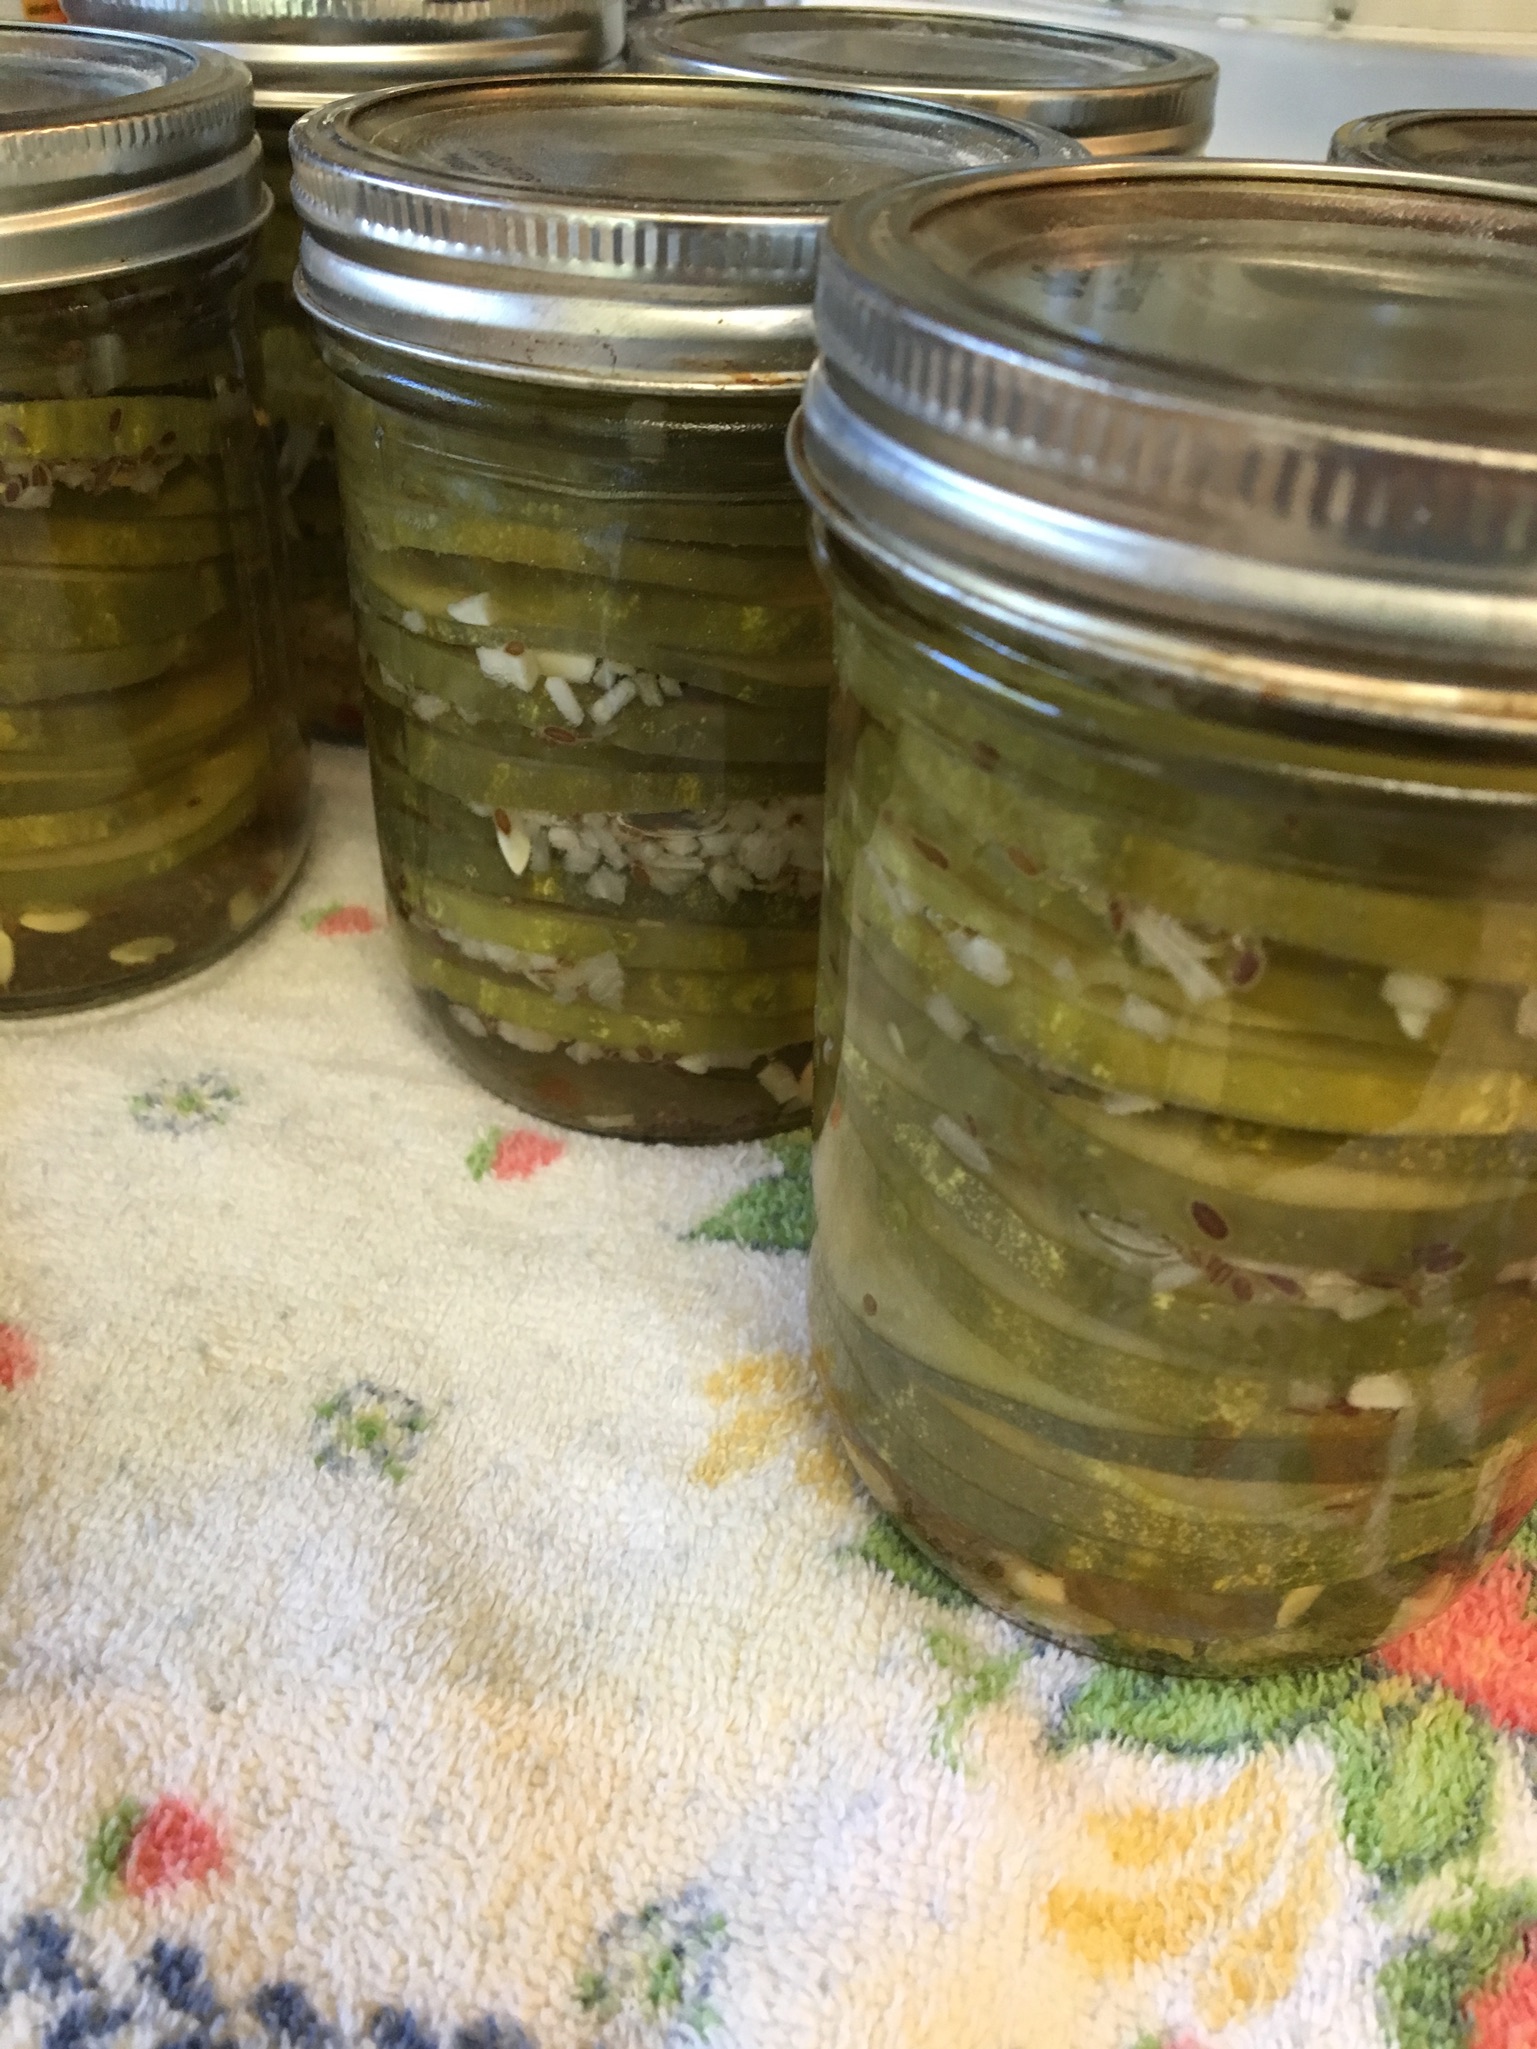
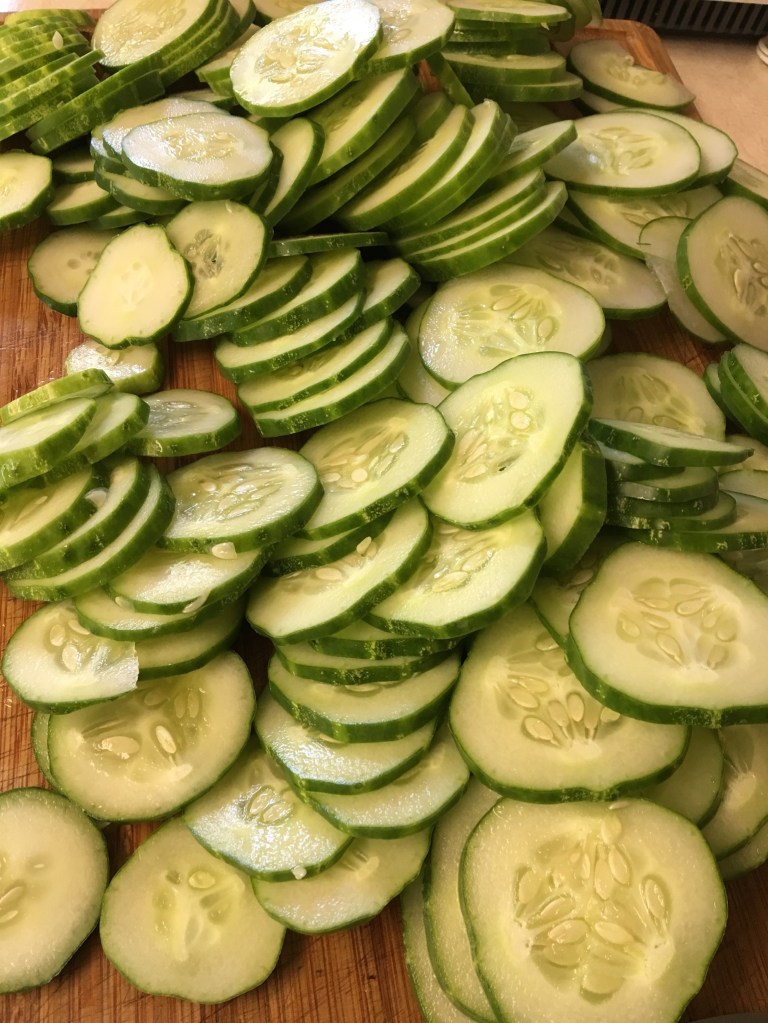
My cucumbers are humongously fat so I thought it would be nice to make these dill chips layered carefully into pint jars (makes 6 pints). They are pretty. The recipe is based upon one found at CookingBride.com. She says it will take about 3 weeks before they’re ready to eat. Maybe I can wait. Maybe.

DillPickleChips1
  • TO BEGIN
  • 2 Tbsp. canning salt
  • 3 cups water
  • 4 lbs. cucumbers, sliced into 1/4″ slices, crosswise

In a very large non-corrosive bowl, mix together salt and water until salt has dissolved. I used my 32-cup Tupperware bowl. Add the cucumbers and stir around gently with your hands until all has been coated with salt water. Let stand 2-3 hours.

Drain cucumbers and rinse with fresh, cold water. I rinsed my big bowl, added cold water and put the cucumbers into it for a few minutes, then drained it again. Let stand until called for.

  • TO CONTINUE
  • 2 cups cider vinegar
  • 1 cup white vinegar
  • 3 cups water
  • 2 Tbsp. sugar
  • 2 Tbsp. canning salt
  • 6 tsp. dill seed
  • 6 tsp. minced garlic
  • 6 tsp. DRIED minced onion
  • 2 tsp. dried chili flakes

In a large saucepan add vinegars, water, sugar, and salt. Bring to a boil. In the meantime, add 1tsp. dill seed, 1 tsp. minced garlic, 1 tsp. dried minced onion, and a pinch of dried chili flakes to each of 6 sterile pint jars.

Ladle a bit of hot brine into each jar. Start layering the cucumber slices into the jars, adding brine once in awhile so the slices do not stick together. Once all the cucumbers are used up, distribute the remaining brine. Run a knife around gently and tap the jars so as to get the bubbles out and use up as much brine as possible. Make sure to leave 1/2″ head space at the top of the jars. Screw hot lids onto the jars. I shook the jars around to get the spices distributed.

Place the jars in a boiling water bath for about 20 minutes of processing.

DillPickleChips2

20 August 2019 update: This turned out to be a favorite over the winter. It’s really, really tasty. We used on burgers and sandwiches.

SweetChiliSauceToo many cucumbers! This one looked good, not sure it’s going to withstand the canning process, but . . . too many cucumbers!
I started with a recipe from Many Grandmas. My cucumbers were so big it was difficult to slice them into strips as indicated in her recipe, but I went for it anyway. Here is how I did the recipe.

2 very large cucumbers
1 very large carrot
1/2 tsp. salt
1 cup rice vinegar
1 cup water
1/2 cup sugar
4 Tbsp. sweet chili sauce
2 cloves garlic, minced

Cut the cucumbers in half lengthwise and then lay the cut side down on the cutting board. Using a vegetable peeler, peel the cucumber down into very thin slices.

Peel the carrots and then use a lemon zester to score the length of the carrots several times. Slice the carrots cross-wise. The scoring will make them into a pretty flower shape.

Put the cucumbers and carrots into a bowl and sprinkle with salt. Mix gently, but well. Let stand for 30 minutes or so. Drain. Rinse with cold water and drain again. Let stand.

In a saucepan mix vinegar, water, sugar, and sweet chili sauce. Heat to boiling.

Sprinkle the minced garlic into two pint jars. Divide the vegetables into the jars and pour hot brine over all, leaving 1/2″ headspace. Screw lids onto the tops of the jars and process in boiling water bath for 5 minutes. Remove.

In case you don’t know what sweet chili sauce is . . .

AsianPickles1

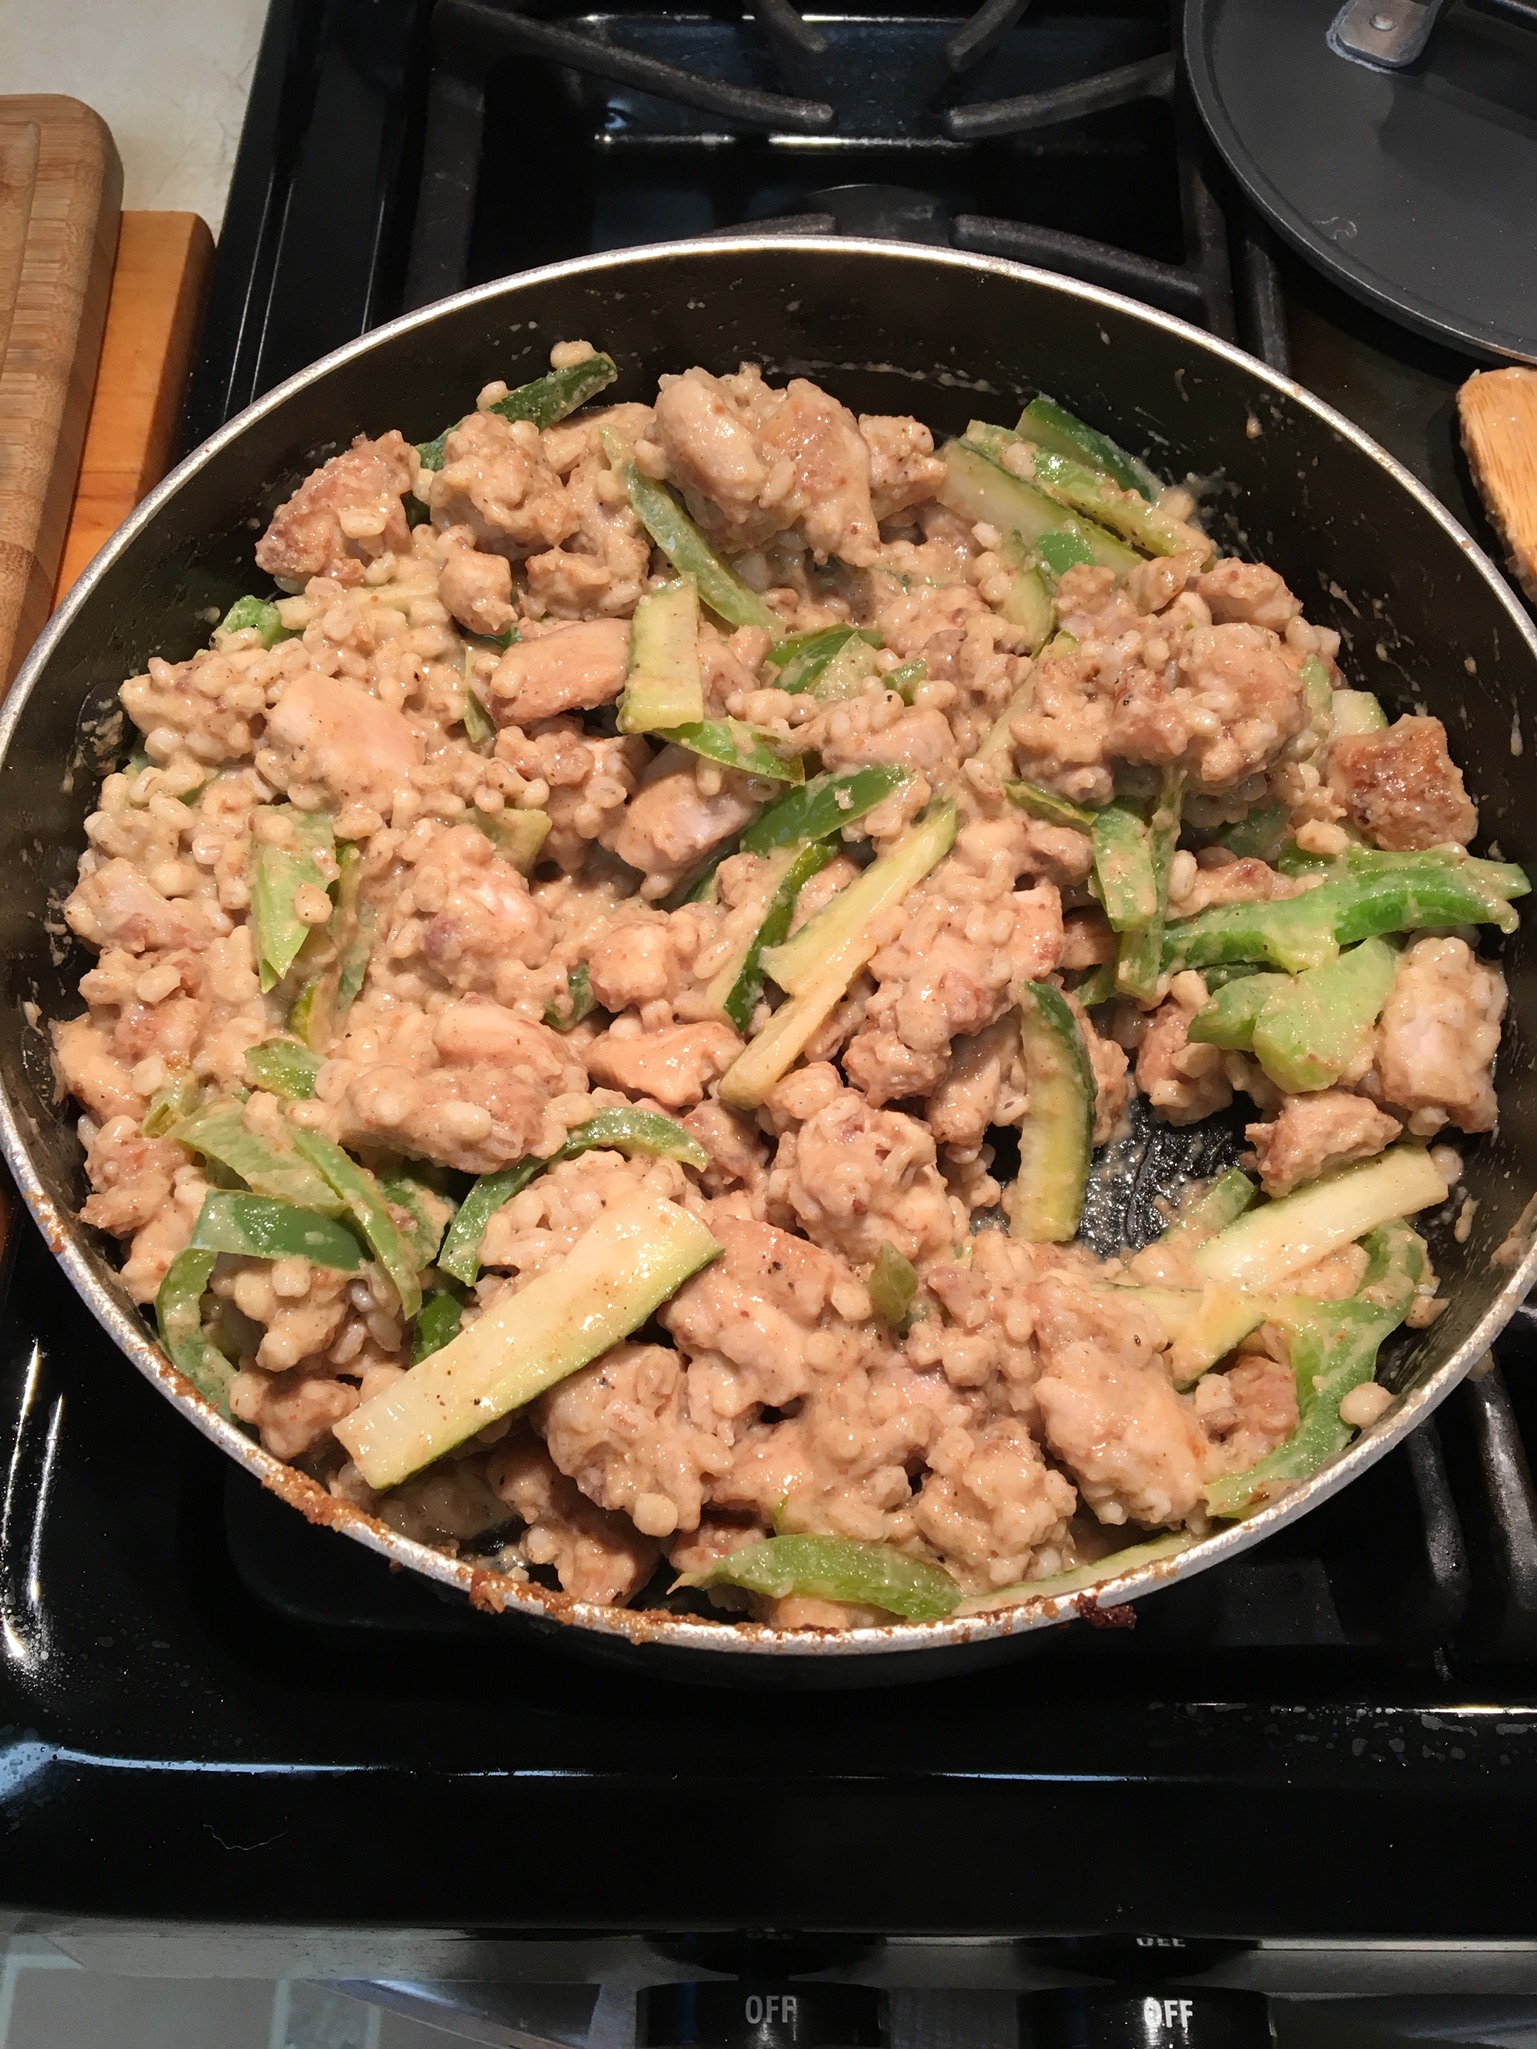
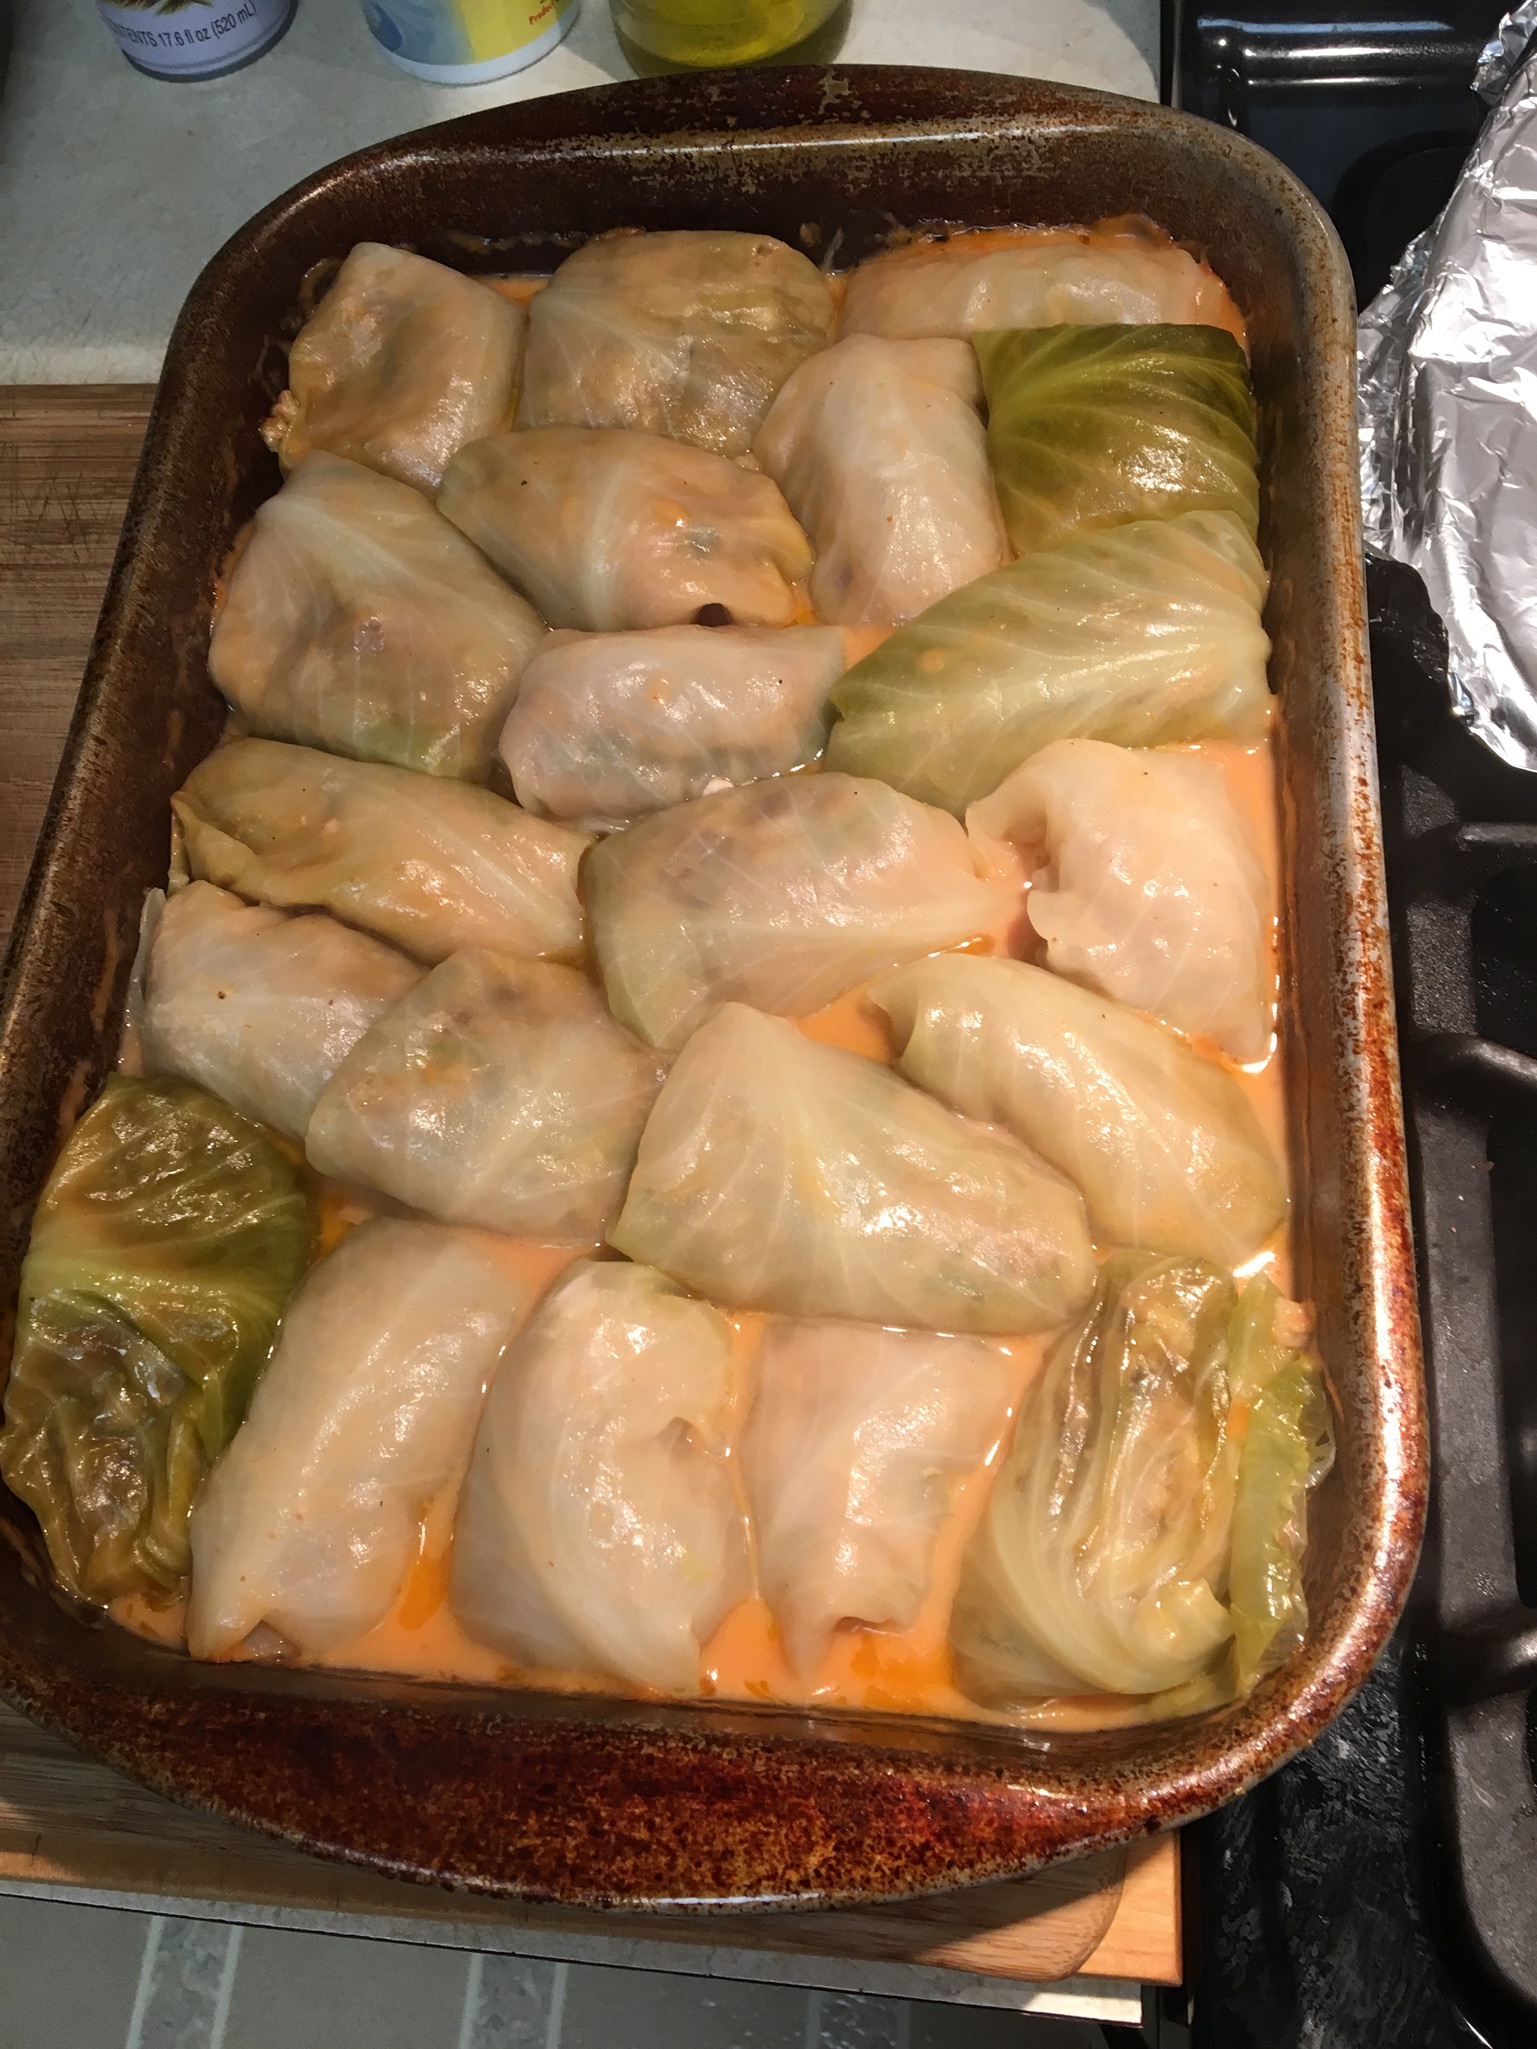
This is a riff on a recipe I clipped back in the 1980s or 1990s, probably from Sunset Magazine. I really like it for the use of barley, which I really enjoy instead of the usual rice. The original recipe used veal or dark turkey meat and called for a layer of yeast bread over the top. I did try it that way once, but it was too doughy, just too much bread. I usually use chicken breast, but have also used pork. It’s a very forgiving recipe, so just do it that way you want to. Warning that the preparation is time consuming.

RussianCabbageRolls11

Ingredients:

1/2 cup pearl barley
1 large head cabbage
1 lb. boneless, skinless chicken breast
Flour for dredging
1 Tbsp. butter
1 Tbsp. olive oil
1 small red bell pepper, stemmed, seeded, and slivered
1/4 cup sour cream
2/3 cup chicken broth
2/3 cup dill pickles, slivered
Salt & pepper to taste
Smetana Sauce (recipe below)

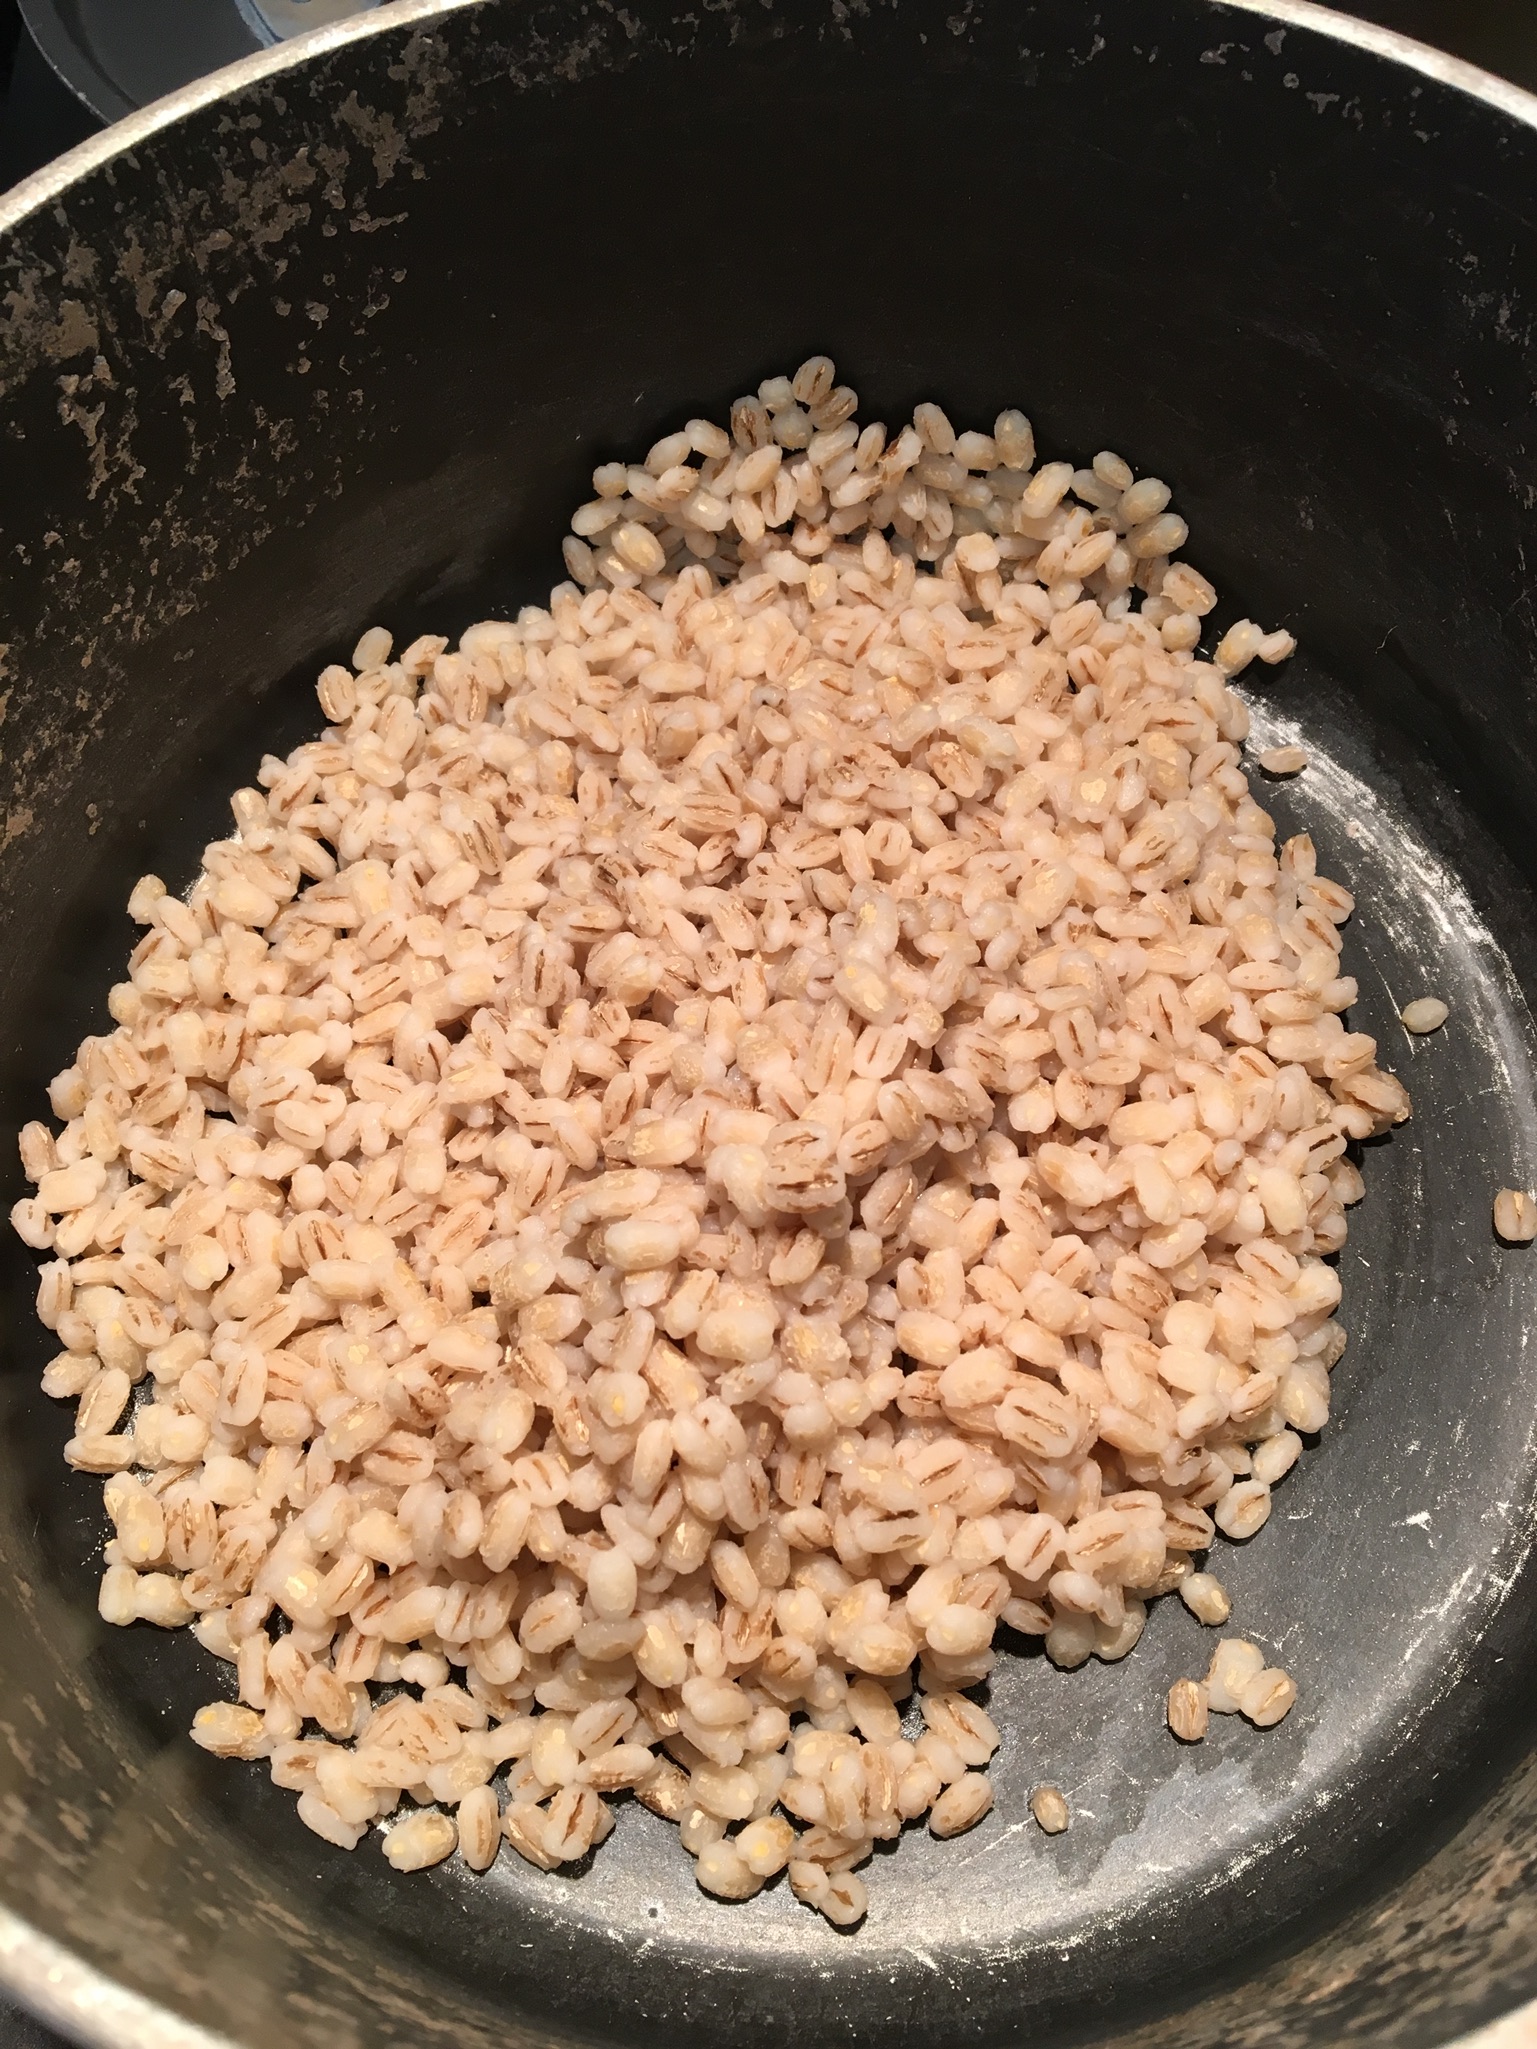
Combine barley with 2 cups water in a 1 to 1-1/2 quart pan. Bring to a boil, cover, and simmer until barley is tender to bite, about 30 minutes. Drain, set aside.

RussianCabbageRolls2.1

Bring 4 to 5 quarts water to boil in a very large pot over high heat. Core cabbage and, with a spoon, submerge head in water for 20 seconds or so. Lift out cabbage; when cool enough to touch, gently pull off as many outer leaves as you can. Repeat until you have about 12 to 14 large leaves.

RussianCabbageRolls1.0

Return the leaves to the boiling water, about 4 at a time, and cook until each one is pliable, 2 to 4 minutes; drain well. I lay out a tea towel for them to sit on. Cut the thick section of the stem from the back of each leaf.

Cut meat into 1/4-inch strips. Coat strips with flour. Put butter and oil into a 10 to 12 inch frying pan over medium-high heat. Once hot, add half the meat at a time and cook, stirring often, until lightly browned, 5 to 7 minutes; transfer to bowl. Add more butter and oil if necessary.

Cook the bell pepper in the same pan, until limp, about 5 minutes, stirring often. Remove pan from heat and mix in sour cream, broth, pickles, barley, meat, salt and pepper.

RussianCabbageRolls2.2

Prepare a baking dish approximately 10 X 15 inches by spraying with non-stick spray or by greasing the dish.

Eyeball your filling to your cabbage leaves and judge how much filling to put into each leaf. Fill the leaves, folding each leaf over the filling and placing the rolls into the prepared dish, seam down.

Prepare the Smetana Sauce. Preheat oven to 350 degrees.

Smetana Sauce Ingredients:

3 Tbsp. butter
3 Tbsp. flour
2-1/4 cups chicken broth
1-1/2 Tbsp. tomato paste
1/2 cup sour cream
Pepper to taste

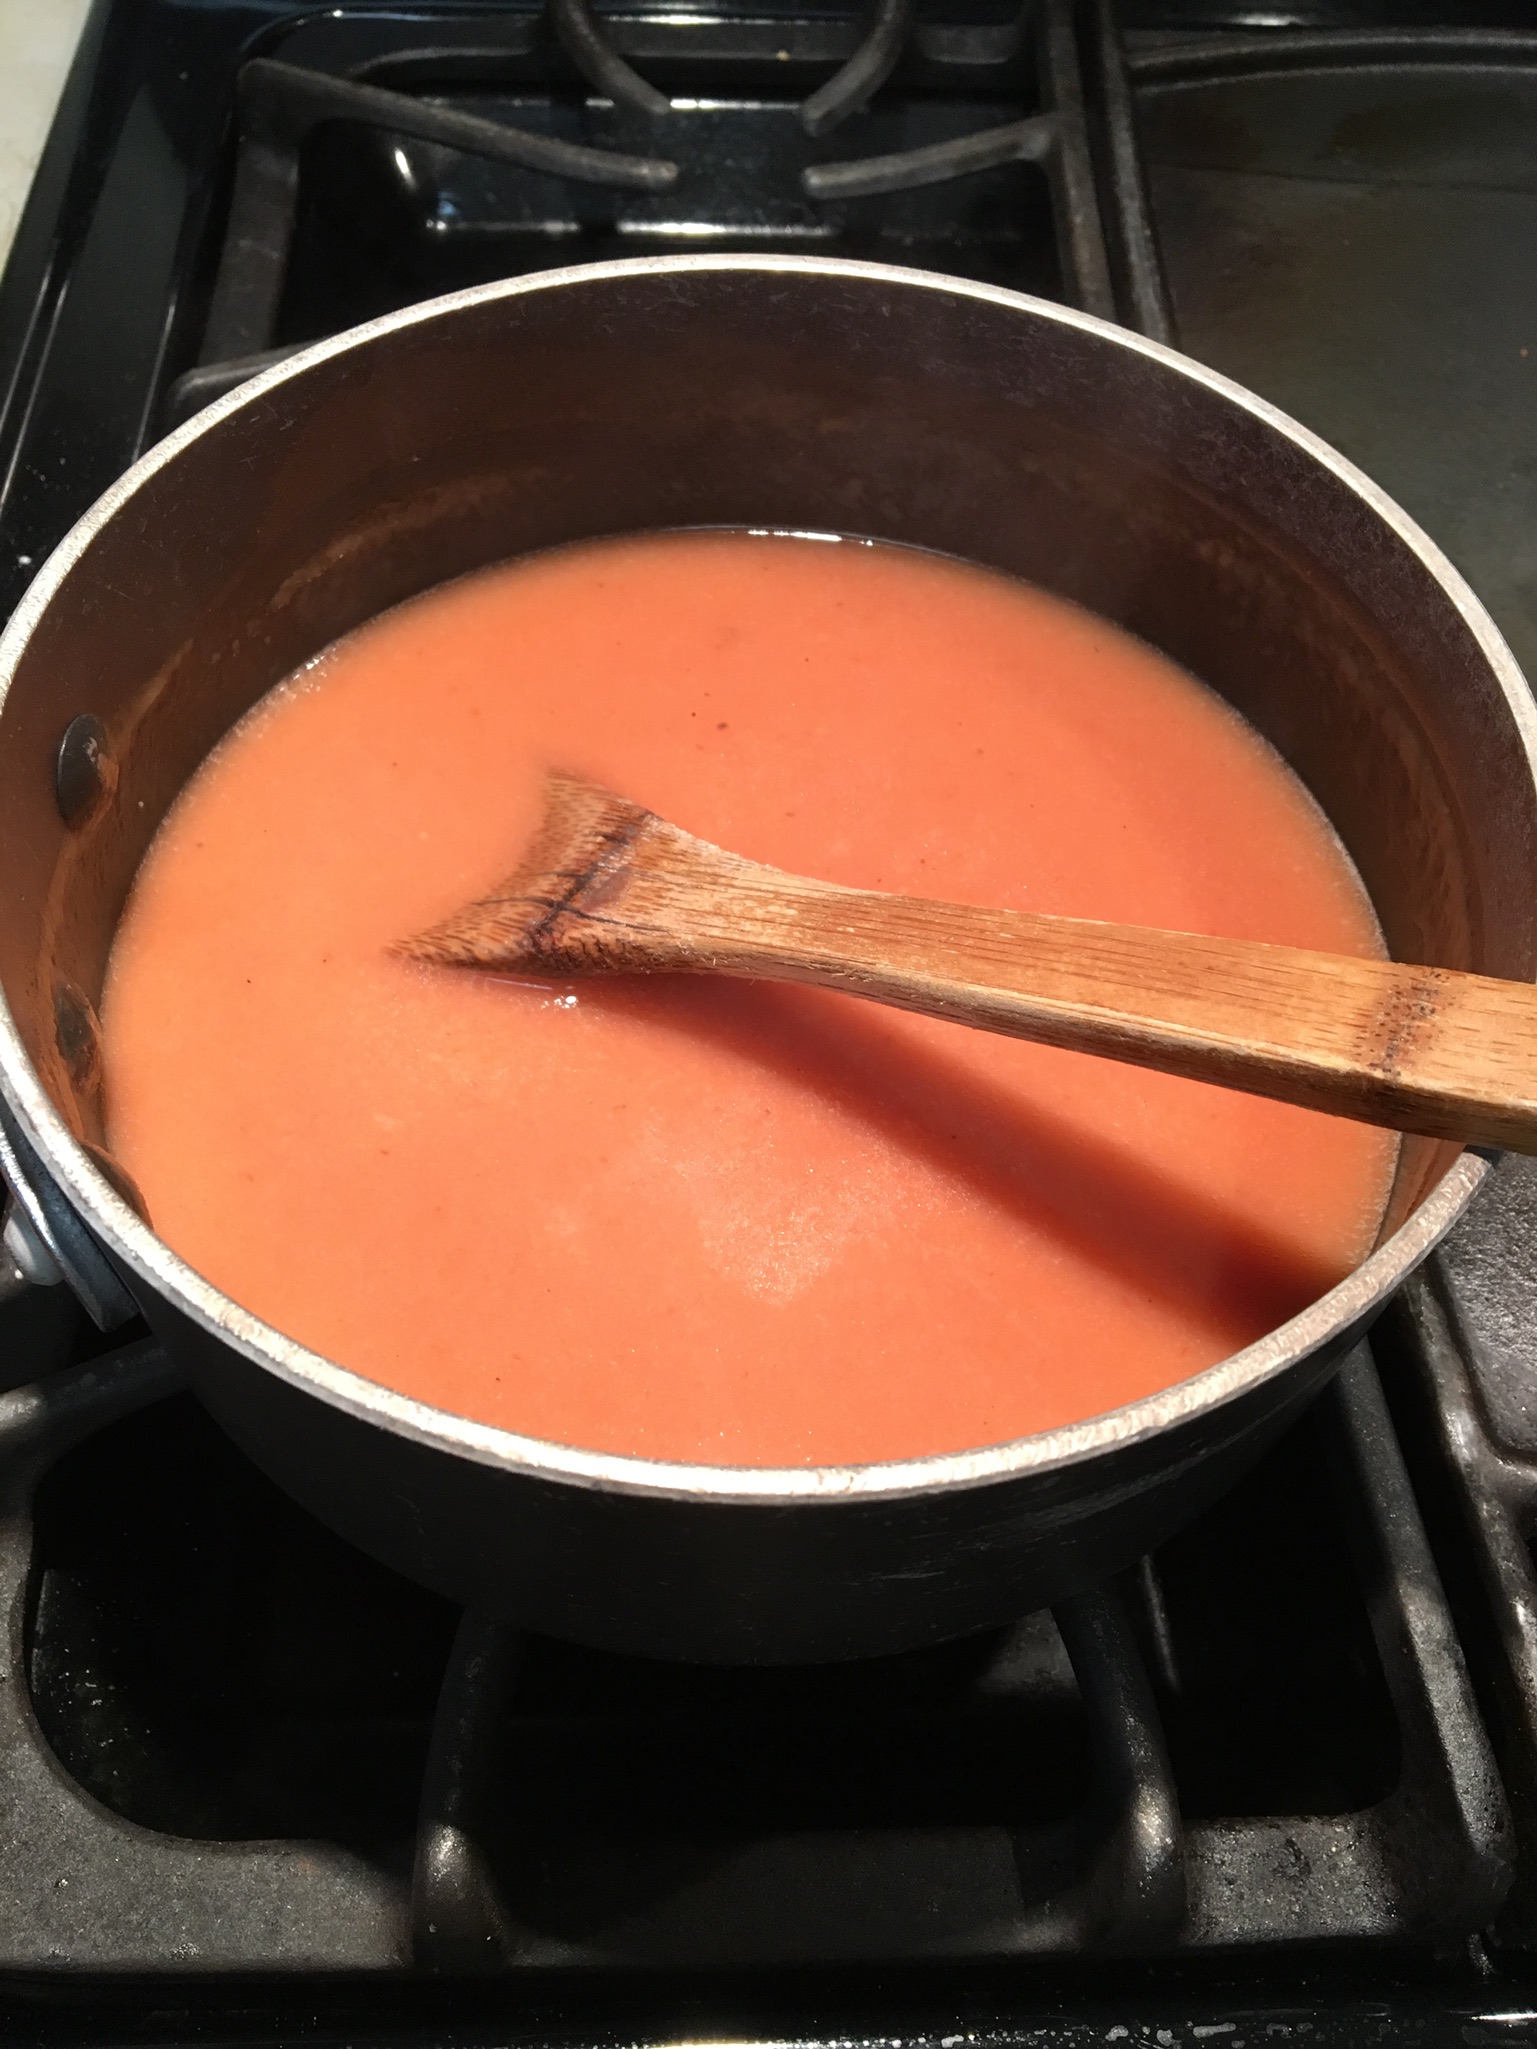
Melt butter in saucepan over medium heat, stir in flour until mixture is smooth and bubbly. Stir in broth and tomato paste. Stir until sauce boils. Remove from heat, stir in sour cream. Add pepper. Use the sauce while it’s still hot.

RussianCabbageRolls11.0

Pour hot Smetana Sauce over the cabbage rolls. Cover the baking dish and bake for 40 to 45 minutes, until heated through.

RussianCabbageRolls11.1

Serves 6.


P1040451

This recipe is based upon one found at foodess.com. They are a nice, homey fall treat.

The Dough:

3/4 cup milk, warmed
2-1/4 tsp. active dry yeast
1/2 cup + 1 tsp. sugar
3/4 cup butter, softened
3 eggs
1 cup pumpkin puree
6 cups flour
Oil, for the bowl

In the bowl of a stand mixer with the dough hook attachment add milk, yeast, and 1 tsp. sugar. Stir it around a bit with a long spoon. Let stand about 10 minutes, until frothy. Stir in remaining sugar, butter, eggs, and pumpkin puree. Add about 3 cups flour and run the mixer for about 5 minutes to build the gluten. Add flour in 1/2 to 1 cup increments, running the mixer in between additions, until the dough comes away from the side of the mixing bowl and forms a ball. It should spring back when touched and it should not be sticky. Don’t add too much flour or your bread will be dry and crumbly. Experience teaches you how it should feel at this stage.

Recipes always tell you to put the dough in an oiled, or greased, bowl and turn the dough over to make sure the top is also greased so that the cover will not stick to the dough while it is rising. I never do this. I just remove the dough hook and leave the dough in the mixer. I pop a cover (either plastic wrap or usually a silicone cover) on it and let rise. Prepare the filling while the dough is rising by mixing together the brown sugar and spices.

The Filling:

1 cup butter, softened
1-1/4 cup brown sugar
1-1/2 Tbsp. cinnamon
1 tsp. ground ginger
1/2 tsp. ground nutmeg
1/4 tsp. ground cloves

Let dough rise until doubled in volume, a couple hours. Punch dough down. Turn dough onto a floured surface and roll into a rectangle about 1/8″ thick.

Prepare 2 9×13″ baking dishes by spraying with non-stick oil or greasing them.

Spread the dough with softened butter, to the edges of the dough. Sprinkle evenly with the brown sugar spice mixture.

Roll the dough from the long edge to form a log. Cut the log in half, then cut each half into 15 even-sized pieces. Place 15 pieces into each baking dish in three rows of 5. Cover each baking dish with a towel or plastic wrap and let rise in a warm place until doubled in volume, another hour or so.

Preheat oven to 350 degrees. Gently remove covers and brush rolls with milk. Bake for 20-25 minutes until golden brown, but still soft.

The Icing:

4 oz. cream cheese
1/4 cup butter, softened
1 cup powdered sugar
1/2 tsp. vanilla extract
4-6 Tbsp. buttermilk, or milk

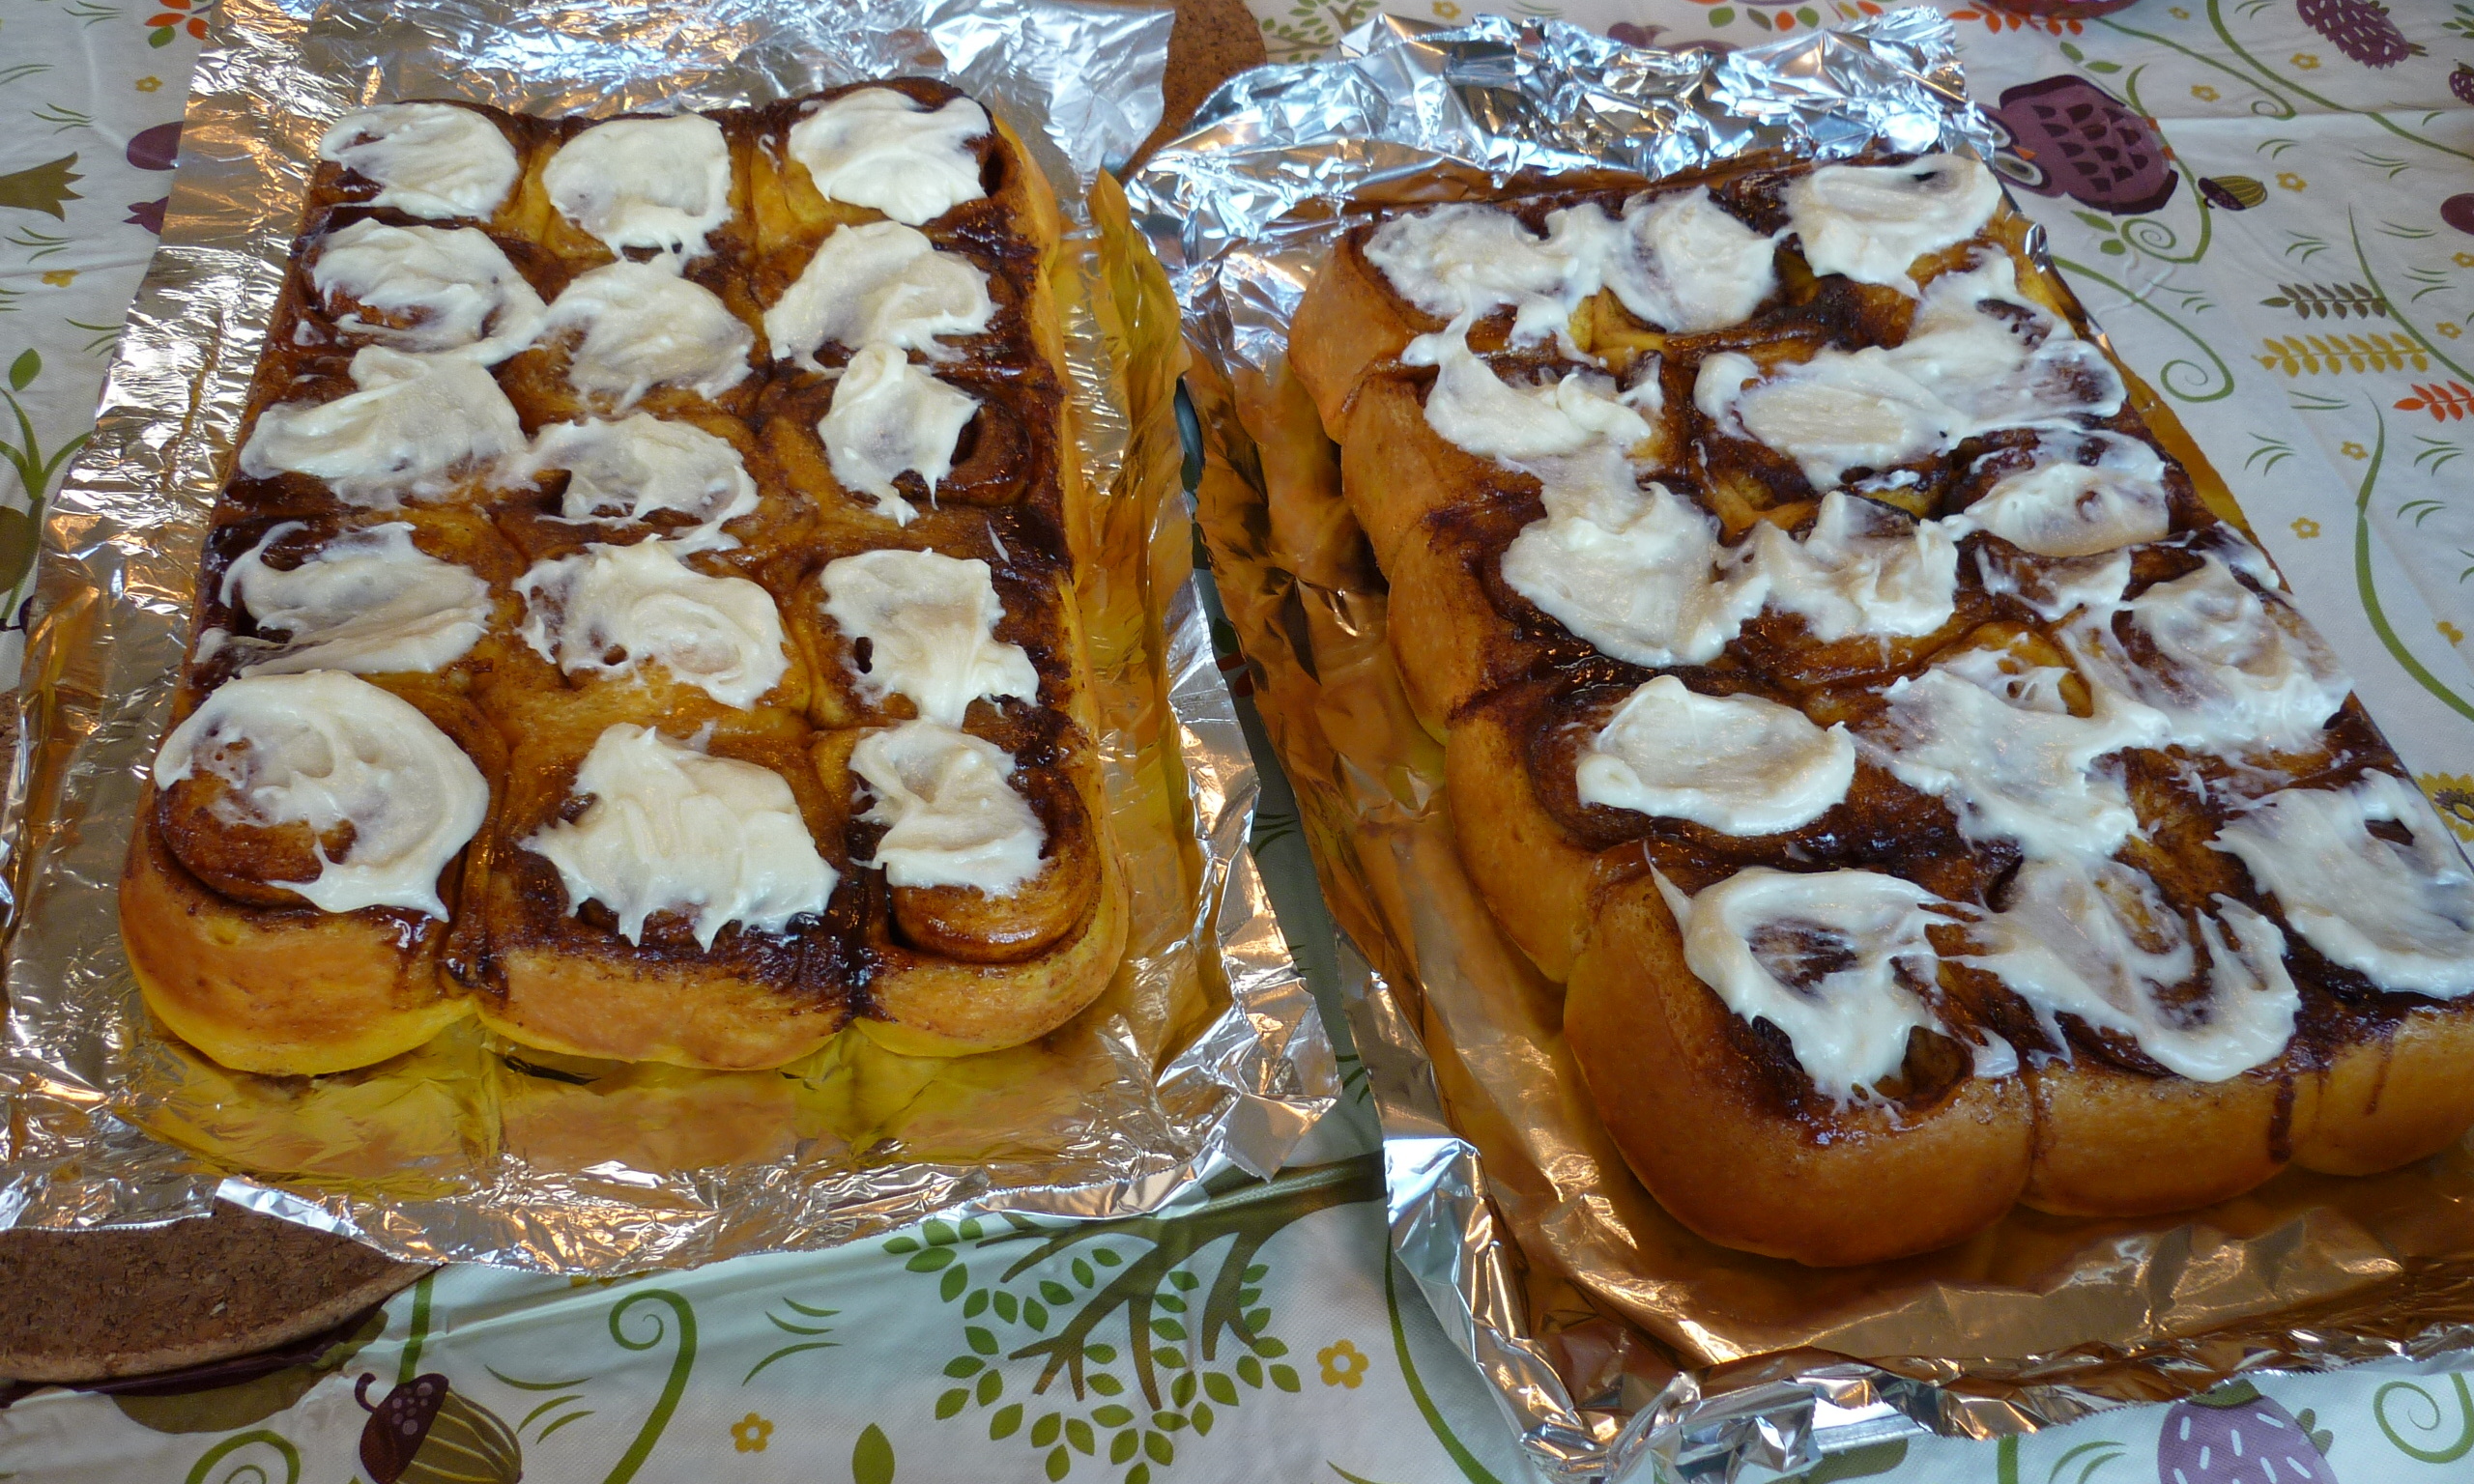
Beat all ingredients, except buttermilk, until fluffy. Add buttermilk a tablespoon at a time until you get a good consistency for spreading. Ice the rolls however you like to do it. Pictured here I daubed each roll with a bit of icing.

Of course these finished rolls are best if served while still warm and the icing just oozes. Oh my goodness!

Note that I fit a slab of nine of these rolls into a freezer bag one time, before I frosted them. They froze well and were re-warmed deliciously.

P1040452

AlmondRoca1

This one is found at chef-in-training.com. It’s super simple as long as you follow the directions exactly, and have a good candy thermometer. Use real butter. Weigh your brown sugar, or just buy a 1# package for this use.

1-1/2 cups coarsely chopped almonds
1 lb. light brown sugar
1 lb. butter
24 oz. milk chocolate chips (or semi-sweet)

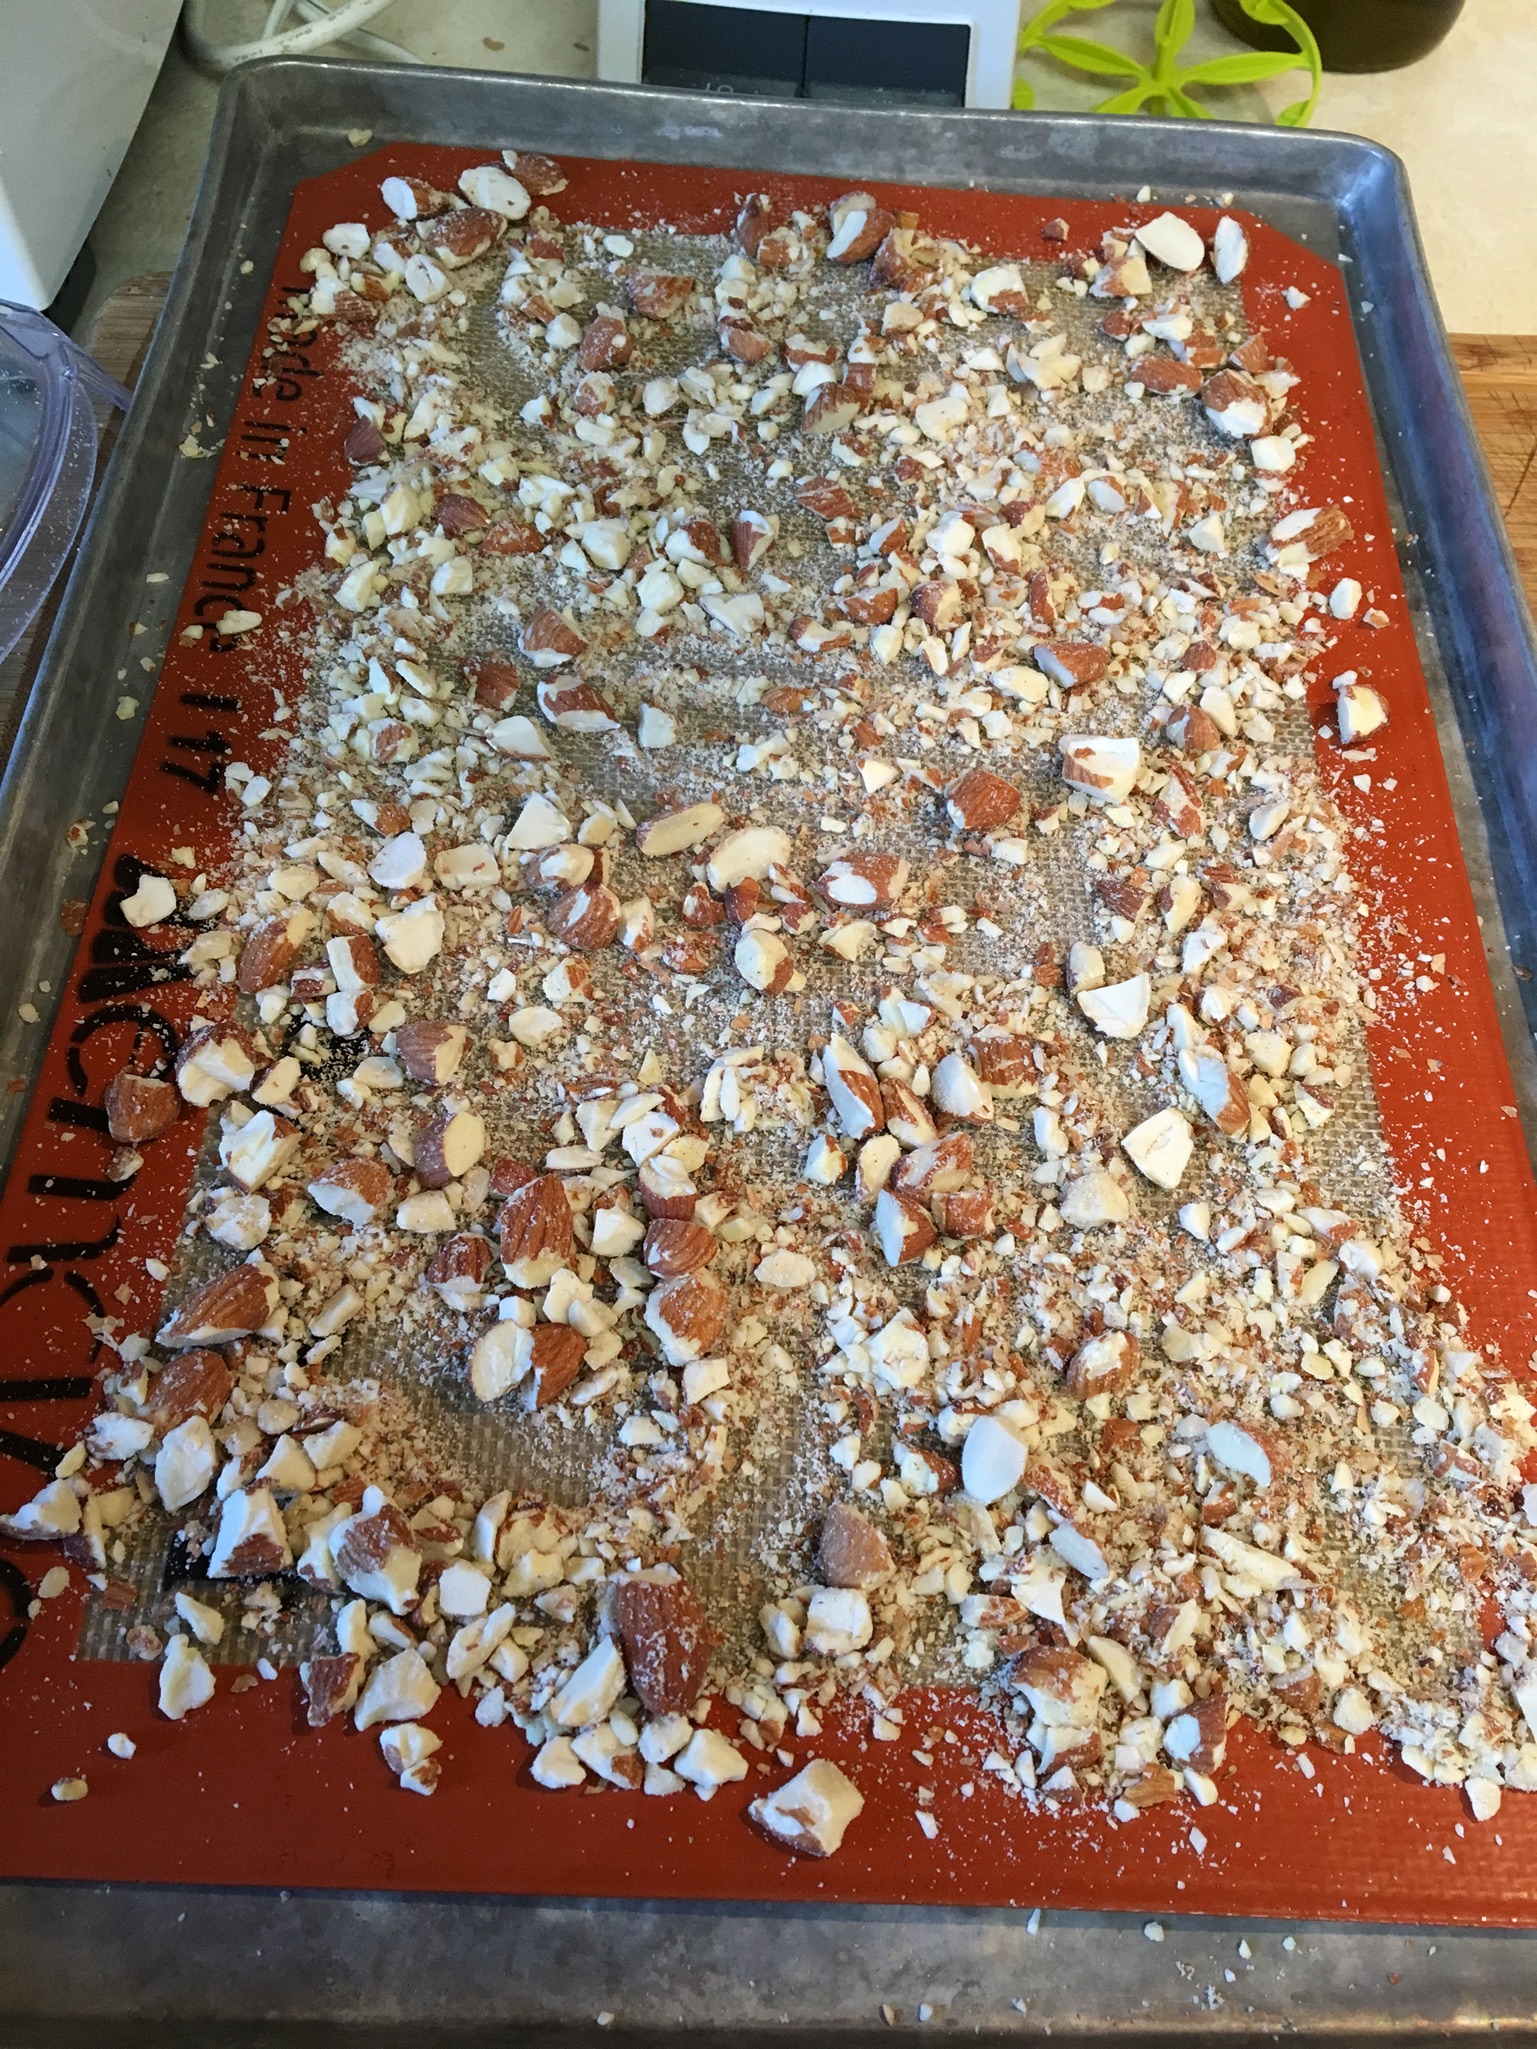
Sprinkle 3/4 cup chopped almonds on a 18×13″ baking sheet. I put my silpat baking mat down first, and sprinkled the almonds on it. I’m unclear whether you would need to grease the baking sheet first, thus my use of the silpat instead. Set the baking sheet with almonds aside.

AlmondRoca2

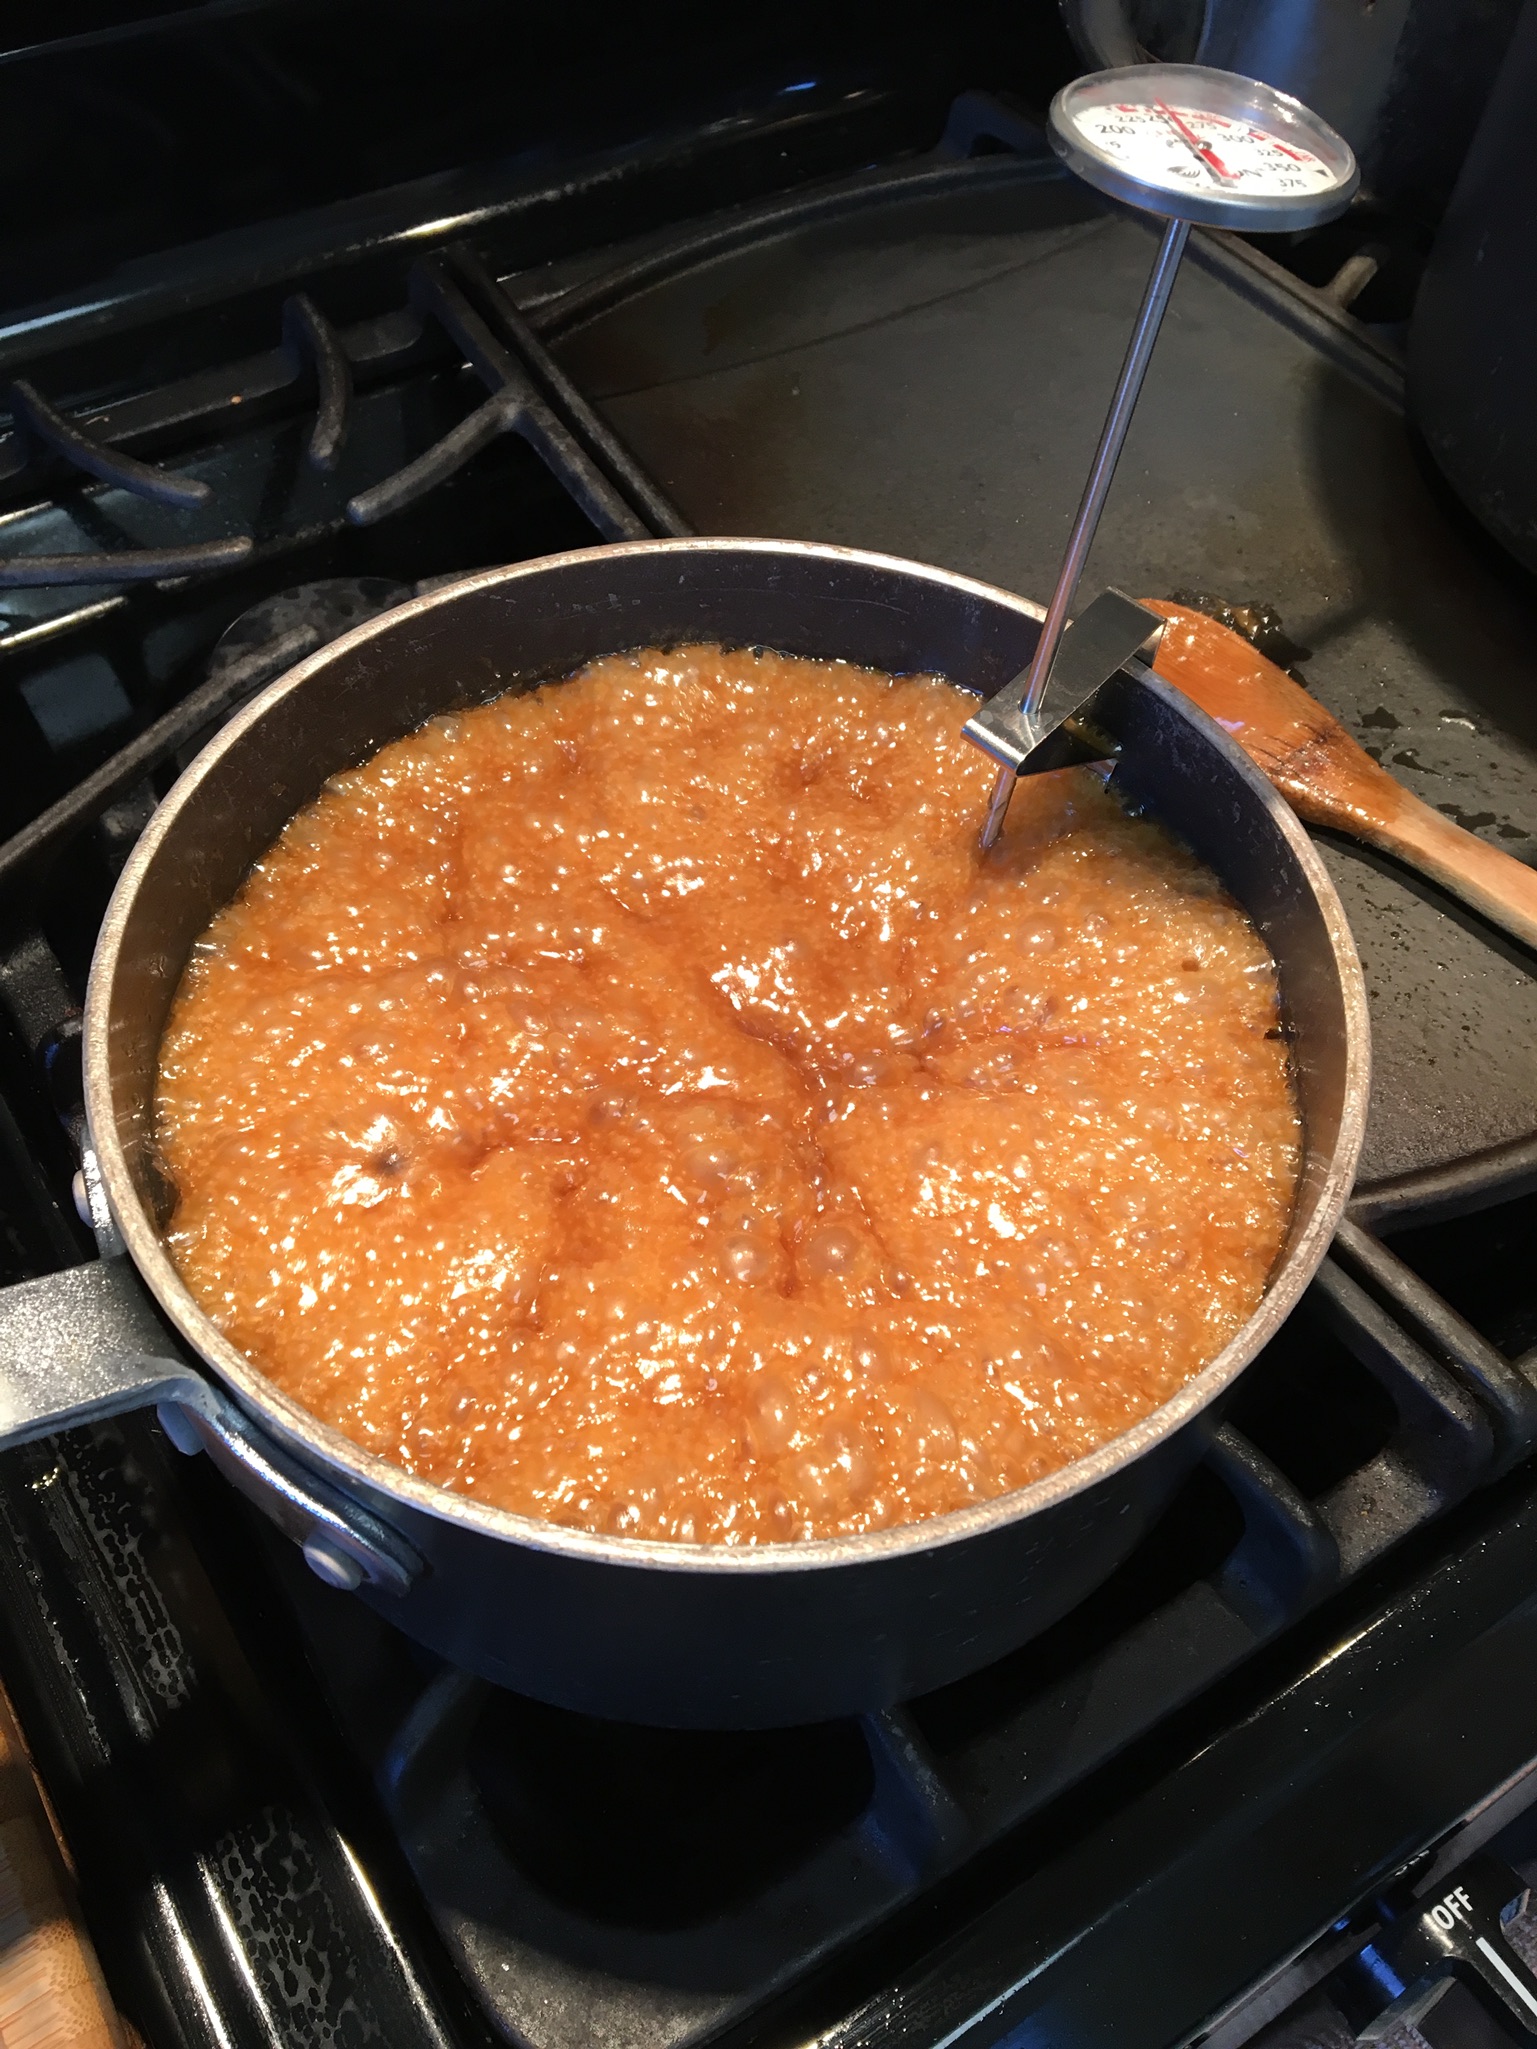
In a 2-qt. saucepan bring the brown sugar and butter to a boil over medium-high heat, stirring frequently until it’s thick. Let cook until it reaches 290 degrees on a candy thermometer. Watch it carefully after 280 degrees because it goes fast after that and you don’t want to burn it. Remove from heat at 290 degrees. Pour evenly over the almond-prepared baking sheet. Let stand for a few minutes.*

AlmondRoca4

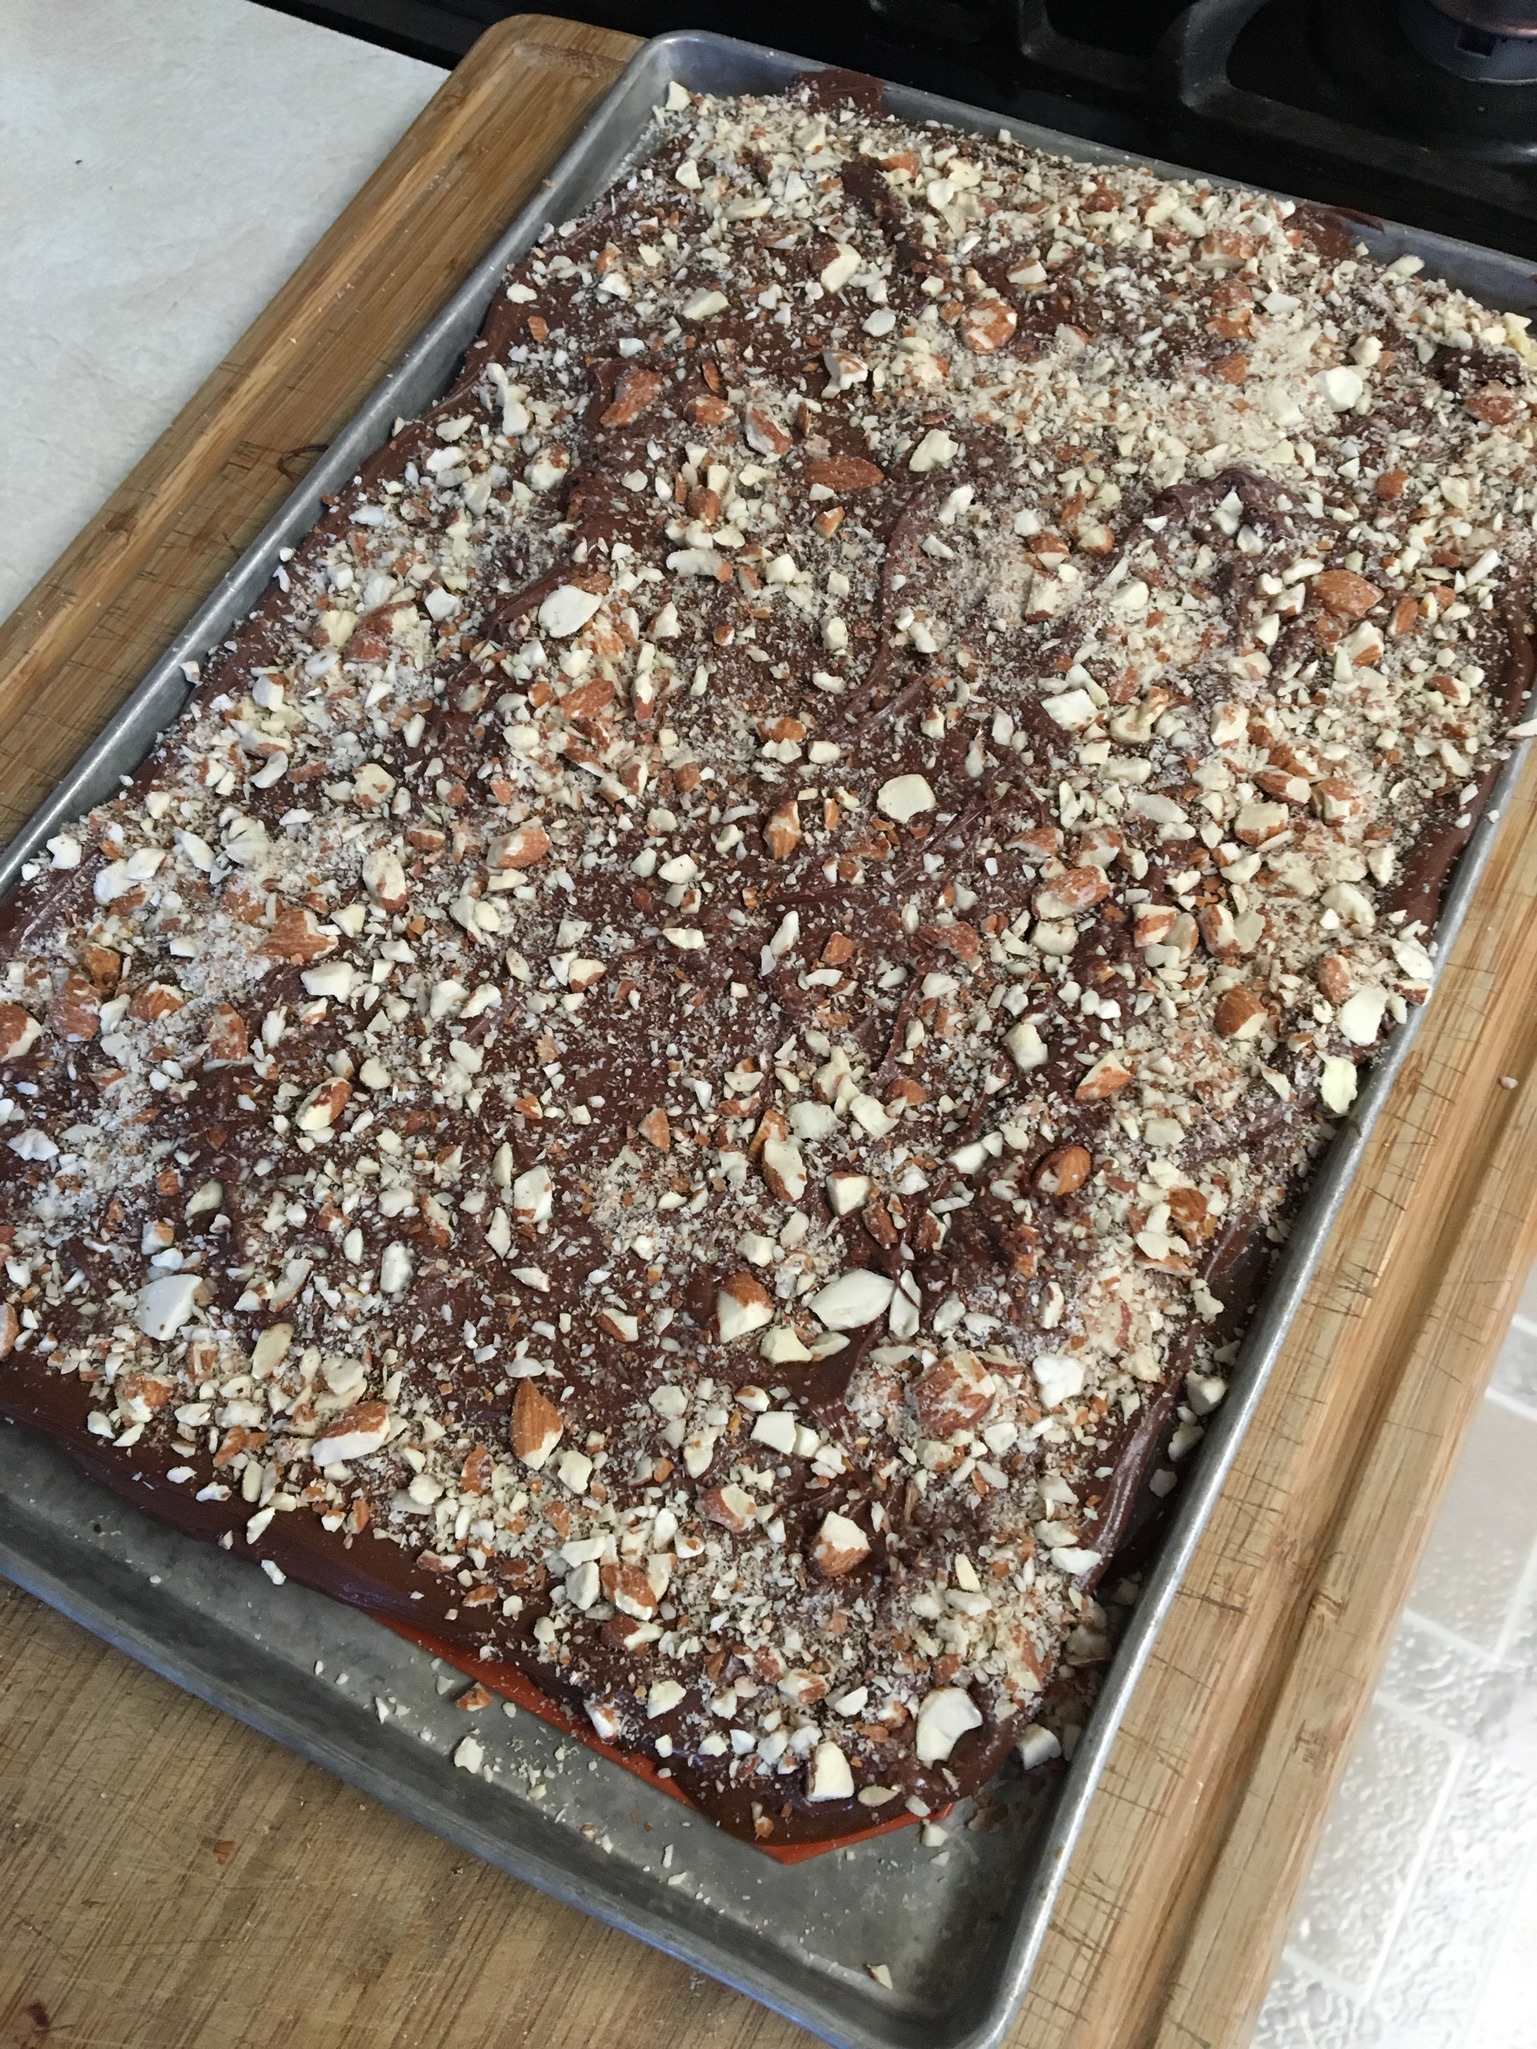
Melt chocolate chips in the microwave with a tsp. of oil or butter, if desired, to keep it smooth. Microwave in 30-second increments, stirring after each go, until it is melted and smooth. Cover the candy layer with the chocolate and then sprinkle on remaining 3/4 cup almonds.

AlmondRoca5

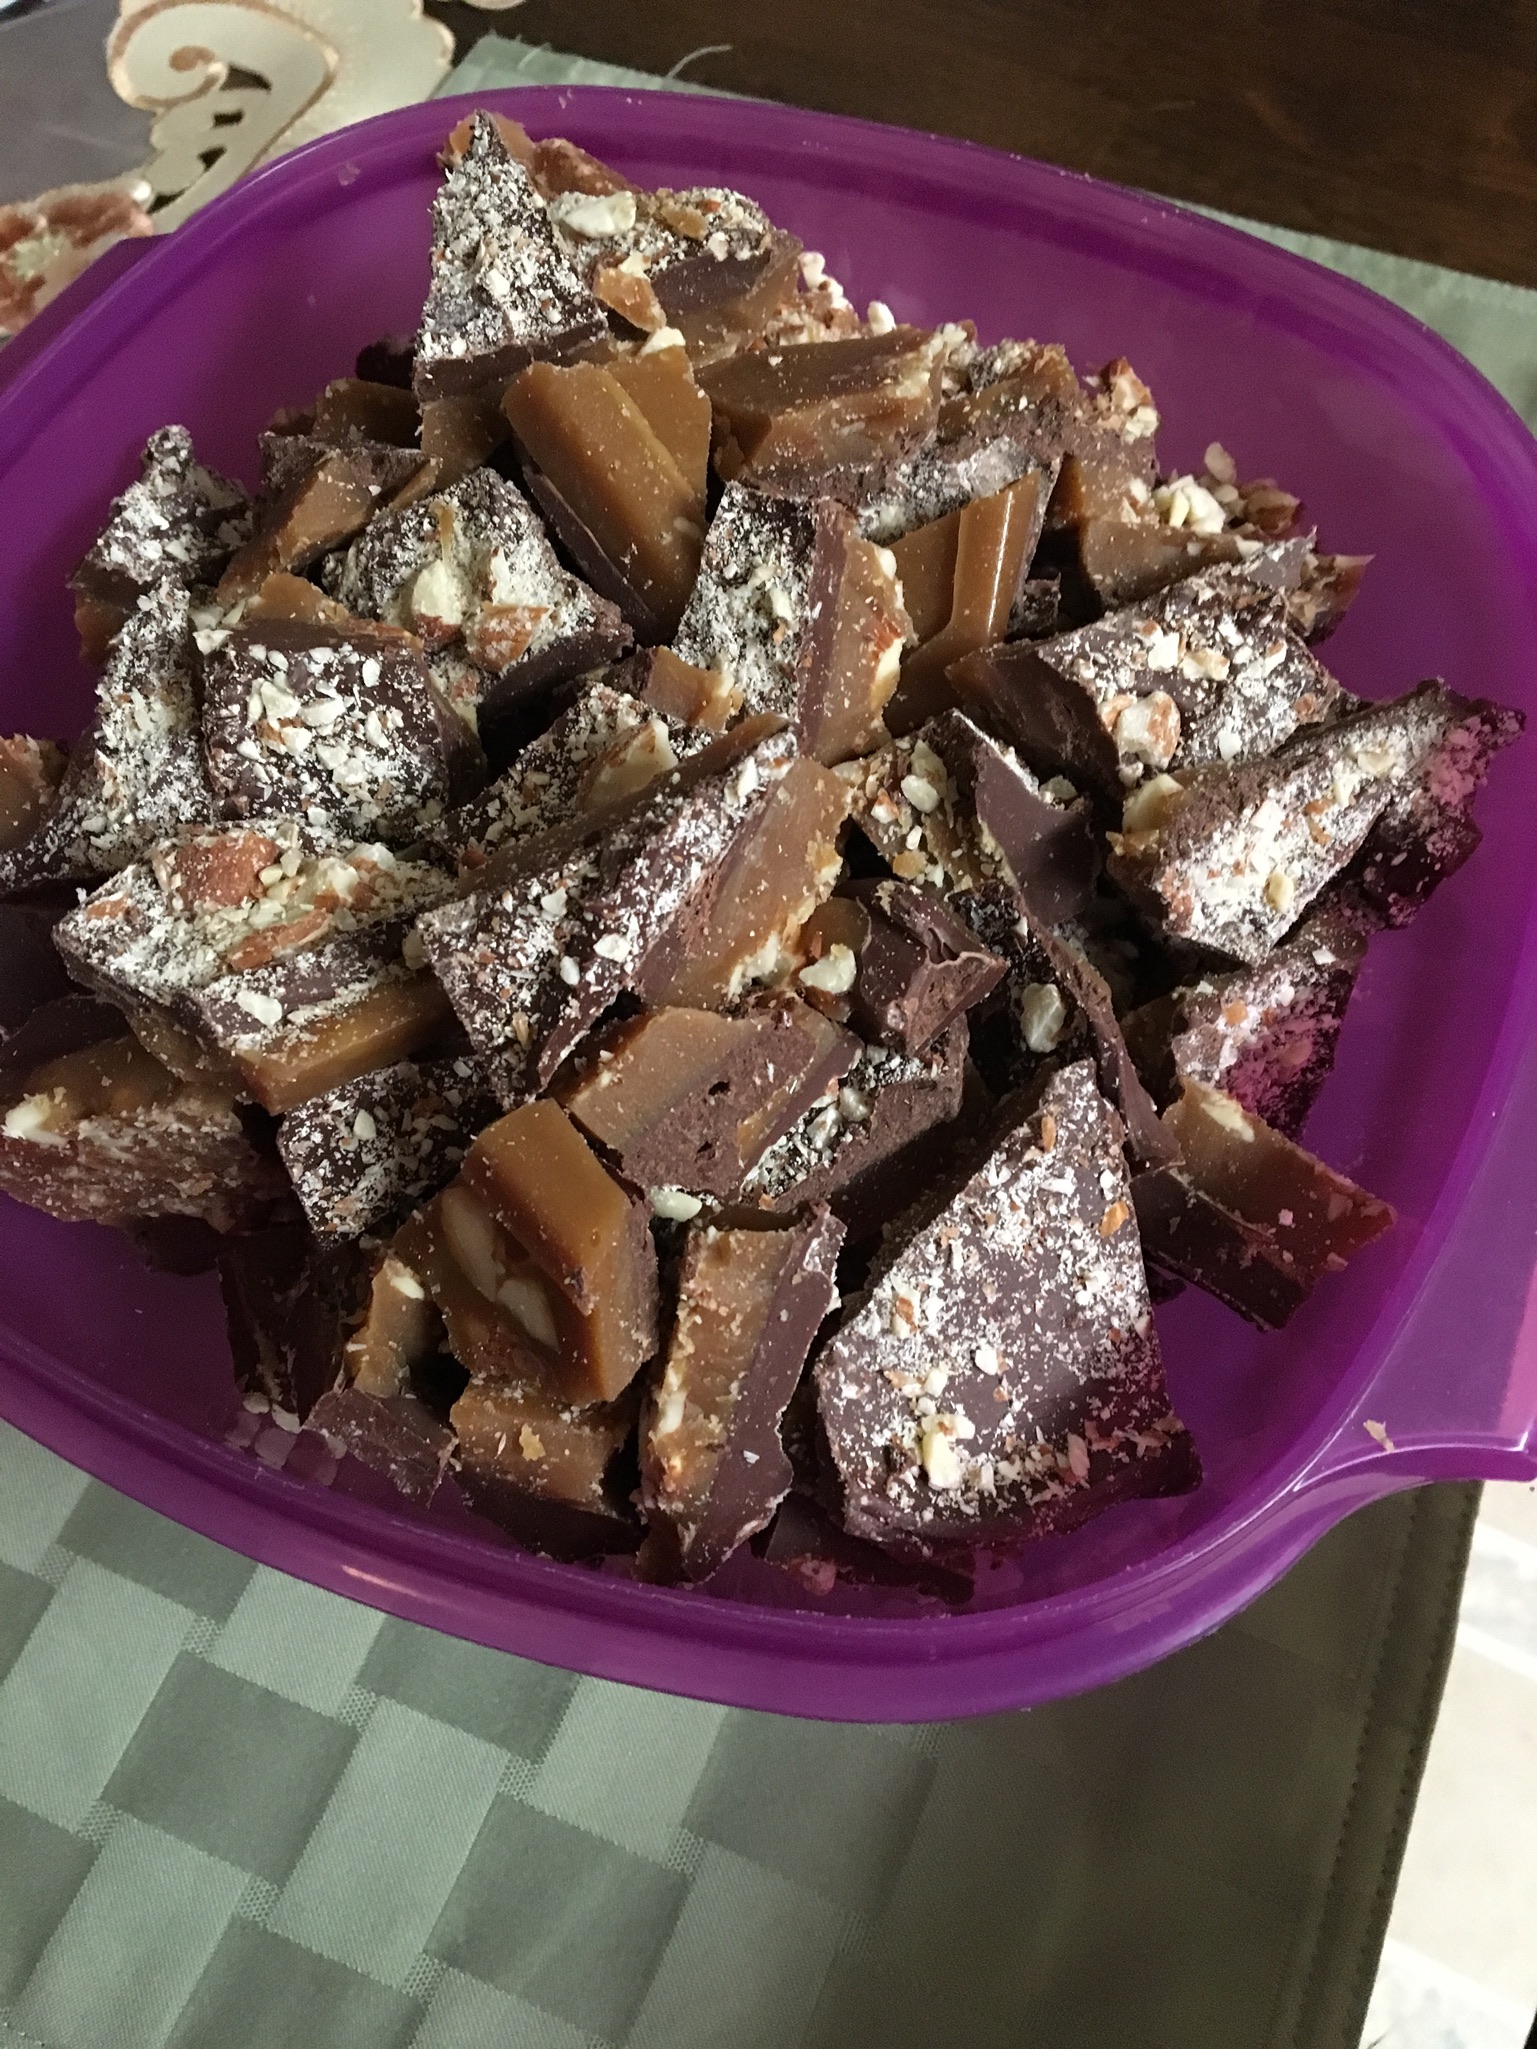
Once completely cooled (you can put it into a refrigerator if you cannot wait) and hardened, remove the silpat and use a knife to cut and/or break up into pieces.

It makes about 2 pounds of candy and is a great gift idea for the holidays.

*Don’t wait too long to add the chocolate layer. I did that one time and the chocolate layer would not adhere to the candy layer once it all cooled. Delicious, but messy. Add the chocolate while the candy is still very warm.

What kind?