You are currently browsing the category archive for the ‘Main Dish’ category.
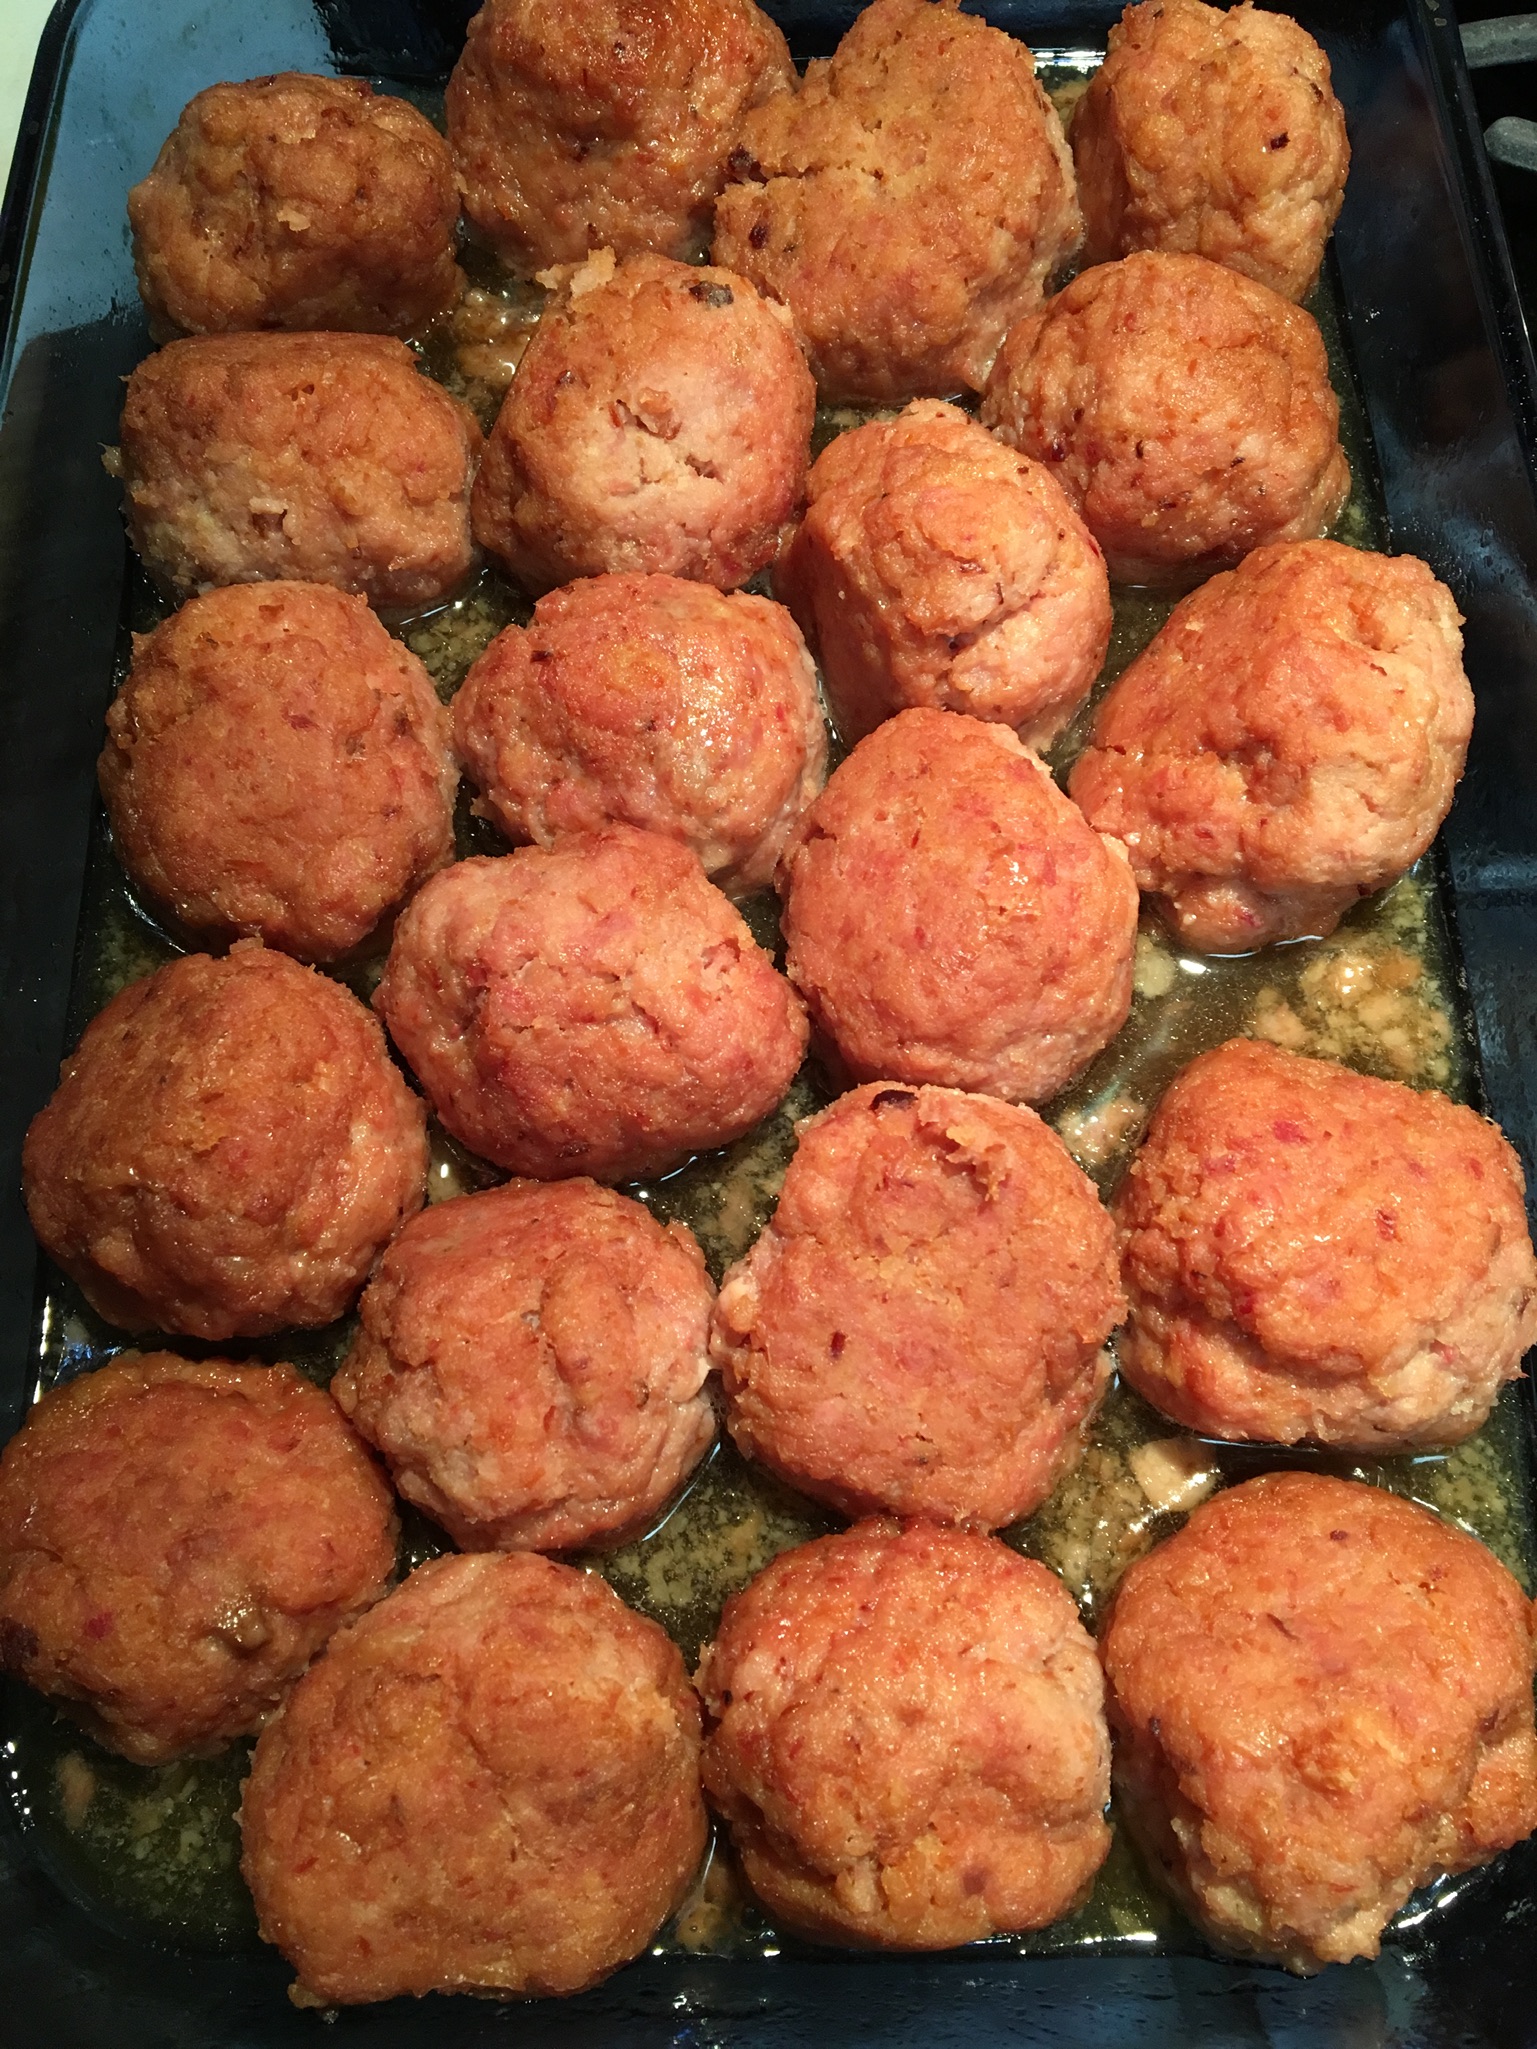
This was a mish-mash of several different recipes. I served a spiral-sliced honey ham for my husband’s birthday a few days ago and had quite a bit leftover. I have a grinder attachment to my Kitchen Aid mixer and so I can easily make the ground ham. Another well-used appliance that I have is a commercial-style chamber vacuum sealer. I buy ground pork in bulk and then divide it into 1/2# and 1# packages to toss in the freezer. It works well for being prepared to make Egg Roll in a Bowl, Chorizo Burgers, Cold Pork Pie, and now these Baked Ham Balls.
- Ingredients for Ham Balls
- 2# ground fully-cooked ham
- 1# ground pork
- 2/3 cup bread crumbs
- 1 Tbsp. mustard powder
- 2 eggs, beaten
- 1 cup milk
- Ingredients for Sauce
- 1 cup brown sugar
- 1 cup water
- 1/3 cup cider vinegar
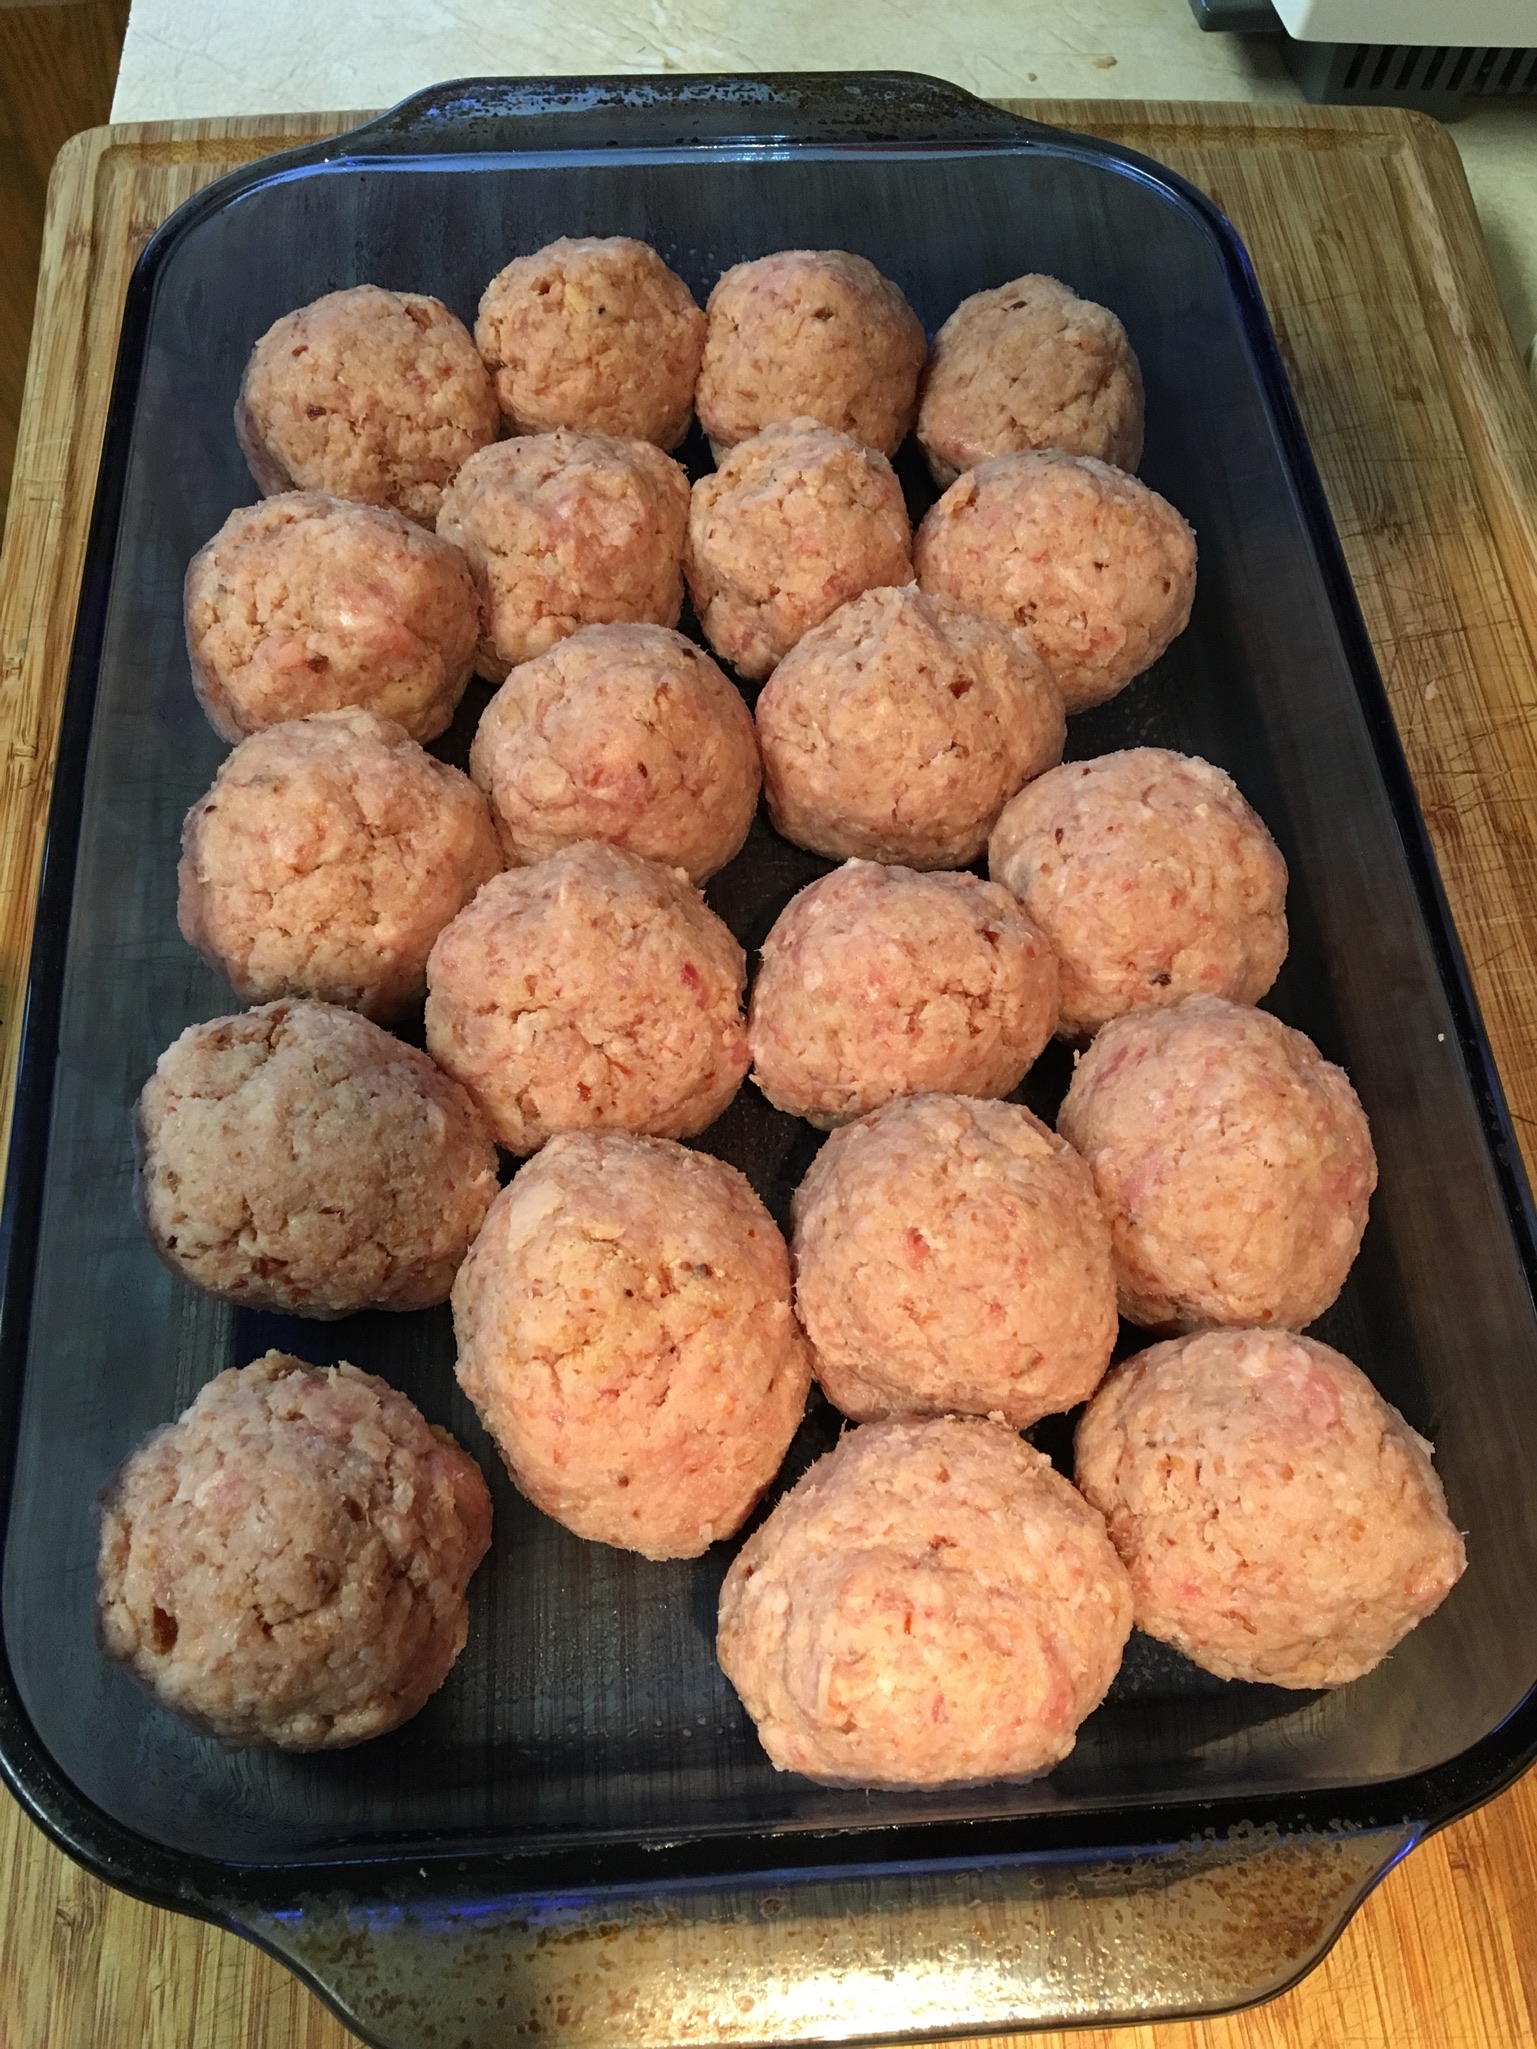
Preheat oven to 350 degrees F. Grease or spray a 9 x 13″ baking dish. Mix all ham ball ingredients together in a very large mixing bowl. Form into large balls, about 3″ diameter. You will get about 20-24 meatballs. Place meatballs into the prepared baking dish. They should all fit into the one pan. Bake at 350 degrees for 20 minutes.

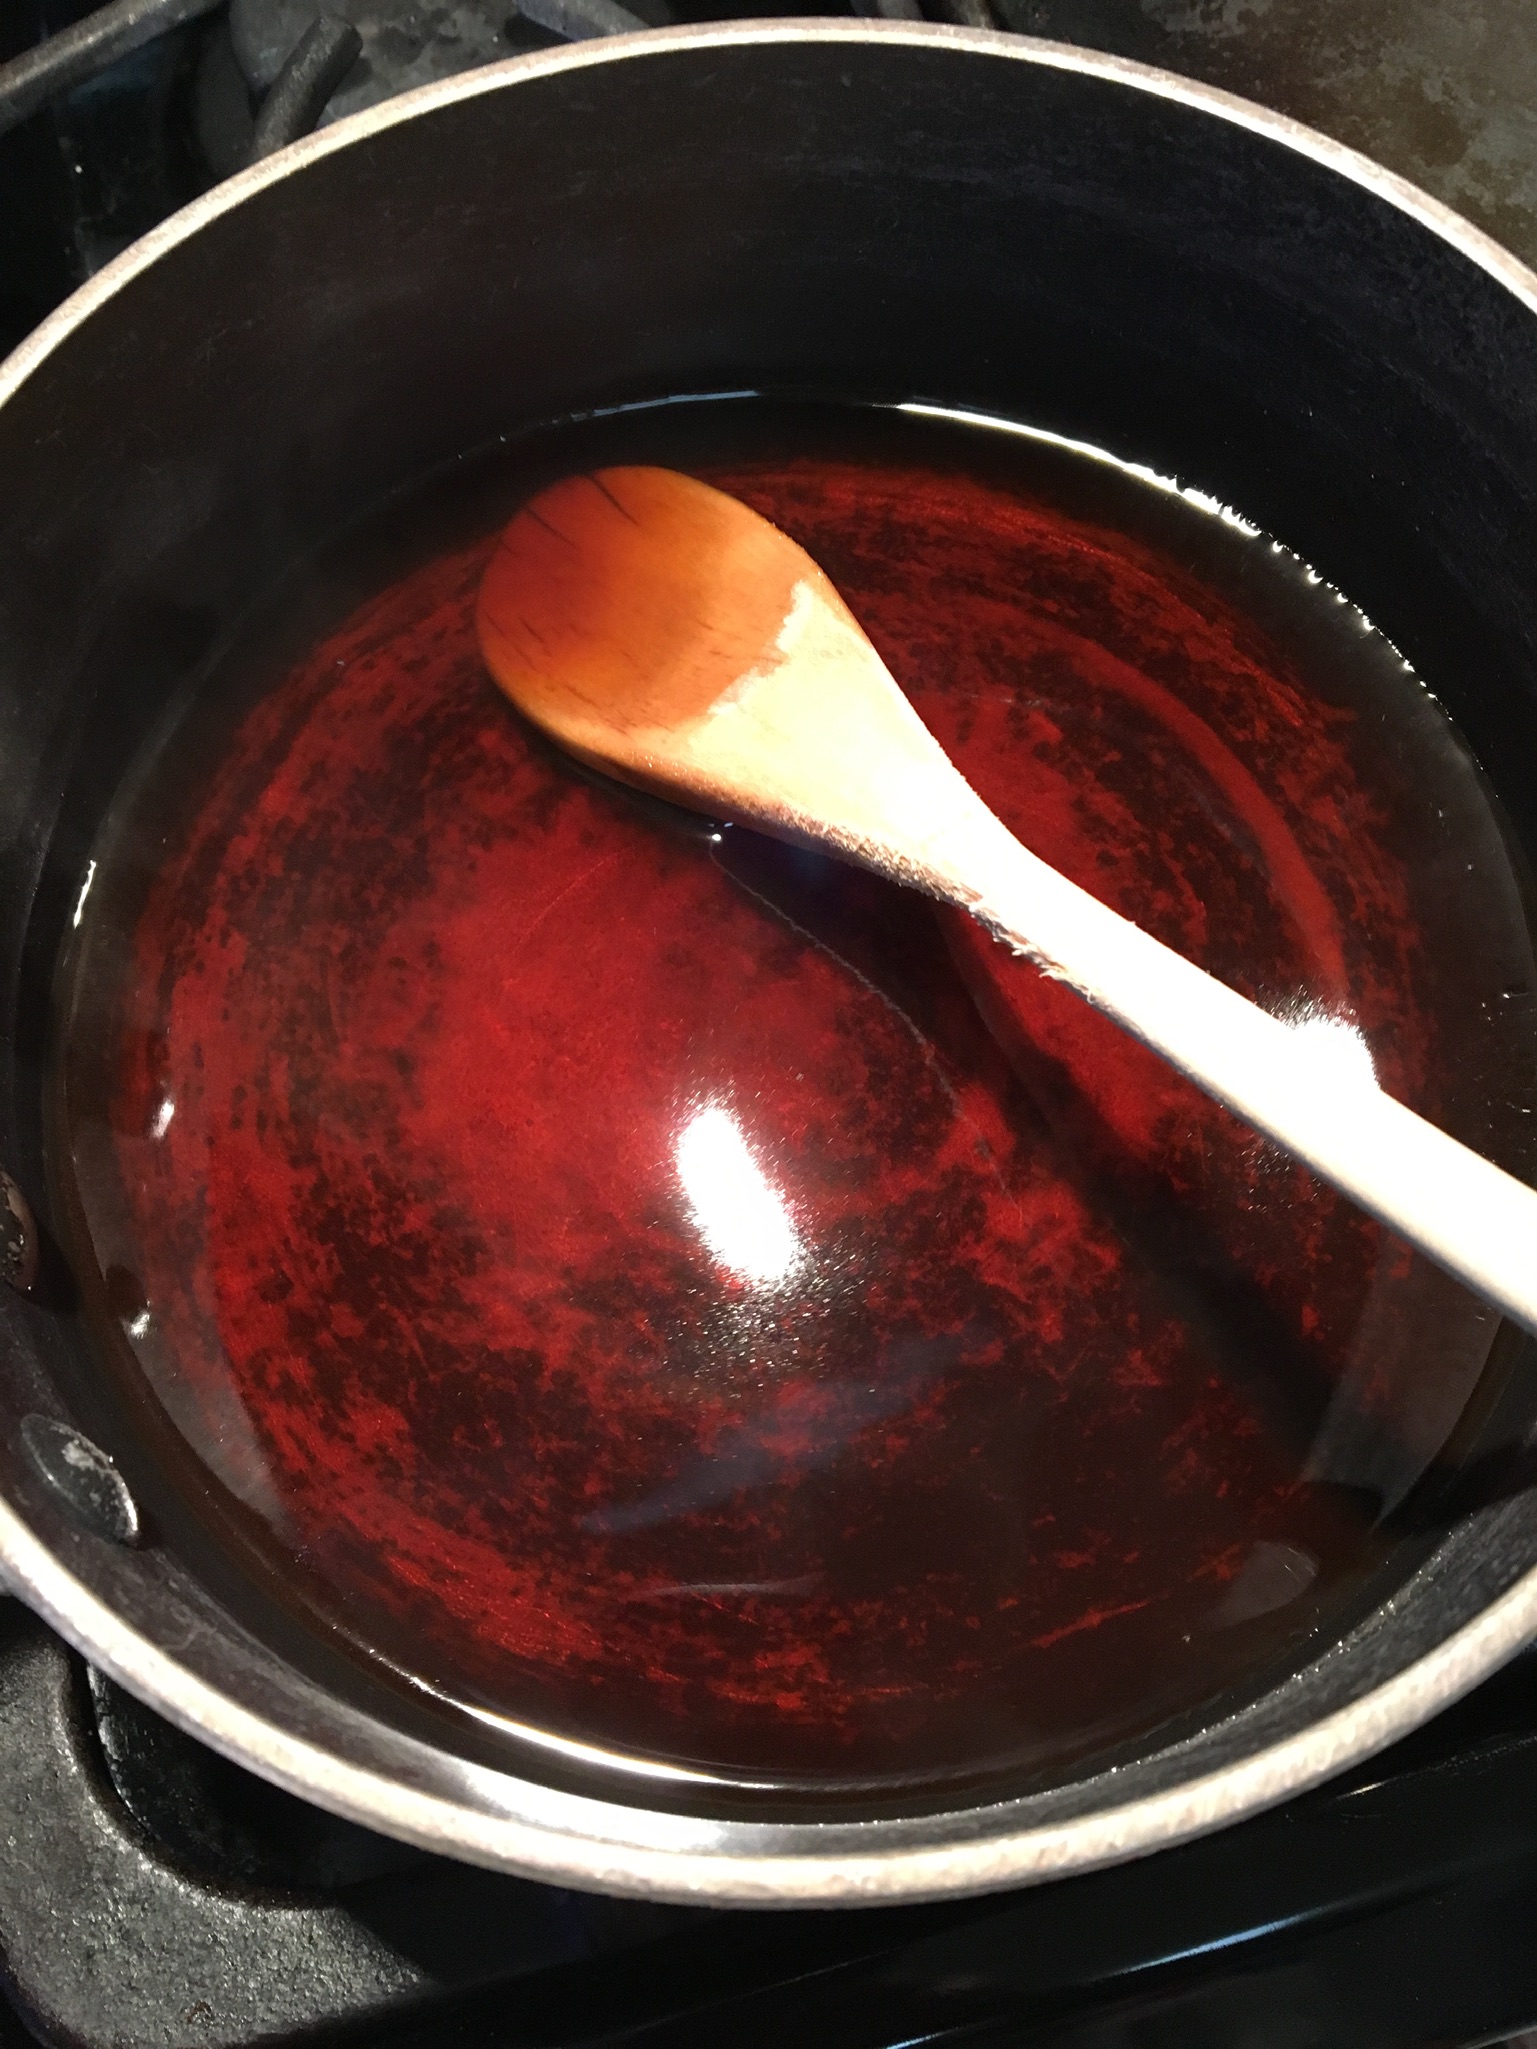
While the ham is baking the first time, mix the sauce ingredients together in a small saucepan. Bring to a boil, stirring occasionally. Sugar should be dissolved. Remove from heat.
Remove ham balls from oven and pour sauce over them as evenly as possible. Return to oven and bake 30 minutes more.
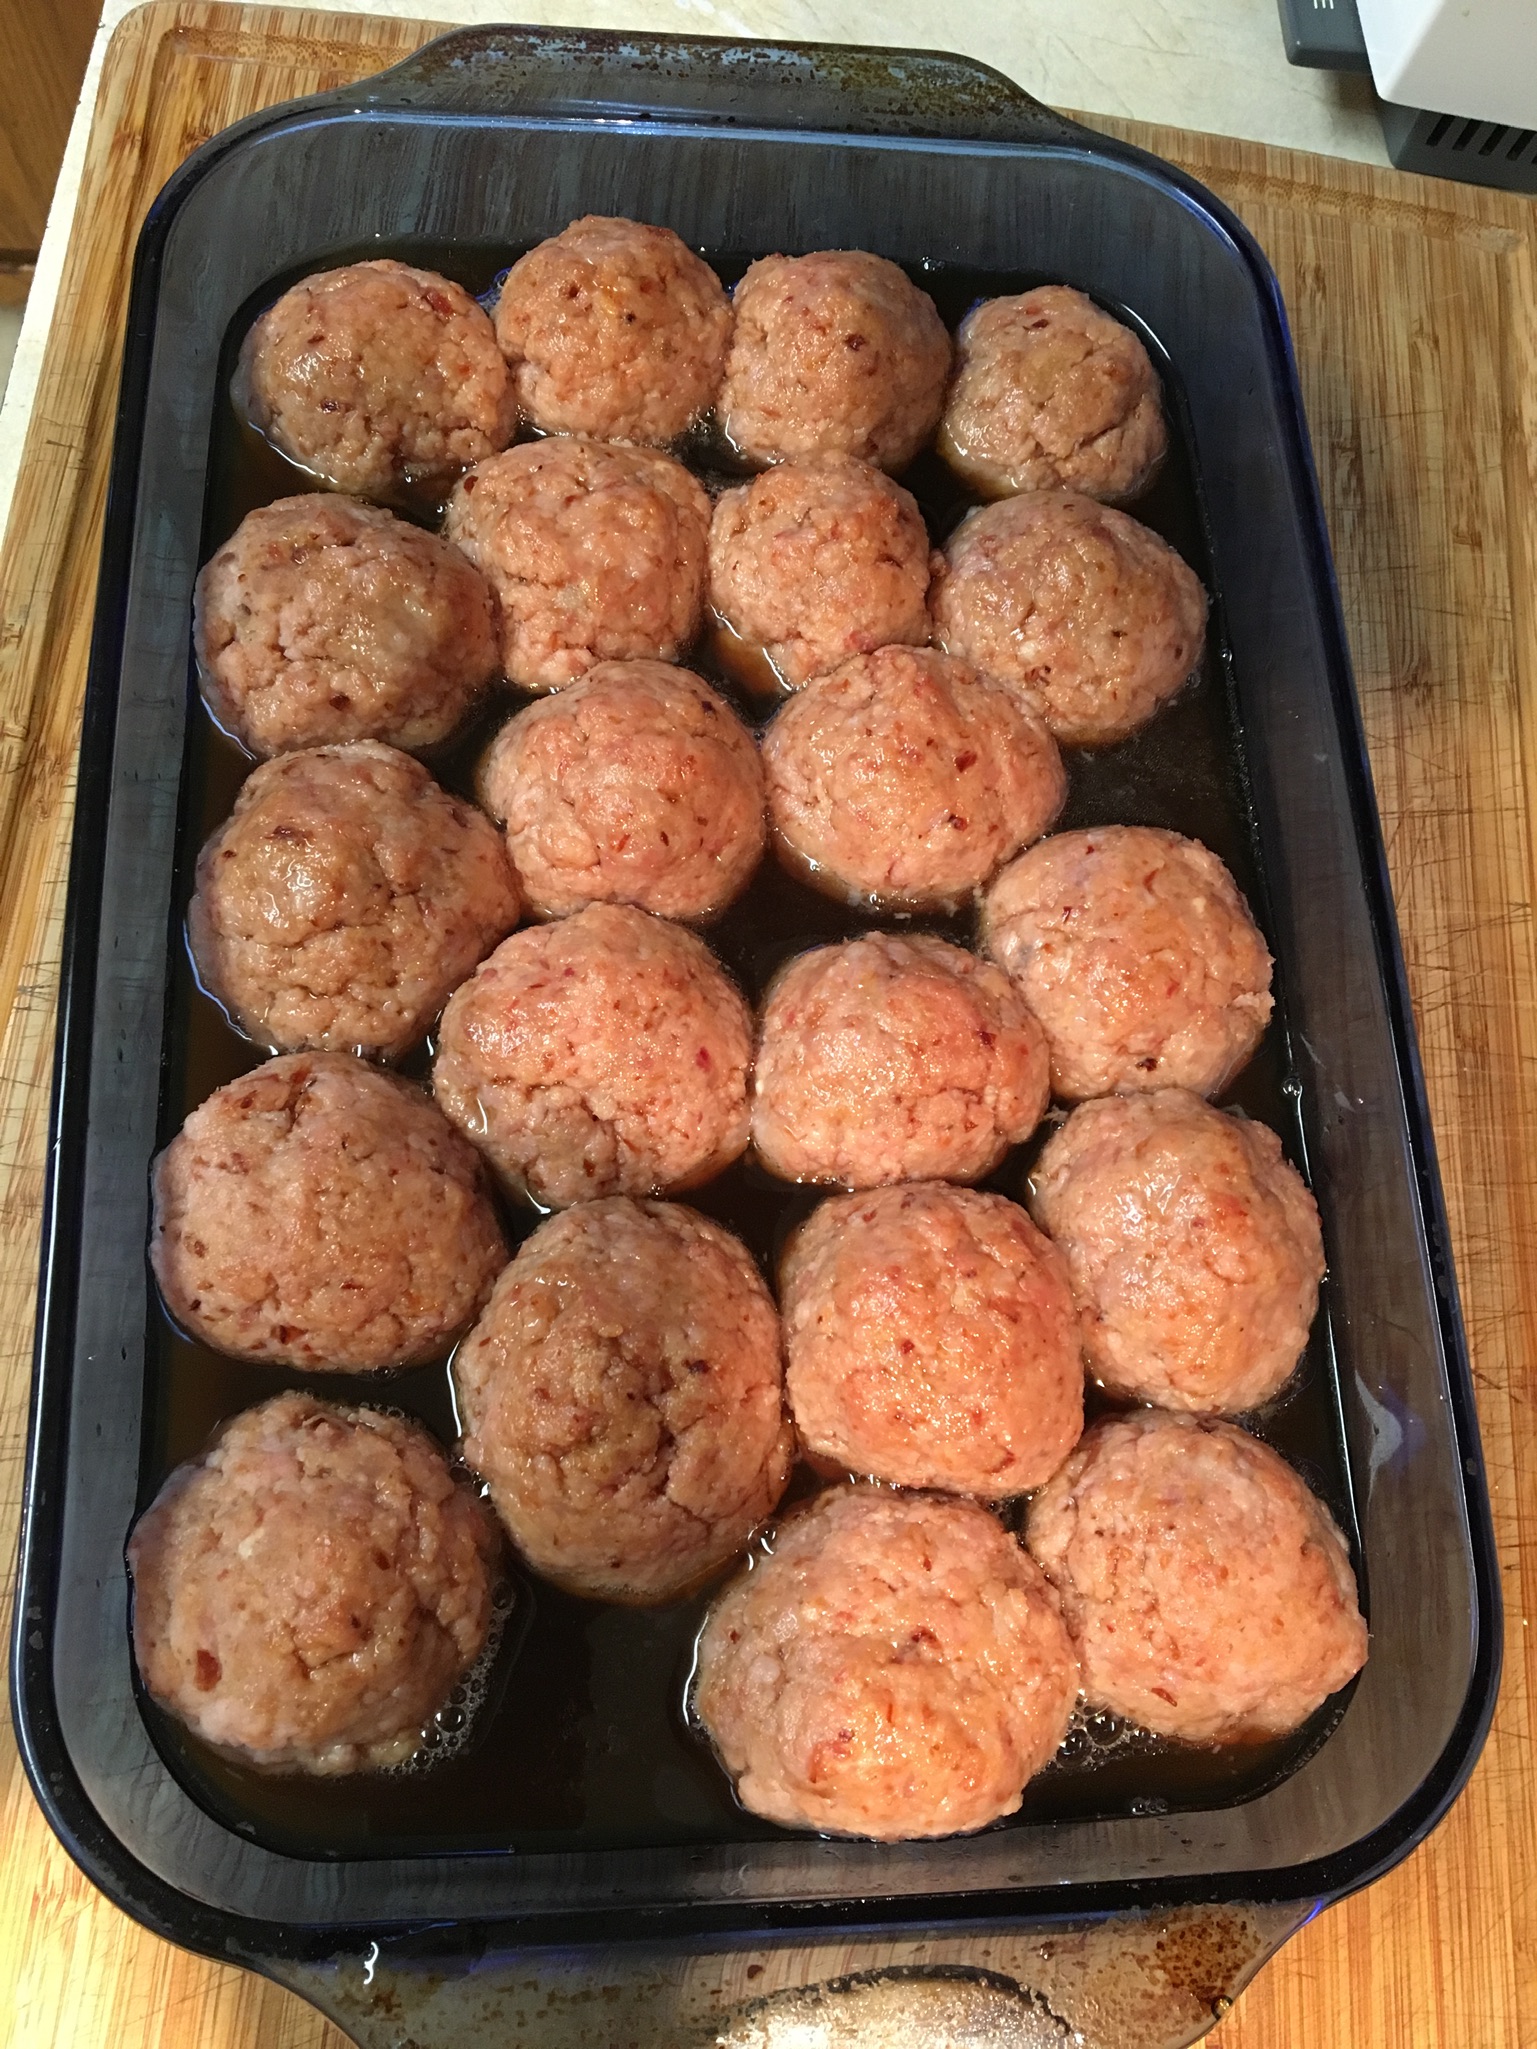
Remove from oven and serve warm. Yield: 8-10 servings.
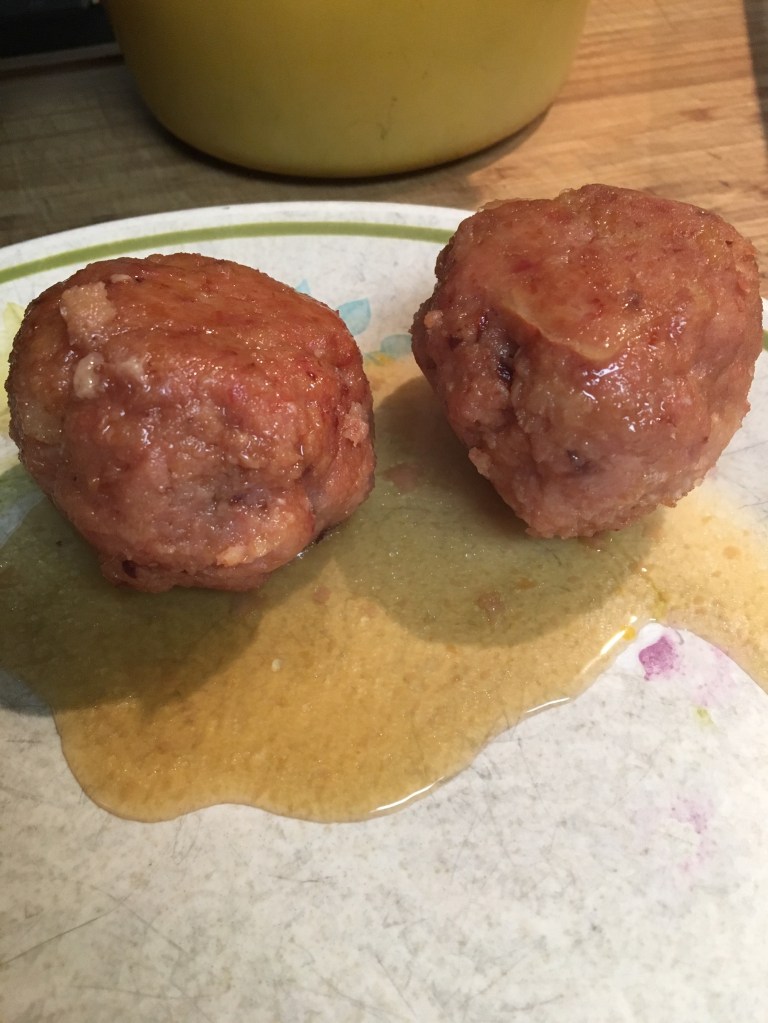
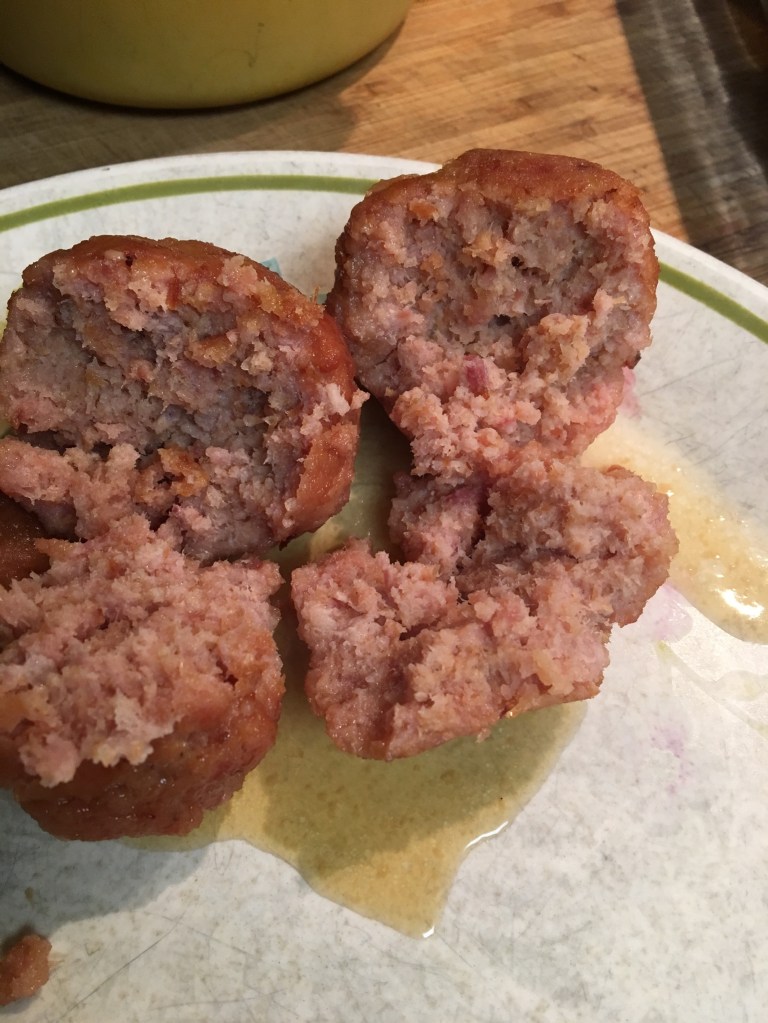
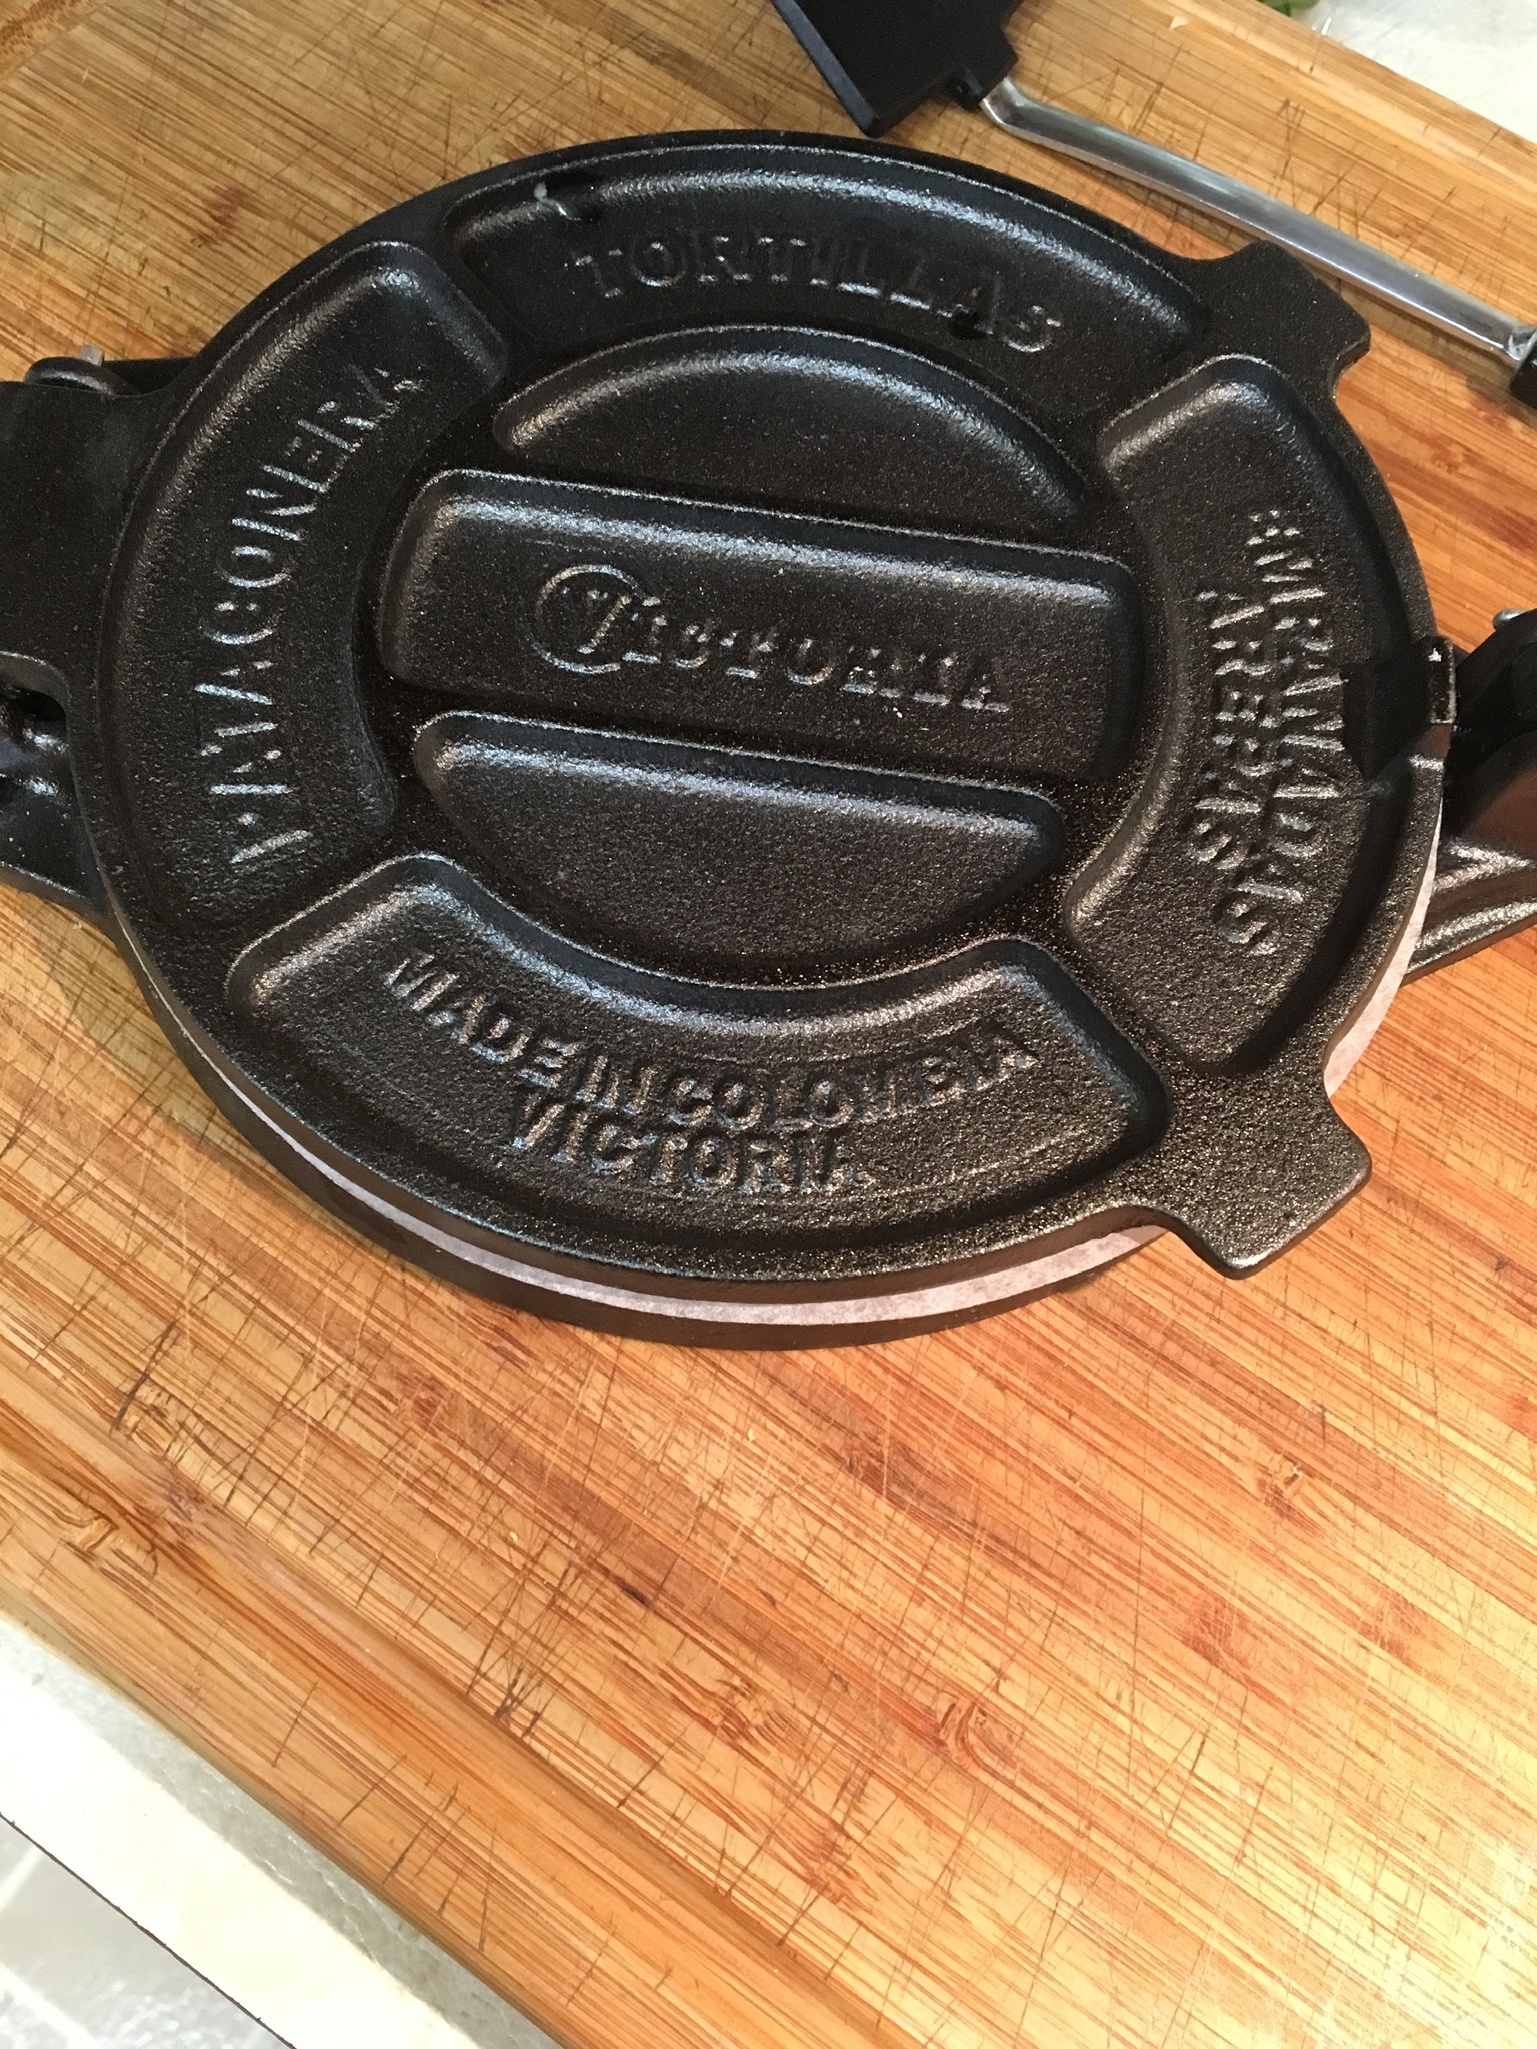
So, in December I purchased a tortilla press . . . and a tortilla warmer . . . and a bag of Bob’s Red Mill Masa Harina . . . and some parchment paper pre-cut into rounds. I realize I was purchasing my own Christmas present, but I’m quite happy with it. I try never to buy anything that only has one use and discourage others from buying them for me. I don’t know what got into me, but I’ve found a place to stow it so it’s all good. Both the recipes found below here are gluten-free. I guess I better say that the Sope recipe below does not require a press or any special equipment. I only used the press for tortillas.
There’s a grocery store in Palm Springs, California called Cardenas and it is like heaven on earth. You can smell the fresh tortillas from the in-store factory. I once filled up a large cooler with fresh produce purchased at Cardenas for about 17 USD and the same produce would have cost me around 100 USD here in Anchorage. Cardenas is a magical place. It reminds me of the big covered markets you see in Mexico full of sights and smells. It’s always hard for me to decide whether to get something they’ve already cooked at the Deli counter or buy the ingredients and make the dishes myself. I usually do both. It drives my mother crazy, “Why are these rice and beans in my refrigerator? What are you going to do with them?” I answer her that by the time I go back home, I’ll have eaten all of it.
Corn Tortillas
I used the recipe from Isabel Eats. Her tortillas get nice brown marks on them, but I couldn’t get mine to do that. My tortillas were still quite fabulous, so I’m thinking it doesn’t matter? The first two times I made these I used Bob’s Red Mill Golden Corn Flour Masa Harina. It’s very yellow with a grainy texture. The third time I made these, I ran about 1/2 cup short of Bob’s and made it up with Maseca Instant Corn Masa Flour. The color is white and the texture is fine, like cake flour. It threw me off, but I sallied forth and came up with a delicious product. A word about Masa Harina: it is ground corn that has been processed with lime (not lime fruit, but lime stone). According to web sources, ground corn is not the same and will not work the same. You need to use Masa Harina.
- Ingredients
- 2 cups Masa Harina
- 1-1/2 cups hot water
- 1/2 tsp. salt
Makes 12 tortillas, about 6″ diameter. Stir the ingredients together until it’s a smooth ball. Cover with a damp kitchen towel and let sit for an hour. Divide the dough into twelve pieces (about 2″ in diameter) and roll each piece into a ball. Keep the dough balls covered with the damp kitchen cloth as much as possible.


As I said earlier, I use parchment paper rounds, top and bottom, to keep my dough from sticking to the press. Most people cut slits in two gallon-size plastic bags and put one bag on the top and one on the bottom. I haven’t tried that yet. Place a dough ball slightly off-center on the parchment on the press and place the second parchment round on it. Flatten the dough ball slightly with your hand and then lean on the body of the press to flatten more. Finish off by pressing on the handle. Be mindful not to break the shear pin that attaches the handle to the body. Pushing down on the body of the press should do most of the work.

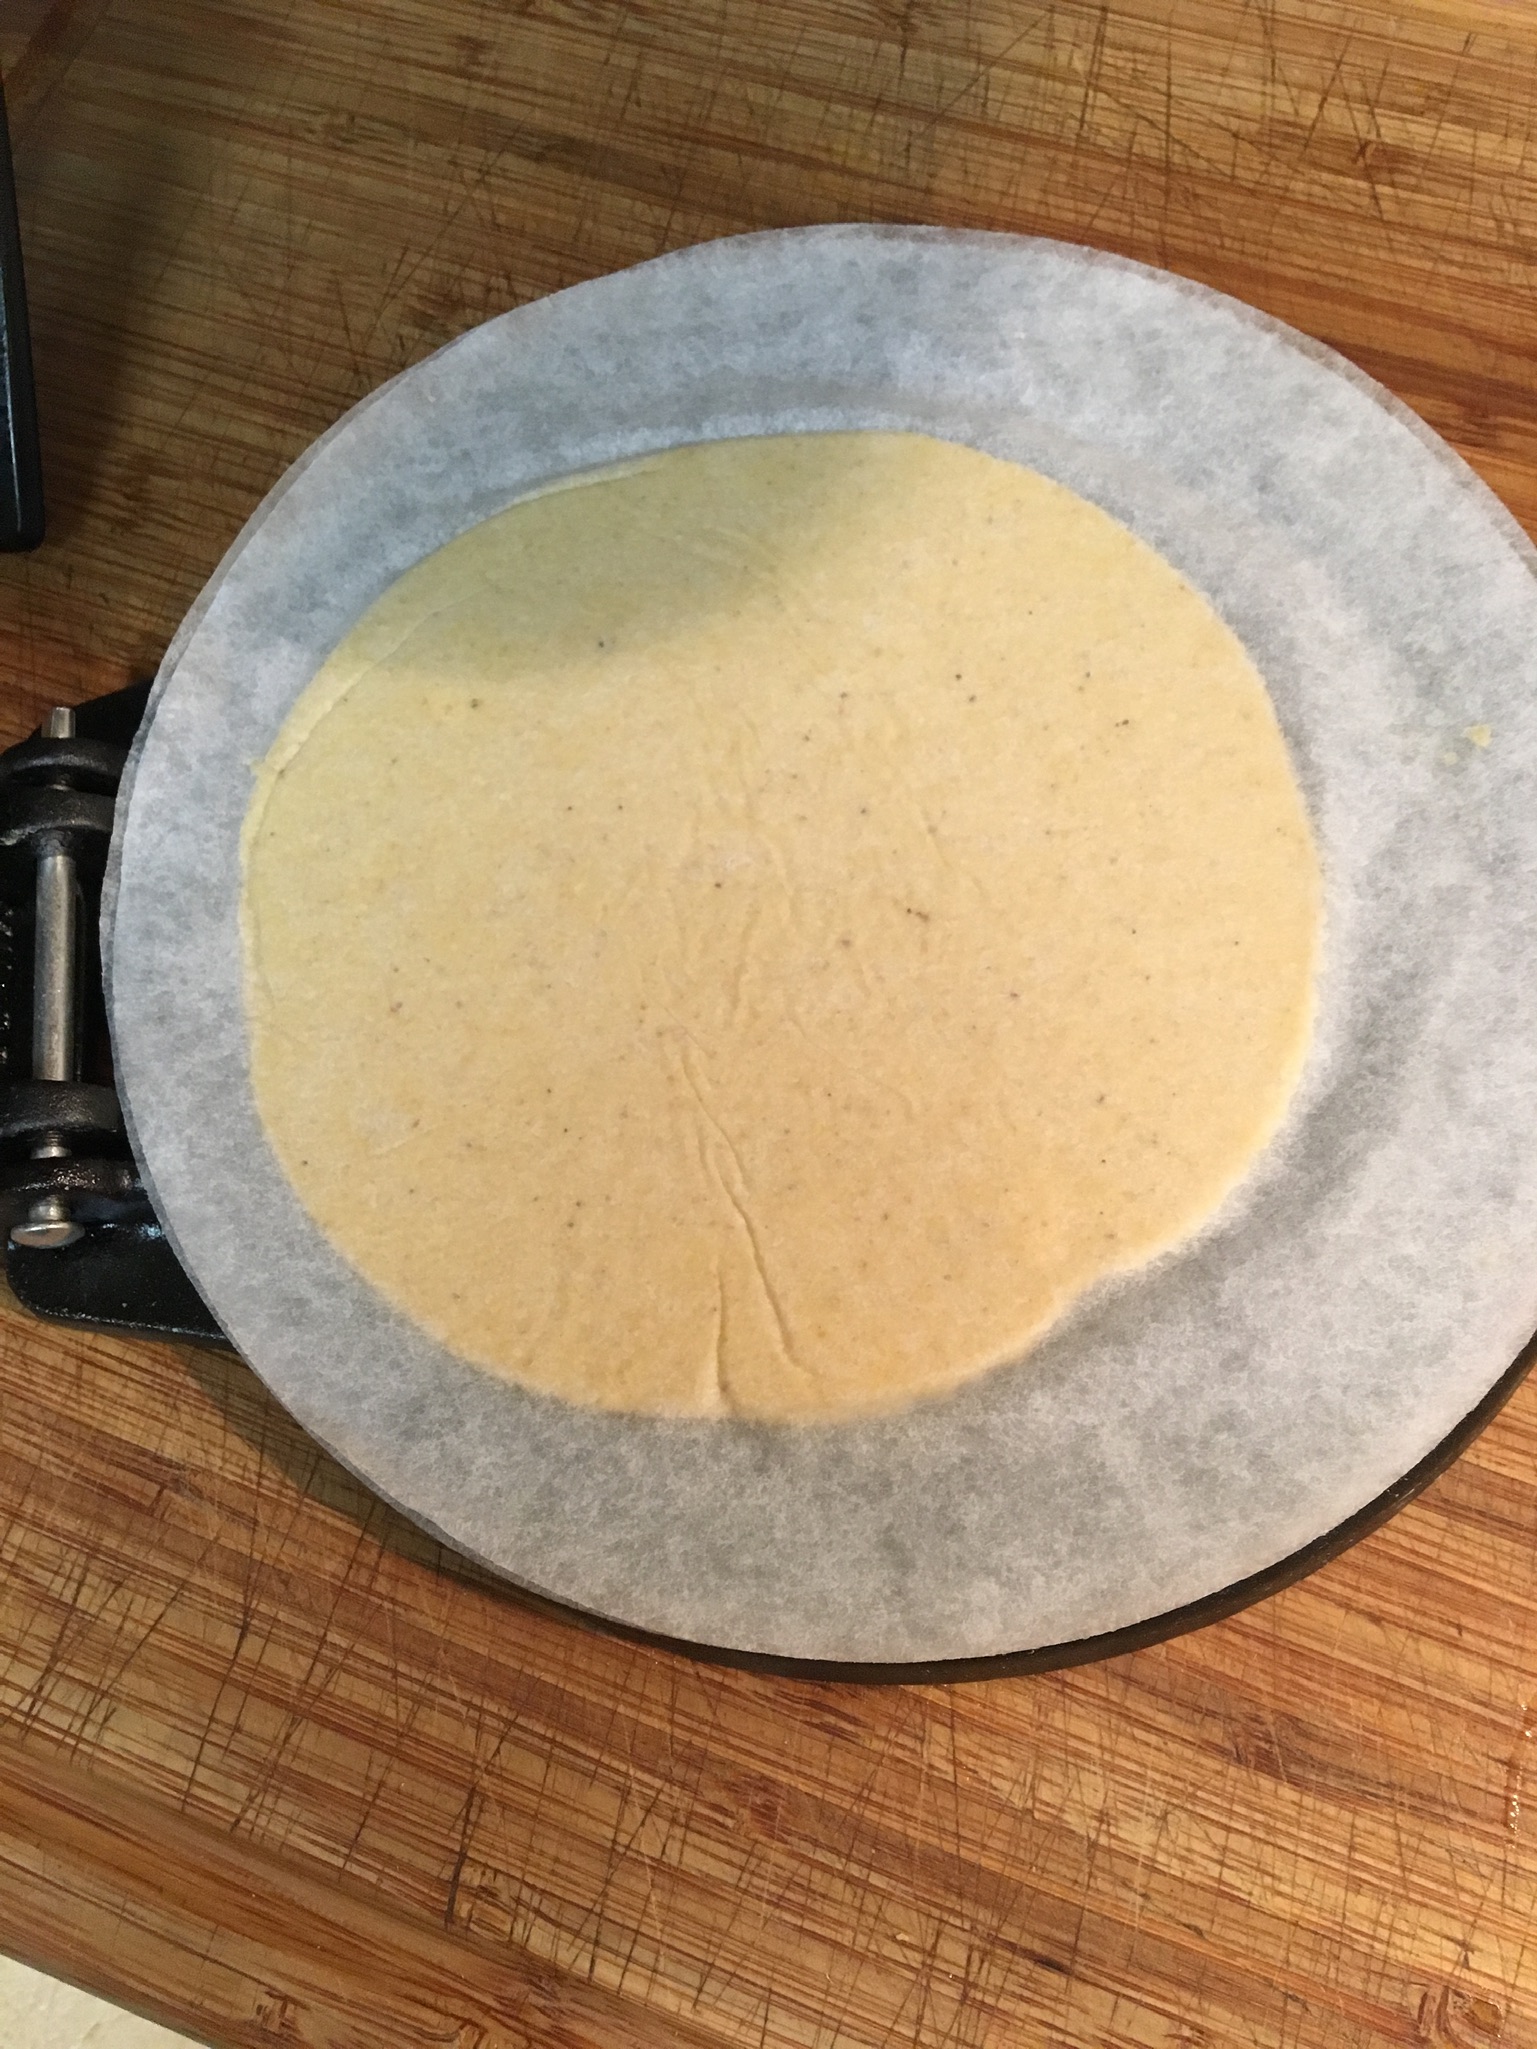
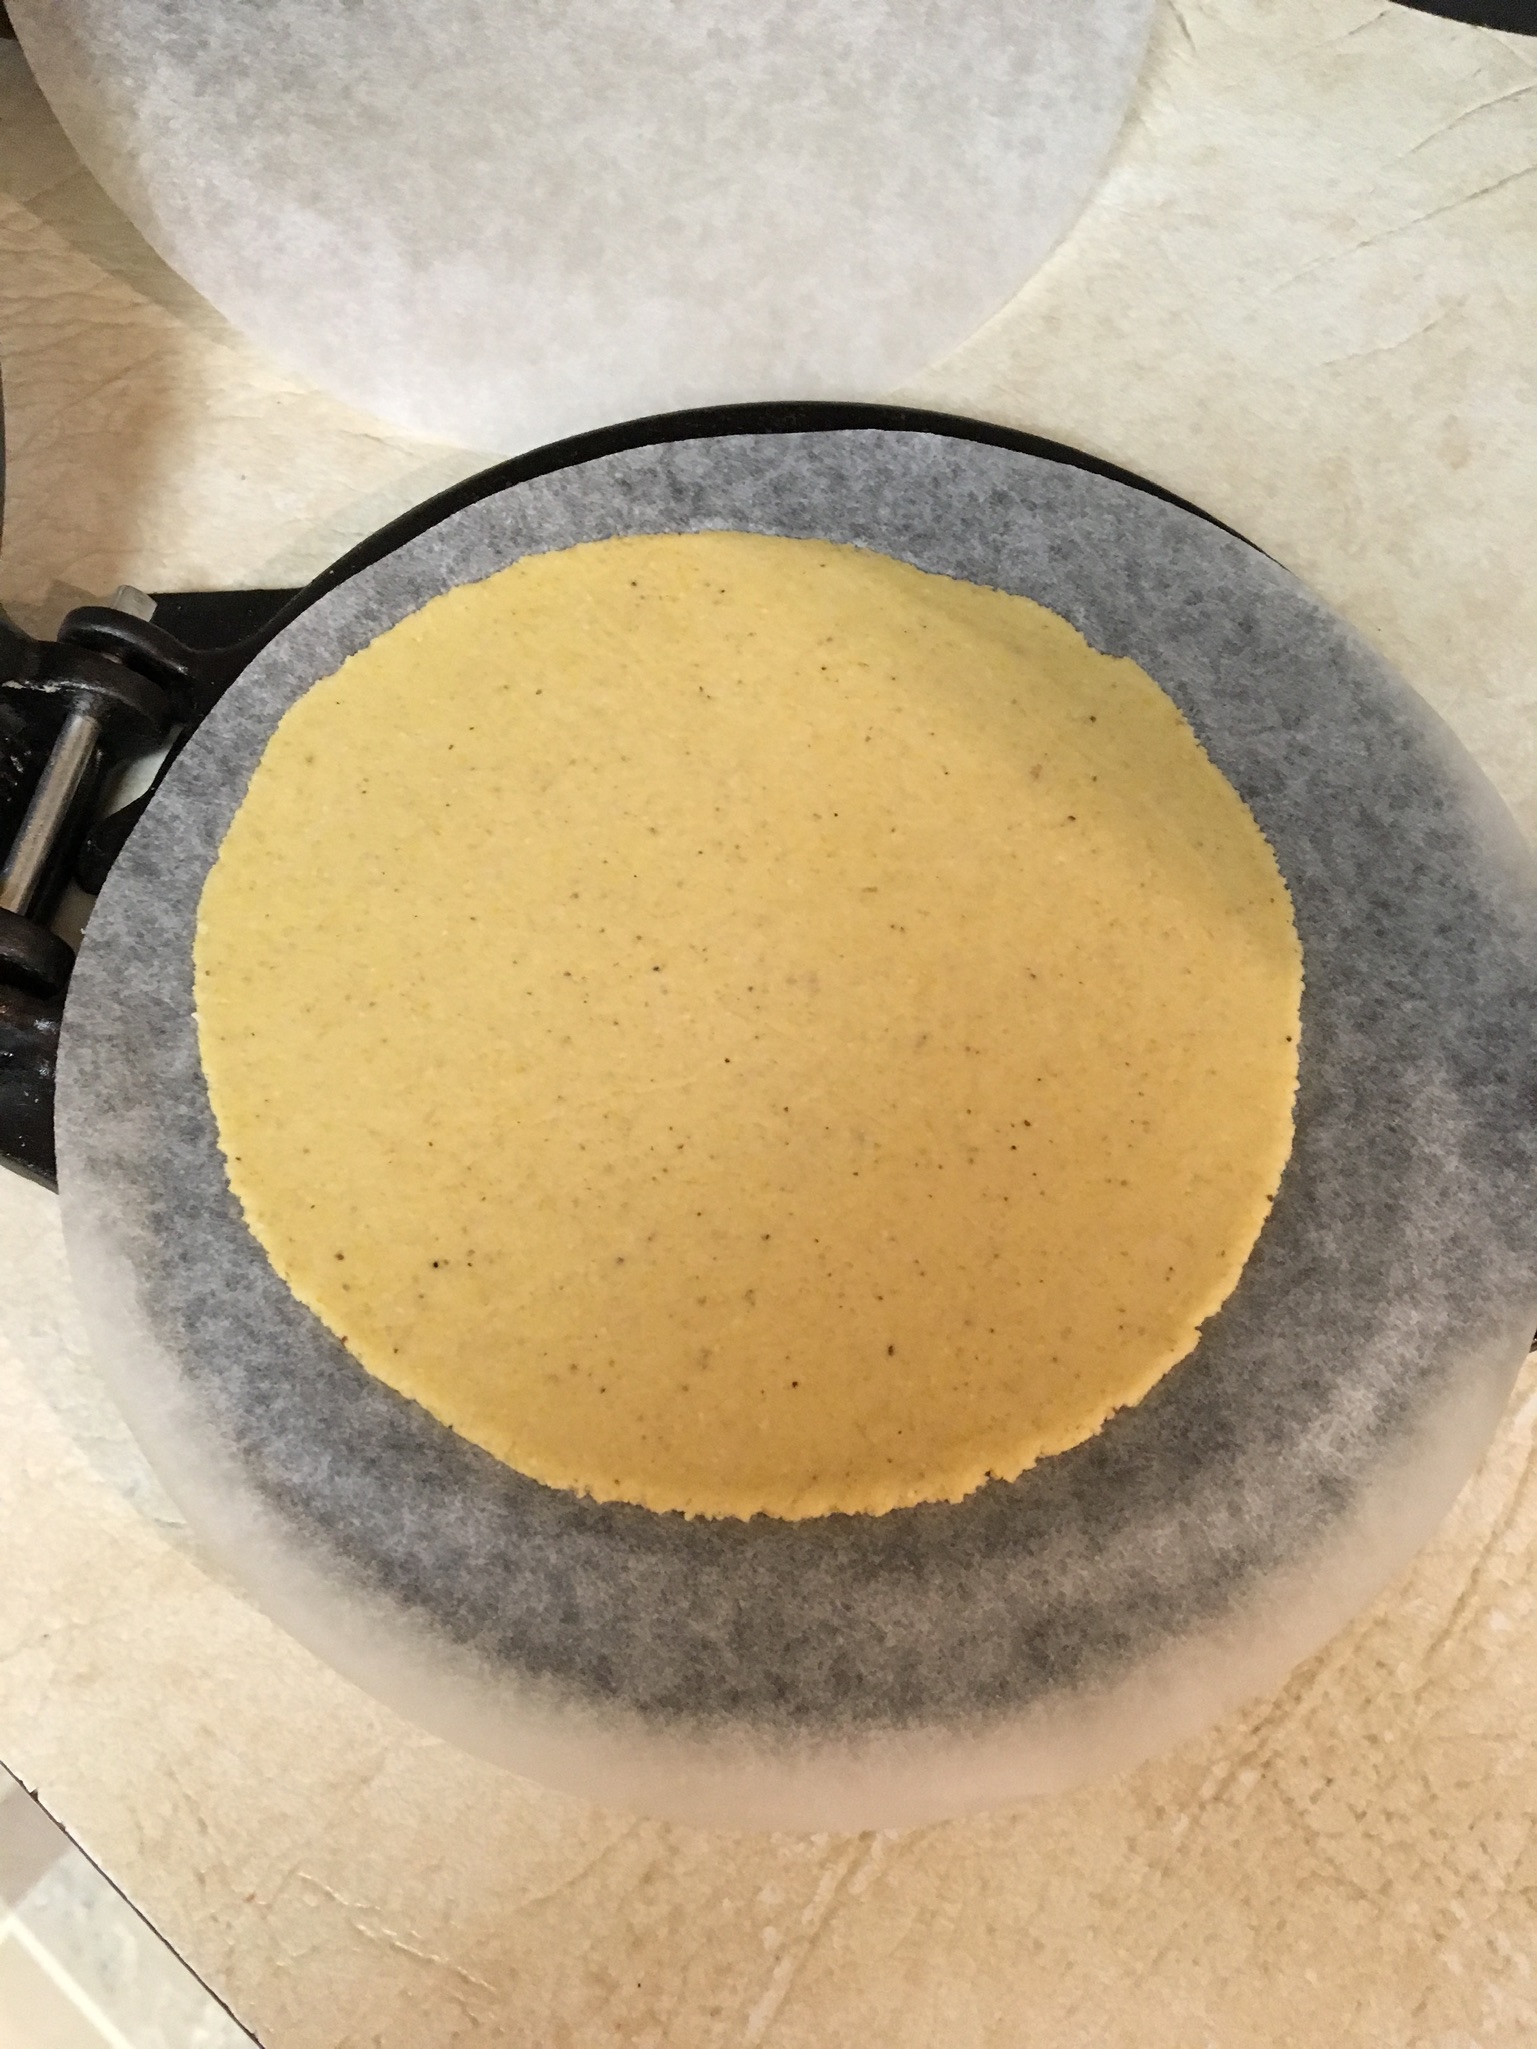
I have an old non-stick griddle and heated it thoroughly over medium-high heat. I sprayed it with non-stick spray and carefully lay the tortilla to fry. I left it for about thirty seconds and then turned it over. I do not want crispy tortillas. I want them soft and easy to manipulate.

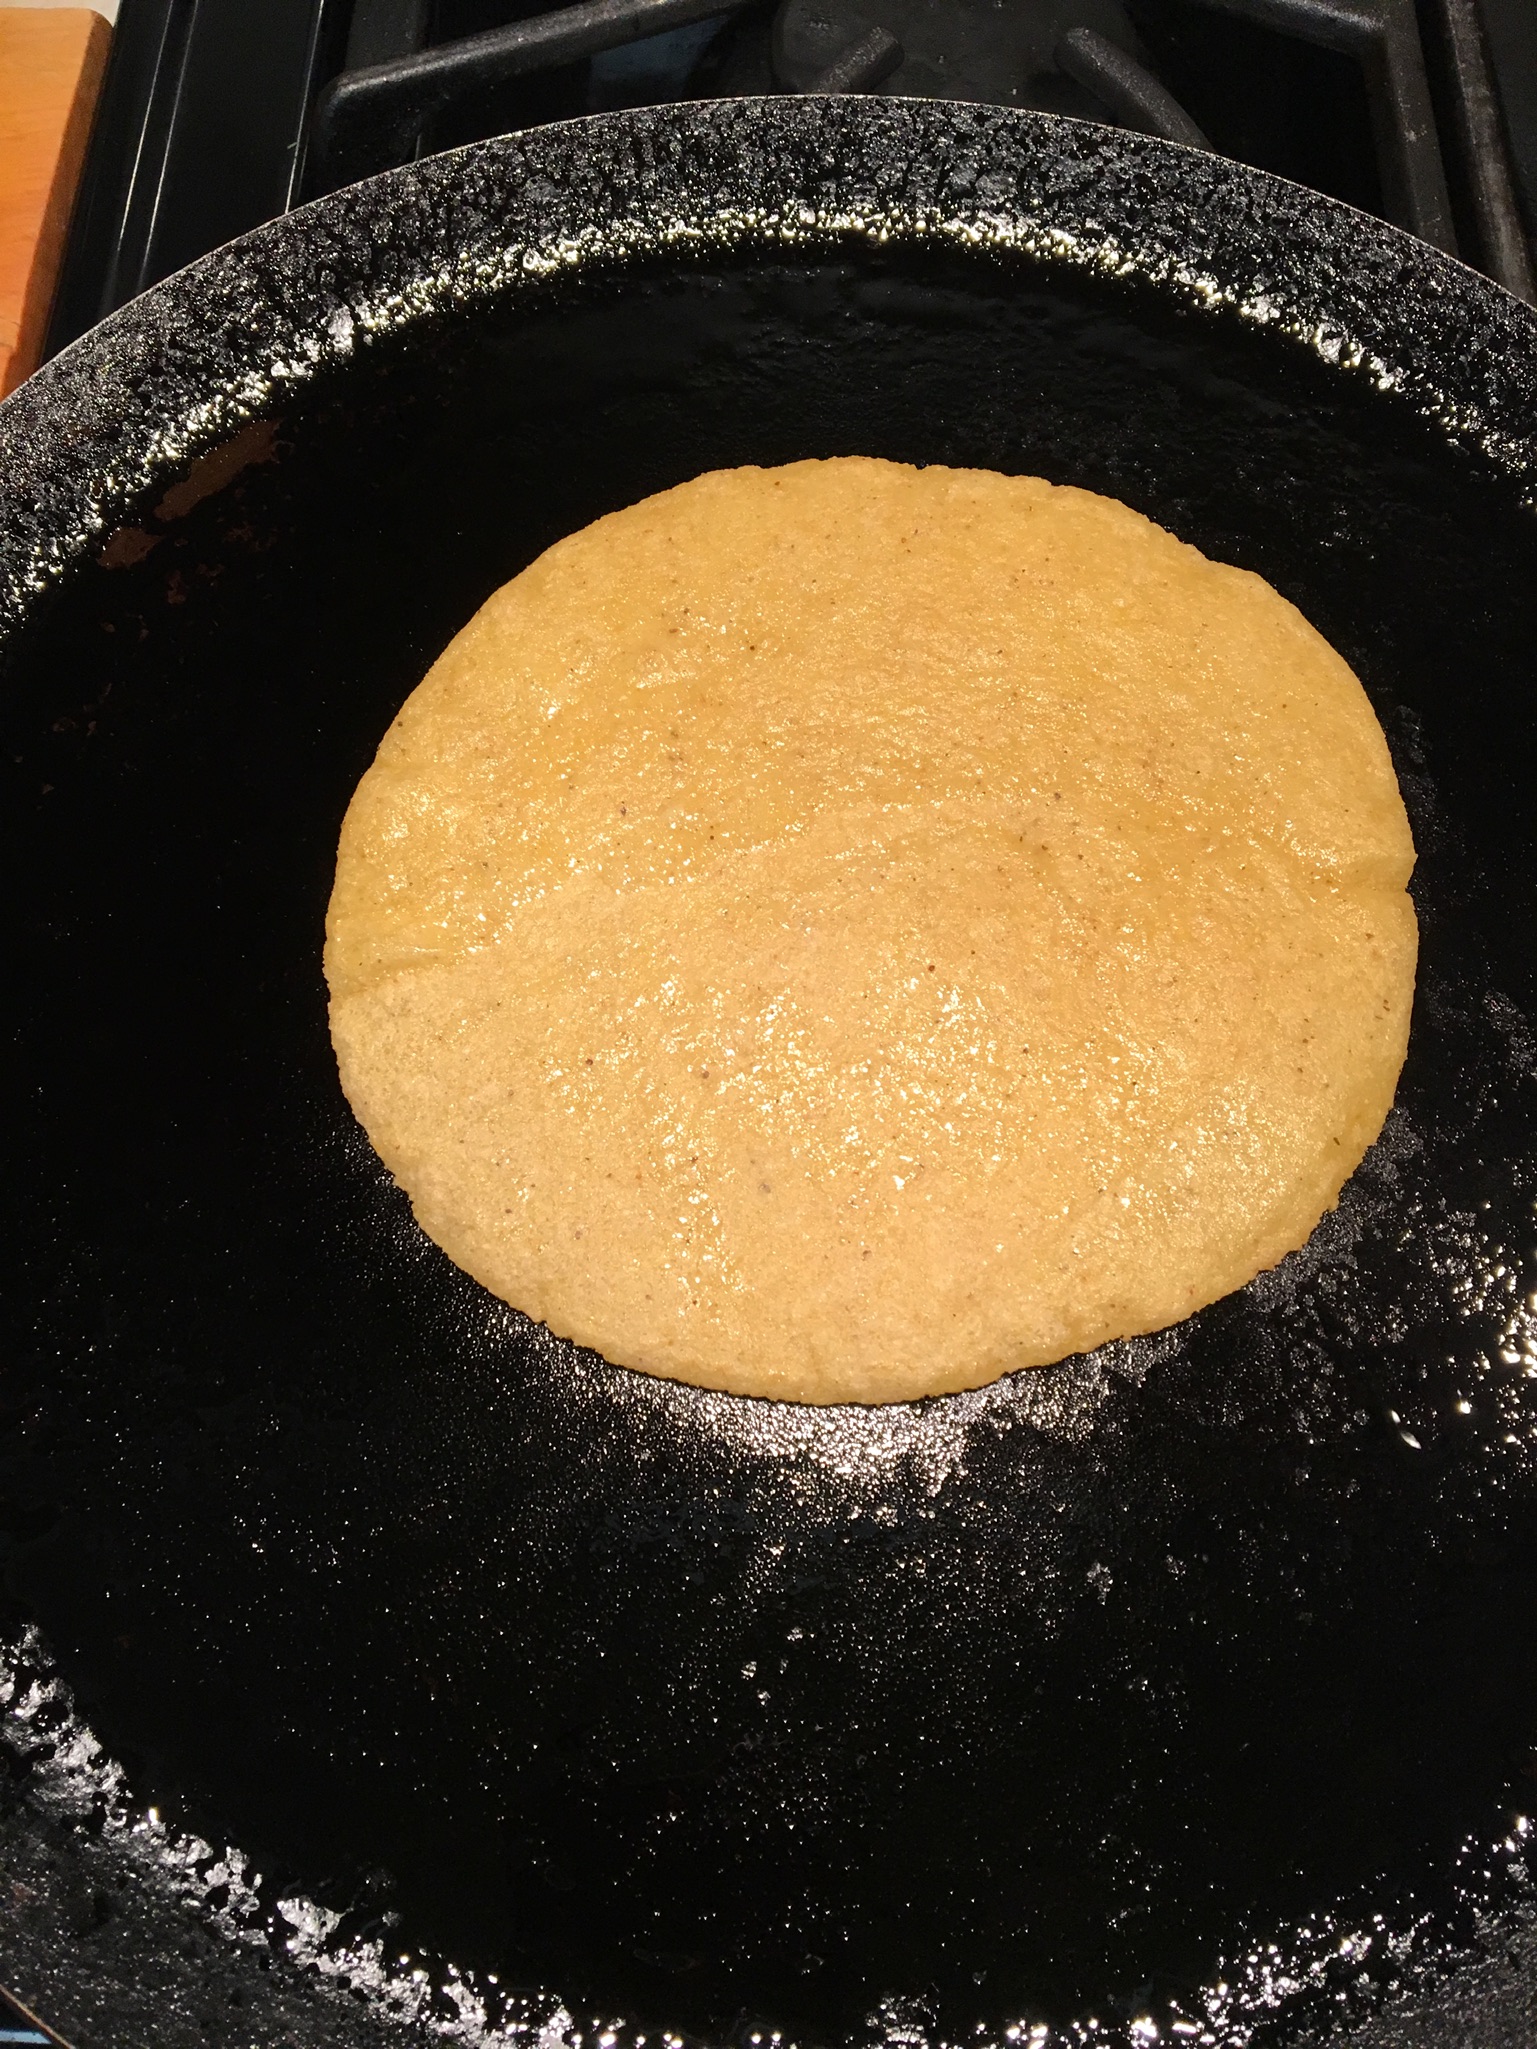
My process was to roll a piece into a ball, press it, and put it on the griddle. While that was cooking, I’d press the next one, etc. A dozen tortillas took me about 50 minutes. I’m usually trying to do too many things at once, so it probably could have gone much faster if this was all I had to do. As they were cooked, I put them into my tortilla warmer.
The first time I made these, I used them to make Shrimp Enchiladas. What a glorious flavor! Oh my, oh my! There is just no comparison to store-bought tortillas. My second tortilla-making venture I made tacos with leftover Cuban Pork Roast and grated cheese. The third time I did this, I used more of the leftover Cuban Pork Roast and made enchiladas.
Sopes
I had bought the Sopes from Cardenas one time, but I wouldn’t know where to purchase something like that here. That is to say I did know what my end-product was supposed to look like. This recipe comes from Kristin at Yellow Bliss Road. I looked all over the web and Pinterest and found a lot of Sopes recipes, but they all called for a lot of finagling. Most of them say to press the dough, lightly fry them, then turn up the edges and deep-fry them. Oh, please. No, thank you. It’s hard enough just cooking things once! Kristin’s recipe does not require a press and she only cooks them once. While I was doing this I thought I had made a huge mistake and I would never, ever make them again. I’d have a perfect disc with a lip and then it would stick to my hand and tear. Oy! Keep your hands as wet as possible. HOWEVER, once they were finished, I realized they were darn near perfect and incredibly delicious. I WILL make these again.
- Ingredients
- 1-1/2 cups Masa Harina
- 1 cup warm water
- 1/2 tsp. salt
- Cooking oil (My skillet had about 3/4″ in it)
- Toppings like refried beans, shredded or ground meat, cheese, salsa, lettuce, avocado, tomato, onion, sour cream (whatever strikes your fancy)
Makes about 9 Sopes, approximately 3″ diameter. Stir all ingredients, except cooking oil, together to form dough. Heat the cooking oil over medium high heat until a drop of water sizzles when it touches. Divide dough into golf-ball sized portions and roll into ball shapes. Keep remaining dough balls covered with a damp kitchen towel while working with the others. Using your hands, press each dough ball into a disc of about 1/4″ to 1/2″ thick. Pinch the edges of the disc to form a lip.
If you keep your hands wet, you’ll have greater success forming the discs and the lips. Place the disc, lip side up, in the hot oil and let fry for a little while. Try to get a brown spot on the bottom. Carefully flip the disc over onto the lip and let fry a little longer. I thought this would be a huge mess and fall apart, but it hardens fairly quickly in the oil and becomes easy to get a spatula underneath. You could probably even use tongs. Your goal is to have a crispy edge, but a soft center. Remove from oil and place on paper towels to drain. I did three Sopes at a time in my frying pan and it didn’t take long at all.
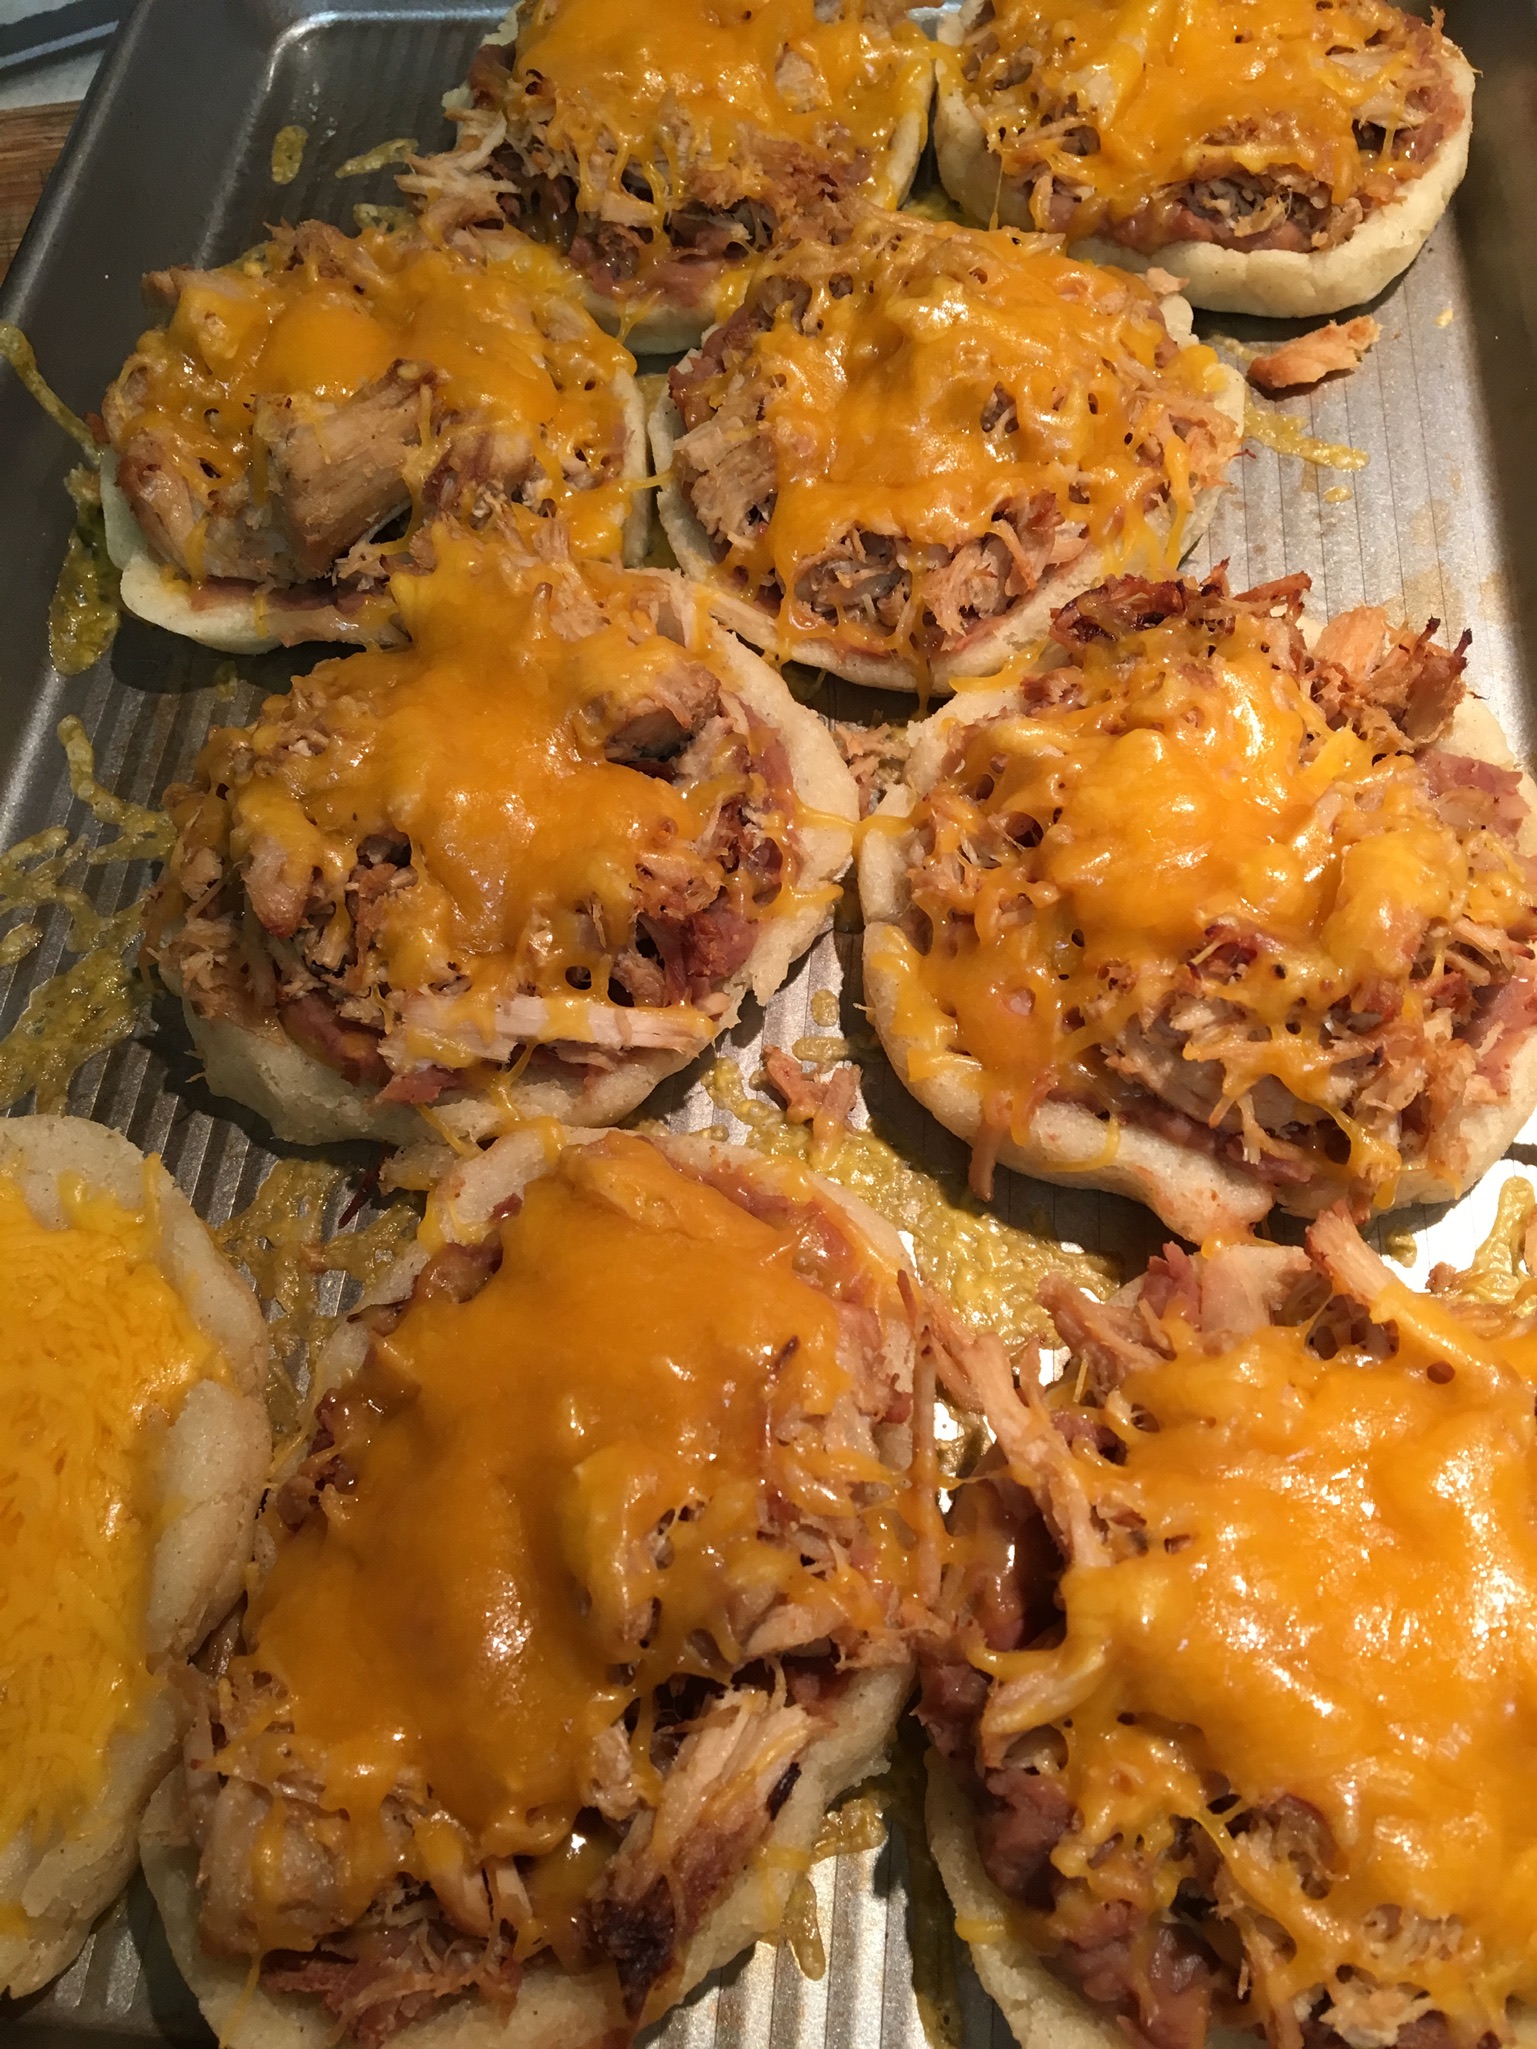
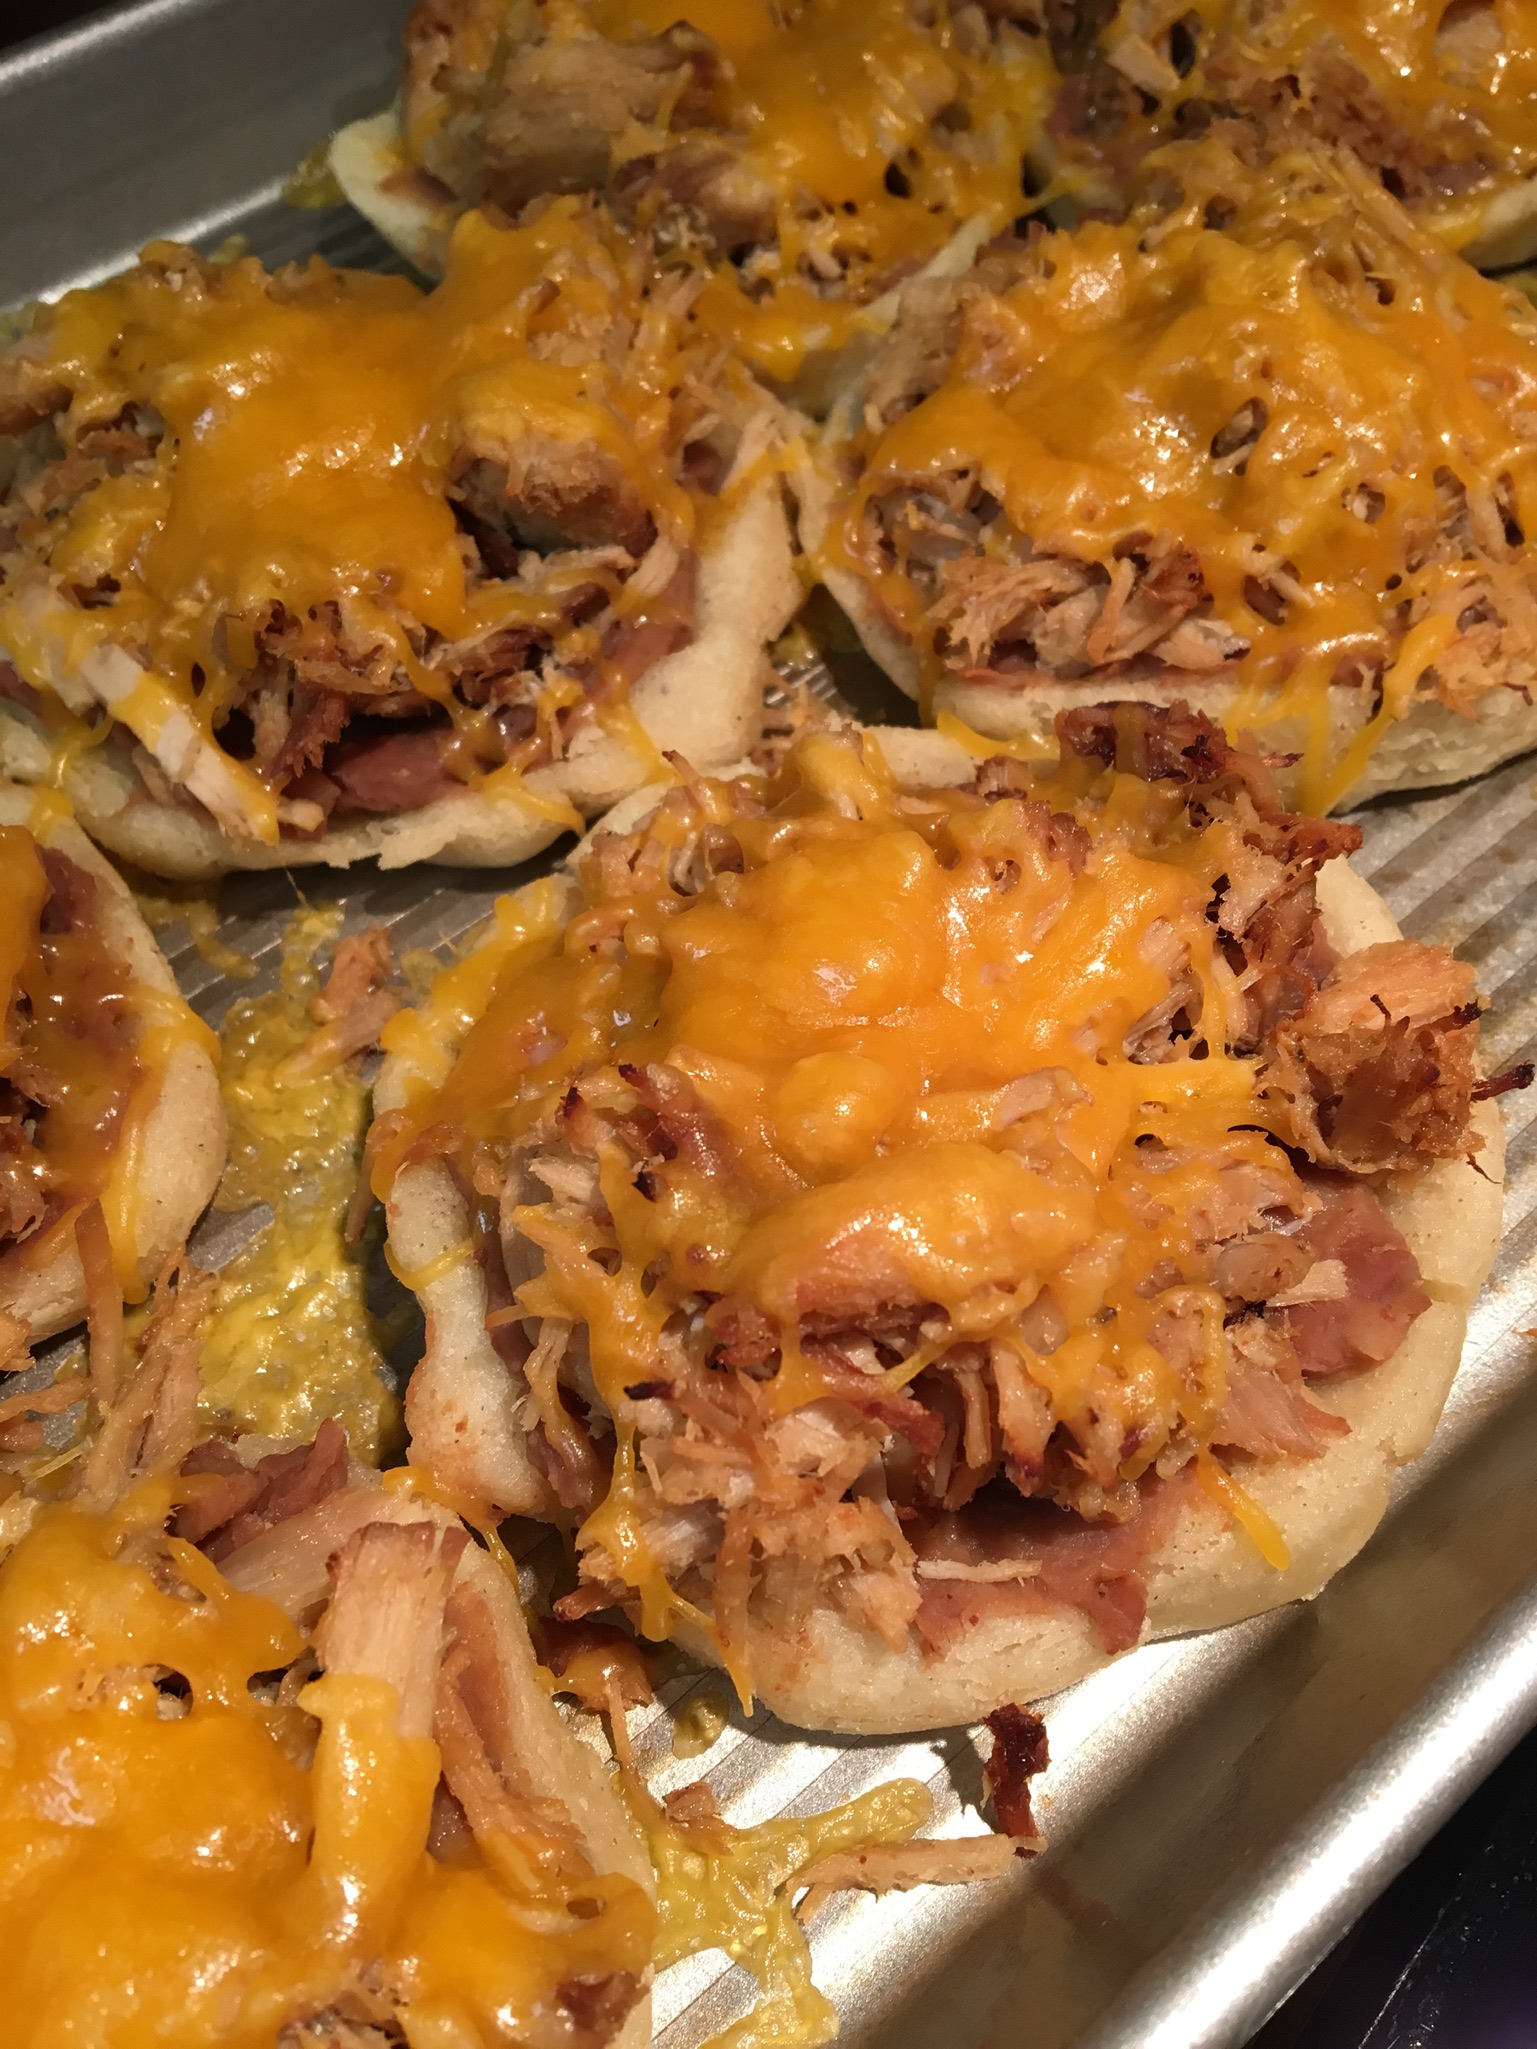
These are now ready to serve, and if you’re using cold toppings like lettuce, sour cream, or tomato, you’re done. I spread a tablespoon of warm refried beans over the bottom of each Sope and then spread warm leftover Cuban Pork Roast over that and sprinkled with grated Sharp Cheddar Cheese on top. Then I popped them into the oven at 400 degrees for about 5-10 minutes until the cheese melted. These were heavenly delicious. I topped them with sliced fresh jalapenos and salsa. They were easy to eat by hand. I see this being a hearty game-day snack.

I’ve made this dish several times over the past couple years and it’s really, really delicious. My recipe is based upon one found at TamingTwins, but I’ve modified it quite a bit.
This dish is how I use my leftover salmon that’s already cooked. I haven’t tried it, but I believe canned salmon would work as well. We eat a lot of sweet potatoes because they purportedly are lower in carbs than regular potatoes, but that may just be an advertising ploy by sweet potato growers. Sweet potatoes are commonly called yams in the USA, but real yams are an entirely different vegetable originating in Africa or Asia and most of us have probably never eaten or seen one. That aside, if you’re at the grocery store shopping for yams, almost assuredly they are selling you sweet potatoes. Go ahead and get the yams.
This recipe’s proportions are basically eyeballed. I’ll give you my ingredient proportions, but do feel free to wing it with a handful of this or that. You’ll see. I tend to start by choosing a baking dish that I can spread a layer of flaked salmon evenly across the bottom. The next layer is prawns and onion that has been cooked in milk. TamingTwins poached her salmon with onion in the milk, but I like to use my leftover salmon that’s already cooked. However you decide to do things, the purpose is to flavor the milk with seafood. The next layer is the shrimp and onion-flavored milk made into a white sauce. The next layer is the mashed sweet potatoes mixed with grated cheddar cheese. You can cook the sweet potatoes however you like, they just need to end up mashed. The last layer is grated cheese over the top. This dish is like a shepherd’s pie, but maybe we should call it a fisher’s pie. It may not look like much, but it’s super yummy.
- Ingredients
- 2-3 Sweet potatoes (yams)
- Salt and pepper
- 1 cup grated cheddar cheese, divided
- Cooked salmon, at least two serving pieces
- 1-1/2 cups milk
- 1/2 onion, chopped
- 5 Prawns (extra-large), peeled, deveined, and rough chopped
- 3 Tbsp. butter
- 3 Tbsp. flour
- 1 Tbsp. parsley flakes (optional)
Peel and cut the sweet potatoes into large pieces. Put them into a pot with an inch or so of water and boil/steam until the sweet potatoes are soft. Mash them and then stir in a dash of salt and pepper and 1/3 cup grated cheese. Set aside.
Debone and flake the salmon. Spread it evenly across the bottom of a baking dish. I used a 2-quart dish. Set aside.

Bring milk with onion to a boil in a saucepan and let simmer for a couple minutes until the onion is cooked. Stir in the prawns. Let simmer until they’re cooked. It won’t take long at all, a minute or two. Strain out the onion and prawns, making sure to save the milk. Spread the onions and prawns across the salmon in the baking dish. Set aside. Let the milk cool to room temperature or less. It was zero degrees here while I was last making this, so I just strained the milk into a measuring cup and set it outside to cool. Didn’t take long. Ha.

Preheat the oven to 350 degrees. Make a roux by melting butter in a small saucepan and stirring in the flour, salt, and pepper over medium heat. Stir in the cooled milk and continue stirring over medium heat until the sauce is thick and bubbly. Remove from heat and stir in the parsley flakes, if using (I didn’t have any). Pour the sauce over the seafood in the baking dish.

Dollop mashed sweet potatoes evenly over the filling in the baking dish. You can smooth it out or fluff it up, however you like. Sprinkle with remaining 2/3 cup grated cheese.


Bake at 350 degrees F for 30-40 minutes, until heated through. Heavenly!
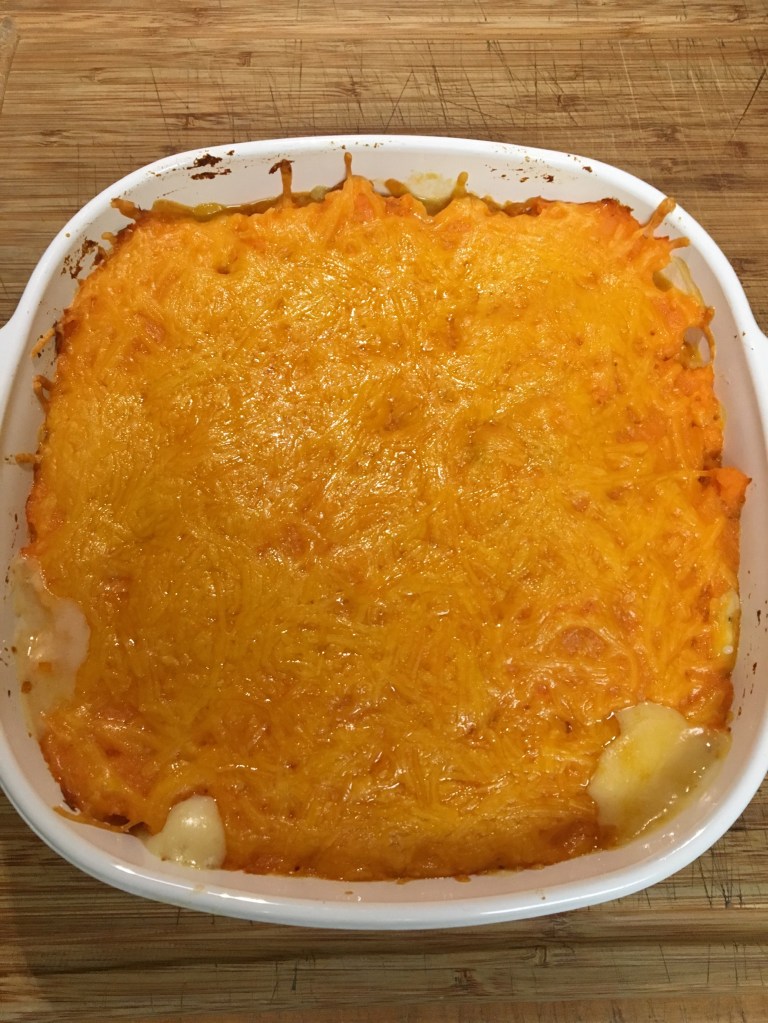

I baked this one for thirty minutes, but it could have used another 5-10 in the oven. I was too hungry to wait!

I like to use the recipe from twopeasandtheirpod.com. Growing up, one of my favorite meals was those little chicken pot pies that were bought frozen and then baked. I would flip mine upside down into a bowl and dive in. So much salty, salty goodness. But now I’ve found that making my own is better!
Ingredients:

1/4 cup butter
1/3 cup diced onion
1 cup diced carrot
1/2 cup diced celery
2 cloves minced garlic
1/3 cup flour
1 tsp. dried thyme
1 Tbsp. dried parsley
1 tsp. salt
1/2 tsp. pepper
1-3/4 cup chicken broth
1/2 cup heavy cream
3 cups shredded chicken (or leftover turkey)
1 cup frozen peas
Pastry for a two-crust pie
1 egg, beaten
Melt butter in large skillet and saute onion, carrot, and celery until tender. Stir in garlic and continue to saute until garlic is fragrant, about a minute. Stir in flour, thyme, parsley, salt, and pepper. Let saute until flour is well incorporated and bubbly. Stir in chicken broth and heavy cream. Continue stirring until it boils, then reduce heat and let it simmer until it is thick, about 10 minutes.

Once it is thick, remove from heat and stir in chicken and peas. Preheat oven to 400 degrees F.
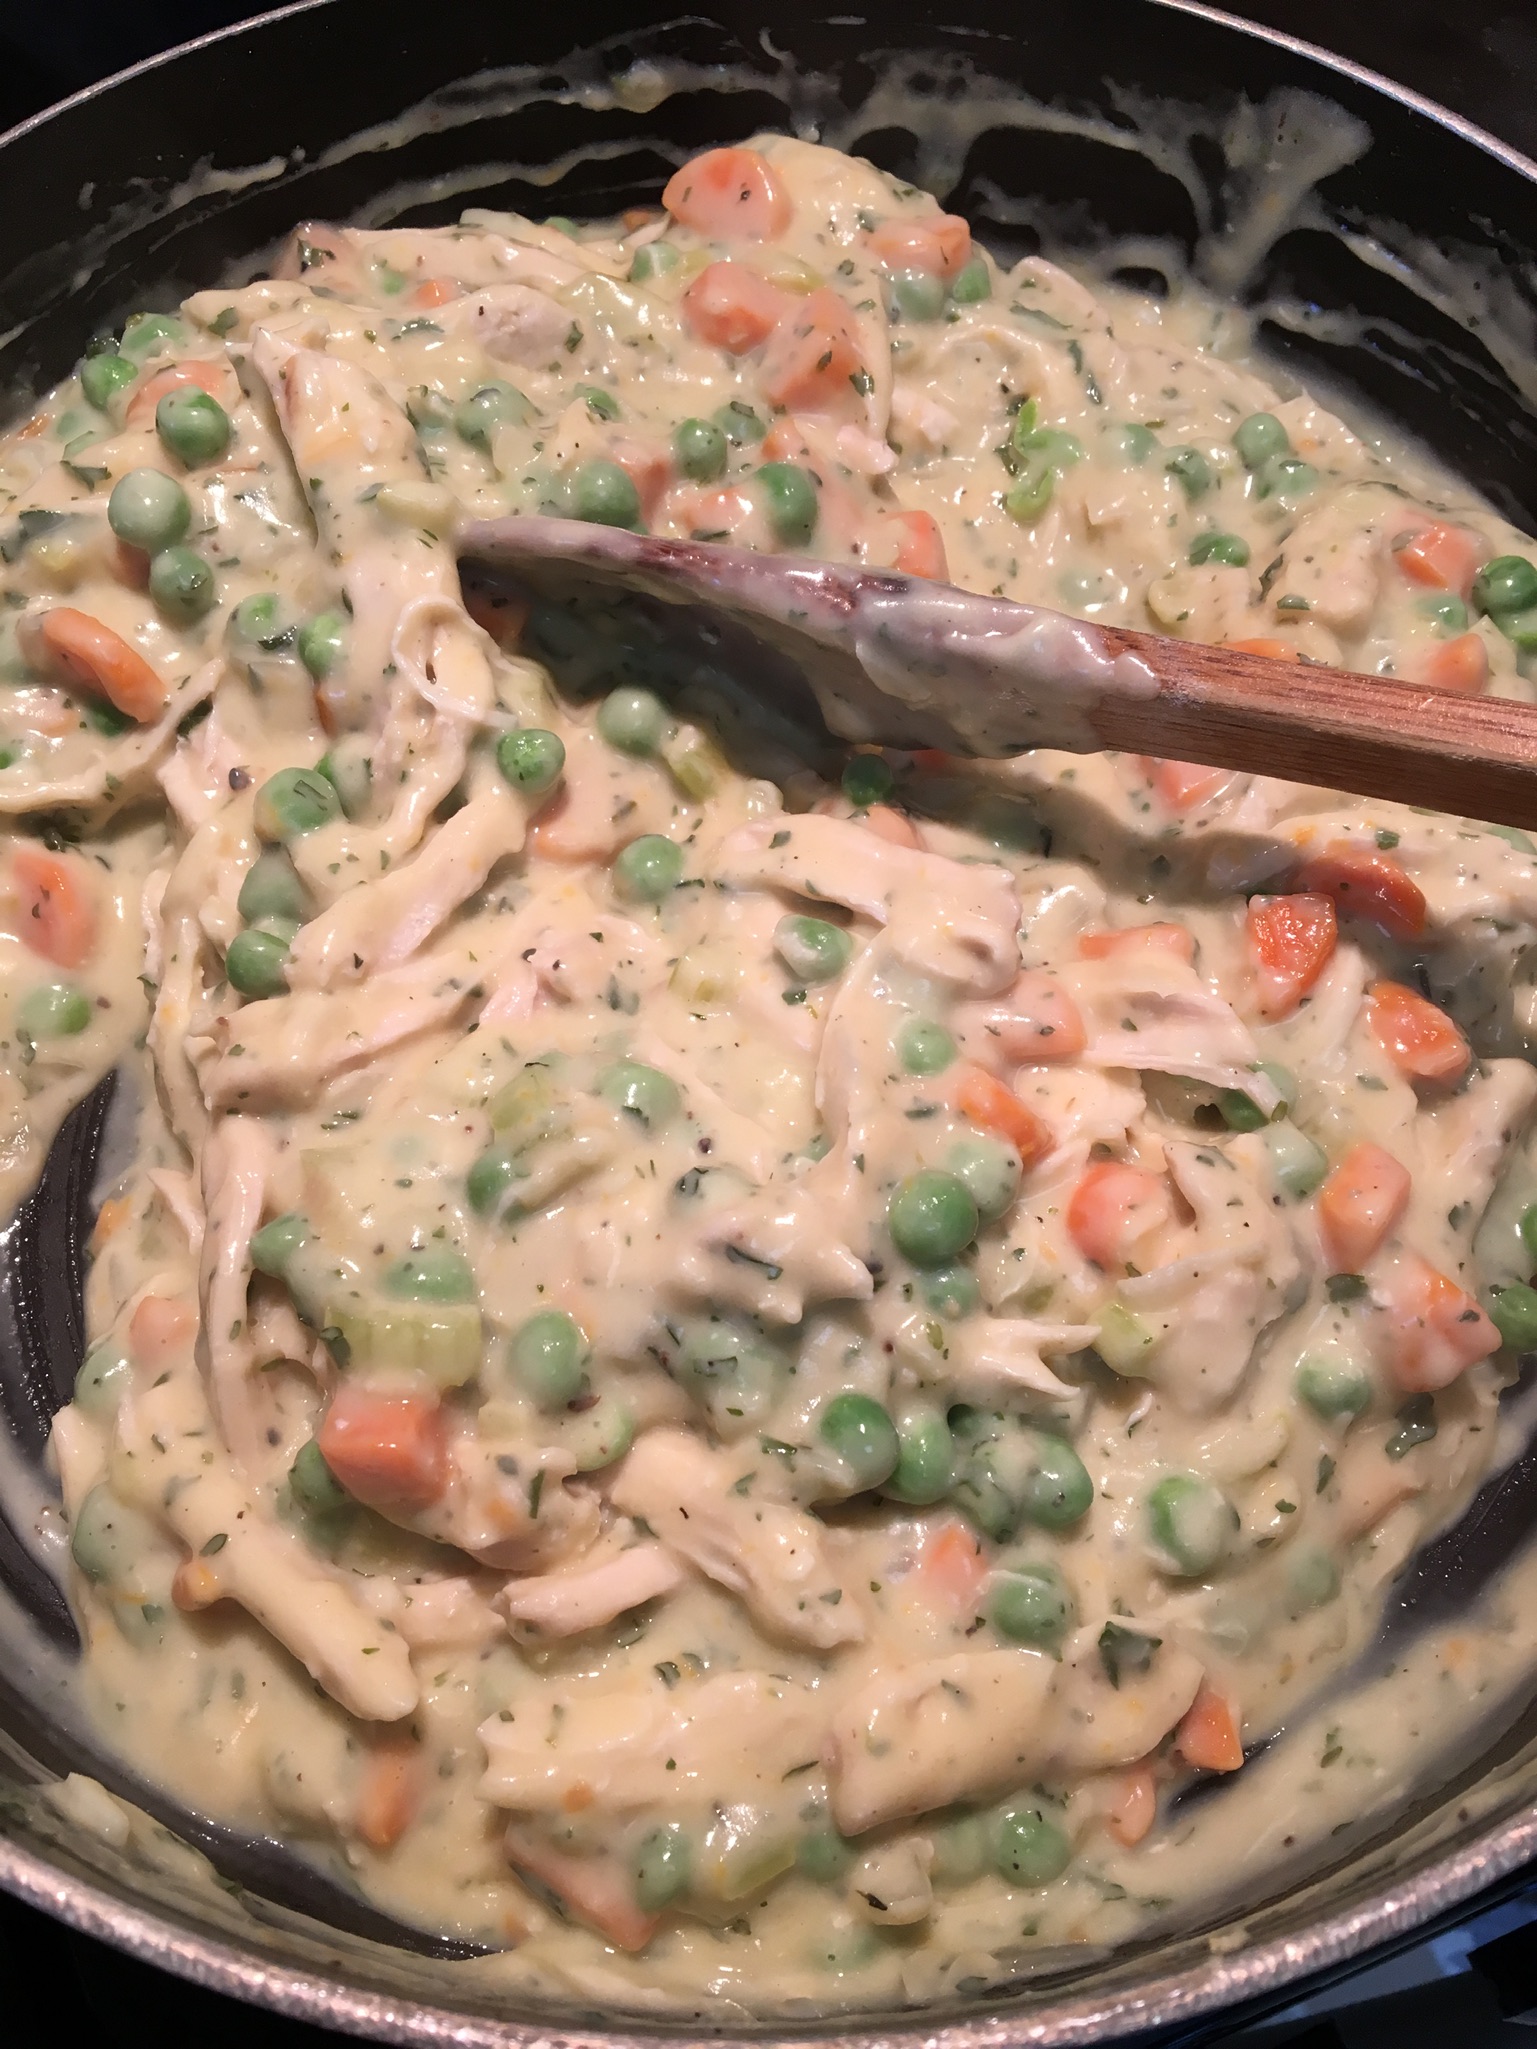
Set one pastry into 9″ pie plate. Spoon in the filling. Cut slits into the second pastry and then place it on top of filling, pinching the edges with the bottom crust to seal as best as possible. Brush beaten egg across the crust to give it that lovely golden color. Bake for 45-55 minutes, until you see the filling bubble through the top pastry slits.
Note: I don’t usually have cooked chicken or turkey, so I cook it in water with onions, celery, and/or carrots. Then I use that liquid for the broth called for in the recipe and the chicken for the shredded chicken.

This recipe comes from PeaceLoveandLowCarb.com. I have been making this lately when I know that time is short or I just don’t feel like making anything complicated. It is really yummy and filling and warms you up without being sloppy.
Ingredients:
2 Tbsp. sesame oil
3 cloves garlic, minced
1/2 cup onion, diced
5 scallions, sliced, divided between green and white parts
1 lb. ground pork (I assume other ground meats would work fine)
1/2 tsp. ground ginger
Salt and pepper to taste
1 Tbsp. Sriracha
14 oz. bag of coleslaw mix
3 Tbsp. soy sauce
1 Tbsp. rice vinegar
2 Tbsp. sesame seeds
Heat sesame oil in skillet, add garlic, onion, and white part of scallions. Saute until onions are translucent. Add pork, ginger, salt & pepper, and Sriracha. Stir while sauteeing until the pork is cooked through. Add the coleslaw mix, soy sauce, and rice vinegar. Saute while gently stirring until the coleslaw is tender. Sprinkle with the reserved green parts of the scallions and the sesame seeds. Serve hot. Spice it up with a little more Sriracha if you like.


This is a riff on a recipe I clipped back in the 1980s or 1990s, probably from Sunset Magazine. I really like it for the use of barley, which I really enjoy instead of the usual rice. The original recipe used veal or dark turkey meat and called for a layer of yeast bread over the top. I did try it that way once, but it was too doughy, just too much bread. I usually use chicken breast, but have also used pork. It’s a very forgiving recipe, so just do it that way you want to. Warning that the preparation is time consuming.
Ingredients:

1/2 cup pearl barley
1 large head cabbage
1 lb. boneless, skinless chicken breast
Flour for dredging
1 Tbsp. butter
1 Tbsp. olive oil
1 small red bell pepper, stemmed, seeded, and slivered
1/4 cup sour cream
2/3 cup chicken broth
2/3 cup dill pickles, slivered
Salt & pepper to taste
Smetana Sauce (recipe below)
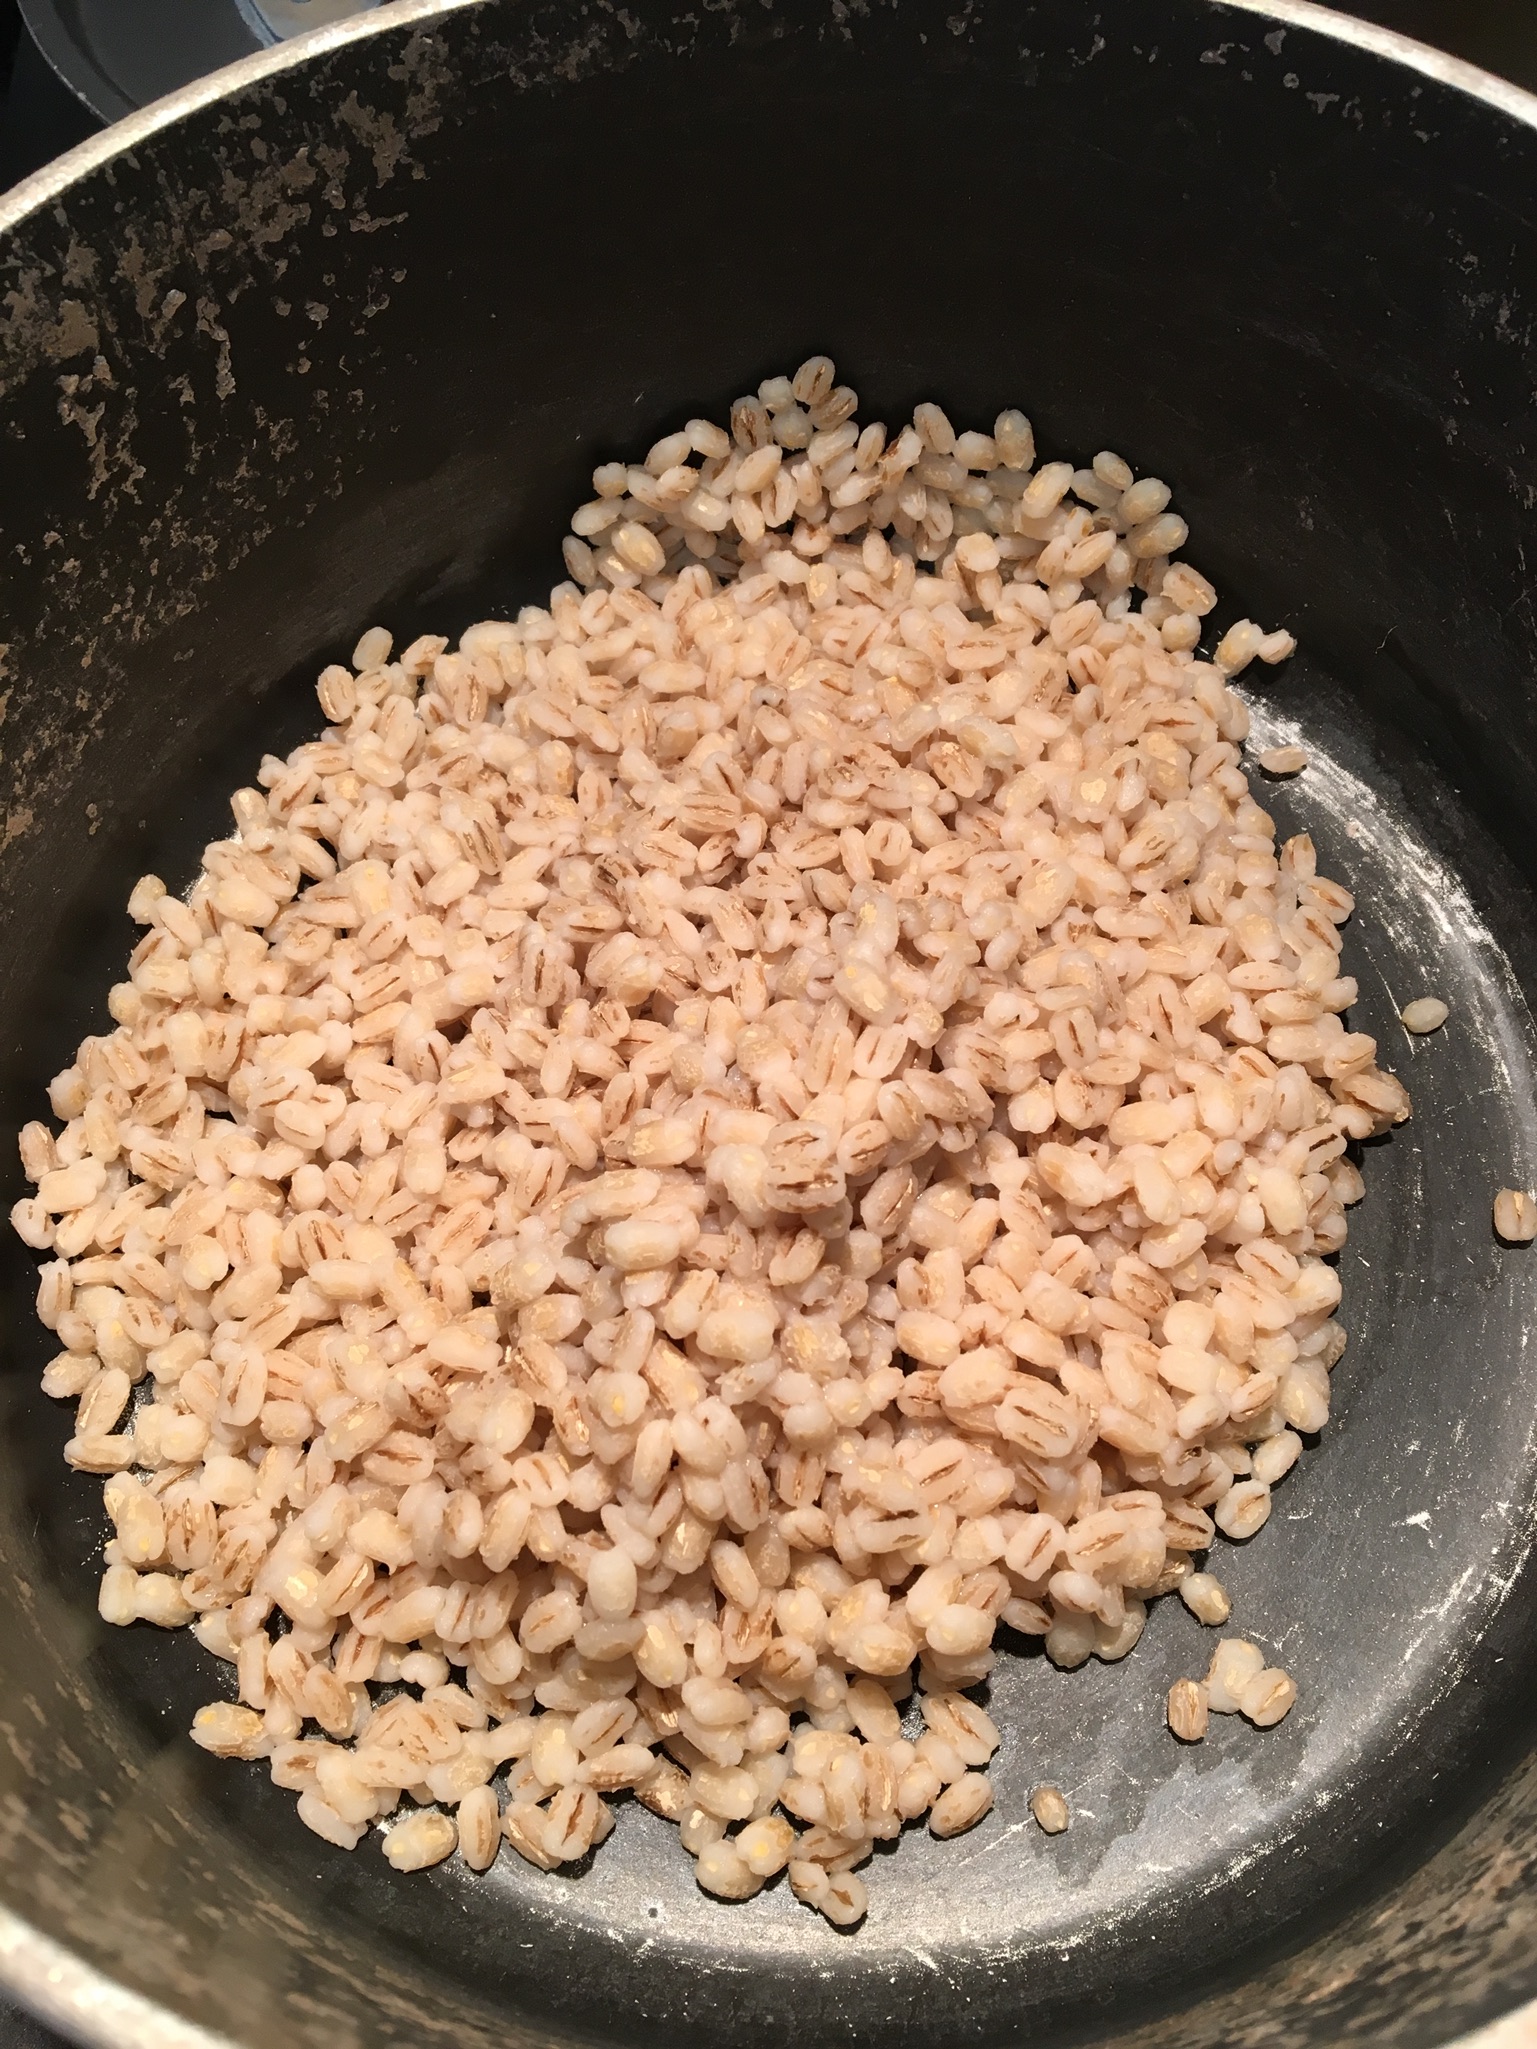
Combine barley with 2 cups water in a 1 to 1-1/2 quart pan. Bring to a boil, cover, and simmer until barley is tender to bite, about 30 minutes. Drain, set aside.
Bring 4 to 5 quarts water to boil in a very large pot over high heat. Core cabbage and, with a spoon, submerge head in water for 20 seconds or so. Lift out cabbage; when cool enough to touch, gently pull off as many outer leaves as you can. Repeat until you have about 12 to 14 large leaves.

Return the leaves to the boiling water, about 4 at a time, and cook until each one is pliable, 2 to 4 minutes; drain well. I lay out a tea towel for them to sit on. Cut the thick section of the stem from the back of each leaf.


Cut meat into 1/4-inch strips. Coat strips with flour. Put butter and oil into a 10 to 12 inch frying pan over medium-high heat. Once hot, add half the meat at a time and cook, stirring often, until lightly browned, 5 to 7 minutes; transfer to bowl. Add more butter and oil if necessary.
Cook the bell pepper in the same pan, until limp, about 5 minutes, stirring often. Remove pan from heat and mix in sour cream, broth, pickles, barley, meat, salt and pepper.
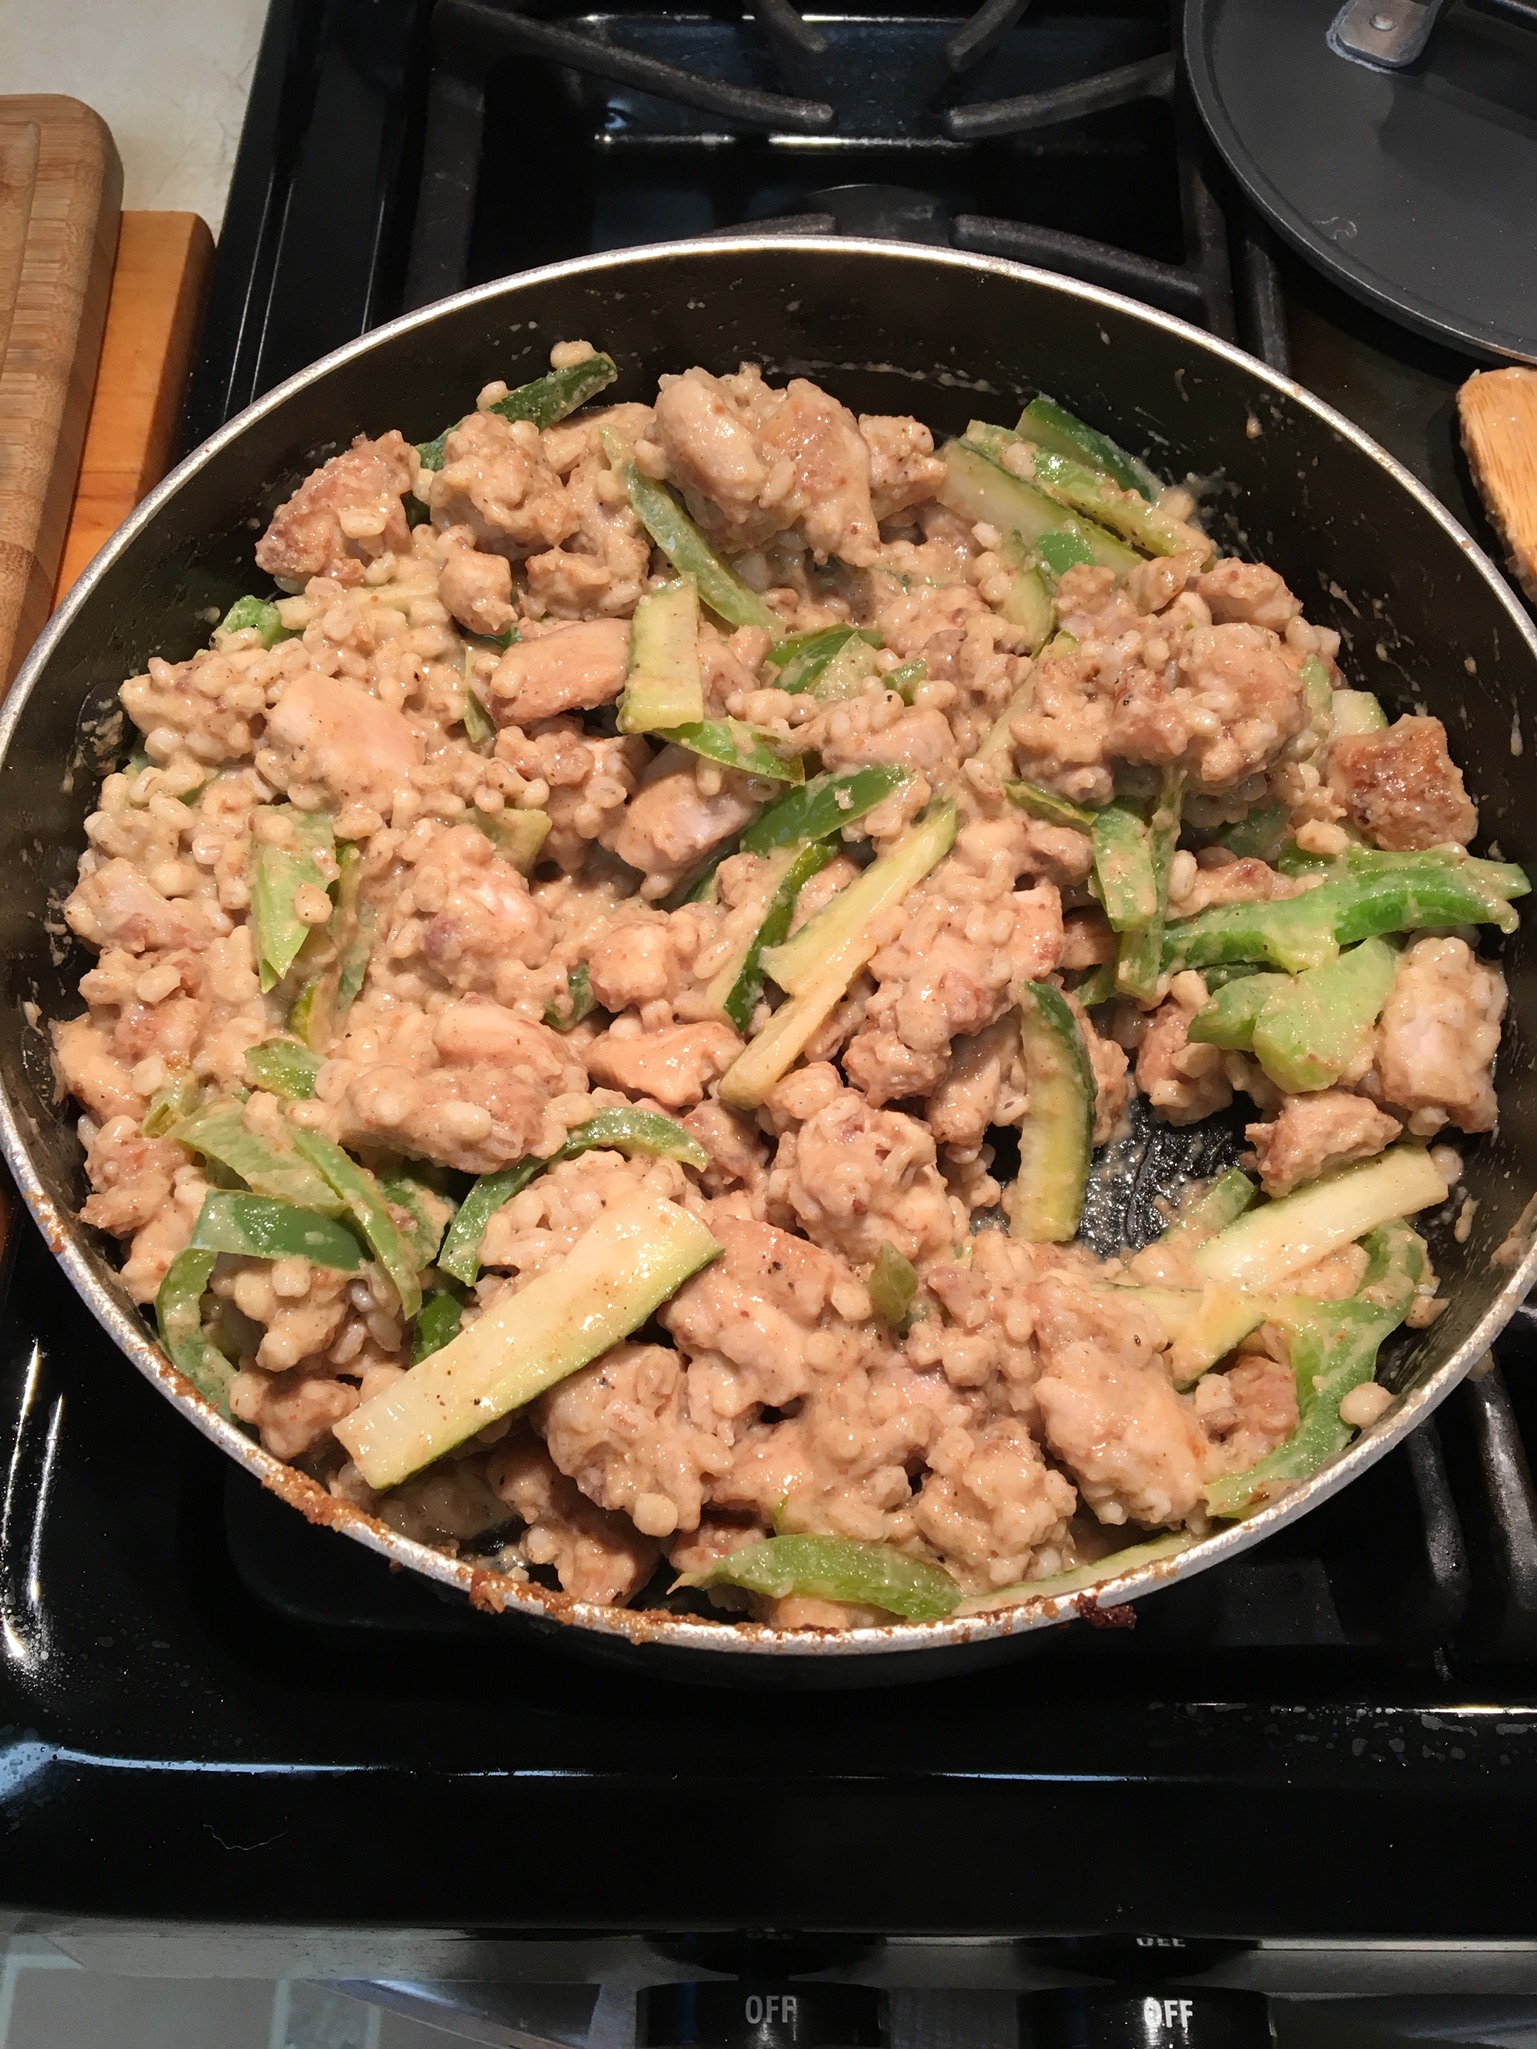
Prepare a baking dish approximately 10 X 15 inches by spraying with non-stick spray or by greasing the dish.
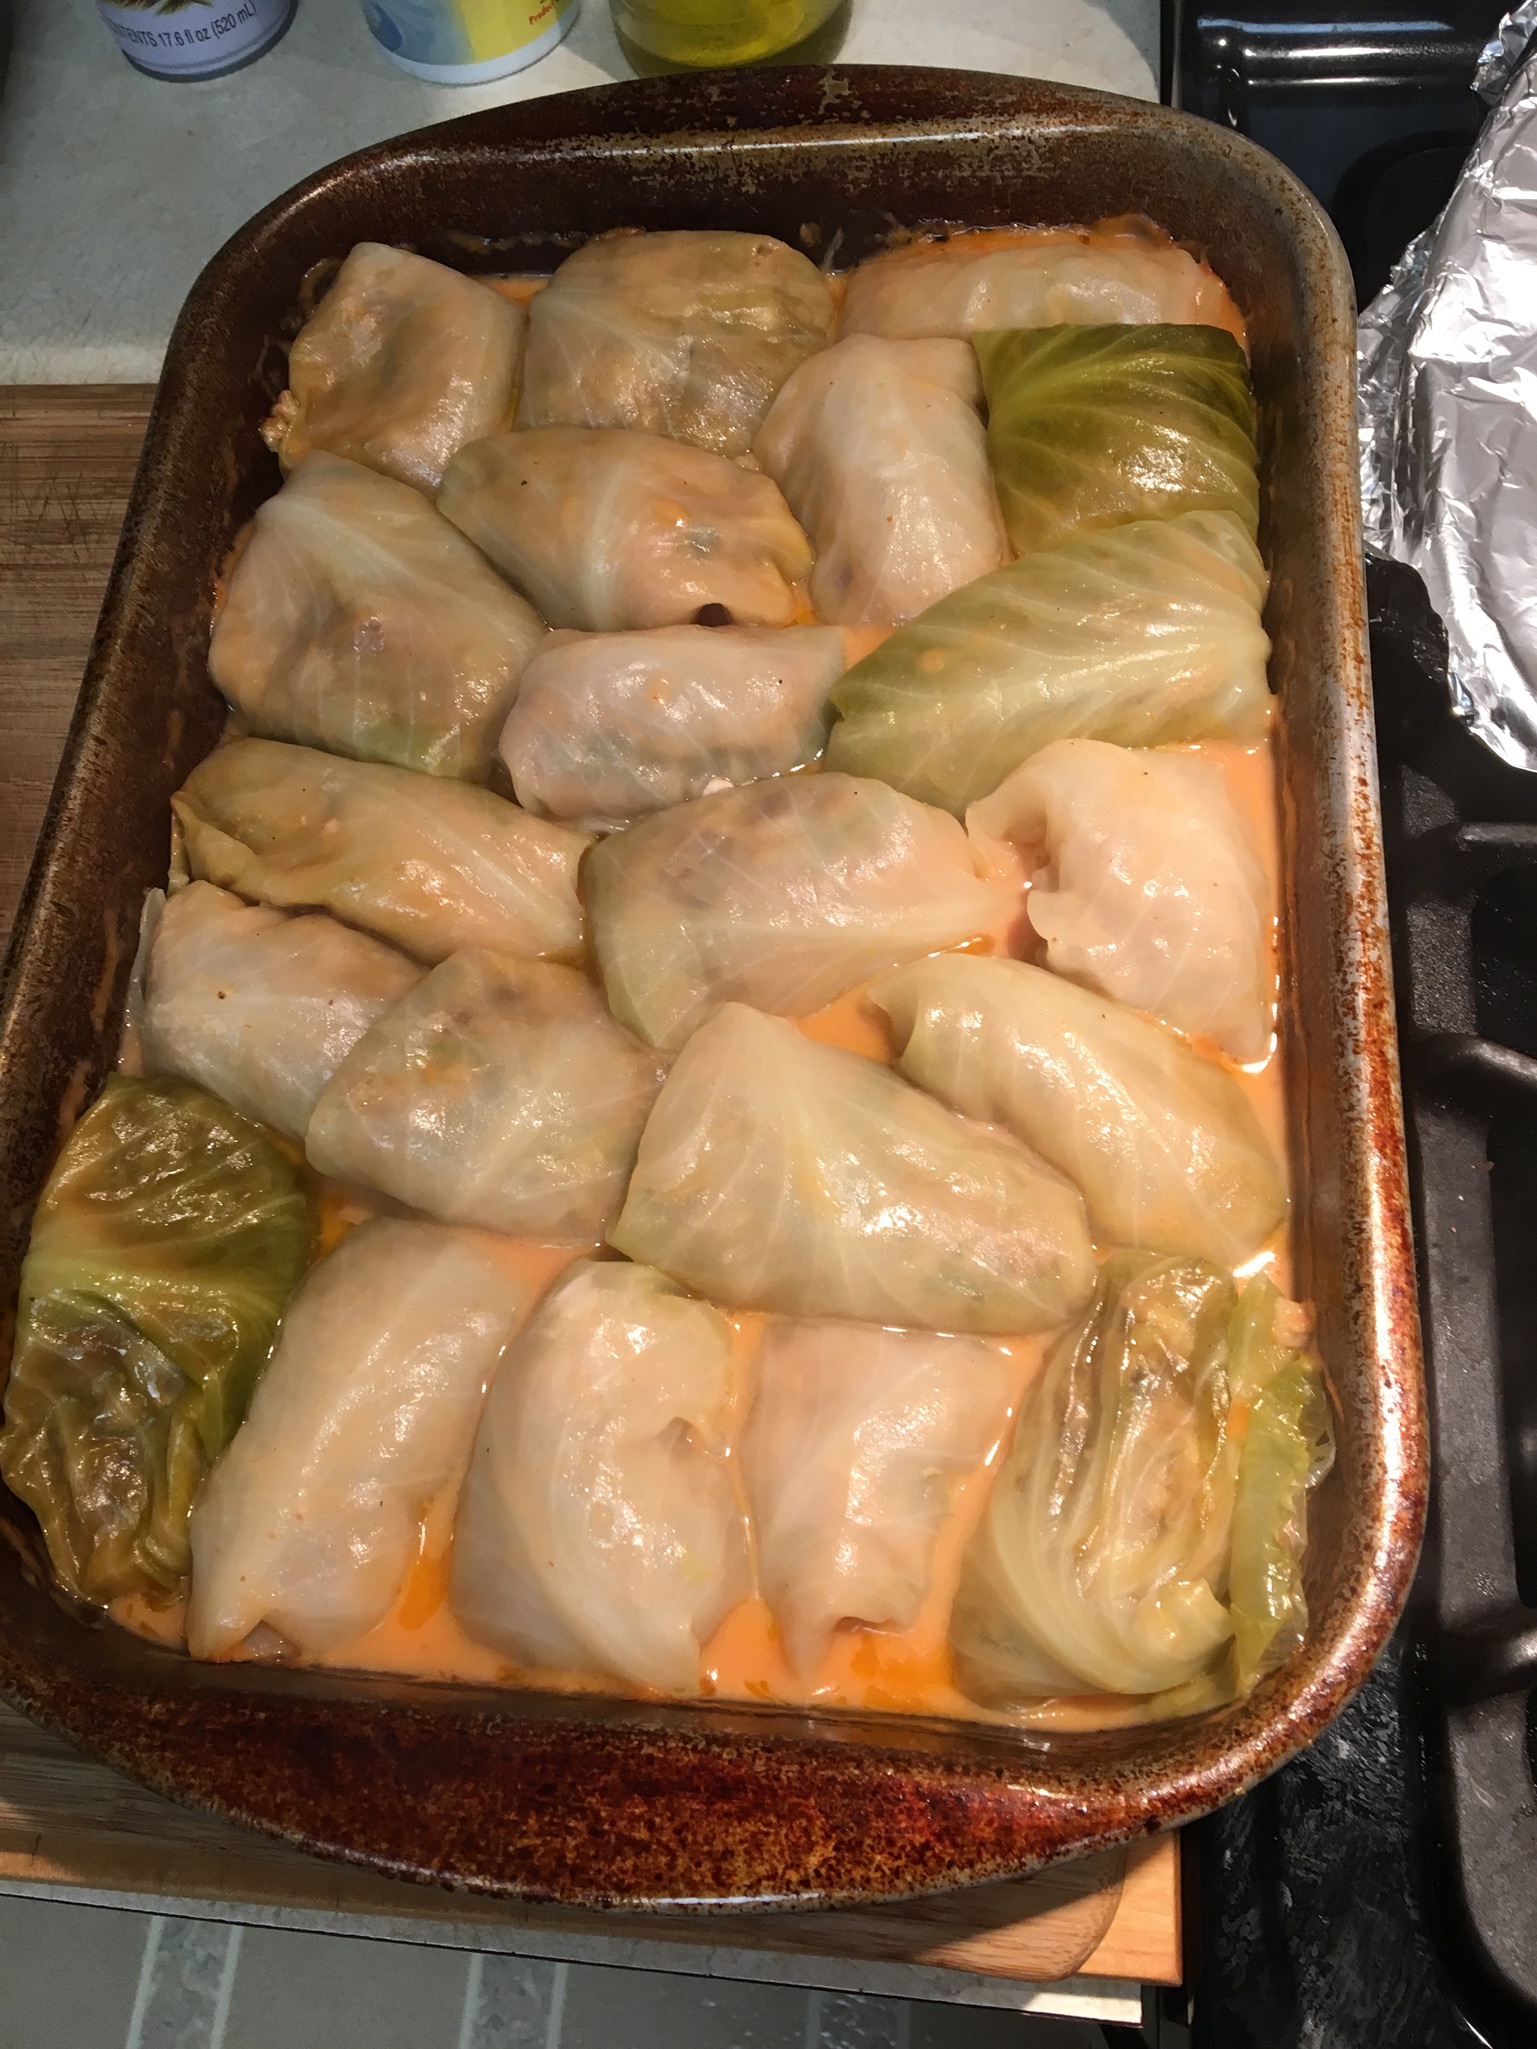
Eyeball your filling to your cabbage leaves and judge how much filling to put into each leaf. Fill the leaves, folding each leaf over the filling and placing the rolls into the prepared dish, seam down.


Prepare the Smetana Sauce. Preheat oven to 350 degrees.
Smetana Sauce Ingredients:

3 Tbsp. butter
3 Tbsp. flour
2-1/4 cups chicken broth
1-1/2 Tbsp. tomato paste
1/2 cup sour cream
Pepper to taste
Melt butter in saucepan over medium heat, stir in flour until mixture is smooth and bubbly. Stir in broth and tomato paste. Stir until sauce boils. Remove from heat, stir in sour cream. Add pepper. Use the sauce while it’s still hot.
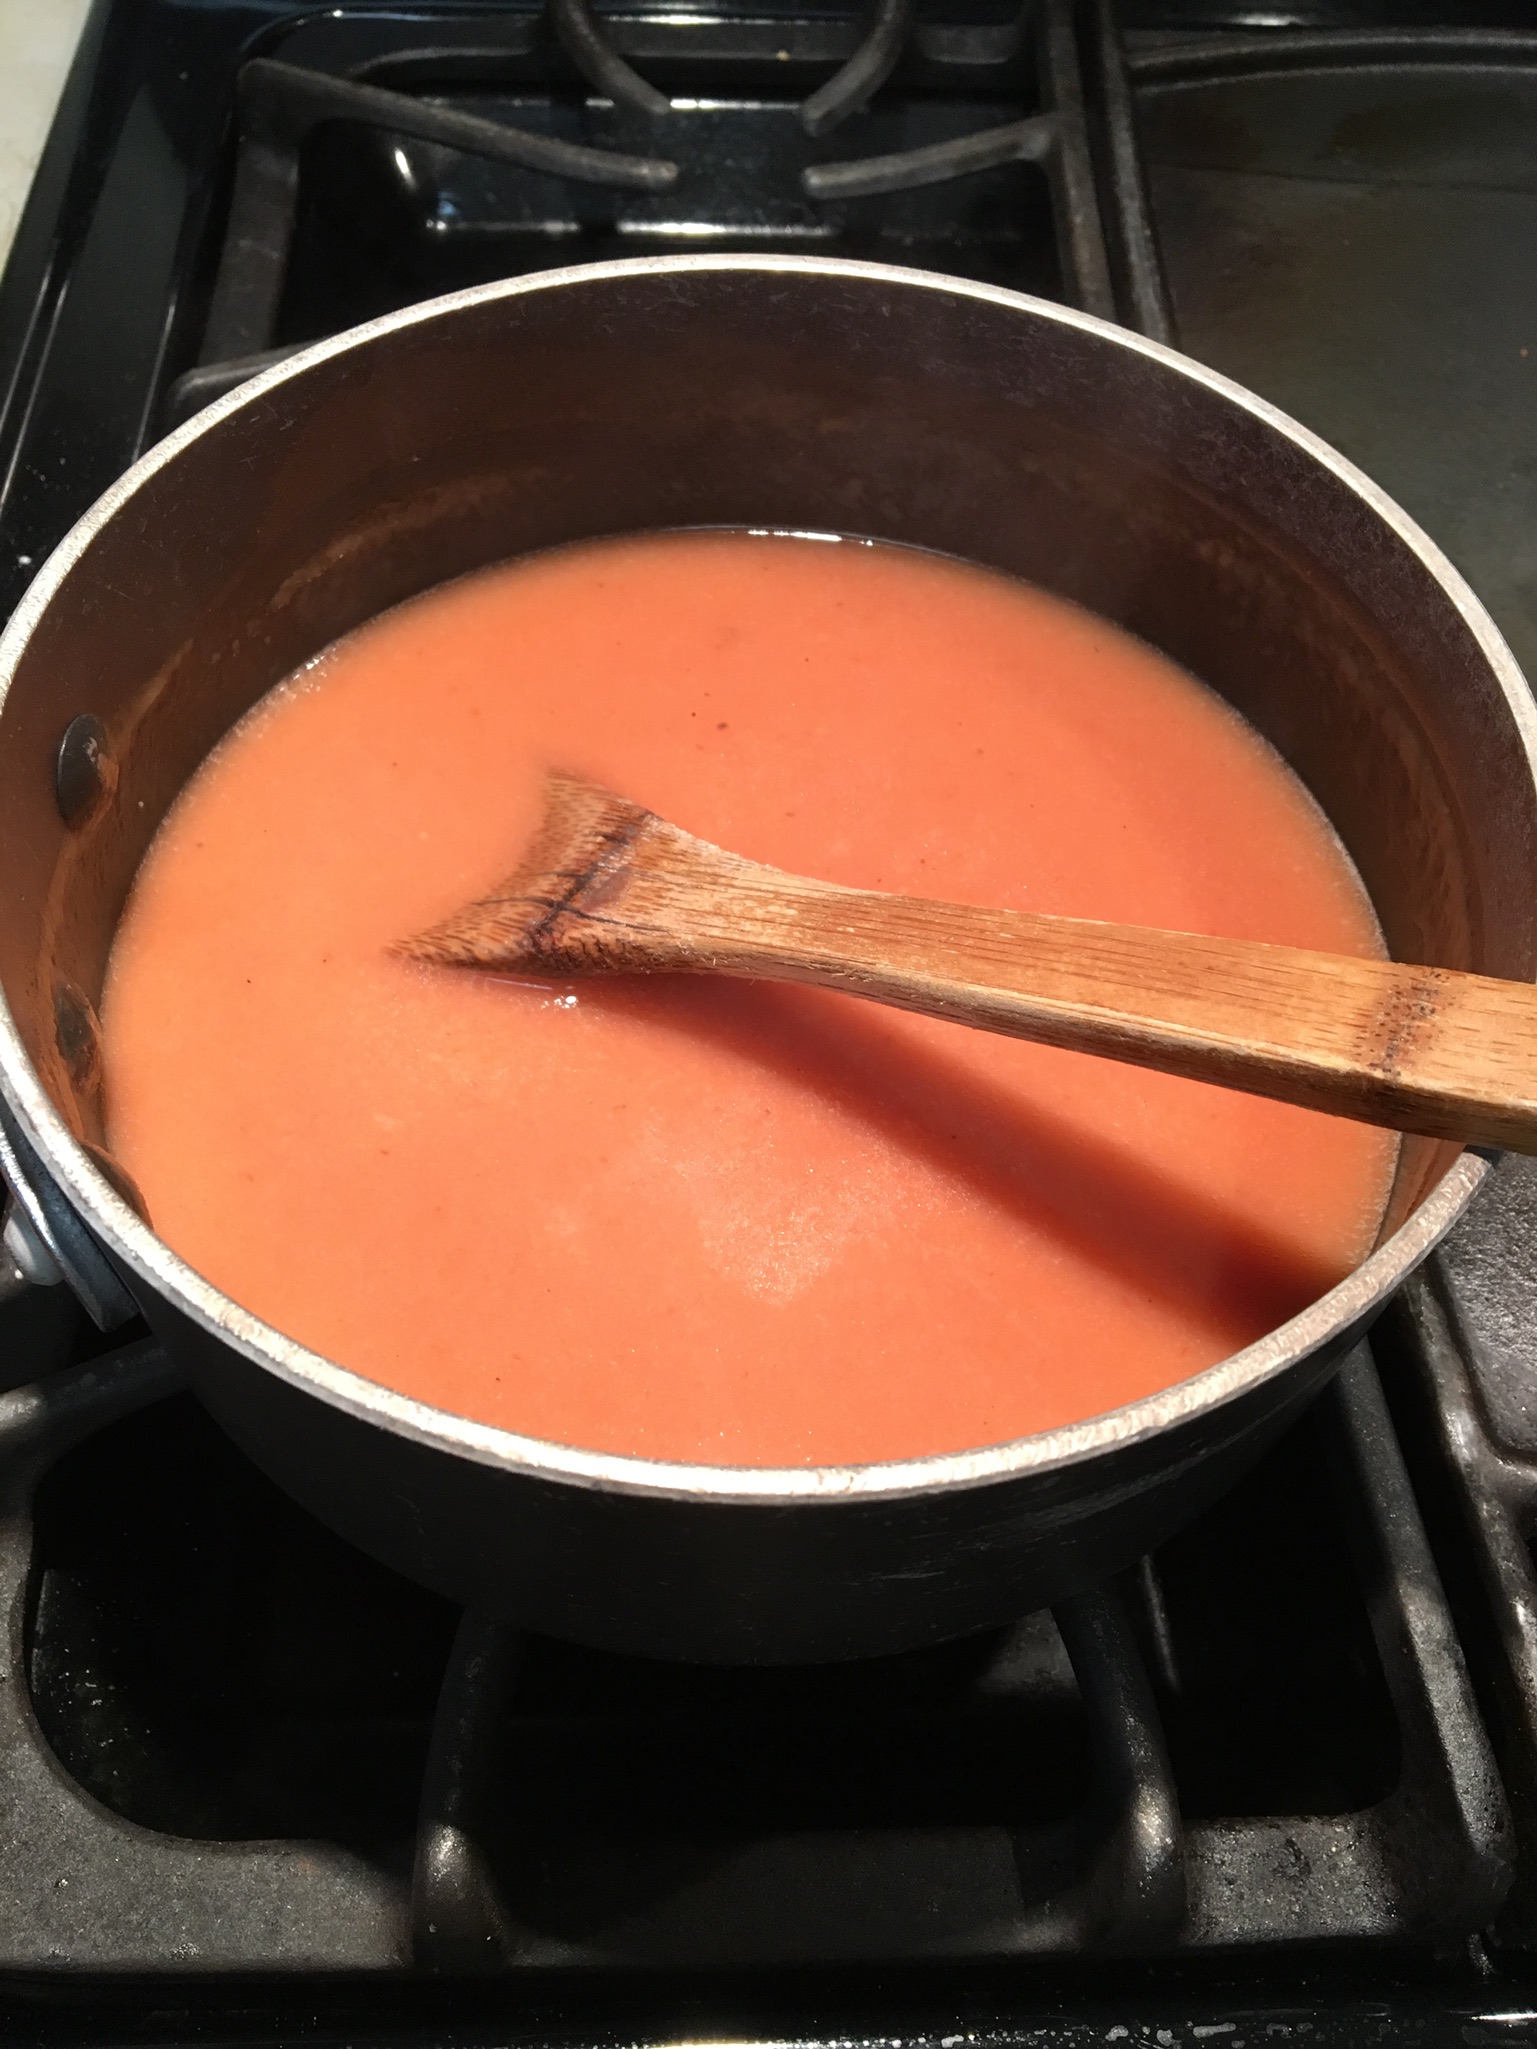
Pour hot Smetana Sauce over the cabbage rolls. Cover the baking dish and bake for 40 to 45 minutes, until heated through.

Serves 6.

This recipe is found in Taste of Home magazine’s October-November 2006 issue.
- Ingredients for the Meatballs
- 1 egg, lightly beaten
- 1/2 cup milk
- 1 cup soft bread crumbs
- 1/2 cup finely chopped onion
- 1 tsp. salt
- 1/4 tsp. ground nutmeg
- 1/4 tsp. pepper
- 1 lb. ground beef
- 1/2 lb. ground pork
- 1/4 cup butter, cubed
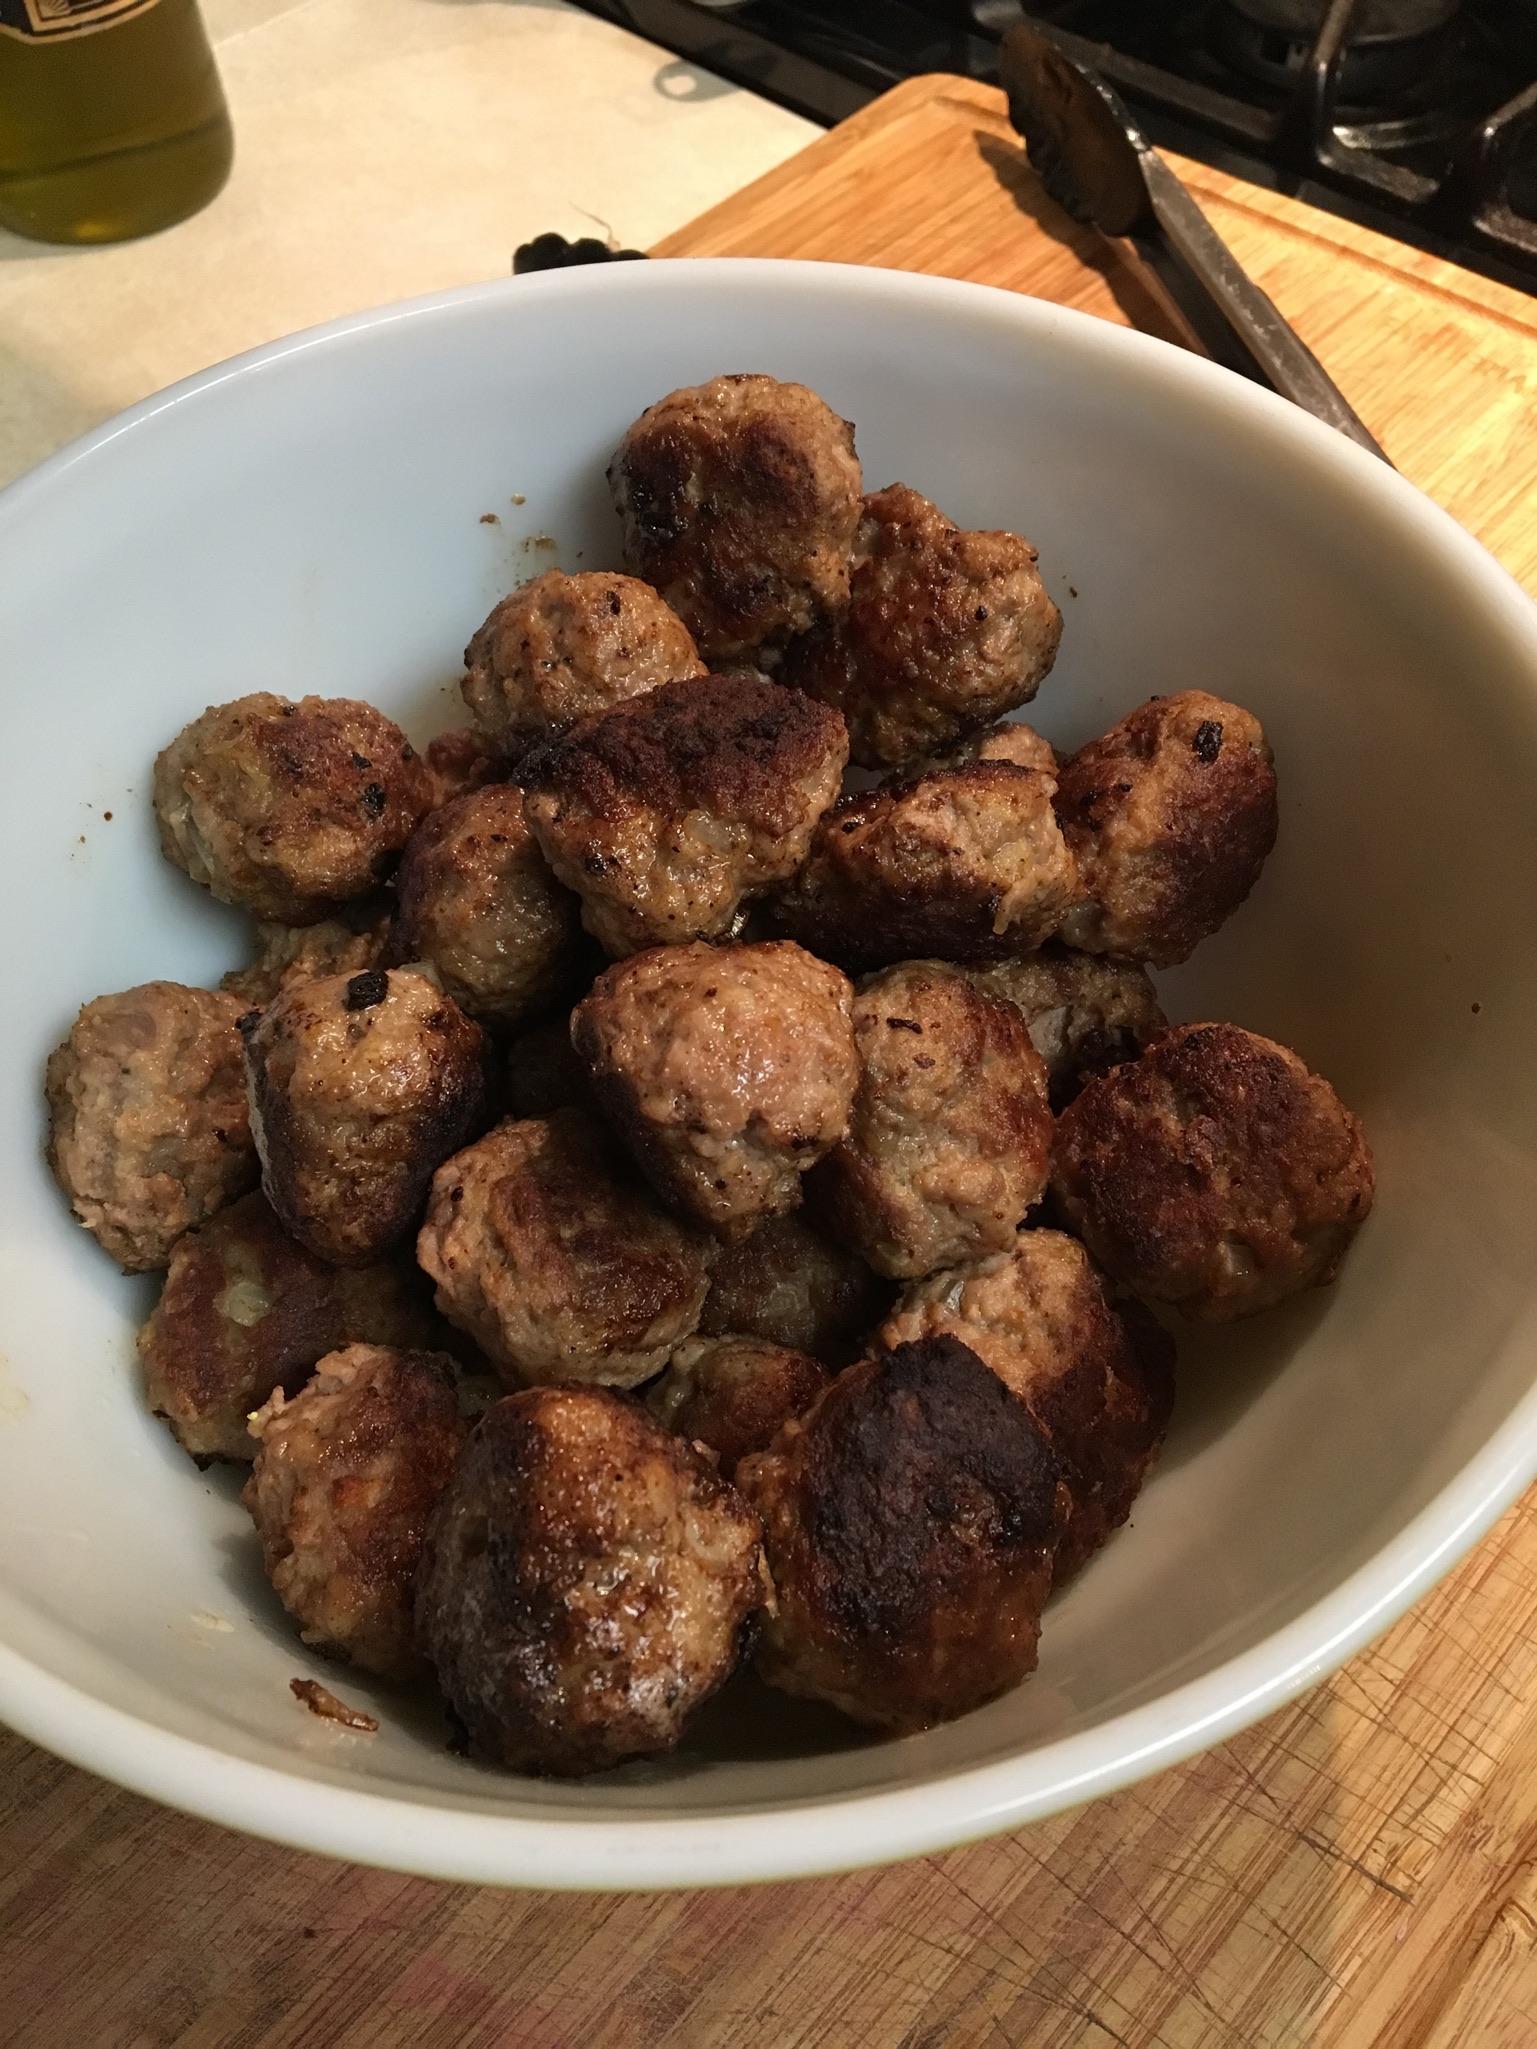
Combine all ingredients, except butter, and form into 1-1/2″ balls. In a large skillet, cook the meatballs in butter, in batches until they are well browned and cooked through. Remove from skillet.

- Ingredients for Dill Cream Sauce
- 2 Tbsp. flour
- 1 cup heavy cream
- 1 cup beef broth
- 3/4 tsp. salt
- 1/2 tsp. dill seed
Whisk together all the sauce ingredients. Pour into skillet and bring to a boil, stirring constantly. Let simmer a couple minutes while stirring until it thickens.
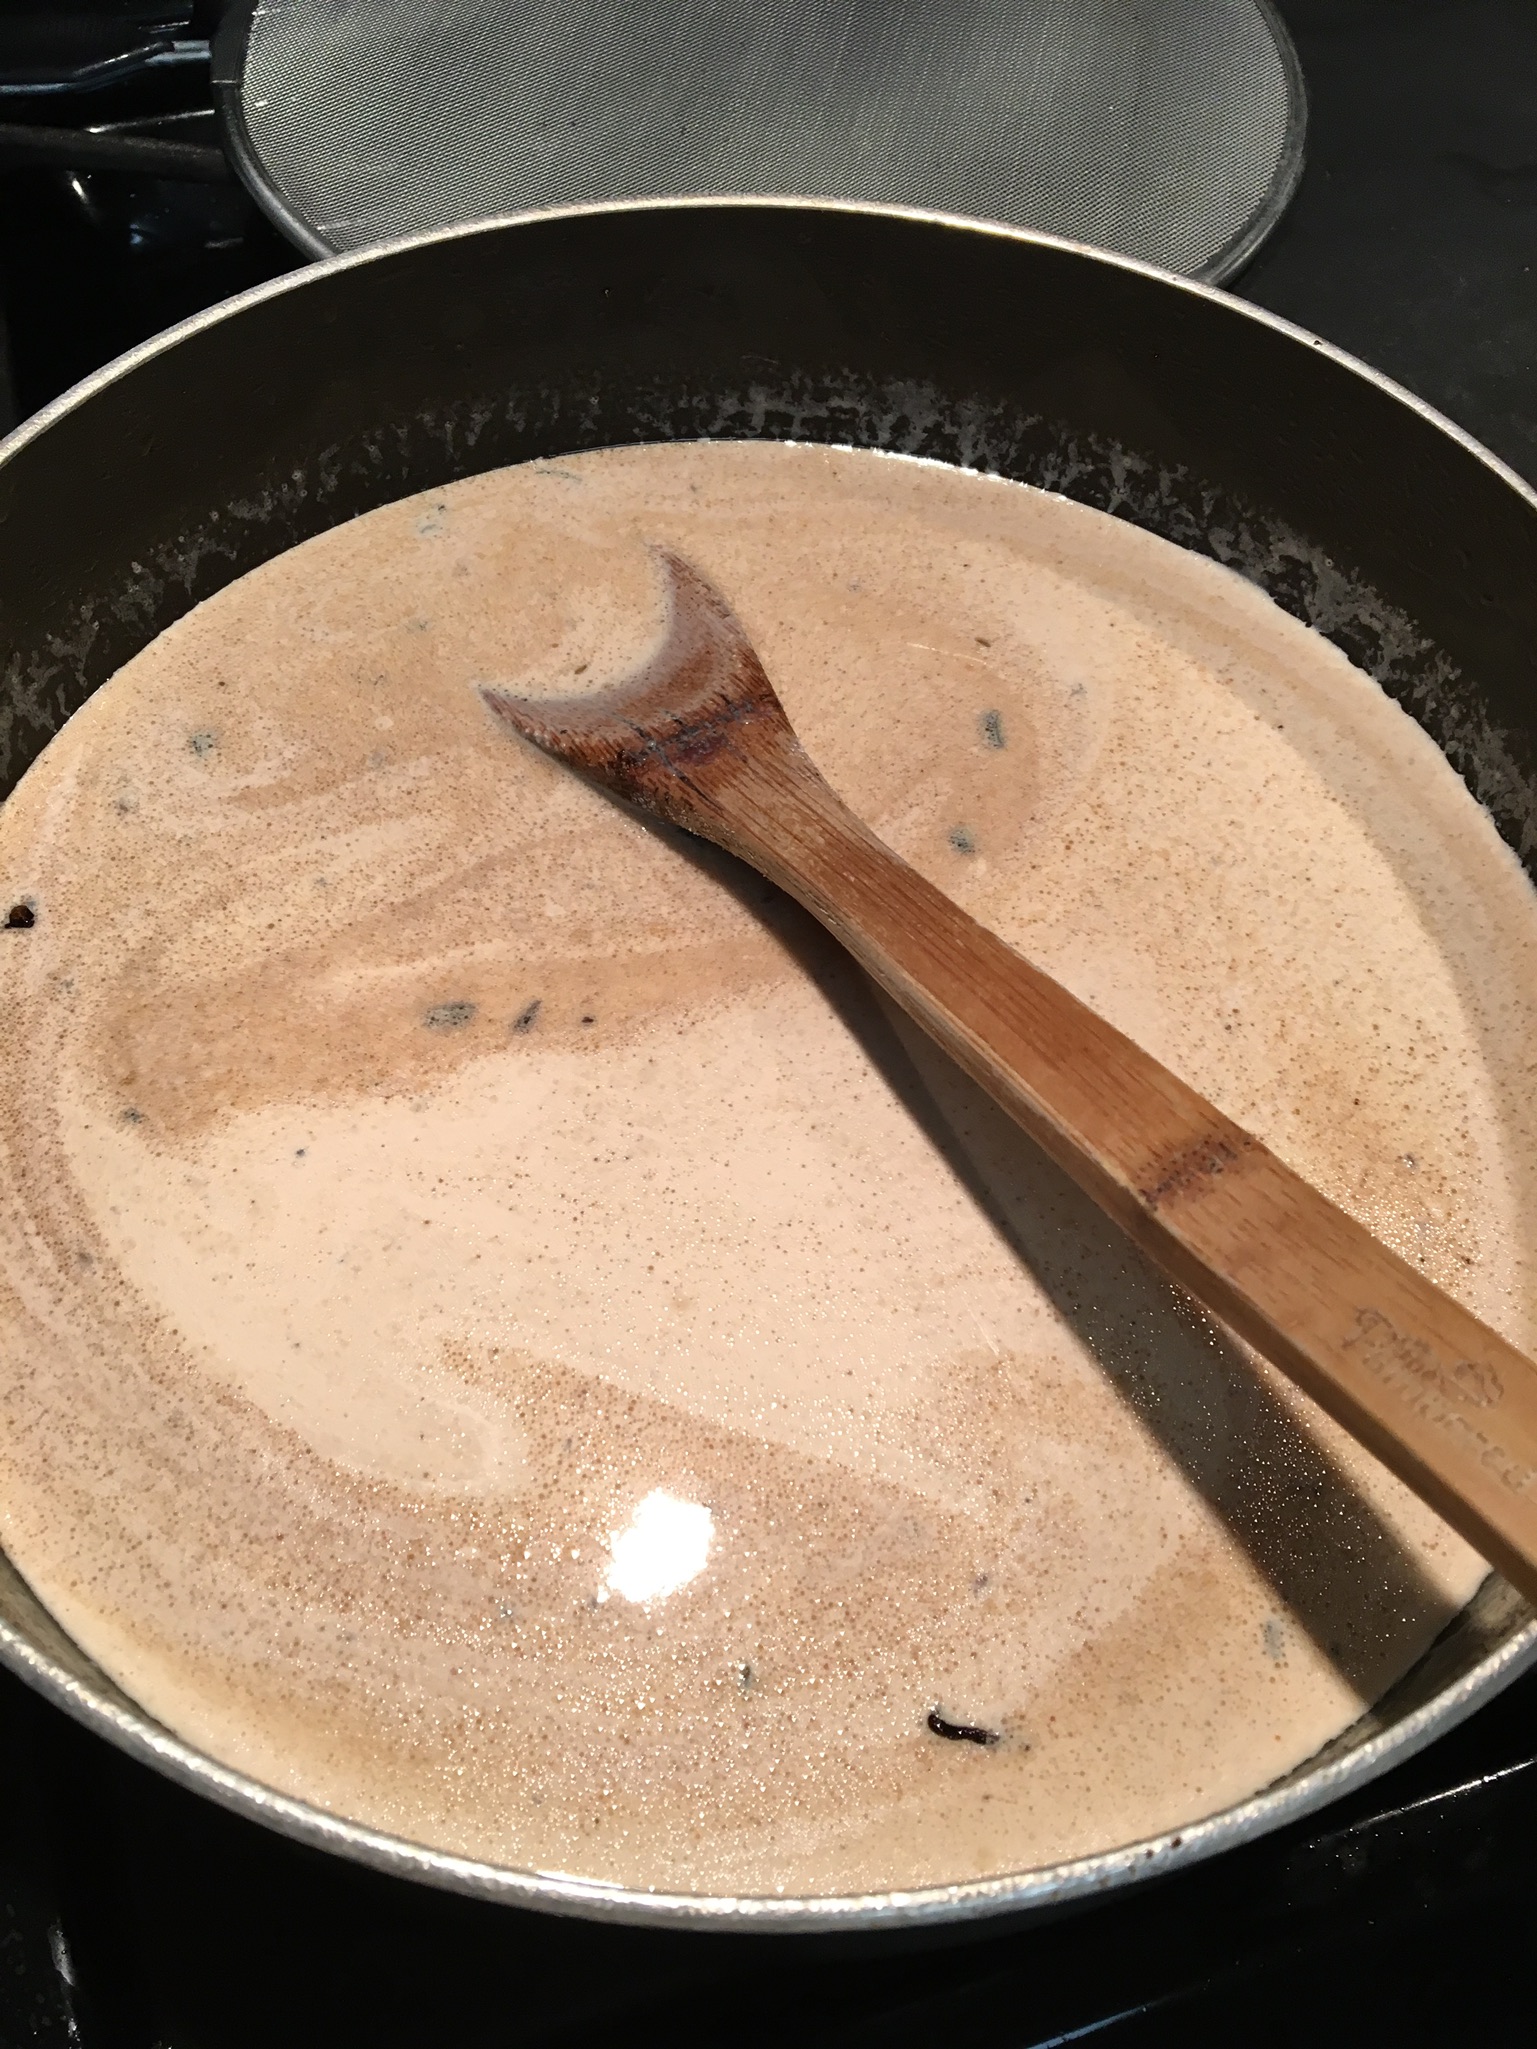

Add in the meatballs and heat through. Serves 4-6. Tastes great served over mashed potatoes or noodles. We also like it served over Twice-Baked Cauliflower. Yummy!


I make this dish a lot. It’s based upon the one found at carlsbadcravings.com. I don’t brine my tenderloin, and maybe I’m really missing something there, but this is super simple and very tasty. I buy pork tenderloin at Costco in a 2-pack. Each package has two strips of pork in it. This recipe is for one package, or two strips pork.
Ingredients:
1 Tbsp. butter
2 cloves garlic, minced
2 tsp. grated fresh ginger
1/4 to 1/2 tsp. red pepper flakes
1/2 cup seedless blackberry jam
1/4 cup hoisin sauce
2 Tbsp. red wine vinegar
Salt and pepper
Pork tenderloin
Olive oil
Salt and pepper

Fresh blackberries, optional
Green onion, sliced, optional
Preheat oven to 425 degrees F. In a small saucepan, melt butter and saute garlic, ginger, and red pepper flakes until garlic is fragrant — about a minute. Stir in blackberry jam, hoisin sauce, red wine vinegar, and salt and pepper to taste. Let simmer until it is all well incorporated and then keep warm over very low heat.
In the meantime, heat an oven-proof skillet over high heat. Rub pork tenderloins with olive oil and sprinkle with salt and pepper. Add a little bit of olive oil to the hot skillet. Add the pork tenderloins. You’ll probably need a spatter guard here. Brown the pork on all sides.
Once pork is browned, dollop blackberry sauce over it. Place a meat thermometer into the thickest part of one of the pork strips. Pop into preheated 425 degree oven. Check the meat at about 20 minutes, spoon a little bit more blackberry sauce over, and then check frequently until pork reaches 170 degrees F. Remove from oven and let sit for 10 minutes. Remove meat to cutting board and slice tenderloins into 1-1/2″ slices. Place sliced meat onto serving tray and pour over the remaining blackberry sauce. Sprinkle optional fresh blackberries and sliced green onion over all. Serve.


This recipe is very loosely based upon Elizabeths Edible Experience’s recipe for Crawfish Enchiladas.
- Ingredients
- 1# split and deveined shrimp in their shells
- 1-1/2 cups heavy cream
- 1/2 cup diced onion
- 1/2 cup diced bell pepper
- 4 oz. canned green chiles
- 1 clove garlic, minced
- A couple dashes each of oregano, red pepper, white pepper, salt
- Oil for frying
- 1 dozen corn tortillas (make your own or purchase them)
- 3 Tbsp. sour cream
- 2 cups grated cheese, like Monterey Jack or Mexican Mix
- 3 green onions, chopped
Shell shrimp, saving the shells. Rinse shells and shrimp separately. Set shrimp aside on towel to dry.
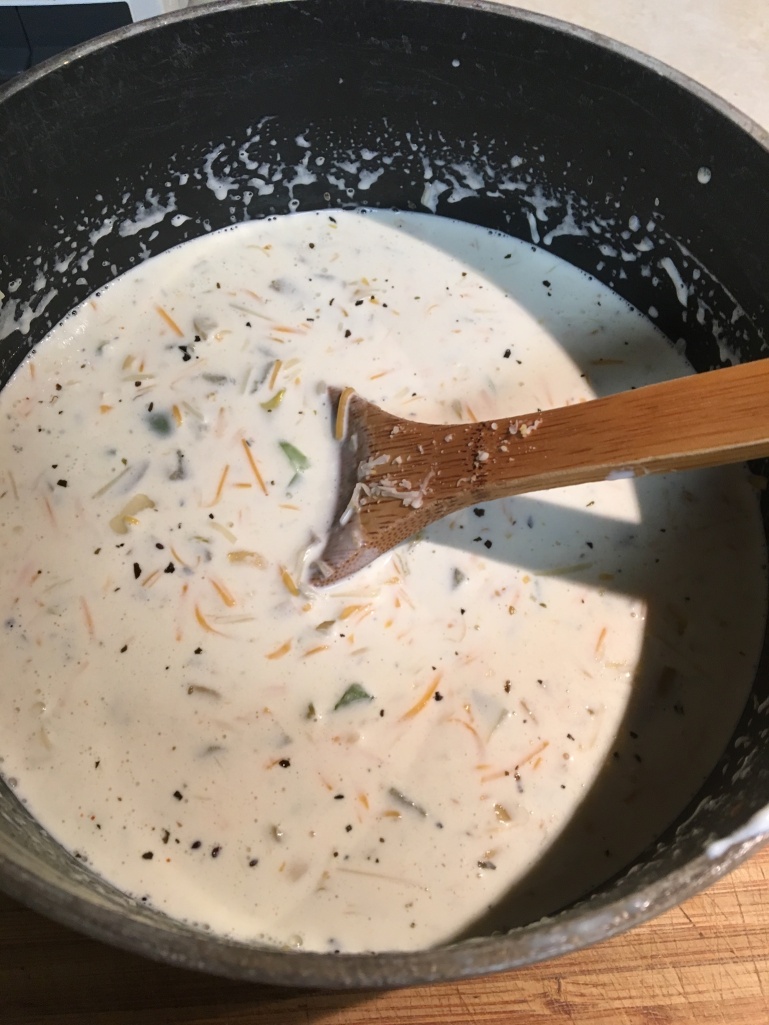
Add the shells to a medium saucepan with cream and let simmer awhile. The shrimp shells should turn orange. Keep warming or at a very light simmer while you’re fixing the other things. Your purpose is to flavor the cream with shrimp. This is the secret that makes it so, so delicious.

Saute chopped onion and chopped bell pepper together until soft and then add canned chiles and garlic. Sprinkle with dried oregano, white pepper, red pepper, and salt. Continue sauteing until the garlic is soft.

If you’ve just made your own tortillas, they should already be pliable and it’s not necessary to fry them again. Sally forth! If your tortillas are not fresh off the griddle then heat a small frying pan with oil and soften about a dozen corn tortillas by dipping into the hot oil and turning, each one should only take about 15 seconds or less. Stack them between paper towels to drain.
Strain the shells out of the cream and discard the shells.

Stir the onion, pepper mixture into the shrimp-flavored cream. [Save the saute pan to fry the shrimp.] Stir in sour cream, then stir in 1-1/2 cups grated cheese. Set aside.
If the shrimp are quite large you will need to chop them into bite-size pieces. Stir-fry the shrimp in the saute pan with green onions and another dash of dried oregano, white pepper, red pepper, and salt.
If the shrimp are quite large you will need to chop them into bite-size pieces. Stir-fry the shrimp in the saute pan with green onions and another dash of dried oregano, white pepper, red pepper, and salt.
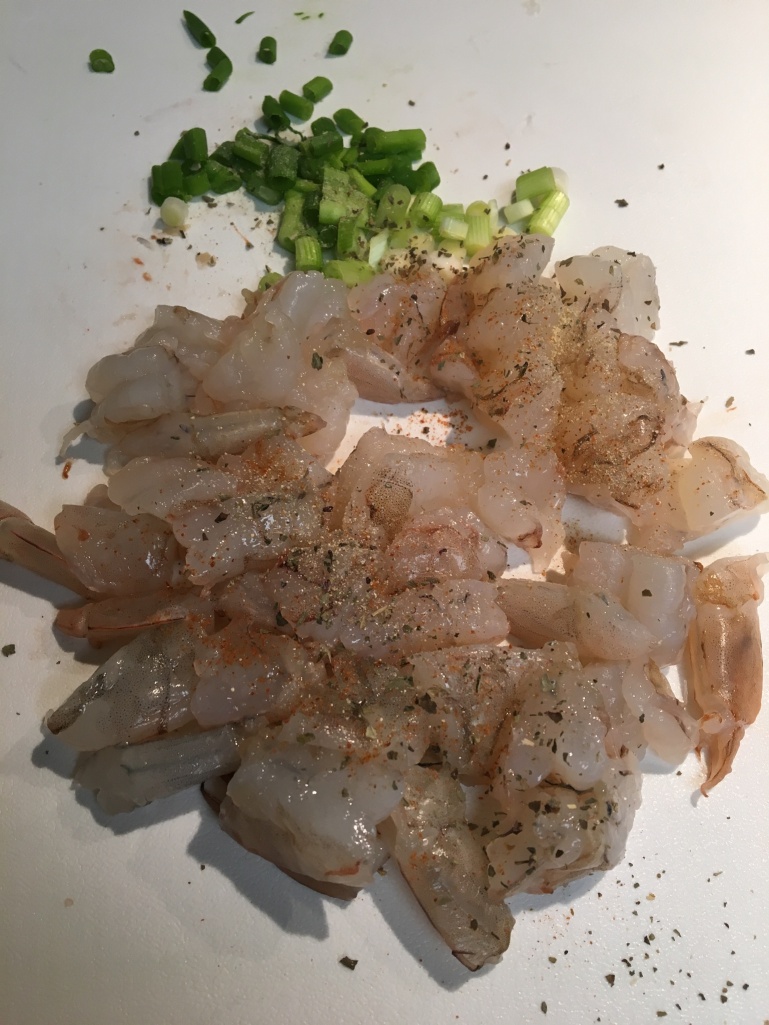

Once the shrimp is no longer translucent, remove from heat. Stir in a bit of the sauce. This is the filling.
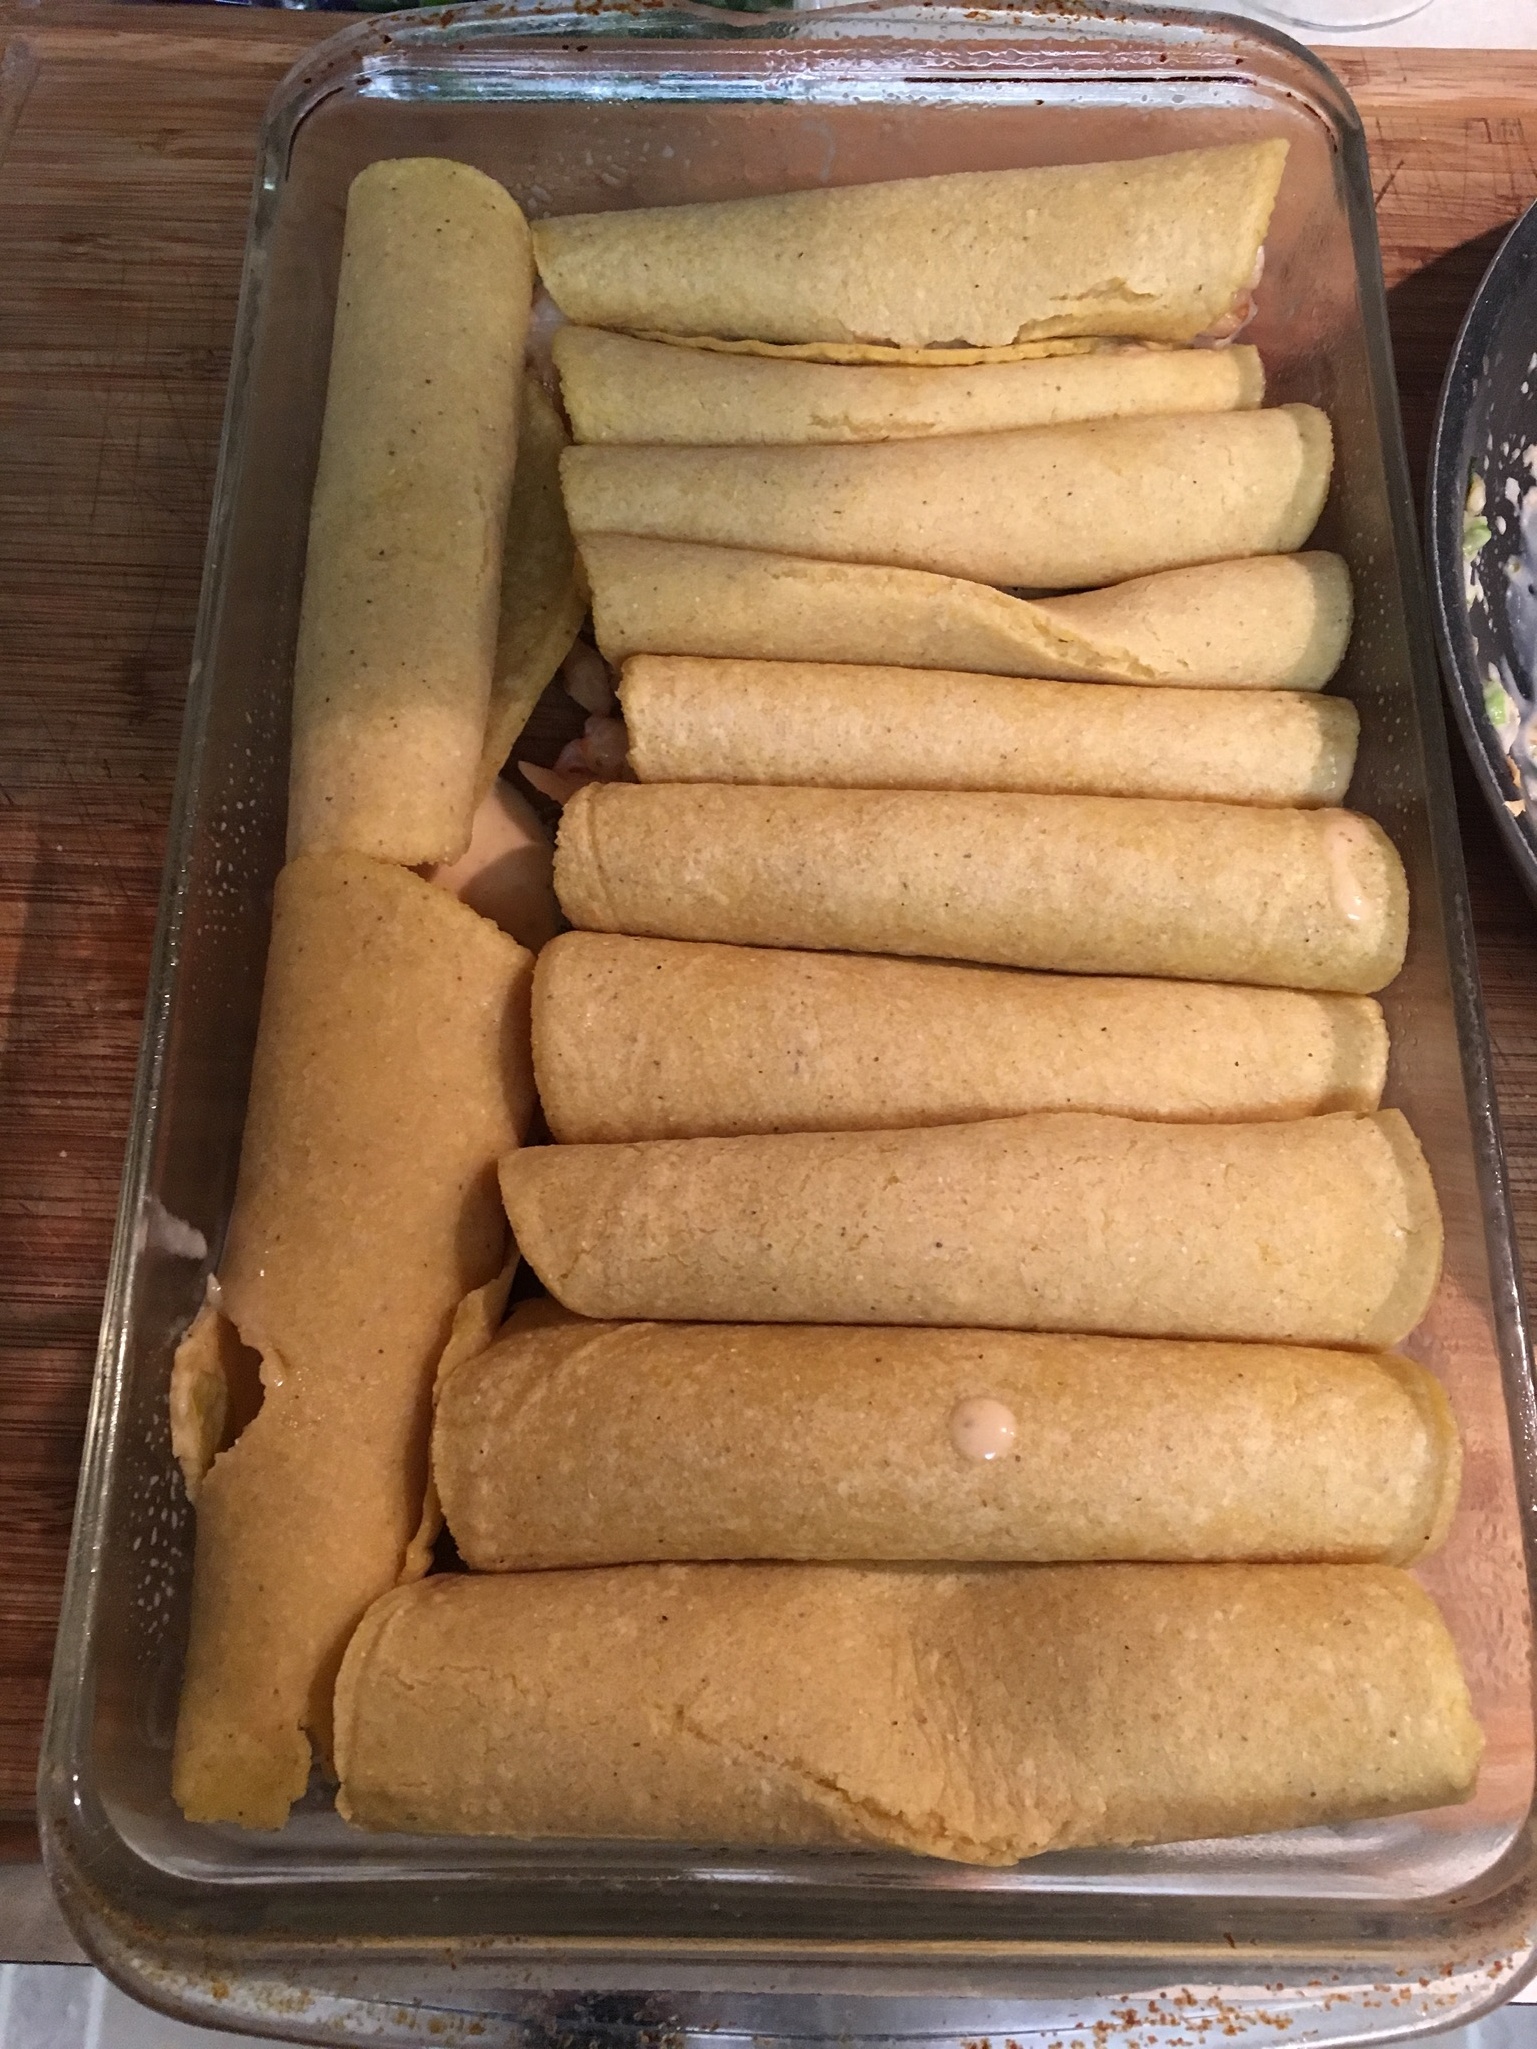
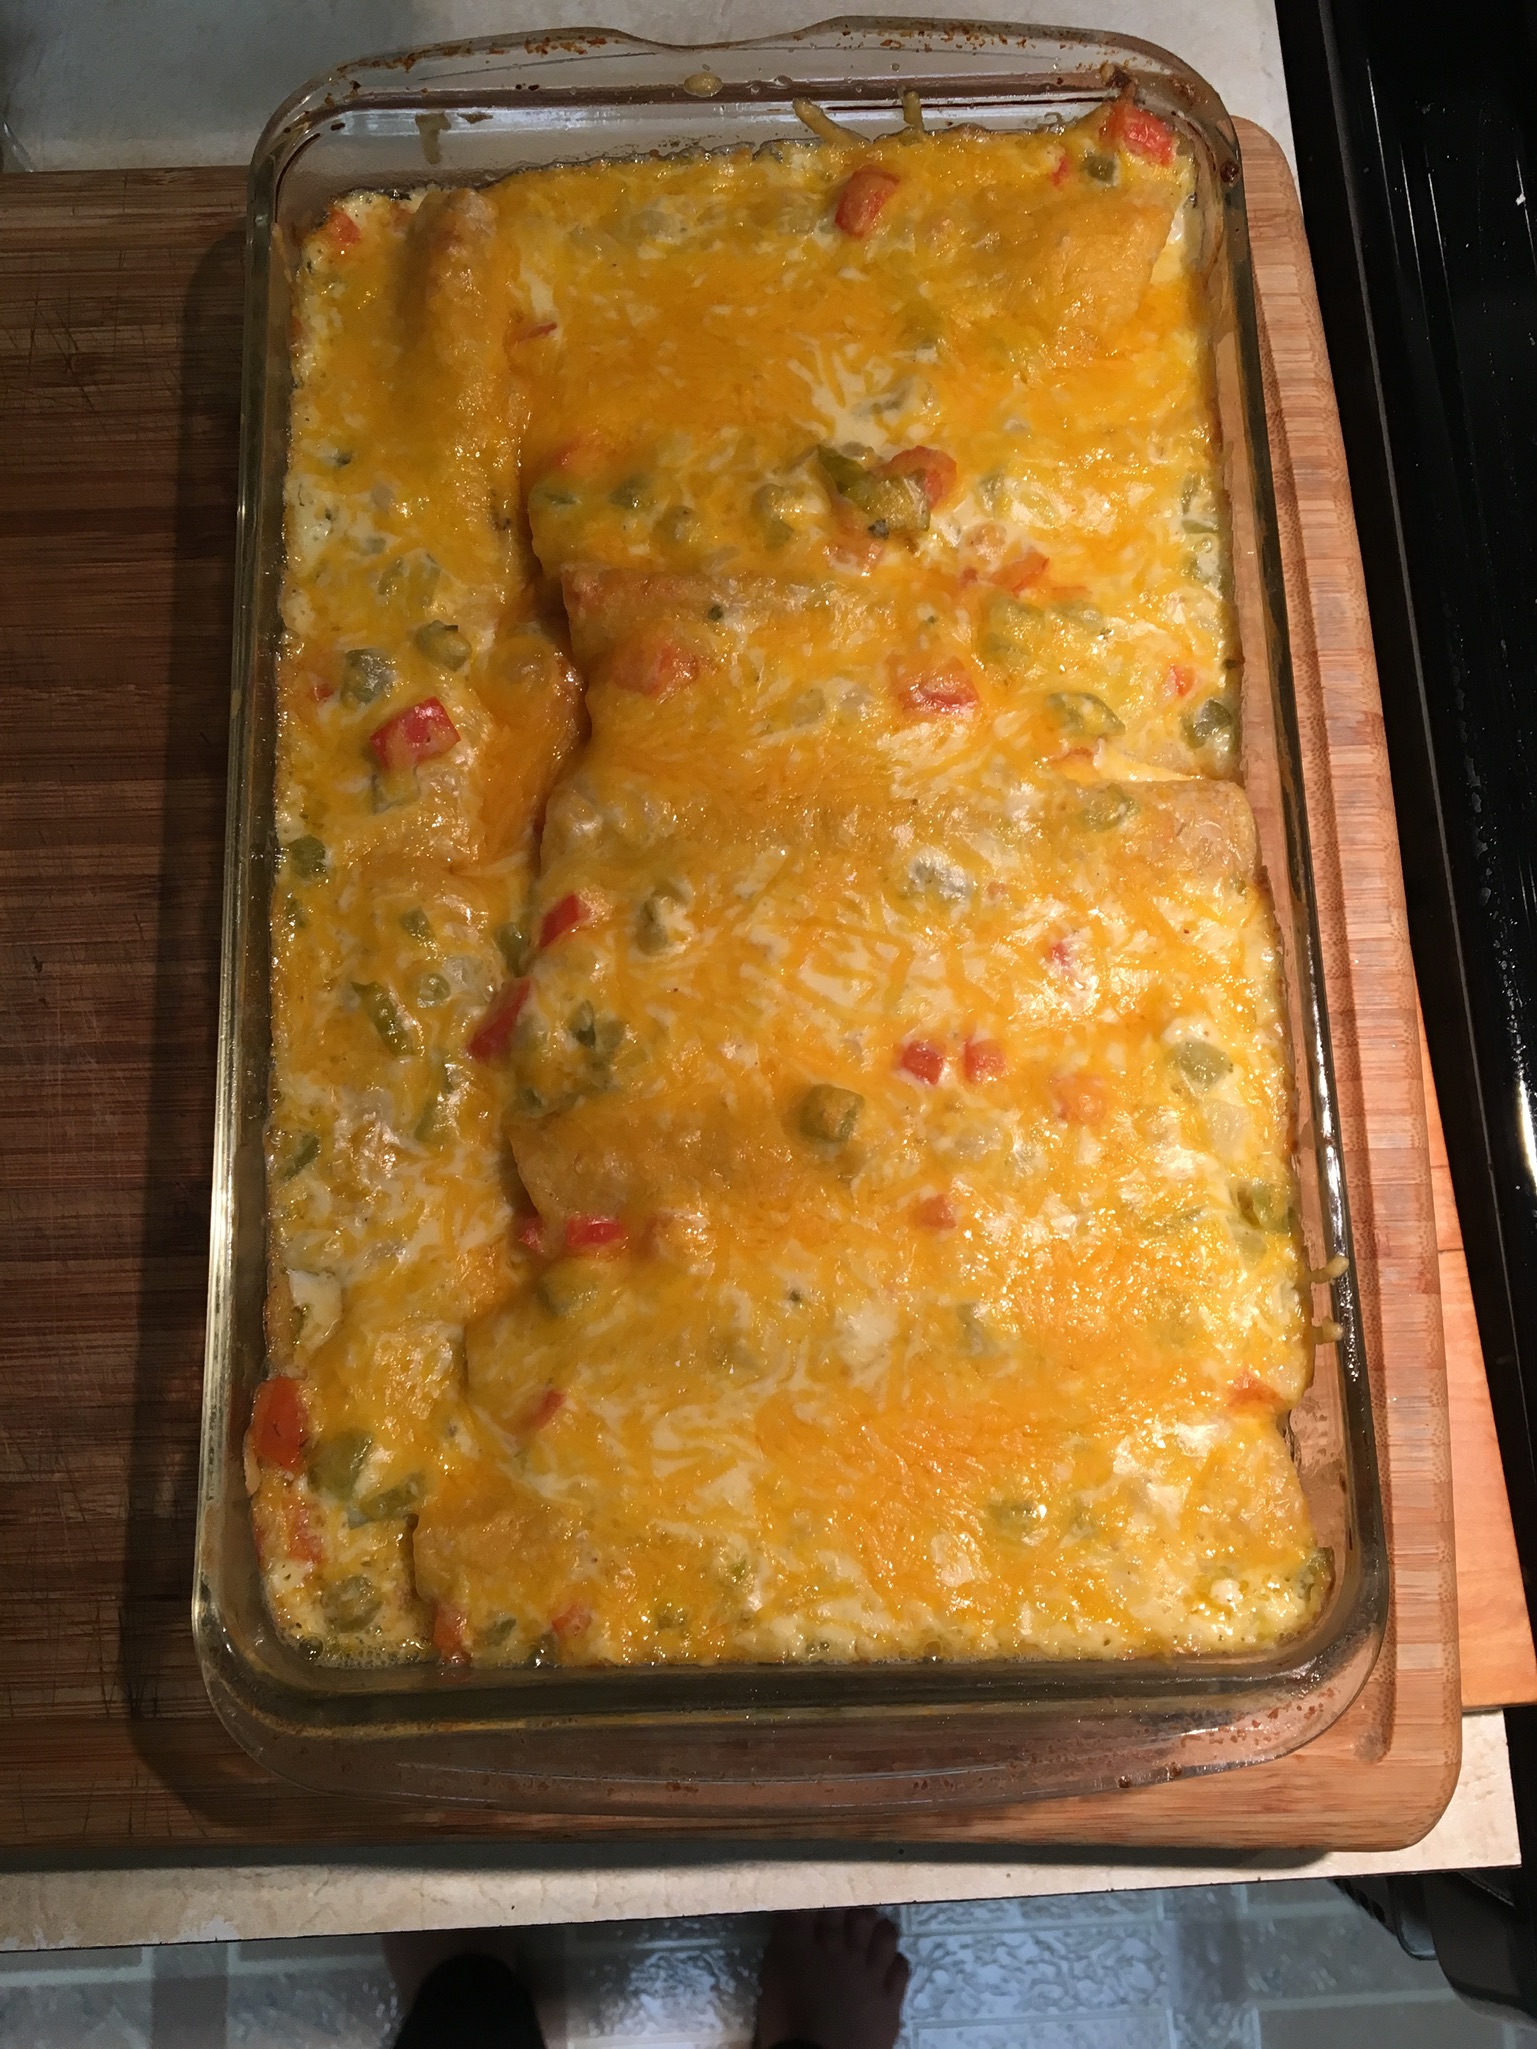
I used an 11” x 7” baking dish. Stuff the tortillas with shrimp mixture. The tortillas I used fit about ten down the dish and two were placed in the gap along one side. Pour remaining sauce over all. Sprinkle with remaining grated cheese. Heat at 350 degrees for 15 minutes or so, until cheese has melted.

The first time I made these I didn’t have enough sauce and the second time I used 2 cups cream (pictured) and that was too much. 1-1/2 cups should do it. And I also didn’t use enough shrimp in these pictures.
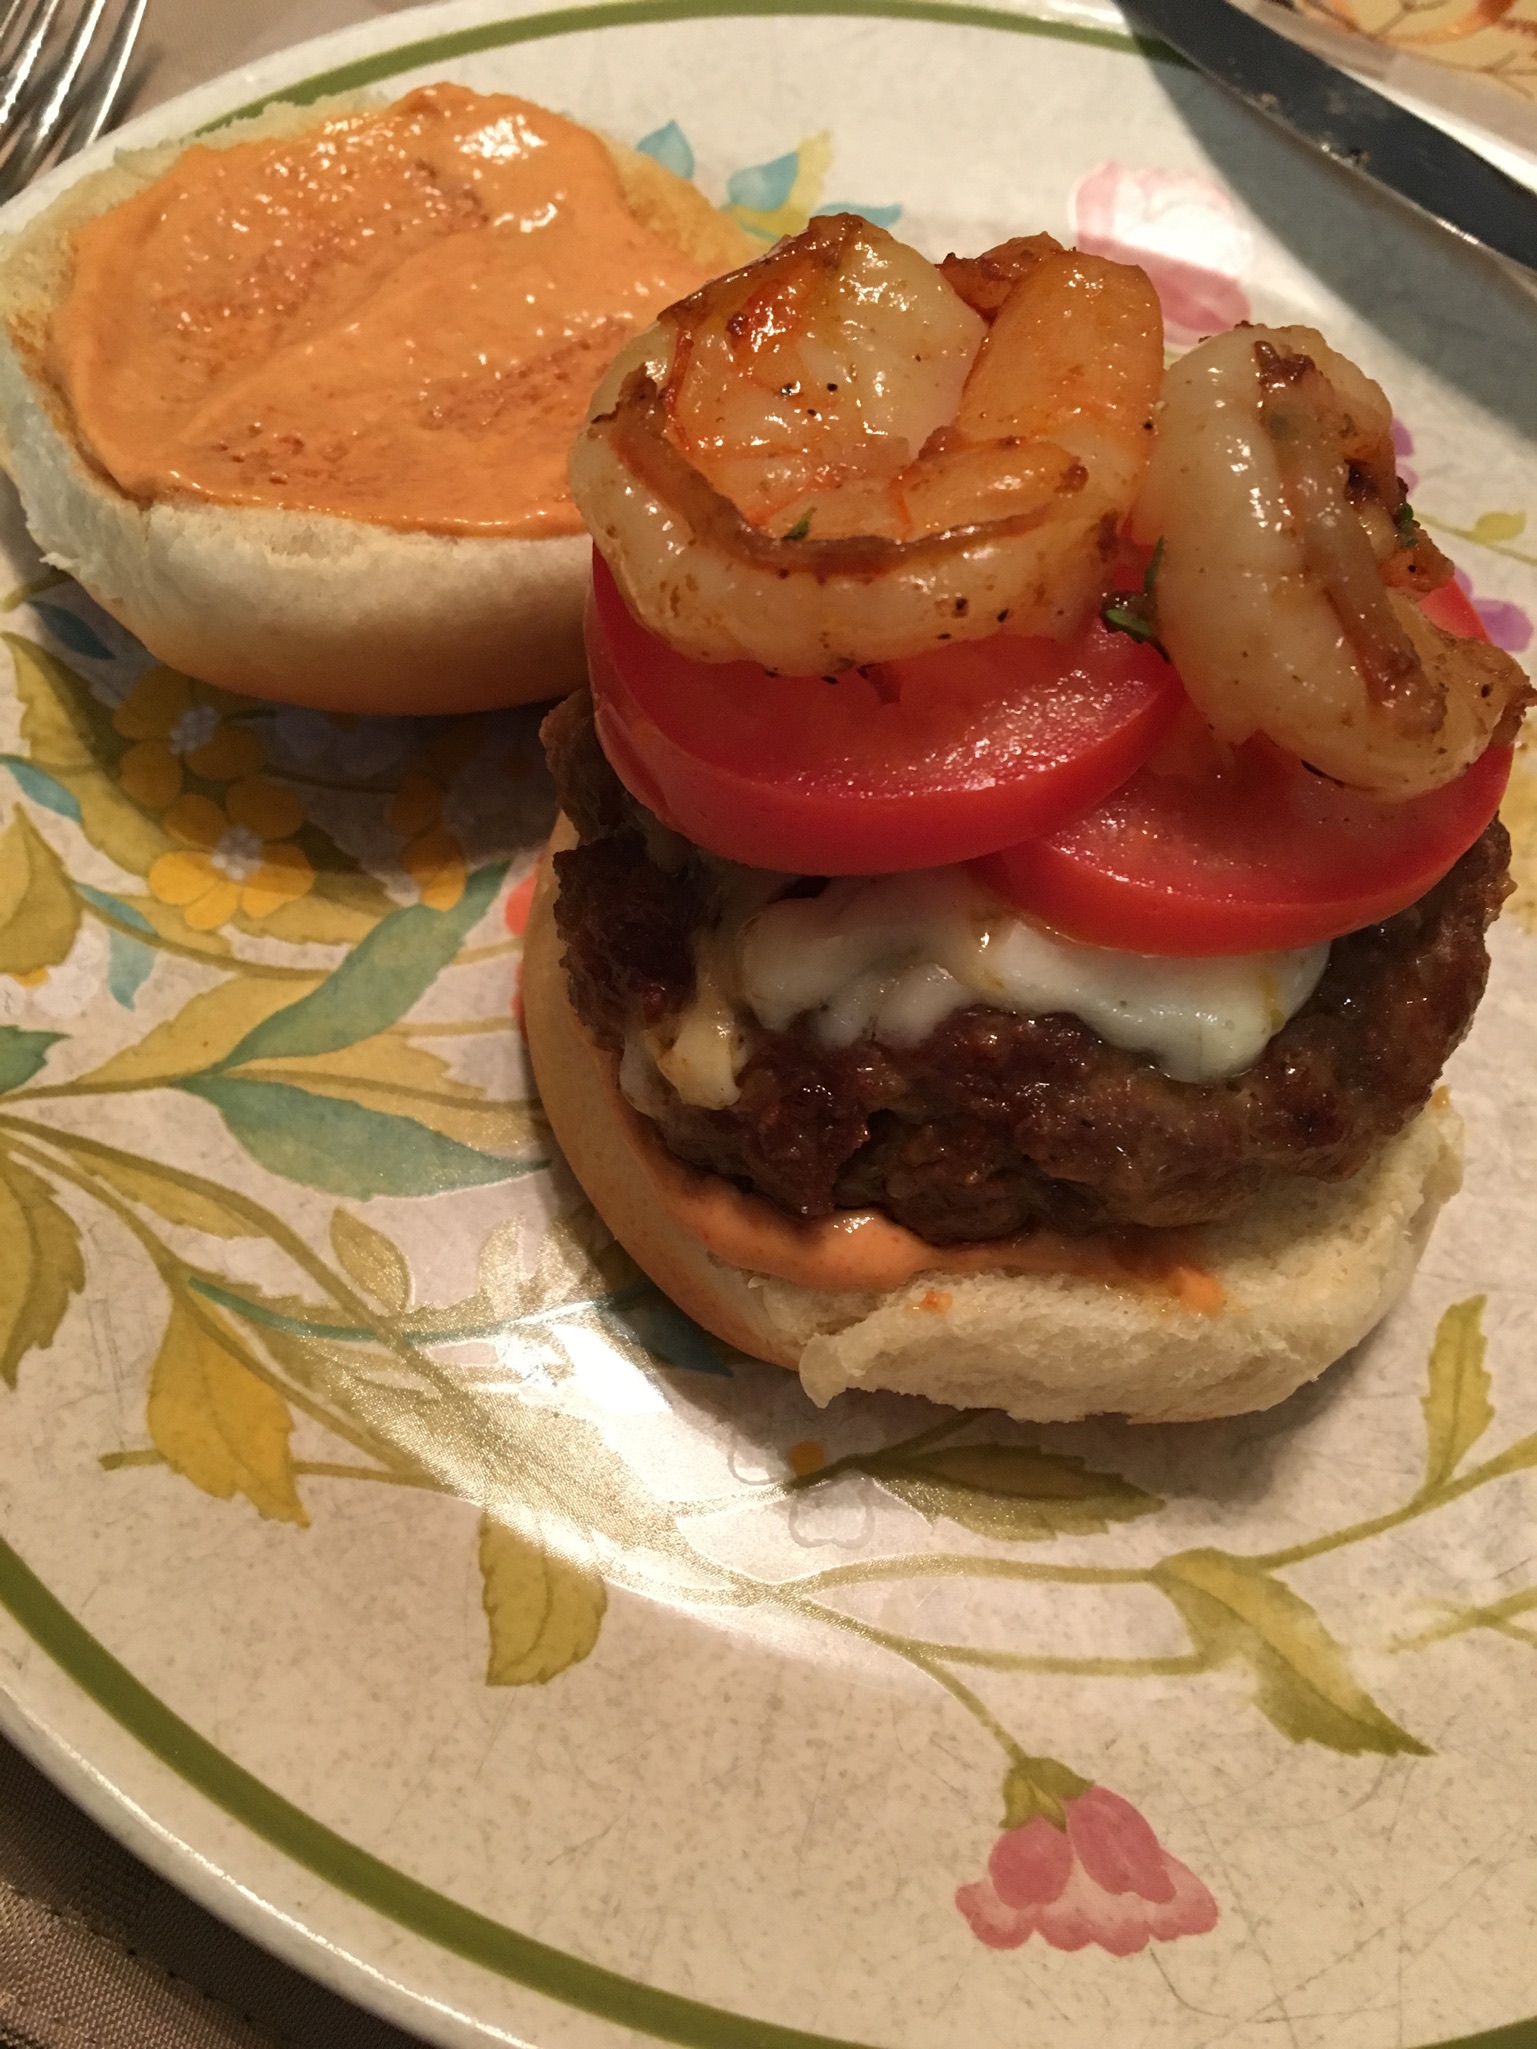
I’ve made this recipe a few times now and it is really delicious. The original recipe is found at ladyandpups.com. The photographs on Mandy’s site are spectacular. The first time I made this I used chorizo ready-made from the store. It was not good. Way too salty and spicy, a bad idea. Still intrigued, I made a go of making the chorizo myself according to Mandy’s recipe. My oh my oh my. Yes, that’s wonderful. It’s really easy to throw together. I’ve been using store-made buns, but I made ladyandpups Sweet Potato Burger Buns recipe once and they were great. I’ve also made these several times without the manchego cheese, too. Still great.
I usually double the recipe and form the burgers in the morning to serve for dinner in the evening. We were going to our cabin one weekend and I formed the burgers a couple days ahead and froze them, letting them thaw on the 7-hour drive. I had the other parts ready to go in Ziploc bags and little containers. We arrived and had a most delicious hot dinner that night. Memorable!
CHORIZO BURGERS

1 lb. ground pork
2 cloves minced garlic
1-1/2 tsp. Mexican chili powder
1-1/2 tsp. sweet paprika
Dash cayenne
1 tsp. salt
½ tsp. ground pepper
½ tsp. oregano
¼ tsp. ground cumin
1 tsp. red wine vinegar
1 tsp. tequila

An hour, or more, ahead of time, mix all together and form into 4 patties.
Keep refrigerated.

PAPRIKA MAYO

3 Tbsp. mayonnaise
1 Tbsp. tomato paste
1 tsp. prepared mustard
1-1/2 tsp. paprika
Juice of one lime.
Mix all together. Keep refrigerated until serving time.
GARLIC SHRIMP

8 large shrimp, peeled and deveined.
1 garlic clove, minced
3 sprigs fresh thyme, minced
Salt and pepper
1 tsp. Olive oil
Dry the shrimp well on a towel.
Mix evenly with remaining ingredients and let sit in refrigerator at
least 30 minutes.
COOKING AND ASSEMBLY
OLIVE OIL
CHORIZO BURGER PATTIES
FLOUR
MANCHEGO CHEESE, GRATED
GARLIC SHRIMP
BUNS
PAPRIKA MAYO
SLICED TOMATO
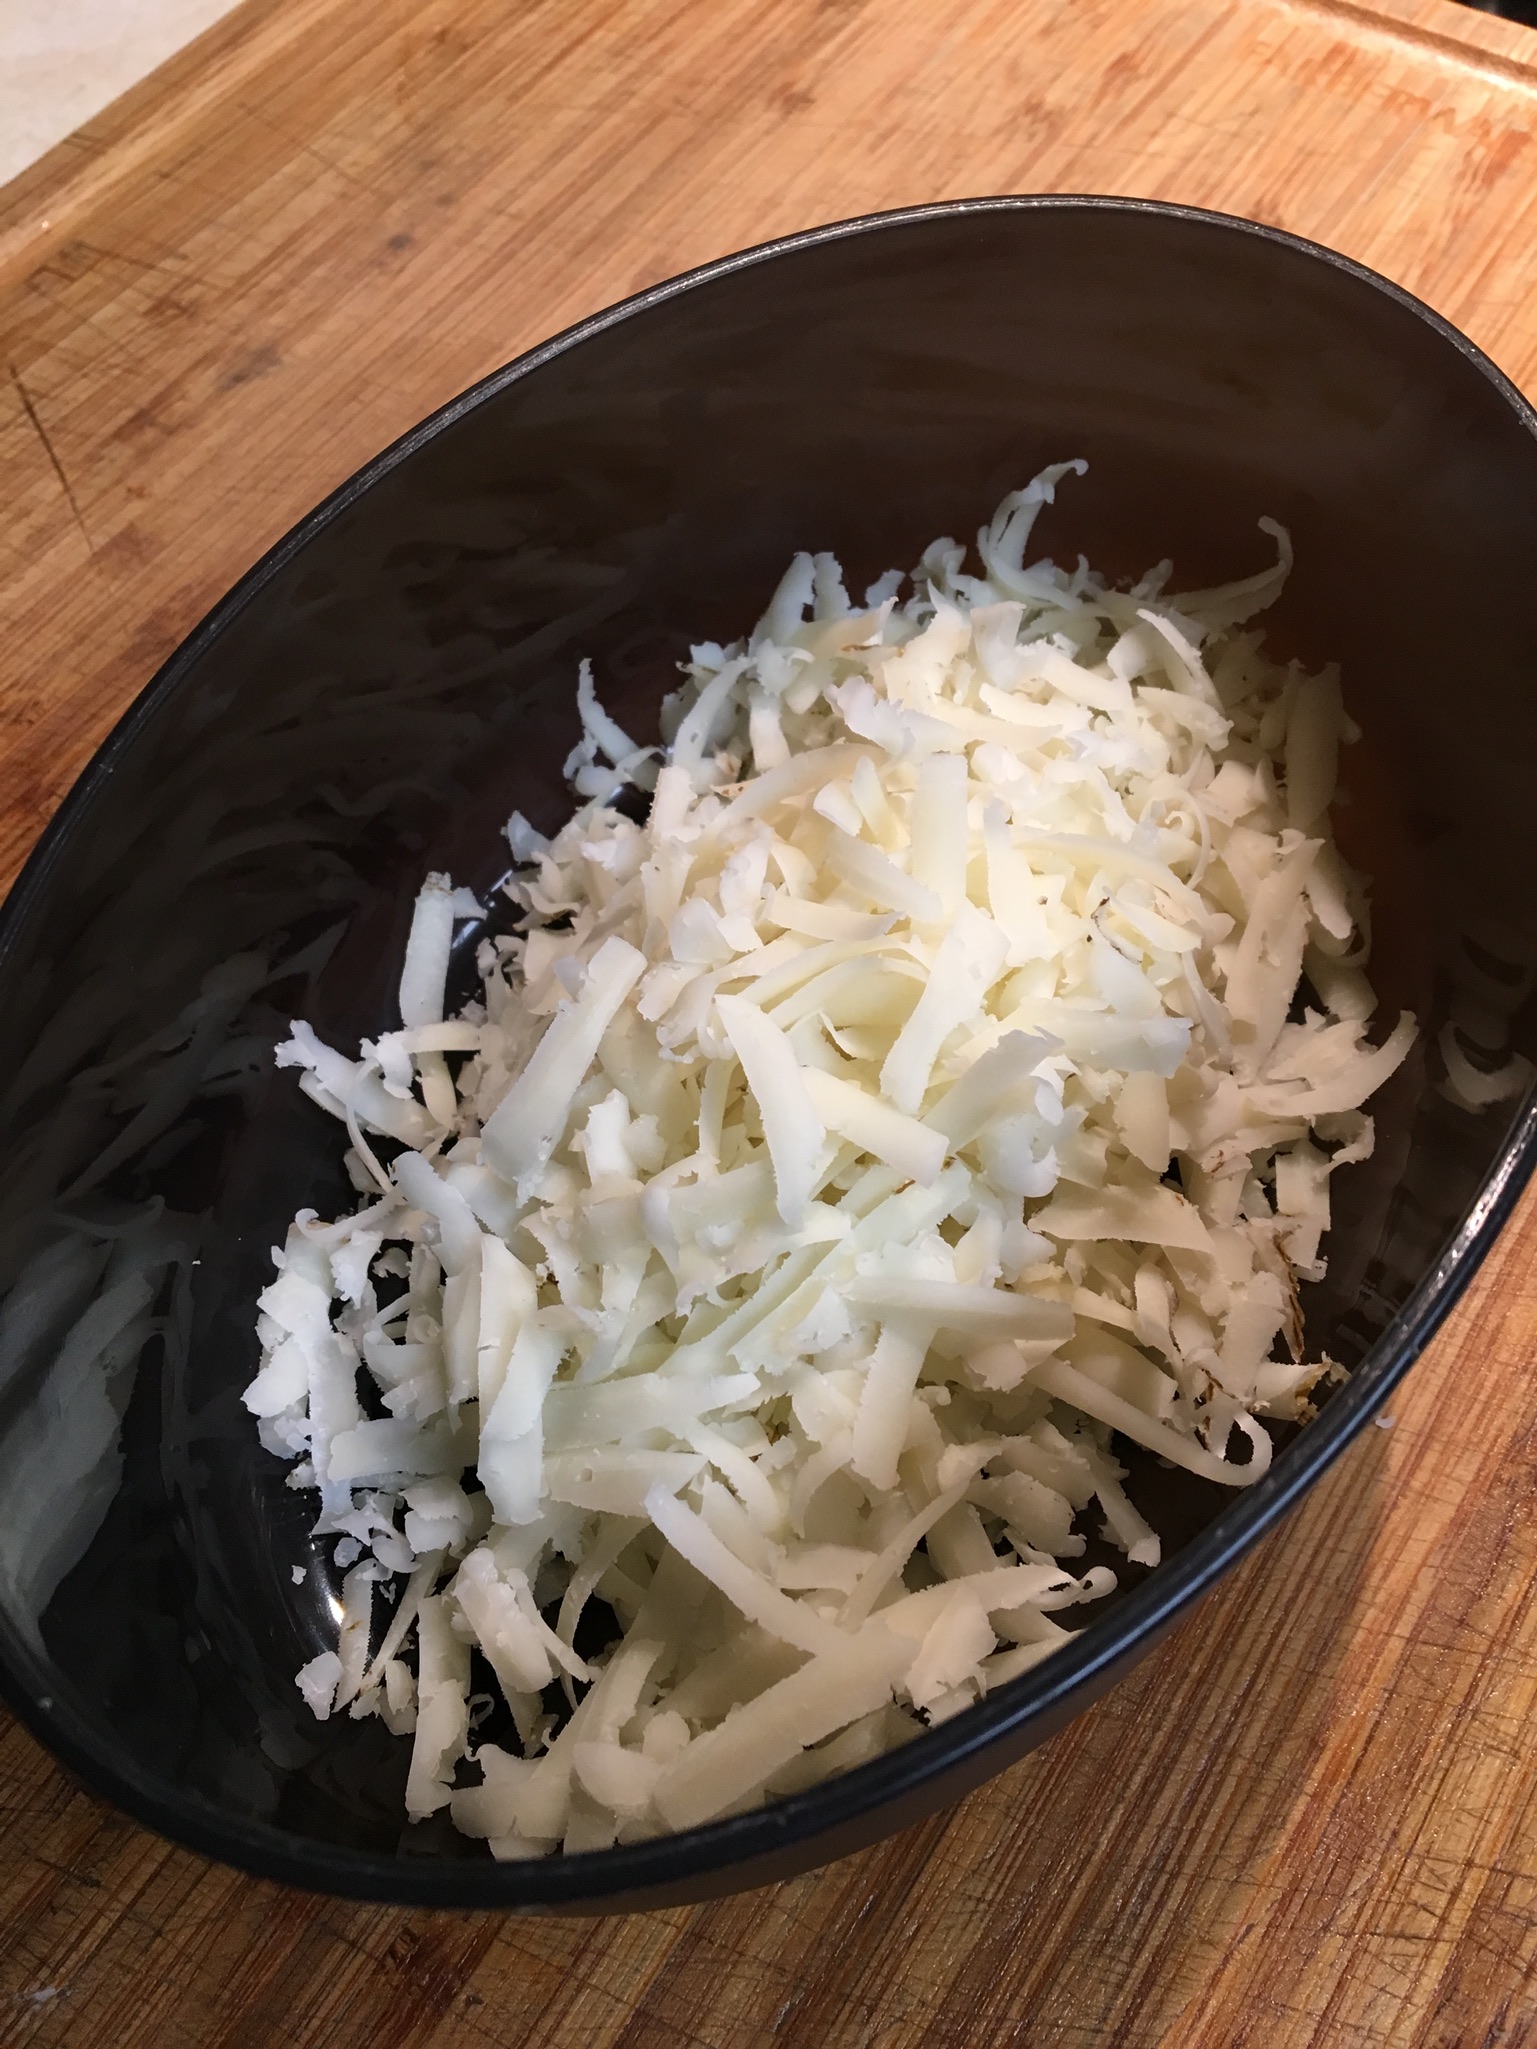
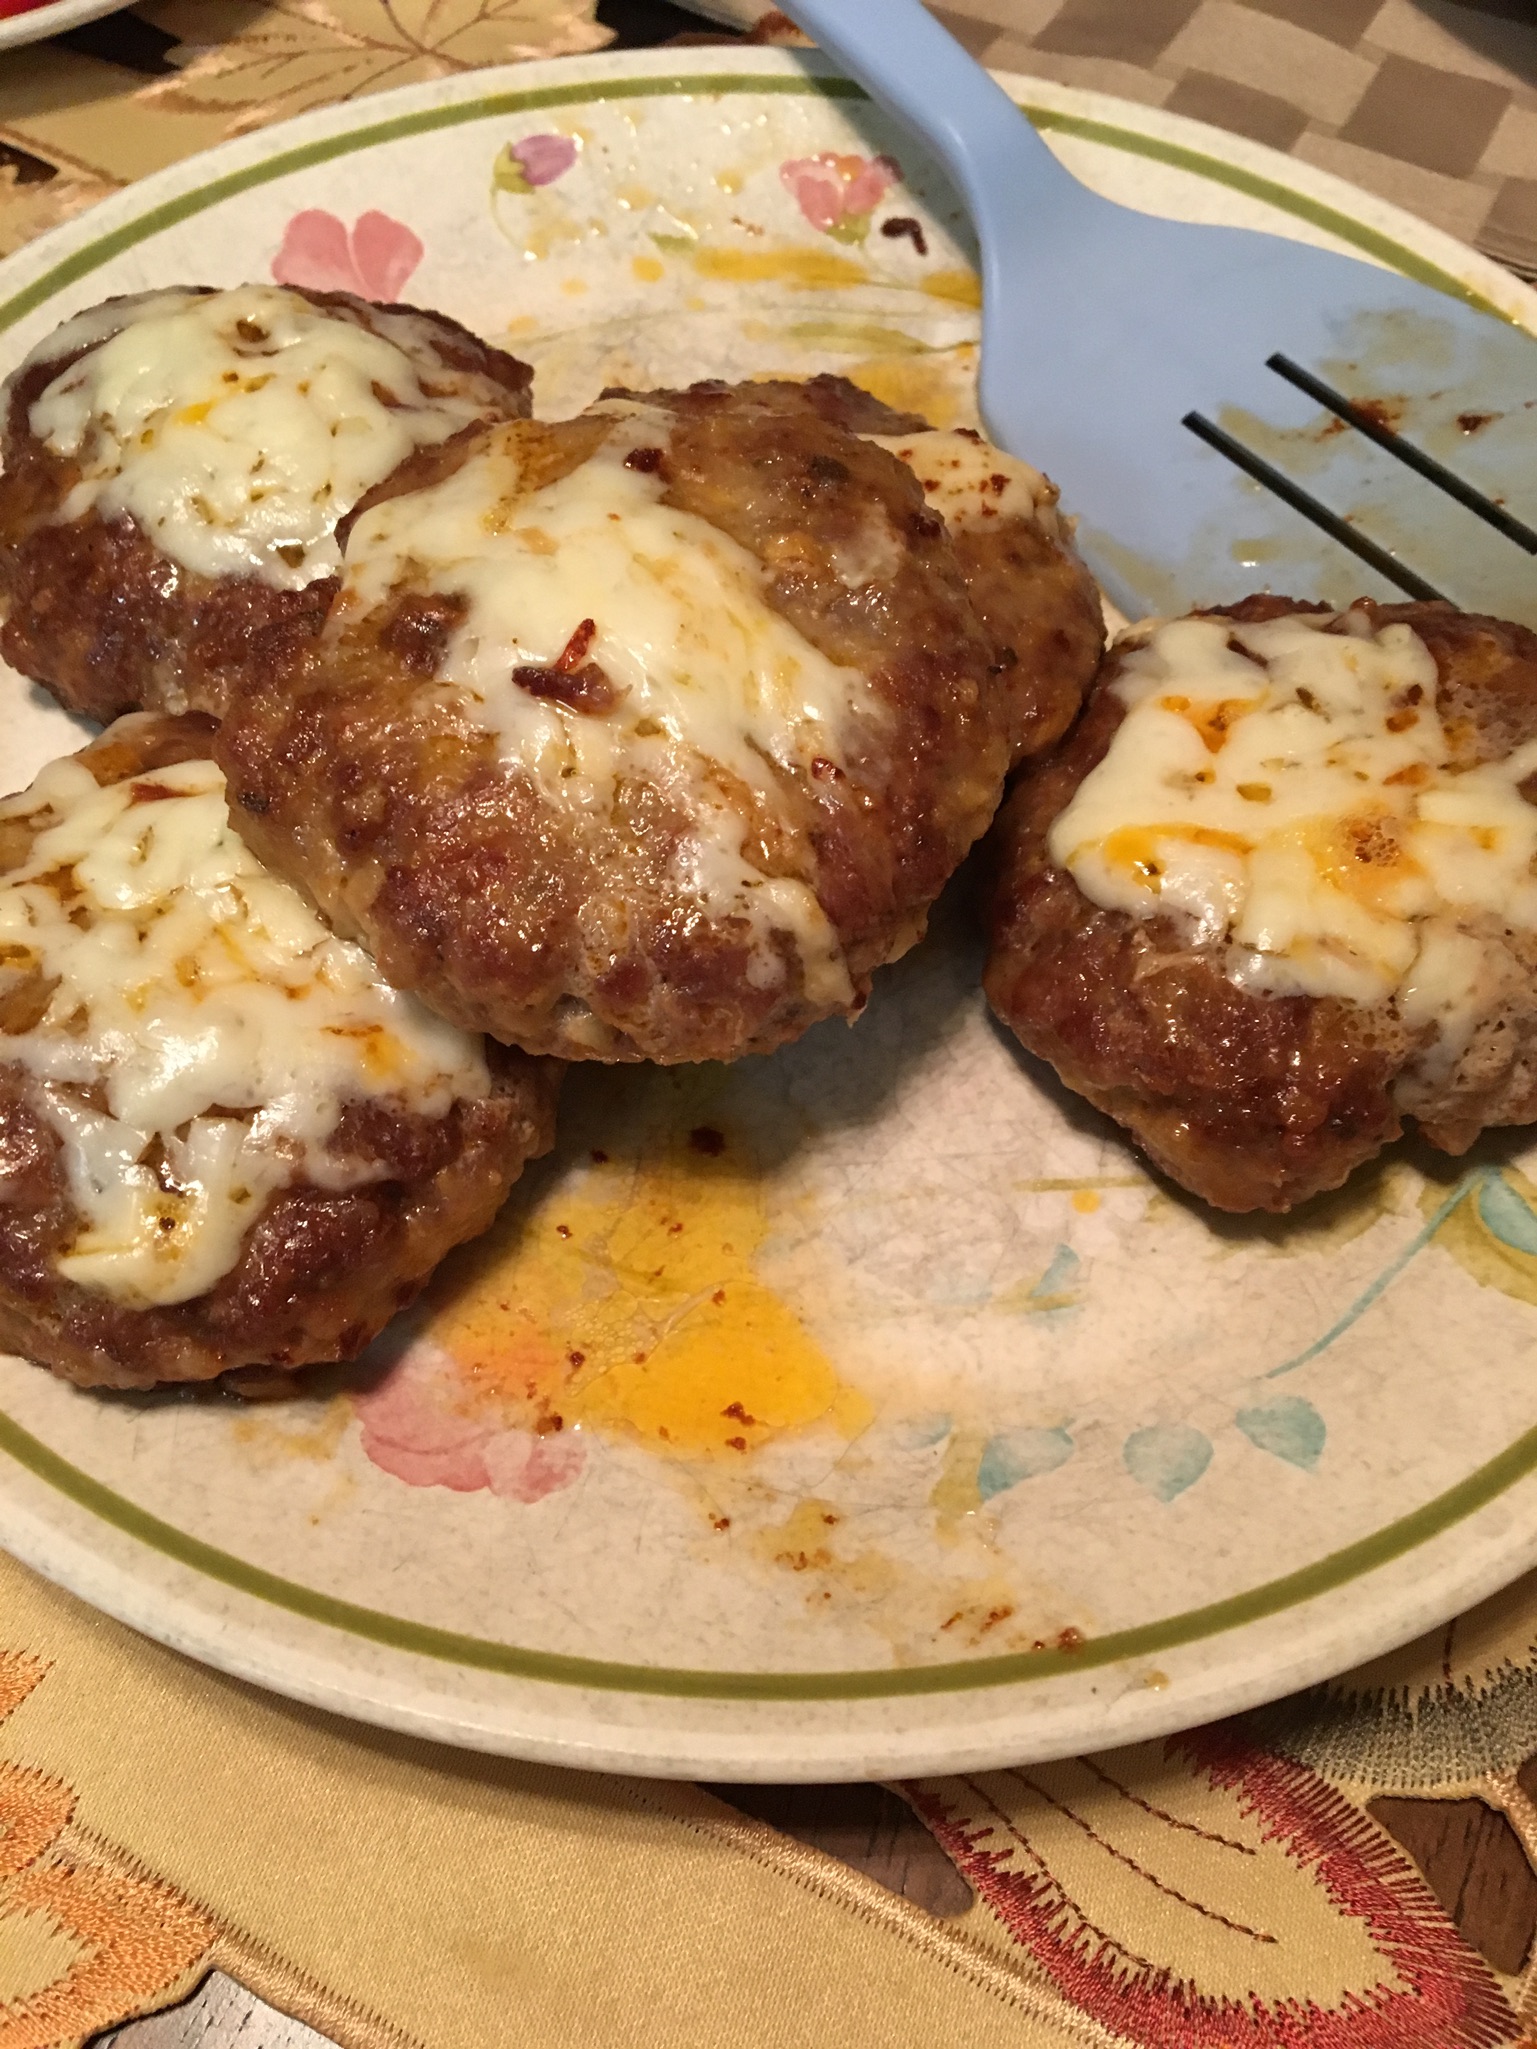
Heat the olive oil in a large skillet. Dust each patty with flour.* Fry the patties at a high heat until a nice brown crust forms on each side. Place a bit of grated cheese on top of each burger, cover, and continue cooking at a lower heat until the meat is thoroughly cooked and the cheese has melted. Remove from skillet.
Add garlic shrimp to hot skillet and stir-fry until they’re cooked. Should take just a couple minutes.
Prepare hamburger buns by toasting, or not, and smear each bun with paprika mayo. Place a patty on a bun, then a couple shrimp, and sliced tomato.

Always someone doesn’t like something . . . sans shrimp.
BE CAREFUL NOT TO BURN YOUR MOUTH.
*This is a great thing I learned at ladyandpups.com, the dusting of flour on the patties. It forms a nice crust and keeps the moisture inside. You really have to be careful not to burn your mouth. Let the patties rest a bit.


