
You are currently browsing the tag archive for the ‘gluten-free’ tag.
- Ingredients
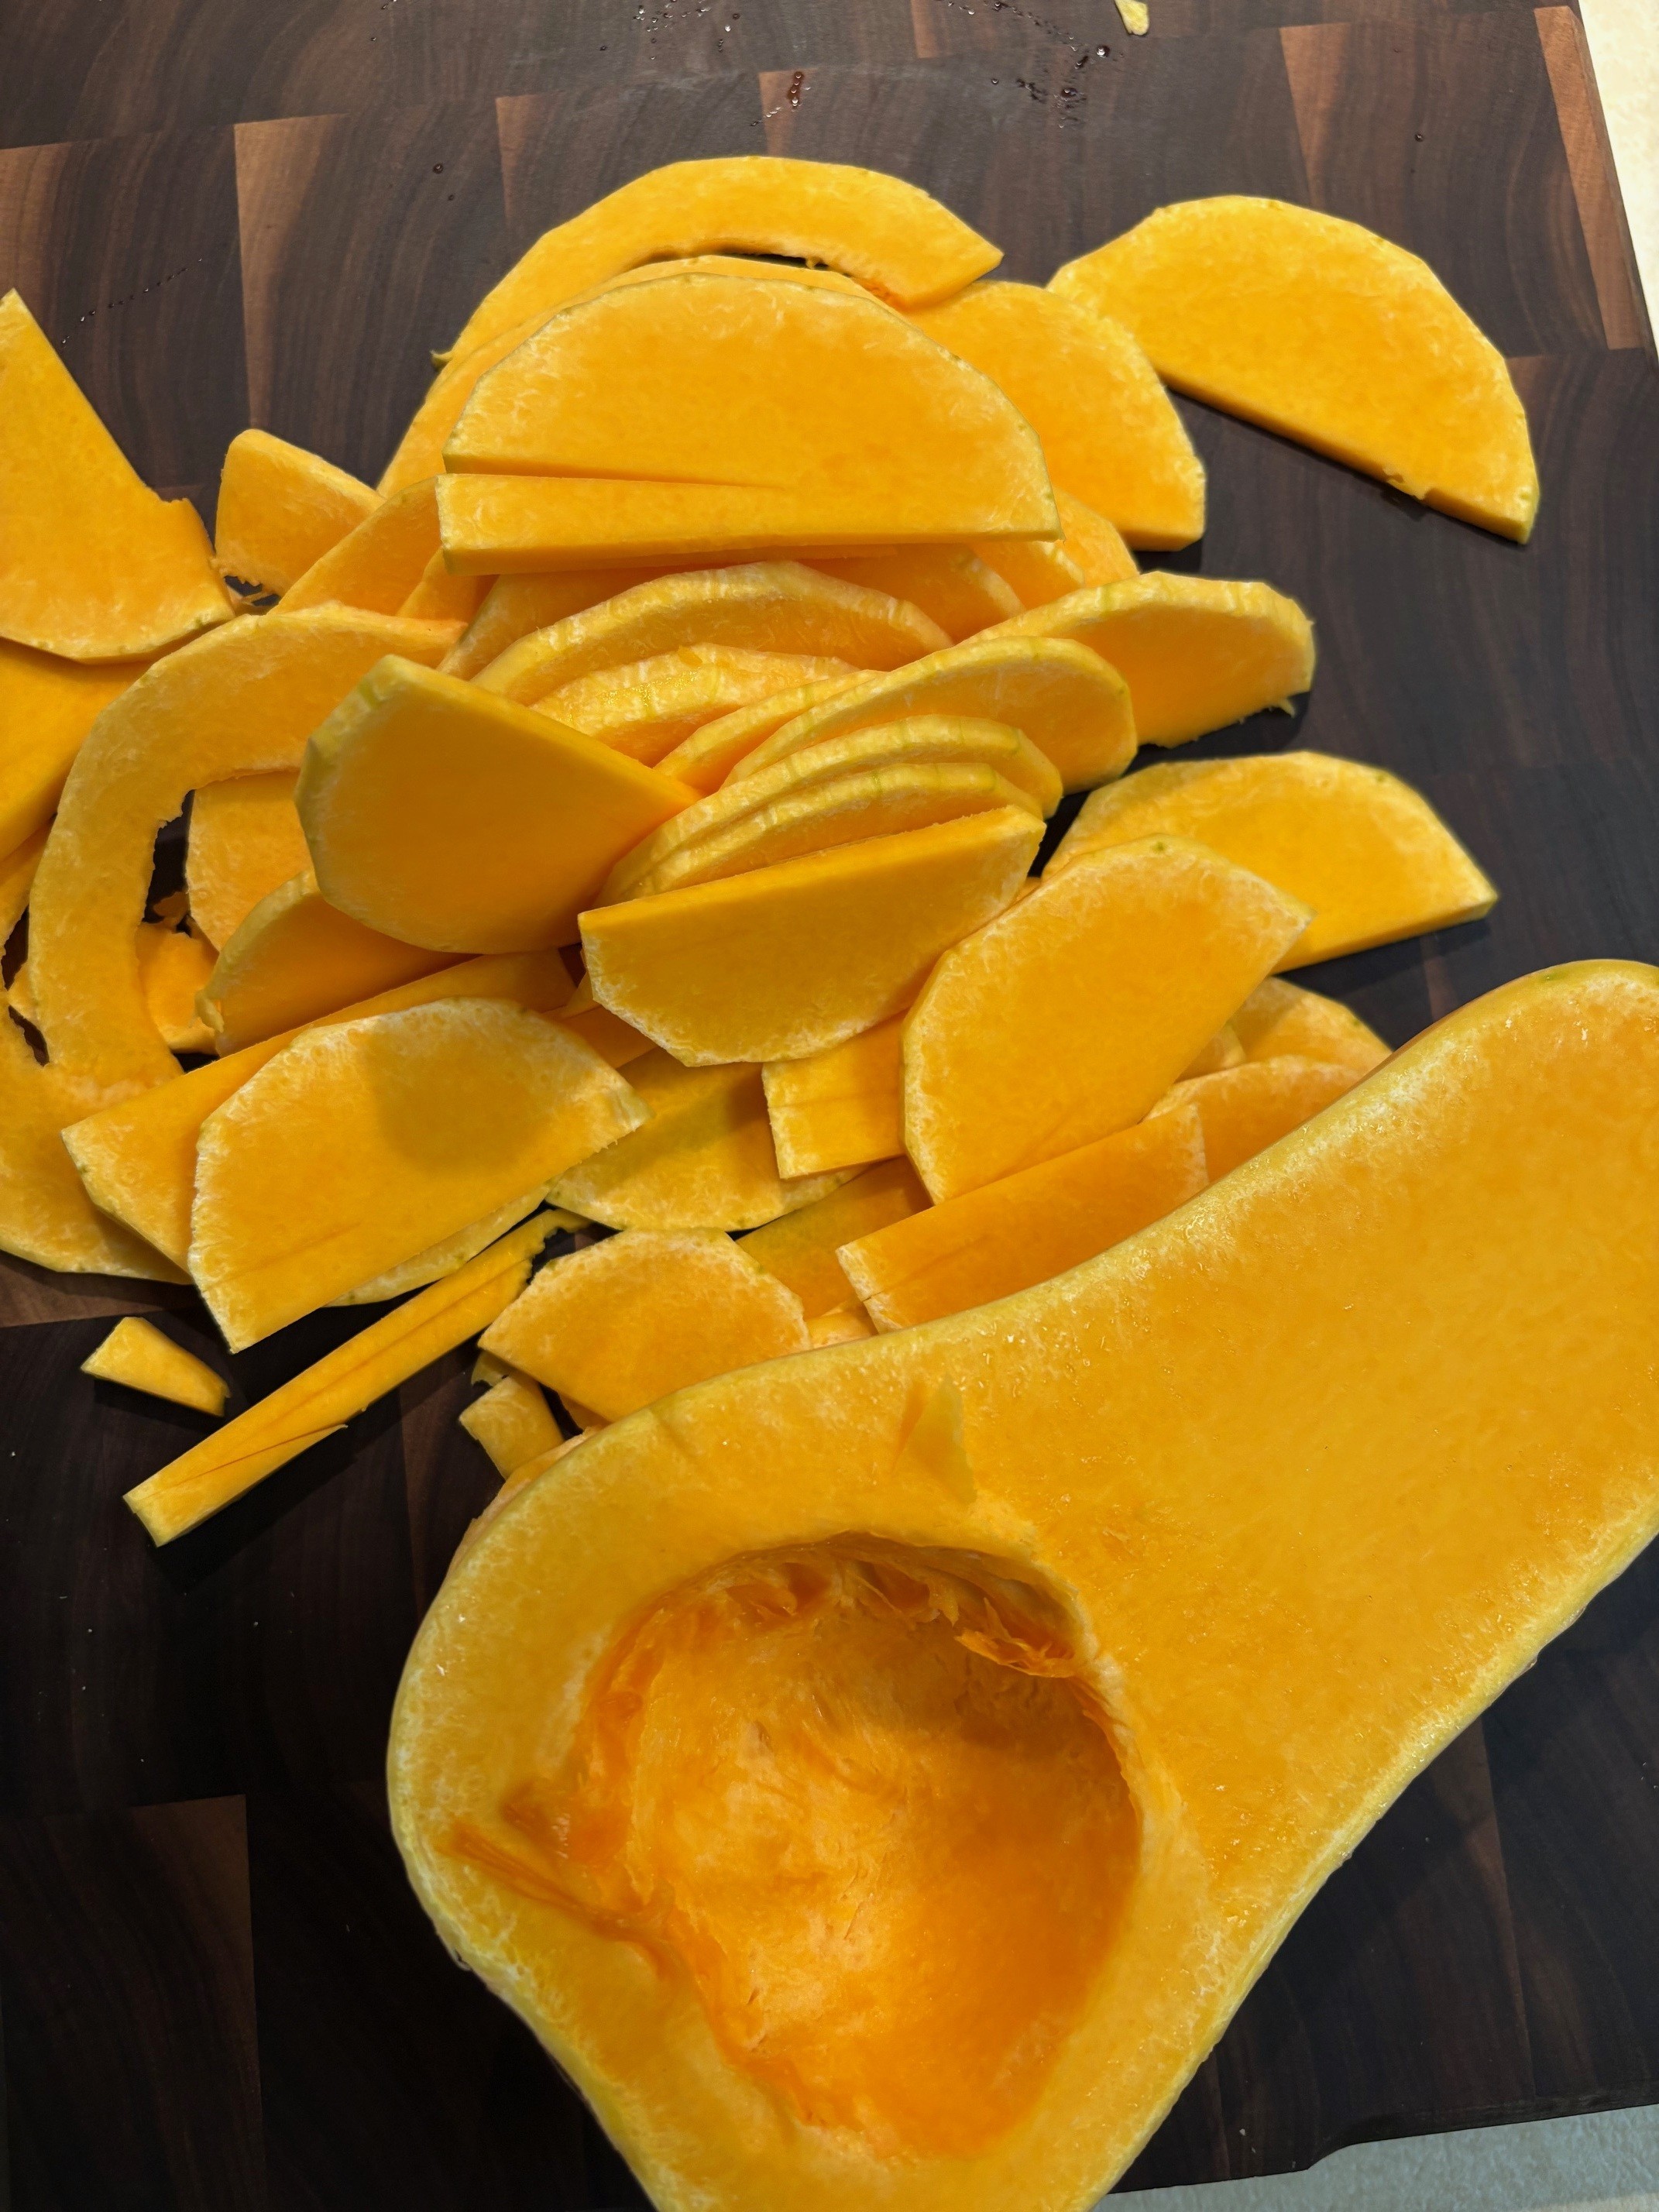
- 1 # butternut squash (1/2 squash), peeled and thinly sliced
- 1 cup heavy cream
- 1 large garlic clove, minced
- 1 tsp. dried thyme
- 1 tsp. salt
- Pepper to taste
- 1/2-1 cup Gruyere cheese, shredded
Preheat oven to 375 degrees F and prepare a baking dish with non-stick.
Warm cream, garlic, thyme, and salt in a small saucepan.
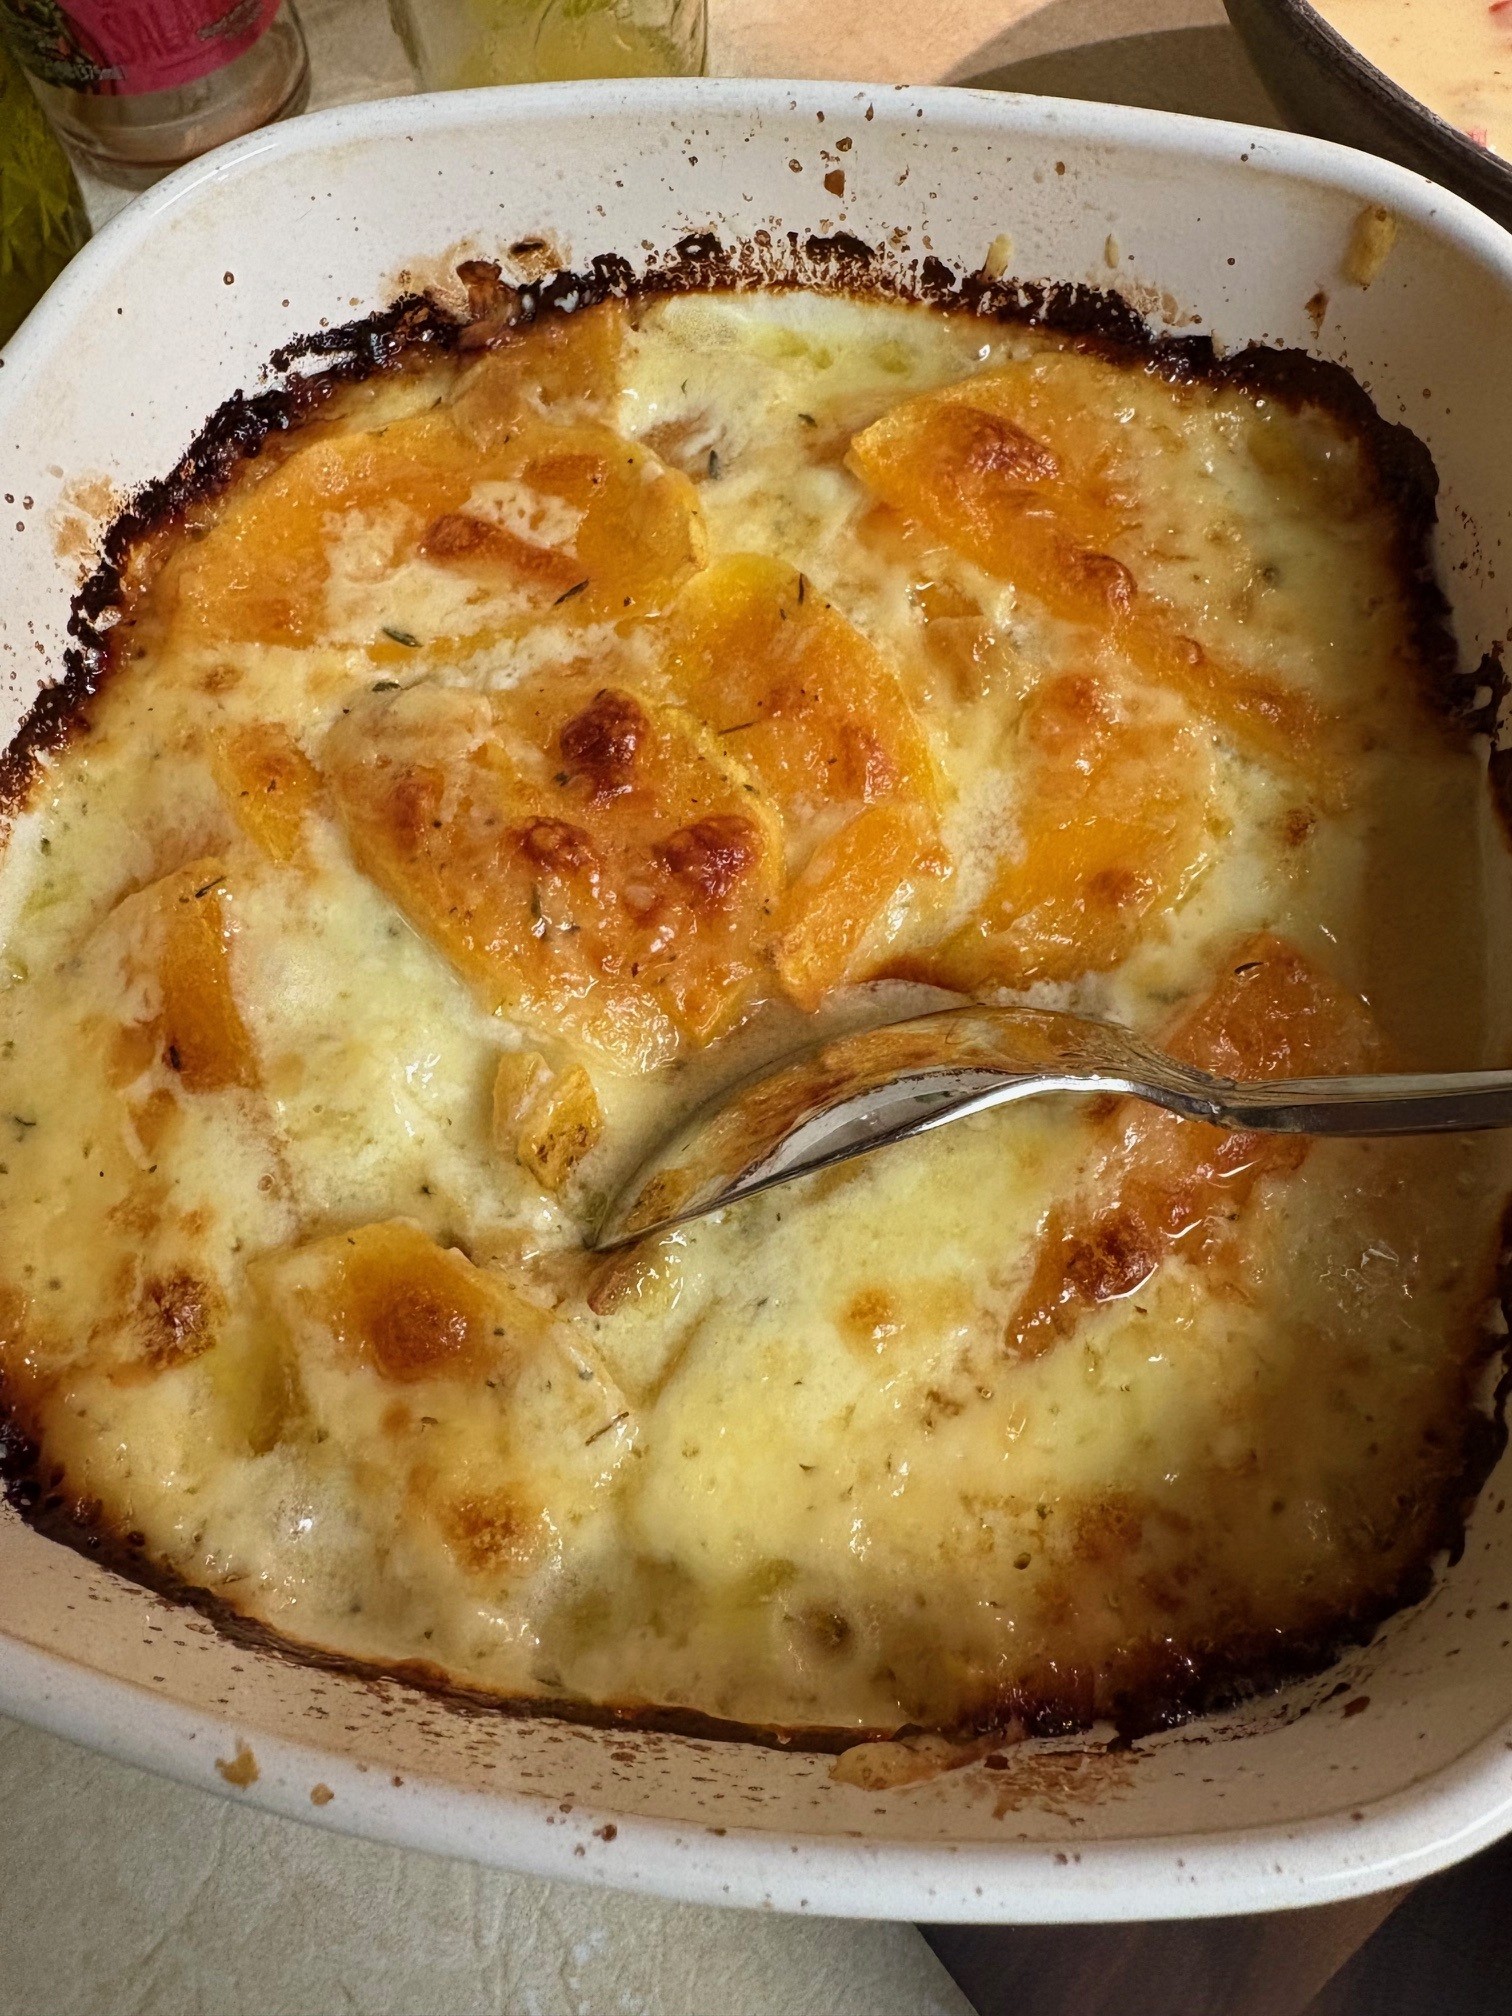
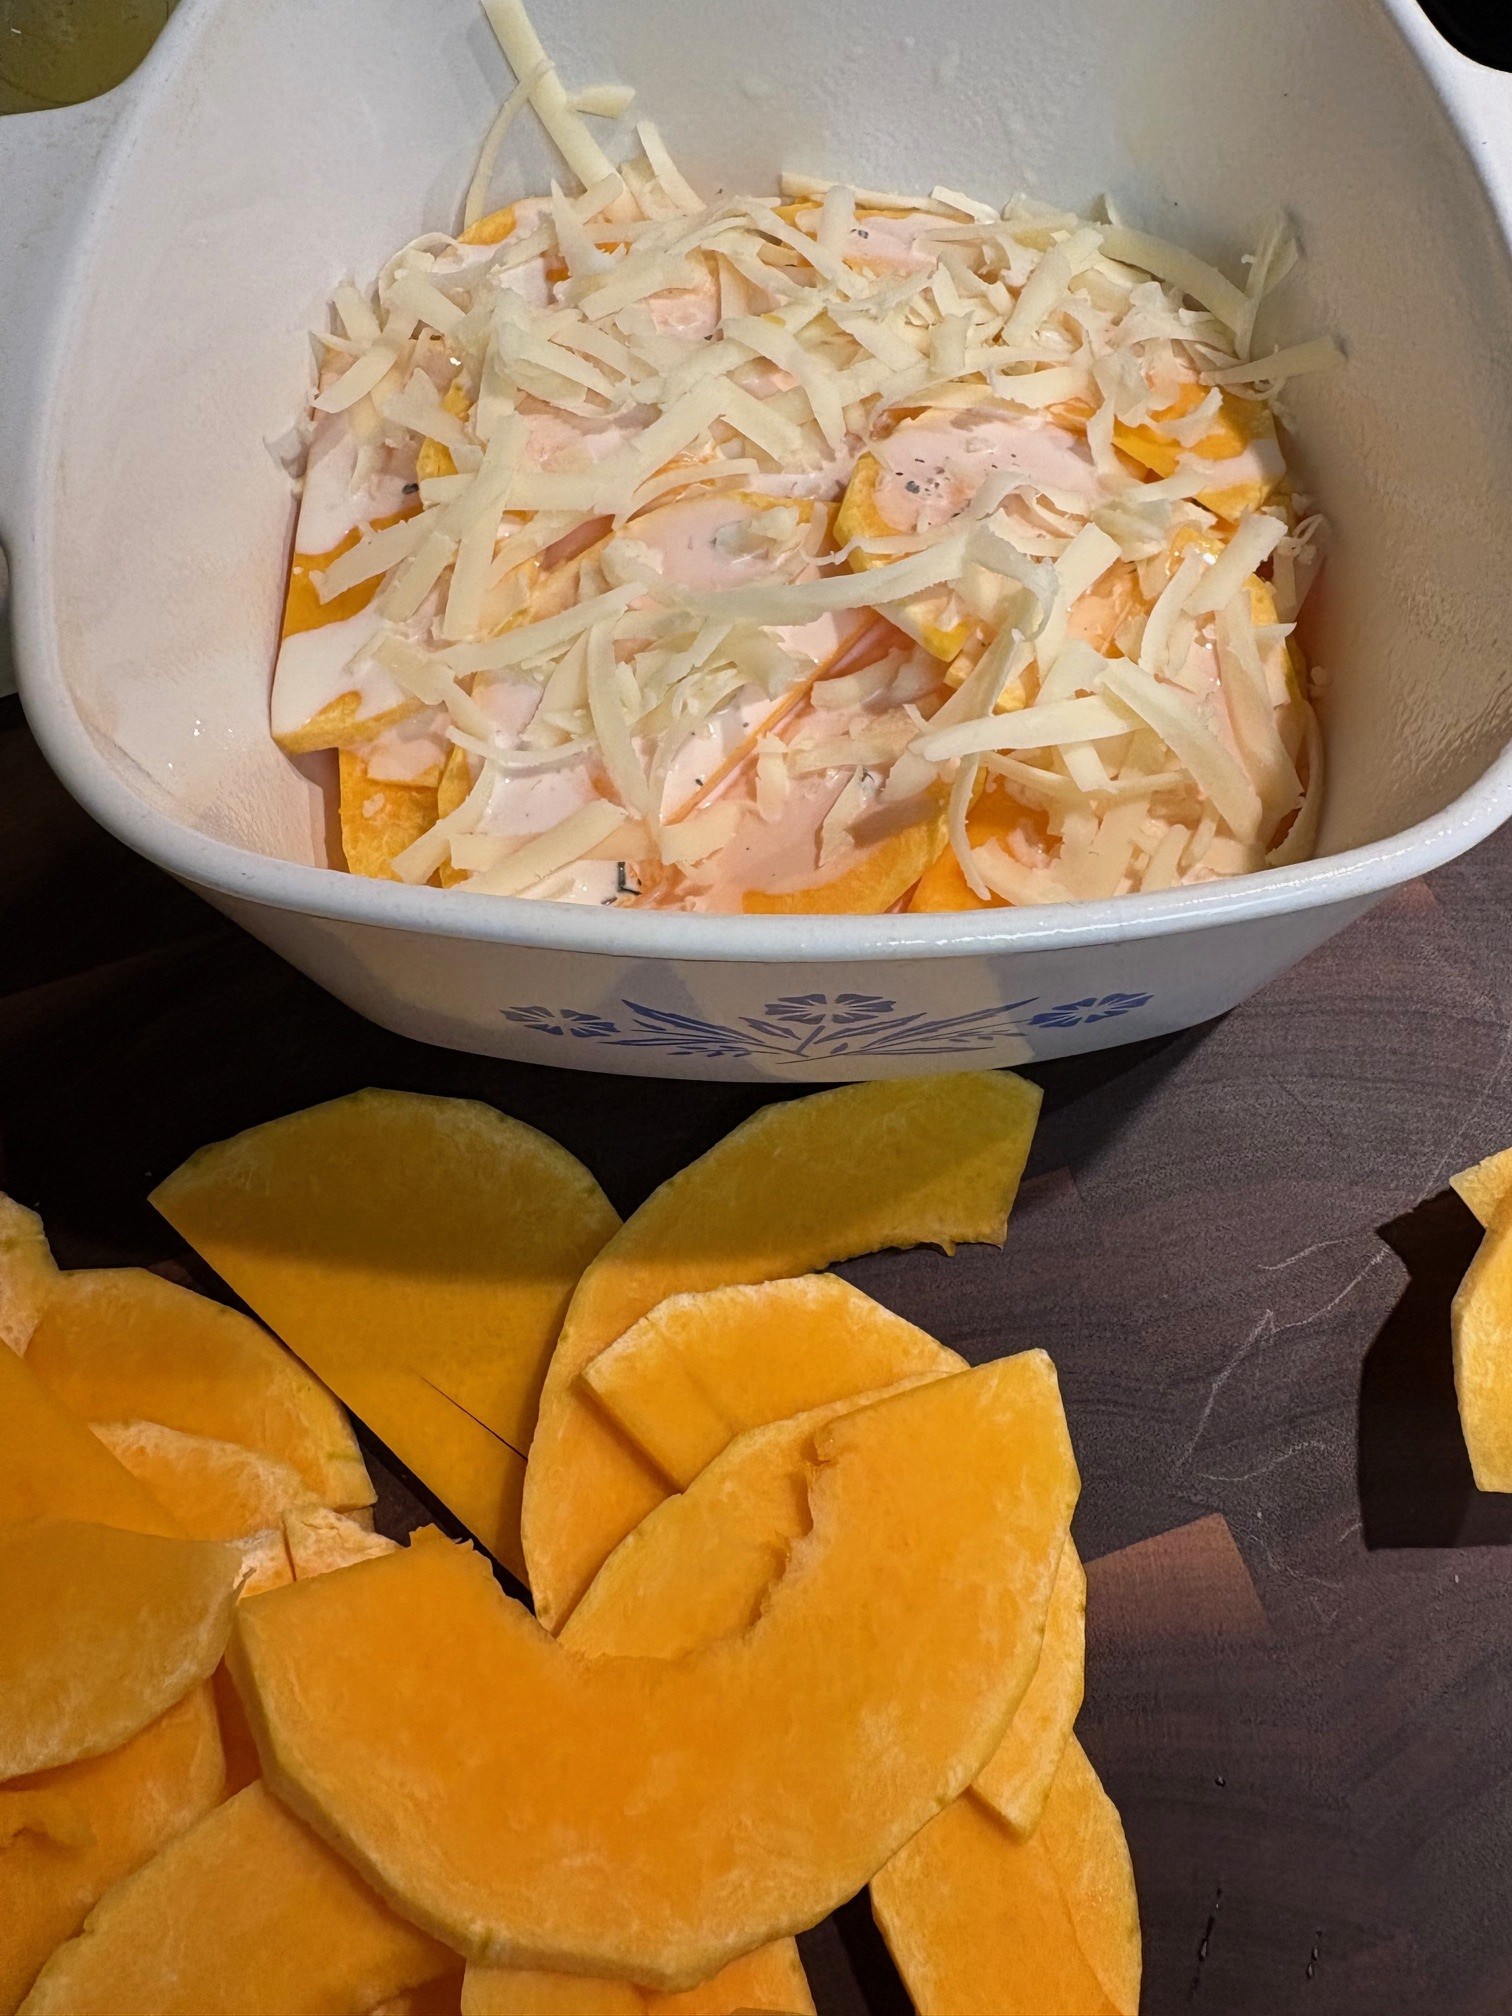
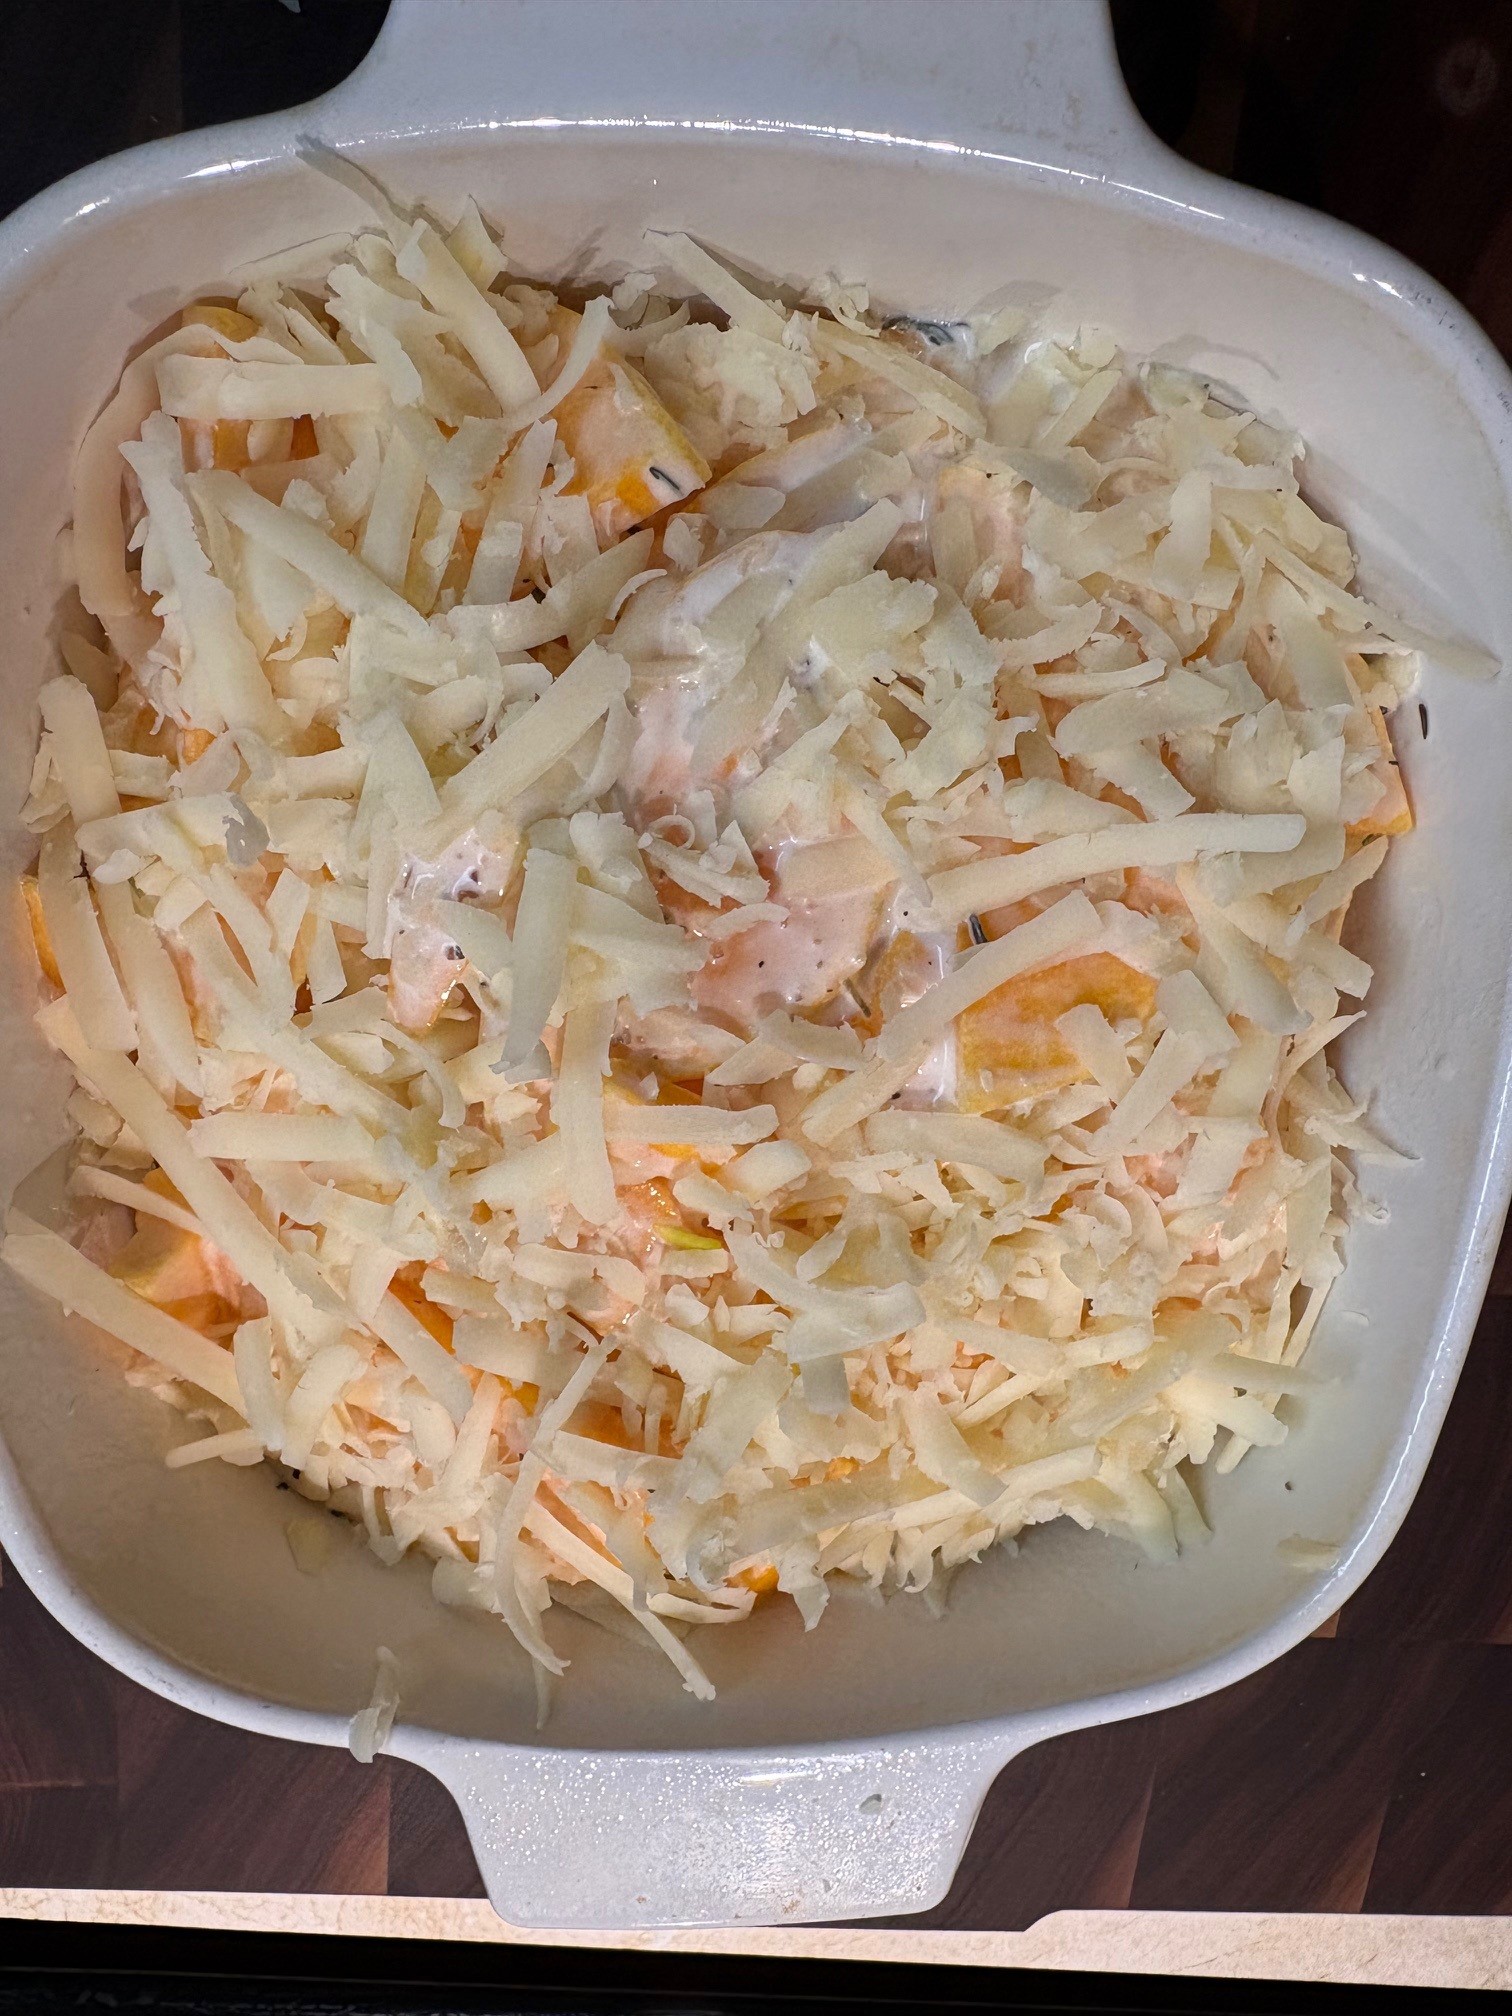
In the prepared baking dish, layer squash slices and warmed cream and cheese, ending with cheese, until it’s all used. Bake at 375 degrees F, covered, for 40 minutes. Remove cover and continue baking for another 20 minutes until squash is fork tender.
NOTES: Super creamy and delicious! The recipe comes from kitchenpop. It’s not fussy. I used a small baking dish with high sides and made 3 or 4 layers. Two layers in a larger dish would have been just fine. The next day for breakfast, I broke apart the leftover butternut squash and stirred it into a baking dish with 1/2# of cooked breakfast sausage, 6 beaten eggs, and a handful of leftover spaetzle. I sprinkled grated sharp cheddar over the top and baked at 350 degrees F for 45 minutes. It was an easy, hot, superb breakfast. Yum!
- Ingredients:
- 1# ground beef, or other meat
- 1/2 onion, diced
- 2 cloves garlic, minced
- 4-oz. can diced green chiles
- 2 cups enchilada sauce (use recipe that follows, or purchase ready-made), divided
- 1 15-oz. can black beans
- 12 corn tortillas
- 2-1/2 cups shredded cheese
- Toppings, optional (avocado, cilantro, scallion, etc)
Preheat oven to 350 degrees F.
Brown ground beef in a skillet. Just before beef is finished cooking, stir in the onion and continue cooking until onion is translucent. Stir in garlic cloves and continue to cook for a couple minutes. Stir in chiles, 1 cup enchilada sauce, and beans. Remove from heat.
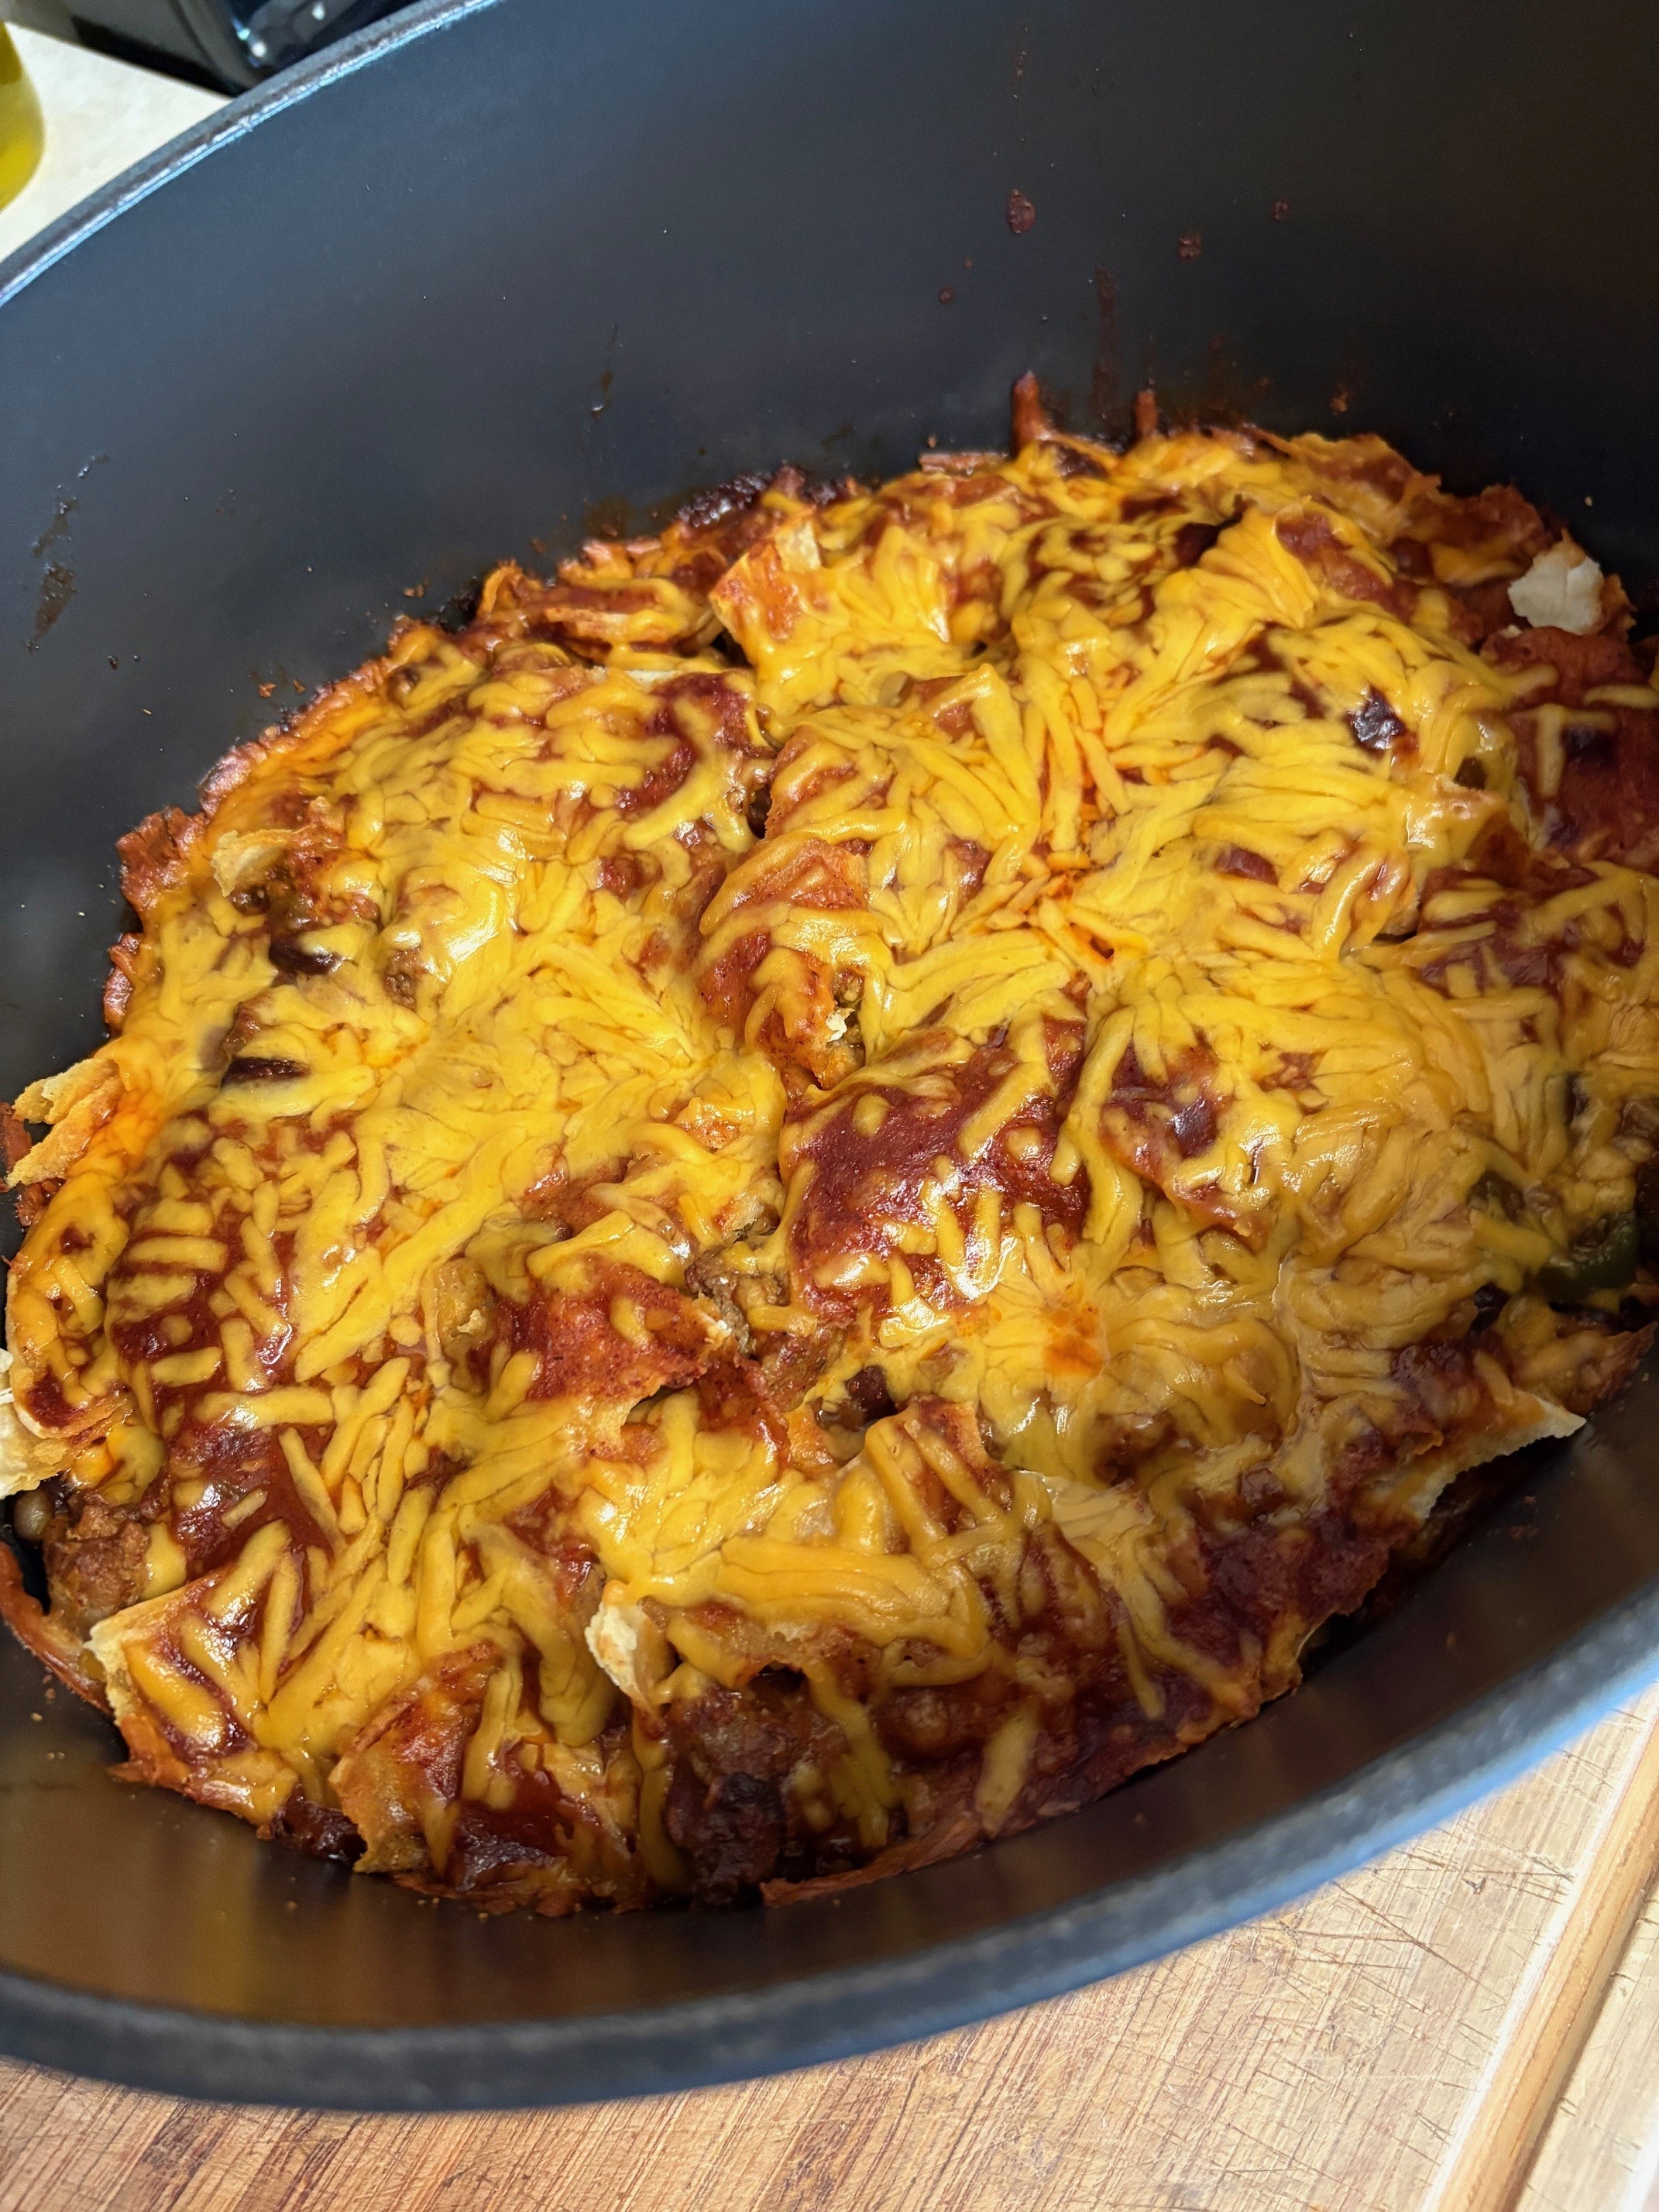
In the bottom of a Dutch oven or other large baking dish, spread around a couple tablespoons of enchilada sauce. Tear 3 tortillas into pieces and sprinkle them across the enchilada sauce. Spread one third of the beef mixture across the tortilla pieces. Sprinkle shredded cheese over all. Repeat tortilla, meat, cheese layers two more times. Sprinkle the last three tortillas over the top. Pour the remaining enchilada sauce over all. Sprinkle cheese over the top. Cover and bake at 350 degrees 30-35 minutes. Remove cover and bake an additional 5 minutes. Sprinkle with toppings, if desired. Serves 4 hungry people.
- Enchilada Sauce Ingredients
- 2 Tbsp. olive oil
- 2 Tbsp. flour (gluten free should work just fine)
- 1/4 cup chili powder
- 1/2 tsp. garlic powder
- 1/2 tsp. ground cumin
- 2 cups broth
- Salt, to taste
In a saucepan, heat olive oil. Stir in flour and mix with olive oil, over heat, until well incorporated. Stir in spices and mix very well over heat. It will be like sand. Stir in broth and salt. Mix it very well until no lumps remain. Bring to a boil and then reduce heat to let simmer until sauce has thickened slightly. Remove from heat. Ready to serve. Makes about 2 cups (enough for the casserole recipe).
NOTES: The enchilada sauce recipe is from GimmeSomeOven. It is quick and super easy. I use Ancho Chile Powder for my chili powder.
Regarding the casserole recipe. I’ve been making this for a long time now because working with corn tortillas to make regular enchiladas can involve a lot of finagling so they do not crack. That is probably because I do not use freshly made tortillas. I sure miss Cardenas. Making a casserole with the tortillas torn up is WAY easier than the finagling. MANY things can be substituted in this dish. I have used half chorizo and half ground beef. Any kind of ground meat should work. I added a chopped fresh jalapeno to the beef mixture. You could stir in some corn, too. When I was growing up, my mother would make a chicken enchilada casserole that was out of this world. It had quite a bit of concentrated soup in it and I don’t do that too much anymore, but I may give a chicken version of this recipe a whirl. I mean, after all, I made my own salsa verde so I have a nice base. Hmmm. I digress. Use any kind of toppings you wish for the casserole: avocado, jalapeno, sour cream, salsa, cilantro, green onion to name a few. My favorite thing about this is that it is SO WARM out of the oven. The ultimate comfort food.

- Ingredients
- 3 mashed bananas
- 1 egg
- 1/4 cup brown sugar
- 2 cups rolled oats
- 1/4 cup gluten-free flour (or other)
- 1/2 tsp. cinnamon
- 1/2 tsp. baking soda
- 1/4 tsp. salt
- 1 cup berries
Prepare an 8″ or 9″ square baking dish with parchment paper or non-stick spray. Preheat oven to 350 degrees F.
In a mixing bowl stir together banana, egg, and brown sugar until well mixed. Stir in oats, flour, cinnamon, baking soda, and salt until well mixed.
Pour half the batter into the prepared baking dish and smooth the top. Sprinkle berries over the batter. Dollop the remaining batter to cover the berries.
Bake at 350 degrees for 30-35 minutes until bars are set.
NOTES: I’ve made this many, many times now. It’s super simple. I’ve been short a banana and even that worked. There isn’t much flour in these, so the type of flour is not important for the recipe. I use gluten-free so that I can share them with a family member, but all-purpose or whole wheat flour works for the recipe, too. I’ve tried fresh blueberries and both fresh and frozen (and then thawed) raspberries (red and gold). I feel confident that you could use frozen berries as well. I pick loads of raspberries every summer and freeze and vacuum seal them. Once thawed, they are a bit of a mess, so I drain out the juice without squeezing and then sprinkle the remaining pulp over the batter as per the recipe. One pound of frozen raspberries yields me about one cup juice and one cup berry pulp. The pulp works just right for this recipe. I’m going to use the juice for a different purpose. The original recipe is found at thisdelicioushouse. I really like these bars because they don’t use much sugar or flour. The stars of the recipe are the bananas, the oats, and the fruit.


- Ingredients
- 1 lb. thinly sliced cabbage
- 3 chopped scallions
- 3 eggs
- 1 Tbsp. Dijon mustard
- Salt and pepper
- 2/3 cup gluten-free flour, or regular all-purpose flour
- 1 tsp. baking powder
- Olive oil
- Shredded cheese (optional)
In a very large bowl, mix together the cabbage and scallions. In a separate small bowl, whisk together eggs, Dijon, and salt and pepper. Stir the egg mixture into the cabbage mixture until the cabbage is well coated. Sprinkle flour and baking powder over the top of the cabbage and stir until well mixed.
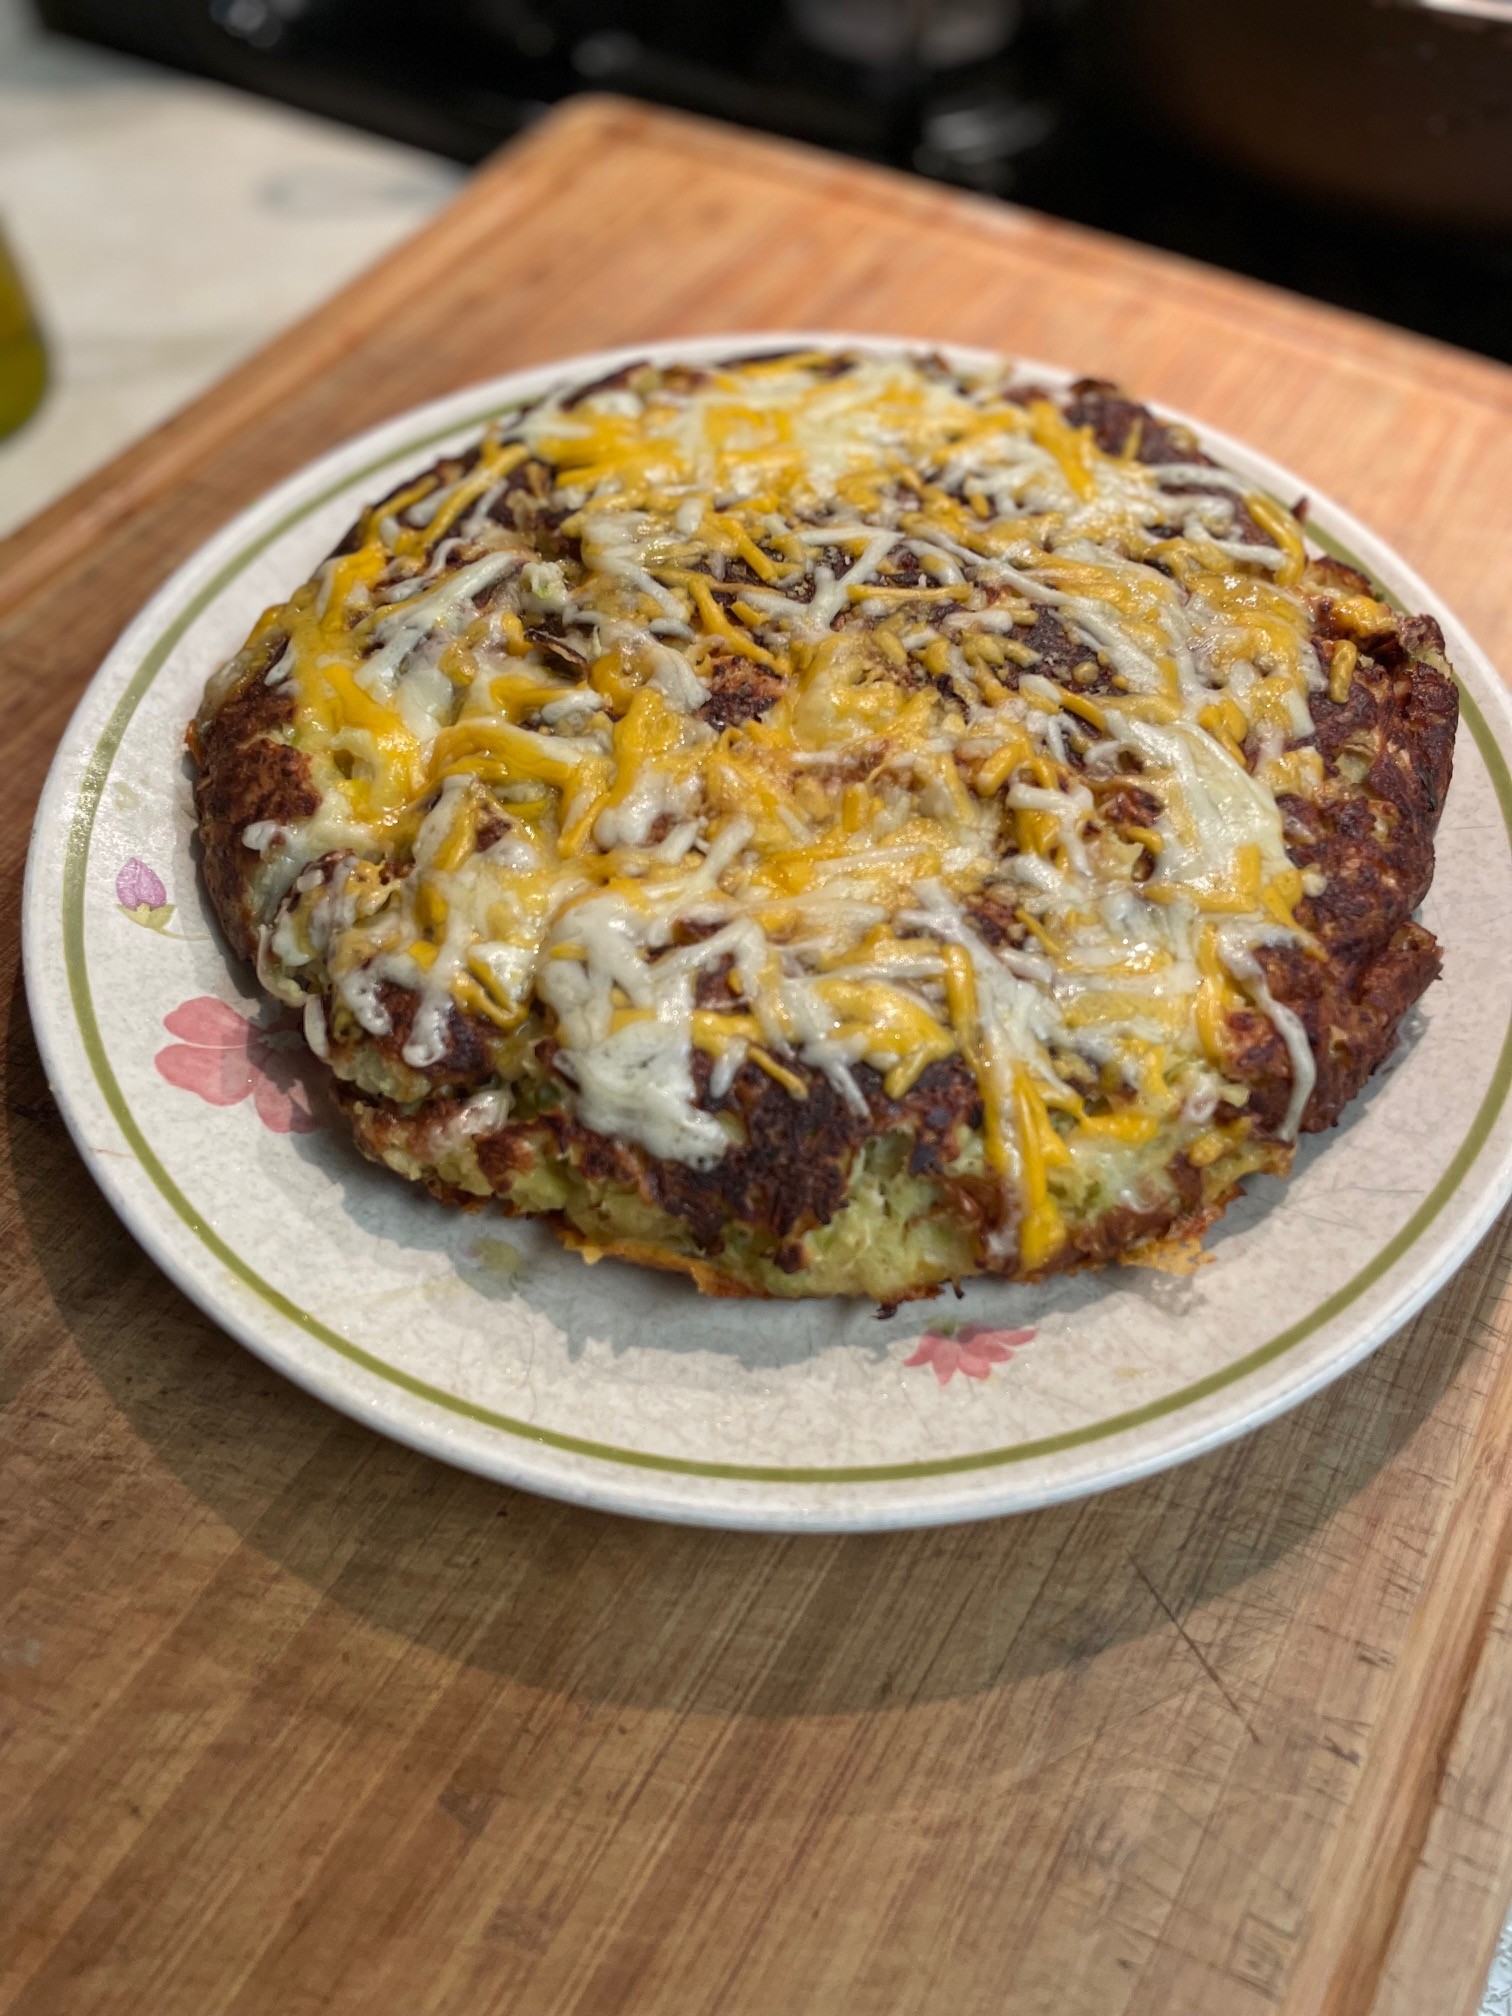
Heat a skillet (12″ with a sloped edge is best) over medium heat and pour a couple tablespoons of olive oil into it. Swirl the oil so it coats the sides as much as possible. Place the cabbage mixture into the skillet and press it down. Reduce heat to low and cover skillet. Let it cook for 15 minutes. Lift cover and see if the bottom is brown and comes away from the skillet easily. If yes, flip the skillet upside down so that the cabbage slides onto a plate. If it’s not ready, then cover it back up and wait for it to brown and come away from the pan. Swazz a bit more olive oil into the skillet. Heat it and then slide the cabbage into the skillet, uncooked side down. If you’re using cheese, sprinkle it over the cooked top. Cover. Let it cook another 15 minutes. Check that the cabbage is cooked through. Remove from skillet and serve.
NOTES: This smells so good while cooking! It’s a quick and easy dish coming from Irina Macri at Cooked & Loved. I have made this using both green and red cabbage. Irina includes a recipe for a sour cream dill sauce to use as a topping. Tonight I’m roasting a salmon, so I’m going to try the sauce on my salmon.


- Ingredients
- Olive oil
- 4-6 Chicken thighs, bone-in
- Salt and pepper (or optional seasoning salt & pepper)
- 1/2 onion (or 1 leek), chopped
- 1/2# mushrooms, sliced
- 1 bunch chard
- 1 clove garlic, minced
- 1/4 cup white wine, or broth
- 1 14 oz. can Cannellini beans
- 1/2 cup cream, optional
Heat olive oil in large skillet, or Dutch oven. Sprinkle chicken thighs with salt and pepper. Brown the chicken in the oil. Remove chicken from pan and set aside.
While that’s happening, strip the leaves from the main stem of the chard. Chop the stem.
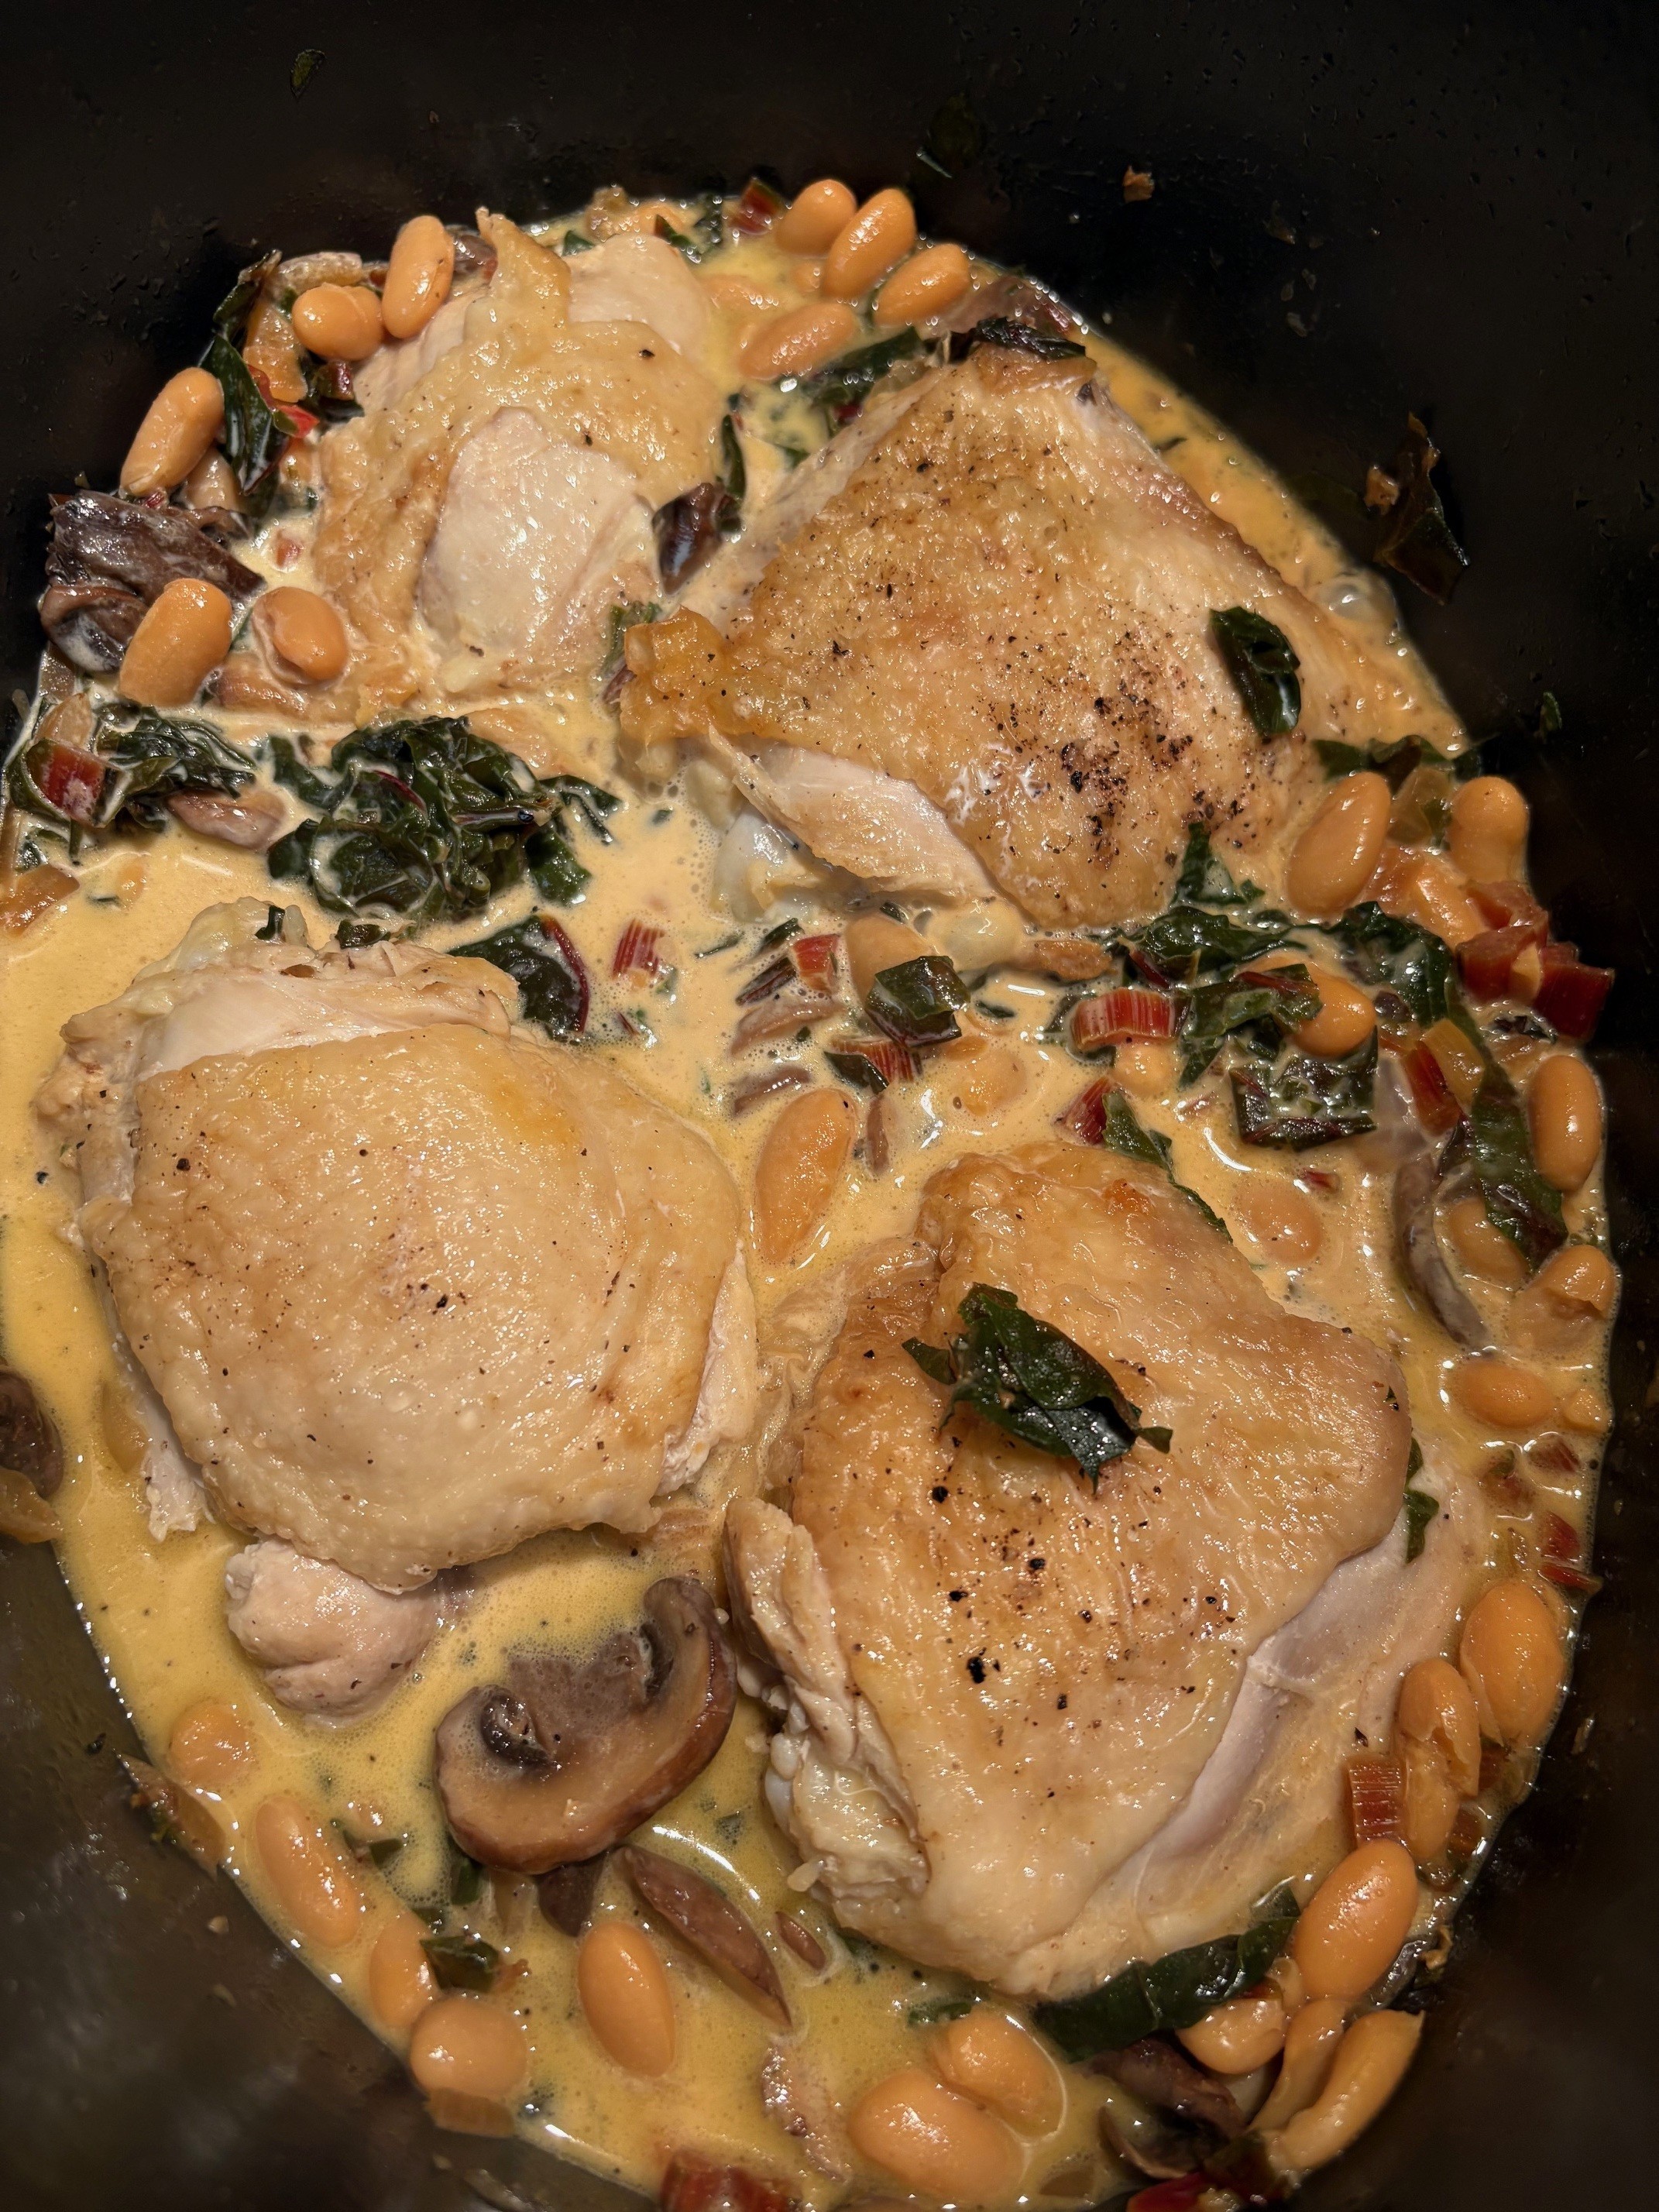
Stir fry onion, mushrooms, and chard stems. When the onion is translucent and everything is a bit soft, stir in the garlic. Give it about a minute and then stir in the white wine. Let it cook another minute or two. Stir in the Cannellini beans. Let them heat through.
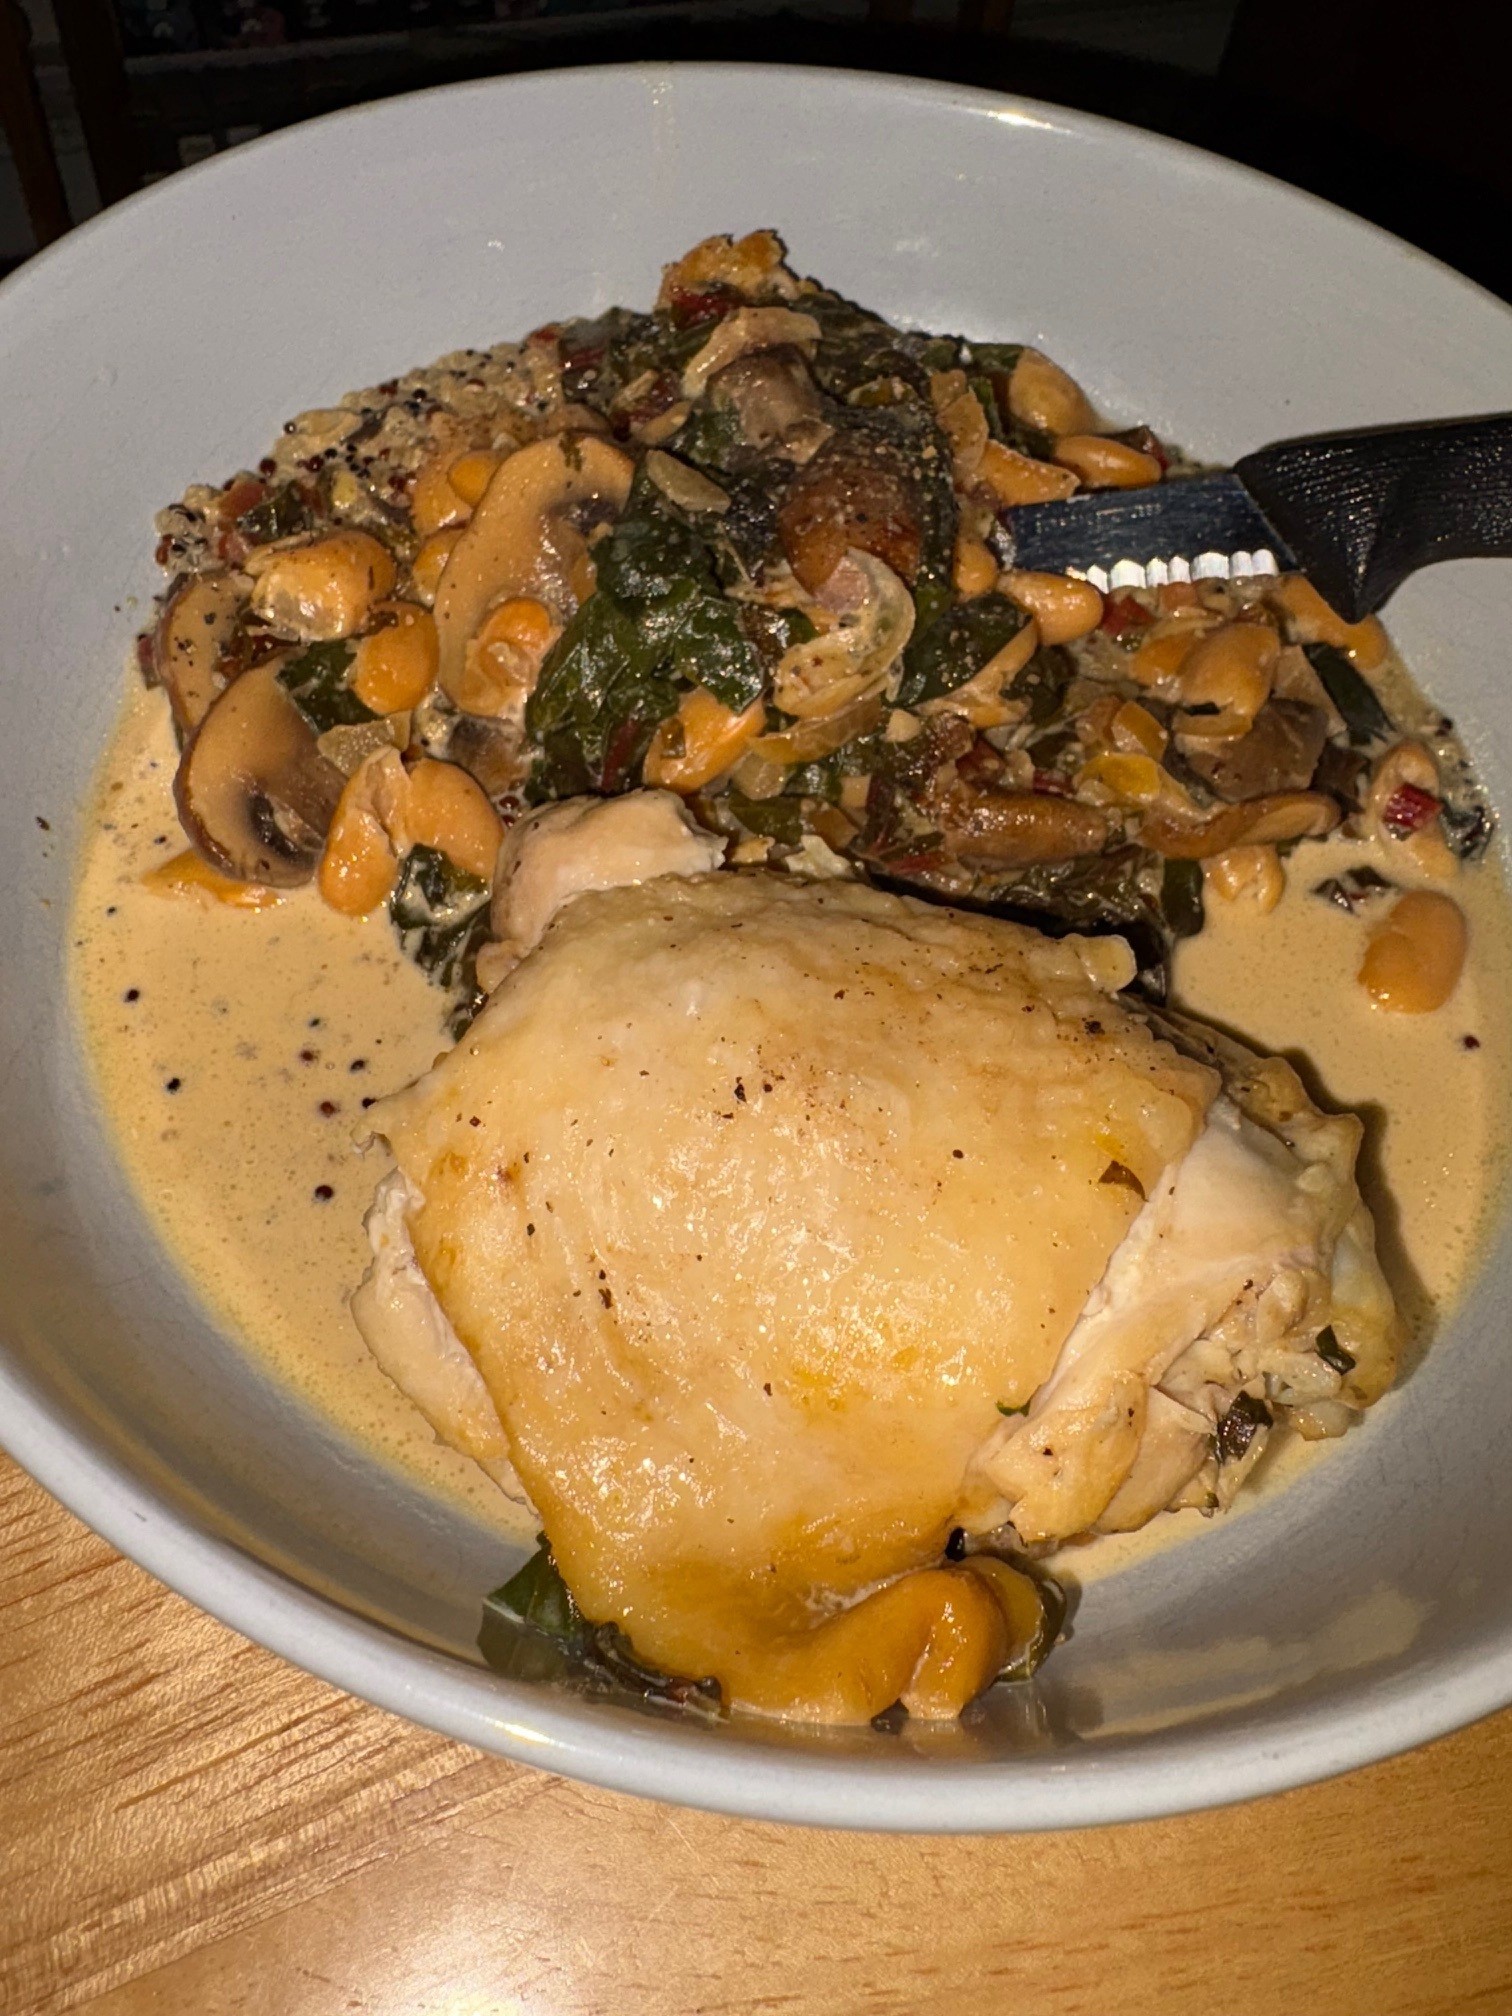
Chop the leafy parts of the chard. Stir them into the skilllet. Nestle chicken thighs on top. Cover and simmer for about half hour. If you decided to add cream, stir it in now and let it warm through. Add a bit more seasoned salt. Let it heat through, uncovered. When the chicken is cooked, serve. Yum.
NOTES: I made quinoa with chicken broth and served this dish over that. So, so good! I used Swiss chard for this, but regular chard would work fine.


- Ingredients
- 2 cups gluten-free flour mix (Bob’s Red Mill 1 to 1 is what I used)
- 2 tsp. ground cinnamon
- 1 tsp. ground ginger
- 1/2 tsp. ground nutmeg
- 2 tsp. baking soda
- 3/4 tsp. salt
- 4 large eggs (I used extra-large)
- 1-1/2 cups sugar
- 3/4 cup unsweetened applesauce
- 1/2 cup oil (I used canola)
- 1 tsp. vanilla extract
- 14.5 oz. peeled and grated carrots (about 4 cups)
Preheat oven to 350 degrees F. Prepare 24 muffin cups by using paper liners or another non-stick method.
Stir together gf flour, cinnamon, ginger, nutmeg, soda, and salt. Set aside.
In a large bowl, beat the eggs and then stir in the sugar, applesauce, oil, and vanilla. Beat until combined. Add the flour mixture and stir until just combined. Stop stirring. Fold in the carrots until just combined.
Spoon the batter evenly into the prepared cups. Bake 15-20 minutes at 350 degrees F. They are done when muffin springs back when lightly pressed. It took mine about 24 minutes, probably because my eggs were extra-large.
- Frosting Ingredients
- 8 oz. cream cheese, softened
- 1/2 cup (4 oz.) butter, softened
- 4 cups powdered sugar
- 2 tsp. vanilla extract
In a mixer, beat together cream cheese and butter until well mixed. Stir in powdered sugar and vanilla until well combined.
NOTES: The cupcake recipe comes from texanerin.com and she has a variety of ways to do this in different pans, like to make cakes, and also offers ingredient substitution possibilities. I only used her cake recipe, not her frosting. These cupcakes had rave reviews. It may be one of the first things I’ve made gluten-free that I couldn’t tell. They were delicious! Most of the cupcakes I “cored” and filled with my Lemon Curd, then I frosted with Cream Cheese Frosting. I think you could play around with these quite a bit. Orange curd? Orange frosting? I think yes!

- Ingredients
- 1 cup warm water, divided
- 2 tsp. yeast
- 1/4 cup sugar, divided
- 2 Tbsp. melted butter
- 1 egg
- 1 tsp. cider vinegar
- 11.5 oz gluten-free baking blend with xanthan gum (2.75 cups)
- 1 tsp. salt
- 1 Tbsp. melted butter (for brushing on the top)
In a stand mixer, place 1/4 cup warm water, yeast, and a couple tablespoons of sugar. Let stand until the yeast is dissolved and the mixture is frothy. In a separate bowl, whisk together gluten-free flour, remaining sugar, and salt. Set aside.
Into the stand mixer, add remaining 3/4 cup warm water, melted butter, egg, and cider vinegar. Mix in flour mixture. Let the mixer run for 3 minutes on medium.
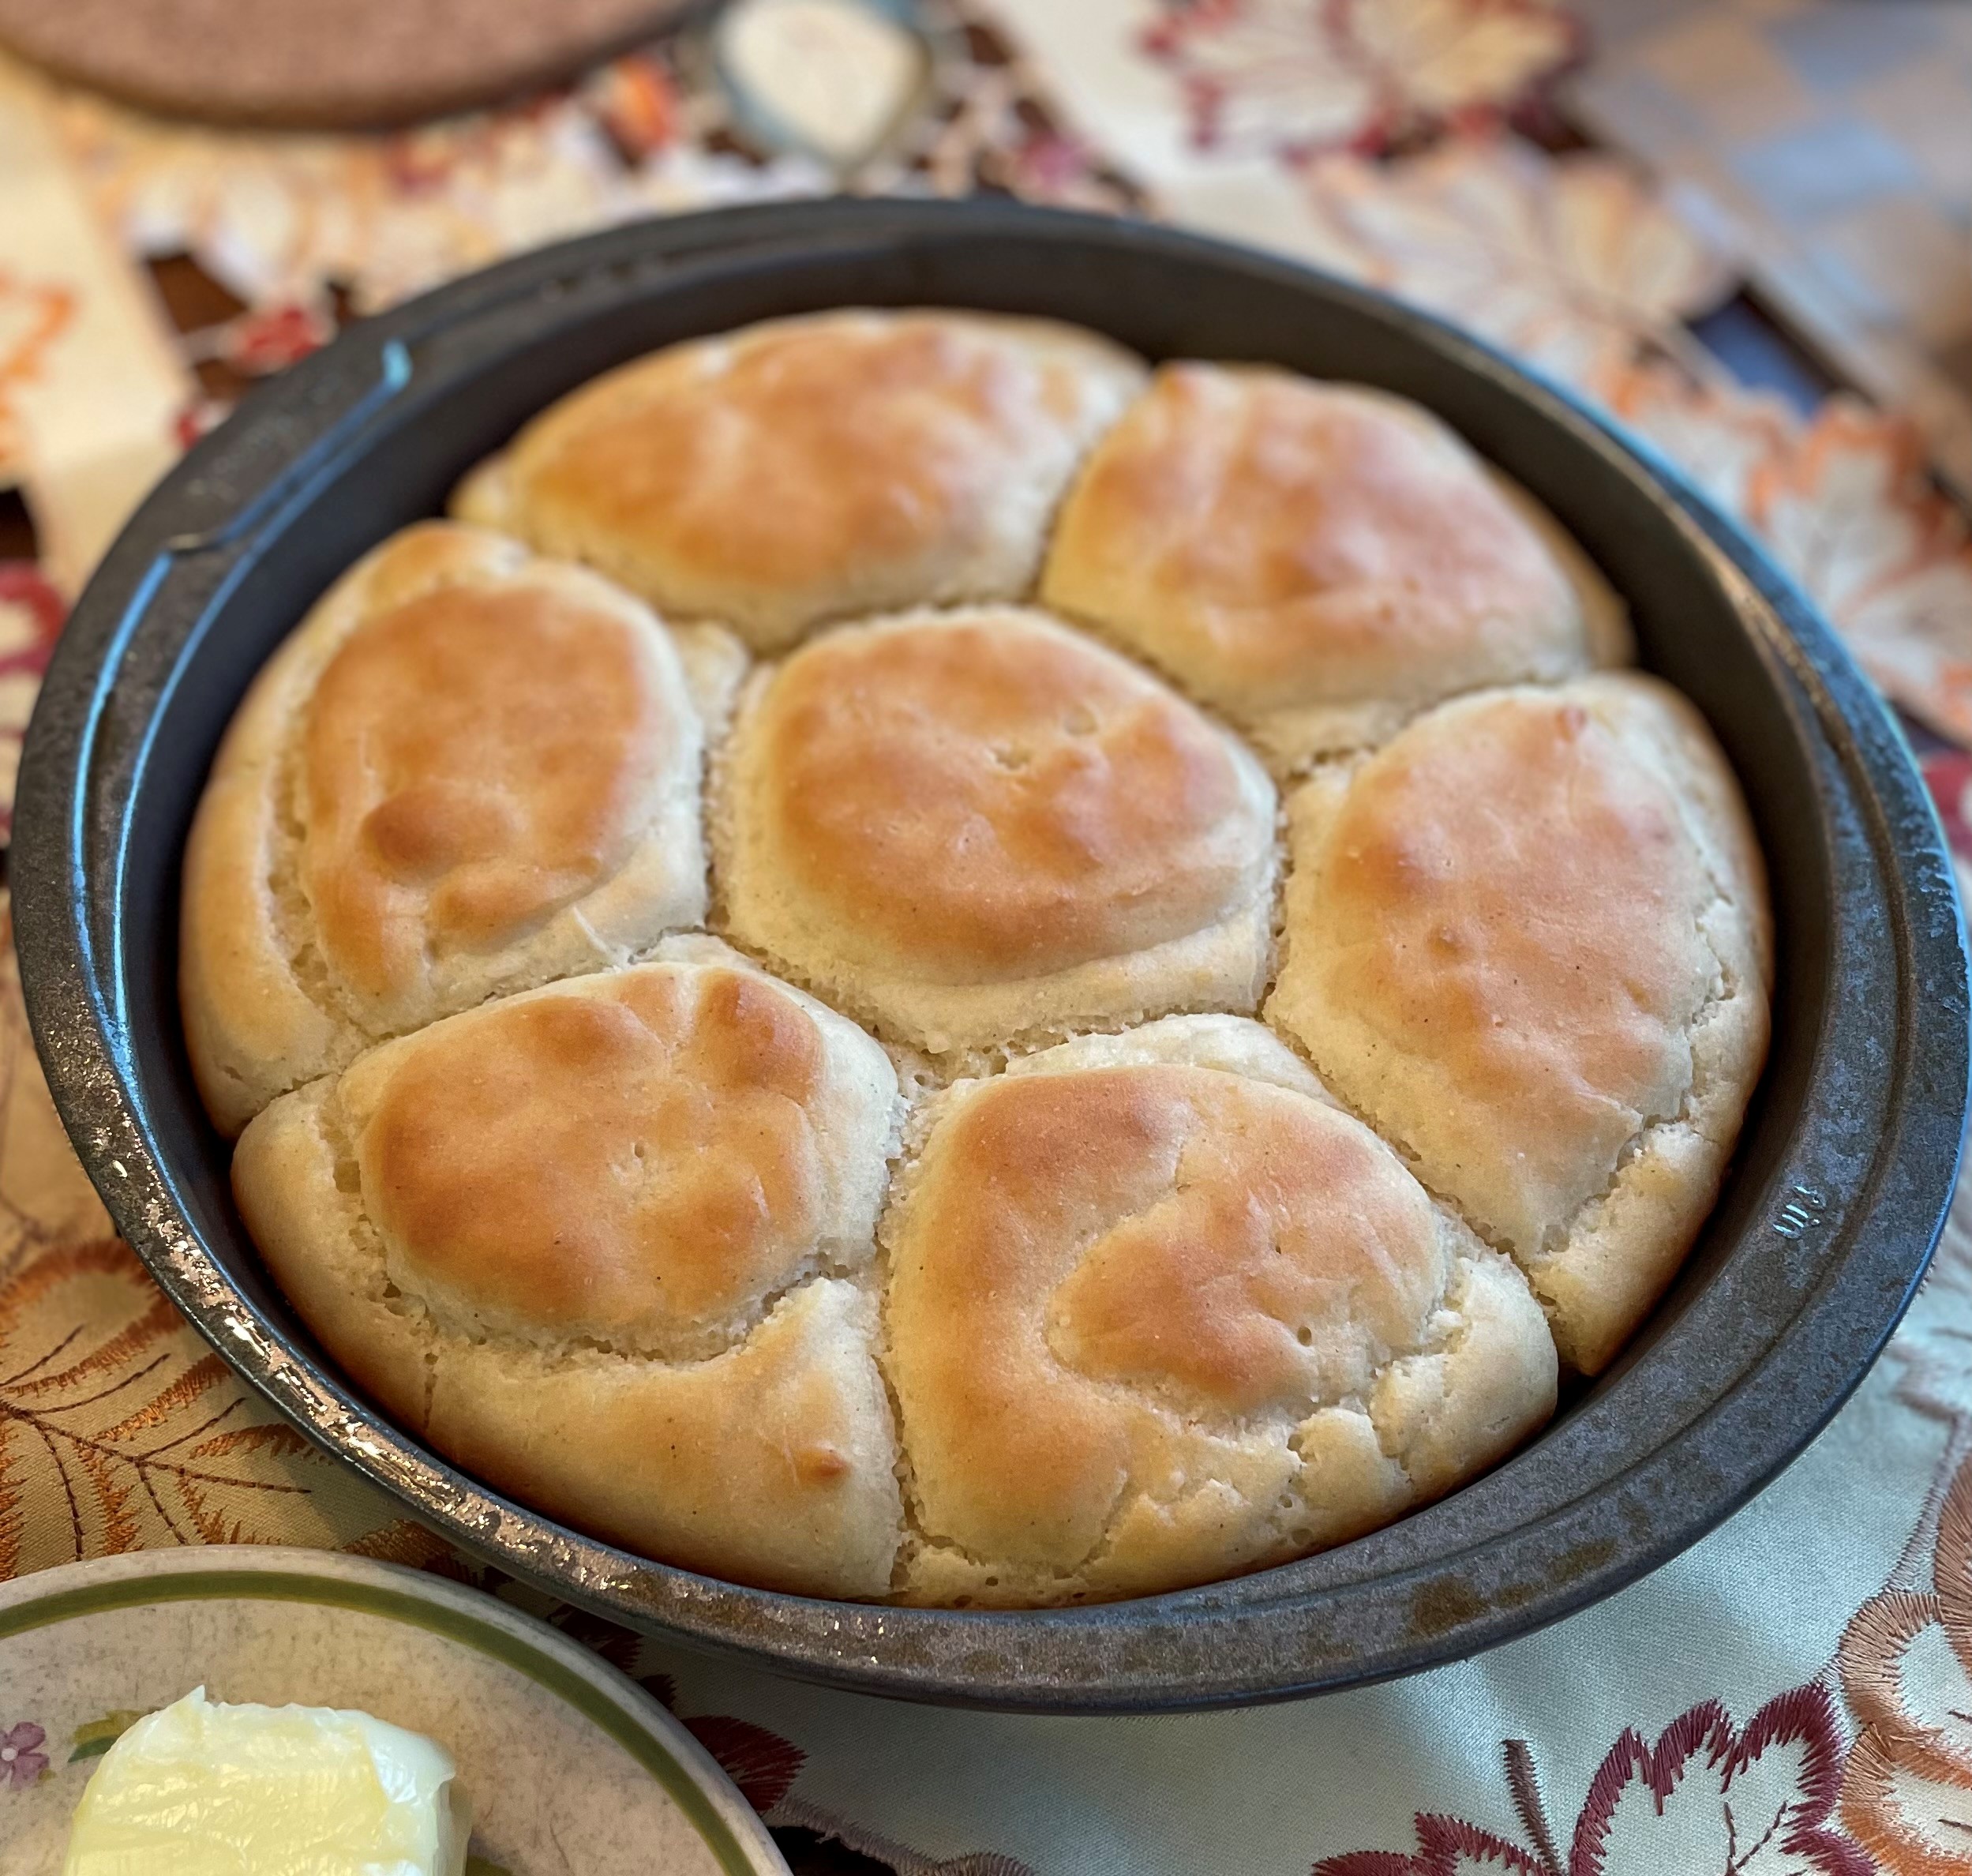
Spray an 8″ or 9″ cake pan with non-stick spray. Using a 1/4 measuring cup, dollop the batter into the cake pan, to get 9 mounds of batter. It’s best to start in the center.
Dip your fingertip in warm water and smooth out the tops of the mounds. Cover the pan with a dry towel. Let rise for an hour or so.
Preheat oven to 400 degrees F. Bake rolls 25-28 minutes at 400 degrees F. The tops should be golden brown. Remove from oven and brush the tops with melted butter. Serve.
NOTES: I was amazed that this worked so well. I used Bob’s Red Mill 1 to 1 Baking Flour. I weighed my flour as that is the most accurate way to measure flour. The recipe is from mygluten-freekitchen.com and I would recommend that you visit her site for more detailed instructions. She offers a lot of options regarding types of gluten-free flour, xanthan gum, yeast, and dairy. I’m just telling you here how I did it.
I learned that since there is no gluten to build, it doesn’t hurt anything to mix it for awhile. Mixing helps the flour to absorb the moisture. I learned that the pan provides the structure. If I had used an 8″ pan, instead of a 9″ pan, my rolls would not have been so flat. I learned that 1/3 cup dollops, as stated in the recipe, was too much so I ended up only with 7 rolls, as pictured. Next time I will use a 1/4 cup measurer. When I started, I used 1/4 cup warm water to activate the yeast. Then I measured 3/4 cup more warm water when it was time, so that it didn’t cool in the interim. Again, visit mygluten-freekitchen.com for more options. All in all, these turned out great and everyone liked them. They were soft and fluffy and went really well with the Beef Bourguignon.
- Dressing Ingredients
- 1/4 cup olive oil
- 2 cloves garlic, minced
- 2 Tbsp. fresh ginger, grated
- 1/4 tsp. crushed red pepper flakes
- 3 Tbsp. honey
- 2 Tbsp. cider vinegar
- Zest of one orange
- Salmon Ingredients
- 1/2# salmon pieces, bones and skin removed
- Favorite rub or seasoning salt
- Olive oil for frying salmon pieces
- Salad Ingredients
- Lettuce pieces, about 2 cups
- 1 orange, peeled and sliced
- 1/2 cucumber, sliced
- 1 avocado, cut into chunks
- 1/4 cup red onion, finely sliced
- 1/4 cup pistachios, shelled, roasted, and salted
Dressing: In a small saucepan heat the olive oil. Stir in the garlic, ginger, and pepper flakes. Saute for a few minutes until garlic and ginger are fragrant. Stir in honey, vinegar, and orange zest. When it starts to foam, remove from heat and set aside.
Salmon: Season the salmon with your favorite rub or seasoning salt or just salt and pepper. Heat olive oil in a skillet to hot hot. Sear the salmon quickly on both sides. Cook all the way through until it easily flakes with a fork. Remove from heat and set aside.
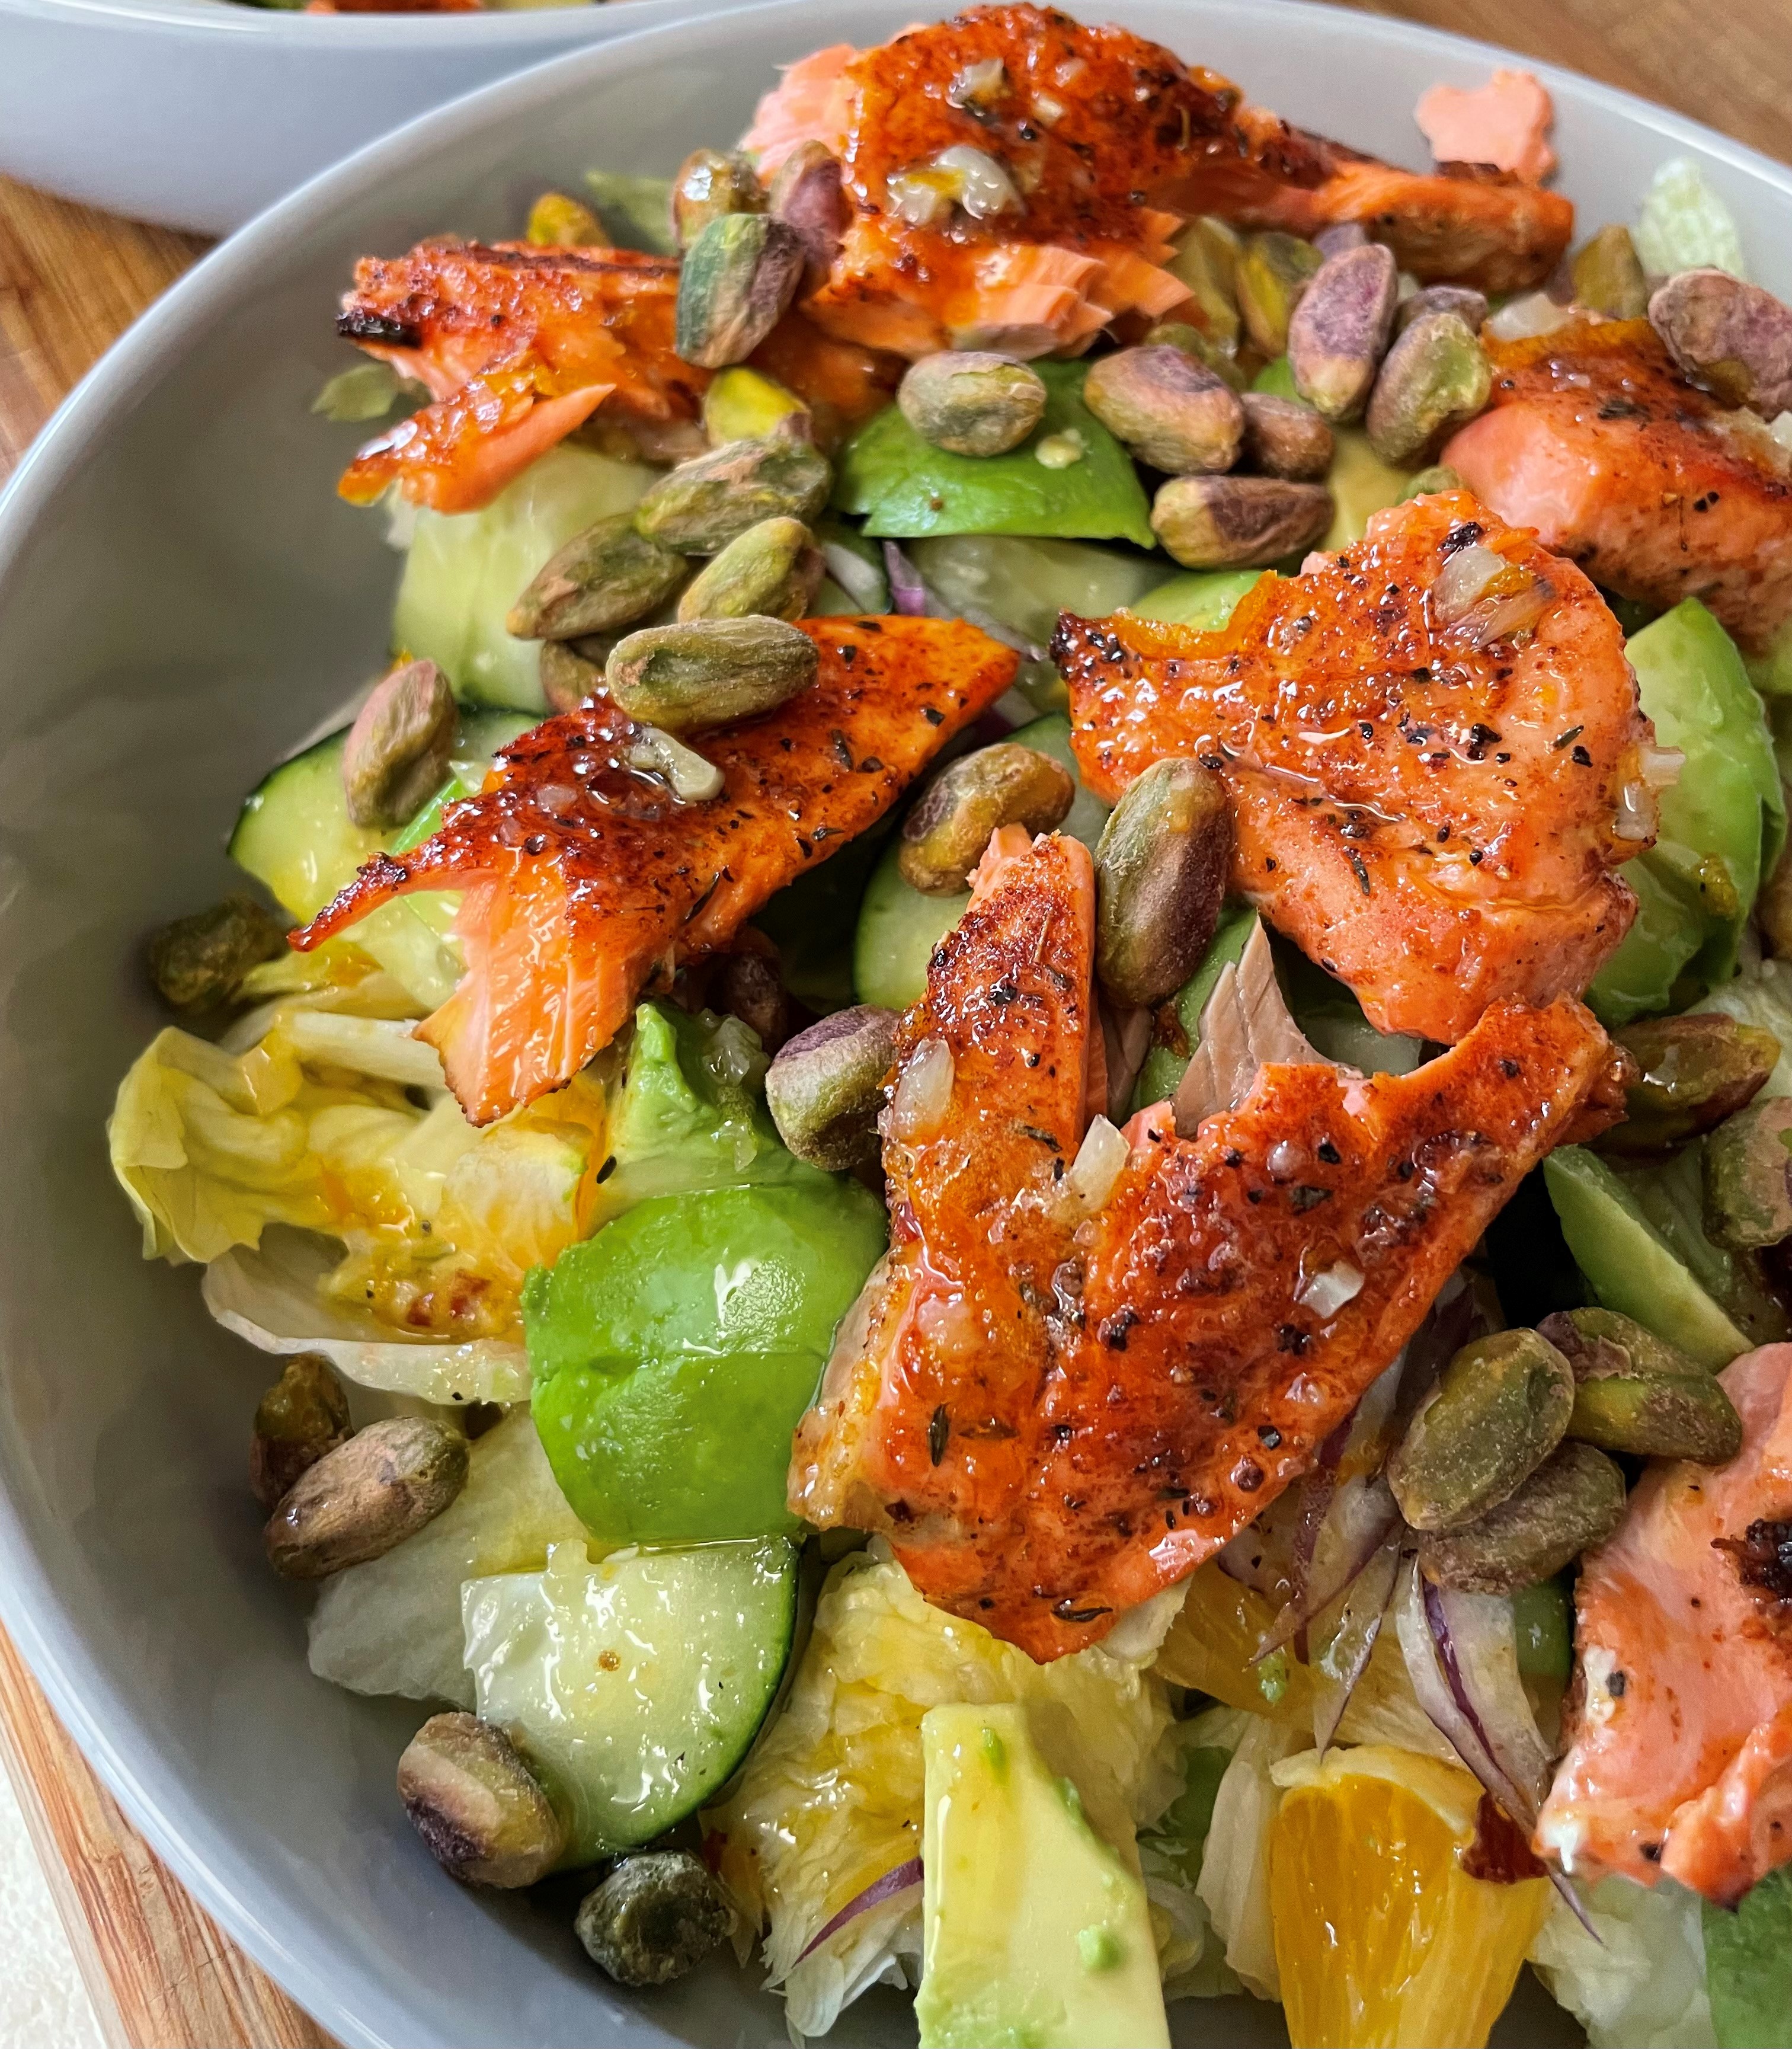
Salad Assembly: In separate bowls lay out beds of lettuce. Sprinkle around the orange, cucumber, avocado, and red onion. Place the salmon pieces on top. Just before serving, pour the warm dressing over the bowls. Sprinkle each bowl with pistachios. Serve.
YIELD: 2 large bowls as a main dish or more small ones.
NOTES: This delectable beauty comes from Gimme Some Oven. She uses almonds and sesame seeds instead of pistachios. It looks so good, but I went with the pistachios instead. Make sure to use a hearty lettuce, like romaine or iceberg, so it doesn’t get soggy under the warm dressing. I used a pre-measured frozen ginger mash, so it didn’t take very long to saute the garlic and ginger together. I prepped all the dressing ingredients ahead so I could just add them without having to stop mid-process. This was amazingly delicious.

This quick and easy meal comes from Dash of Mandi. It is REALLY YUMMY! I keep tweaking the recipe based upon what I have on-hand. The part that takes the longest is cooking the rice. I used black “Forbidden” rice that I found in the back of the cupboard. I didn’t have any edamame (I barely know what that is) or garbanzos, so I did without this time.
- Dressing Ingredients (all quantities are approximate–this is not fussy)
- 2 Tbsp. mayonnaise
- 2 Tbsp. sweet chili sauce
- 1/2 Tbsp. sriracha
- Bowl Ingredients (all quantities are approximate–this is not fussy)
- 1 cup dry rice, any kind
- 1/3 cup sweet chili sauce
- 1 Tbsp. soy sauce
- 1 tsp. sriracha
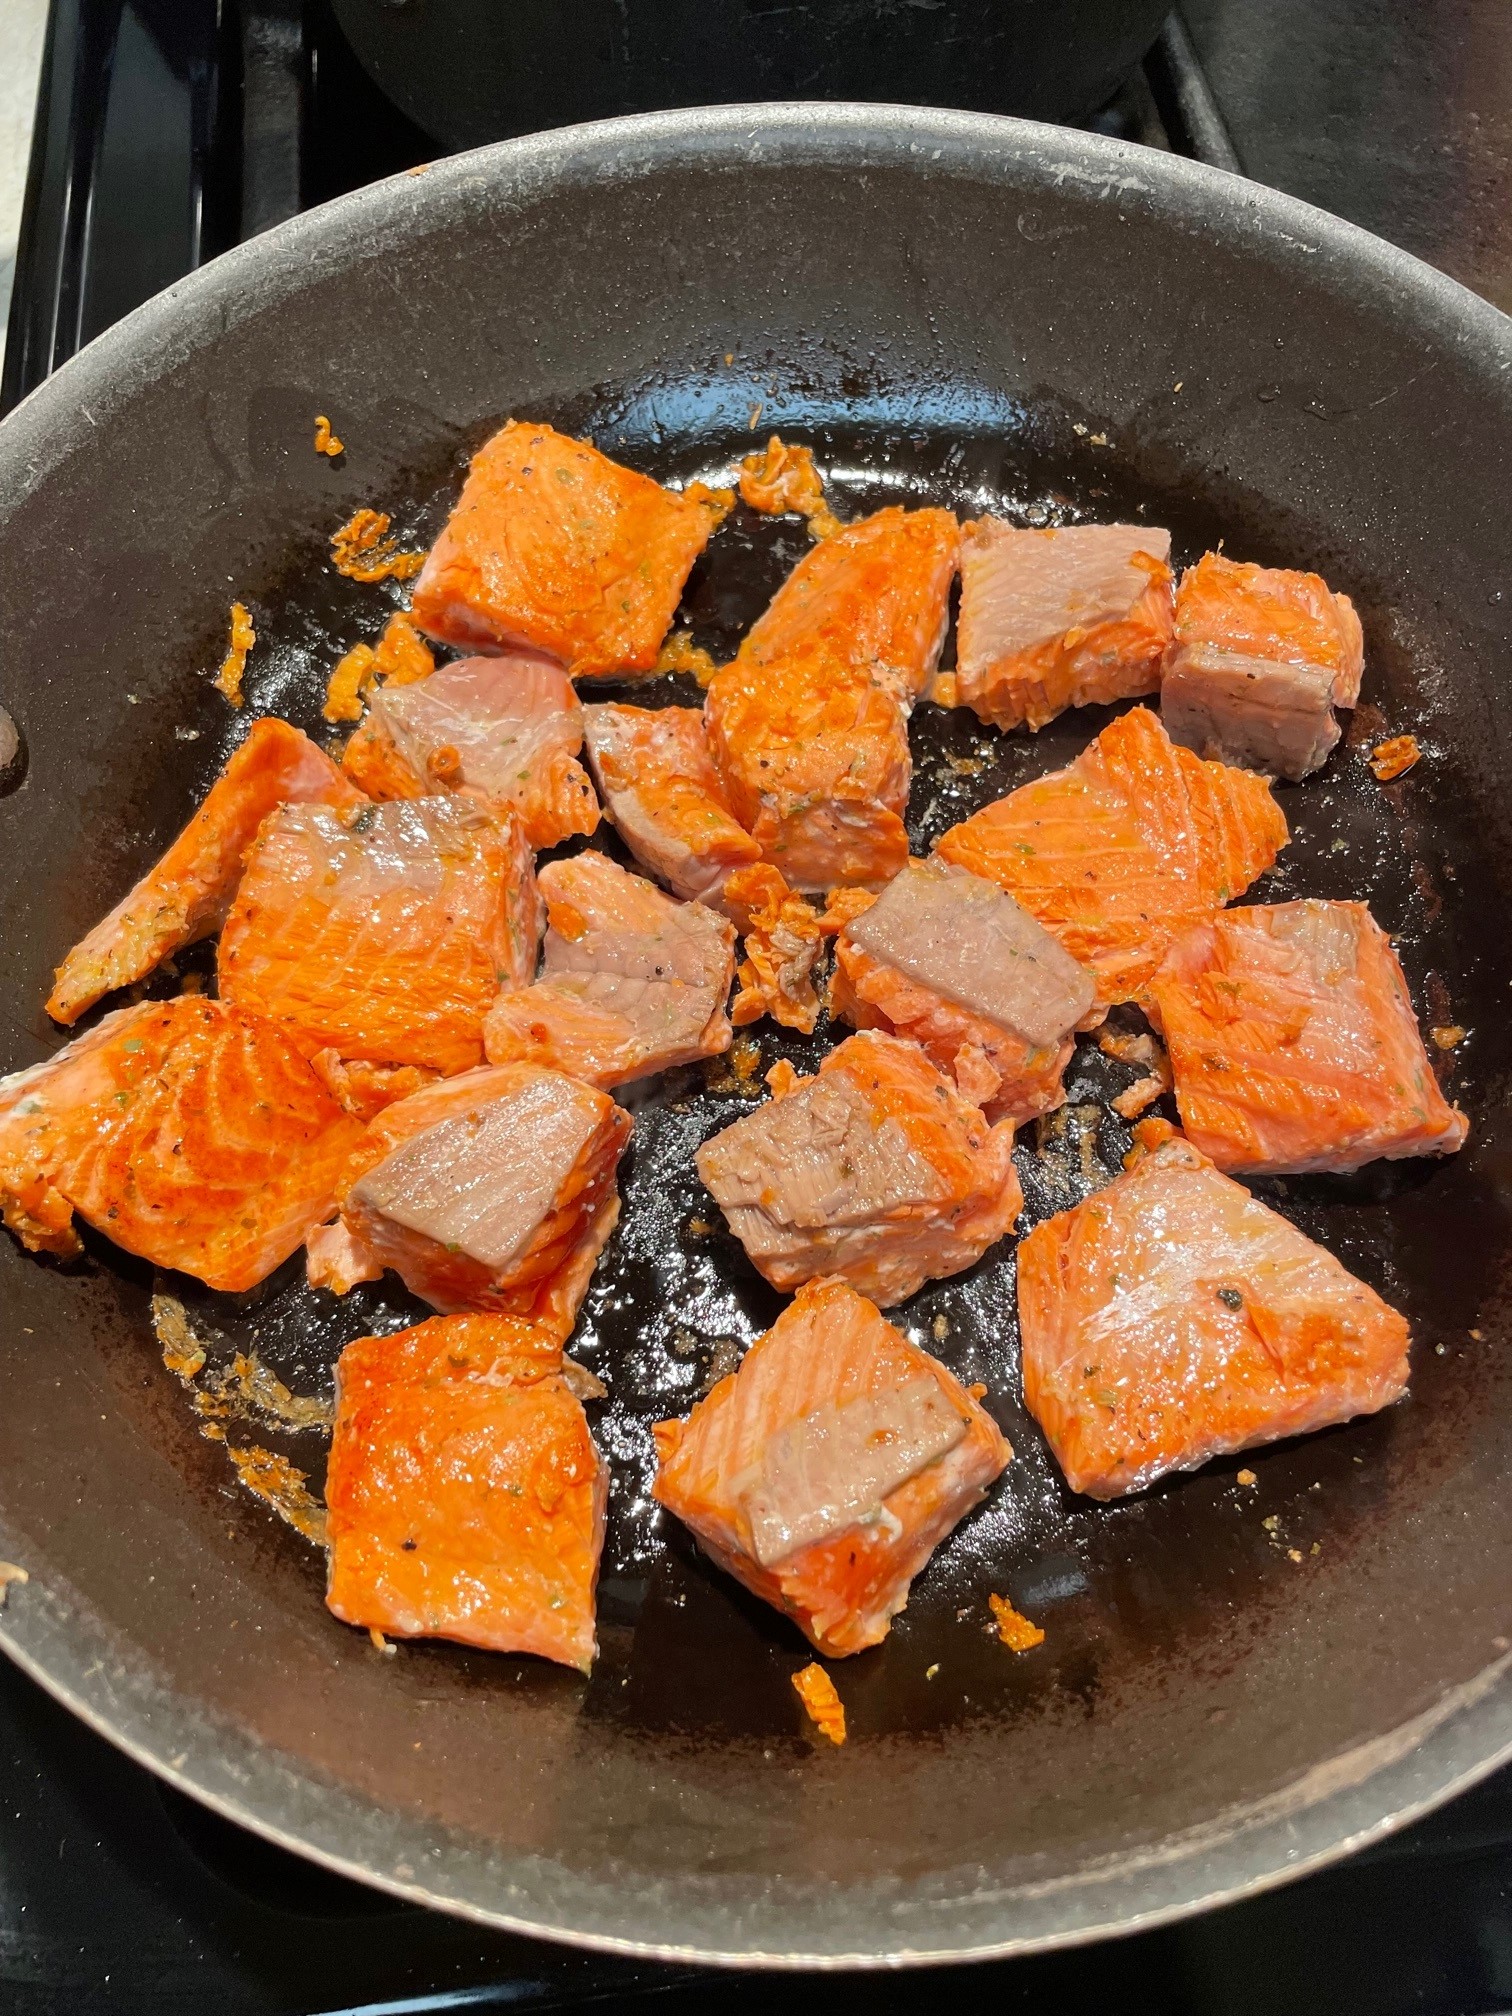
- 1 lb. salmon, skinned, deboned, and cut into 1-1/2″ cubes
- Salt, or seasoning salt
- Olive oil
- Sliced cucumber
- Sliced avocado
- Edamame, or garbanzo beans
- 2 green onions, sliced
- 1 tsp. of sesame seeds
Stir together the dressing ingredients and set aside.
Start cooking the rice by stirring together rice with 1-3/4 cup to 2 cups liquid in a saucepan. Bring to a boil. Cover. Reduce heat to low and cook for 25-30 minutes. Do not peek. Brown or black rice will take longer than white rice. You can use any kind of liquid you want. I used water this time, but have used broth previously.
Stir together sweet chili sauce, soy sauce, and sriracha. Set aside.
Sprinkle the salmon cubes with salt. About ten minutes before the rice is finished, heat olive oil in a medium skillet. Add salmon in a single layer. Gently turn salmon pieces to cook on all sides. Stir in sweet chili sauce mixture. Heat through.
Into each bowl, place a portion of rice, half the salmon including the sauce, and half the cucumber, avocado, and edamame. Sprinkle with dressing and then sprinkle with sliced green onion and sesame seeds. Serve.
YIELD: 2 bowls


- Ingredients
- Top sirloin beef steaks
- Kosher salt
- Favorite rub
Sprinkle the steaks with kosher salt. Place under refrigeration for two hours or overnight. After refrigeration, do not rinse, just pat them dry. Bring a cast iron or other heavy skillet to a high heat. Rub the fat of the steak against the skillet until a little bit has rendered. Set the 1st steak onto the fat and sear on all sides. Set aside onto a plate. Sear the steaks one at a time so that they get a nice brown color on all sides.


Let the steaks cool a little bit and then coat all over with your favorite spice rub. Preheat the smoker to 225 degrees F. Place the steaks on the grate inside the smoker. Let them smoke for about 45 minutes and check the temperature. When the thermometer reads 130 degrees F (should be another 15-30 minutes or more), remove from smoker. Cover loosely with foil and let stand for ten minutes or so. Slice and serve or serve whole steaks. ABSOLUTELY DELICIOUS!
NOTES: I’m using a Traeger pellet smoker, so the temperature is pretty consistent. These steaks are typically lean and a large cut. Dare I say, a bit tough, but smoking like this really softens them up. They were so, so good. I used Tom Douglas’ Rub with Love Salmon Rub. It’s what happens when you have a pound of it and are trying to use it up. Good thing it tastes good on everything, not just salmon!
