You are currently browsing the category archive for the ‘Miscellaneous’ category.
 I have a glut of cucumbers and we can only eat so many pickles. Since I do prepare lamb chops pretty frequently, this jam may be a good accompaniment to that and other meats. It also would taste amazing with cream cheese or brie on salty crackers. Oh, yeah!
I started with a recipe found at Homespun Seasonal Living, but then branched way off to do my own thing.
I am not a canning expert. Please remember that as I tell you how I did this. I have made a lot of jams and jellies in my life. This is how I do it, right or wrong.
Ingredients:

6 cups cucumbers, peeled, seeded, and rough chopped
3/4 cup lemon juice
3/4 cup cider vinegar
6 cups sugar
1 envelope of Certo liquid pectin
Few drops of green food coloring, if necessary
4-5 Tbsp. finely sliced fresh mint leaves
Run the cucumbers through a food processor using the S-Blade, just a few pulses should do. Don’t make your cucumber pieces too small. Place the processed cucumbers into a large pan. Stir in lemon juice, vinegar, and sugar.
Sterilize 8 half-pint jars. Heat lids in water. Cut open the envelope of Certo and place the envelope upright in one of the jars for easy access when needed. Get a ladle ready, as well as your canning funnel if you have one.
All set up? Okay, heat the cucumber mixture over high heat until it comes to a rolling boil. Let it boil for one minute. Turn off the heat and immediately stir in the Certo. Continue stirring while you quickly add green food coloring, if needed, and the mint.
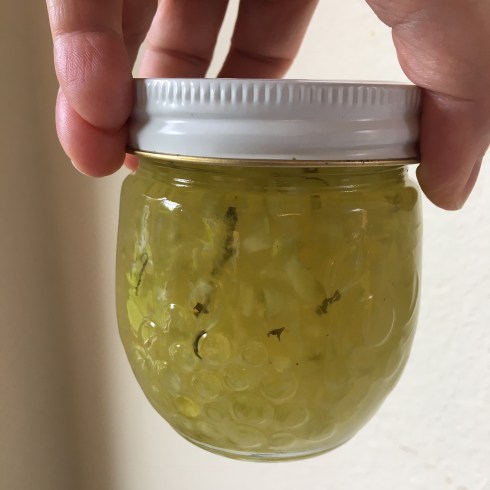
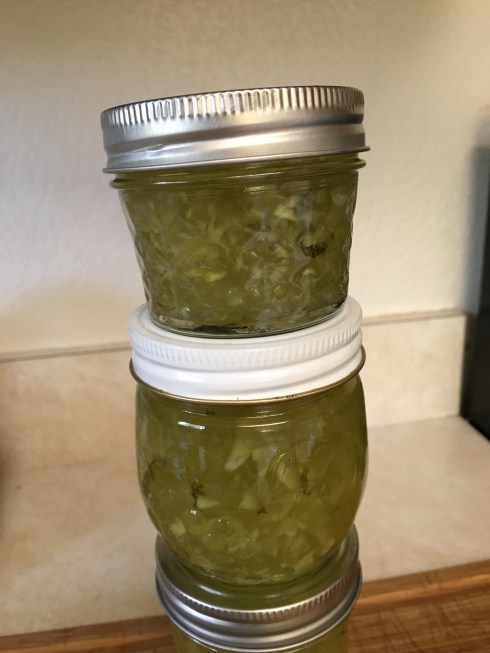
Ladle the jam into the jars. Remove the lids from hot water. Wipe off the jar rims and screw the lids on tightly. Invert the jars. Let them sit upside down for at least 30 minutes. Shake the jars around over the course of the next few hours, every so often, to try and get the pieces evenly distributed throughout the jars.
Notes: I found that there was no foam, so this did not require skimming. Easy! I used lemon cucumbers for 2/3 of the cucumbers and regular green cucumbers for the other third. I didn’t realize the color would matter as much as it did, so I added green food coloring at the end. It’s really nice looking. I used a mix of half-pint and quarter-pint jars. This didn’t set well until the next day. Be patient. And I had a few tablespoons extra, so I’ve tasted it and deem it GOOD! It was great with brie!
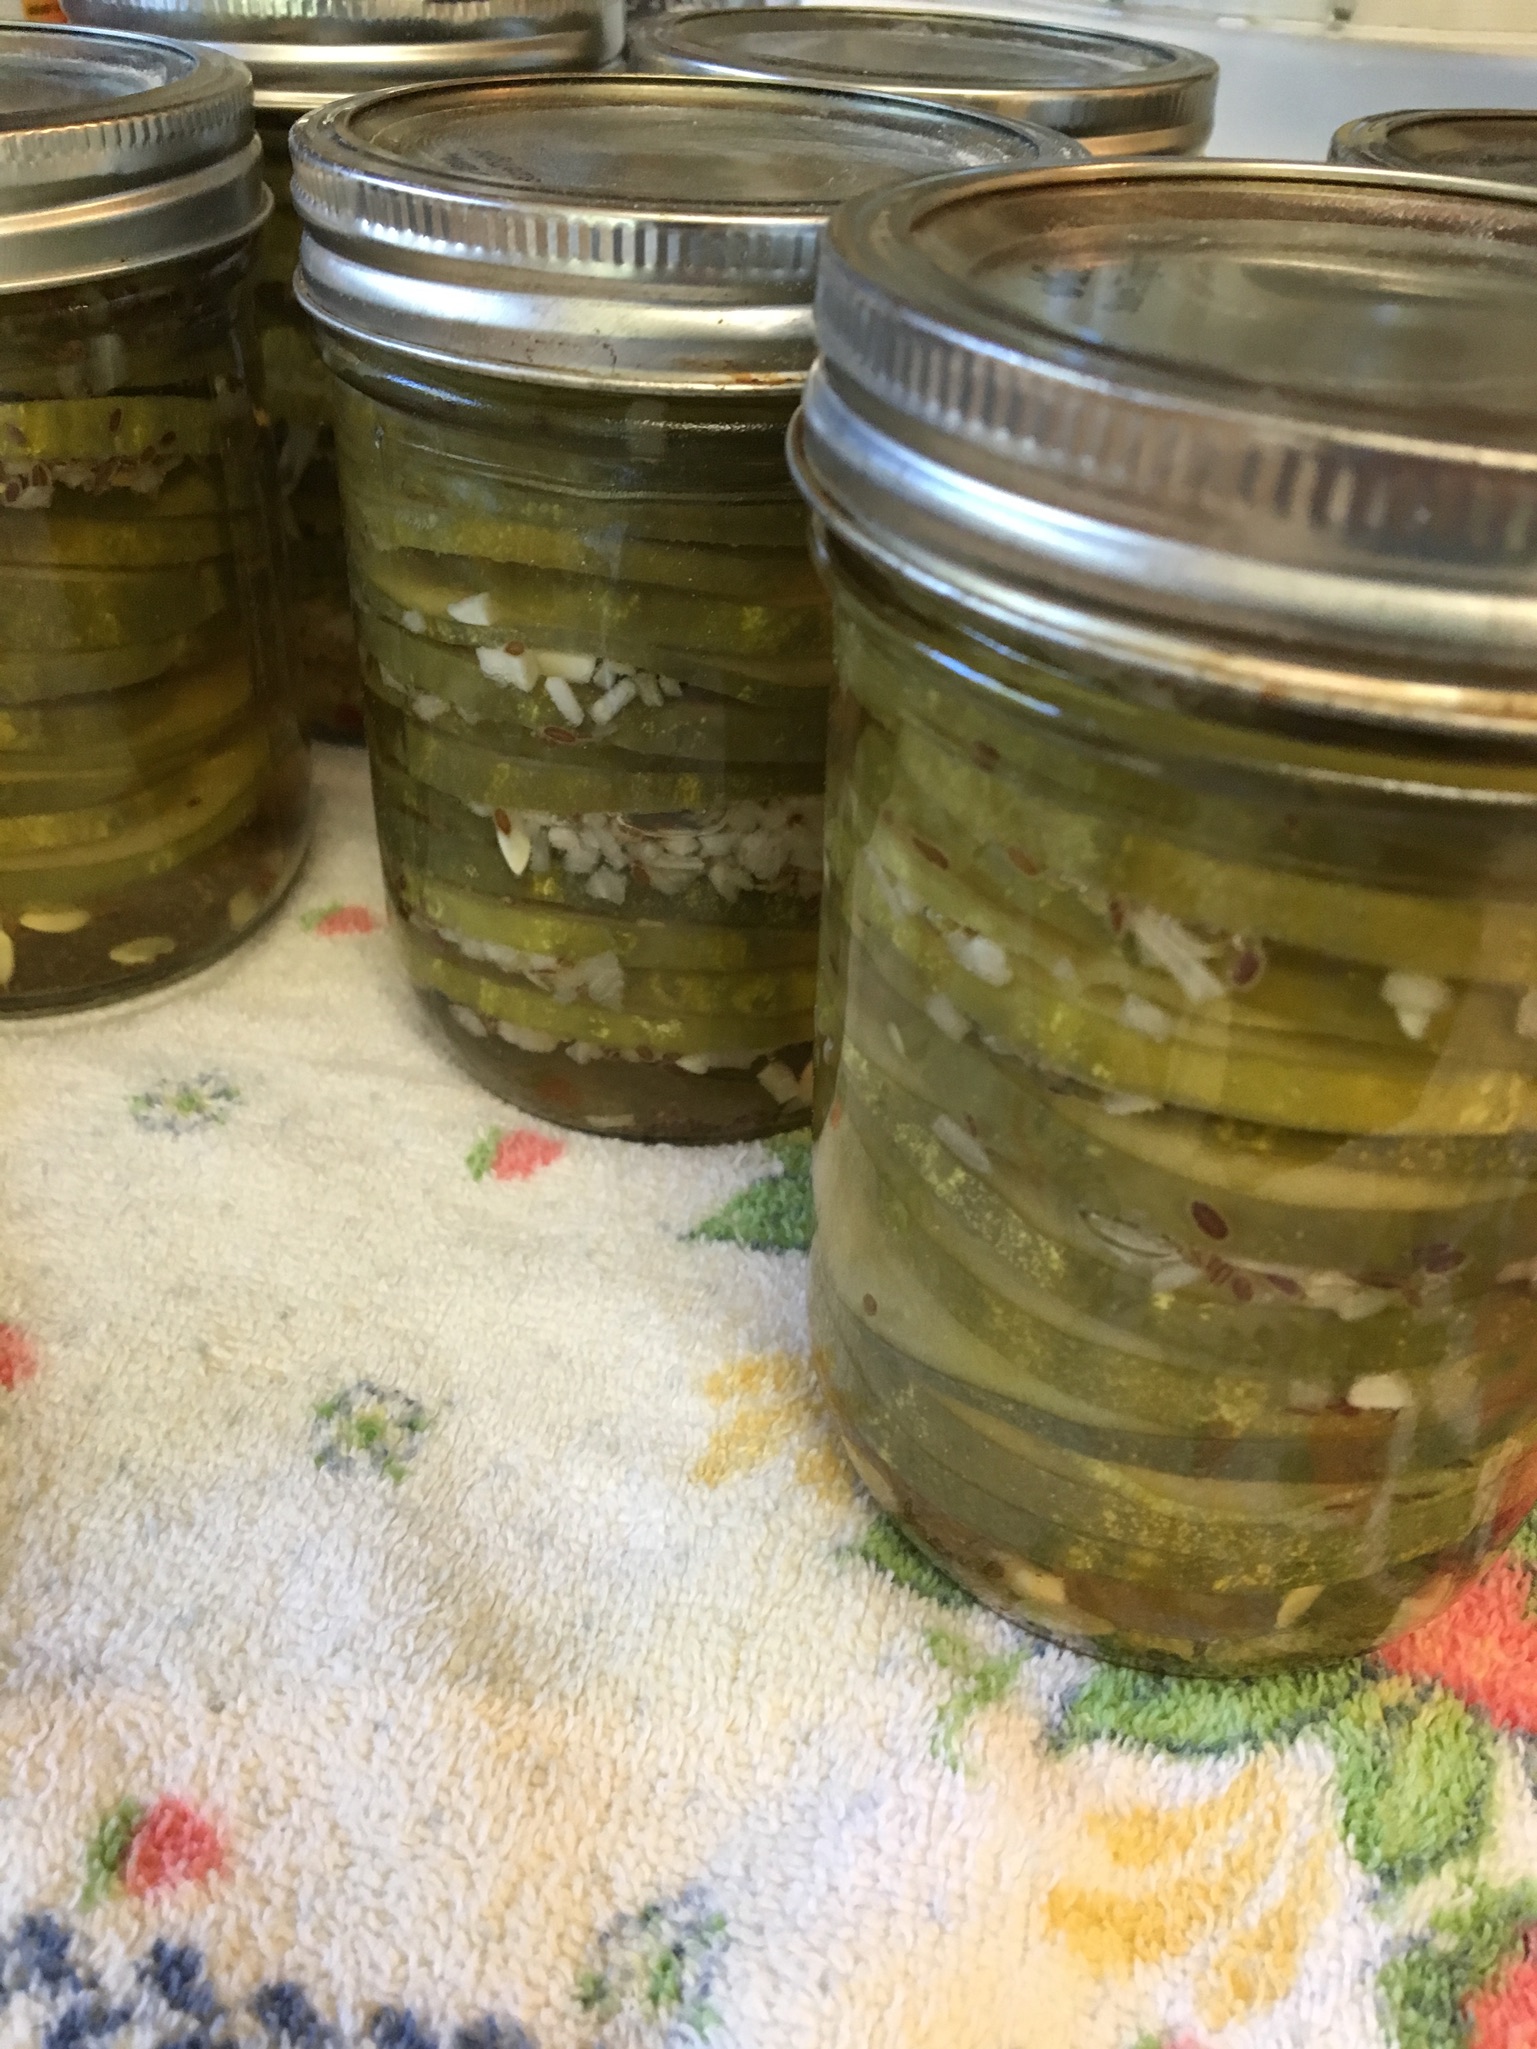
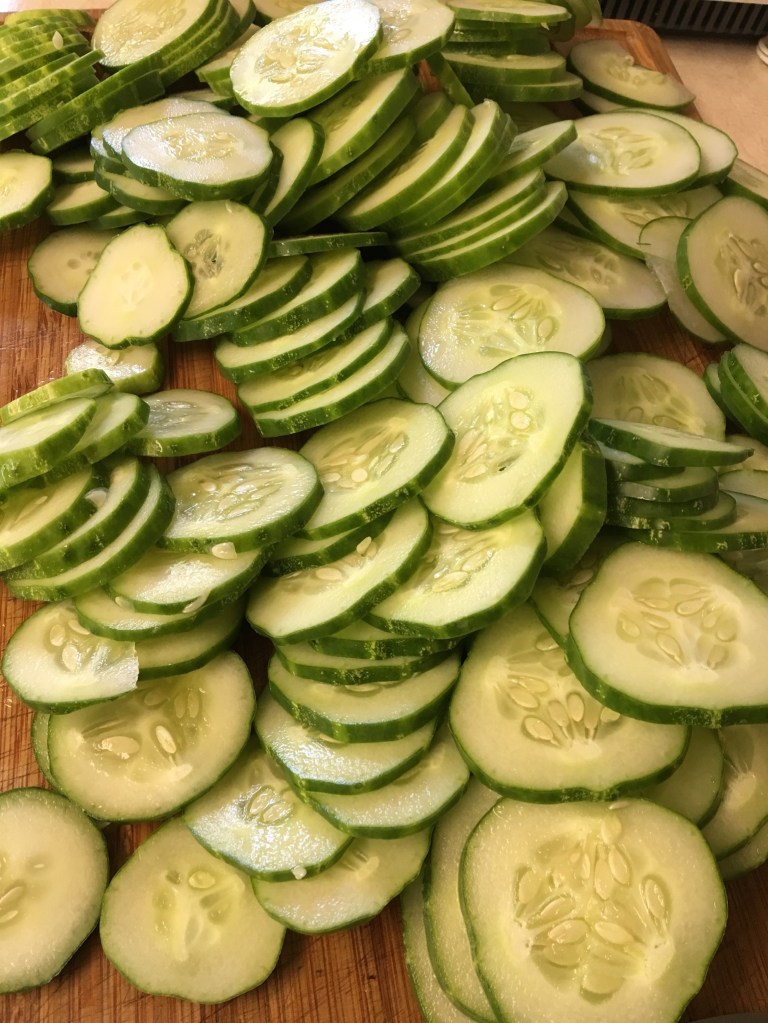
My cucumbers are humongously fat so I thought it would be nice to make these dill chips layered carefully into pint jars (makes 6 pints). They are pretty. The recipe is based upon one found at CookingBride.com. She says it will take about 3 weeks before they’re ready to eat. Maybe I can wait. Maybe.
- TO BEGIN
- 2 Tbsp. canning salt
- 3 cups water
- 4 lbs. cucumbers, sliced into 1/4″ slices, crosswise
In a very large non-corrosive bowl, mix together salt and water until salt has dissolved. I used my 32-cup Tupperware bowl. Add the cucumbers and stir around gently with your hands until all has been coated with salt water. Let stand 2-3 hours.
Drain cucumbers and rinse with fresh, cold water. I rinsed my big bowl, added cold water and put the cucumbers into it for a few minutes, then drained it again. Let stand until called for.
- TO CONTINUE
- 2 cups cider vinegar
- 1 cup white vinegar
- 3 cups water
- 2 Tbsp. sugar
- 2 Tbsp. canning salt
- 6 tsp. dill seed
- 6 tsp. minced garlic
- 6 tsp. DRIED minced onion
- 2 tsp. dried chili flakes
In a large saucepan add vinegars, water, sugar, and salt. Bring to a boil. In the meantime, add 1tsp. dill seed, 1 tsp. minced garlic, 1 tsp. dried minced onion, and a pinch of dried chili flakes to each of 6 sterile pint jars.
Ladle a bit of hot brine into each jar. Start layering the cucumber slices into the jars, adding brine once in awhile so the slices do not stick together. Once all the cucumbers are used up, distribute the remaining brine. Run a knife around gently and tap the jars so as to get the bubbles out and use up as much brine as possible. Make sure to leave 1/2″ head space at the top of the jars. Screw hot lids onto the jars. I shook the jars around to get the spices distributed.
Place the jars in a boiling water bath for about 20 minutes of processing.

20 August 2019 update: This turned out to be a favorite over the winter. It’s really, really tasty. We used on burgers and sandwiches.
 Too many cucumbers! This one looked good, not sure it’s going to withstand the canning process, but . . . too many cucumbers!
I started with a recipe from Many Grandmas. My cucumbers were so big it was difficult to slice them into strips as indicated in her recipe, but I went for it anyway. Here is how I did the recipe.
2 very large cucumbers
1 very large carrot
1/2 tsp. salt
1 cup rice vinegar
1 cup water
1/2 cup sugar
4 Tbsp. sweet chili sauce
2 cloves garlic, minced
Cut the cucumbers in half lengthwise and then lay the cut side down on the cutting board. Using a vegetable peeler, peel the cucumber down into very thin slices.
Peel the carrots and then use a lemon zester to score the length of the carrots several times. Slice the carrots cross-wise. The scoring will make them into a pretty flower shape.
Put the cucumbers and carrots into a bowl and sprinkle with salt. Mix gently, but well. Let stand for 30 minutes or so. Drain. Rinse with cold water and drain again. Let stand.
In a saucepan mix vinegar, water, sugar, and sweet chili sauce. Heat to boiling.
Sprinkle the minced garlic into two pint jars. Divide the vegetables into the jars and pour hot brine over all, leaving 1/2″ headspace. Screw lids onto the tops of the jars and process in boiling water bath for 5 minutes. Remove.
In case you don’t know what sweet chili sauce is . . .

I had never cooked fresh beets before last year, so I really didn’t realize what I was missing. It’s been a revelation. This recipe is sort of thrown together, so take it for what it’s worth.
Scrub beets well, try not to pierce them. I snap off the long root. Wrap tightly in foil and bake at 350 degrees for an hour for tennis-ball sized beets, maybe longer if you have extremely humongous beets like I did. I baked mine for 1-1/2 hours. Last year I put my foil-wrapped beats on one of my oven-safe dinner plates. It ruined the plate. This year I laid a piece of foil across a metal pie pan and then put the foil-wrapped beets in the pan. I was trying to protect my cookware and it worked. No problem. Let beets cool until they’re not too hot to touch. Peel the beets. It’s easy, the skins slide off. Slice one beet into about 1/2-inch slices, not thin. You probably won’t need more than one beet.
In the meantime, boil 4 eggs to hard-cooked. I put my eggs in cold water and bring to a boil, let boil 5 minutes, then let them sit in the water until it cools and I’m ready to use. I don’t think it matters how you do this. Peel the eggs.
Make a mixture of 2/3 cup vinegar (I used cider vinegar) to 1/3 cup water and a sprinkle of salt. This mixture does not have to be precise. You may need more.
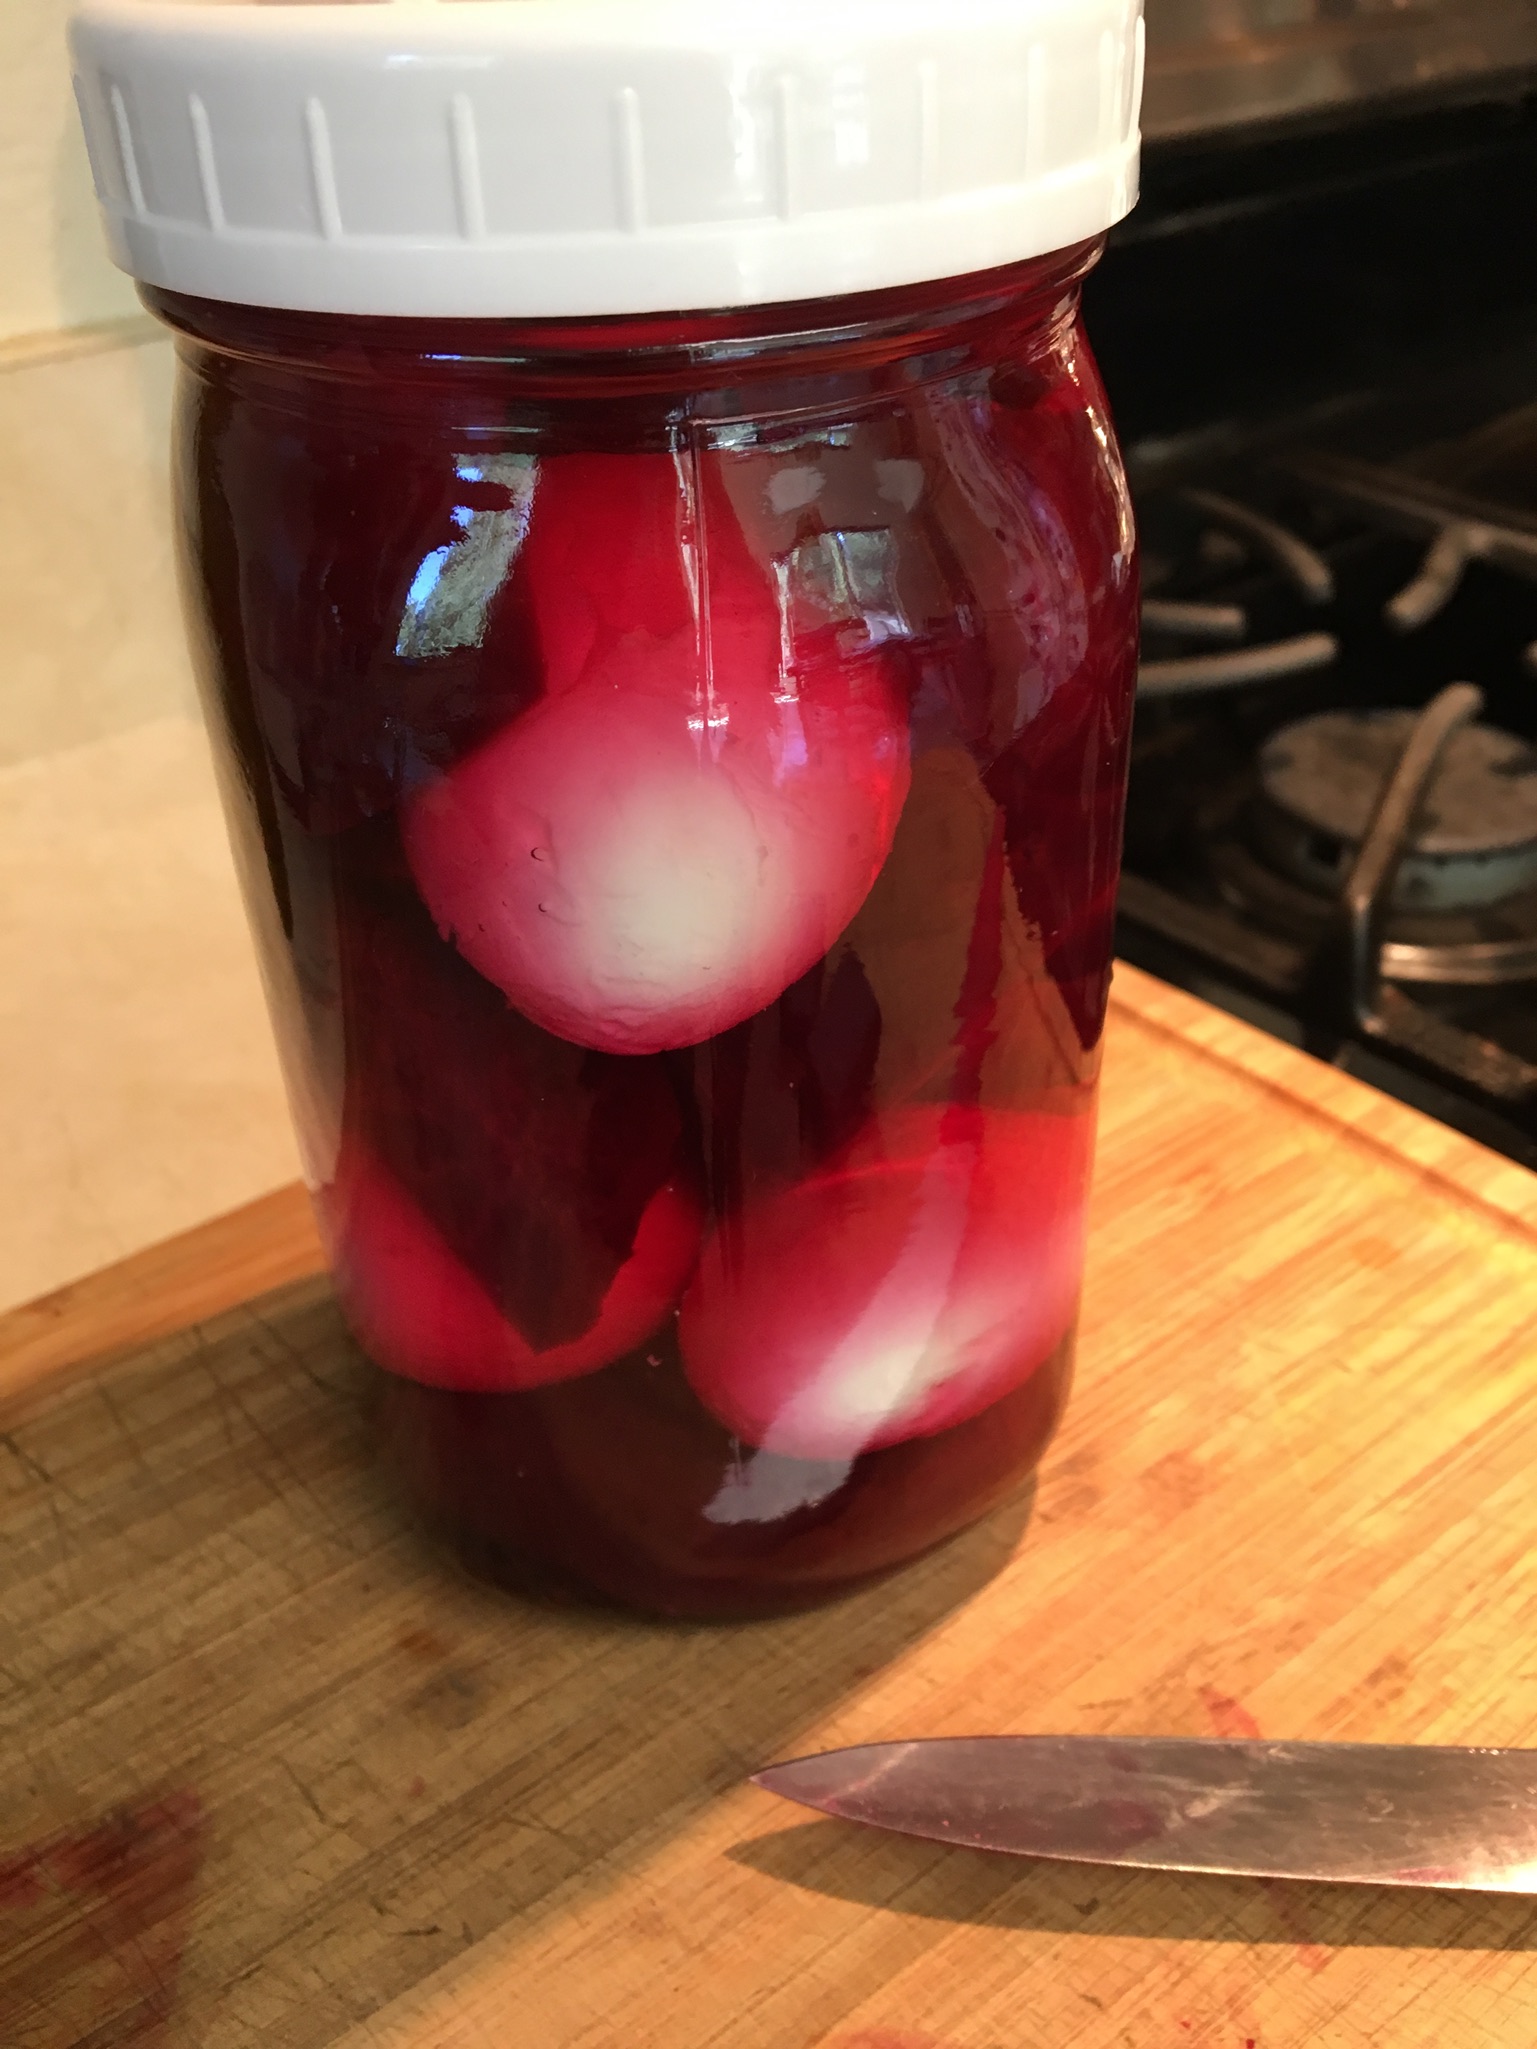
In a clean quart jar, pour a little vinegar mixture. Drop in a few beet slices. Drop in a boiled egg. Add vinegar mixture to cover. Drop in more beet slices, another egg, more vinegar mix . . . layer until you reach the top of the jar. Cover the jar with a lid.
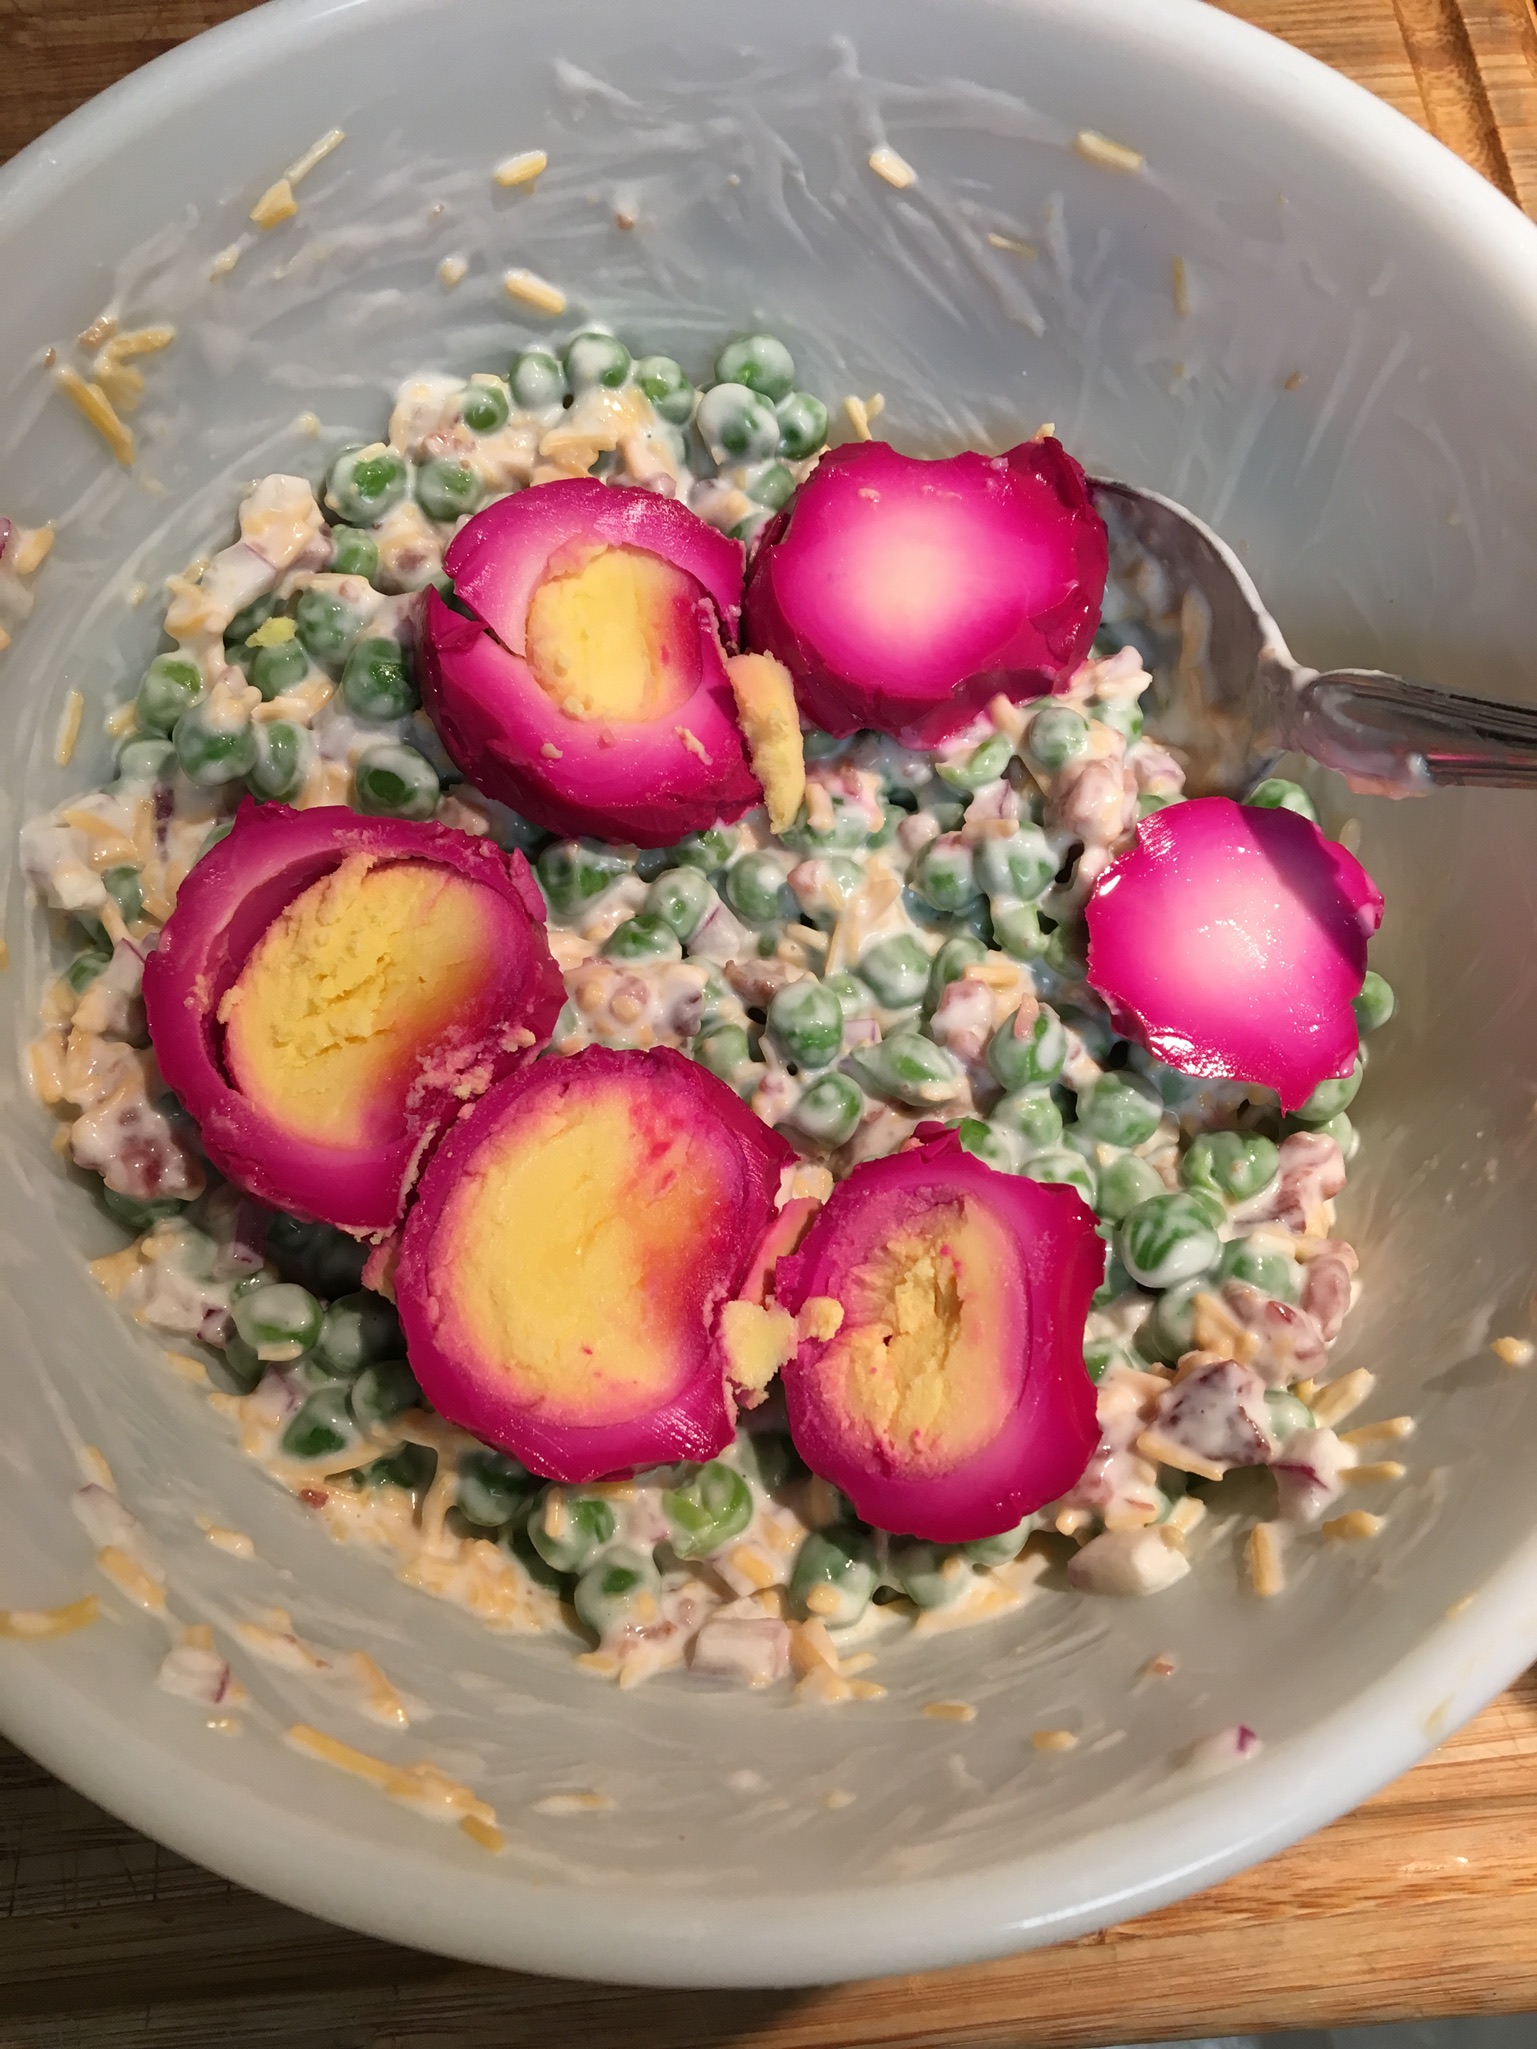
Refrigerate for three days, you can shake the jar around a little bit every day or so. These pickles are so yummy. The eggs are quite beautiful when sliced. They taste great and so do the pickled beets.
 This recipe is found at GeniusKitchen.com. I really love this relish. It’s not that hard to make and we use it to make tuna salad and potato salad. It’s good on hot dogs, too.
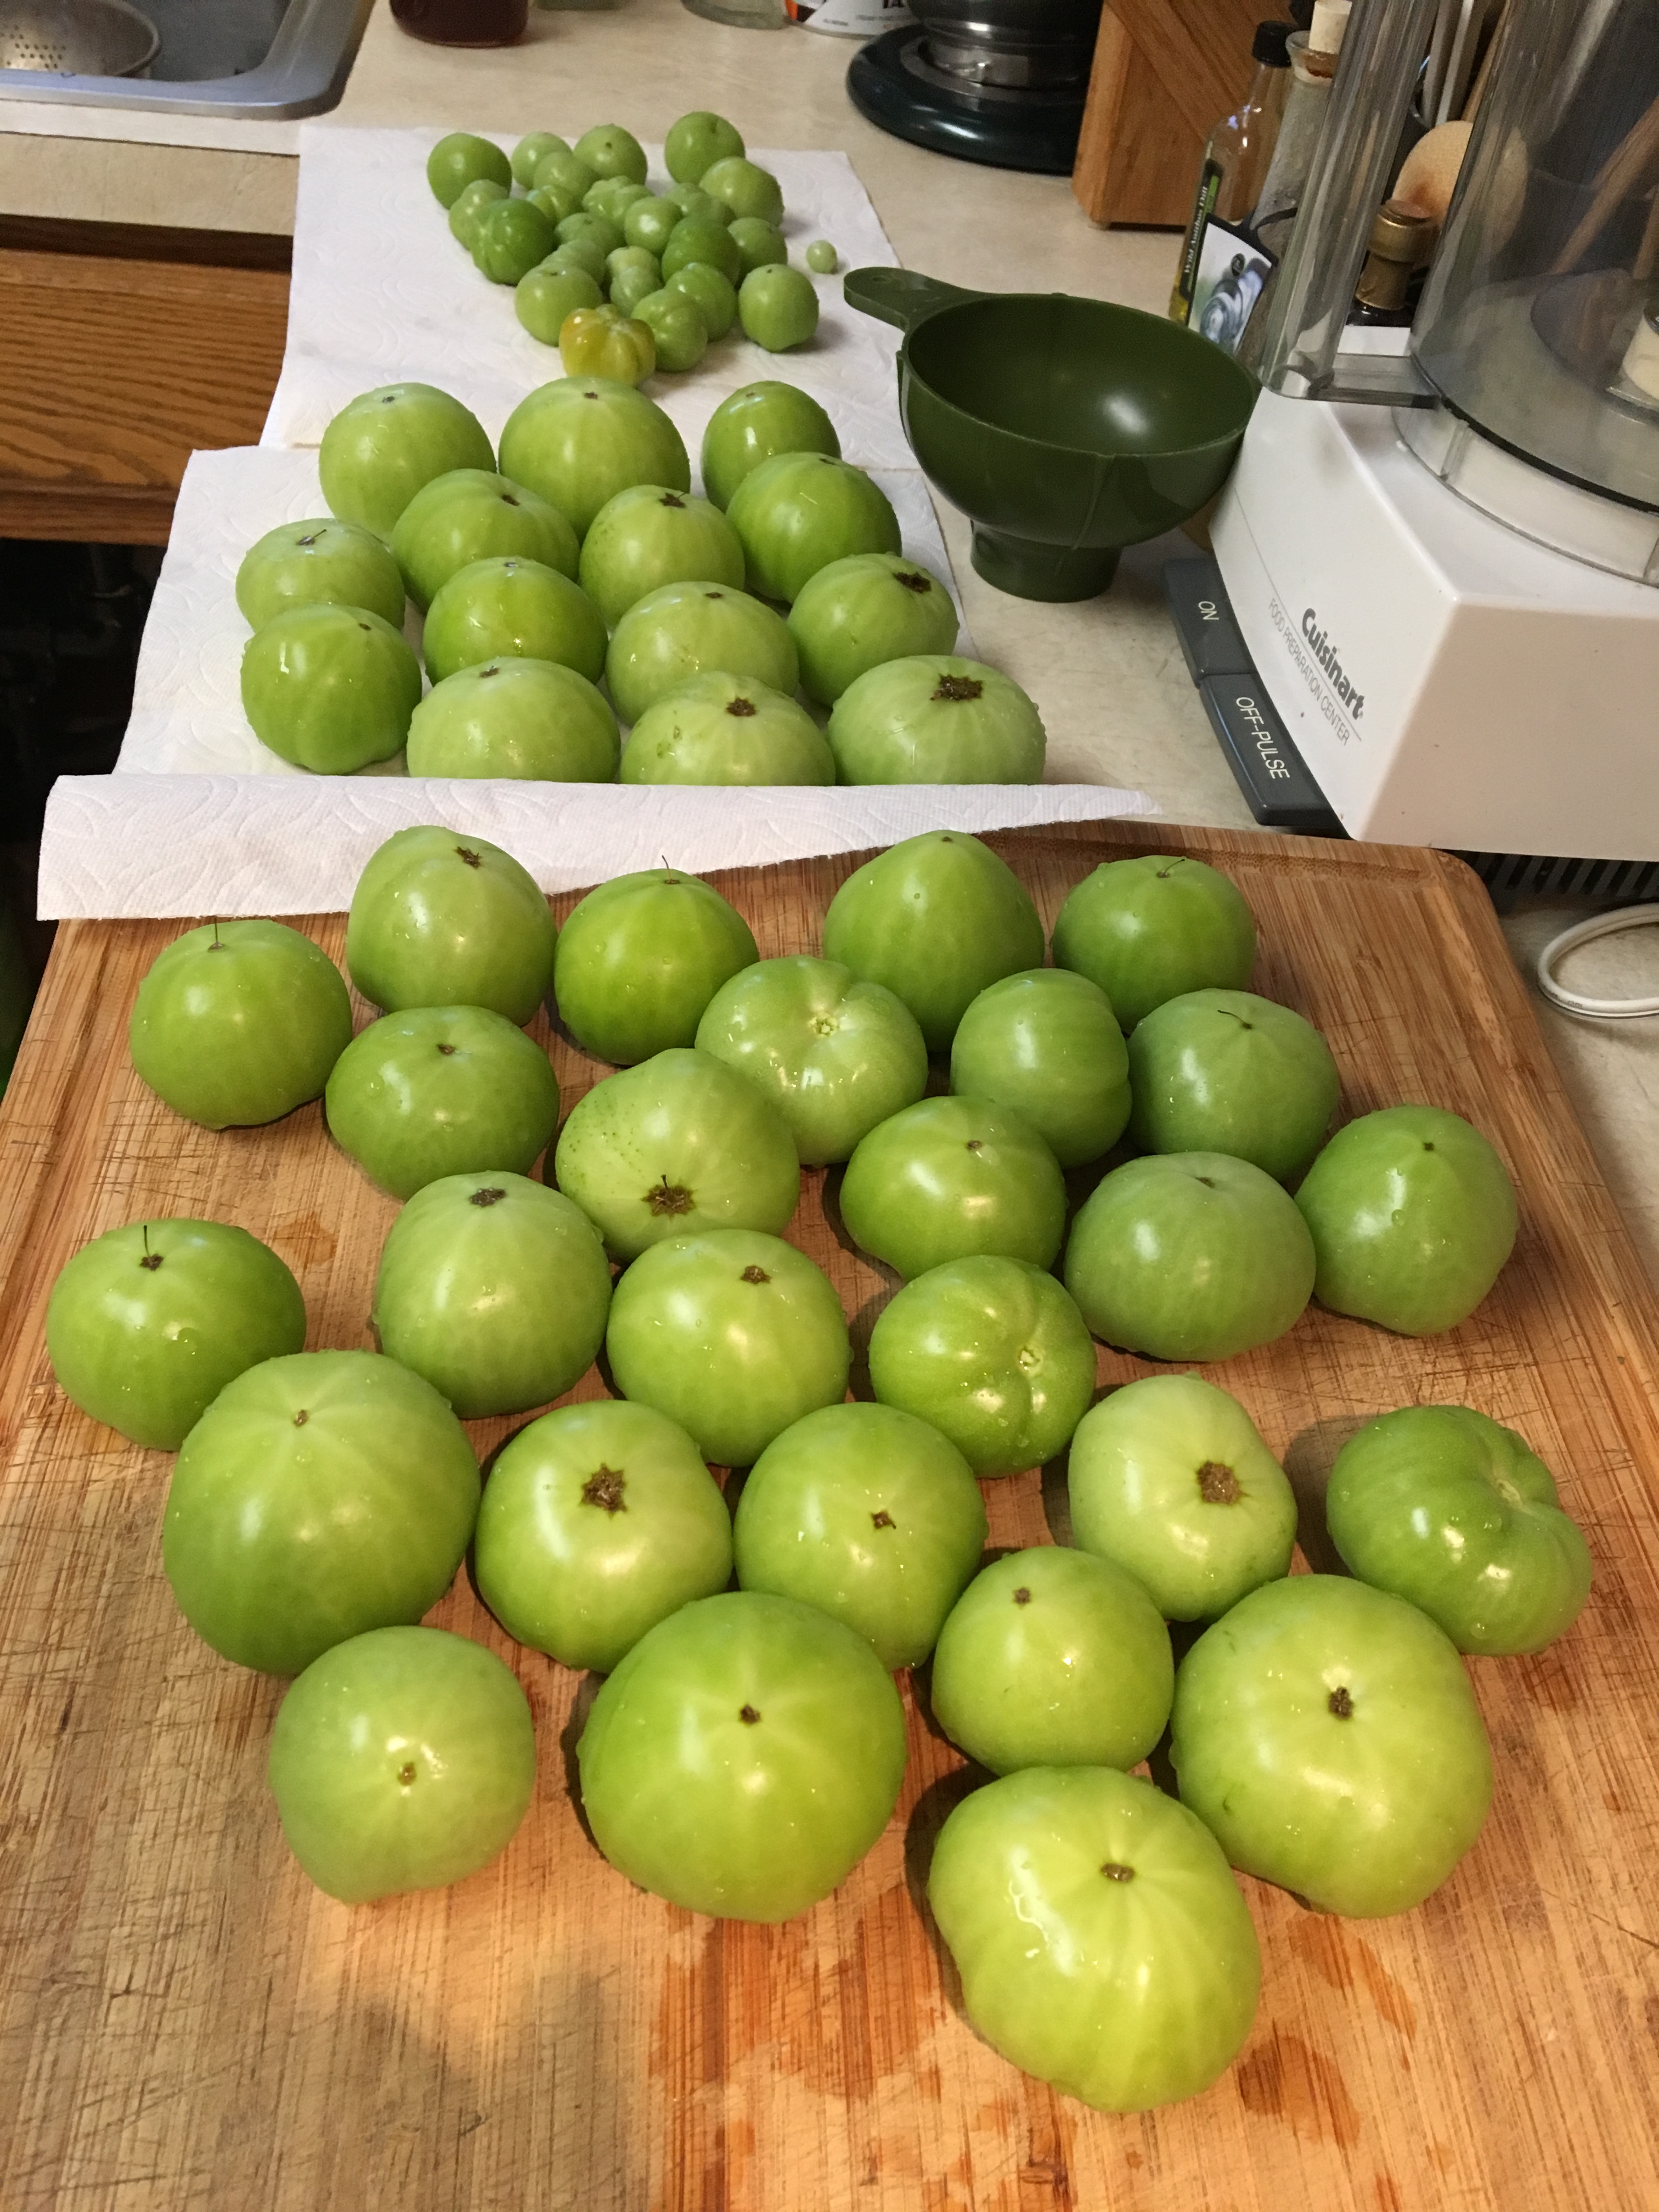
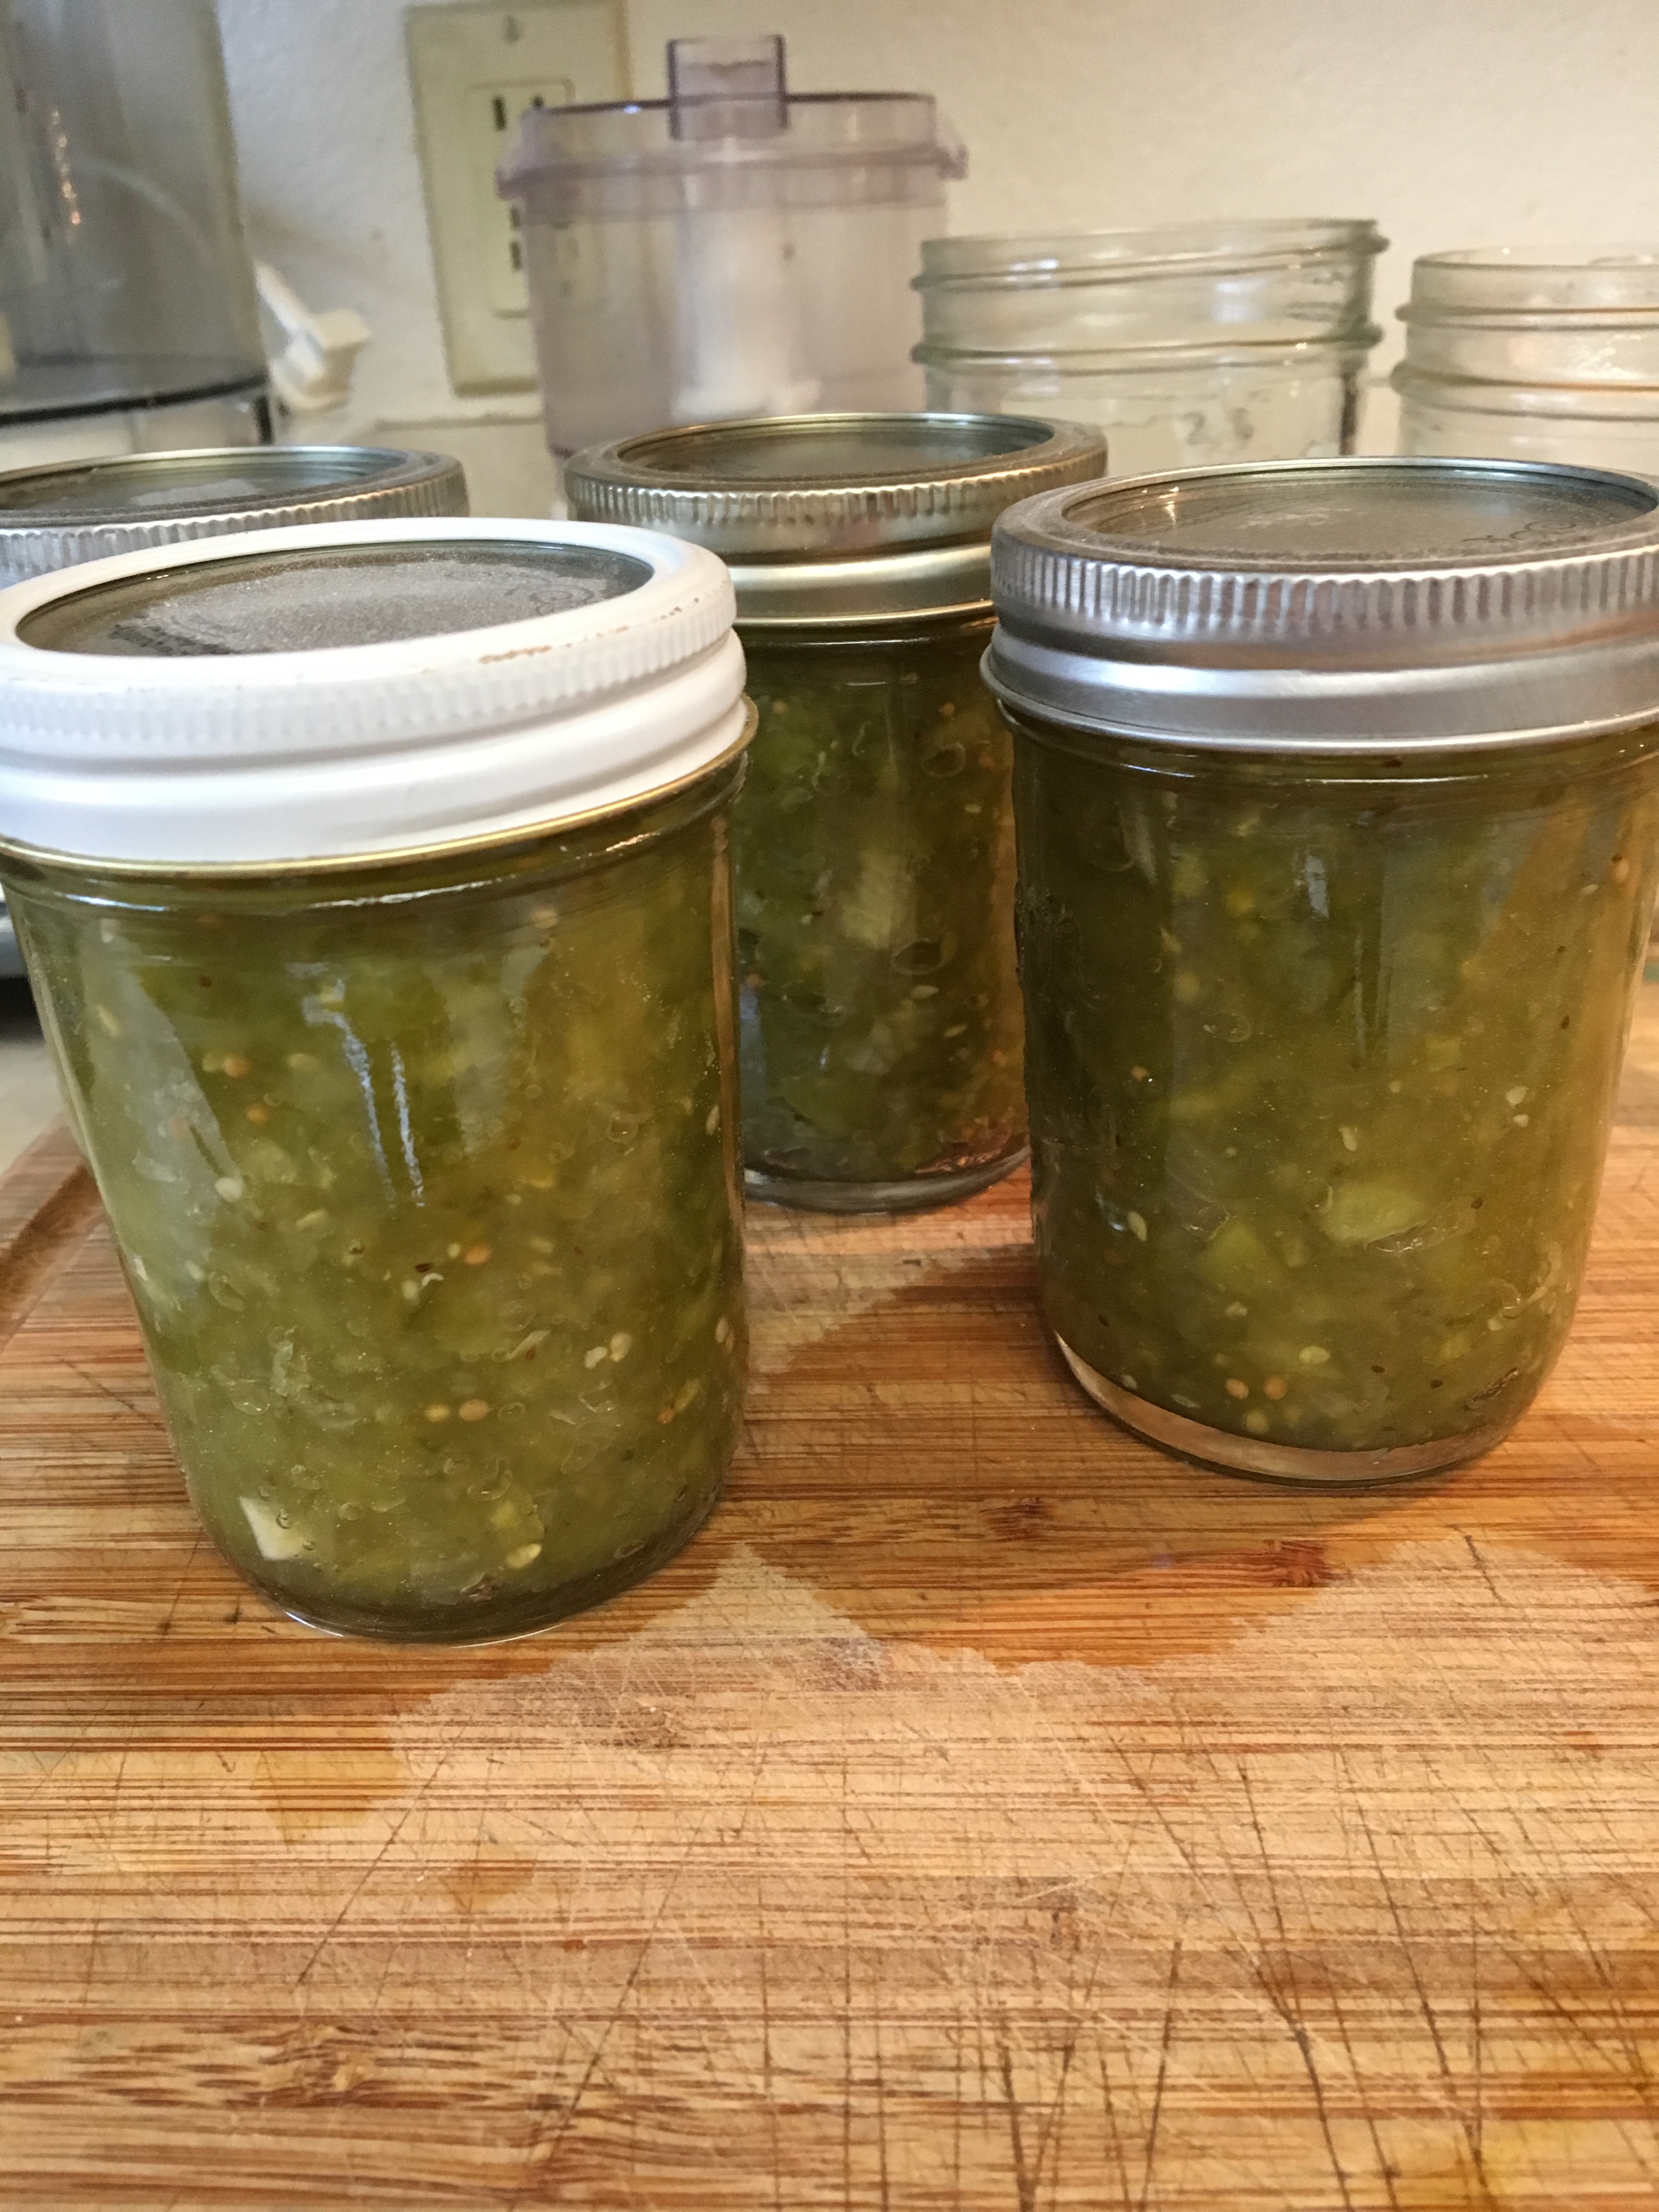
In the picture above, note that I used the nearest third to make the relish. I ended up with four half-pints, so I’ll probably make more tomorrow. I don’t think four half-pints will be enough for the coming year.
The ingredients:

4 cups chopped green tomatoes

1 large sweet onion, chopped

1 large bell pepper, chopped (red is prettiest)

2 Tbsp. canning salt

1 cup sugar

1 Tbsp. mustard seed

1 tsp. celery seed

4 whole cloves

1 cup vinegar (I used cider vinegar)
 I start by rough chopping 4 cups of green tomatoes, a large sweet onion, and a large bell pepper.
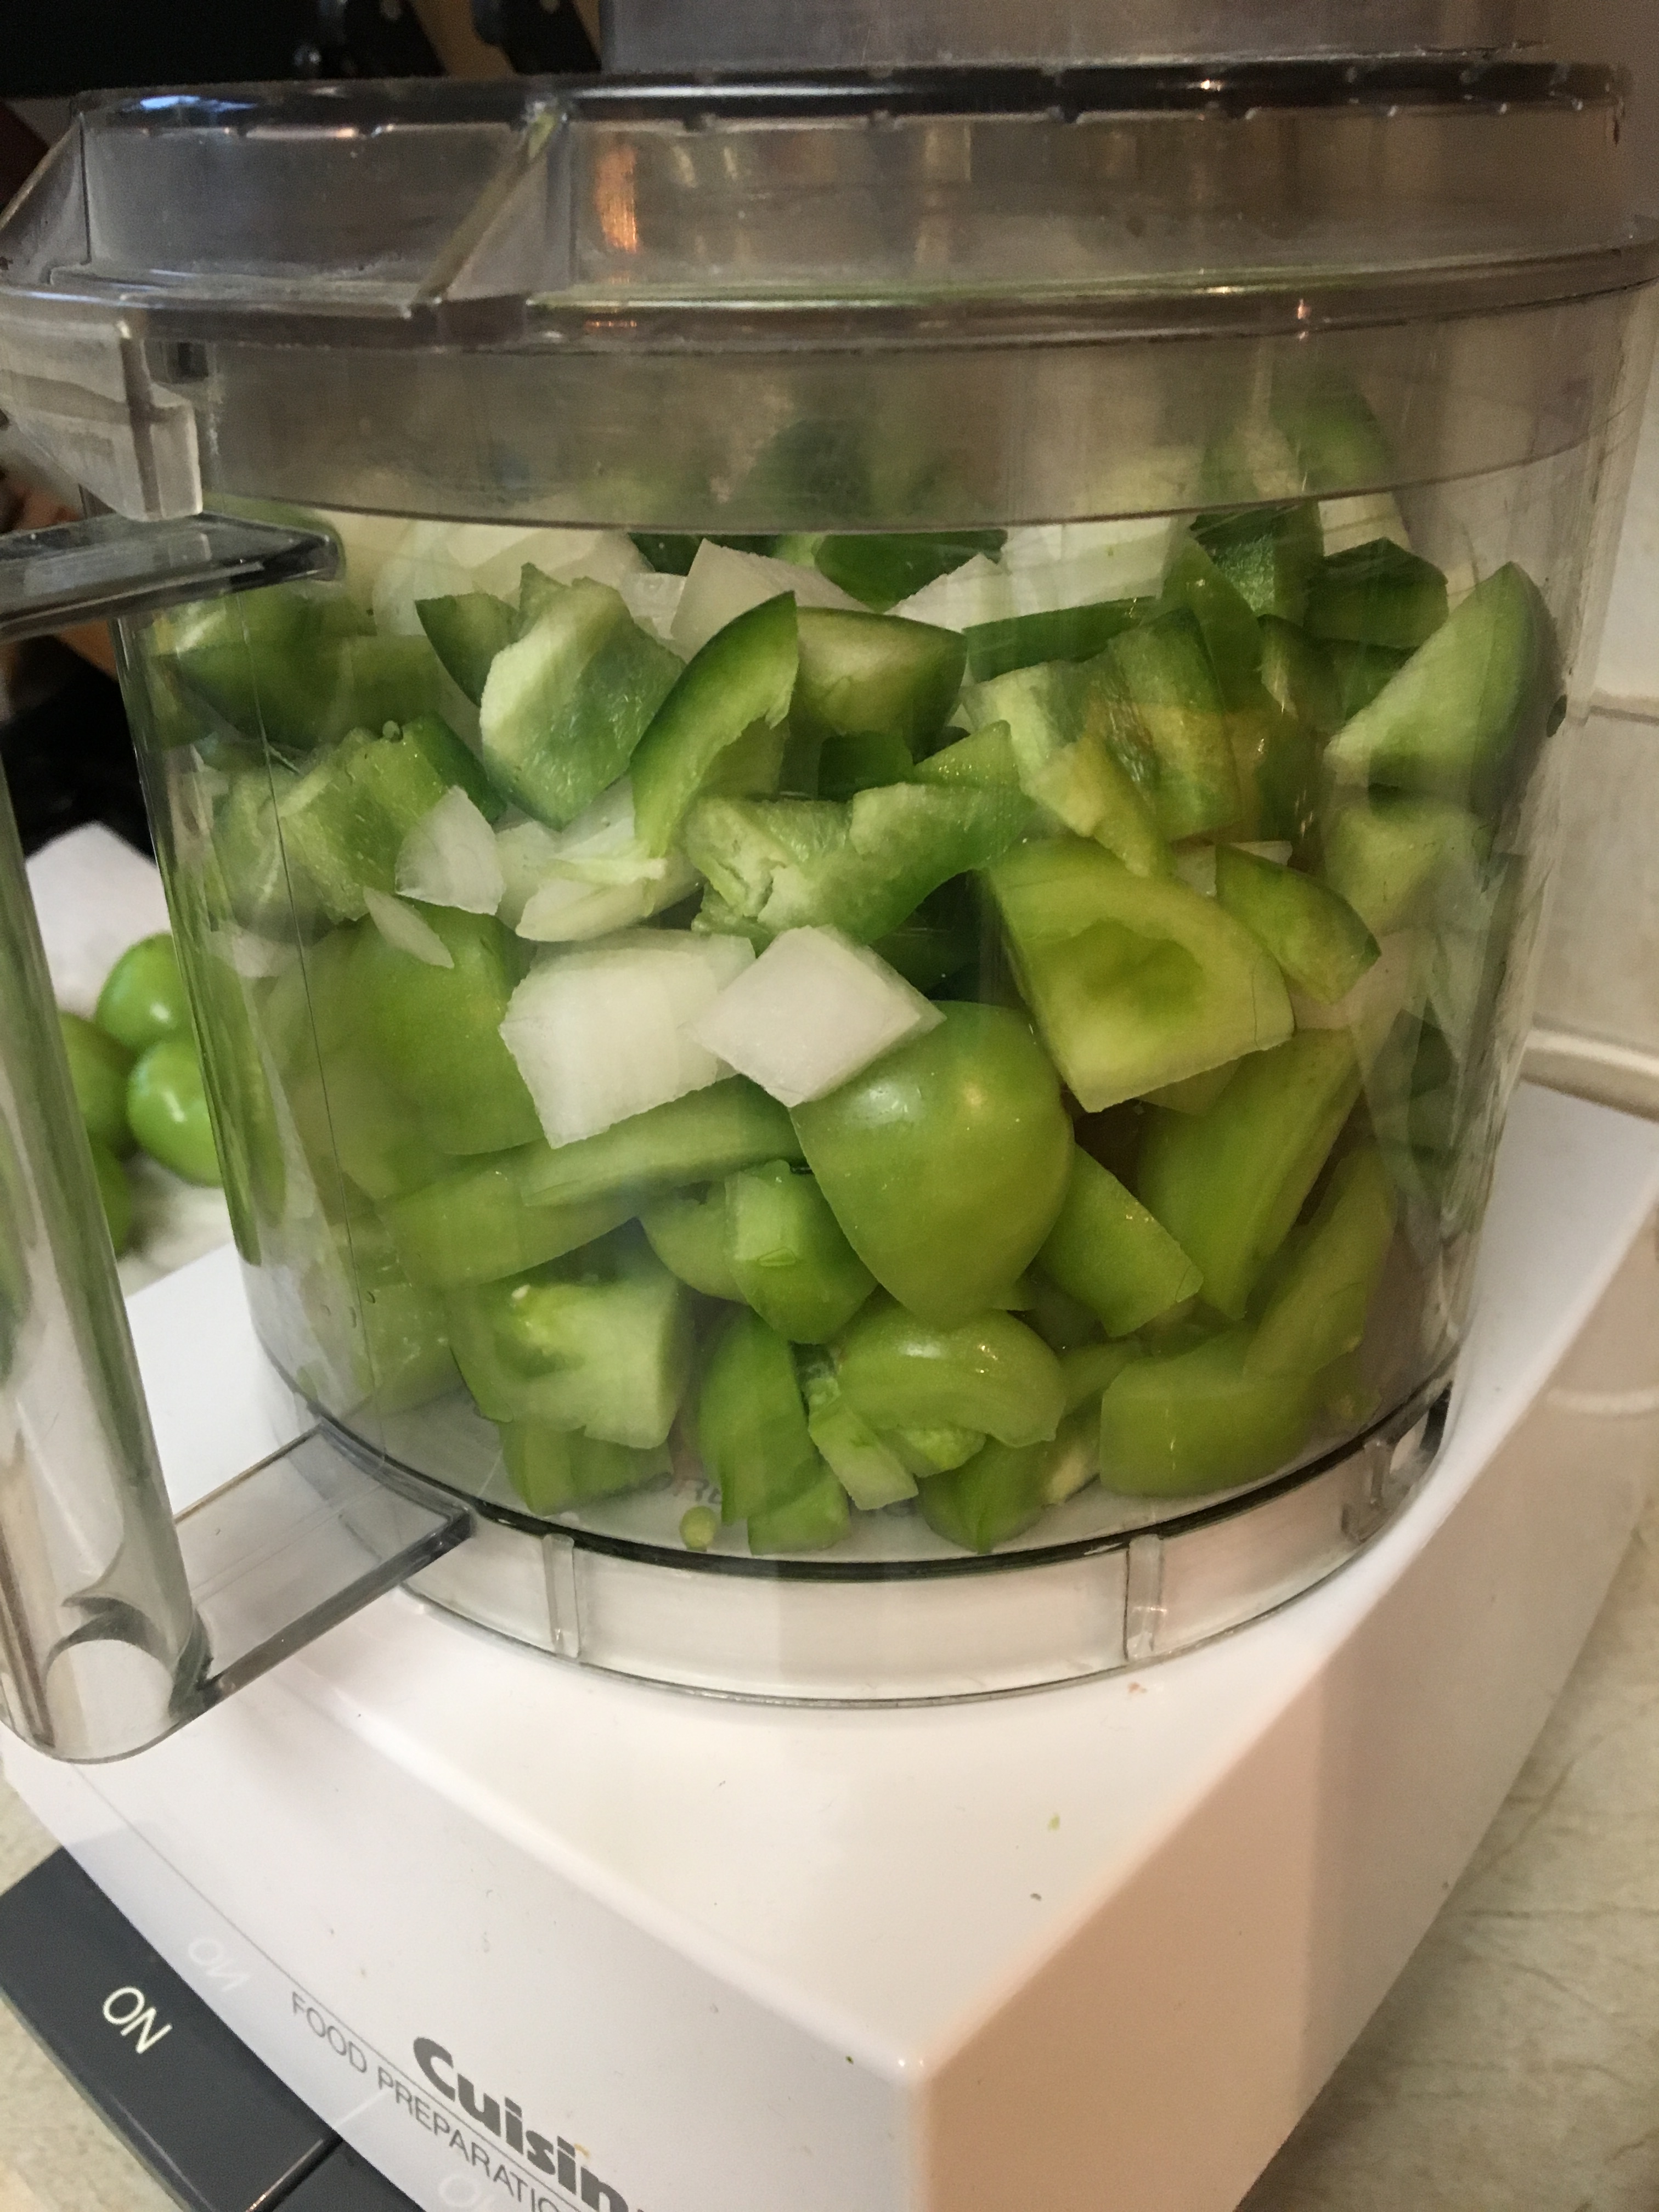 Then I put the tomatoes, onion, and pepper into a food processor. I carefully pulse the processor until the vegetables are chopped small, but not pureed. It’s tricky and you have to be careful. I put the vegetables into a large bowl and stir in the salt. Let it sit for an hour and then drain through a fine strainer.
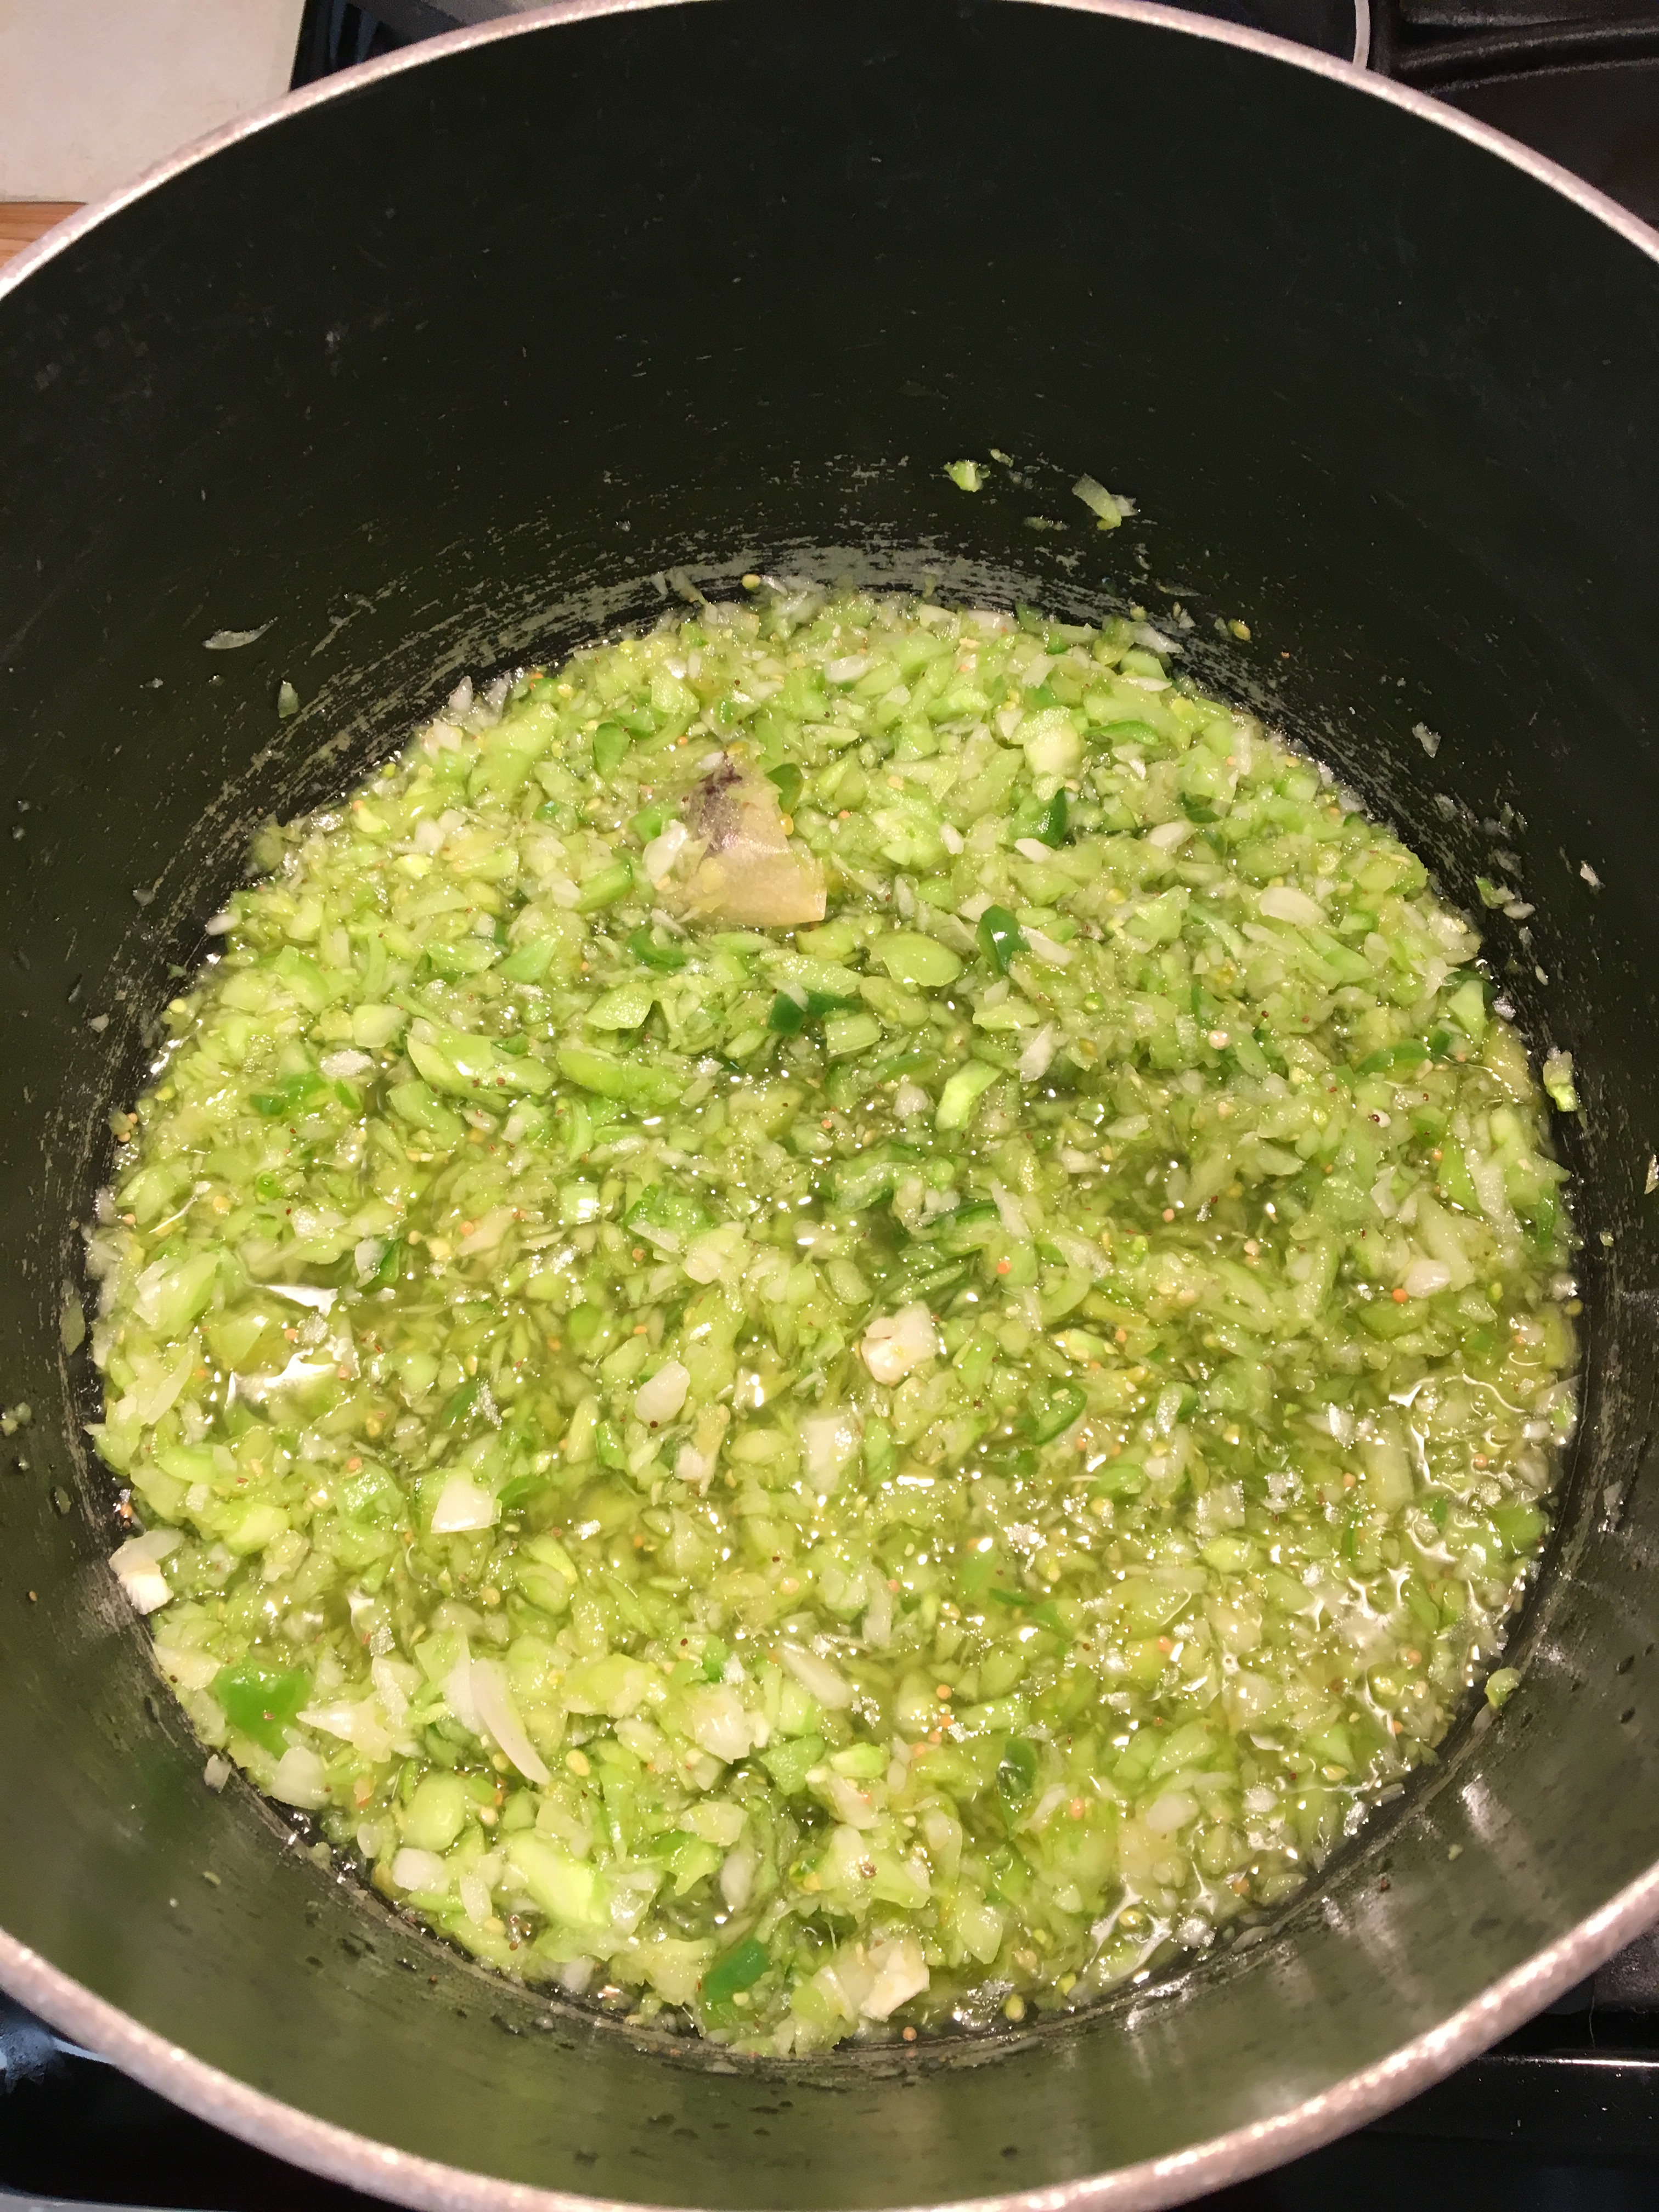
Put four cloves into a spice bag. I used a disposable tea bag. In a large pot, stir together the drained vegetables, sugar, mustard seed, celery seed, and the spice bag. Stir in the vinegar. Bring to a boil and let simmer for 20 minutes. Remove the bag of cloves. Ladle into 1/2 pint canning jars. Leave 1/2-inch of head space. Screw the lids on tightly. Process in a hot water bath for ten minutes.
 So, here’s how I did the hot water bath processing . . . I’ve got a massive 7-quart pressure cooker, but that thing is too much of a beast to can only 4 half-pint jars. Instead, I put my metal steamer basket in the bottom of my largest stock pot and filled the pot with water, nearly to the top. I brought the water to a boil while the relish was simmering. I also had my tea kettle over a flame for more hot water as needed. Once the water in the pot was at a full boil, and the relish had been put into the jars and sealed, I placed each jar carefully into the boiling water and and made sure they were covered with boiling water from the kettle. Once the water came back to a boil, I set the timer for ten minutes. The trick is the metal steamer basket. I’ve tried water bath canning without a rack in the bottom of the pot and ended up with broken jars and a big mess. My metal steamer basket allows the boiling water to bubble without rocking the jars. Different shape jars and sizes pots and steamer baskets would suggest that you make sure it will all fit as necessary before beginning the process. Please consult a canning expert if you have never done any home canning before. I am certainly not an expert.
Note to self: ran out of cider vinegar and made a second batch using white-wine vinegar. It is marked #2 on the lids. See what you think.
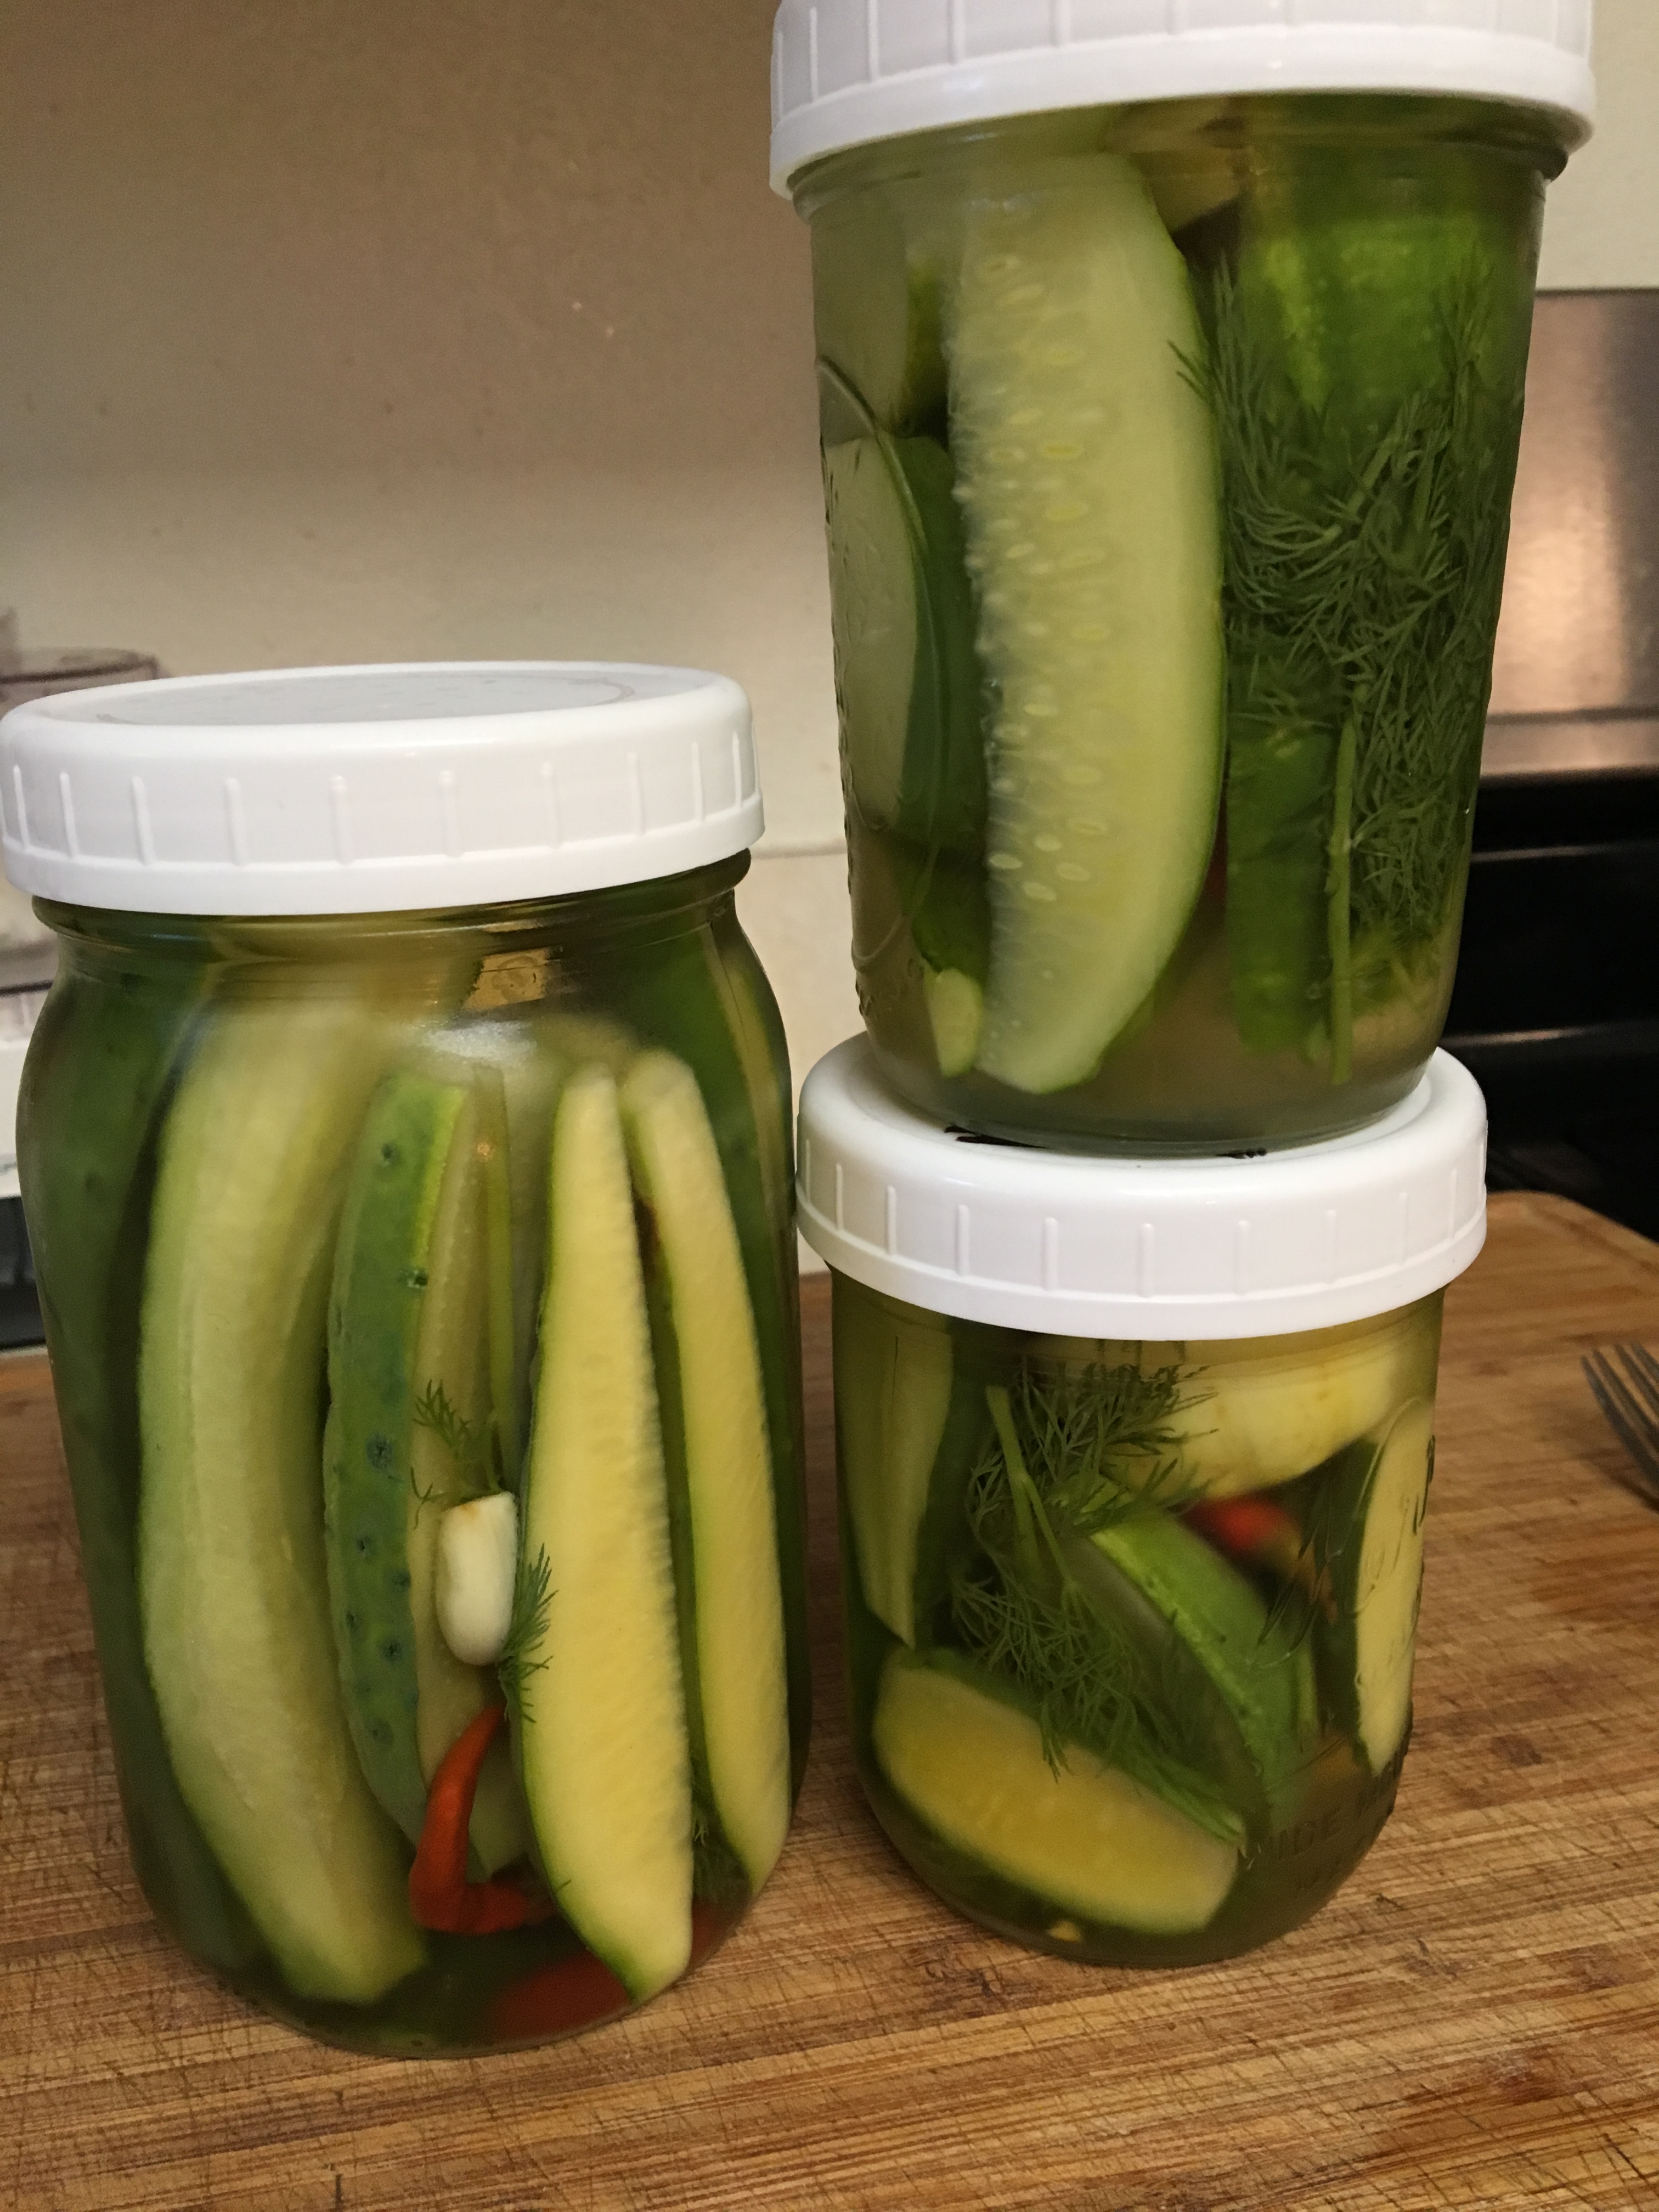
The recipe is found at myfrugaladventures.com. These are really crunchy and delicious!
 Bring to a boil 3-1/2 cups water and 1-1/4 cups vinegar. I used cider vinegar. Add 1 Tbsp. canning salt. Remove from heat and let cool.
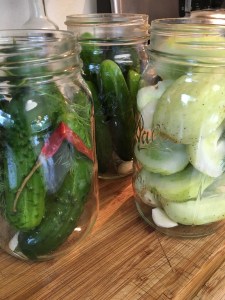
Slice cucumbers into your preferred shape: spears, chips, or leave whole. They aren’t pictured, but I have used lemon cucumbers as well. The type of cucumber does not seem to matter. They’re all good! Make sure the entire cucumber will fit beneath the liquid. Pack sterile jars with cucumbers. Add garlic cloves, dried red peppers, and fresh dill to each jar.
Pour cooled vinegar mixture over the cucumbers in each jar. Makes a couple quarts (I use 2 pint jars and 1 quart jar). Screw on lids, use any type. Place into refrigerator. Shake the jars around a bit occasionally. Good to eat 24 hours later, best to eat after three days, should last a few weeks if they are kept refrigerated.
We were eating these quickly and we had so many cucumbers that I left the brine in the jar and filled the jar with cukes again. It worked fine. I wouldn’t do that more than once, because you would probably want more vinegar and salt, so you may as well start at the beginning.
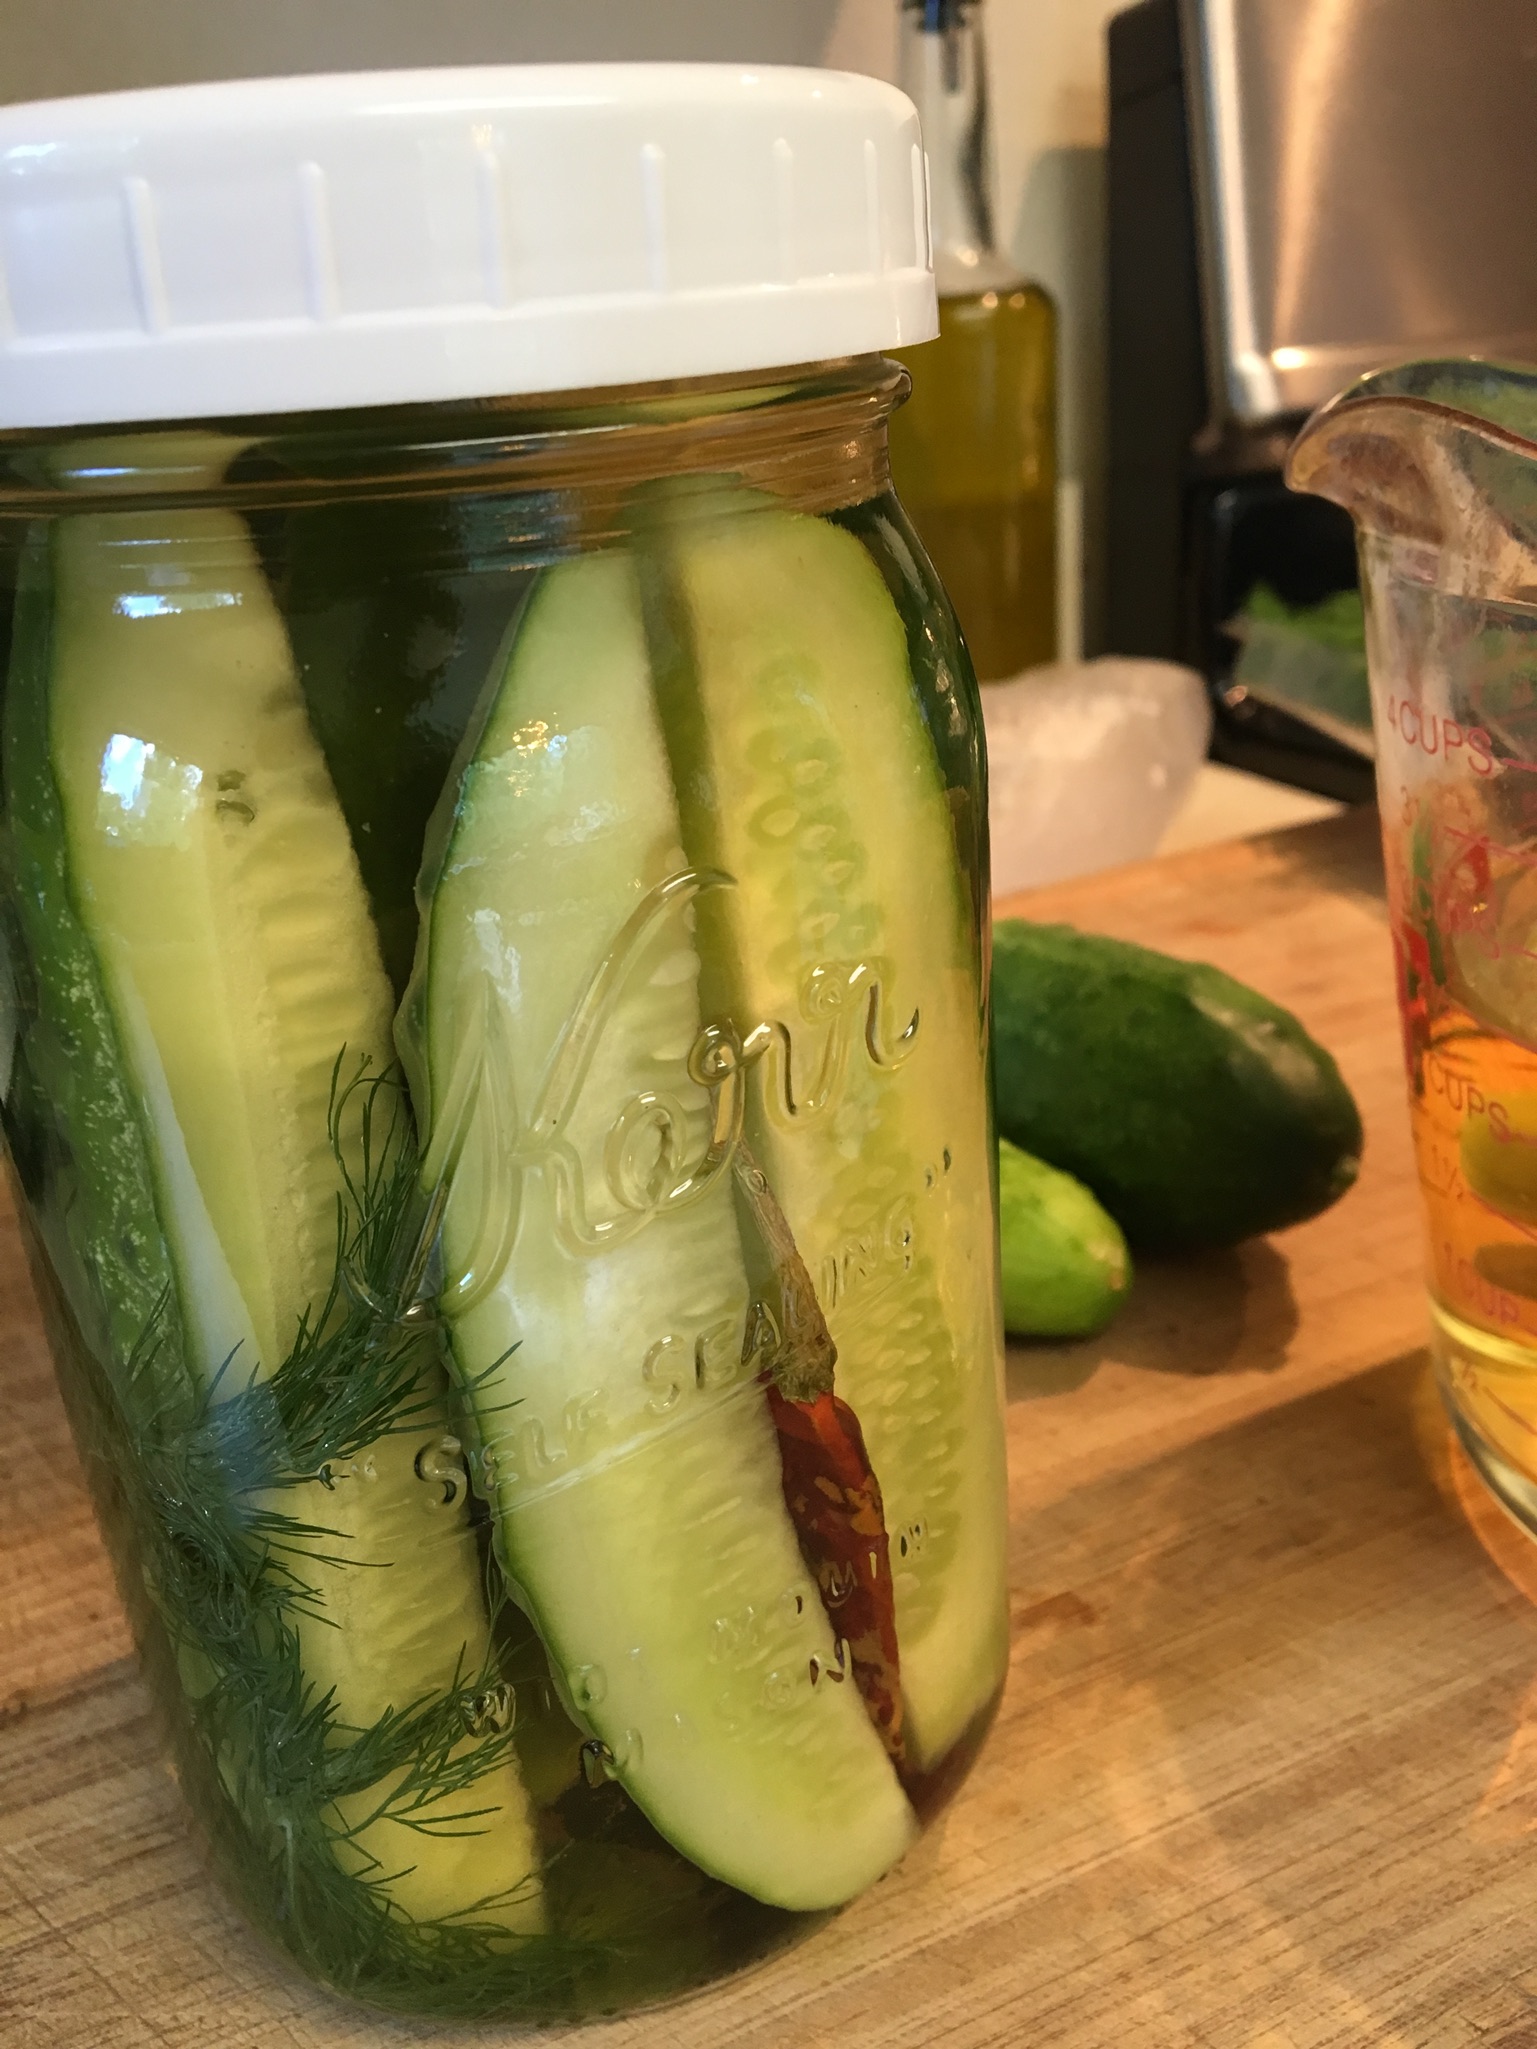
Trying to put all my pickle recipes on the blog so that I don’t have to search so hard next year. What do I do with all the cucumbers my husband grew? 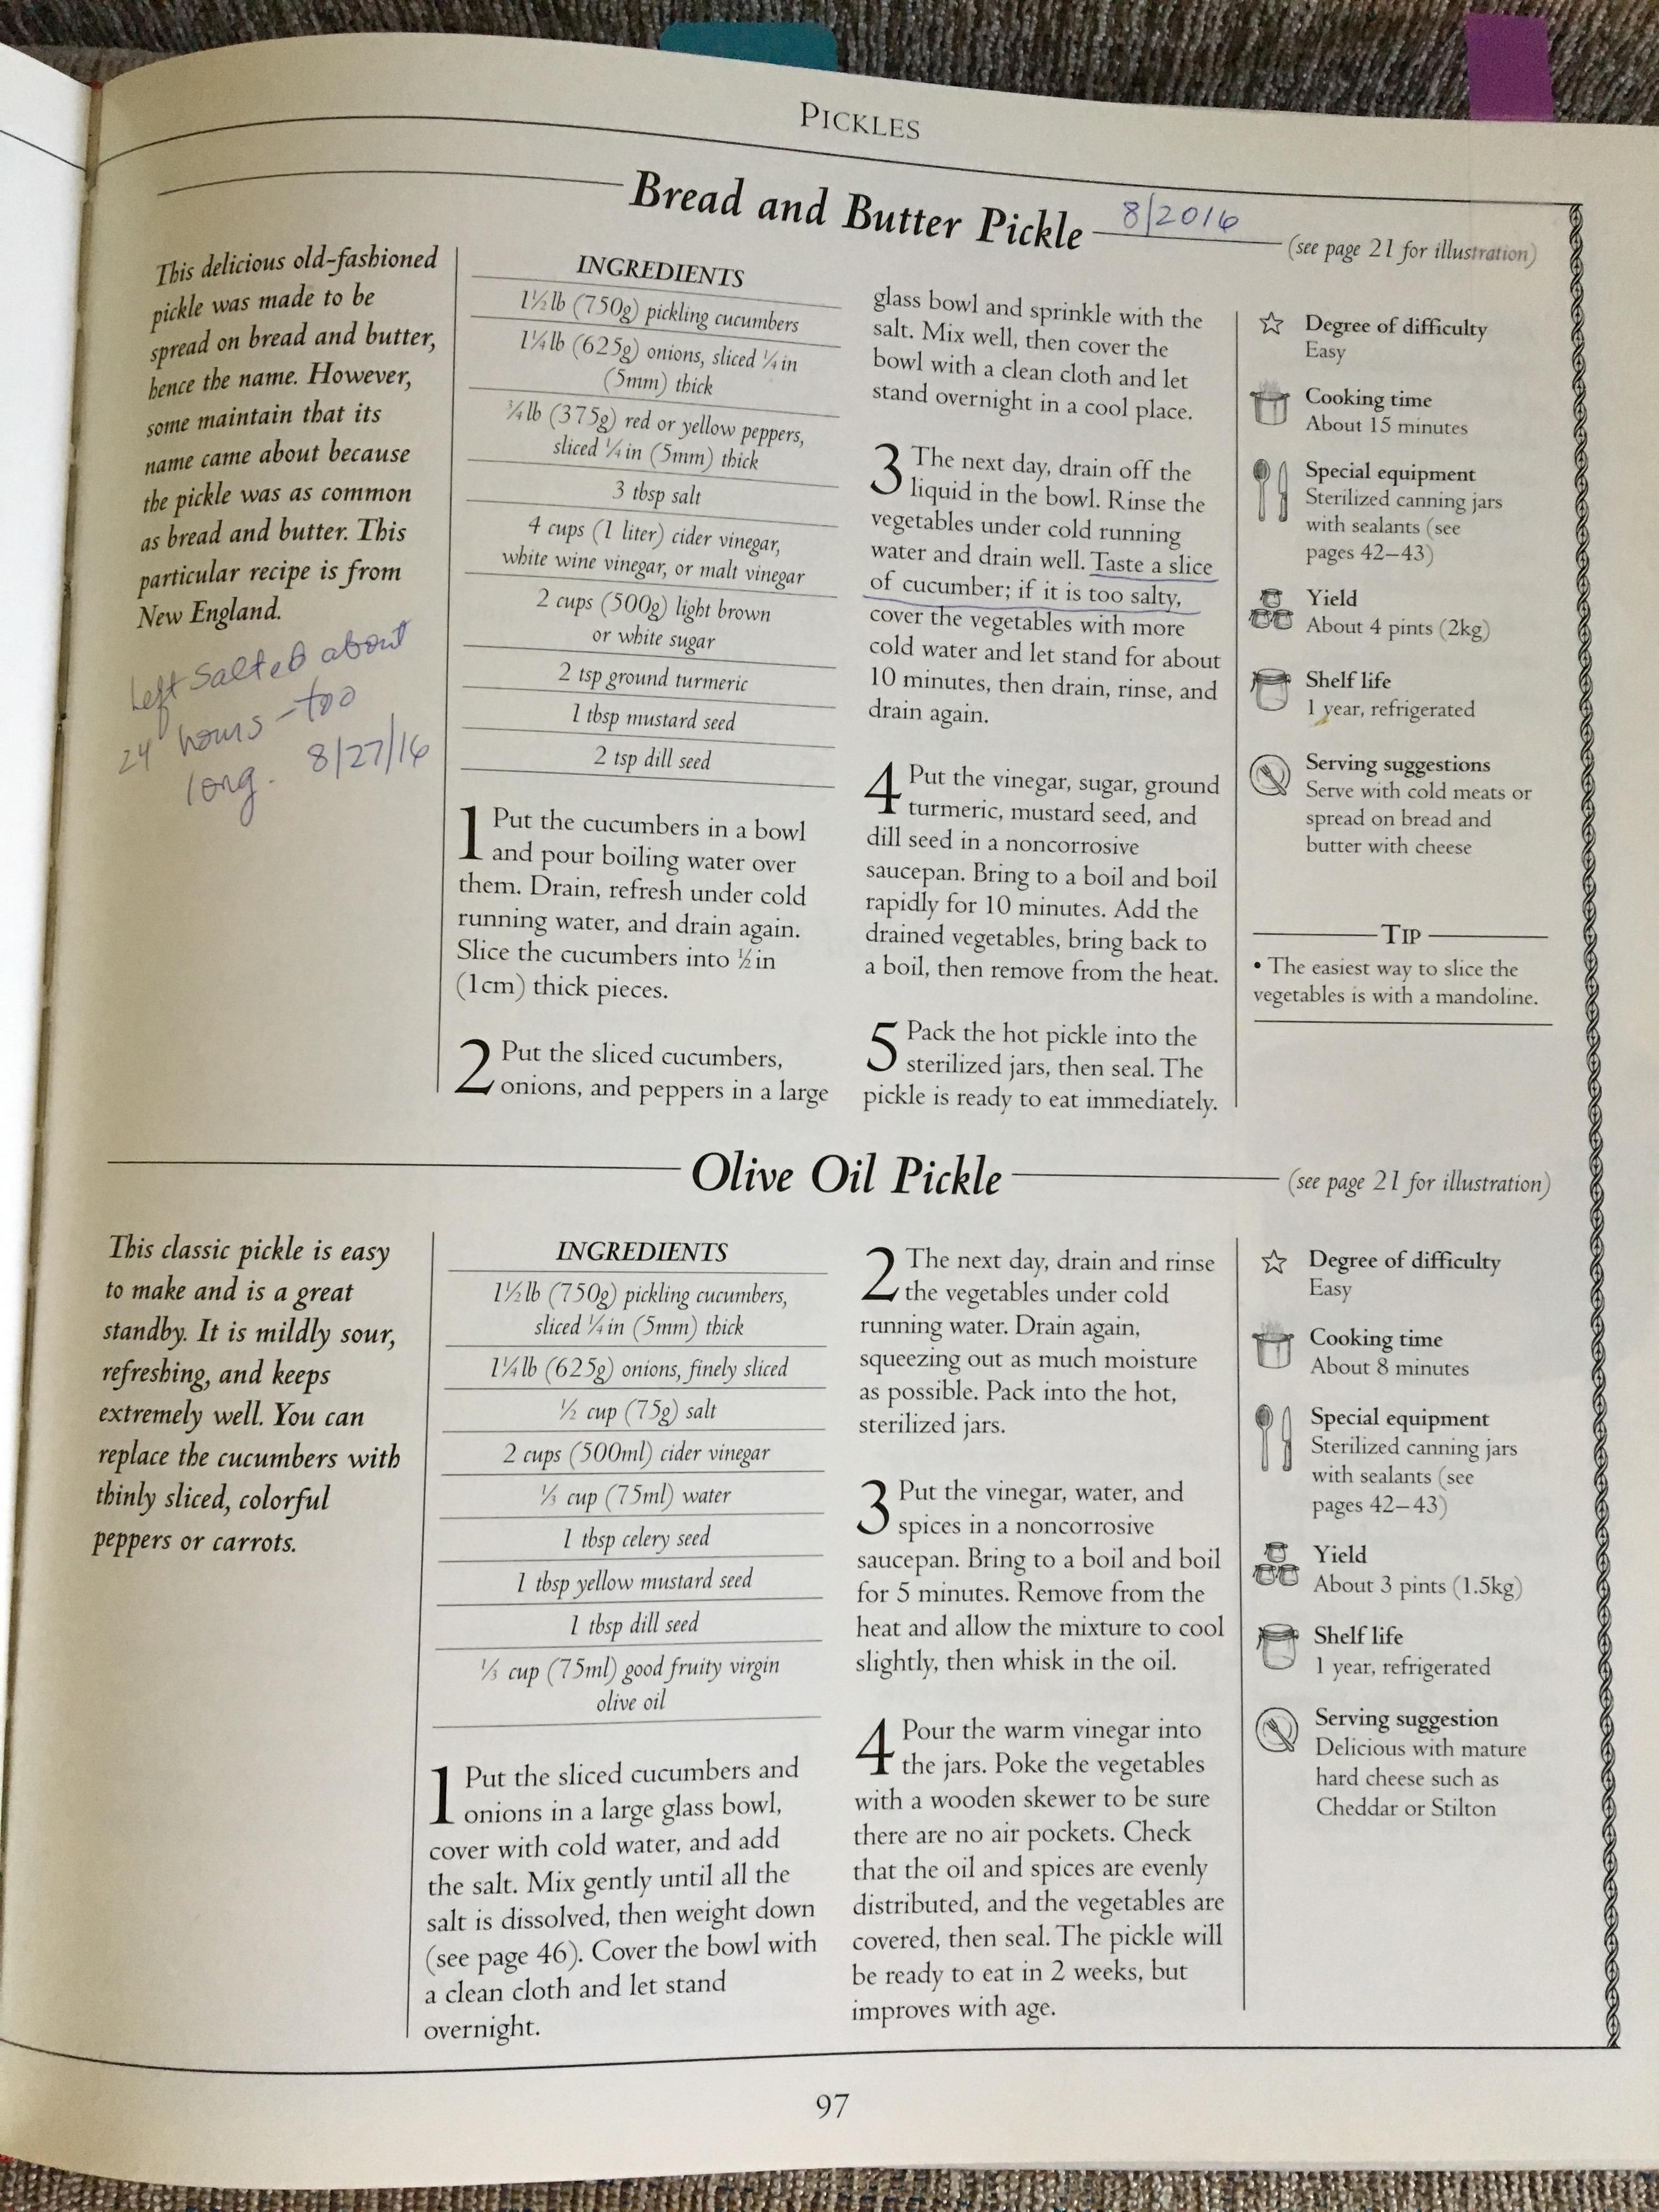
Use the top recipe. It’s from Oded Schwartz’s book Preserving (1996, Dorling Kindersley).
Here’s my start . . . I’ve blanched the whole cucumbers, refreshed them, sliced and added onions and mini sweet-peppers and salt. Then it sits overnight.

After draining and rinsing (I did the ten minutes in cold water) I boiled the brine for ten minutes and then added the chopped vegetables.
I brought the pot to a second boil.
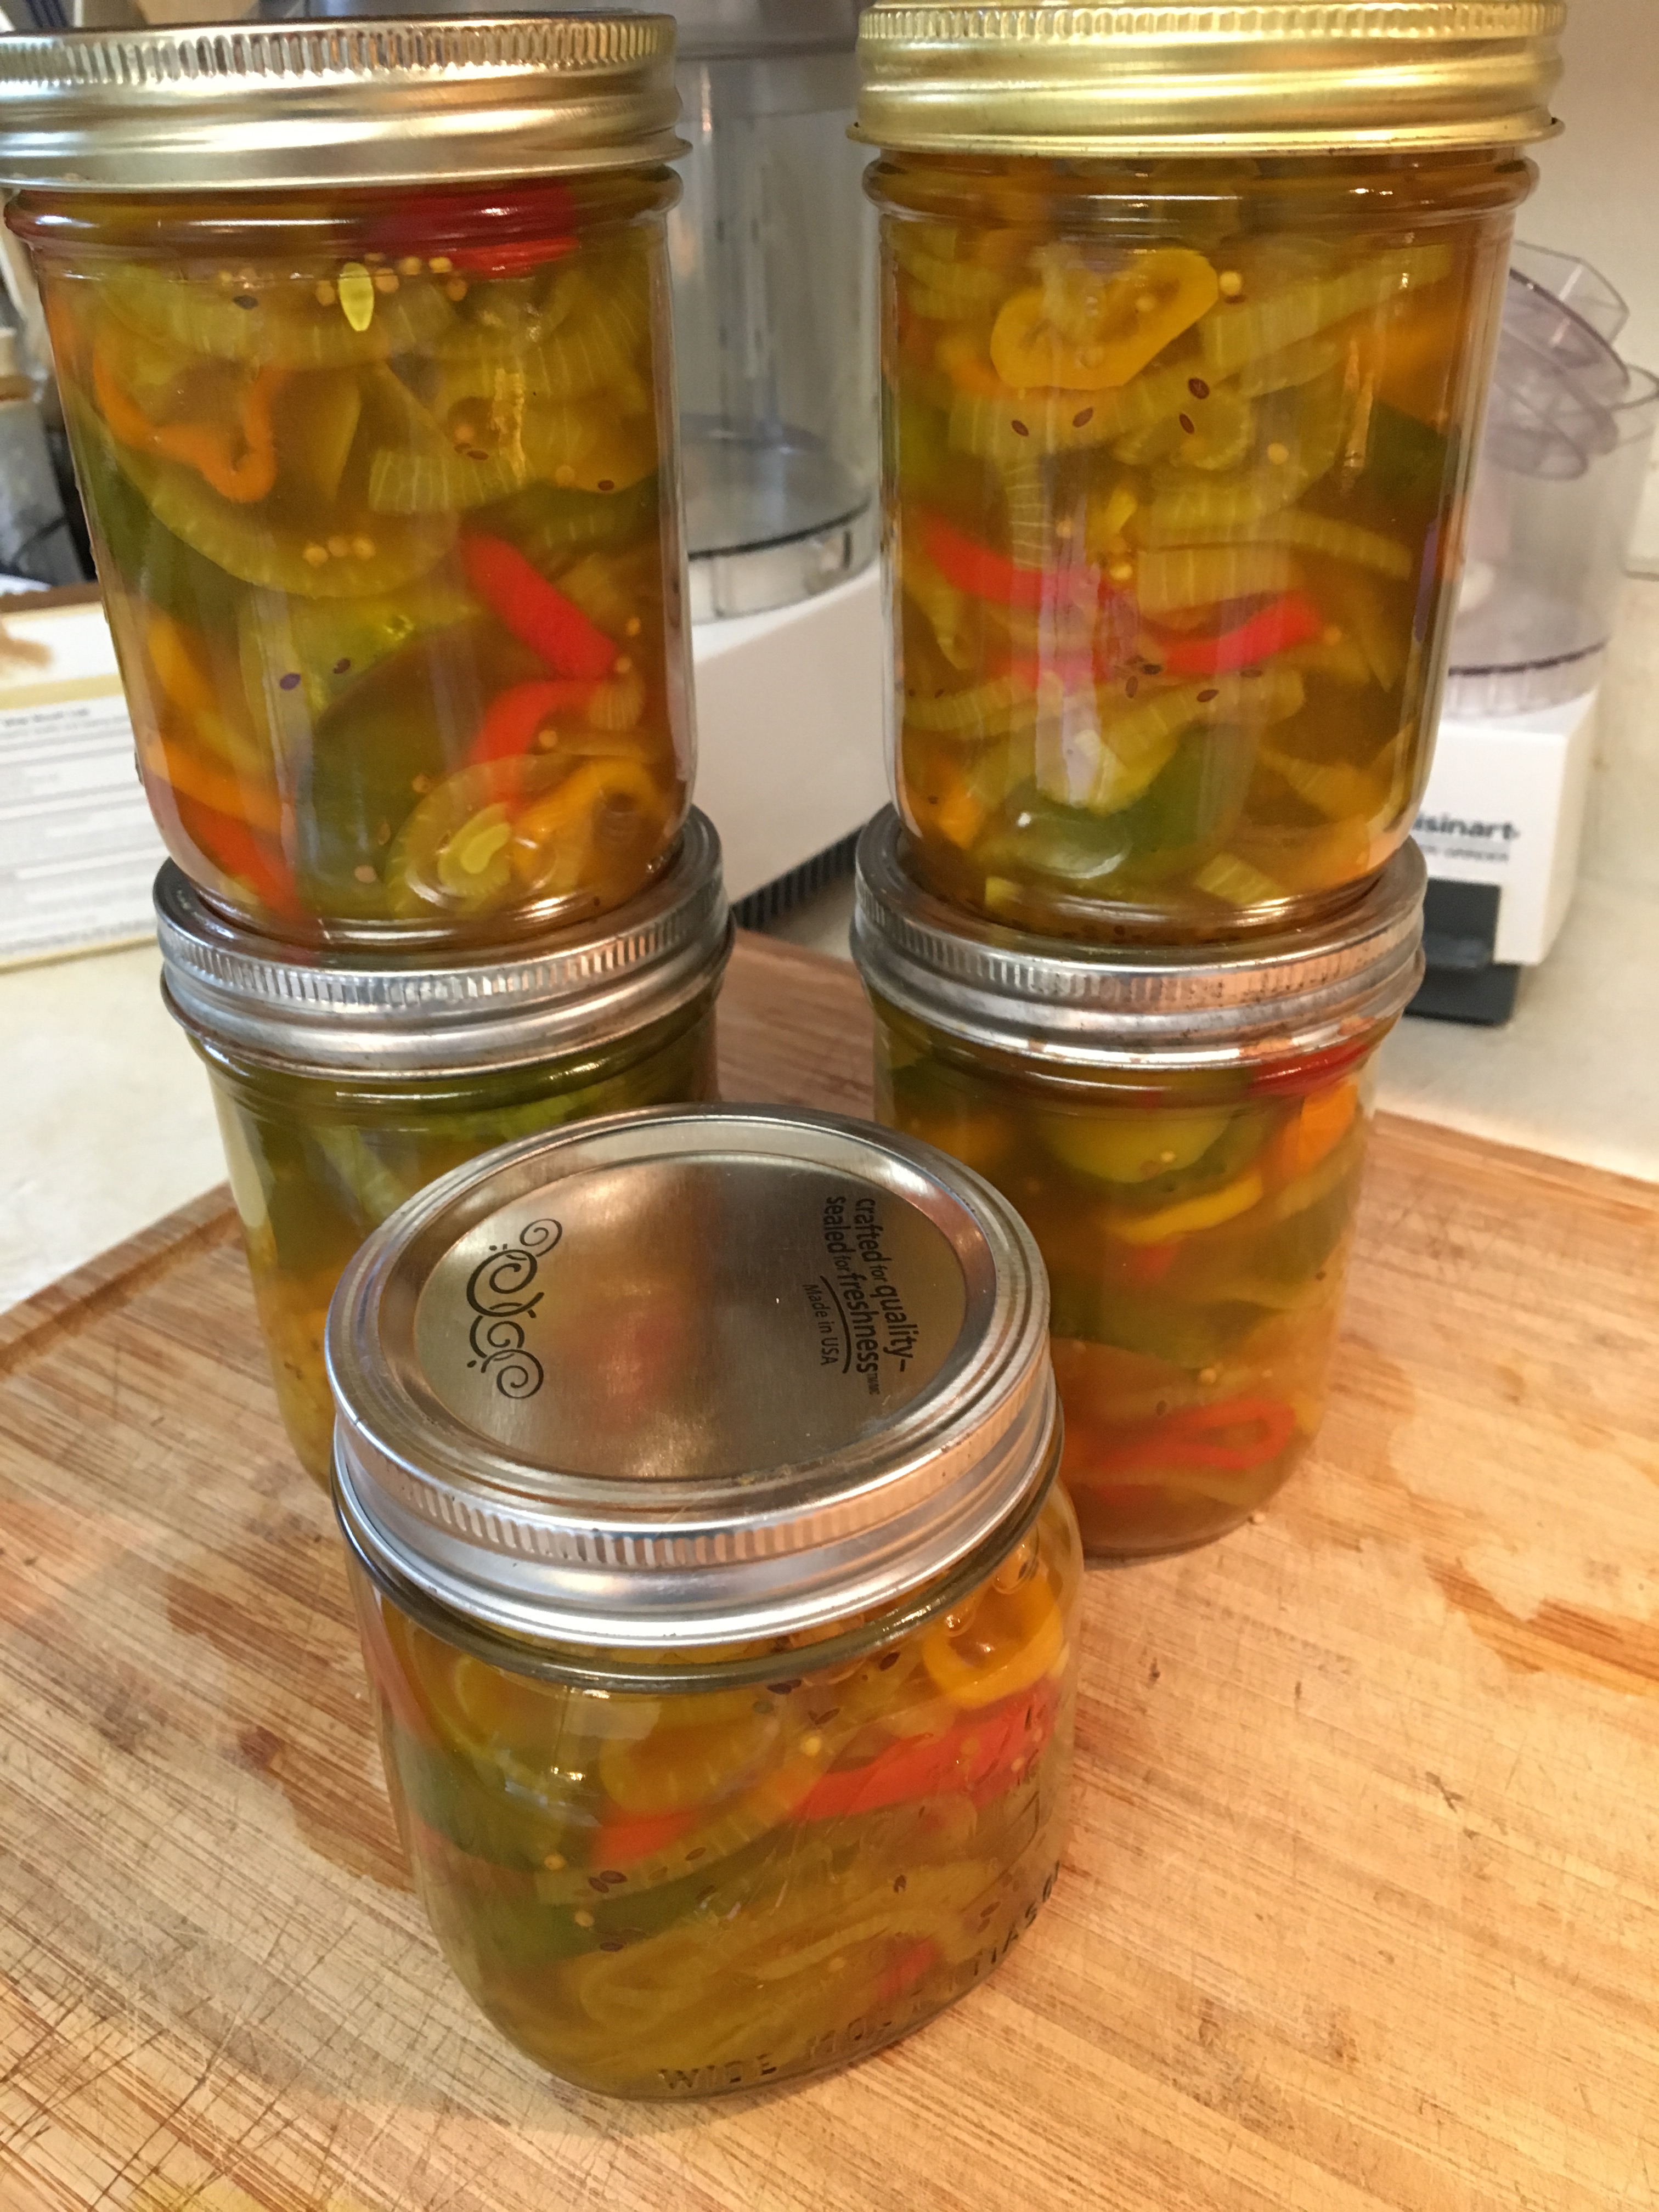
Then ladled into sterile jars and sealed with canning lids. It made 5 pints. Really looked like a lot, but 5 pints is what I ended up with. I am going to keep these in the refrigerator once they cool. The lids did pop and with the amount of vinegar and salt, it’s probably not necessary to can them in a water bath, but it makes me a bit nervous, so I’ll just keep them in the refrigerator. I made these last summer, too, and they do last in the refrigerator for months and months. They are a very sweet pickle and are good served with sandwiches.
This is from Better Homes and Gardens’ Home Canning and Freezing (1973 Meredith Corp).
 Note: I quadrupled the batch in order to make 6 quarts. I used my canner to do the boiling water bath. Start the 20 minute processing time when I put the jars into boiling water. Don’t wait for it to re-boil. I put the cover on my canner, but left the stopcock open so it’s not pressurized. Removed the jars immediately at the end of 20 minutes processing.


 Makes 2 pints. I used one wide-mouth and one regular.
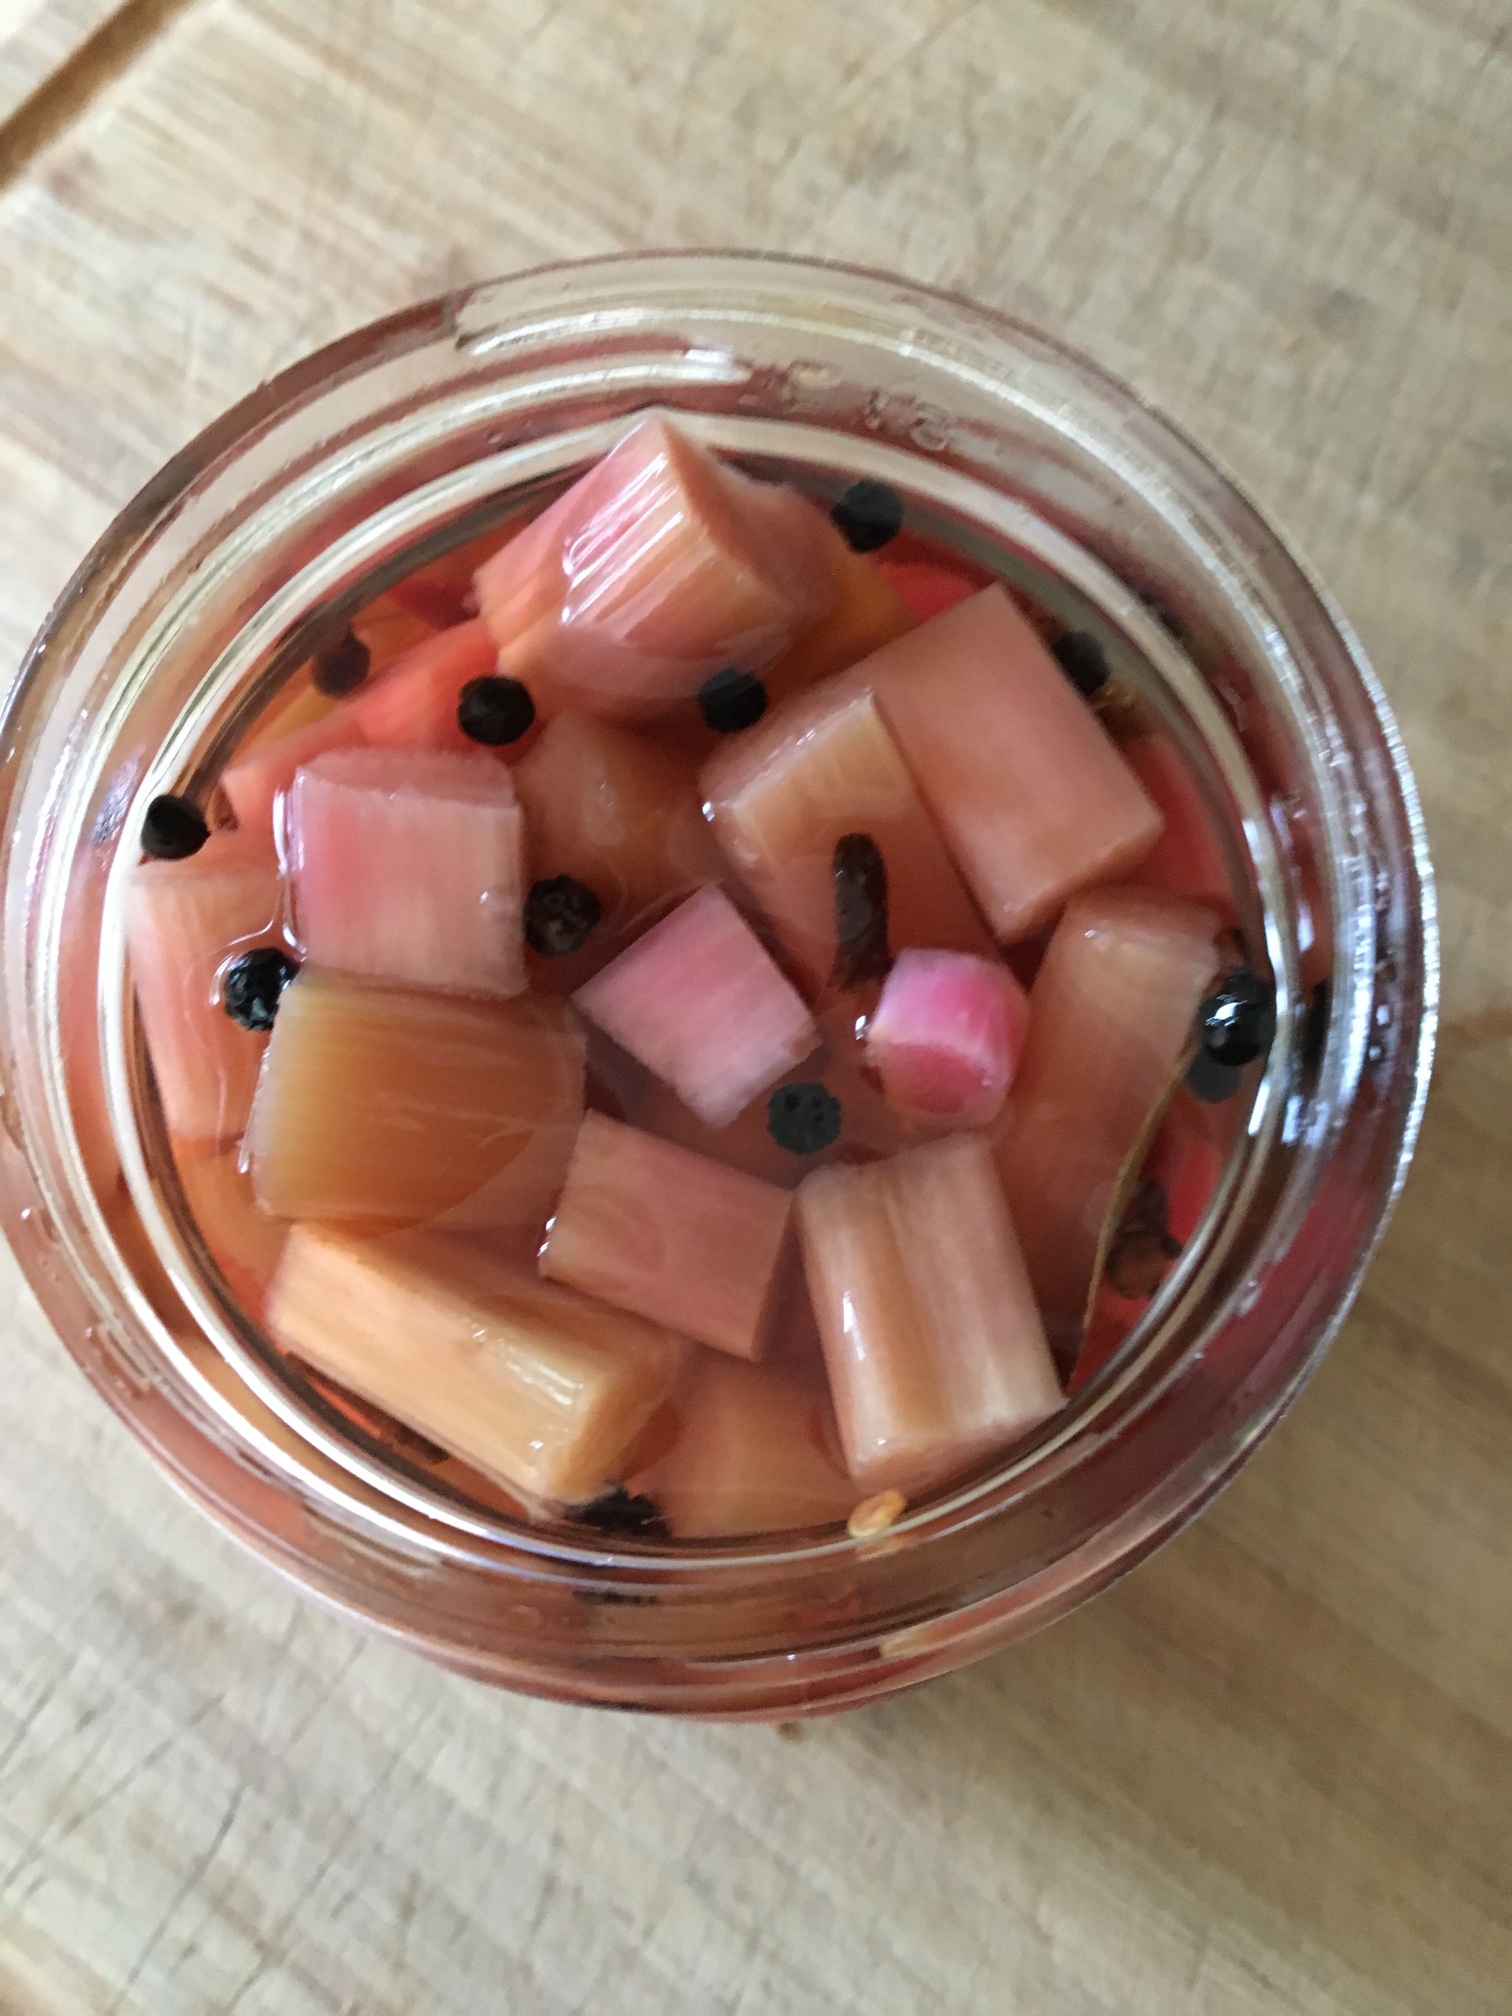
Chop clean, fresh rhubarb (approximately 4-5 stalks) into chunks about 1″ long. Try to use stalks about the same diameter as your finger. In some places that’s big rhubarb, in others (like here in Alaska) that’s quite small. Pack the rhubarb loosely into the jars.
Divide these spices evenly between the two jars: 2 tsp. peppercorns, 1/2 tsp. whole cloves, 1 tbsp. sliced fresh ginger, 2 bay leaves, 2 dry red chiles.
In a small saucepan mix together 1 cup cider vinegar, 1 cup water, 1 cup sugar, and 1/2 tsp. salt. Bring to a boil, stirring occasionally. Make sure the sugar and salt has dissolved. Remove from heat and pour, hot, into the jars. Run a knife or something like that around the inside of the jar to release air bubbles and then make sure the jars are filled to within 1/2″ of the top. I did have a little bit of leftover liquid that I threw away.
Cover the jars with lids, let cool, and then place in the refrigerator. They’re okay to eat in two days and should be eaten within two weeks. All good! It’s a very nice pickle eaten with salty foods.


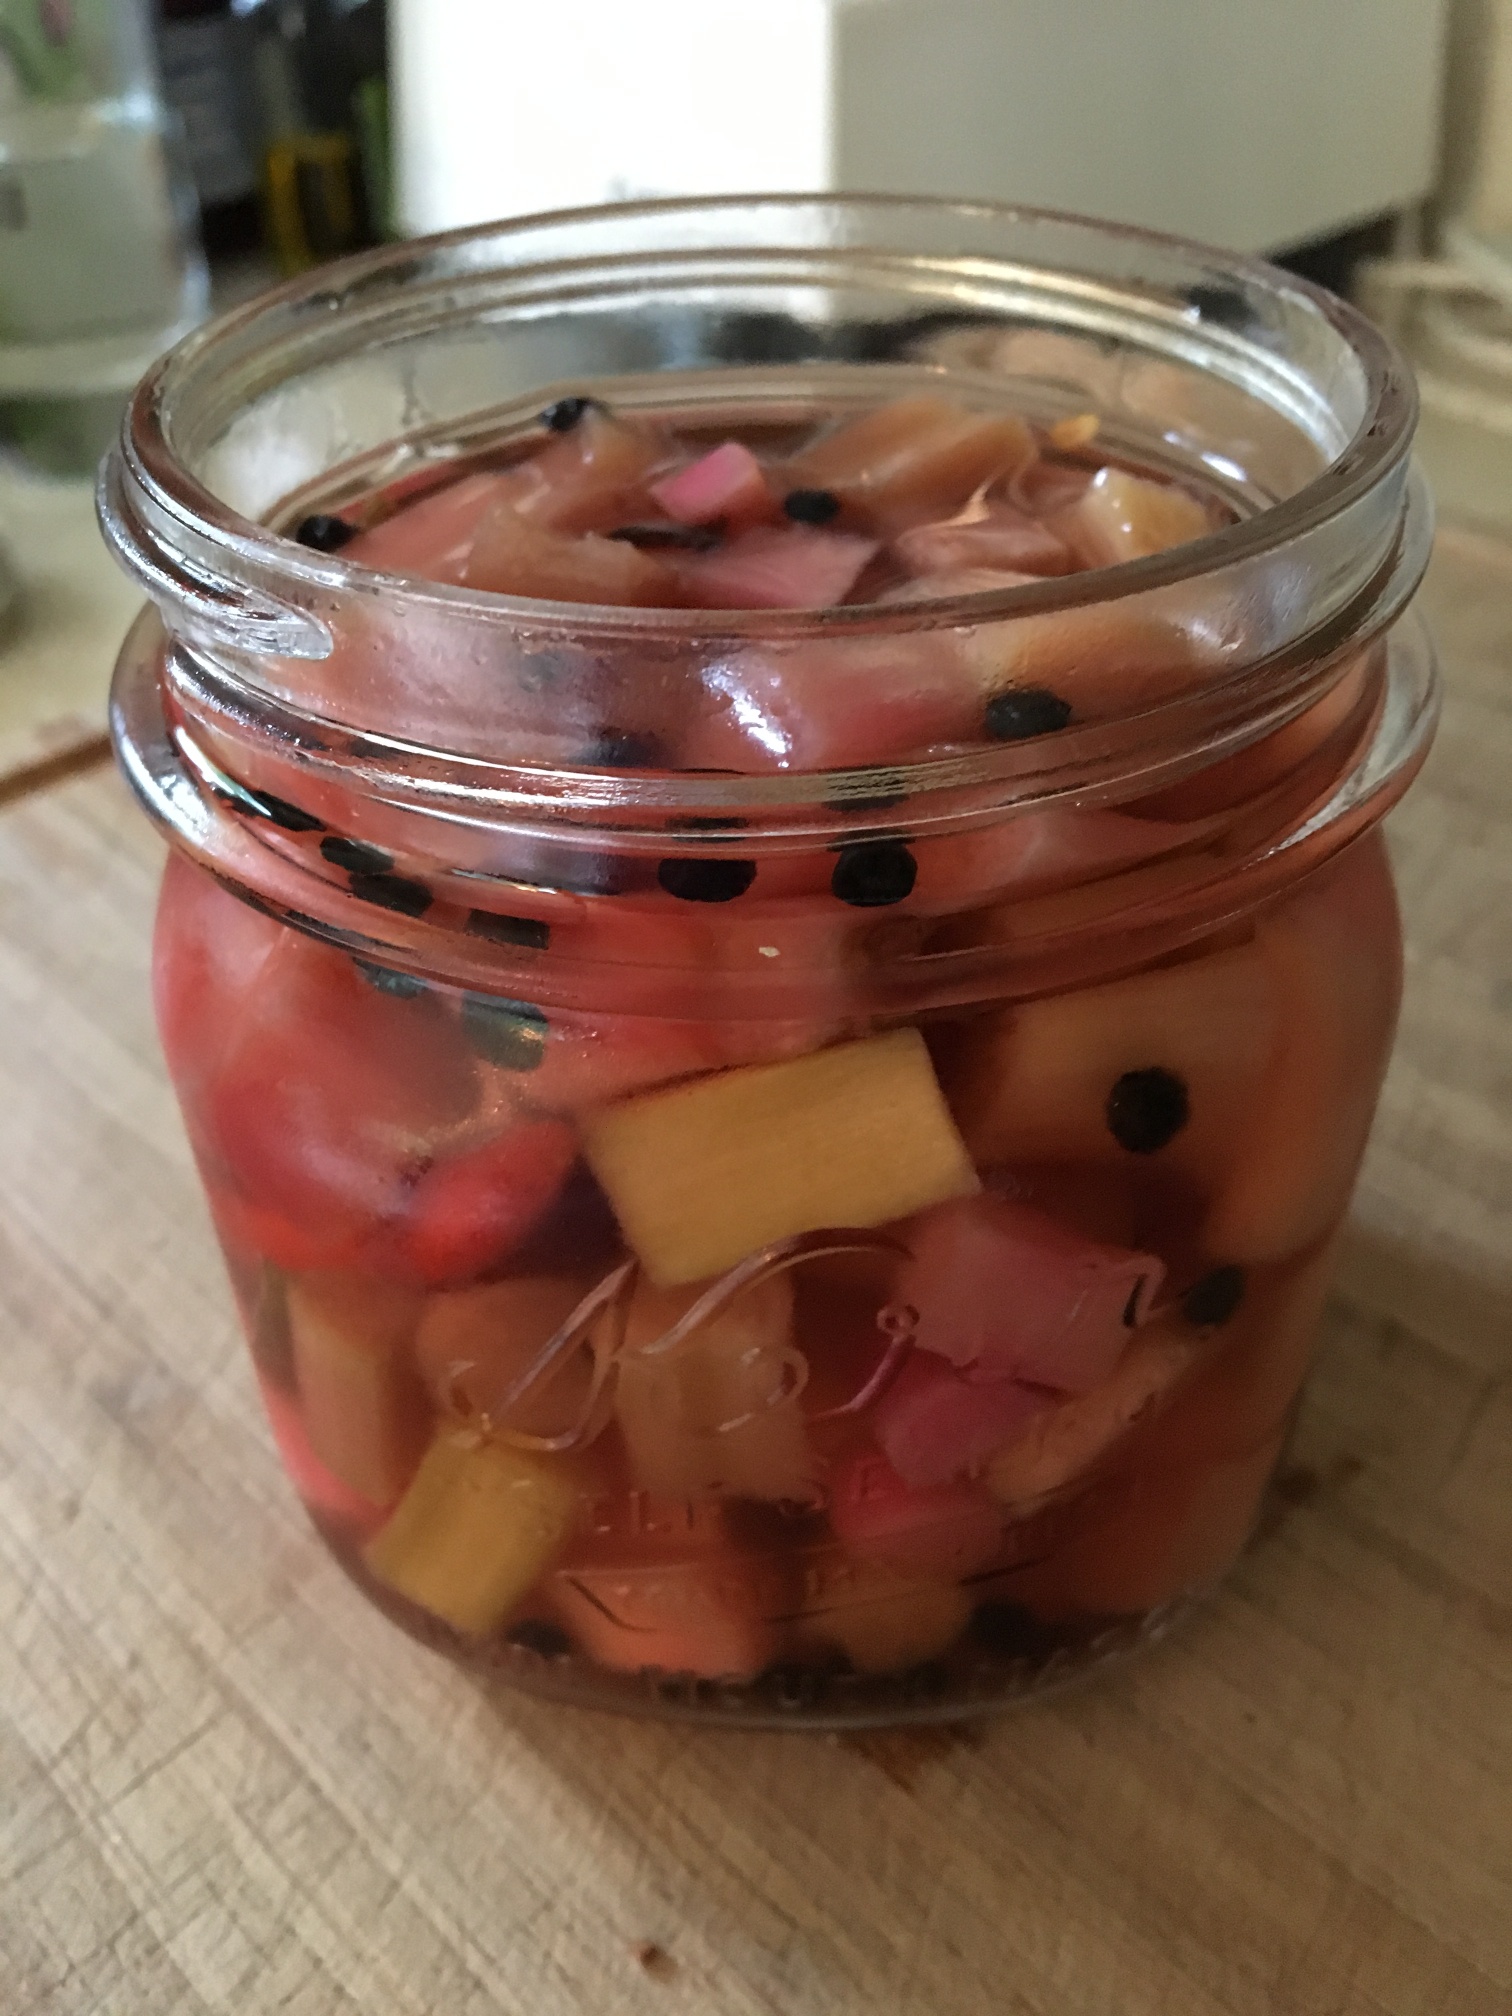 One thing I really noticed was how the liquid turned pink after a couple days, even using fairly green rhubarb as seen above.
I based this upon a recipe found at lifelovefood.

So as not to be confused with something like a soccer hooligan, I give you Eulachon which will take you to the Wikipedia definition and genus, species, etc. everything you learned in biology. I am in Anchorage, Alaska but I grew up in Bristol Bay and these are NOT the smelt that we caught in winter on the Naknek River back home. Not at all. Hooligan are incredibly oily and tend to fall apart once cooked. If you cannot eat your hooligan immediately out of the frying pan, then I would say that smoking them is the best way to go. I only wish that my spring/summer months were leisurely enough to get the smoker out and try a few things. Alas.
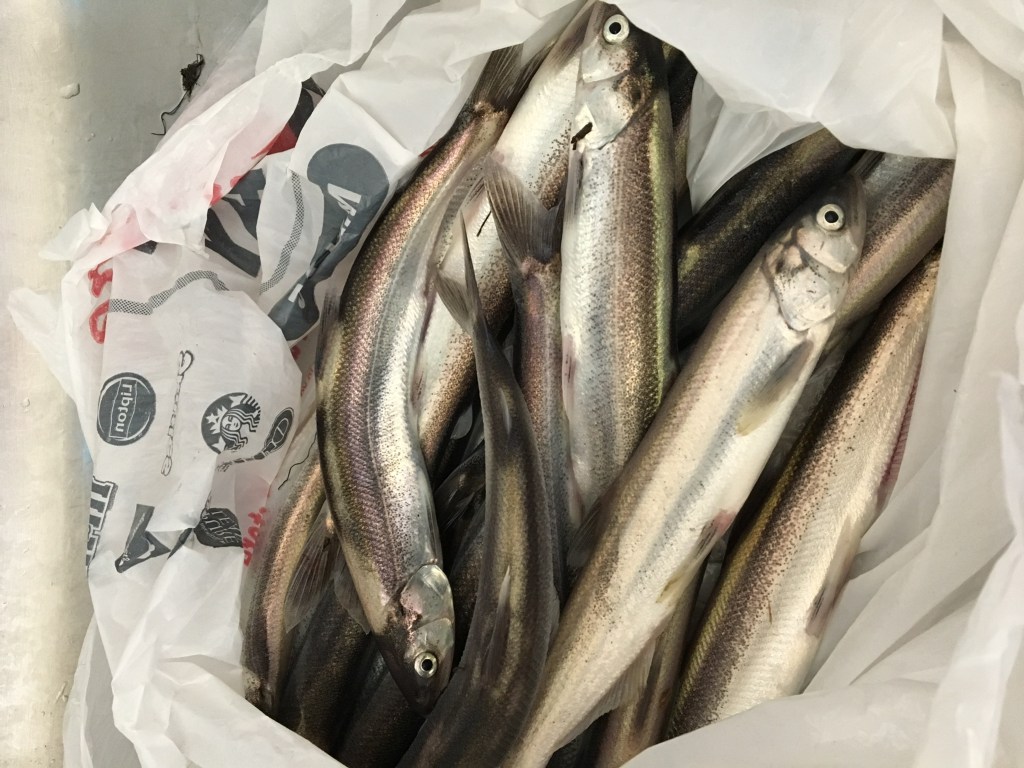


I felt like an elder when my daughter stopped by 20-mile River on our way back from Seward and she caught enough hooligan for me and my husband to have lunch. She’s allergic to fish (it’s a crying shame). Then my husband and second daughter and her friend returned a week later and got more than 100 of them. I try to clean them right away by removing the heads and gutting them. In my opinion, they do not freeze well. It’s best to cook them or smoke them right away.
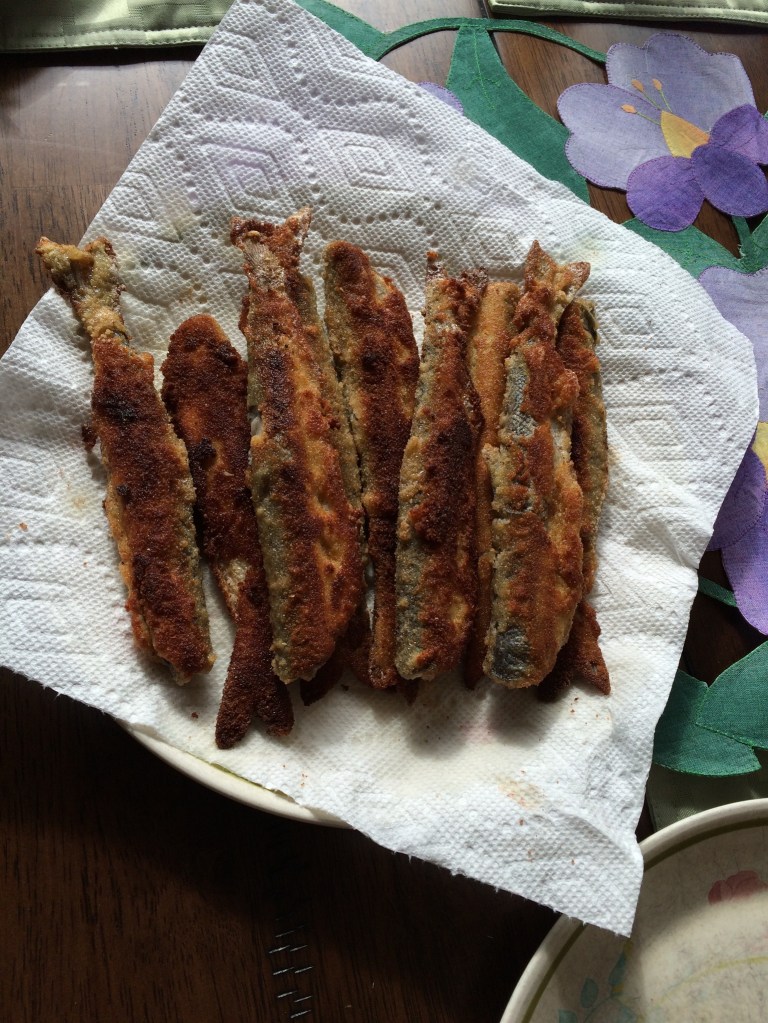
The best way to fry hooligan is to dry them as well as possible in towels or paper towels. Heat about a half inch of oil (I use canola) in a large skillet, very hot. Make a highly seasoned flour by putting about a cup of flour into a plastic “Ziploc” bag and then sprinkling in seasoned salt, pepper, cayenne pepper, paprika, and onion powder. You can do what you like and each time I do it differently. This instruction is more about the method. Then make an egg wash of 2 eggs mixed with a couple tablespoons of water in a pie tin. Then sprinkle regular unseasoned bread crumbs in another pie tin, so you have three things: bag of seasoned flour, pie tin of egg wash, and pie tin of bread crumbs.
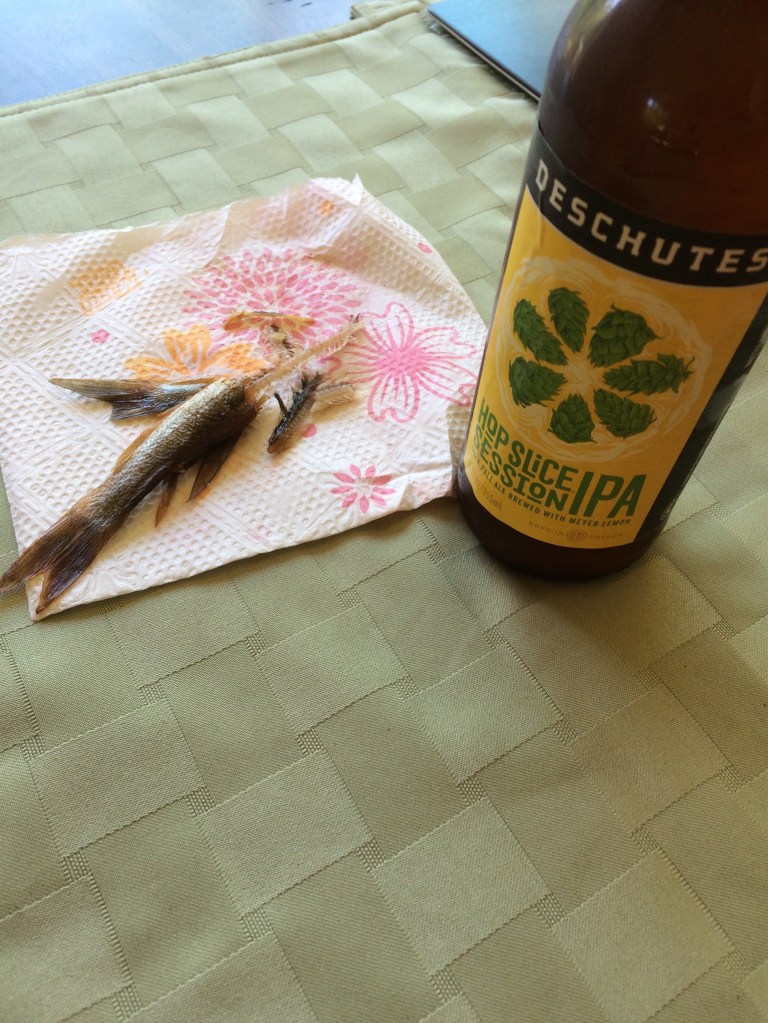
Drop five or six cleaned, fairly dry hooligan into the bag of seasoned flour. Shake off the excess flour mixture and roll fish in the egg wash, then roll in the bread crumbs. Fry. Each batch does not take long at all. They are tiny fish, 6-10 inches usually. My husband and I can eat 6-7 at a sitting, so I divvied them up over two days and I delivered about 20 to my daughter’s office. That was a bad idea, by the way. It’s like saying “I’ll deliver pancakes to your office.” They’re pretty terrible by the time you get there. Hooligan really need to be eaten out of the frying pan. Really. No one complained, but me.
Place onto paper towels to absorb the extra oil and serve immediately. Yummy!
BW and my husband, they eat theirs backbone and all. Me, I pull the backbone out and then eat the rest. The backbone is a bit too much crunch for my tastes. I fed the crispy tails to the dog and he seemed to enjoy it very much.
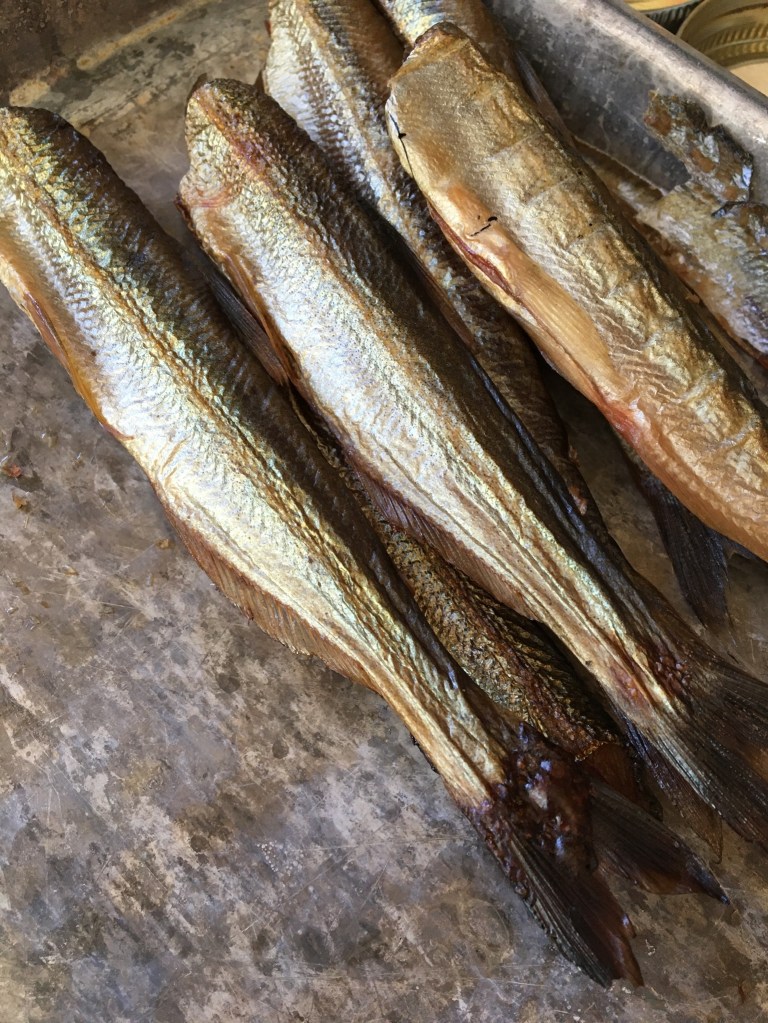
Here below is a picture of smoked hooligan. As I recall, we did not brine them, simply placed them in a smoker for awhile.*


*More info on smoked hooligan added 5/19/2020.
- Smoked Hooligan Ingredients
- 1/2 cup salt
- 1-1/2 cups brown sugar
- 1-1/2 tsp. garlic powder
- 1 tsp. red pepper flakes
- 3 cups water
- About 30 fresh hooligan, heads and guts removed
In a large bowl, stir together first five ingredients. Add hooligan. Try using a plate or bowls to weight the fish in the brine, so that they’re fully submerged. Cover the bowl and refrigerate for at least three hours. I did three hours, but they could have used a more salty flavor, so next time I might try 4-6 hours.
Remove fish from brine and rinse with water as you lay the fish out on towels. Pat dry.
Spray your smoker racks with non-stick spray. Get your smoker going with your choice of wood chips. Place fish onto racks and then into smoker. Our smoker runs really hot, so it only took an hour to fully smoke/cook the fish.
Remove fish from racks. They are ready to eat, freeze, or can.
- Canning Smoked Hooligan in Jars
- MUST use a pressure canner. The instructions I’ve read on Insta-Pot say that it cannot be used for canning. Maybe that has changed. Follow the instructions on your own pressure canner.
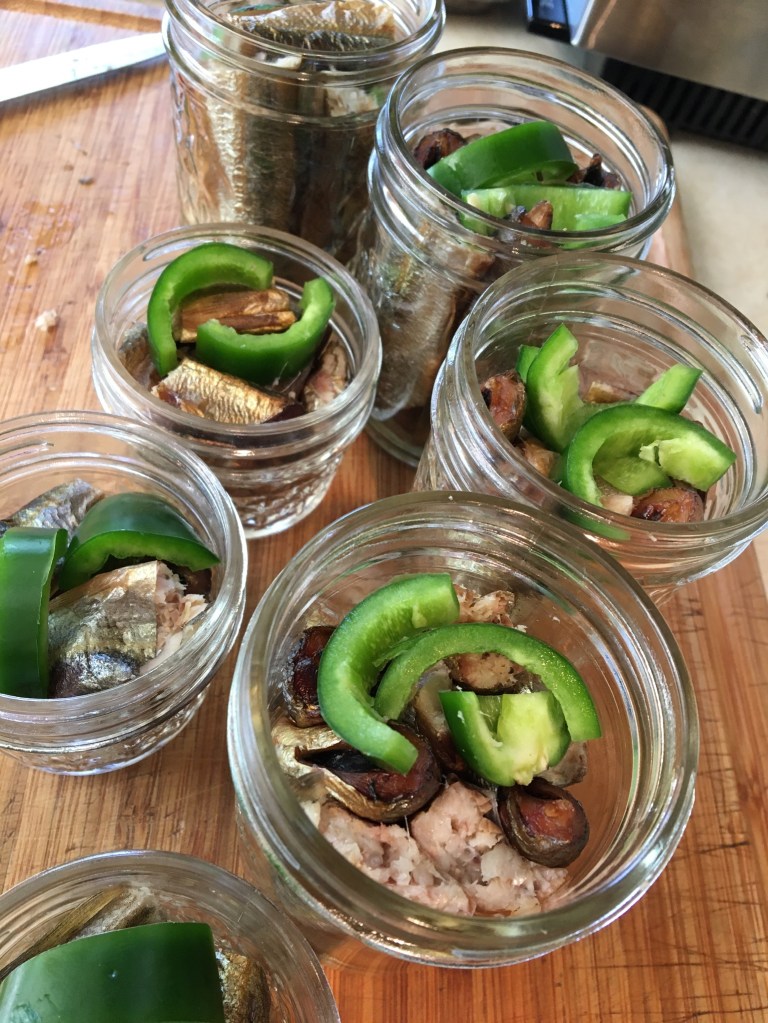
- I used four half-pint and three quarter-pint jars.
- I used approximately 25 smoked hooligan, cut to fit in the appropriate jar.
- I added a couple slices of fresh, de-seeded, jalapeno to each jar.
- The water in my pressure canner was hot when I loaded the jars into it. I strapped the lid onto the canner, but left the stopcock open.
- Once the stopcock exhausted a steady stream of water vapor for ten minutes, I closed it.
- Once the pressure reached 10 psi I started the timer for 100 minutes.
- I kept an eye on the pressure guage to makes sure the pressure stayed at 10 psi.
- At 100 minutes I turned off the heat and then let the canner sit for many hours to cool. I opened the stopcock to vent, then I removed the lid of the canner and removed the jars.
- Voila!
10 psi for 100 minutes
Serve on crackers. The flavor is very mild. I could have left the seeds in the jalapenos for a bit more kick and I could have left the fish in the brine for a little more salty flavor.