You are currently browsing the category archive for the ‘Miscellaneous’ category.
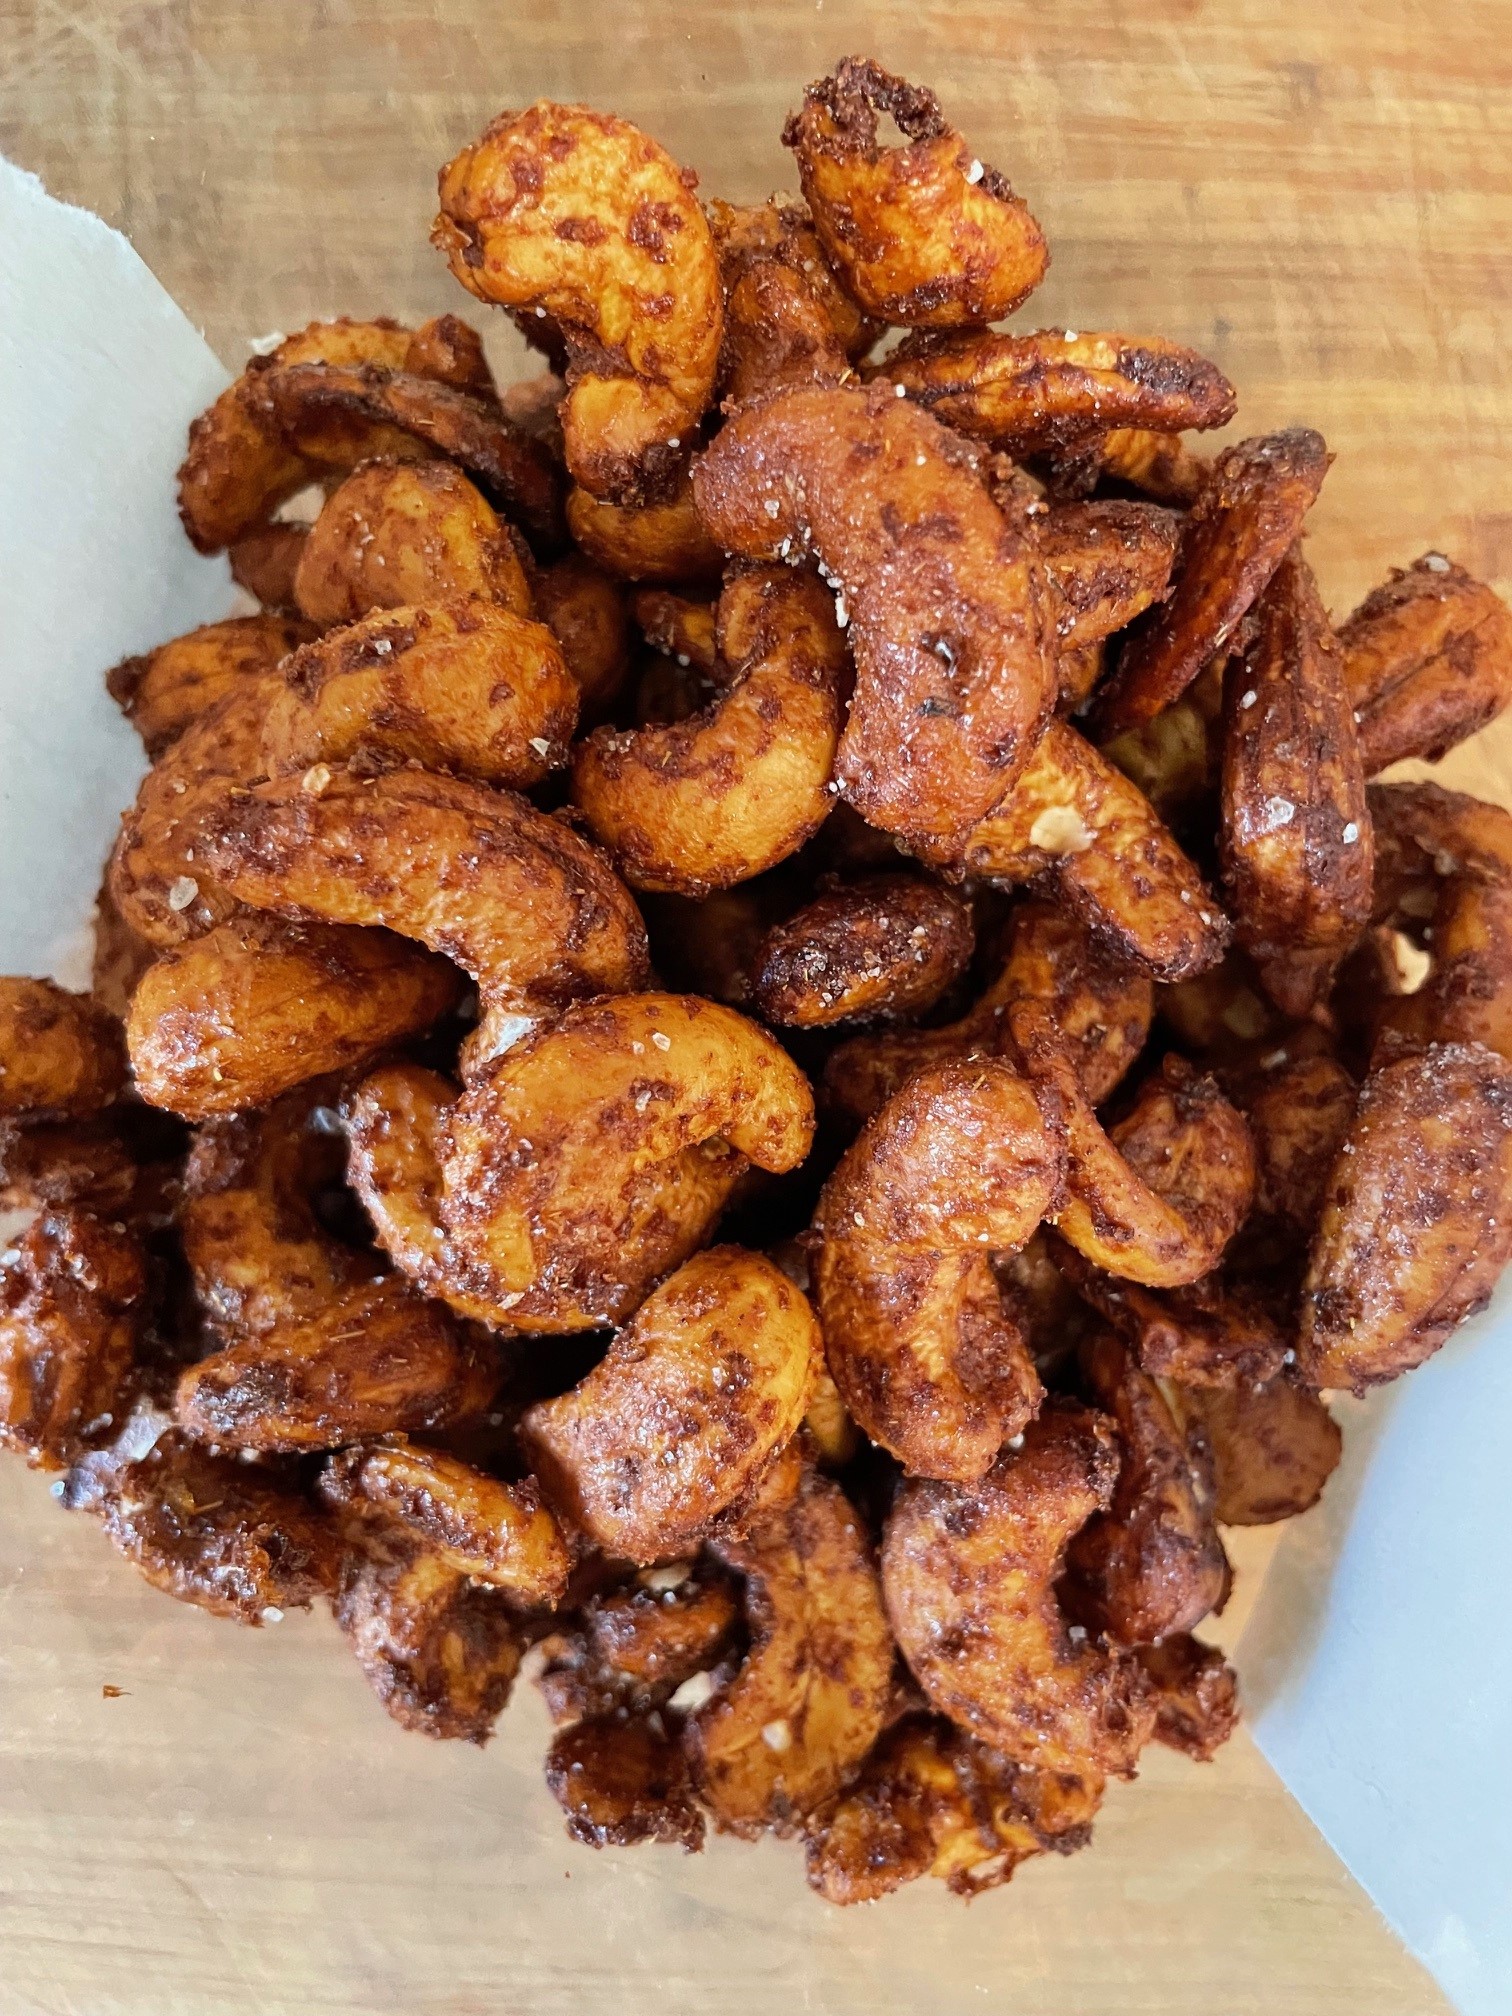
- Ingredients
- 2 cups whole cashews, unsalted unroasted
- 1 tsp. fine sea salt
- 1/2 tsp. cinnamon
- 1/2 tsp. cumin
- 1/4 tsp. paprika
- 2 Tbsp. honey
- 1-1/2 Tbsp. sriracha
- Salt to sprinkle
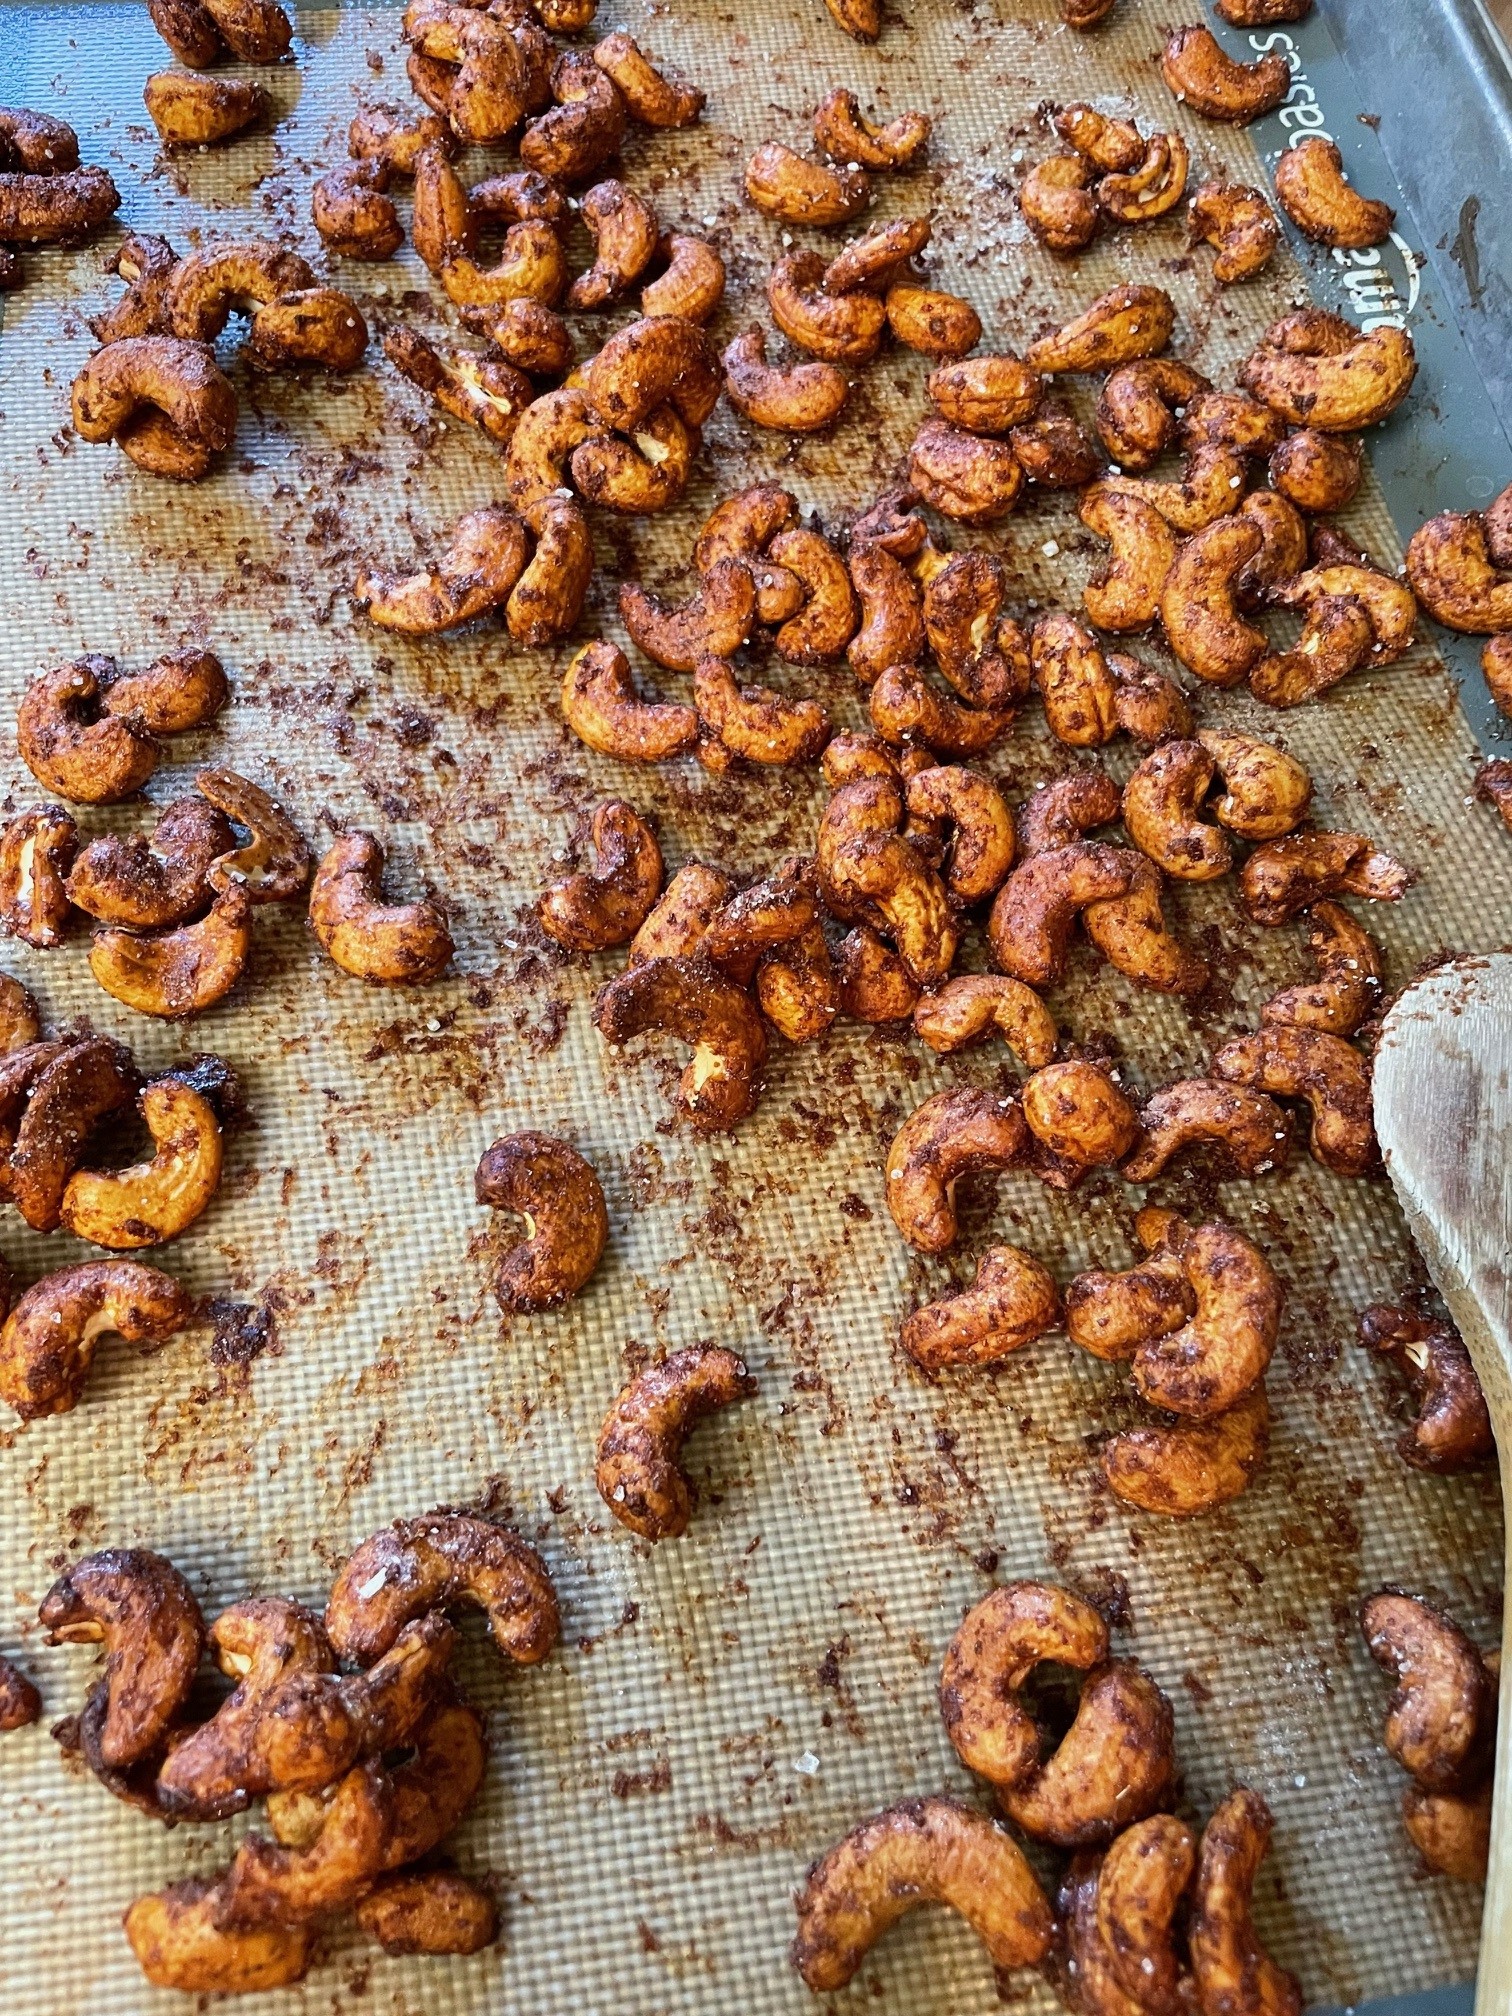
Preheat oven to 350 degrees F. Prepare a baking sheet with a silpat or parchment paper. Spread the cashews across the prepared baking sheet and roast for 5 minutes. Remove from heat and let cool a little bit.
In a medium bowl mix together spices, honey, and sriracha. Stir in the warm cashews and stir until nuts are well coated with the honey mixture. Spread over the baking sheet and roast in 5-minute intervals for 15-20 minutes, stirring every 5 minutes. Remove from heat once they are mostly dry and darkened in color. Sprinkle with salt. Let cool. Serve.
NOTES: Recipe originates with Robust Recipes. VERY good and quite simple to make.
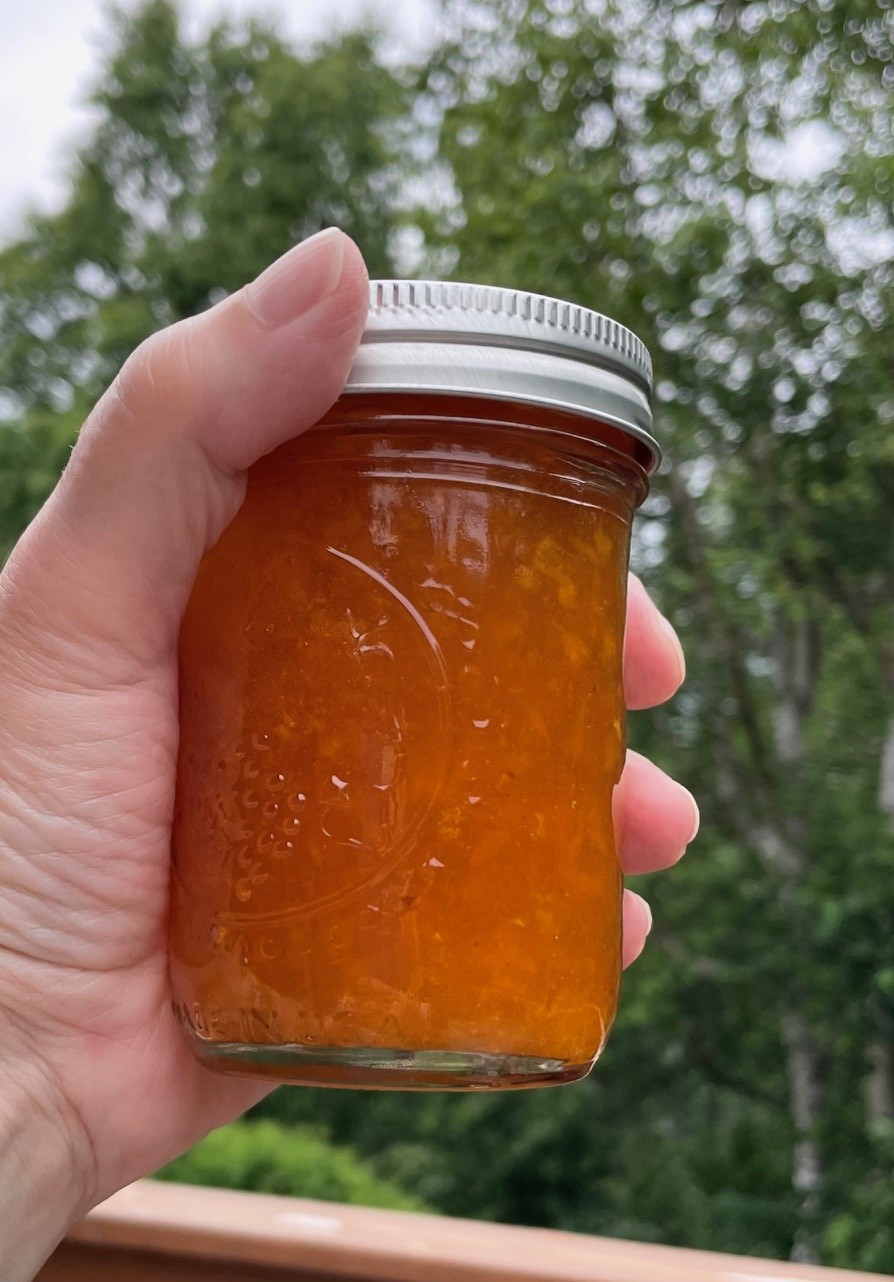
- Ingredients
- 3-1/2 cups prepared fruit (about 2-1/2 lb. fully ripe apricots)
- 1/3 cup lemon juice (2 or 3 lemons)
- 6-1/2 cups sugar
- 1 envelope CERTO liquid fruit pectin
Prepare the fruit by cutting into small pieces and grinding or running through a food processor. Measure 3-1/2 cups into a large saucepan. Stir in lemon juice. Stir in sugar and mix well. Place over high heat and bring to a full rolling boil. Let it boil for 1 minute. Remove from heat and immediately stir in CERTO. Skim the foam off using a metal spoon. Ladle into jars. Yield: 7 cups
You can seal the jars and simply tip them upside down for about half hour. That’s what I do. Sugar acts as a preservative, so it does not have to be “canned.” If you would prefer, you can pour a layer of melted paraffin over the top. That’s what my mother would do. Anything that keeps the air out will work. Or you can water-bath can them. Or you can keep them in the refrigerator. You do you.
NOTES: I was in a grocery store and saw that they had three 2# packages of ripe apricots on sale. I wish now that I had bought all of them. But I didn’t. It turns out that 2 pounds was just enough to make this jam. So, voila! I do love apricots. These were perfectly ripe and a good price for here in Alaska. When I was young, I learned to love apricots when visiting grandparents in California. We visited Chile in 2019 and our tour company owner brought us fresh apricots. It was heavenly! The Chile apricots were memorable because so much of the fruit found in Alaska grocery stores in the winter comes from Chile. It was neat to be where they were actually growing it.

- Ingredients
- 1 Tbsp. lemon zest
- 3/4 cup lemon juice
- 1-1/2 cups water
- 4-1/2 cups sugar
- 1 envelope Certo liquid fruit pectin
- Optional: yellow food coloring
You will need 3-4 juicy lemons to make this. Stir together lemon zest, lemon juice, and water. Let stand 10 minutes. Strain 2 cups liquid into a large pan. Stir in sugar. Heat to a full roiling boil and stir in Certo. Stir in food coloring, if using. Bring to a full rolling boil again and boil 1 minute. Remove from heat and skim off foam. Ladle into jars and seal.
NOTE: I do not water-bath can my jam or jelly. There is so much sugar in it that it acts as a natural preservative. Back in the olden days when my mother made jam and jelly, she poured melted paraffin over the top of the jam or jelly, instead of using lids. Paraffin “sealed” the product and kept air from turning the it brown. I have done it that way, too, but find that lids are less muss. I screw the lids onto the jars and turn them upside down for 30 minutes. The heat seals the jars to keep air out. Of course, I only do this with fruit jam and fruit jelly loaded with sugar.
I used a few drops of yellow gel food coloring in this. Lemon jelly has the same bright taste as marmalade without the rinds or zest. It was super easy to make.


- Smoked Salmon Puffs Ingredients
- 2/3 cup ricotta cheese
- 1/2 beaten egg (first one)
- Dash salt
- 1 tsp. minced fresh dill
- 1/2 tsp. lemon zest
- 1/2 cup smoked salmon chunks, set aside a small amount for top garnish
- 1/2 package (1 roll) puff pastry
- 1/2 beaten egg (second one)
- Rhubarb Puffs Ingredients
- 2/3 cup ricotta cheese
- 1/2 beaten egg (first one)
- 1/2 tsp. vanilla
- 1 tsp. sugar
- 1 tsp. orange zest
- 1/2 package (1 roll) puff pastry
- 2/3 cup rhubarb sauce (thick) or jam
- 1/2 beaten egg (second one)
For either type of puffs . . .
Mix together the first five ingredients. Do not overbeat. (For the salmon puffs, also lightly stir in the smoked salmon chunks.) Set aside.
Preheat oven to 425 degrees F. For each recipe, spray nine muffin cups with non-stick spray.
Unroll a puff pastry sheet on a floured board and, using a floured rolling pin, smooth the surface of the pastry. Cut the pastry sheet into nine identical pieces. Place each piece into a prepared muffin cup, pressing lightly so it sits fully into the bottom of the cup. Spread any overhang out flat.
Divide the ricotta mixture evenly into the pastry lined cups and lightly smooth it out.
Using a pastry brush, brush the dough of each pastry cup with beaten egg.
For the salmon puffs, place a small piece of smoked salmon decoratively atop each cup’s ricotta mixture.
For the rhubarb puffs, spoon about a tablespoon of rhubarb sauce or jam on top of each cup’s ricotta mixture.
Bake at 425 degrees F for 10-12 minutes. Watch that they do not burn nor are still raw on the bottom. Let them bake until very well browned. Each batch yields 9 puffs.
NOTES: Ricotta filling ingredients should be at room temperature. I’ve been wanting to try this for quite awhile. I have used puff pastry only once before, so I’m really pleased at how these turned out. I didn’t want 18 desserts or 18 salmon appetizers, so splitting this into two different types of tartlets was the way to go. I used home made ricotta and home smoked salmon. Also home made rhubarb sauce. One could use any variety of foods: cream cheese or even pastry cream instead of ricotta, shrimp instead of salmon, strawberry instead of rhubarb . . . the possibilities are endless. These were very easy to make and the preparation was quite fast. As long as you had everything you needed, it would probably take half an hour from start to finish. They don’t save well. You will want to eat them the same day. Perhaps they could be reheated and crisped up from refrigeration, but I do not know. There weren’t enough left to try it. Always a good thing!
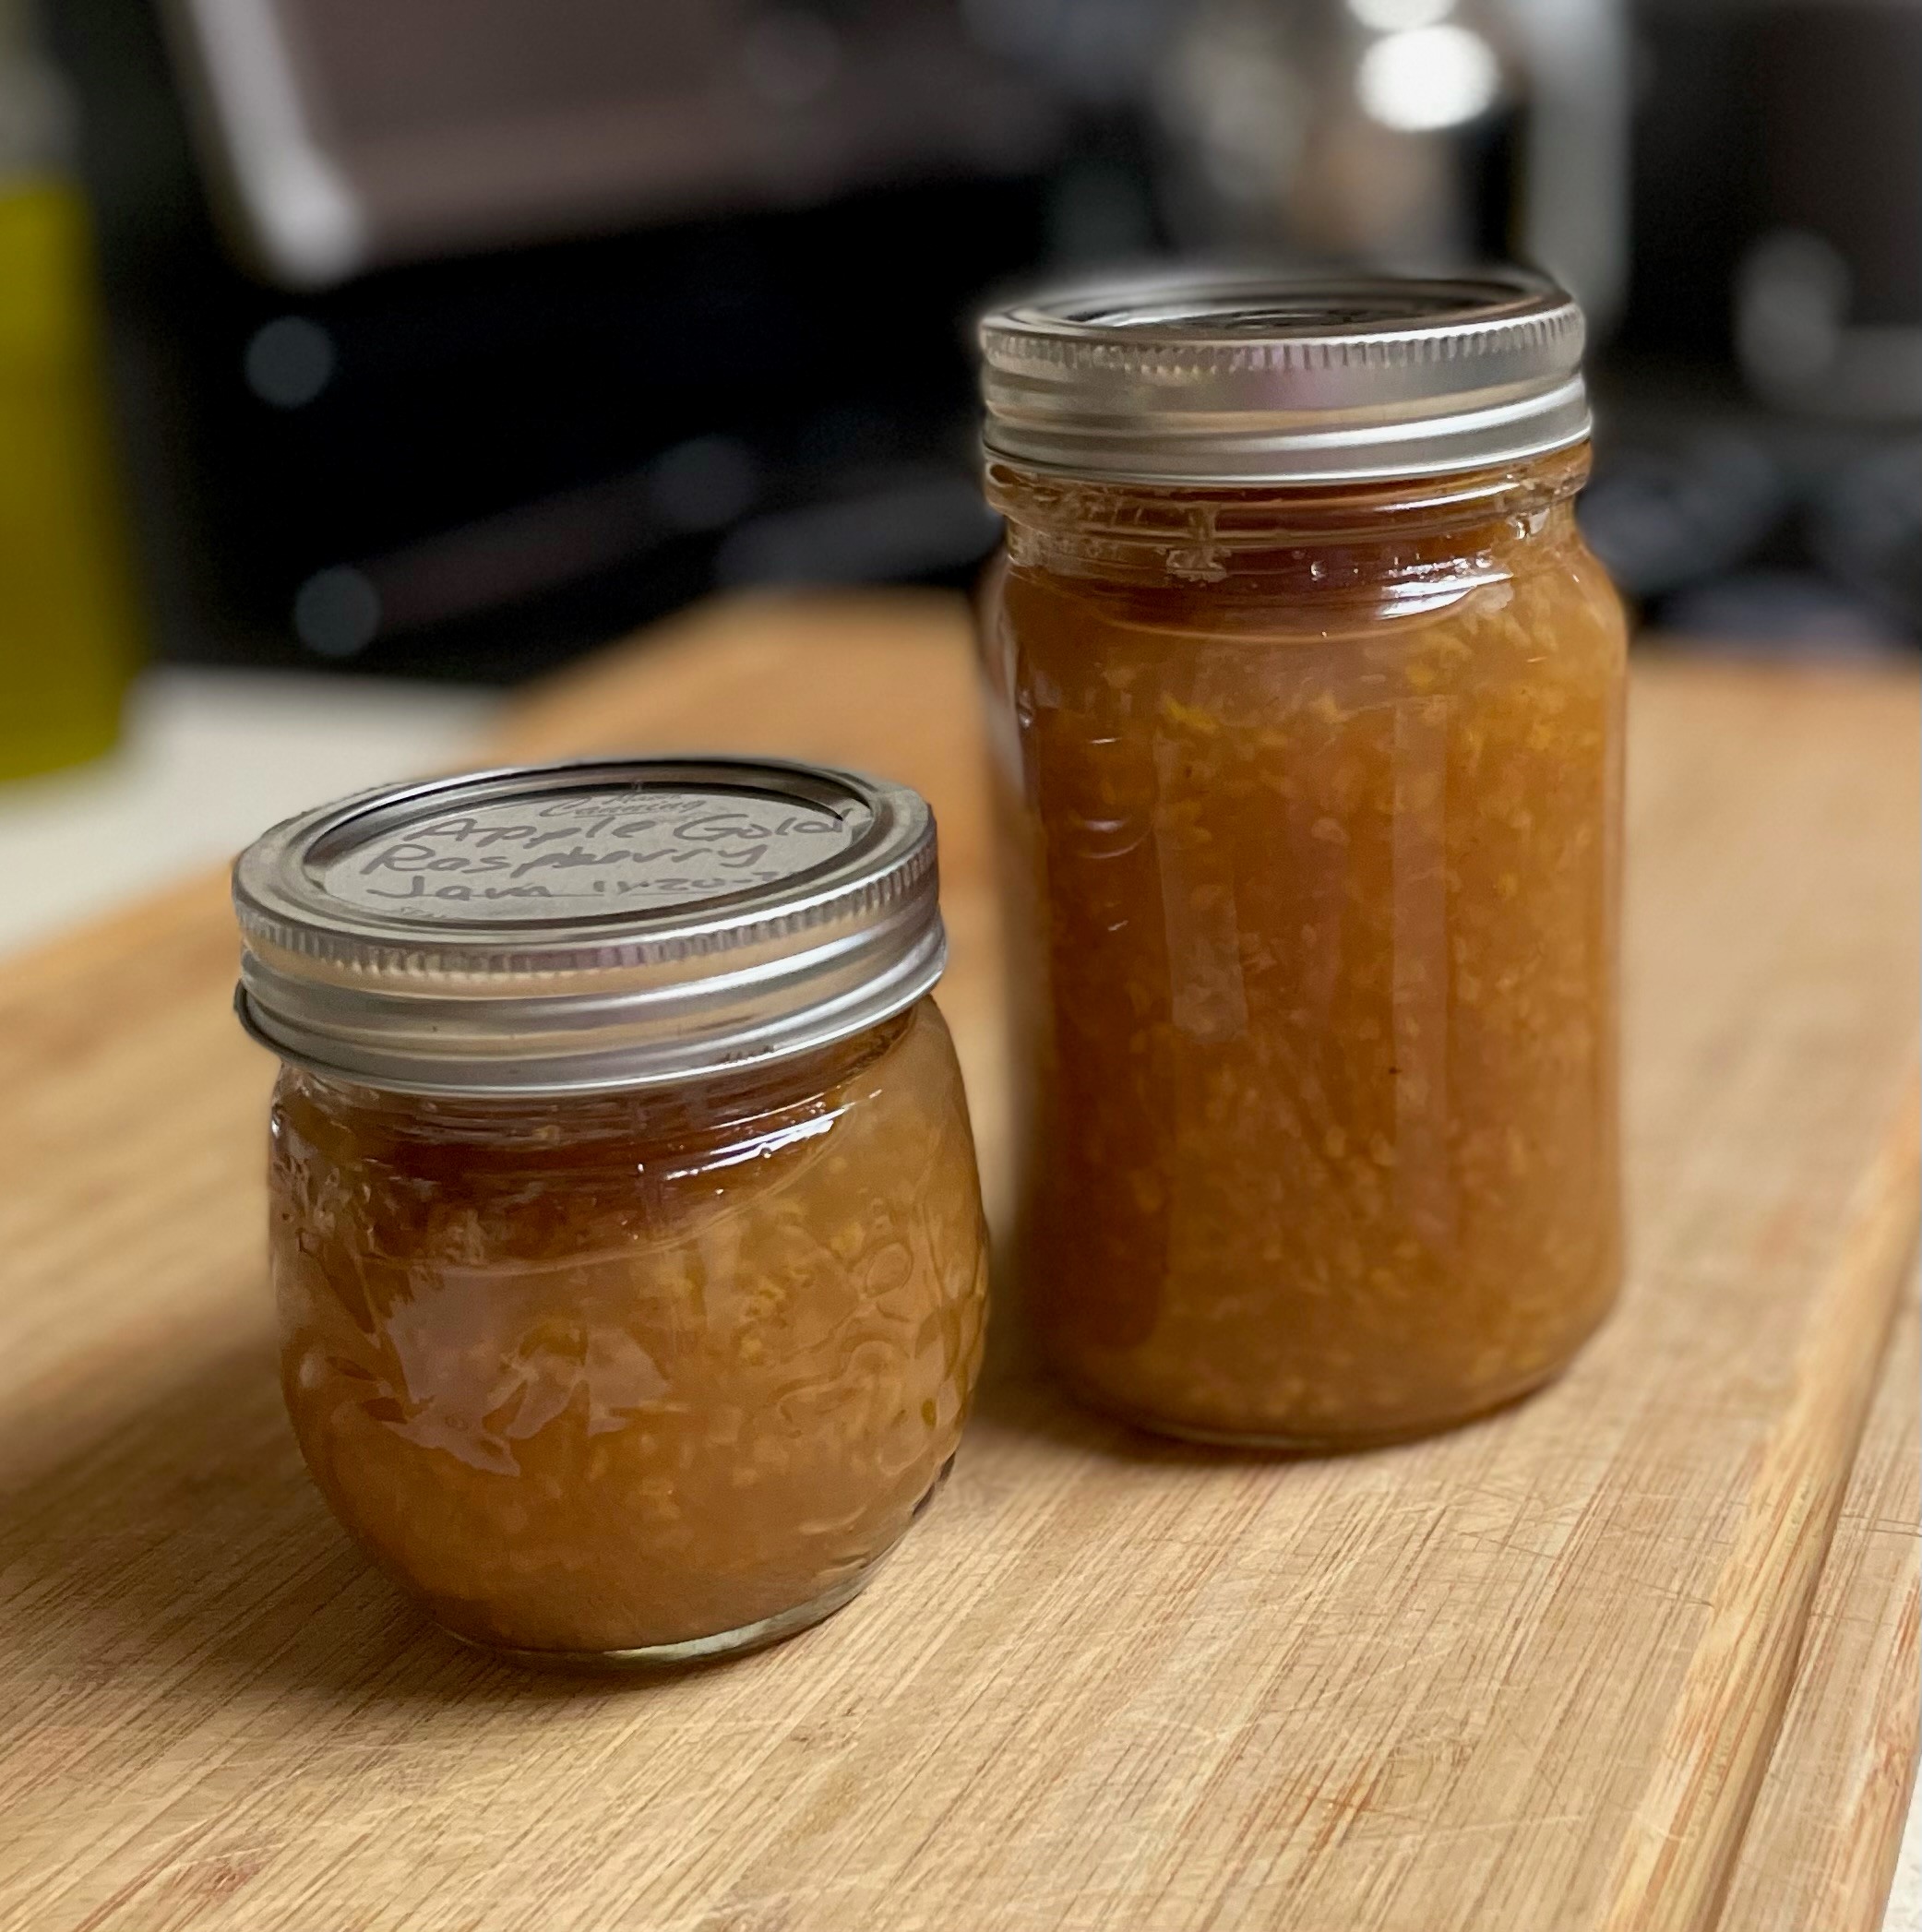
- Ingredients
- 3 golden delicious (cooking apples) apples, pureed
- 1lb. golden raspberries (or red), fresh or frozen
- 1-3/4 cup sugar
- 2 Tbsp. lemon juice
Yield: 3-1/2 cups
Stir all the ingredients into a large cooking pan and bring to a boil. Reduce to simmer and let simmer 20-30 minutes, stirring occasionally. Test for jelling by putting a spoonful on a small dish. Once cool, run your finger or the spoon through it. The track should stay. This is very forgiving, so a little longer than necessary shouldn’t hurt anything. Ladle into sterilized jars, wipe the rims, tighten lids onto the tops, and tip the jars over for a half hour. Turn right side up and let cool. Lids should be not bounce when pressed.

- Ingredients
- 2 cloves garlic, finely minced
- 3/4 tsp. salt
- Dash of pepper
- 1/2 cup Tahini
- 1/4 cup lemon juice
- Hot water (apx. 1/4-1/3 cup)
In a bowl (I use my mini food-processor), mix together garlic, salt, pepper, tahini, and lemon juice. Stir in hot water to make it the consistency you like. Check for salt. Serve.
NOTES: This is easy-peasy. Tahini is simply ground sesame seeds. It has the consistency of peanut butter and can be used as a substitute for that, especially for people who are allergic to peanuts. Tahini is gluten-free, nut-free, dairy-free, and vegan. Use it on meats like lamb, or eggplant, or as a sandwich spread with meat or vegetables. Really, a lot of uses. Tonight I’m making lamb meatballs and I’m going to use the tahini sauce for dipping. I can’t wait! Oh, and I have memories of Jonkoping, Sweden and kebab pizza. The tahini sauce is is your final component drizzled over the top. Yes!
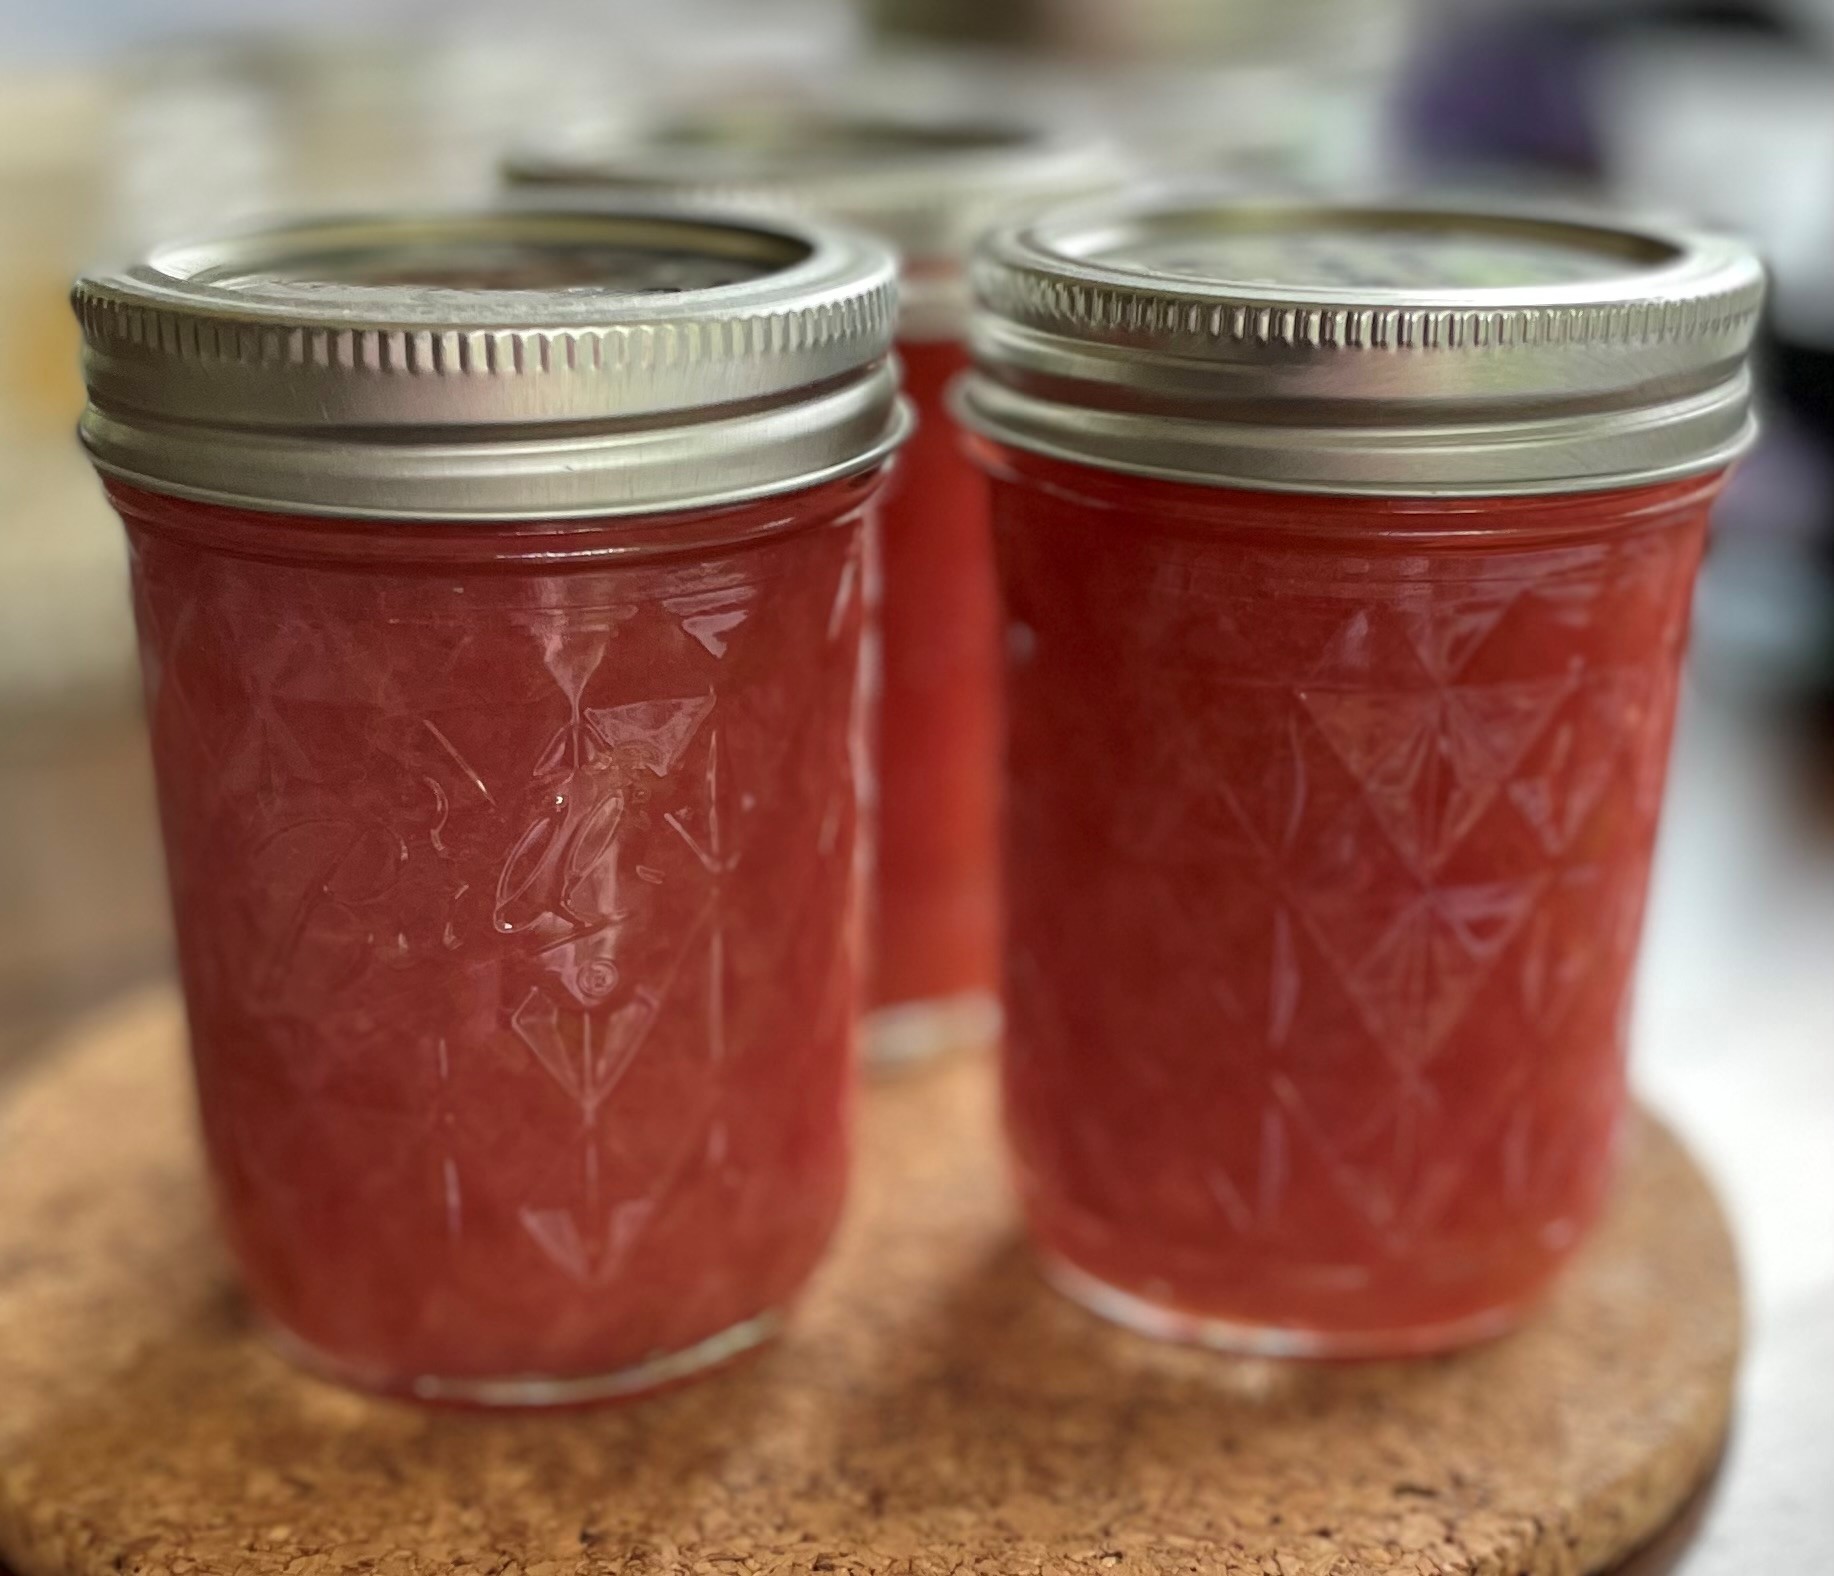
- Ingredients (Yield is 3 cups)
- 400g chopped rhubarb
- 2 apples, cored and peeled
- 1-1/2 cups sugar
- 1/4 cup lemon juice
Stir all the ingredients together in a large saucepan. Bring to a boil over medium heat. Reduce heat to simmer for 45 minutes to an hour, stirring occasionally. The apples should soften enough to mash with the spoon. Leaving a few lumps is okay. Test for jelling by putting a spoonful on a small dish. Once cool, run your finger or the spoon through it. The track should stay. This is very forgiving, so a little longer than necessary shouldn’t hurt anything. Ladle into sterilized jars, wipe the rims, tighten lids onto the tops, and tip the jars over for a half hour. Turn right side up and let cool. Lids should be not bounce when pressed.
NOTES: Props to hintofhealthy.com for this one. I was afraid it would turn out more like applesauce than jam, but it didn’t. It’s very jam-like. And tasty. I think you could add spices or ginger, but I really like the flavor of the rhubarb and apples. Sorry if you do not have a scale for the grams. Google says it’s .8 lbs. I think if you simply picked about a pound of rhubarb and trimmed it, this would be the right amount. I weighed mine to 400 grams exactly, however. The pectin comes from the apples, so that’s the part you really should be careful about.
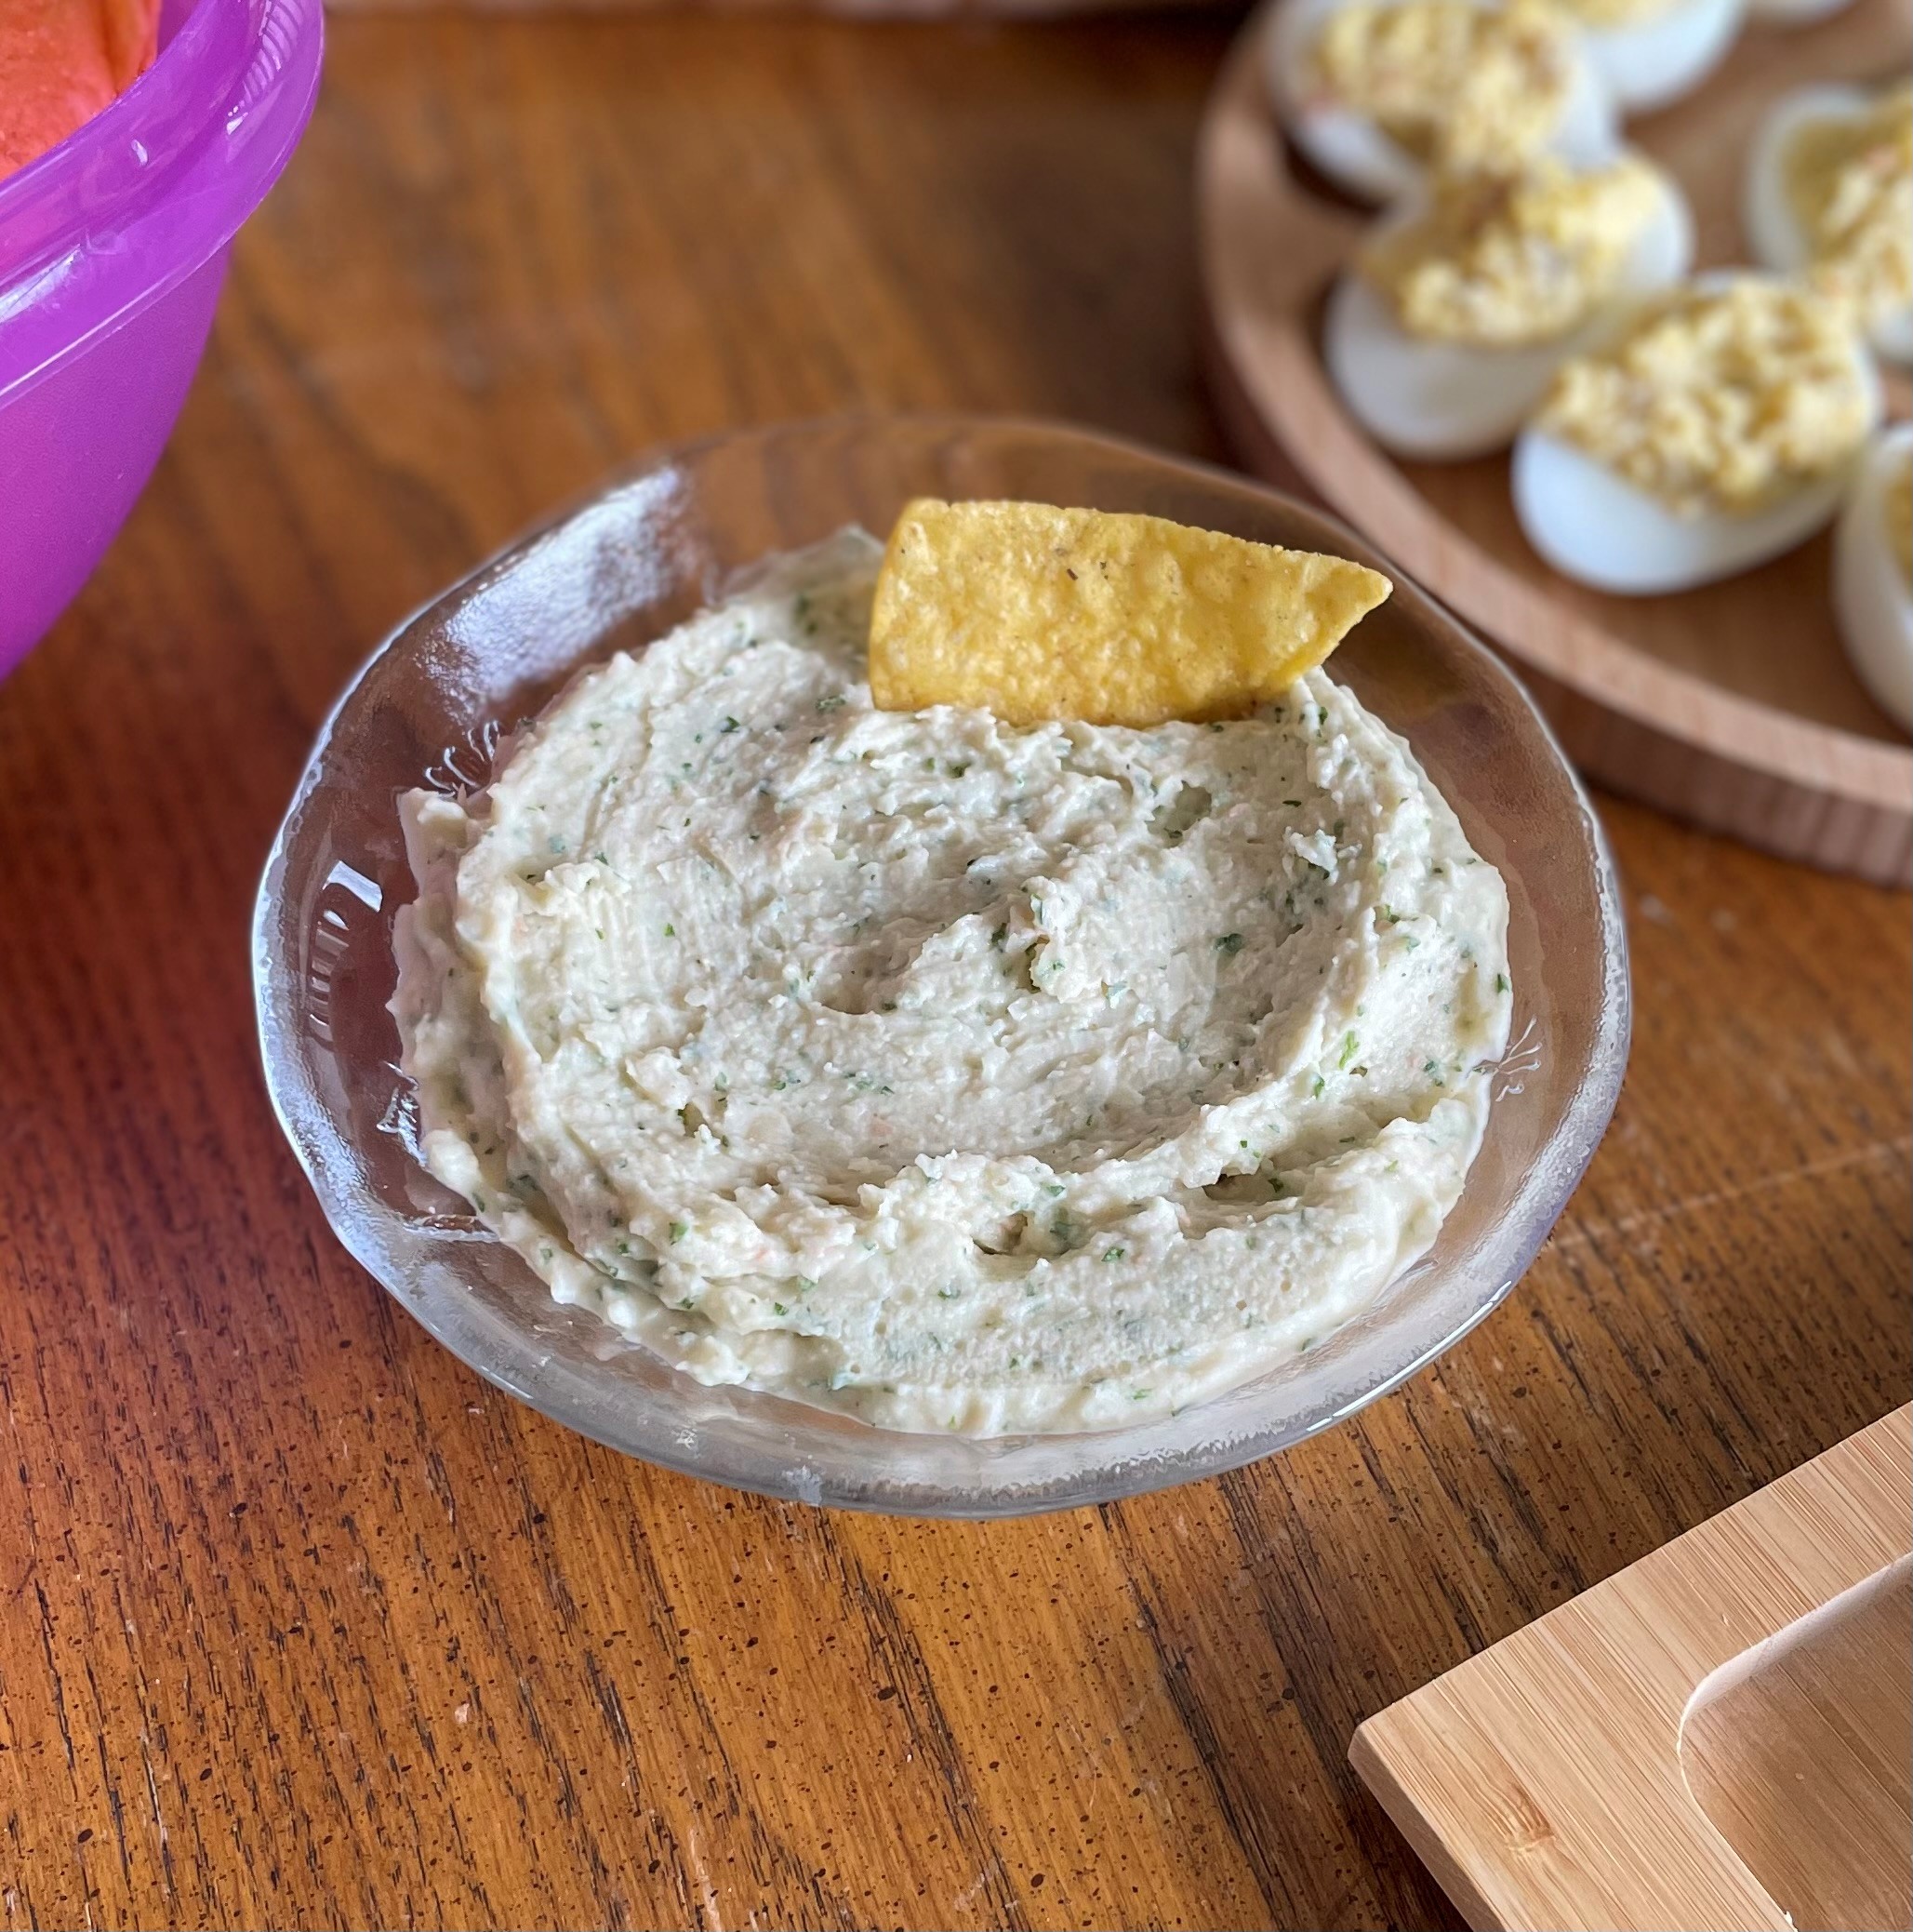
- Ingredients
- 1-2 cloves garlic
- 1 15-oz. can cannellini beans, drained and rinsed
- 1/3 cup fresh parsley, chopped
- 2 Tbsp. lemon juice
- 1/3 cup olive oil
- 1/2 tsp. salt, or to taste
- Pepper to taste
Place all the ingredients in a small food processor. Process until the mixture is a a dip-like paste. If it seems too dry, add more olive oil. Make sure to taste for salt. Serve with your favorite gluten-free chips or crackers or pita wedges or as a condiment for sandwiches. It’s all good.
NOTES: This keeps well under refrigeration for a day or two if you need to make it ahead. Be careful not to overdo the garlic. I used three large cloves last time and, wow, that was really strong! I like this dip because it’s made from ingredients I usually have on-hand, like fresh parsley. Its lack of wheat, rye, dairy, fish, and seafood makes it so everyone in the family can enjoy it. You could try any kind of white bean, instead of cannellini. I happen to like the flavor of the cannellini.
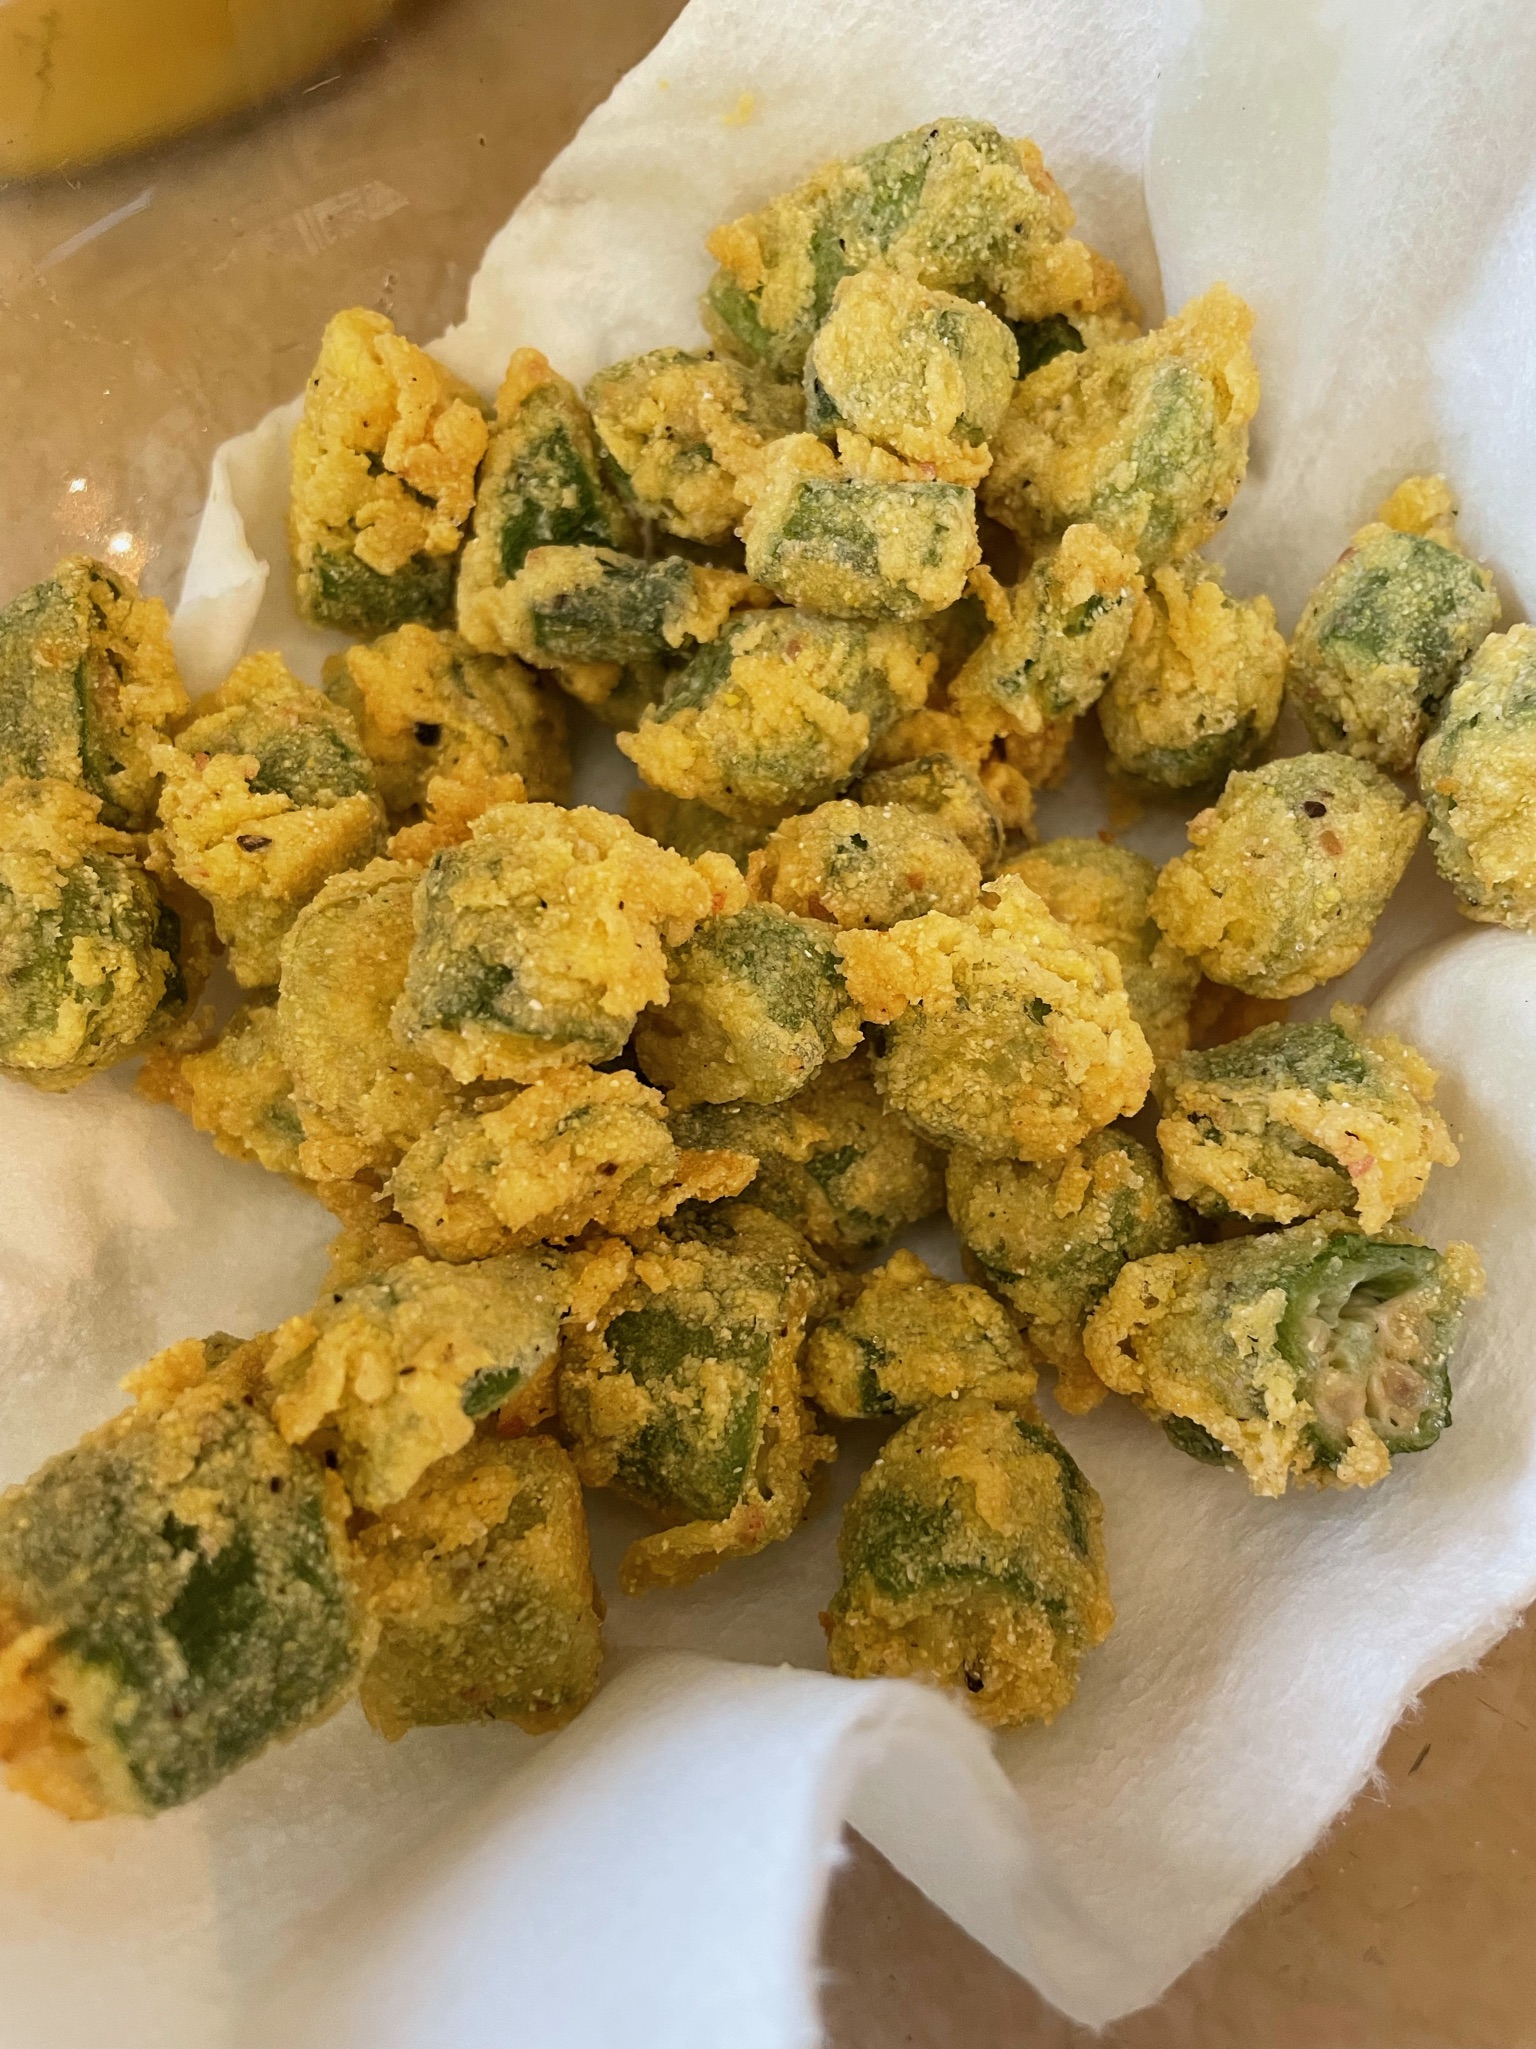
This may be an acquired taste, I couldn’t say. My dad grew up in Texas and eating okra is not strange to me. I’ve only been to Texas two or three times in my life and we did not have fried okra a lot while I was growing up. On one of the occasions we did visit Texas I remember being with Grandma and stopping by to visit my father’s cousin, Doris Marie. She was in the kitchen frying okra. I will never forget the smell, the look, the taste. Oh, my, it was mouth-watering. But I like mine better! Ha!
- Ingredients (quantities are approximate)
- 12 oz. package frozen sliced okra
- 2 extra-large eggs
- 3/4 cup corn meal
- 1/2 cup flour
- LIBERAL amounts of salt and pepper
- Oil for frying
Thaw the okra until it’s no longer frozen, but not quite all the way thawed. Sometimes I let it sit in a colander for a few hours, shaking it every once in awhile.
Heat about 1/2″ of oil in a large skillet. I’m not sure of the temp, 350 degrees? I just wait until it bubbles when I drop a pinch of corn meal into it.
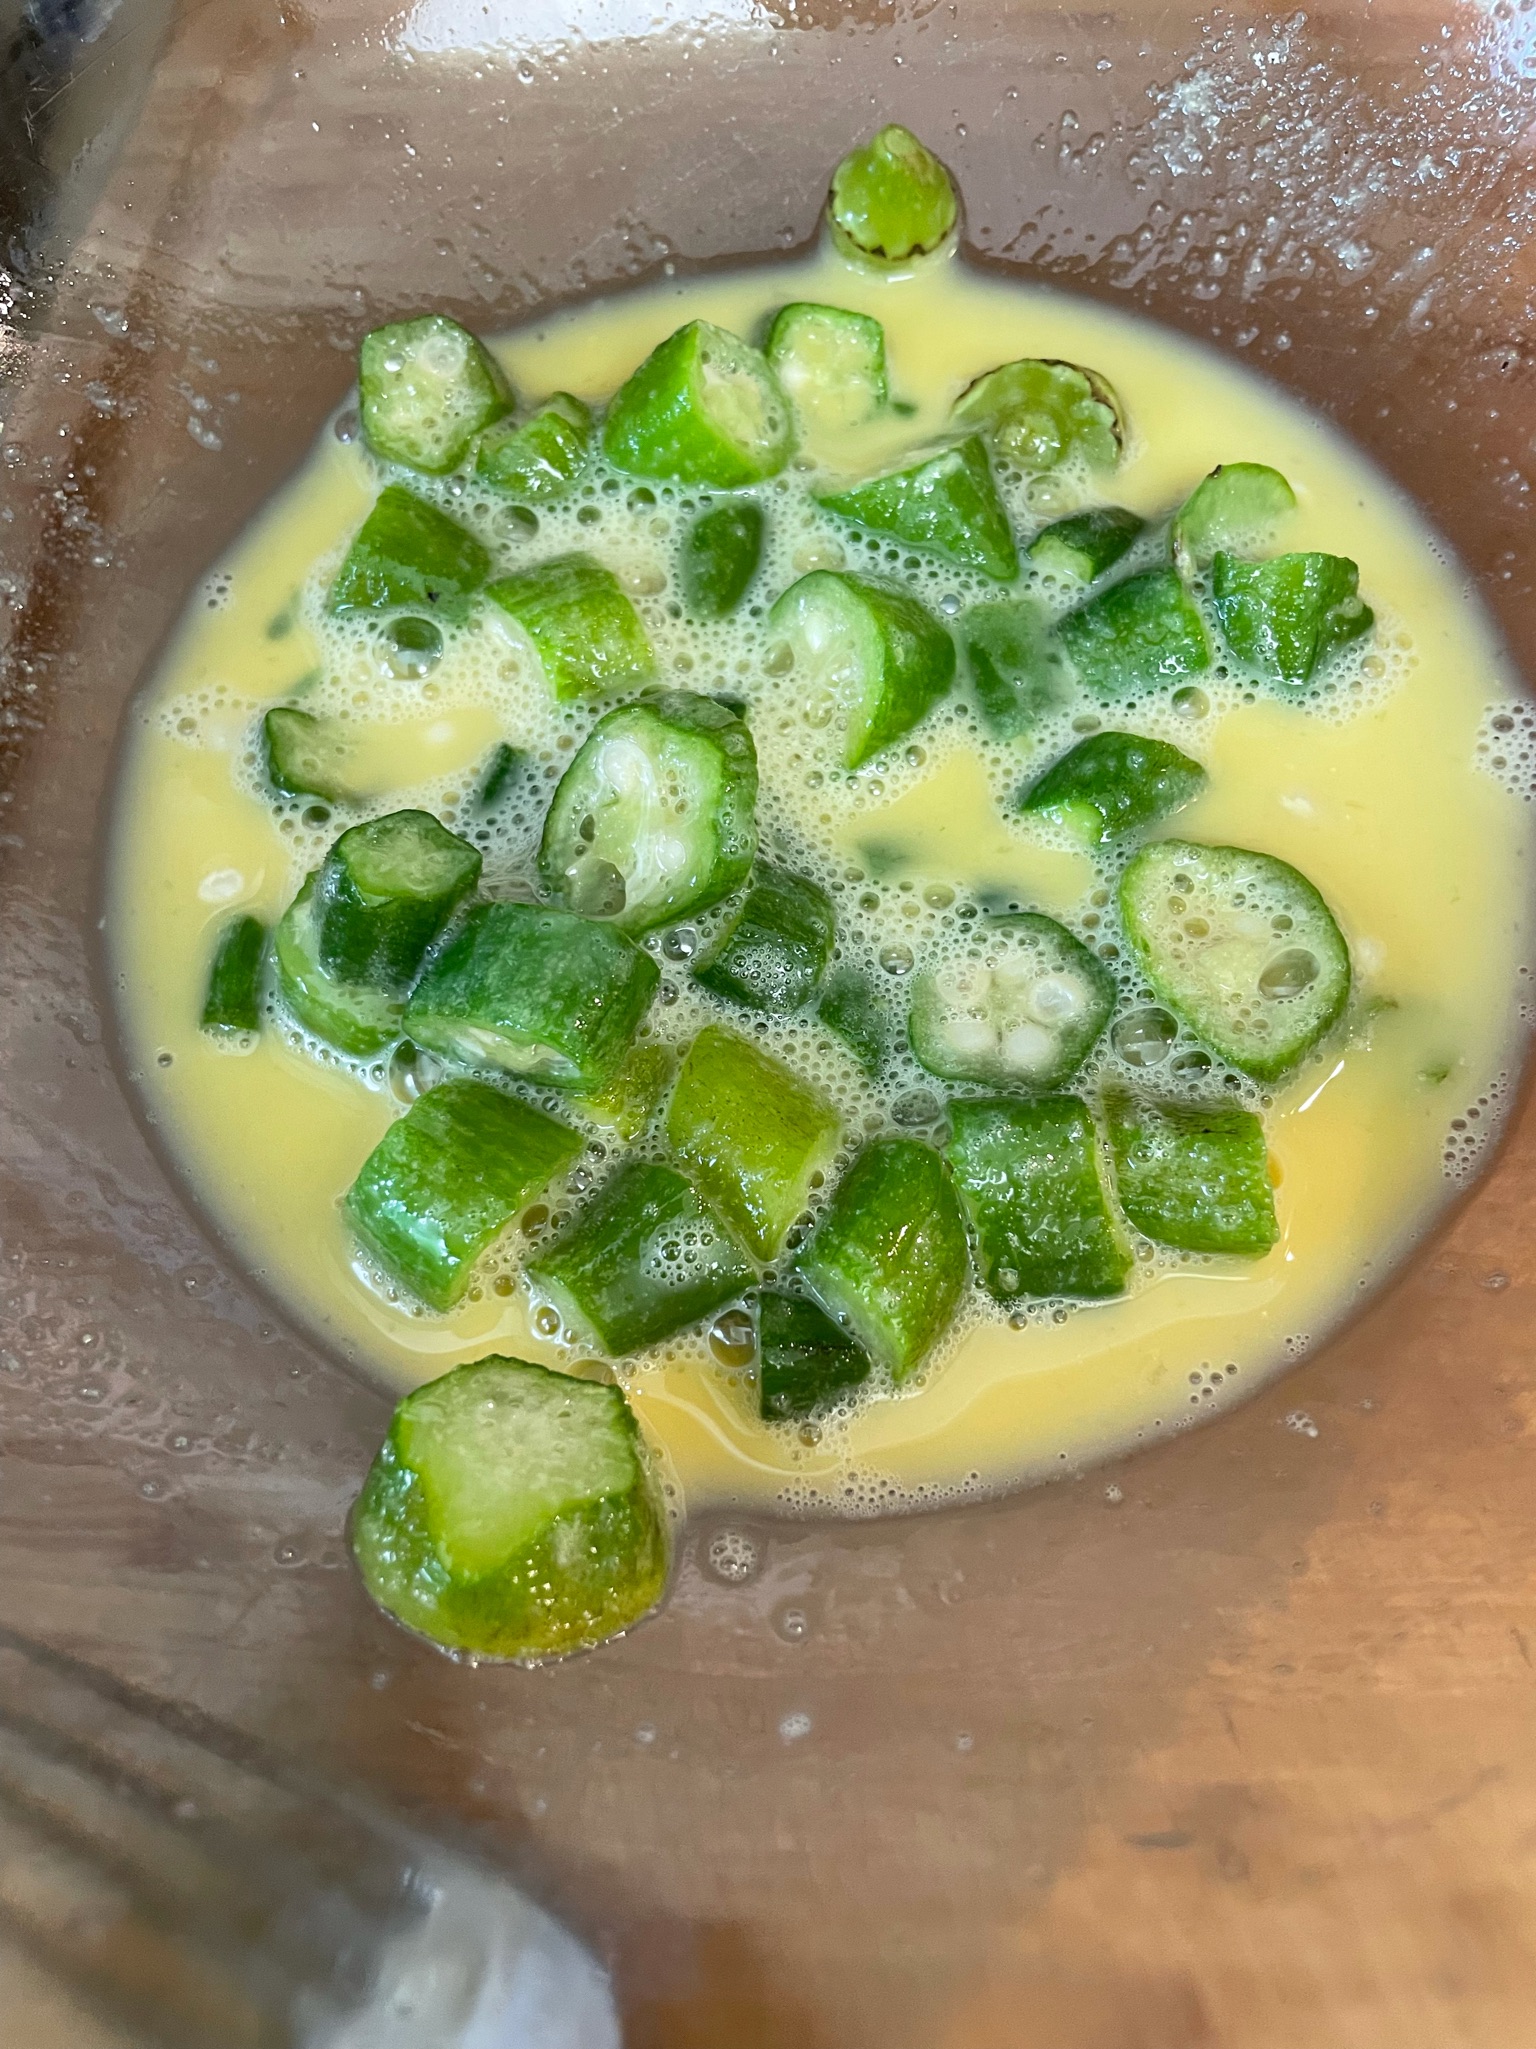
In a medium bowl, beat the eggs. Stir in the mostly-thawed okra.
In a flat dish (I use a pie plate), stir together the corn meal and flour and salt and pepper.
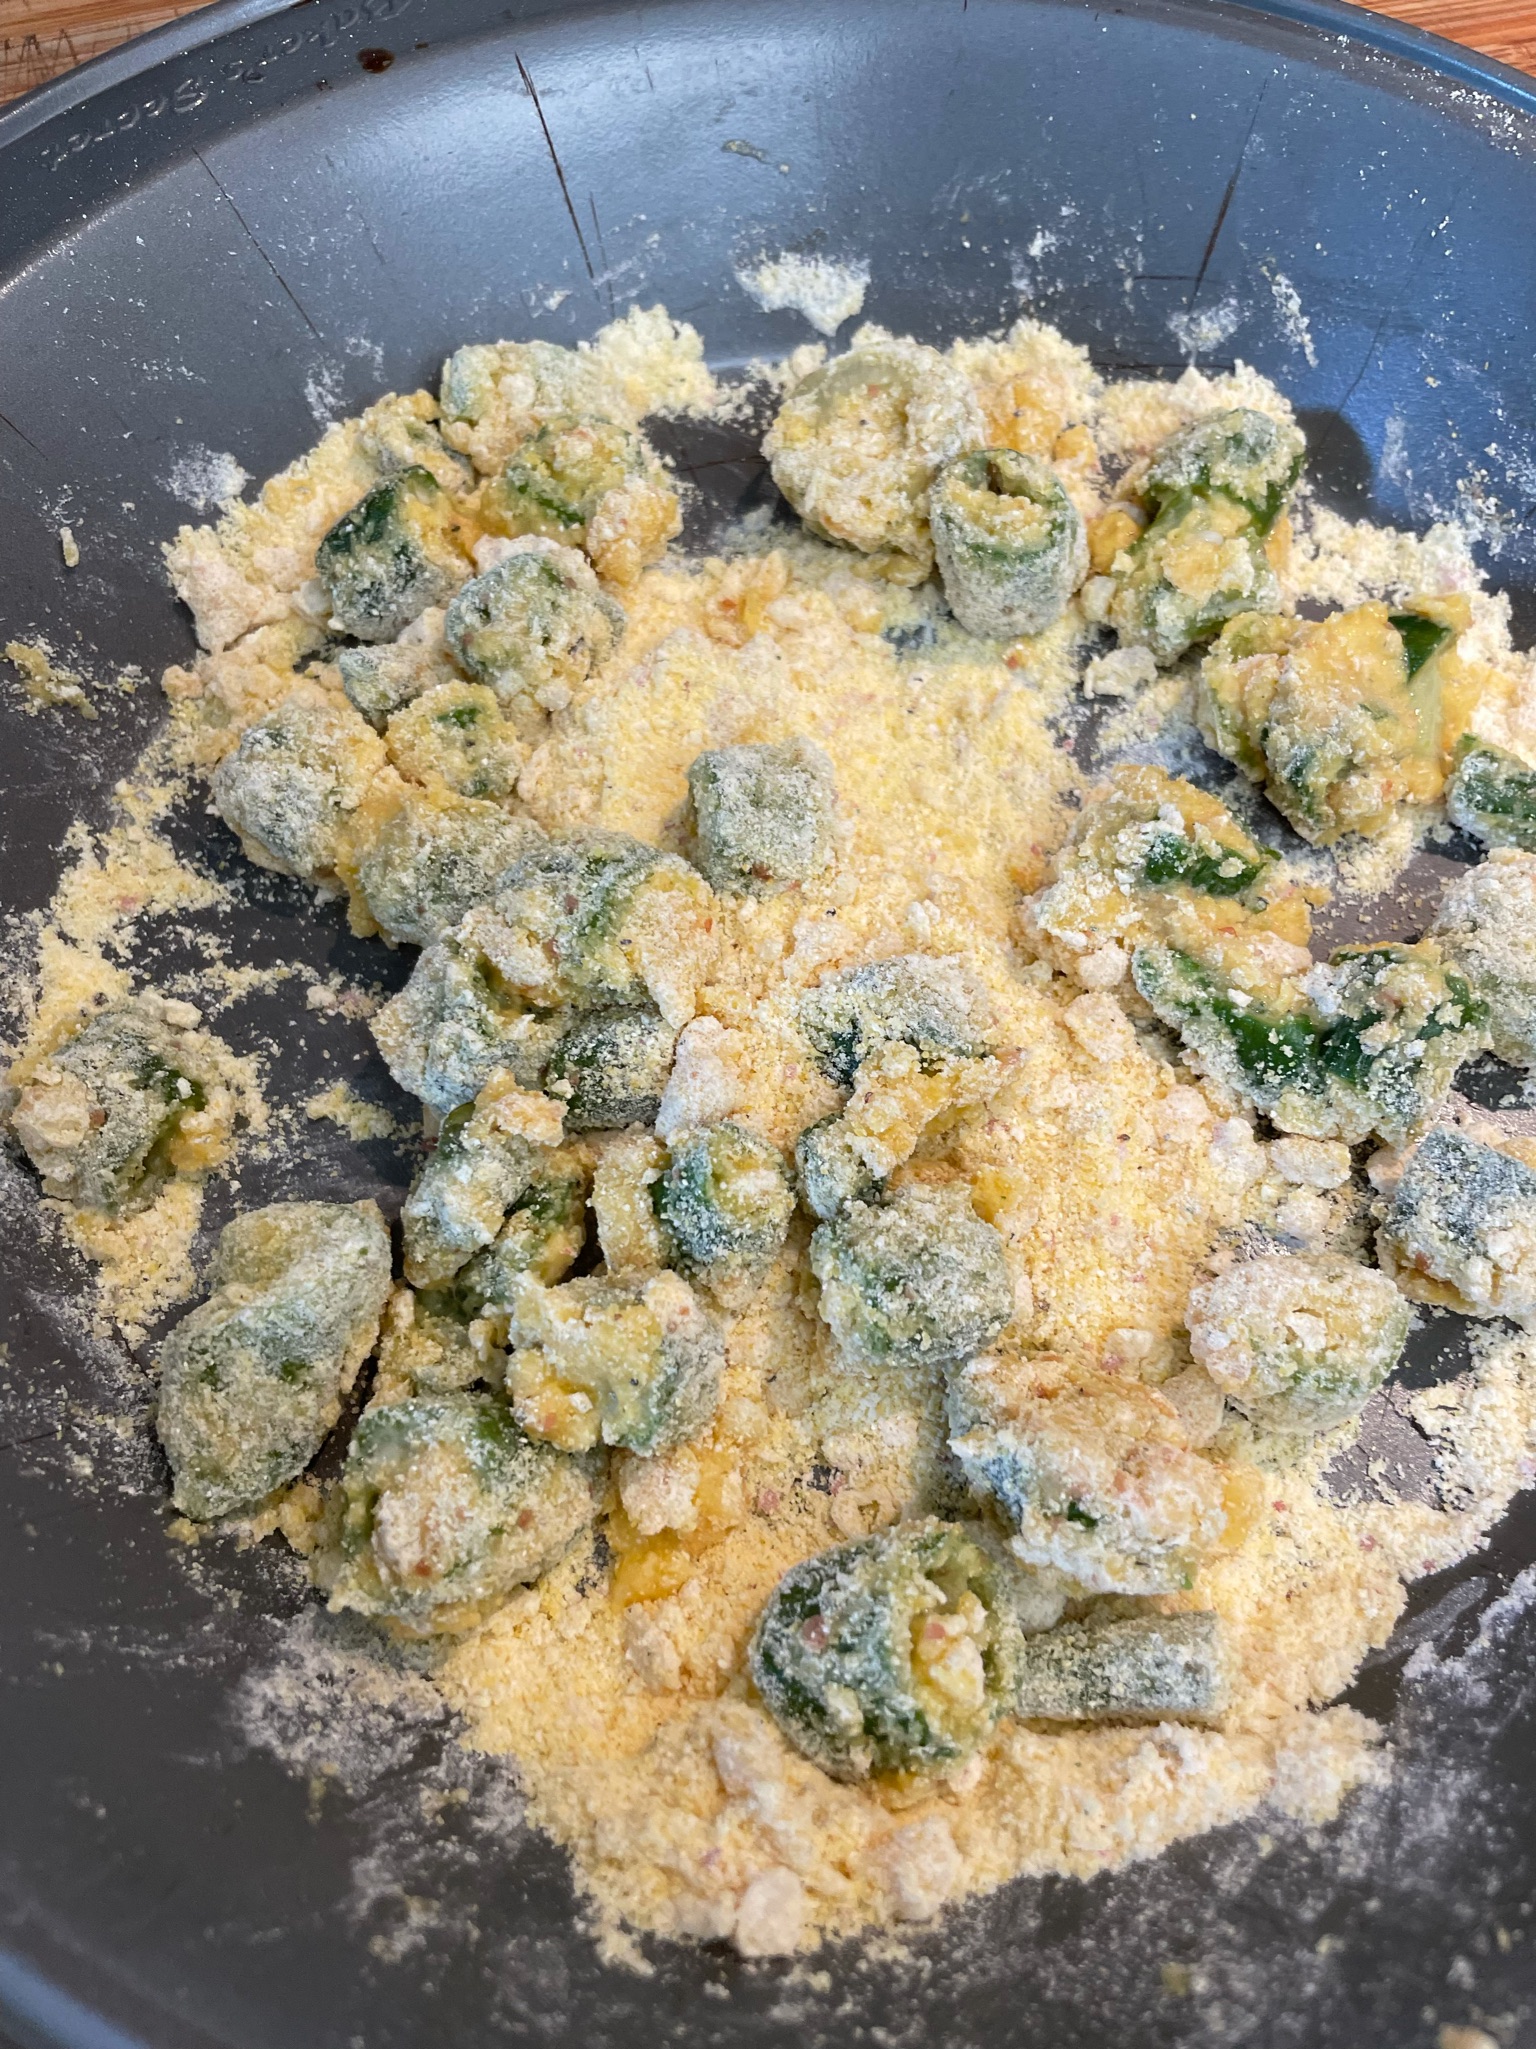
Lift a big handful of sliced okra from the bowl of egg and okra and place it into the corn meal mixture. Dredge the okra so that all the pieces are coated. Using your hands as a sieve, lift out the okra, and gently drop into the hot oil. Let it fry for a couple minutes. Using a slotted spoon, give it a stir. Stir every once in awhile until all the pieces are golden brown.
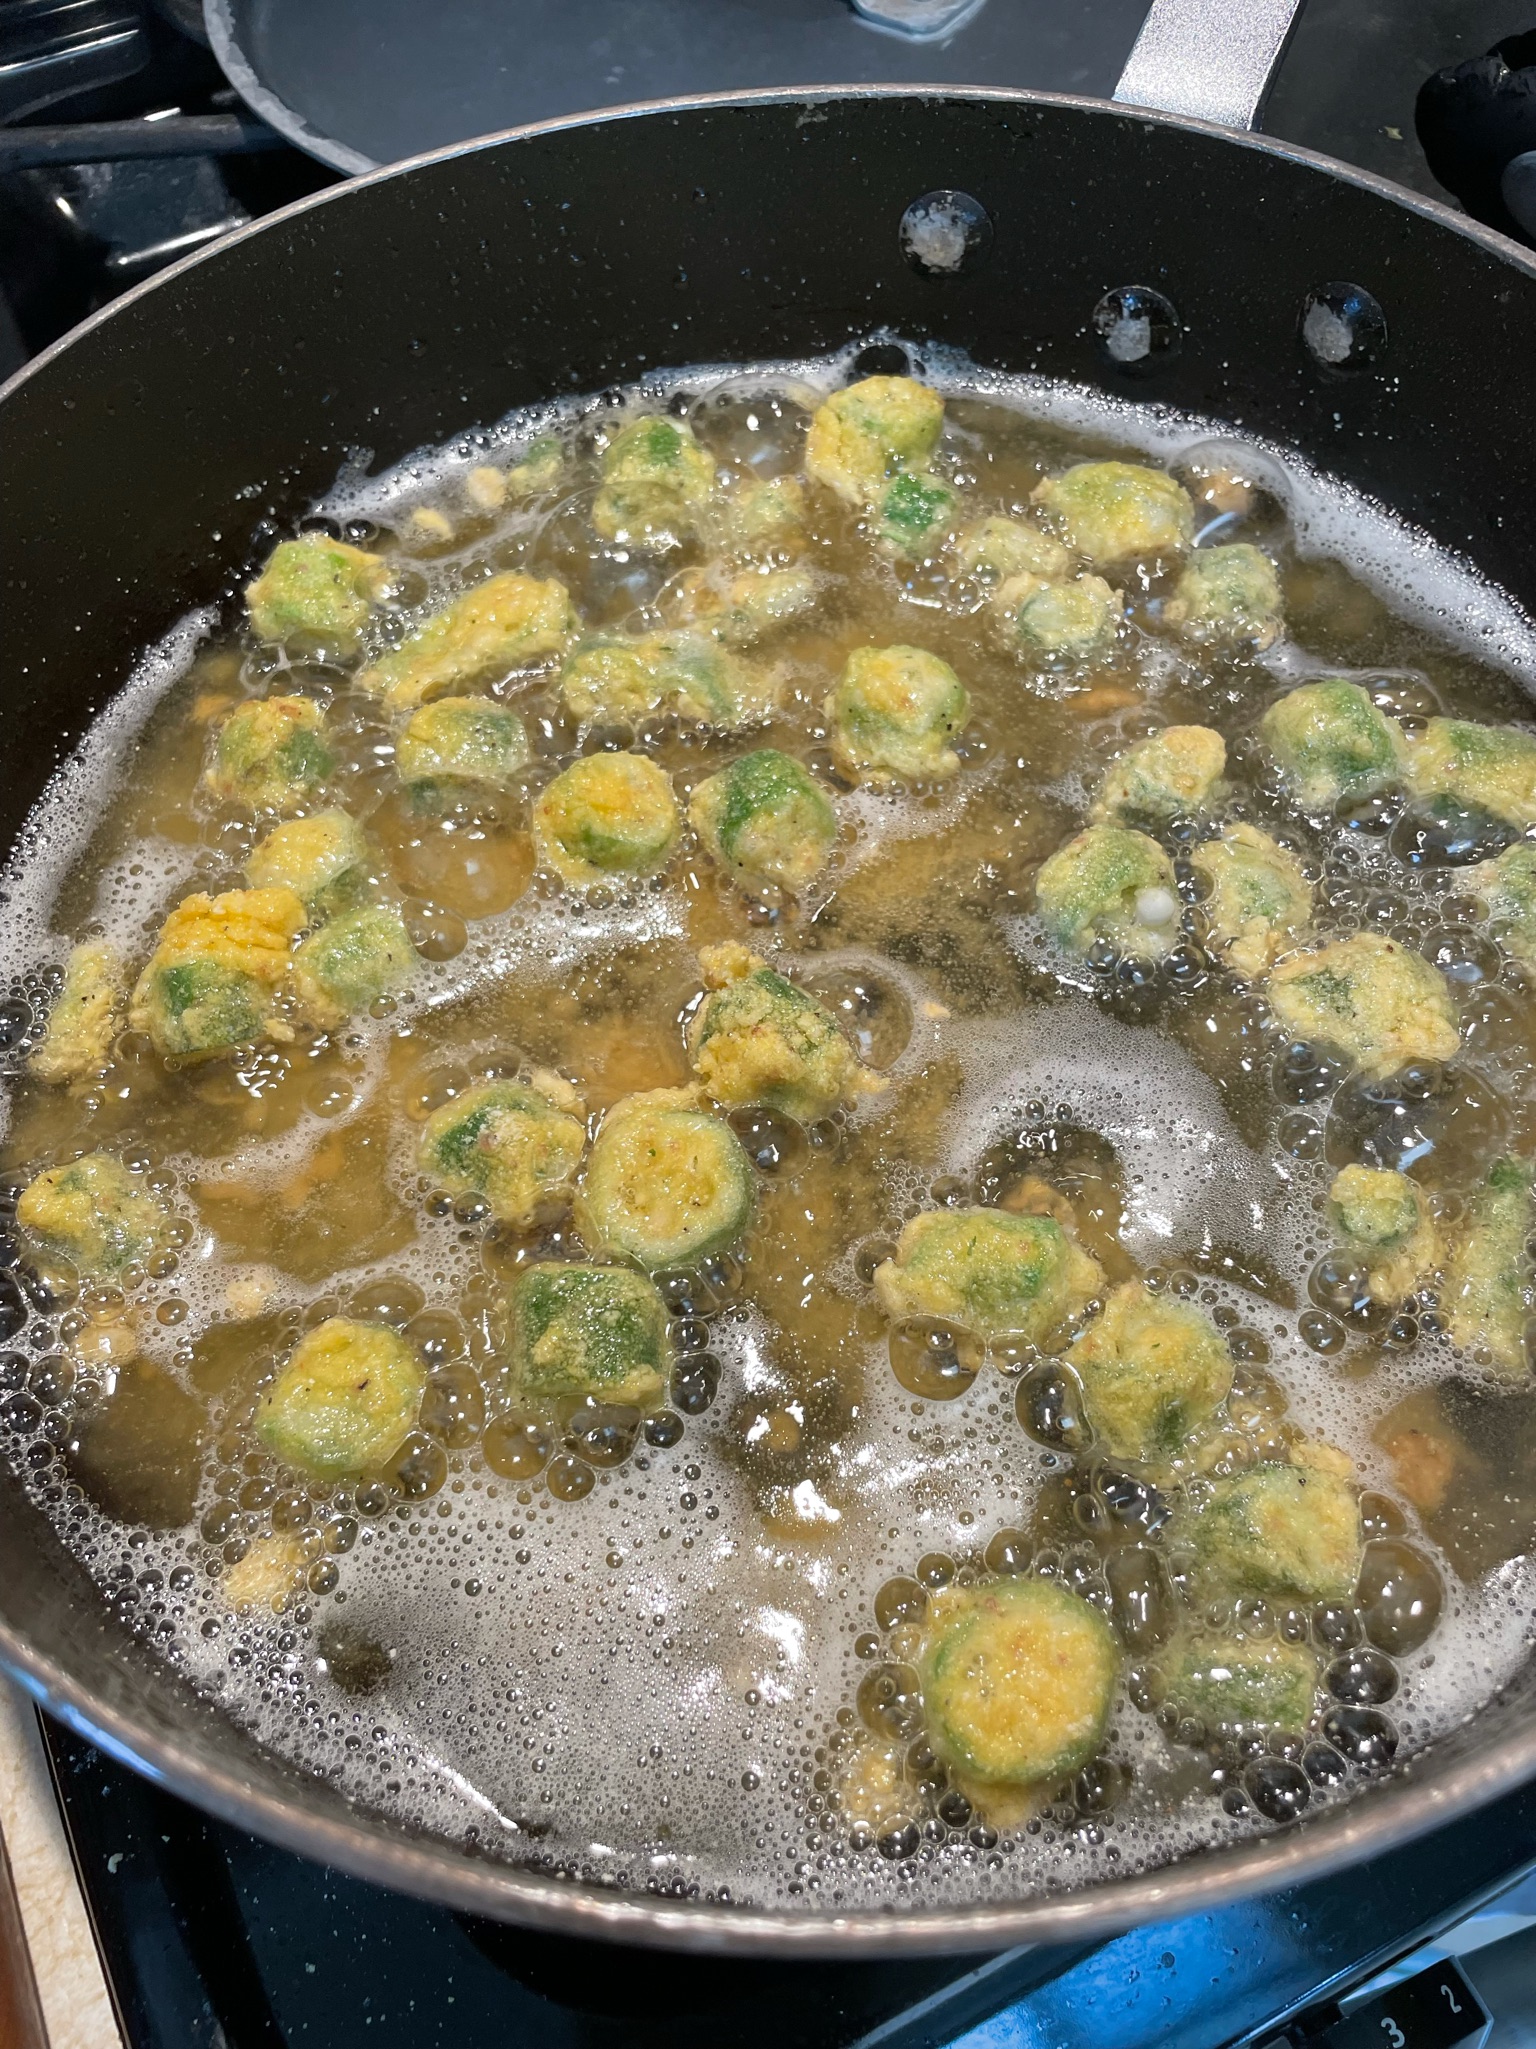
Once golden and crispy looking, remove from skillet into a paper-lined bowl using a slotted spoon. Sprinkle with salt. Repeat the procedure until all the okra is done. You may have to add more oil to the pan. For me, this is four batches. Do not overcrowd the okra or it won’t get crispy. Make sure to salt every batch.
NOTES: I don’t care for garlic salt on this. Just sayin’. Regular salt or seasoned salt will do. This kinda falls into the salty snack category if you have a hankerin’. This has a Cousin Pam thumbs-up rating even though she should not be eating fried foods, but who can resist . . .

I have made this about once a year for many, many years. I had to go hunting for the recipe today, so decided to put it here for an easier find. When I first tasted this at a potluck, it blew me away. This will serve any number of people, just adjust the amounts.
- Ingredients
- Shredded sharp cheddar cheese
- Bleu cheese salad dressing
- Crumbled bleu cheese
- Shredded cooked chicken
- Frank’s Red Hot Sauce
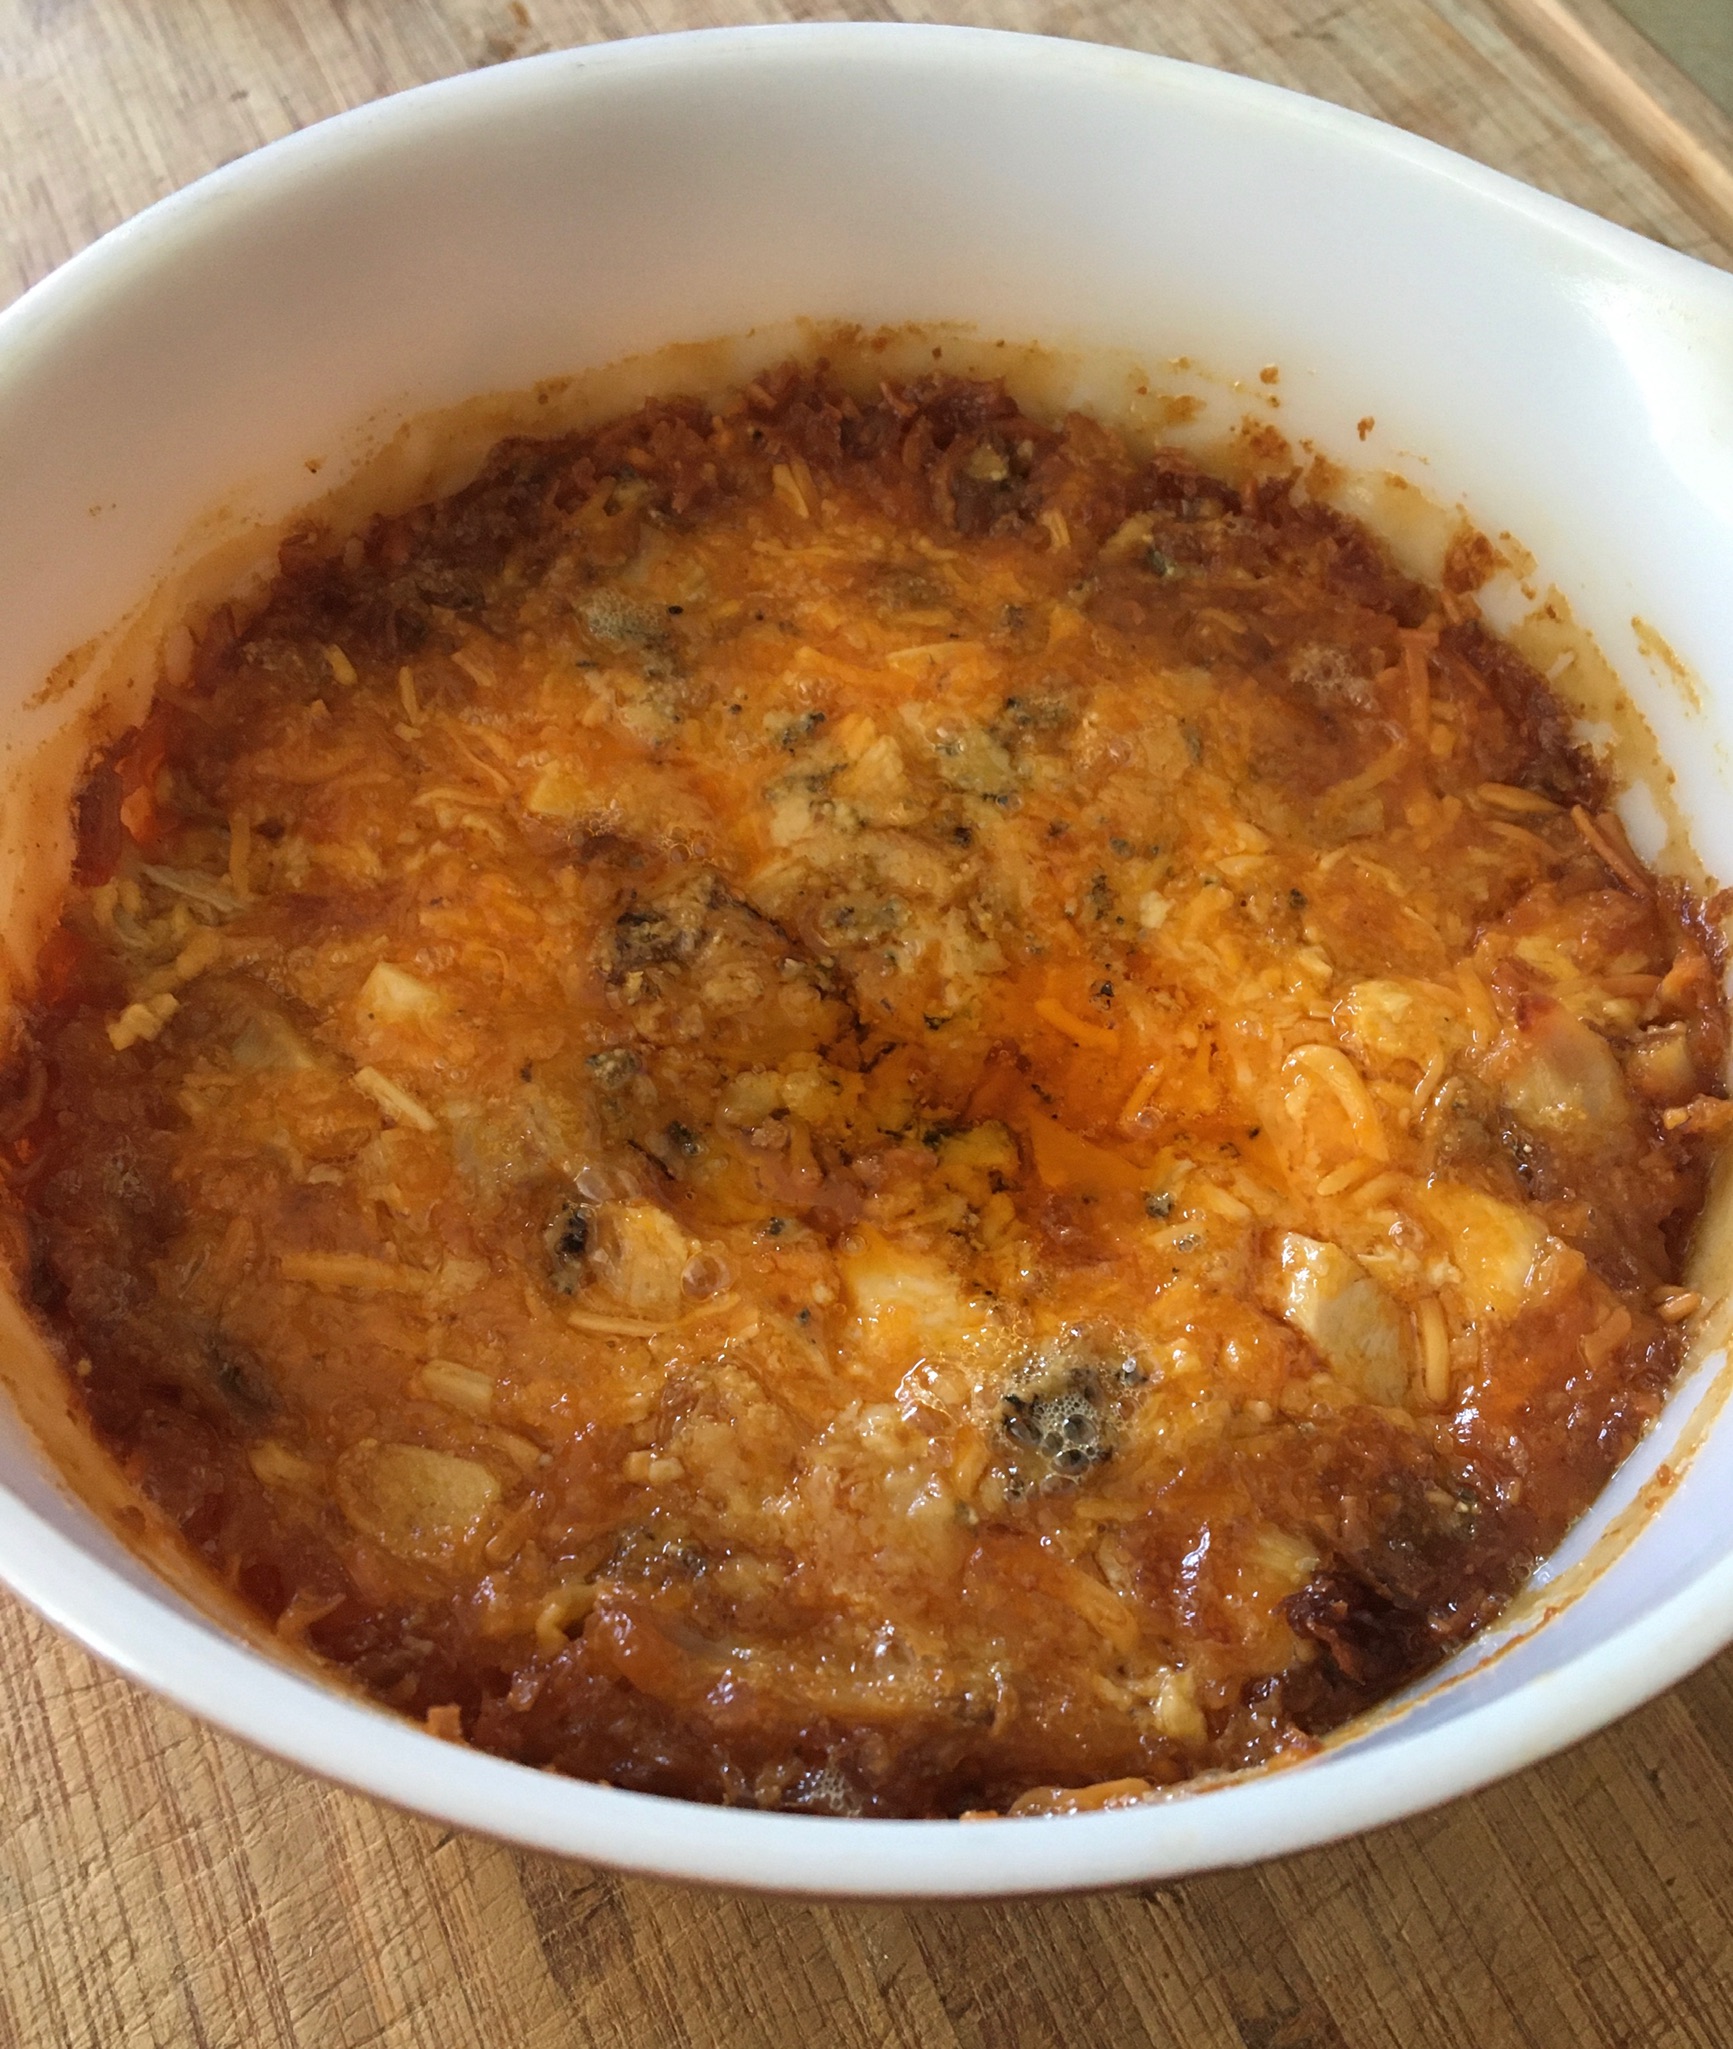
Preheat oven to 350 degrees. Mix ingredients together and bake at 350 degrees for one hour. Use crackers, crusty bread, tortilla chips, and/or celery sticks as vehicles for the dip.
Notes: My friend Sandie gave me the recipe with some of the ingredients in very specific amounts. For example, it called for 2 cups shredded sharp cheese, 1/2 cup Frank’s, and one bottle of bleu cheese salad dressing, along with the other non-specific ingredients. Since I always make my own bleu cheese dressing, in this recipe I use mayonnaise and lots and lots of bleu cheese crumbles. Adding plain Greek yogurt, sour cream, or buttermilk in place of some of the mayonnaise would probably work well. This dip tends to separate into oils and solids because of the oil in the cheddar cheese and mayo. I don’t know how to make it not do that. I try to ladle some of the oil off before serving.
Instead of baking the dip, you could put it into a crock pot for 4-6 hours. I don’t have a crockpot.


 Foods Passion