
You are currently browsing Paula Lindstam’s articles.
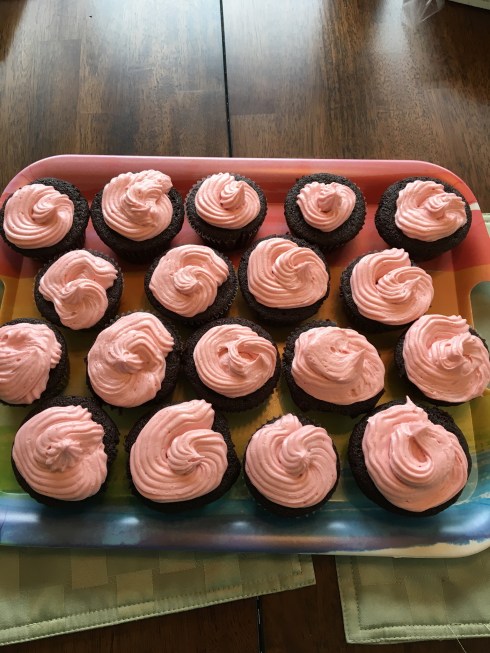
This makes 24 cupcakes. I have gotten such rave reviews about these that I simply must share. The components of cupcakes, filling, and frosting are from three different recipes. The cupcake recipe is one I have made many times from browneyedbaker.com. The filling is home-made seedless raspberry jam. You could buy some at the store, probably with the same effect. The frosting is based upon sallysbakingaddiction.com.
Cupcakes:
1 cup Guiness stout
1 cup butter
3/4 cup cocoa powder
2 cups flour
2 cups sugar
1-1/2 tsp. baking soda
3/4 tsp. salt
2 eggs
2/3 cup sour cream
Prepare cupcake tins with 24 paper liners. Preheat oven to 350 degrees. Place Guiness and butter in a saucepan and bring to a simmer over medium heat. Whisk in the cocoa powder until smooth. Remove from heat and let cool a little bit.
In a medium bowl, whisk together the dry ingredients.
In a mixer, mix together the eggs and sour cream until combined. Add the Guiness mixture and mix until combined. Slowly add the flour mixture until just mixed, then fold until it’s completely combined.
Divide the batter equally between the paper liners. Bake for 20 minutes or until a light touch and they spring back up. Let cool completely.
Once cooled, remove the centers (I used my handy cupcake corer) and dribble seedless raspberry jam into each one. Rather than throw them away, we snack on the cupcake cores. Another idea would be to use them to make small trifles. I digress. The jam should be even with the top of the cupcake.
Frosting:
3/4 cup butter, room temperature
3-1/2 cups powdered sugar
3 Tbsp. heavy cream
2 tsp. vanilla extract
Dash of salt
1/2 cup seedless raspberry jam
Beat butter until softened. Add powdered sugar, cream, vanilla, and salt. Beat slowly until smooth. Add seedless raspberry jam and beat slowly until well incorporated. Add powdered sugar if it’s too thin or more cream if it’s too thick. Update: I just learned that mixing the frosting slowly will reduce the air bubbles forming in the frosting.
Place into a piping bag and pipe onto the tops of the cupcakes. Like I said, I got RAVE reviews for these cupcakes. I mean for reals.


So, I have been hosting World Cup viewing at my house for a couple weeks. We’re in Alaska, so the games played in Russia are early in the morning here. I’m trying to serve breakfast-type snacks to the assembled bleary-eyed hooligans, along with their coffee. Since the rhubarb is ripe, there’s been a lot of rhubarb bread. This egg muffin has also turned out to be quite nice. It’s very easy to make and keeps well in the fridge for several days.
Preheat oven to 350 degrees. Prepare a 12-muffin tin by spraying with non-stick spray or greasing very well.
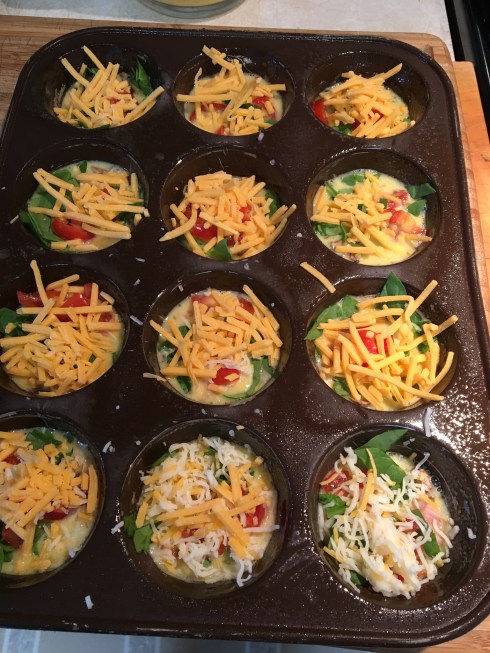
Ingredients

An assortment of finely chopped vegetables and/or meat. Here are some
ideas: spinach, onion, bell pepper, tomato, sun-dried tomato,
green onion, mushroom, bacon, ham. You'll need 3-4 tablespoons of
each one, or you can make each muffin cup a different flavor.

Grated cheese (I've tried mozzarella, Mexican mix, and sharp cheddar)

9-12 eggs, well beaten

Splash of half-n-half (optional)

Salt and pepper
Beat the eggs and optional half-n-half with salt and pepper. Pour just a little into each muffin cup to coat the bottom. Sprinkle a little of each of your vegetables and meat into each muffin cup. Sprinkle grated cheese into each muffin cup.
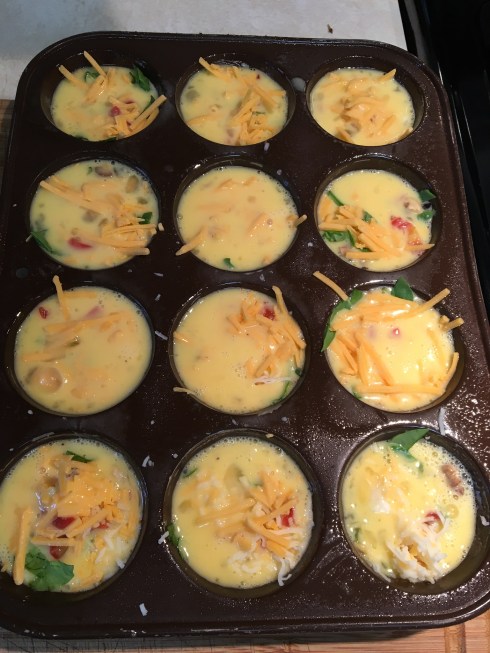
Fill each muffin cup up with the remaining egg mixture. Don’t overflow any of the cups, but being a little short won’t hurt anything.
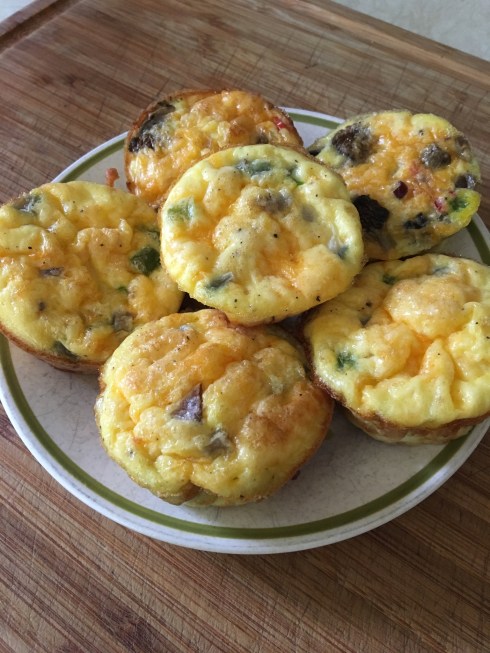
 Bake at 350 degrees for 20-22 minutes. I like to see a tinge of golden brown across the top of mine. Eat right away or chill and eat later, reheated or not.
I usually chop the vegetables and meat the night before and put them into little plastic baggies. Then I shove the baggies into my 4-cup measuring cup and put it into the refrigerator. In the morning I spray my muffin tin, take the measuring cup out of the refrigerator, and remove the bags of vegetables. I crack open the eggs into the measuring cup and beat well, adding salt, pepper, and a splash of half-n-half. Then I proceed as listed above. By the time the oven is preheated I’m ready to pop the egg muffins into the oven.

This recipe is very loosely based upon Elizabeths Edible Experience’s recipe for Crawfish Enchiladas.
- Ingredients
- 1# split and deveined shrimp in their shells
- 1-1/2 cups heavy cream
- 1/2 cup diced onion
- 1/2 cup diced bell pepper
- 4 oz. canned green chiles
- 1 clove garlic, minced
- A couple dashes each of oregano, red pepper, white pepper, salt
- Oil for frying
- 1 dozen corn tortillas (make your own or purchase them)
- 3 Tbsp. sour cream
- 2 cups grated cheese, like Monterey Jack or Mexican Mix
- 3 green onions, chopped
Shell shrimp, saving the shells. Rinse shells and shrimp separately. Set shrimp aside on towel to dry.
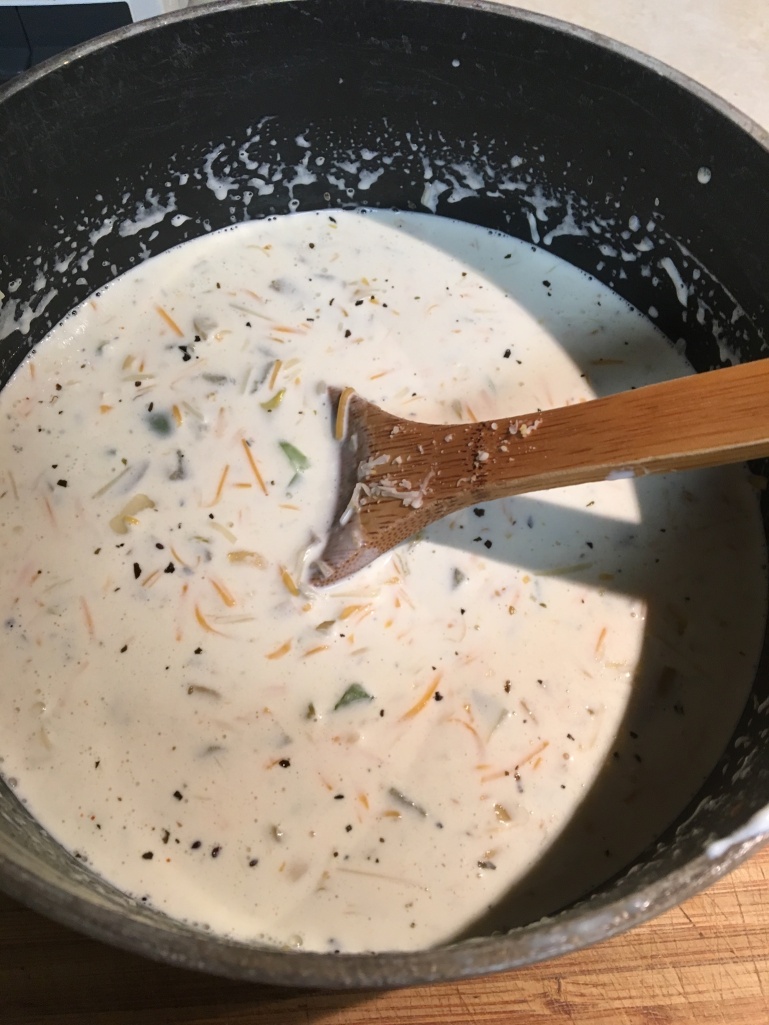
Add the shells to a medium saucepan with cream and let simmer awhile. The shrimp shells should turn orange. Keep warming or at a very light simmer while you’re fixing the other things. Your purpose is to flavor the cream with shrimp. This is the secret that makes it so, so delicious.

Saute chopped onion and chopped bell pepper together until soft and then add canned chiles and garlic. Sprinkle with dried oregano, white pepper, red pepper, and salt. Continue sauteing until the garlic is soft.

If you’ve just made your own tortillas, they should already be pliable and it’s not necessary to fry them again. Sally forth! If your tortillas are not fresh off the griddle then heat a small frying pan with oil and soften about a dozen corn tortillas by dipping into the hot oil and turning, each one should only take about 15 seconds or less. Stack them between paper towels to drain.
Strain the shells out of the cream and discard the shells.

Stir the onion, pepper mixture into the shrimp-flavored cream. [Save the saute pan to fry the shrimp.] Stir in sour cream, then stir in 1-1/2 cups grated cheese. Set aside.
If the shrimp are quite large you will need to chop them into bite-size pieces. Stir-fry the shrimp in the saute pan with green onions and another dash of dried oregano, white pepper, red pepper, and salt.
If the shrimp are quite large you will need to chop them into bite-size pieces. Stir-fry the shrimp in the saute pan with green onions and another dash of dried oregano, white pepper, red pepper, and salt.
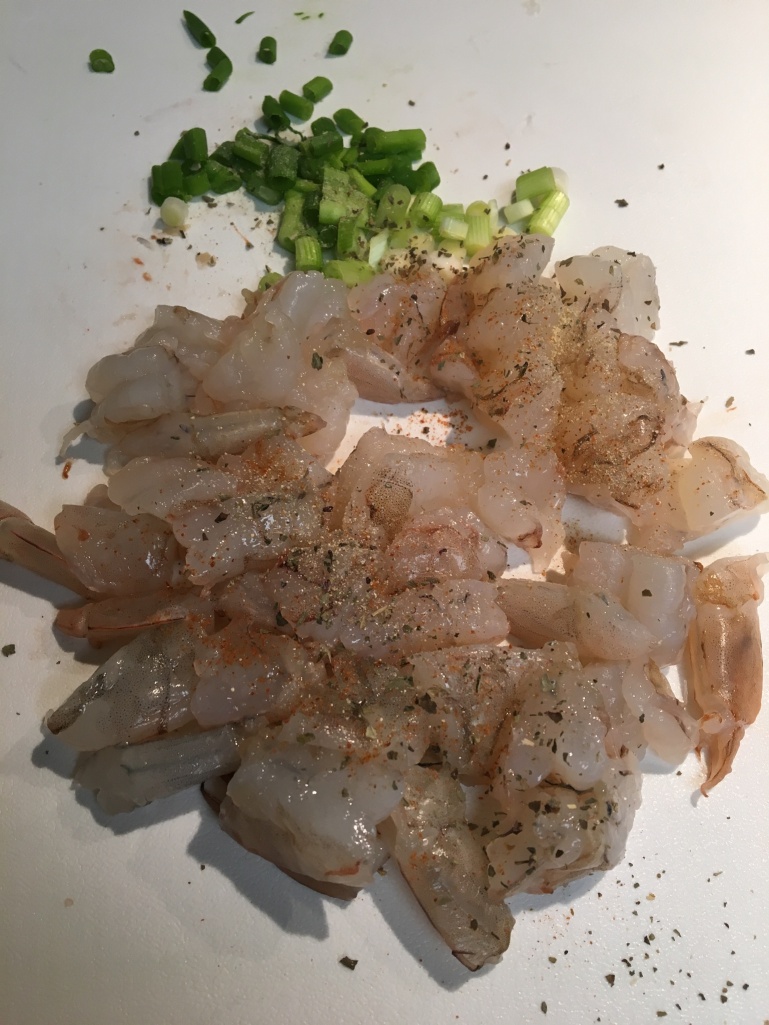

Once the shrimp is no longer translucent, remove from heat. Stir in a bit of the sauce. This is the filling.
I used an 11” x 7” baking dish. Stuff the tortillas with shrimp mixture. The tortillas I used fit about ten down the dish and two were placed in the gap along one side. Pour remaining sauce over all. Sprinkle with remaining grated cheese. Heat at 350 degrees for 15 minutes or so, until cheese has melted.

The first time I made these I didn’t have enough sauce and the second time I used 2 cups cream (pictured) and that was too much. 1-1/2 cups should do it. And I also didn’t use enough shrimp in these pictures.
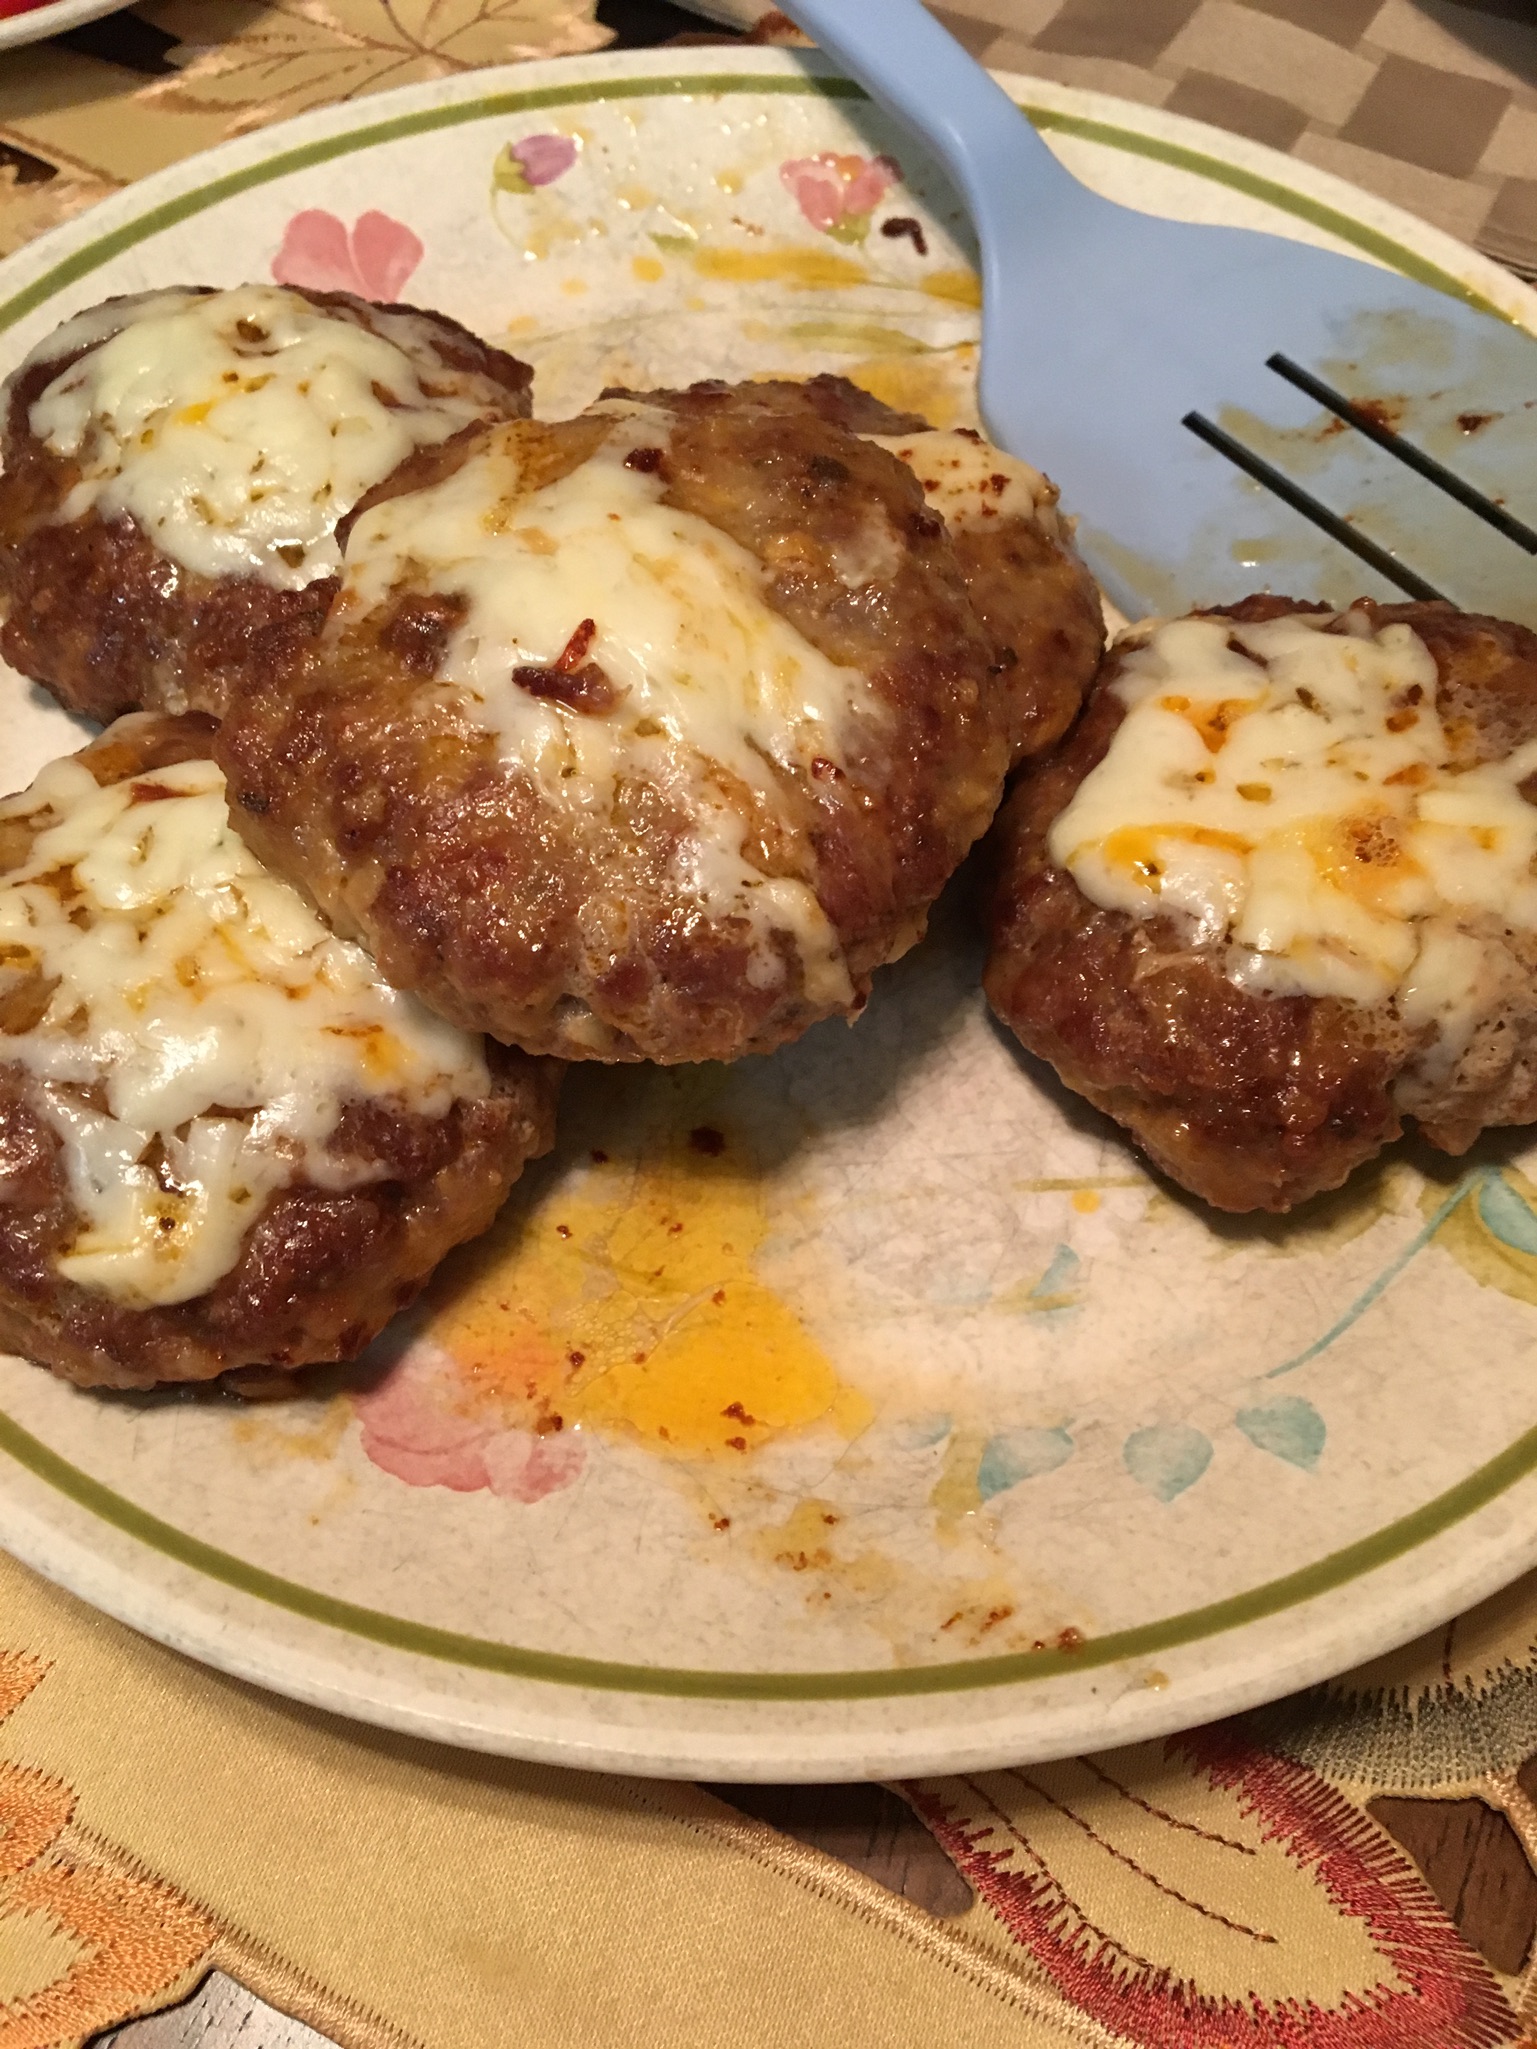
I’ve made this recipe a few times now and it is really delicious. The original recipe is found at ladyandpups.com. The photographs on Mandy’s site are spectacular. The first time I made this I used chorizo ready-made from the store. It was not good. Way too salty and spicy, a bad idea. Still intrigued, I made a go of making the chorizo myself according to Mandy’s recipe. My oh my oh my. Yes, that’s wonderful. It’s really easy to throw together. I’ve been using store-made buns, but I made ladyandpups Sweet Potato Burger Buns recipe once and they were great. I’ve also made these several times without the manchego cheese, too. Still great.
I usually double the recipe and form the burgers in the morning to serve for dinner in the evening. We were going to our cabin one weekend and I formed the burgers a couple days ahead and froze them, letting them thaw on the 7-hour drive. I had the other parts ready to go in Ziploc bags and little containers. We arrived and had a most delicious hot dinner that night. Memorable!
CHORIZO BURGERS

1 lb. ground pork
2 cloves minced garlic
1-1/2 tsp. Mexican chili powder
1-1/2 tsp. sweet paprika
Dash cayenne
1 tsp. salt
½ tsp. ground pepper
½ tsp. oregano
¼ tsp. ground cumin
1 tsp. red wine vinegar
1 tsp. tequila

An hour, or more, ahead of time, mix all together and form into 4 patties.
Keep refrigerated.

PAPRIKA MAYO

3 Tbsp. mayonnaise
1 Tbsp. tomato paste
1 tsp. prepared mustard
1-1/2 tsp. paprika
Juice of one lime.
Mix all together. Keep refrigerated until serving time.
GARLIC SHRIMP

8 large shrimp, peeled and deveined.
1 garlic clove, minced
3 sprigs fresh thyme, minced
Salt and pepper
1 tsp. Olive oil
Dry the shrimp well on a towel.
Mix evenly with remaining ingredients and let sit in refrigerator at
least 30 minutes.
COOKING AND ASSEMBLY
OLIVE OIL
CHORIZO BURGER PATTIES
FLOUR
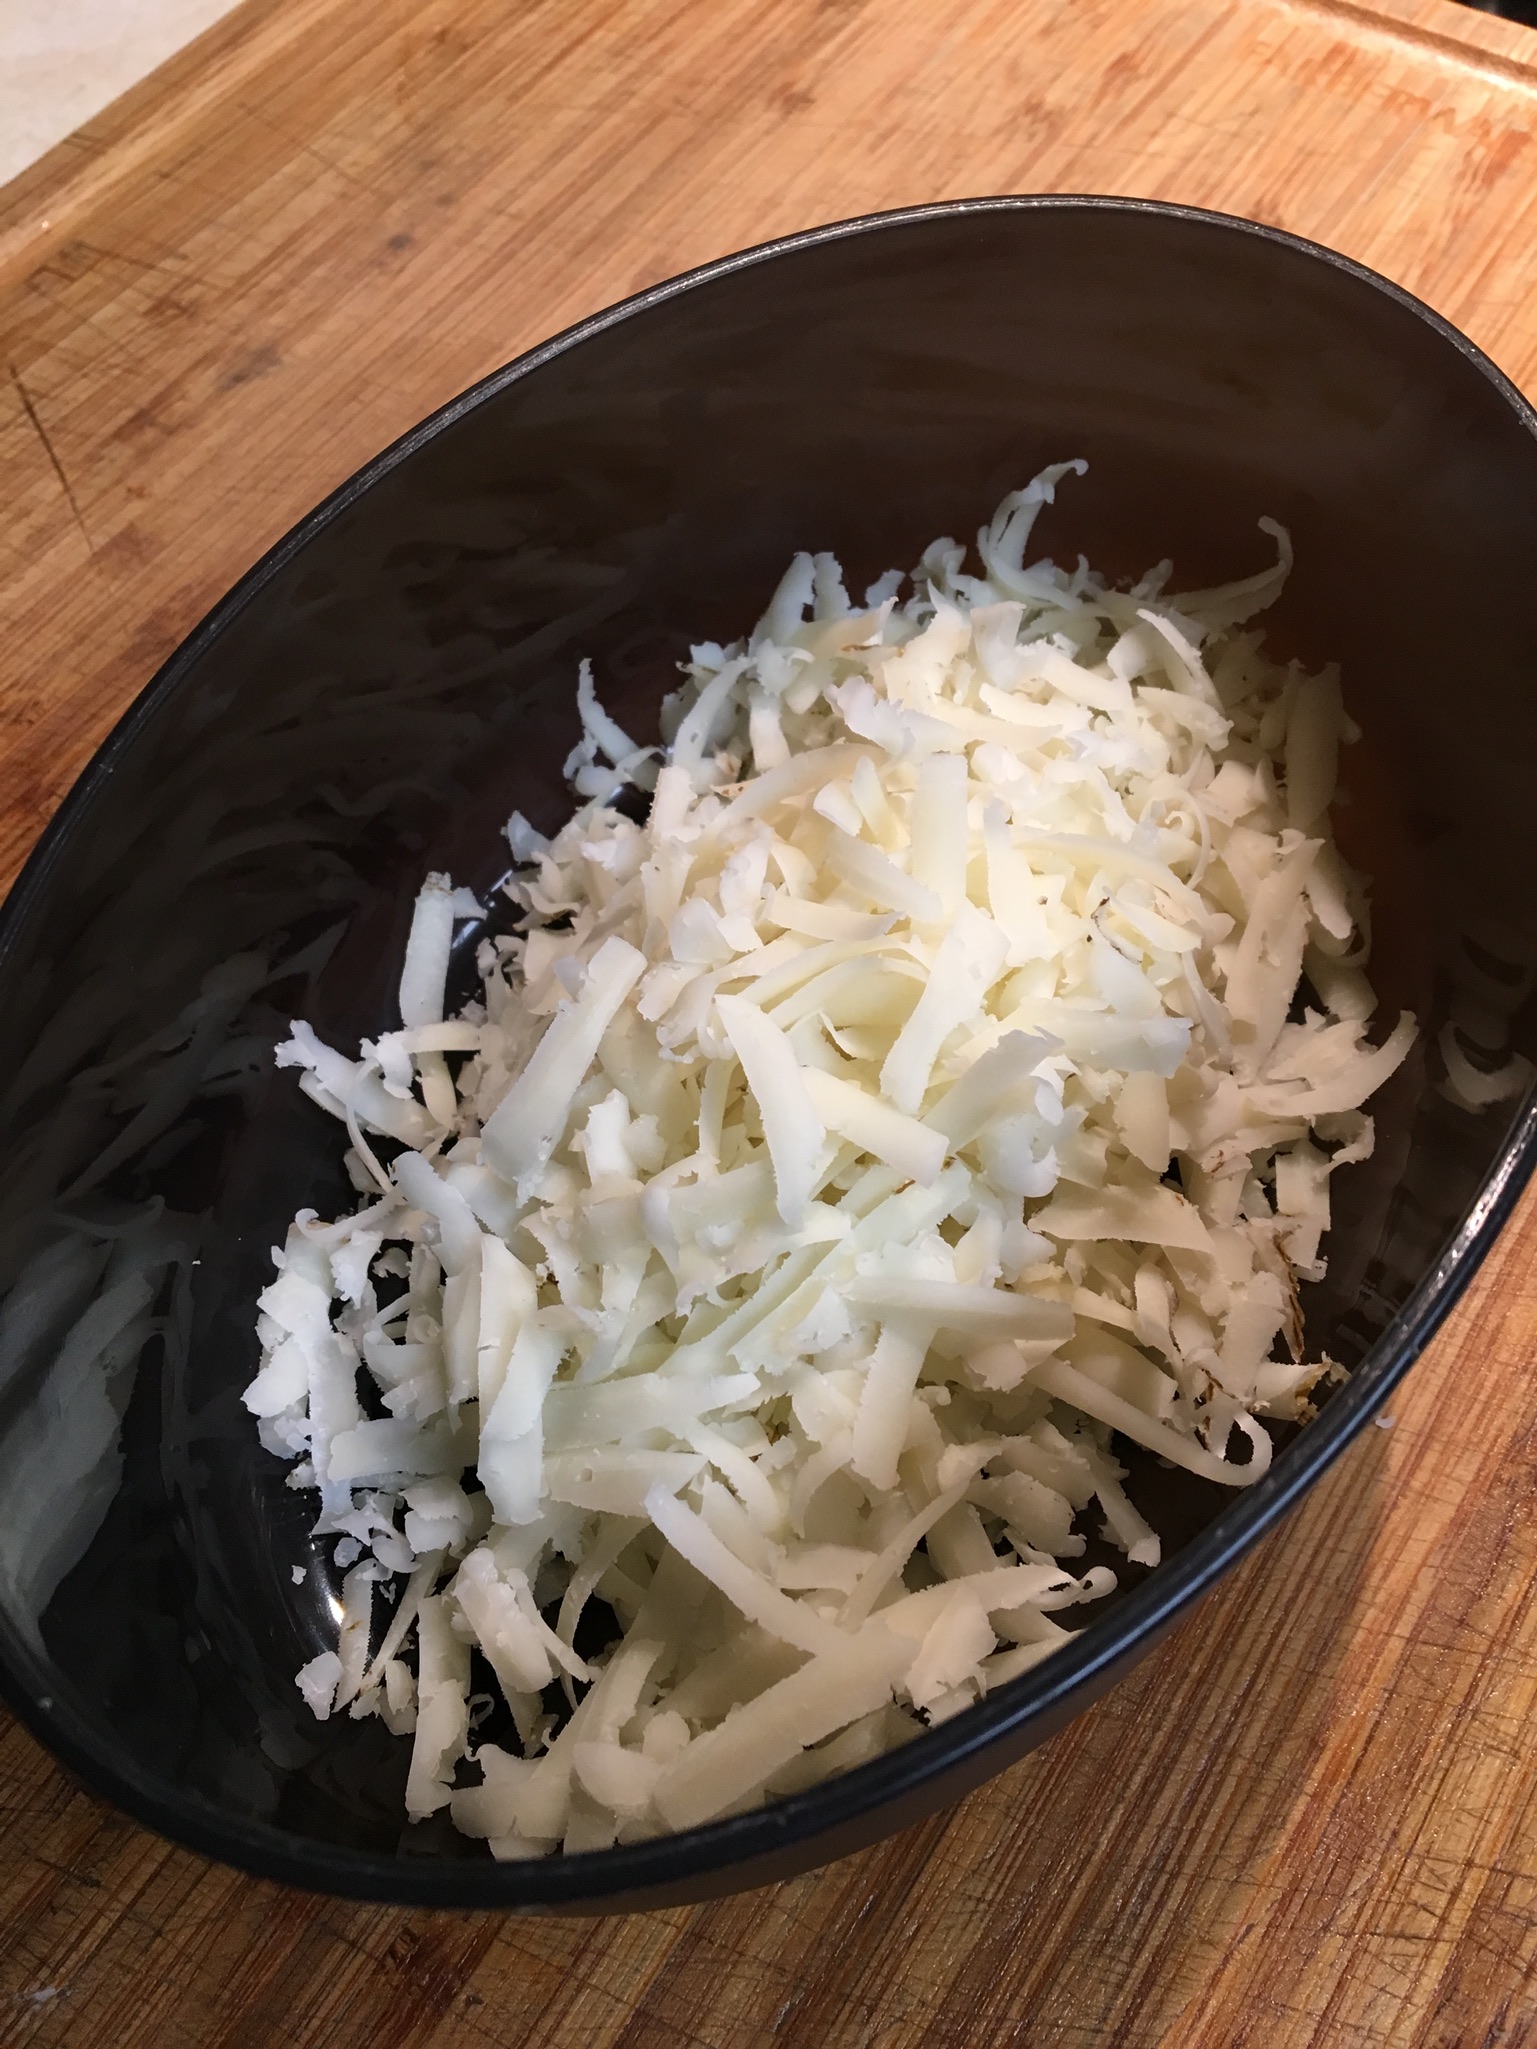
MANCHEGO CHEESE, GRATED
GARLIC SHRIMP
BUNS
PAPRIKA MAYO
SLICED TOMATO
Heat the olive oil in a large skillet. Dust each patty with flour.* Fry the patties at a high heat until a nice brown crust forms on each side. Place a bit of grated cheese on top of each burger, cover, and continue cooking at a lower heat until the meat is thoroughly cooked and the cheese has melted. Remove from skillet.
Add garlic shrimp to hot skillet and stir-fry until they’re cooked. Should take just a couple minutes.
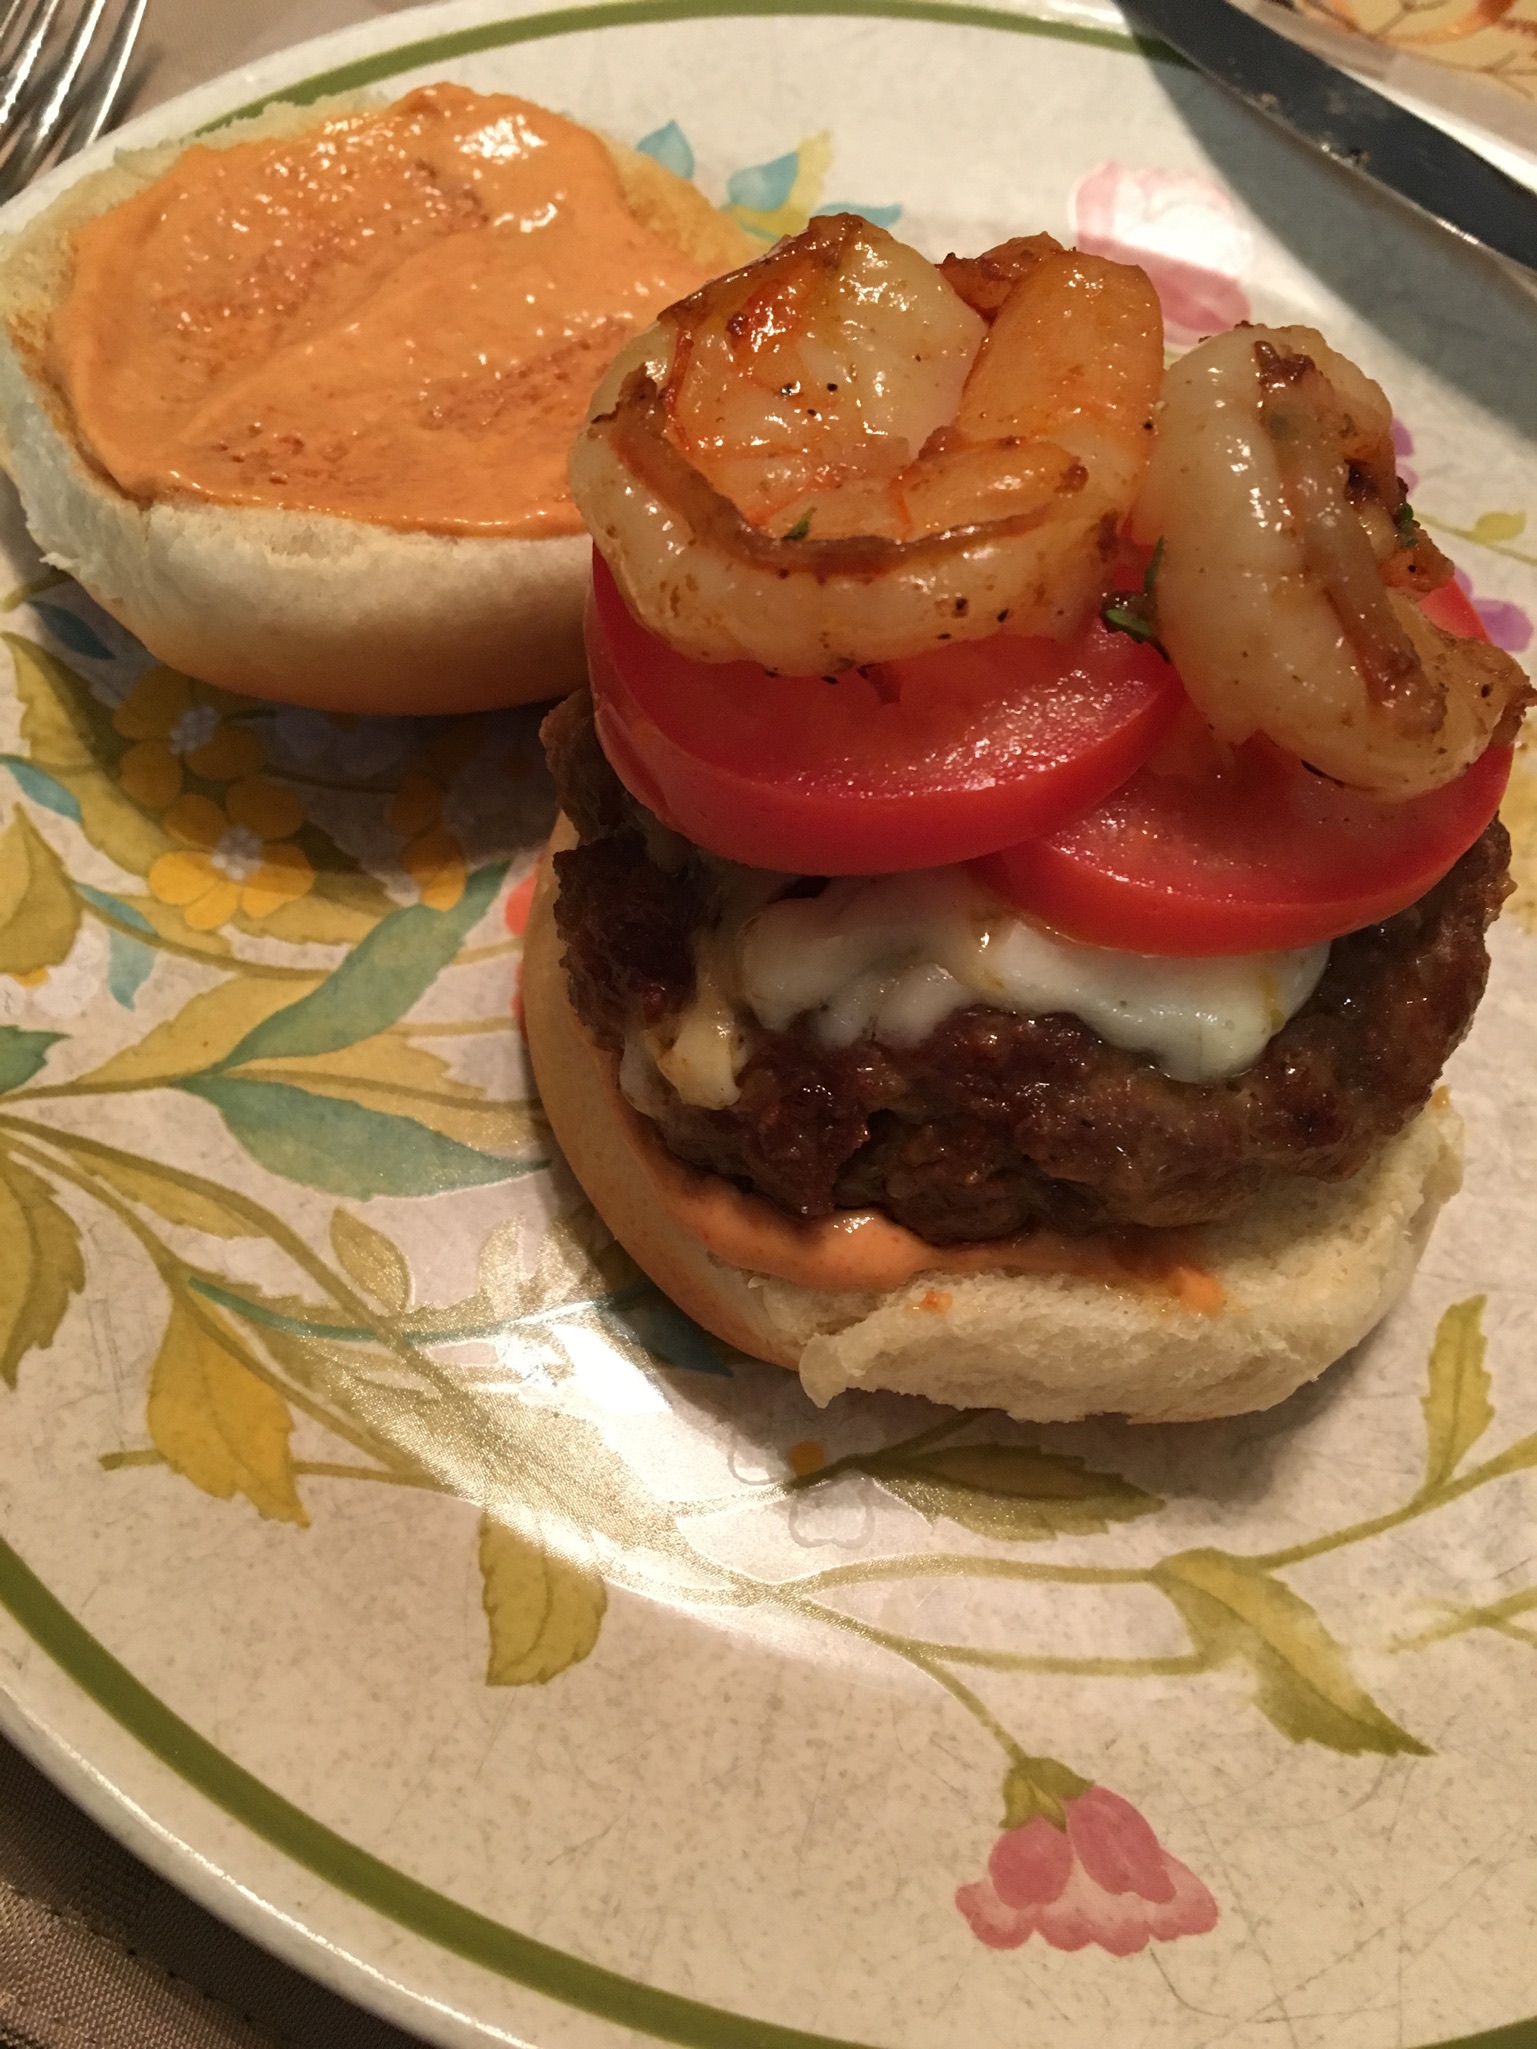
Prepare hamburger buns by toasting, or not, and smear each bun with paprika mayo. Place a patty on a bun, then a couple shrimp, and sliced tomato.

Always someone doesn’t like something . . . sans shrimp.
BE CAREFUL NOT TO BURN YOUR MOUTH.
*This is a great thing I learned at ladyandpups.com, the dusting of flour on the patties. It forms a nice crust and keeps the moisture inside. You really have to be careful not to burn your mouth. Let the patties rest a bit.

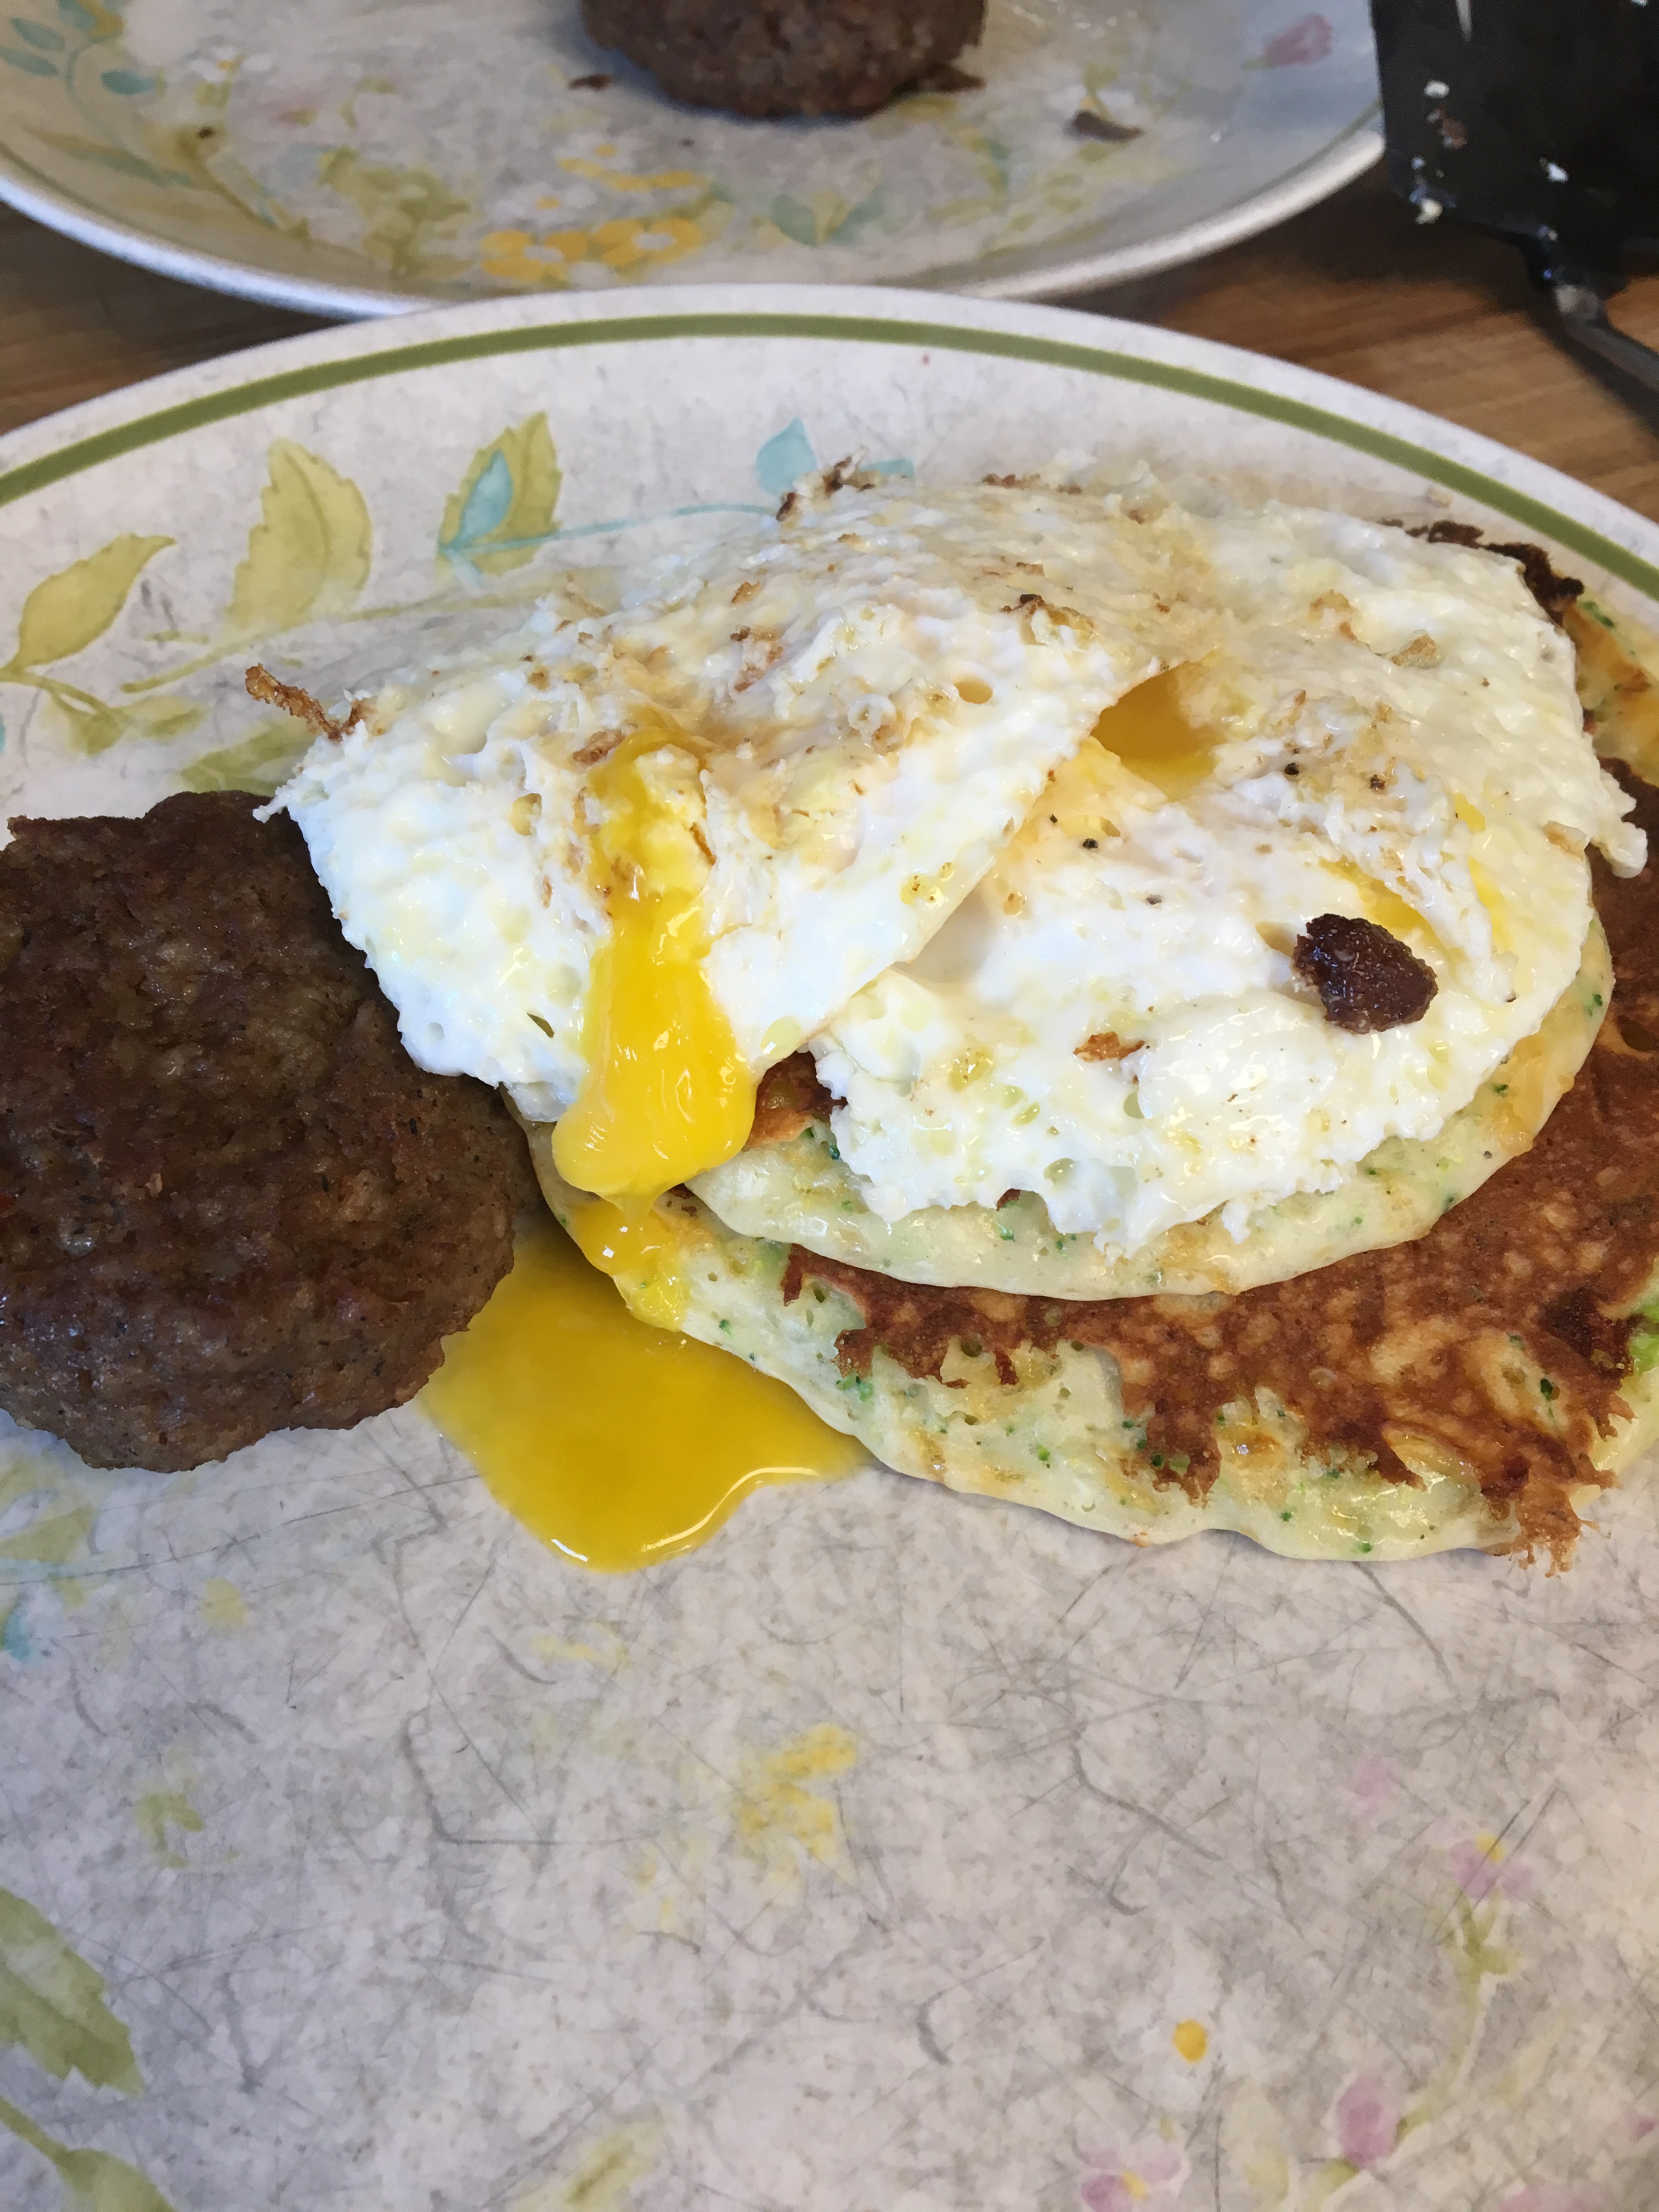
Original recipe found at edibleSanFrancisco. I just love these. I would eat them often if I wasn’t trying to watch my carb intake. So, a couple times a year I splurge.
1 cup broccoli, chopped fine
1 cup cauliflower, chopped fine
1/4 cup green onion, chopped
1 cup milk
1 egg
3/4 cup grated cheese
1 cup flour
1/2 tsp. baking soda
3/4 tsp. salt
1/4 tsp. pepper
Dash of cayenne pepper
In a bowl, stir together the first 6 ingredients. In a separate bowl, mix together all the dry ingredients. Stir the dry ingredients into the vegetable mixture and mix until just combined. Dollop onto a medium-hot griddle (I use a 1/3 cup measurer) and cook through. Remember that you are wanting the vegetables to cook, that’s why they are chopped fine, and each batch will take awhile to cook. When the tops seem a little dry or bubbles are forming and bursting on the top, it’s time to flip them over. Too much heat will make them look nice on the outside, but once you cut into them they will be gooey and the veges will still be hard and you do not want that. Remove from griddle and keep warm in 200 degree oven until ready to serve. I make fried eggs and sausage to serve with these beauties.


I have made these using all broccoli, instead of the broccoli-cauliflower mix and that works too, equally delicious! I use a knife to chop the vegetables, but I think you could use a food processor, like making cauliflower rice, and it would be faster.
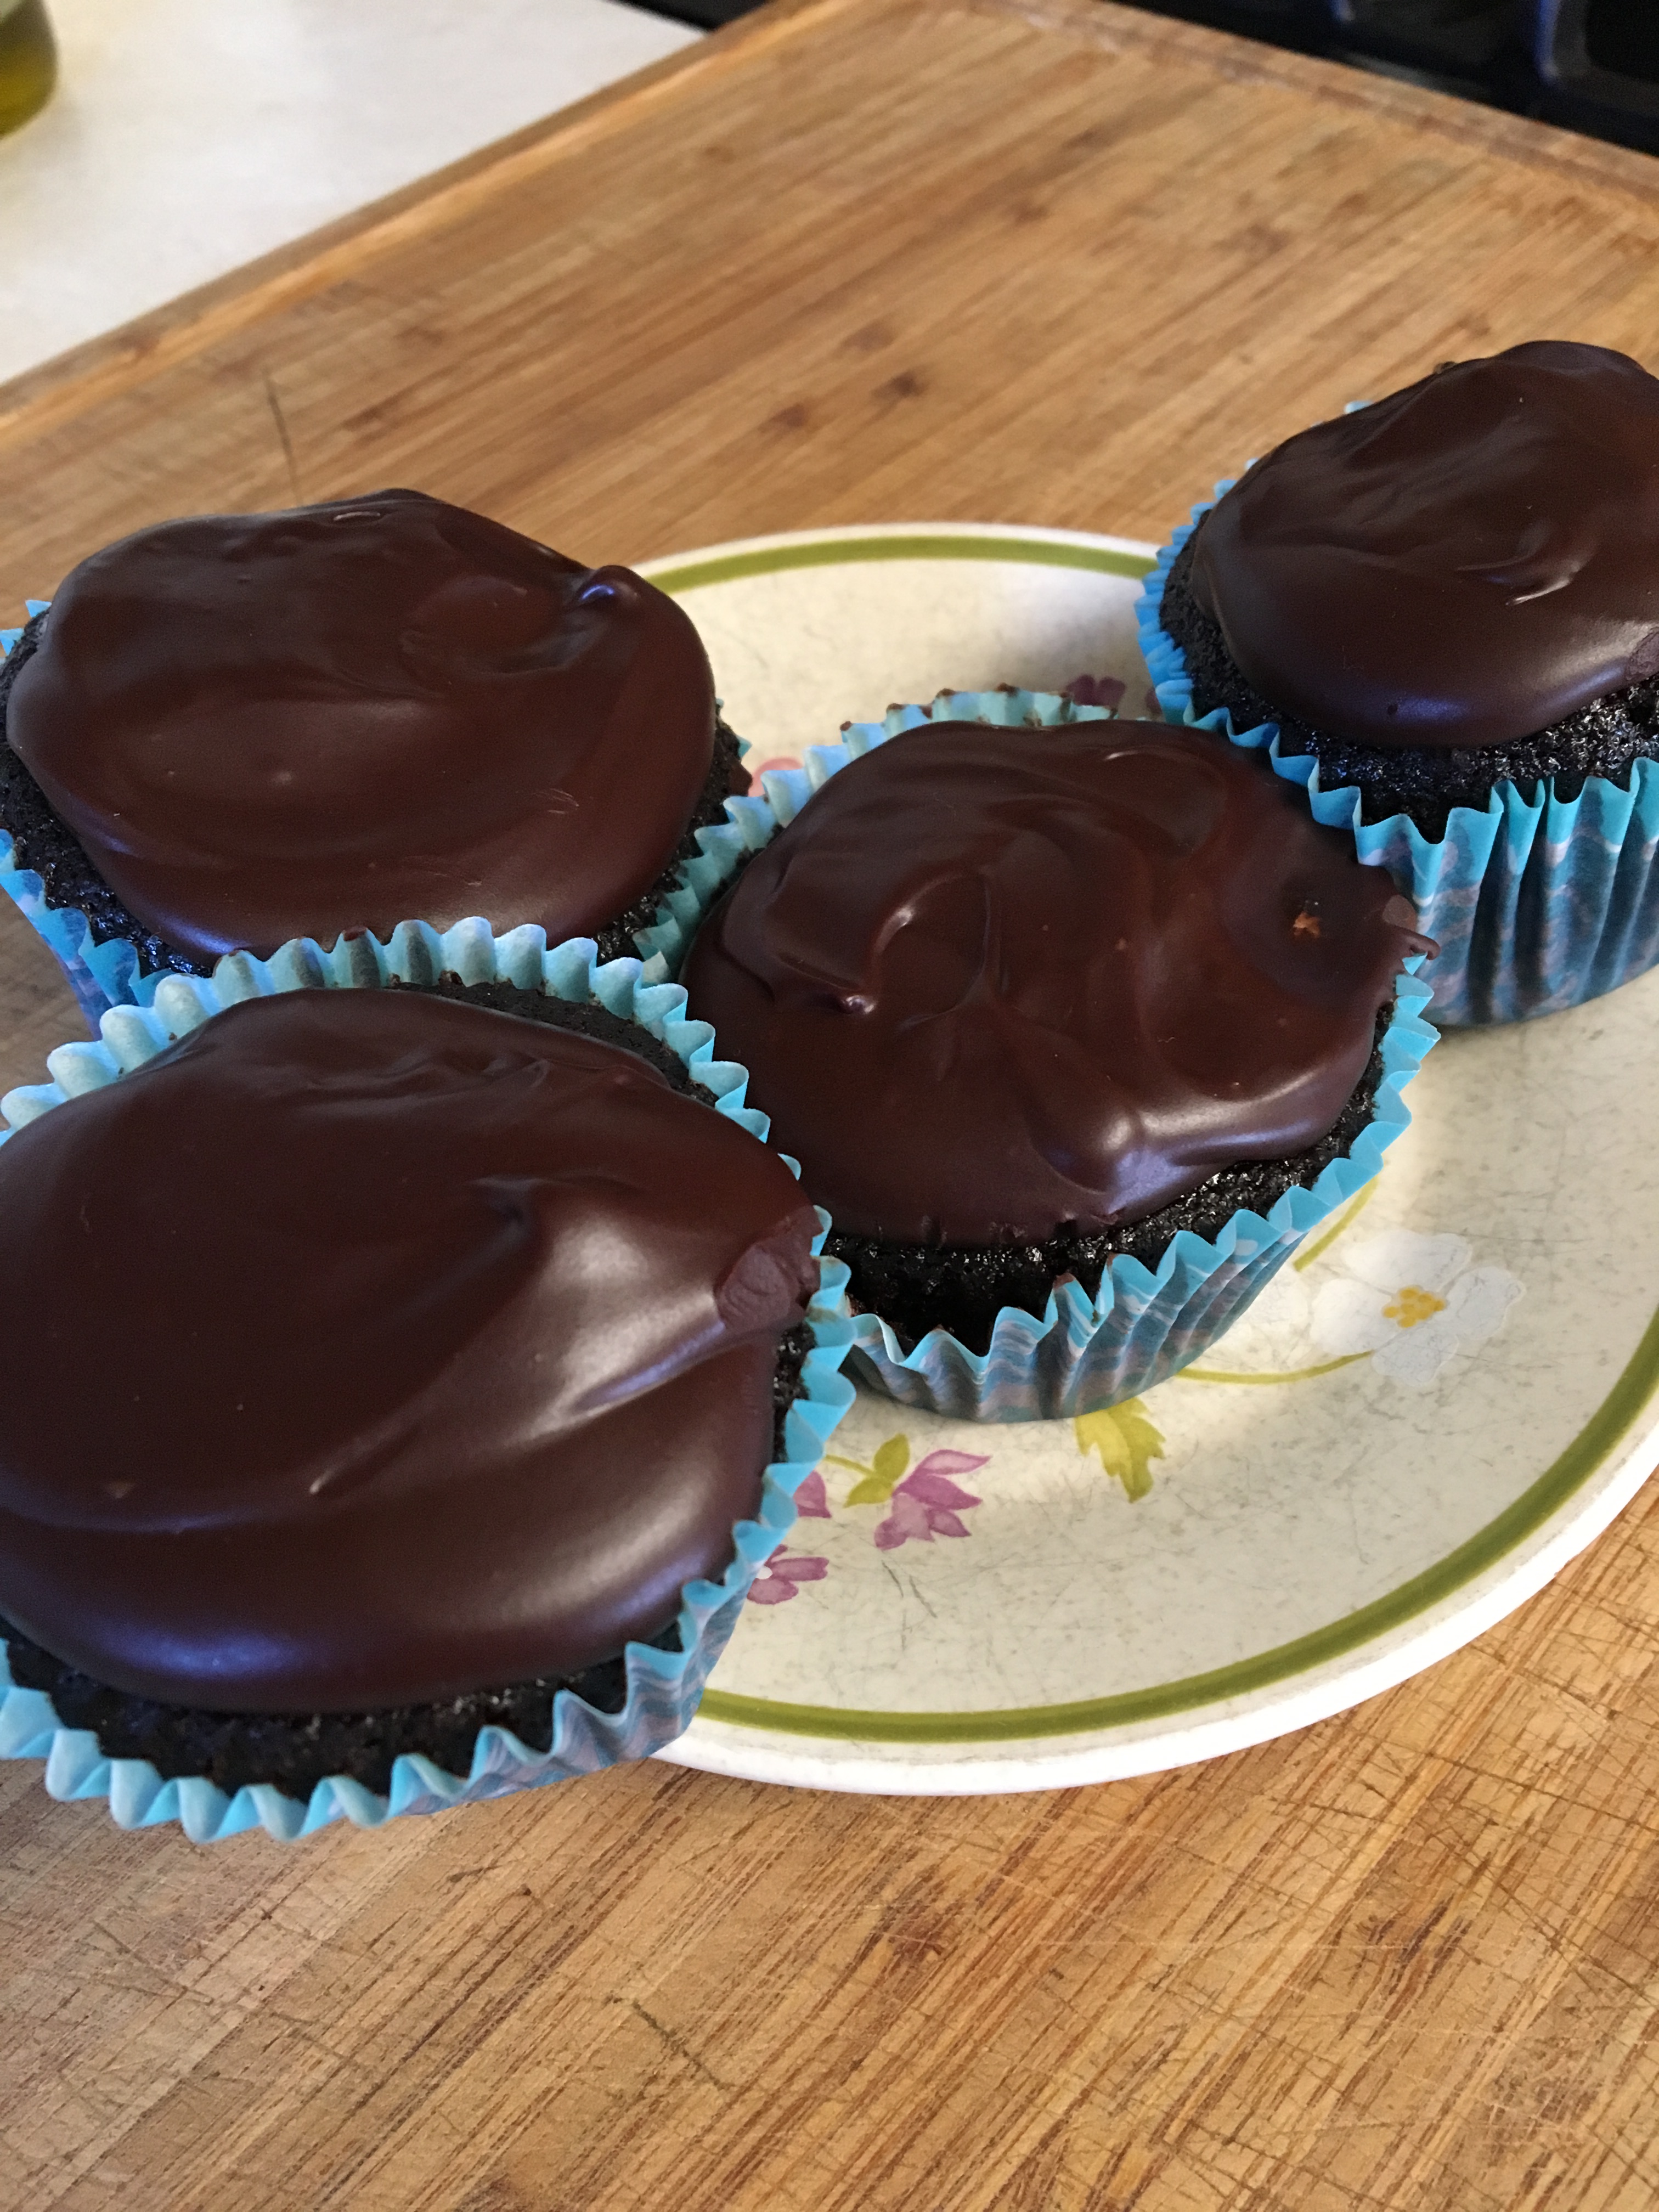
This is a mishmash of several recipes. I am serving a family member with a wheat allergy, so gluten-free flour has solved that. I make sure to read the flour ingredients so there is no part of wheat in it. It starts with agirldefloured‘s adaptation of Hershey’s chocolate cake. I’ve made this twice now and they are really rich cupcakes.
2 cups sugar
1-3/4 cups gluten-free flour (I used Namaste Perfect Flour Blend)
3/4 cup unsweetened cocoa powder
1 tsp. baking powder
1 tsp. baking soda
1 tsp. salt
3 eggs, slightly beaten
1 cup milk
1/2 cup canola oil
2 tsp. vanilla
1 cup hot coffee
Preheat oven to 350 degrees. Line 30 cupcake pans with paper liners.
Whisk the dry ingredients together well. Add the eggs, milk, oil, and vanilla. Whisk in the hot coffee. The batter will be runny. Evenly distribute into cupcake pans and bake until the centers bounce back when tested with finger, about 20 minutes. Let cool.
The next step is to make the mocha filling. That recipe is from myrecipes.
5 Tbsp. gluten-free flour (I used Namaste Perfect Flour Blend)

2 Tbsp. unsweetened cocoa powder

2 Tbsp. instant coffee granules

1 cup half-and-half

1 cup butter, softened

1 cup powdered sugar

1 tsp. vanilla
In a small saucepan whisk together the GF flour, cocoa powder, instant coffee and half-and-half. Over medium heat continue whisking for about 5 minutes until it is thick. Remove from heat and pour into a dish. Cover with plastic wrap, push it onto the surface so a skin does not form. Let stand for 30 minutes or until cool. I did not chill this and in retrospect I do not think it would work well if you did chill it. Stick with the directions.
Beat butter and sugar on medium speed until light and fluffy. Gradually add cooled mocha mixture, one tablespoon at a time, beating until blended after each addition. Add vanilla and beat mixture until it’s the consistency of whipped cream.
And the final piece is the coffee liqueur ganache found at myrecipes.
12-oz. bittersweet chocolate baking chips

1-1/4 cups whipping cream

1 Tbsp. butter

2 Tbsp. coffee liqueur (Kahlua)
Place chocolate in bowl. Heat whipping cream just to boiling and pour over chocolate. Stir until smooth. Stir in butter and liqueur. Let stand until spreading consistency. It took longer than 45 minutes, keep testing this.
Assembly: Remove centers from the cooled cupcakes. I used a teaspoon to dollop mocha filling into the centers. I let the cupcakes then sit for a few minutes before using a tablespoon to pour the ganache over each cupcake. It firmed up fairly quickly then.
REALLY, REALLY YUMMY!
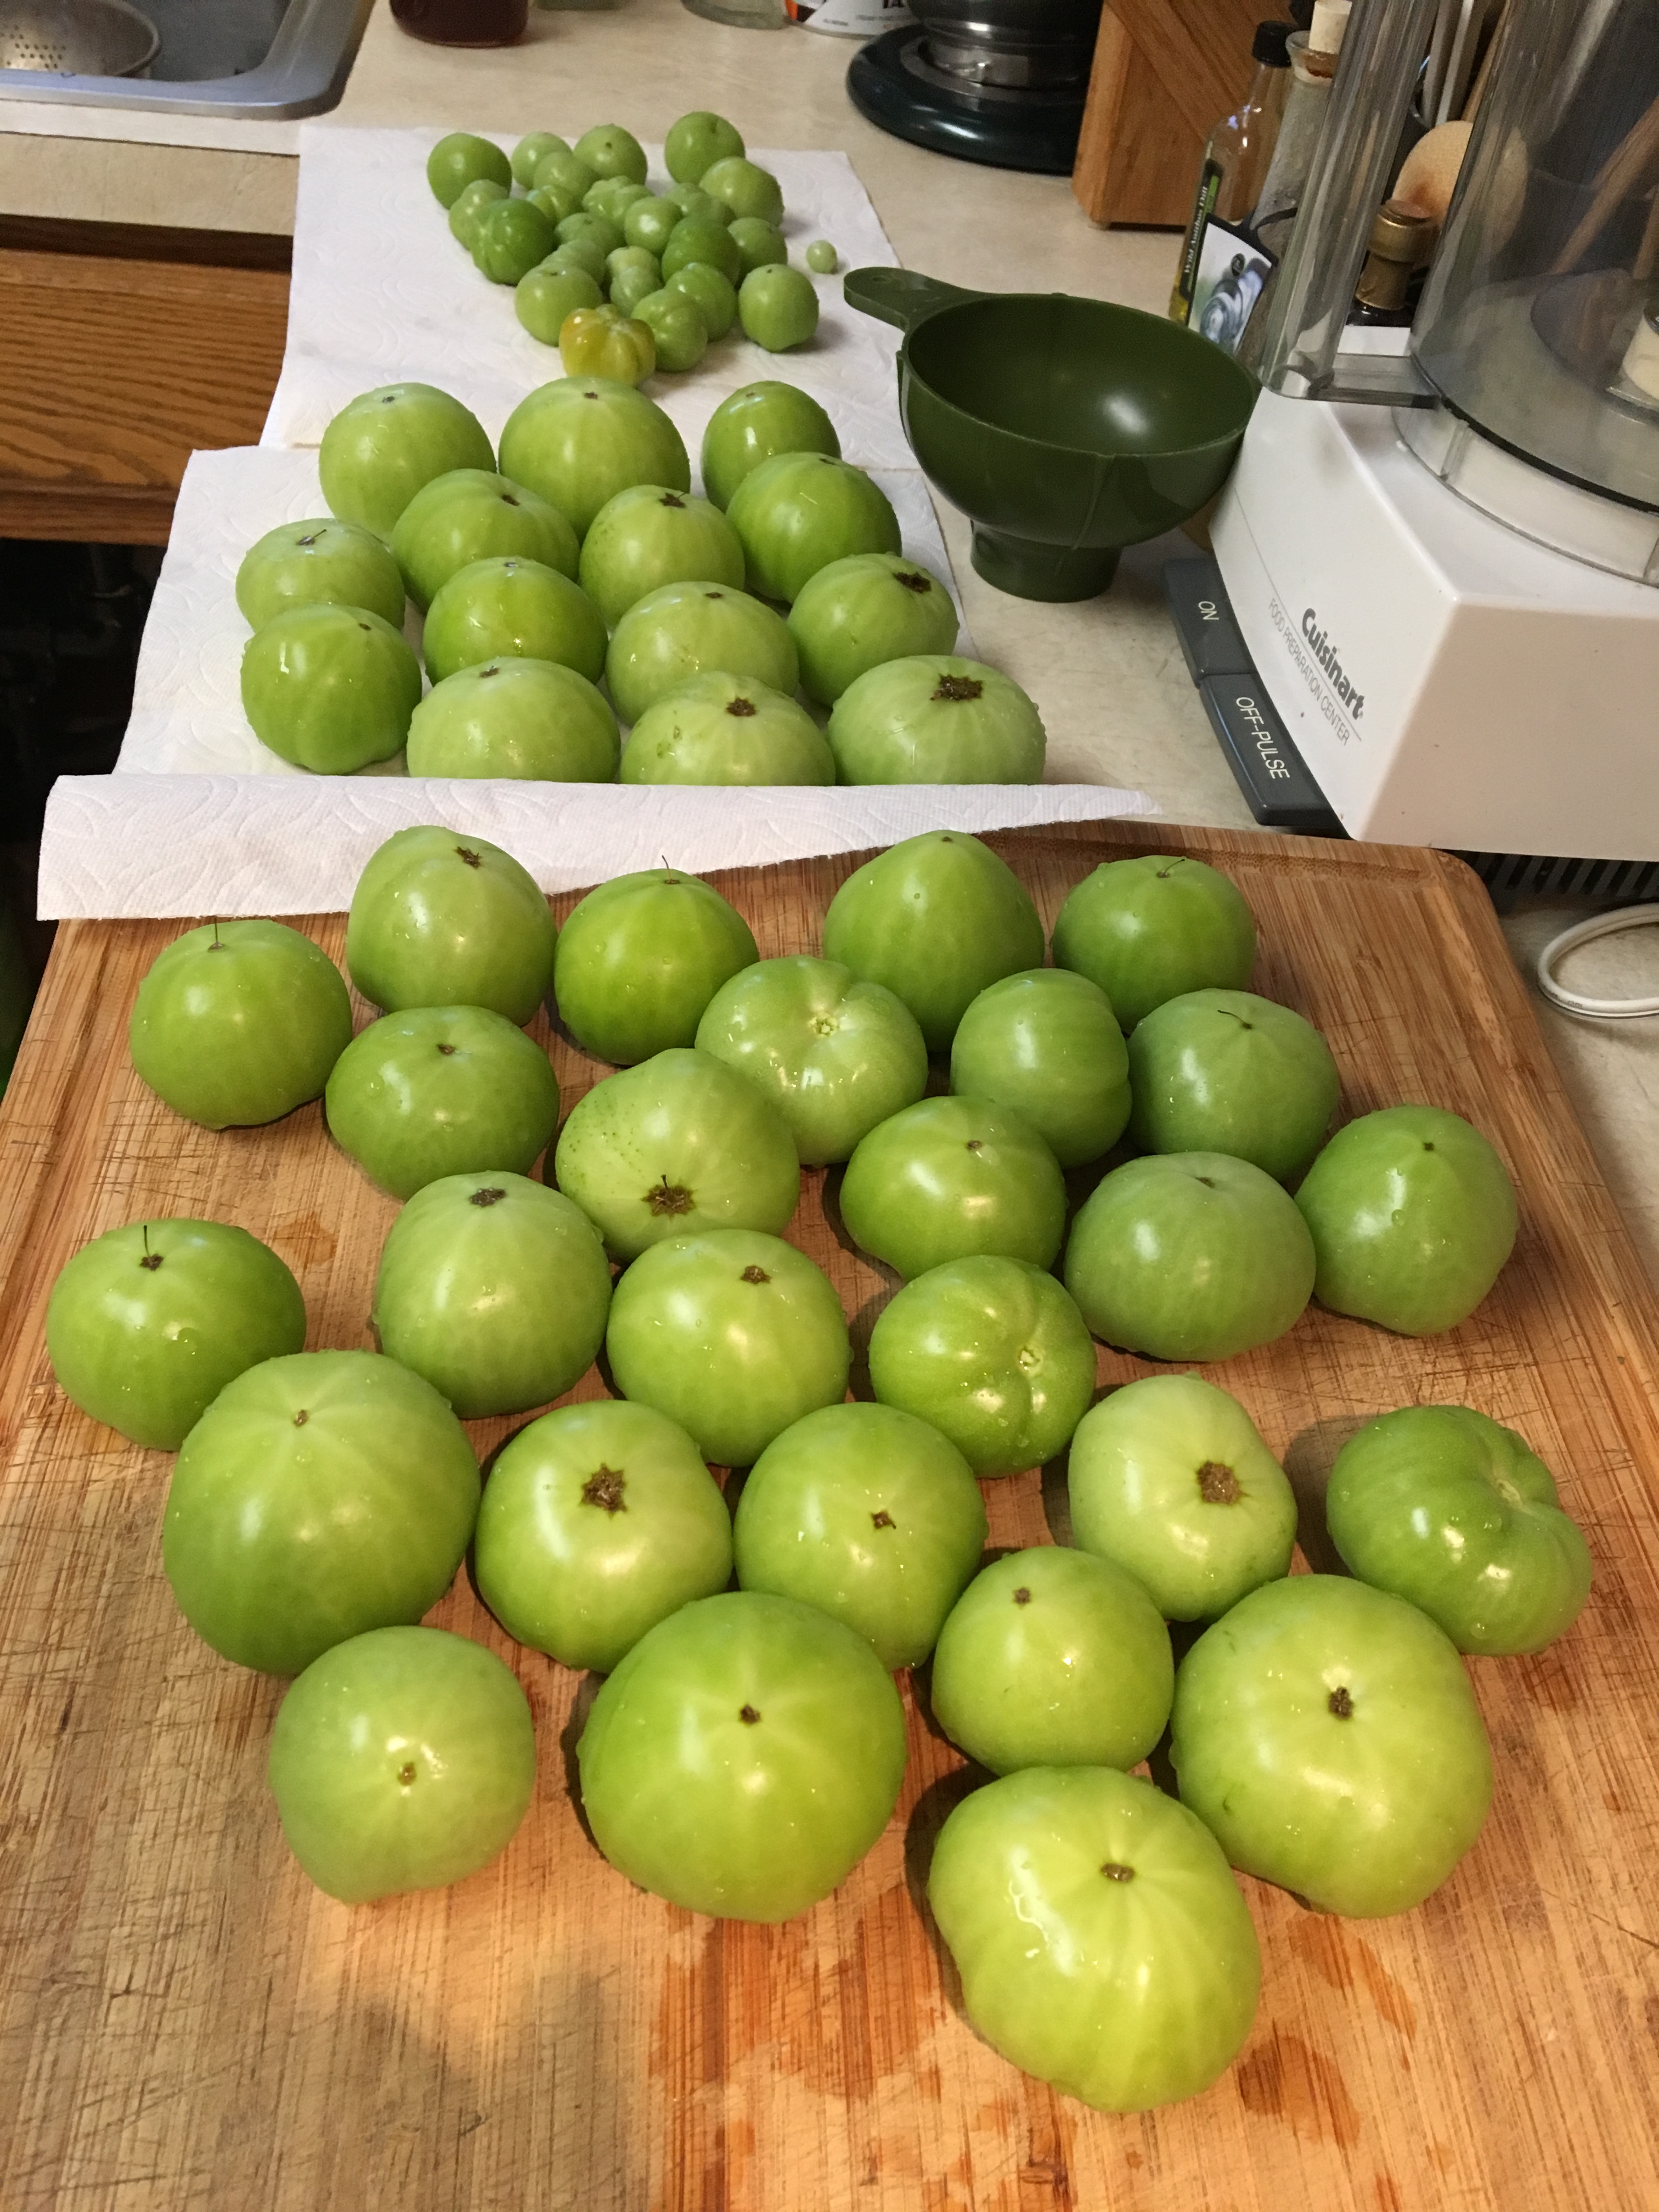 This recipe is found at GeniusKitchen.com. I really love this relish. It’s not that hard to make and we use it to make tuna salad and potato salad. It’s good on hot dogs, too.
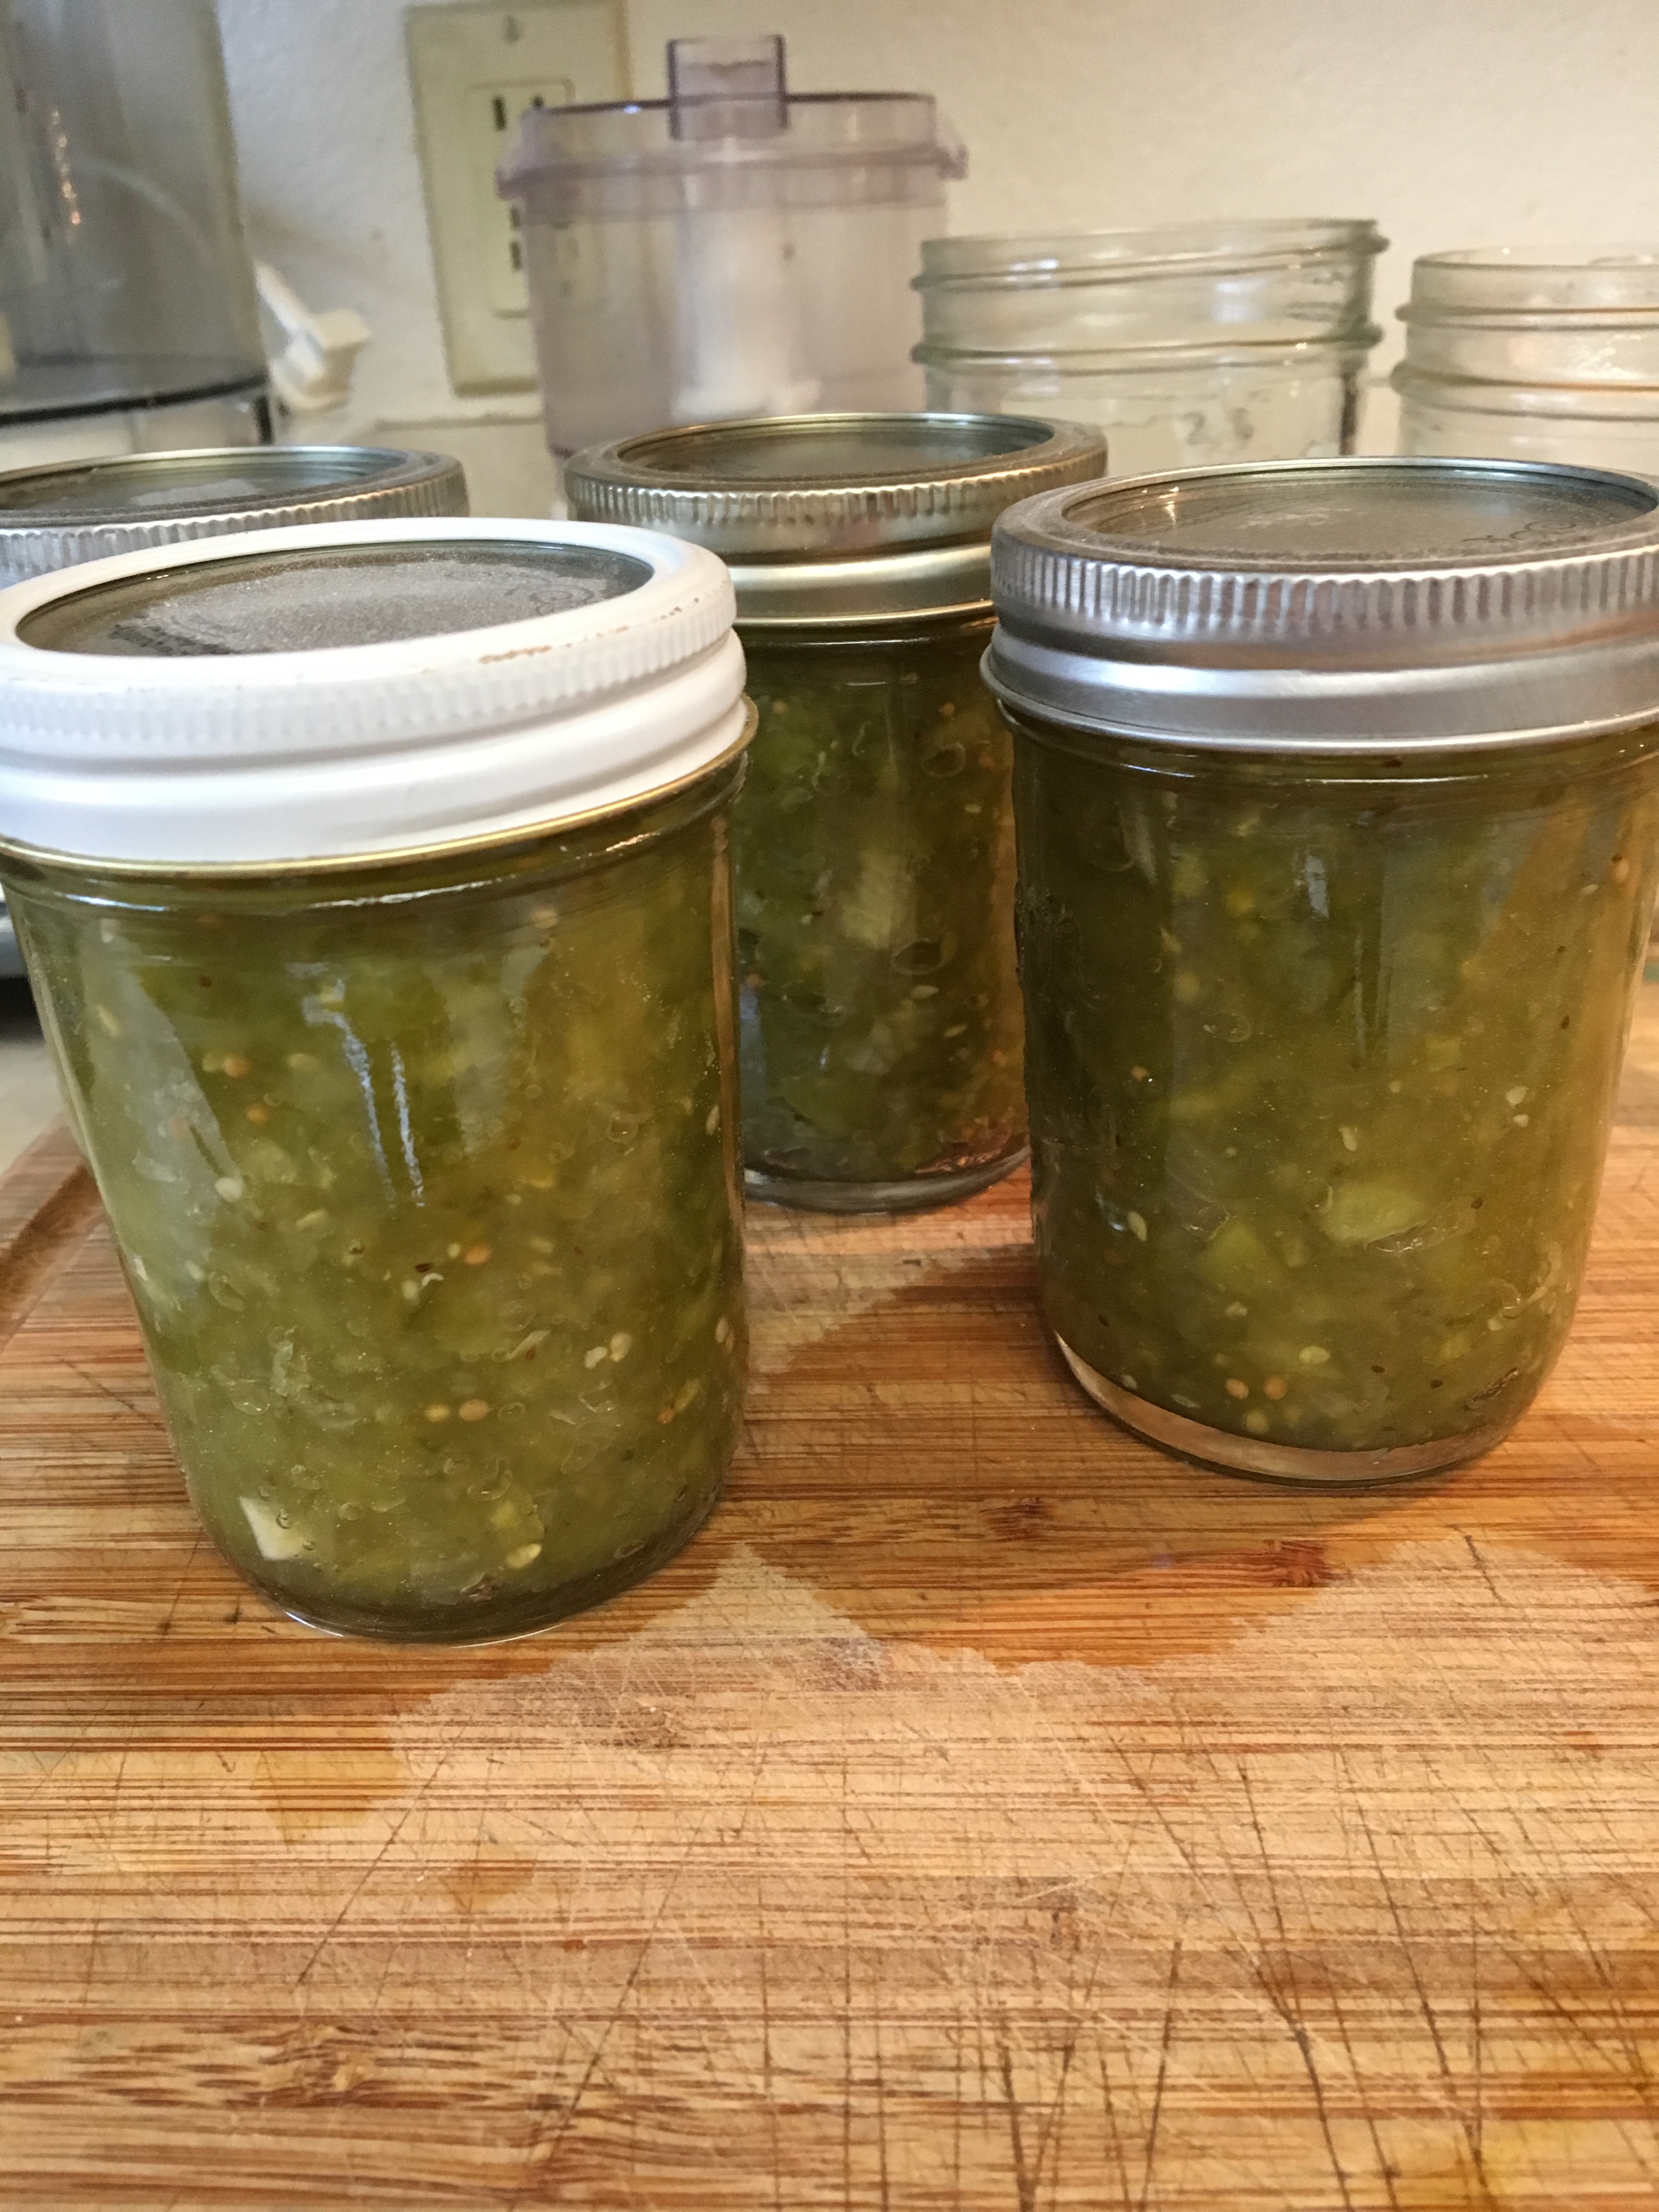
In the picture above, note that I used the nearest third to make the relish. I ended up with four half-pints, so I’ll probably make more tomorrow. I don’t think four half-pints will be enough for the coming year.
The ingredients:

4 cups chopped green tomatoes

1 large sweet onion, chopped

1 large bell pepper, chopped (red is prettiest)

2 Tbsp. canning salt

1 cup sugar

1 Tbsp. mustard seed

1 tsp. celery seed

4 whole cloves

1 cup vinegar (I used cider vinegar)
 I start by rough chopping 4 cups of green tomatoes, a large sweet onion, and a large bell pepper.
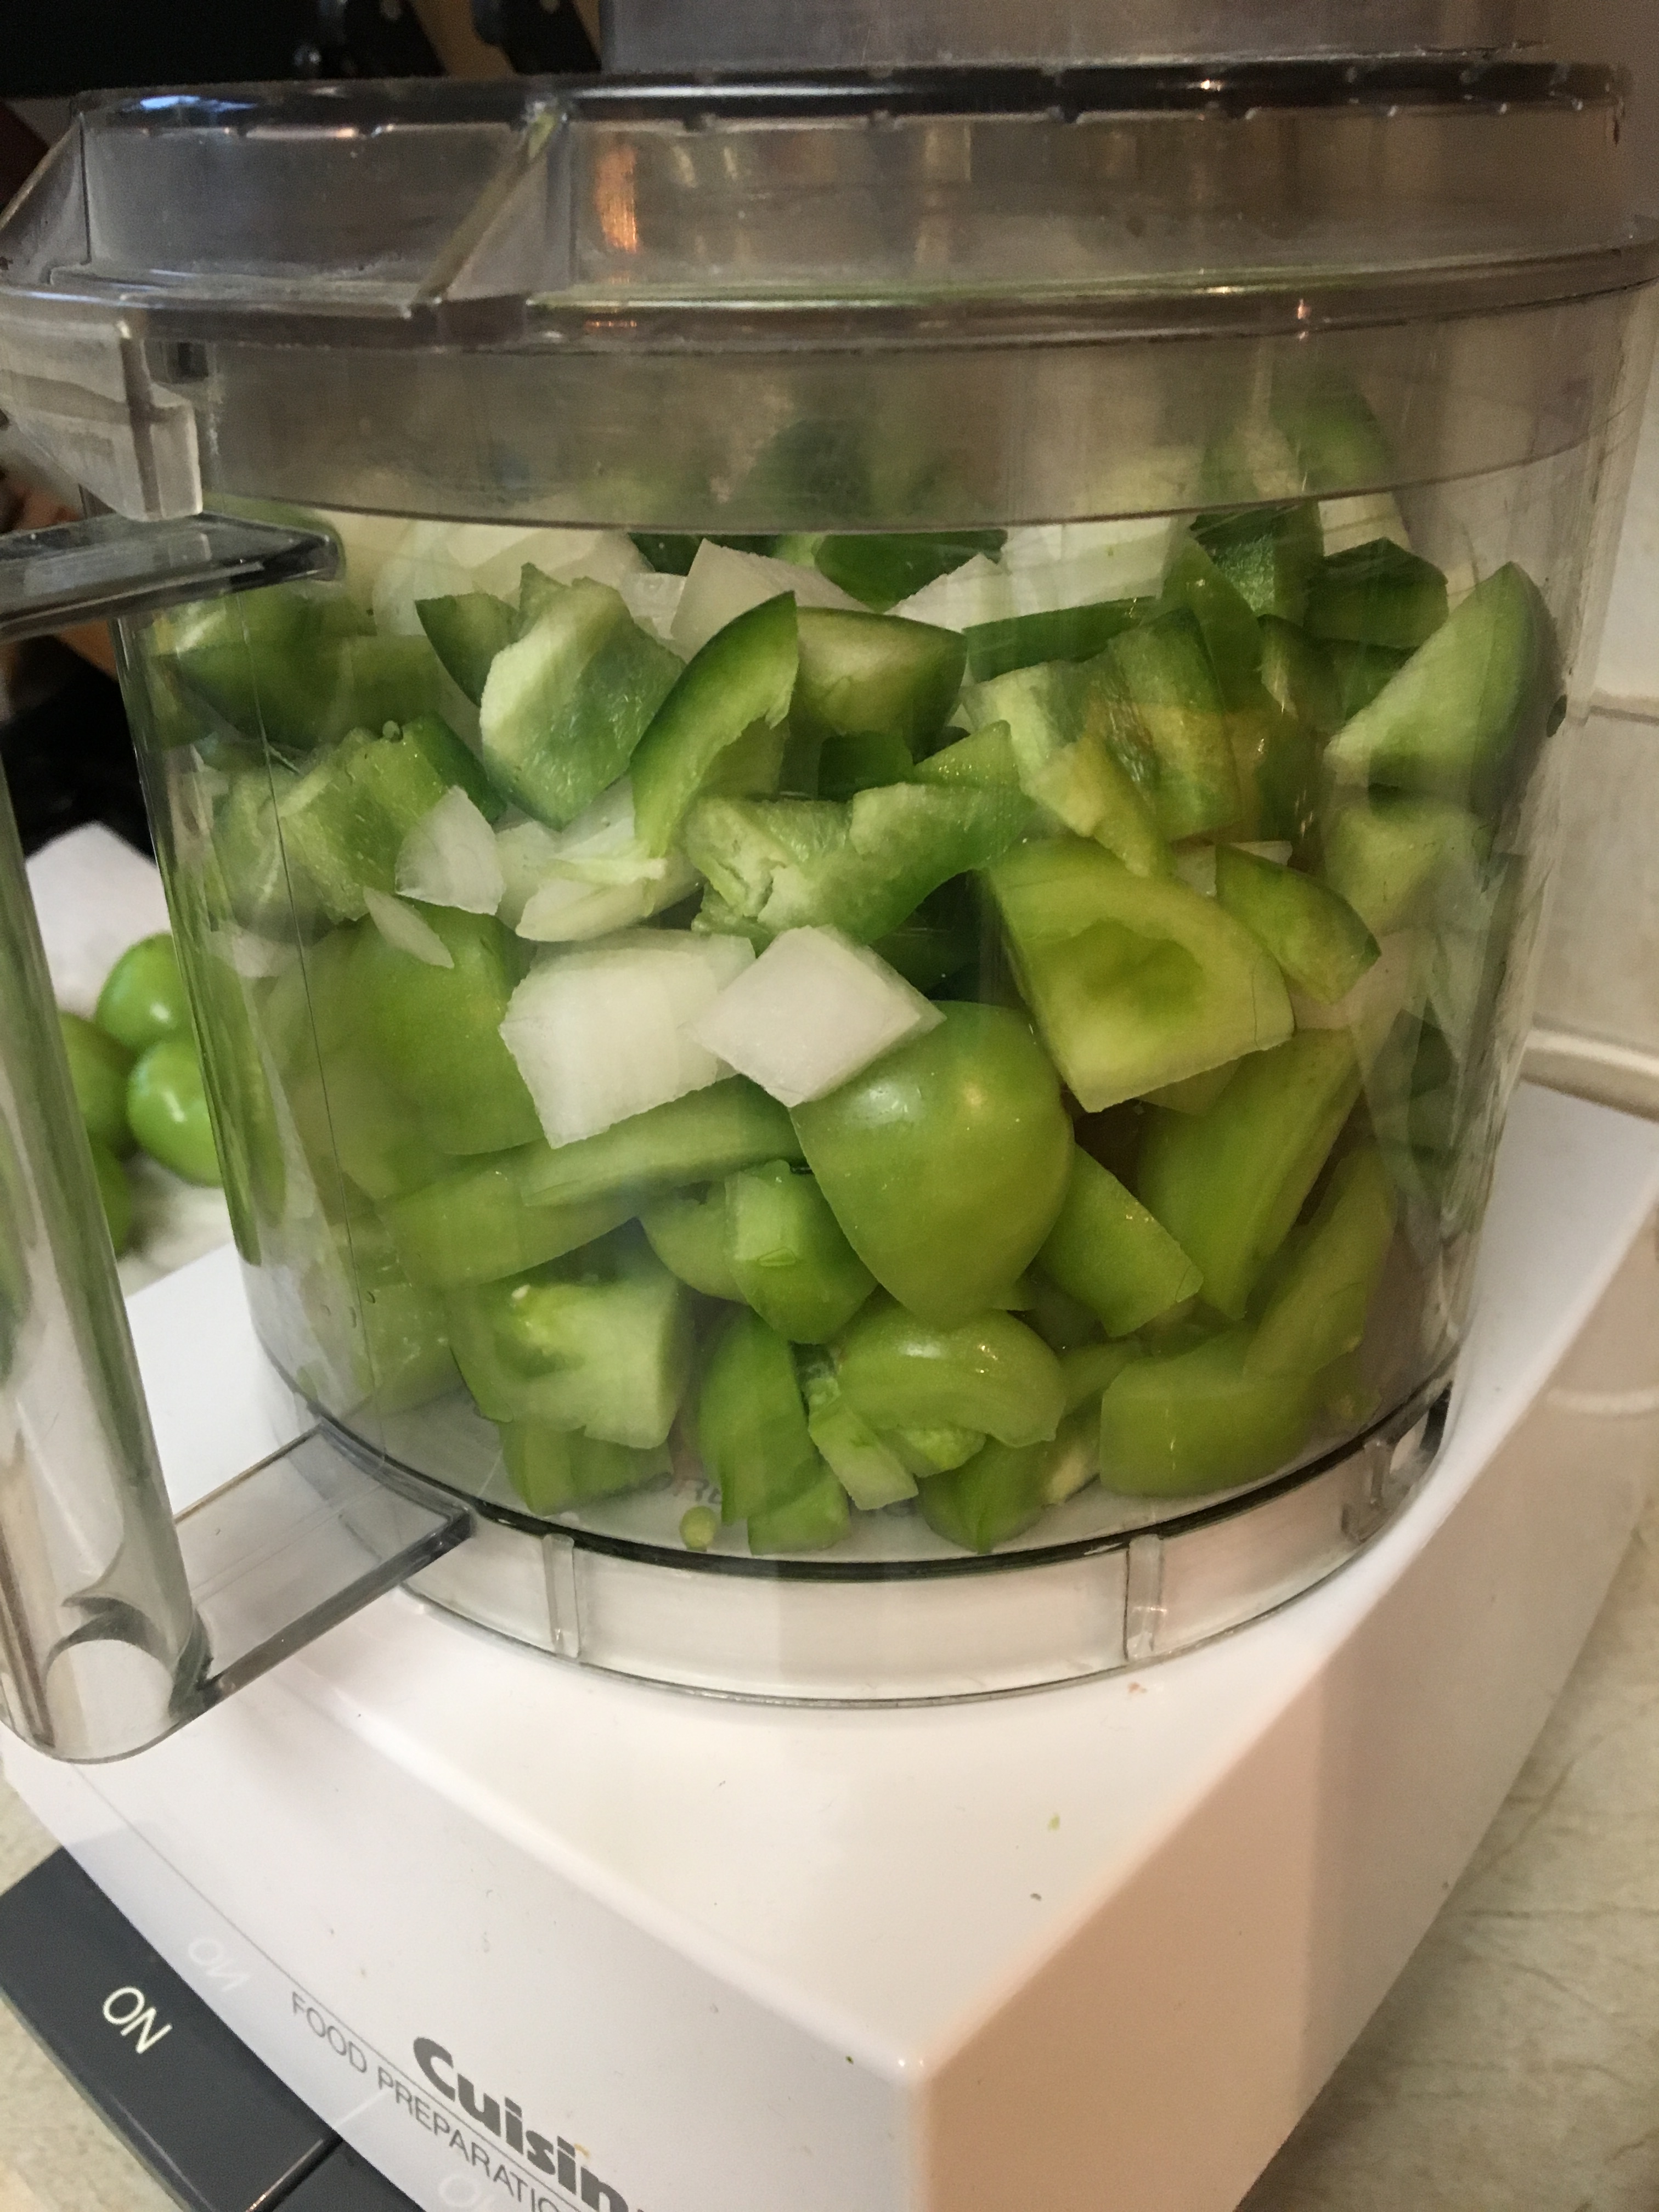 Then I put the tomatoes, onion, and pepper into a food processor. I carefully pulse the processor until the vegetables are chopped small, but not pureed. It’s tricky and you have to be careful. I put the vegetables into a large bowl and stir in the salt. Let it sit for an hour and then drain through a fine strainer.
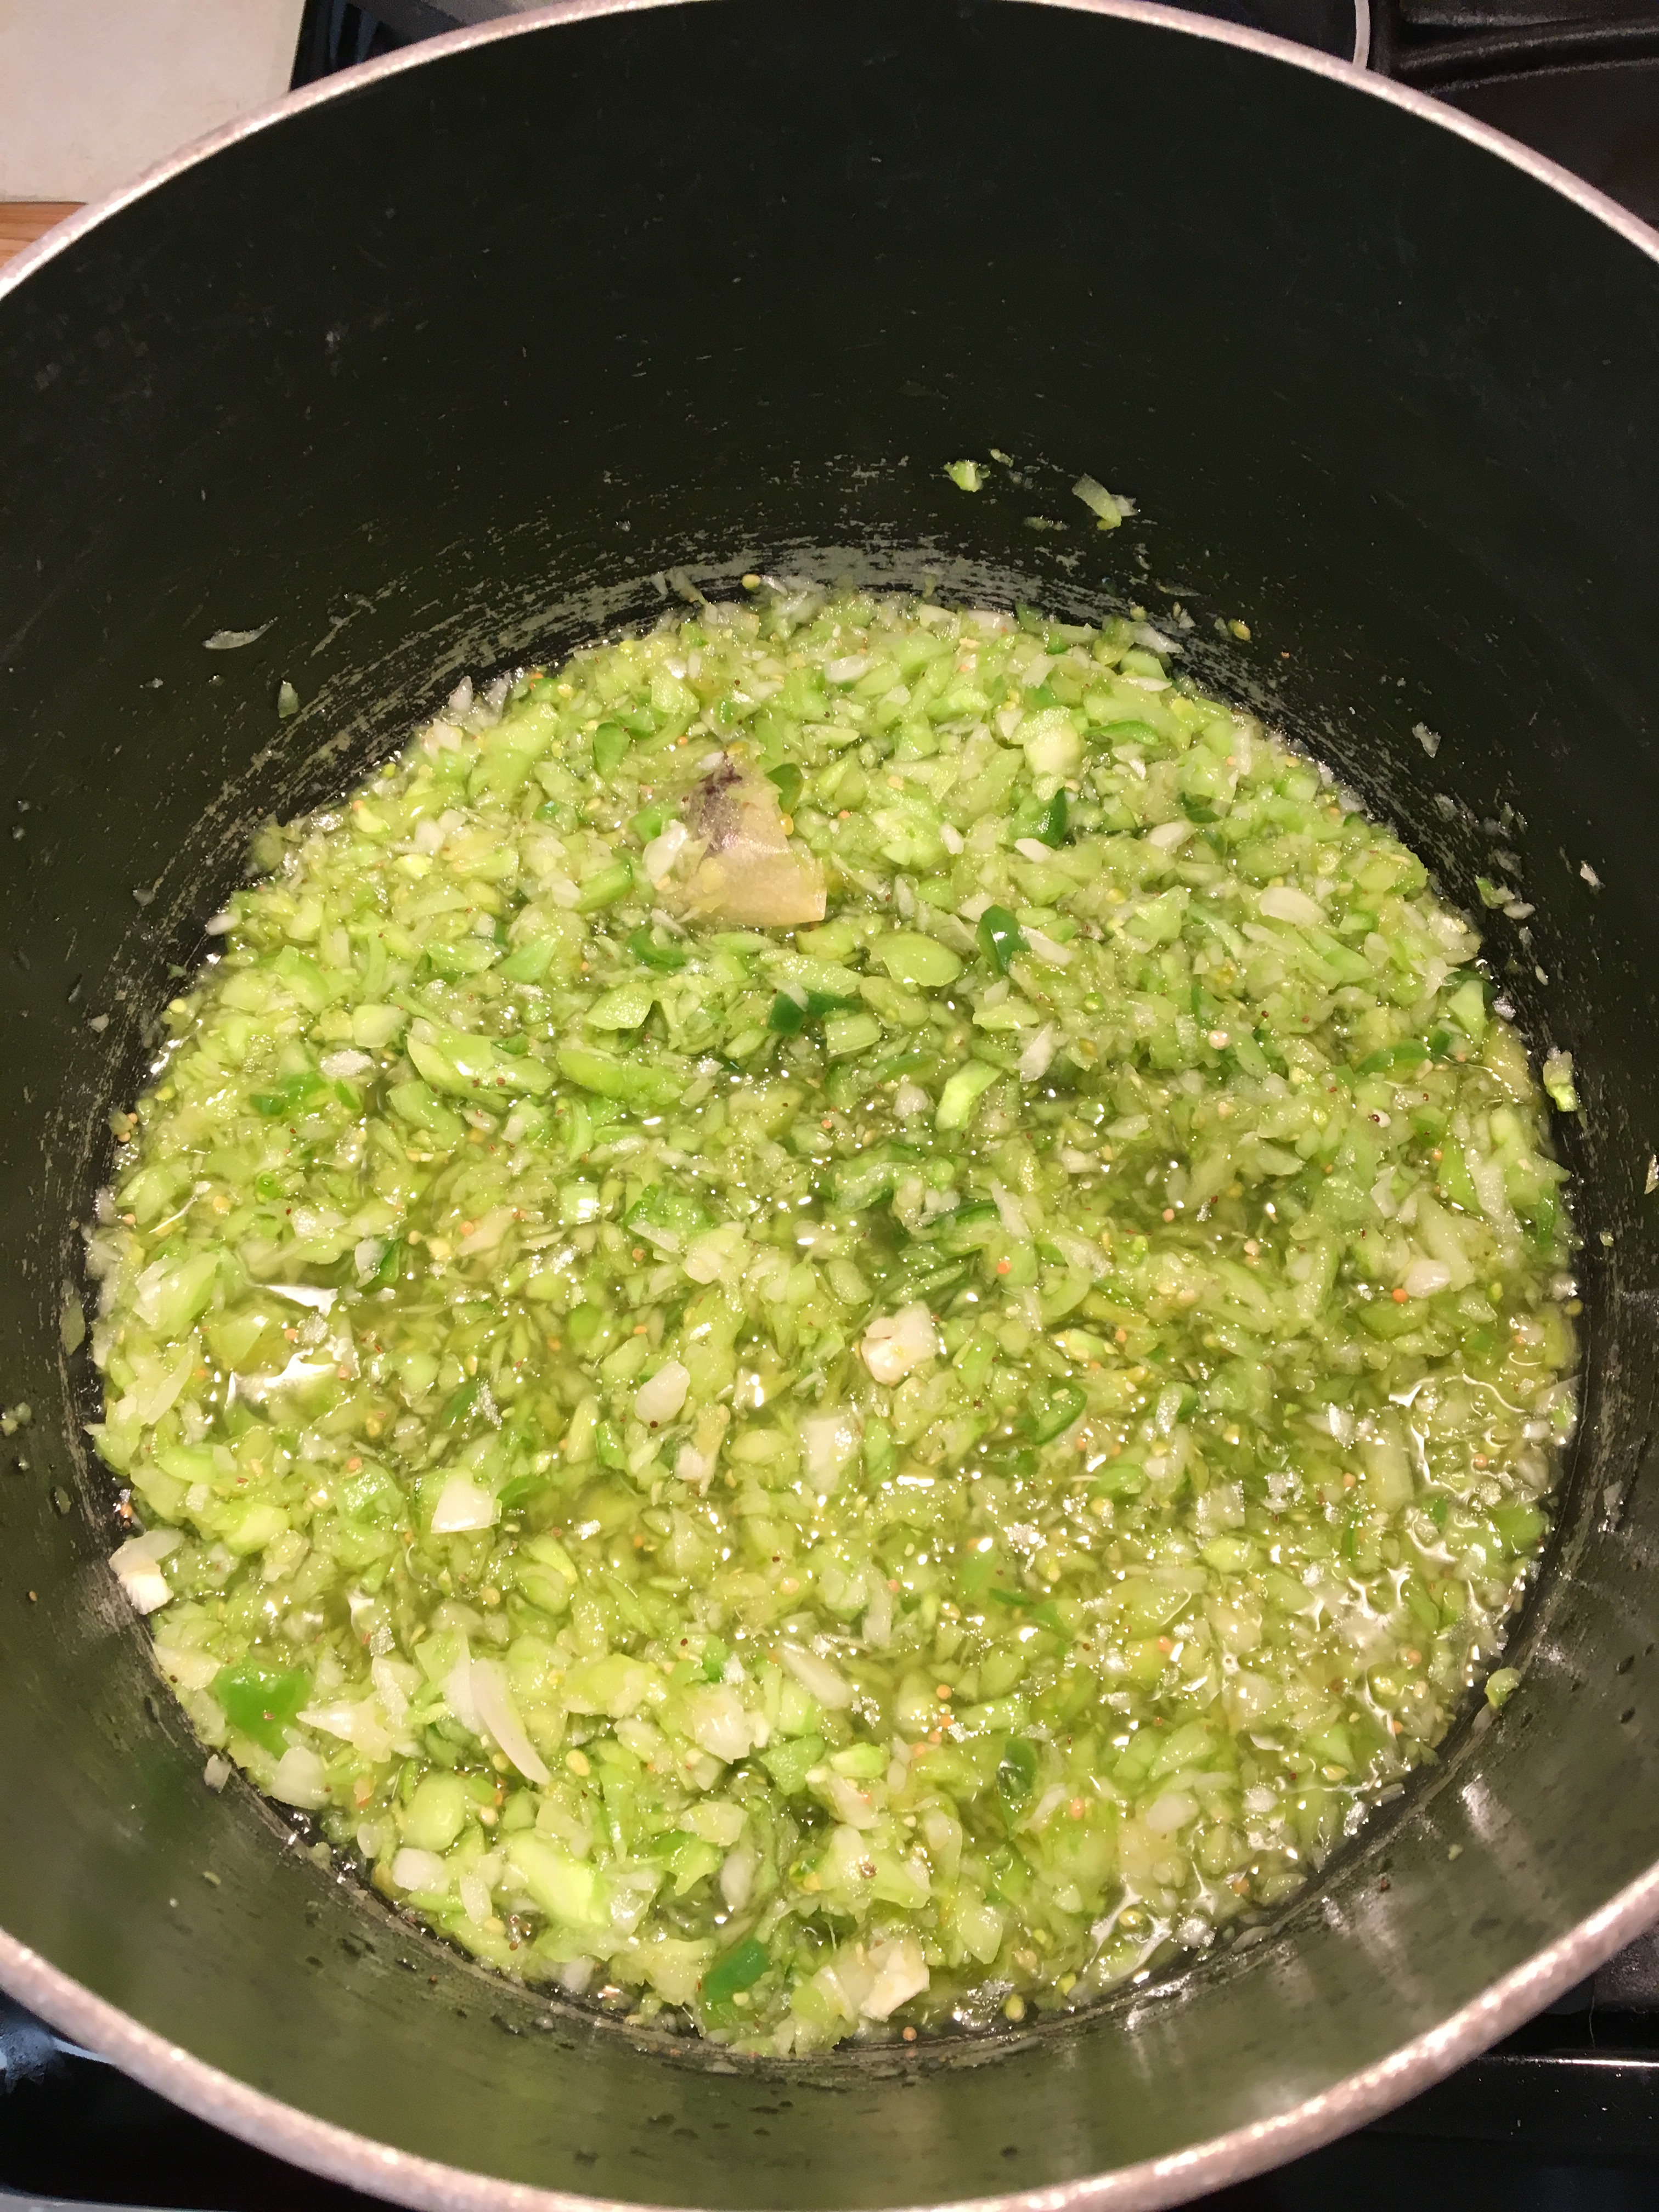
Put four cloves into a spice bag. I used a disposable tea bag. In a large pot, stir together the drained vegetables, sugar, mustard seed, celery seed, and the spice bag. Stir in the vinegar. Bring to a boil and let simmer for 20 minutes. Remove the bag of cloves. Ladle into 1/2 pint canning jars. Leave 1/2-inch of head space. Screw the lids on tightly. Process in a hot water bath for ten minutes.
 So, here’s how I did the hot water bath processing . . . I’ve got a massive 7-quart pressure cooker, but that thing is too much of a beast to can only 4 half-pint jars. Instead, I put my metal steamer basket in the bottom of my largest stock pot and filled the pot with water, nearly to the top. I brought the water to a boil while the relish was simmering. I also had my tea kettle over a flame for more hot water as needed. Once the water in the pot was at a full boil, and the relish had been put into the jars and sealed, I placed each jar carefully into the boiling water and and made sure they were covered with boiling water from the kettle. Once the water came back to a boil, I set the timer for ten minutes. The trick is the metal steamer basket. I’ve tried water bath canning without a rack in the bottom of the pot and ended up with broken jars and a big mess. My metal steamer basket allows the boiling water to bubble without rocking the jars. Different shape jars and sizes pots and steamer baskets would suggest that you make sure it will all fit as necessary before beginning the process. Please consult a canning expert if you have never done any home canning before. I am certainly not an expert.
Note to self: ran out of cider vinegar and made a second batch using white-wine vinegar. It is marked #2 on the lids. See what you think.
The recipe is found at myfrugaladventures.com. These are really crunchy and delicious!
 Bring to a boil 3-1/2 cups water and 1-1/4 cups vinegar. I used cider vinegar. Add 1 Tbsp. canning salt. Remove from heat and let cool.
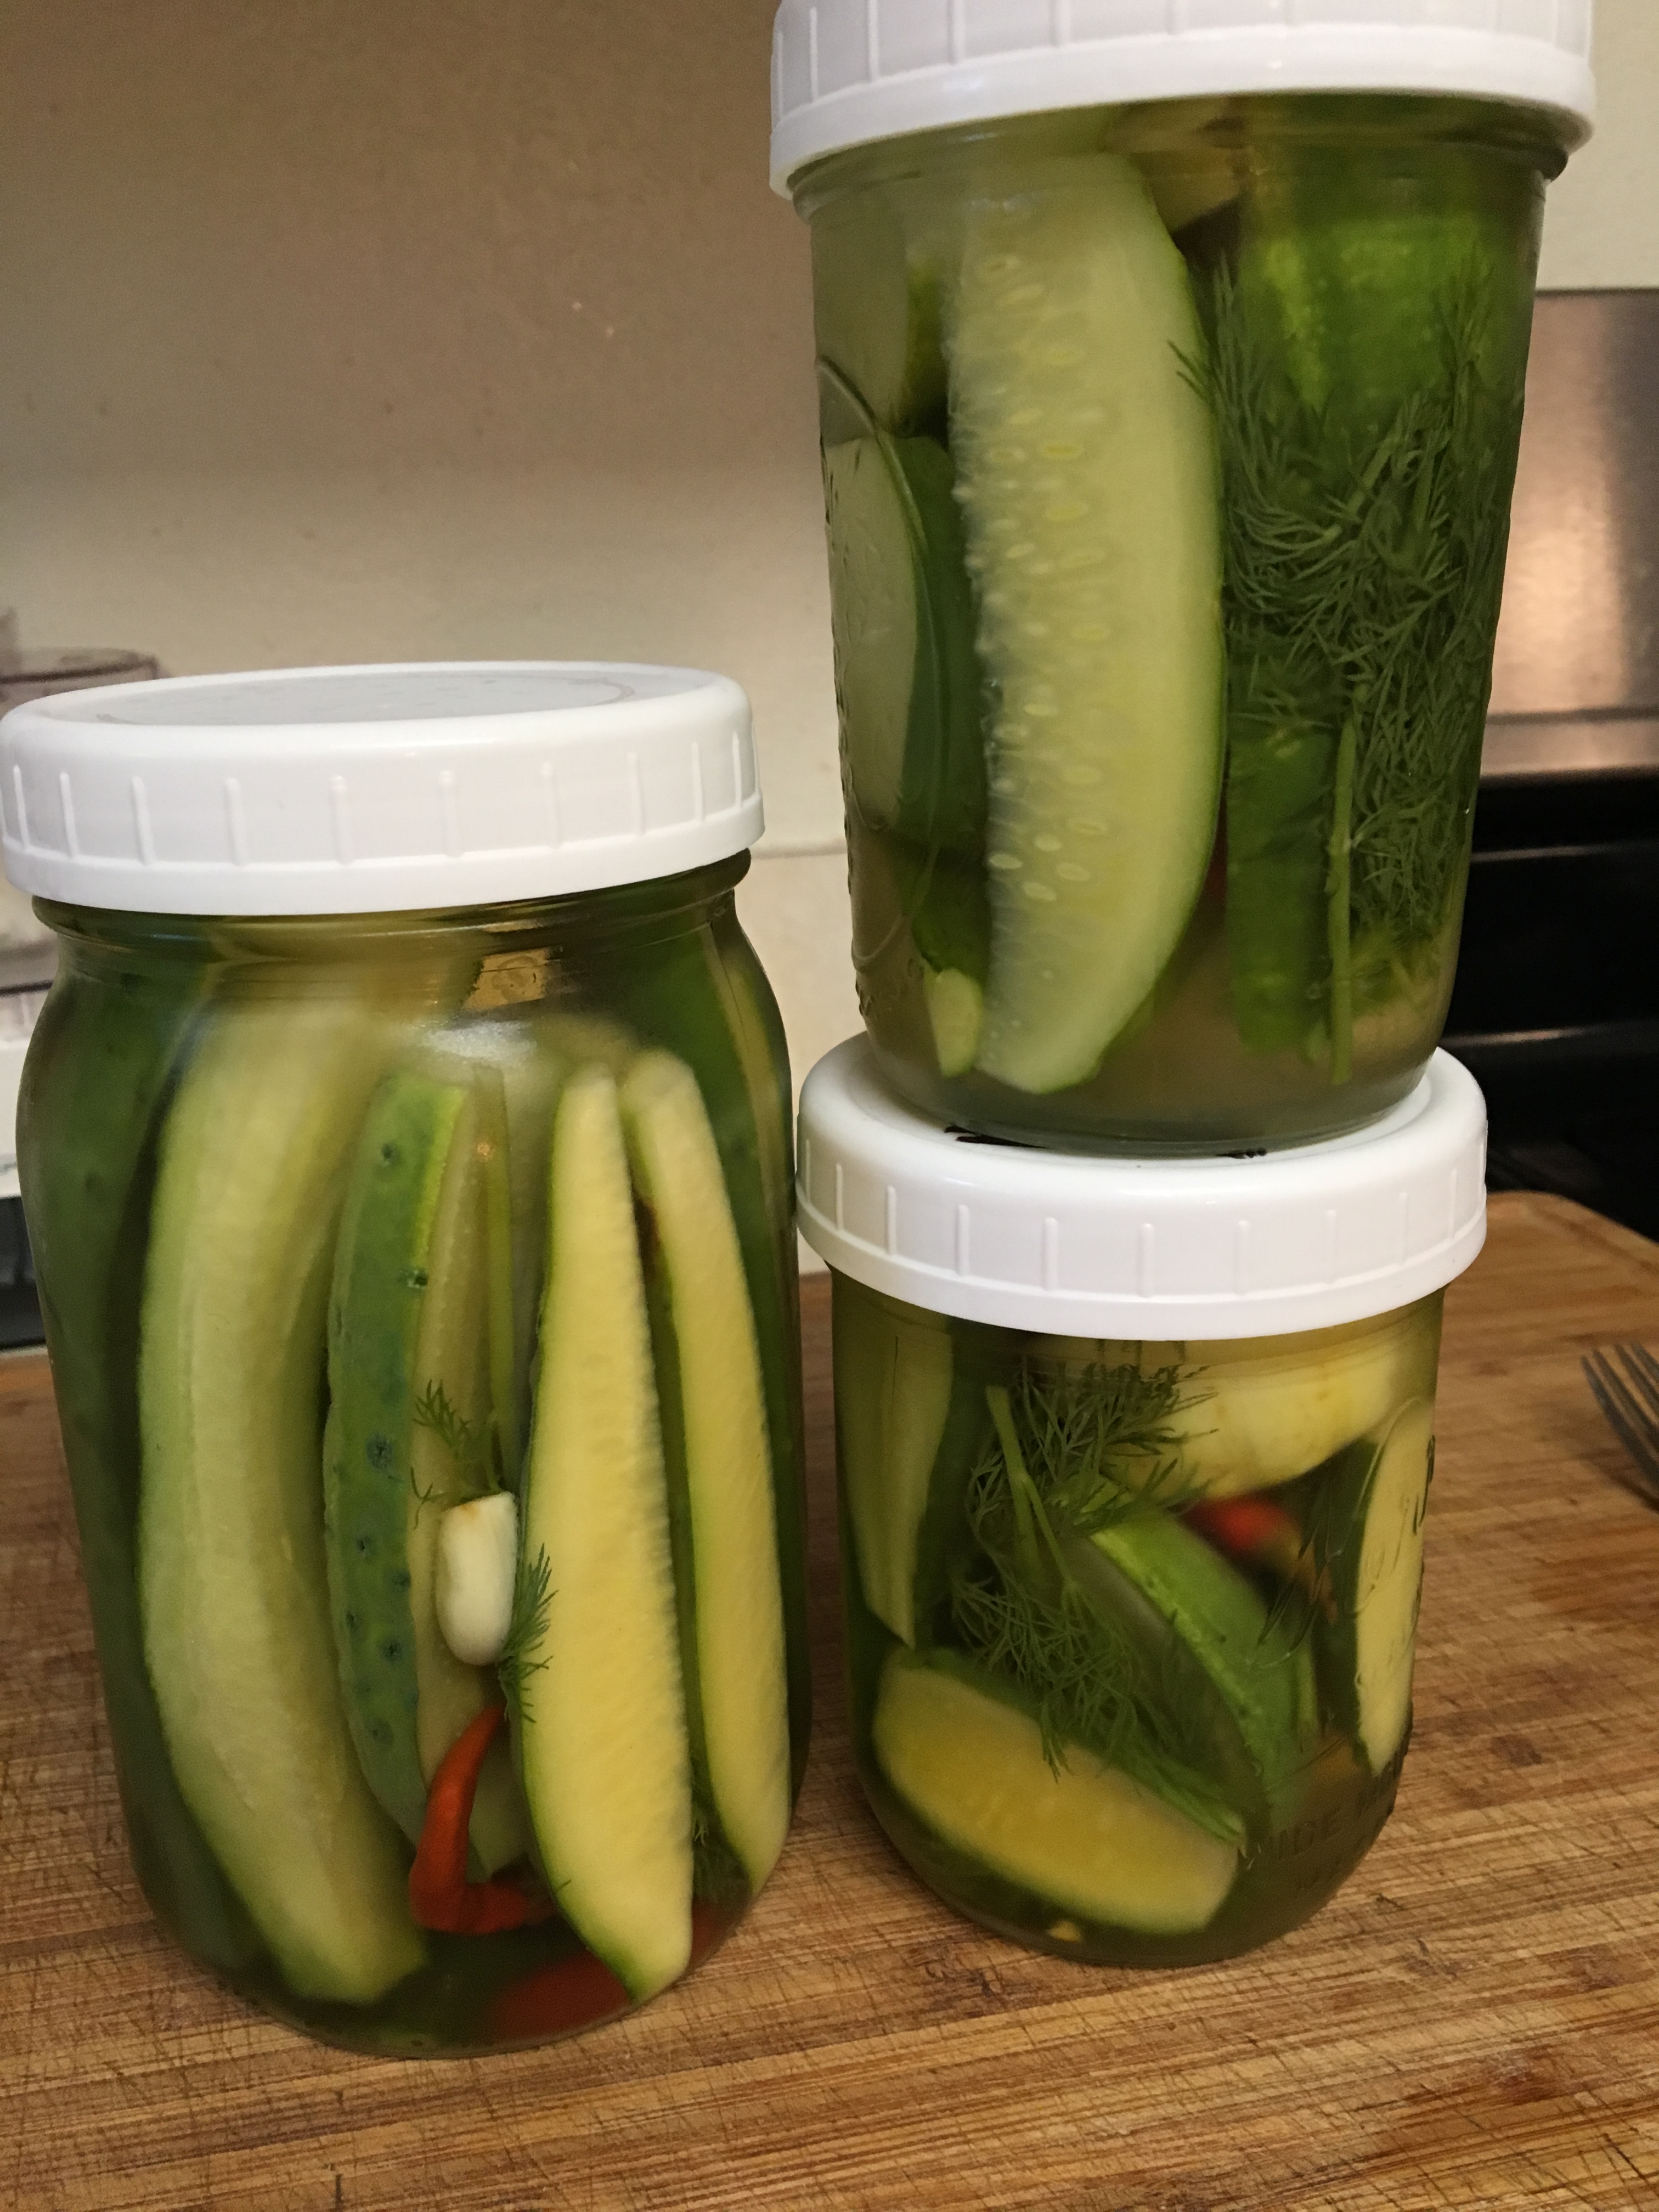
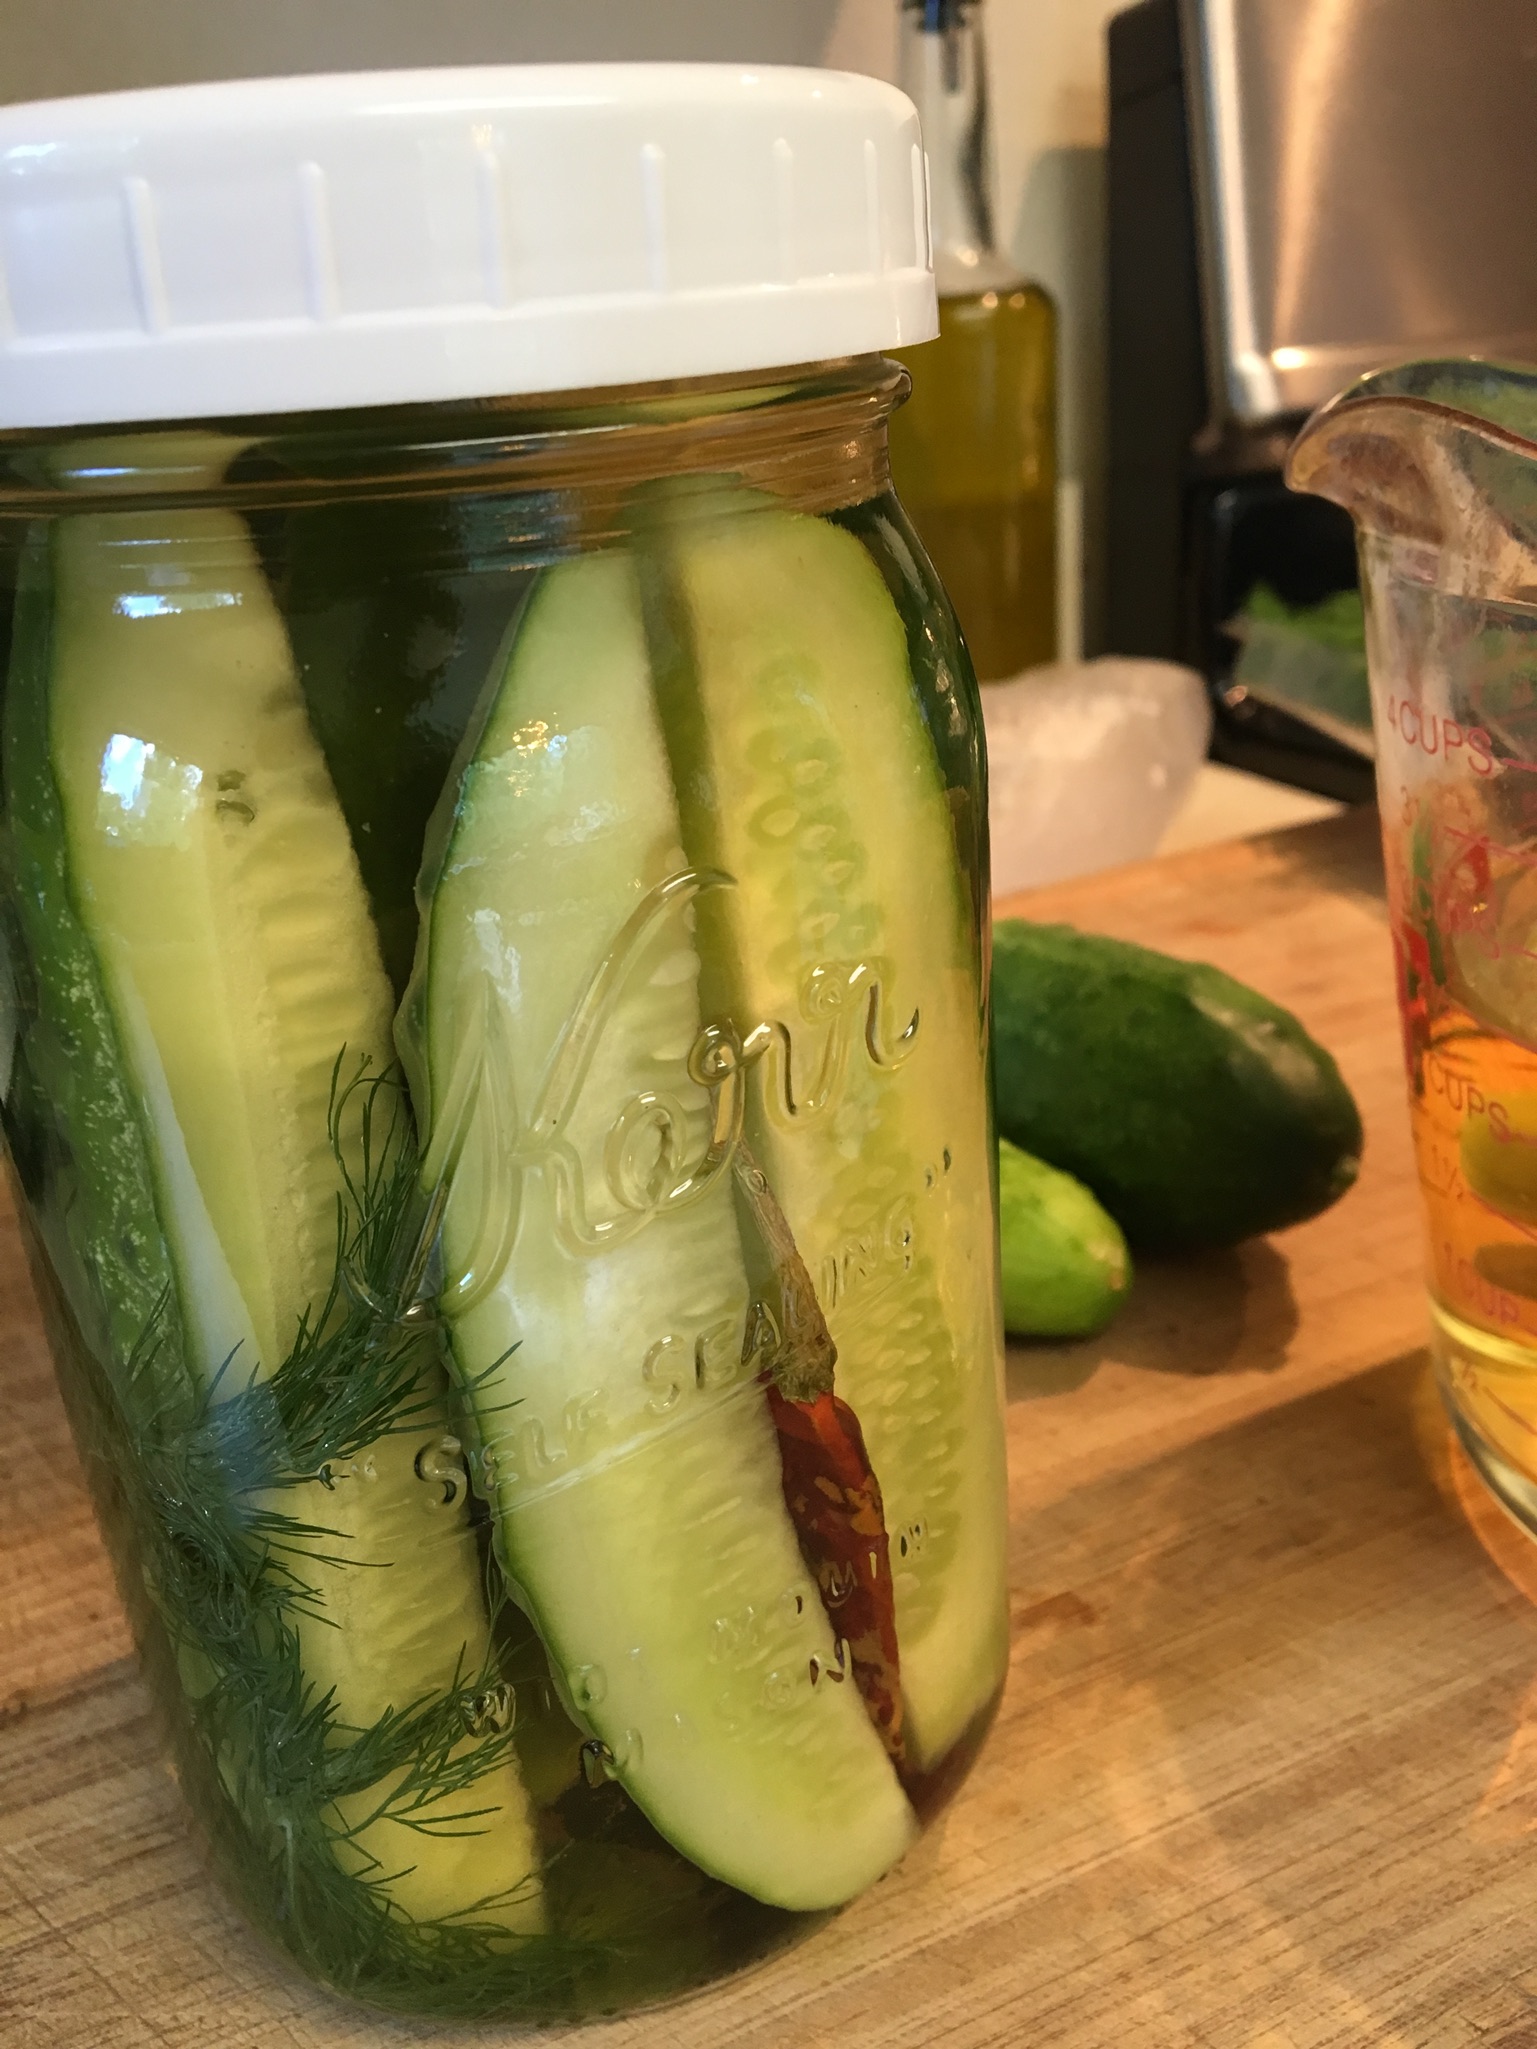
Slice cucumbers into your preferred shape: spears, chips, or leave whole. They aren’t pictured, but I have used lemon cucumbers as well. The type of cucumber does not seem to matter. They’re all good! Make sure the entire cucumber will fit beneath the liquid. Pack sterile jars with cucumbers. Add garlic cloves, dried red peppers, and fresh dill to each jar.
Pour cooled vinegar mixture over the cucumbers in each jar. Makes a couple quarts (I use 2 pint jars and 1 quart jar). Screw on lids, use any type. Place into refrigerator. Shake the jars around a bit occasionally. Good to eat 24 hours later, best to eat after three days, should last a few weeks if they are kept refrigerated.
We were eating these quickly and we had so many cucumbers that I left the brine in the jar and filled the jar with cukes again. It worked fine. I wouldn’t do that more than once, because you would probably want more vinegar and salt, so you may as well start at the beginning.
I’m going to quickly jot down how I did this so I don’t forget. It was a really special meal. So delicious! I served it with roasted Italian sausage links and eggplant au gratin. Yummy!
Cut about a dozen small roma tomatoes in half lengthwise. Prepare a large baking sheet by covering it with foil and sprinkling with a little bit of olive oil. Place the tomatoes, cut side up, on the baking sheet and sprinkle with olive oil and a little sea salt or kosher salt. Take 5 cloves of garlic and wrap in a foil bundle with a few Tbsp. water. Place the foil bundle on the baking sheet with the tomatoes. Roast the tomatoes (and the garlic bundle) for 30-35 minutes at 375 degrees F, or until the bottoms of the tomatoes are brown. Remove from heat and let cool. (I saved the leftover tomato-flavored olive oil to use in a salad dressing some day.)
While the tomatoes are roasting, swazz olive oil in a large skillet, sprinkle in about a tsp. of dried thyme. Heat the oil and then add 5 cups sliced red onion and a tsp. salt. Saute until the onions are brownish and soft. Remove from heat and let cool.
Open the foil bundle and remove the garlic from the skins. Mash.
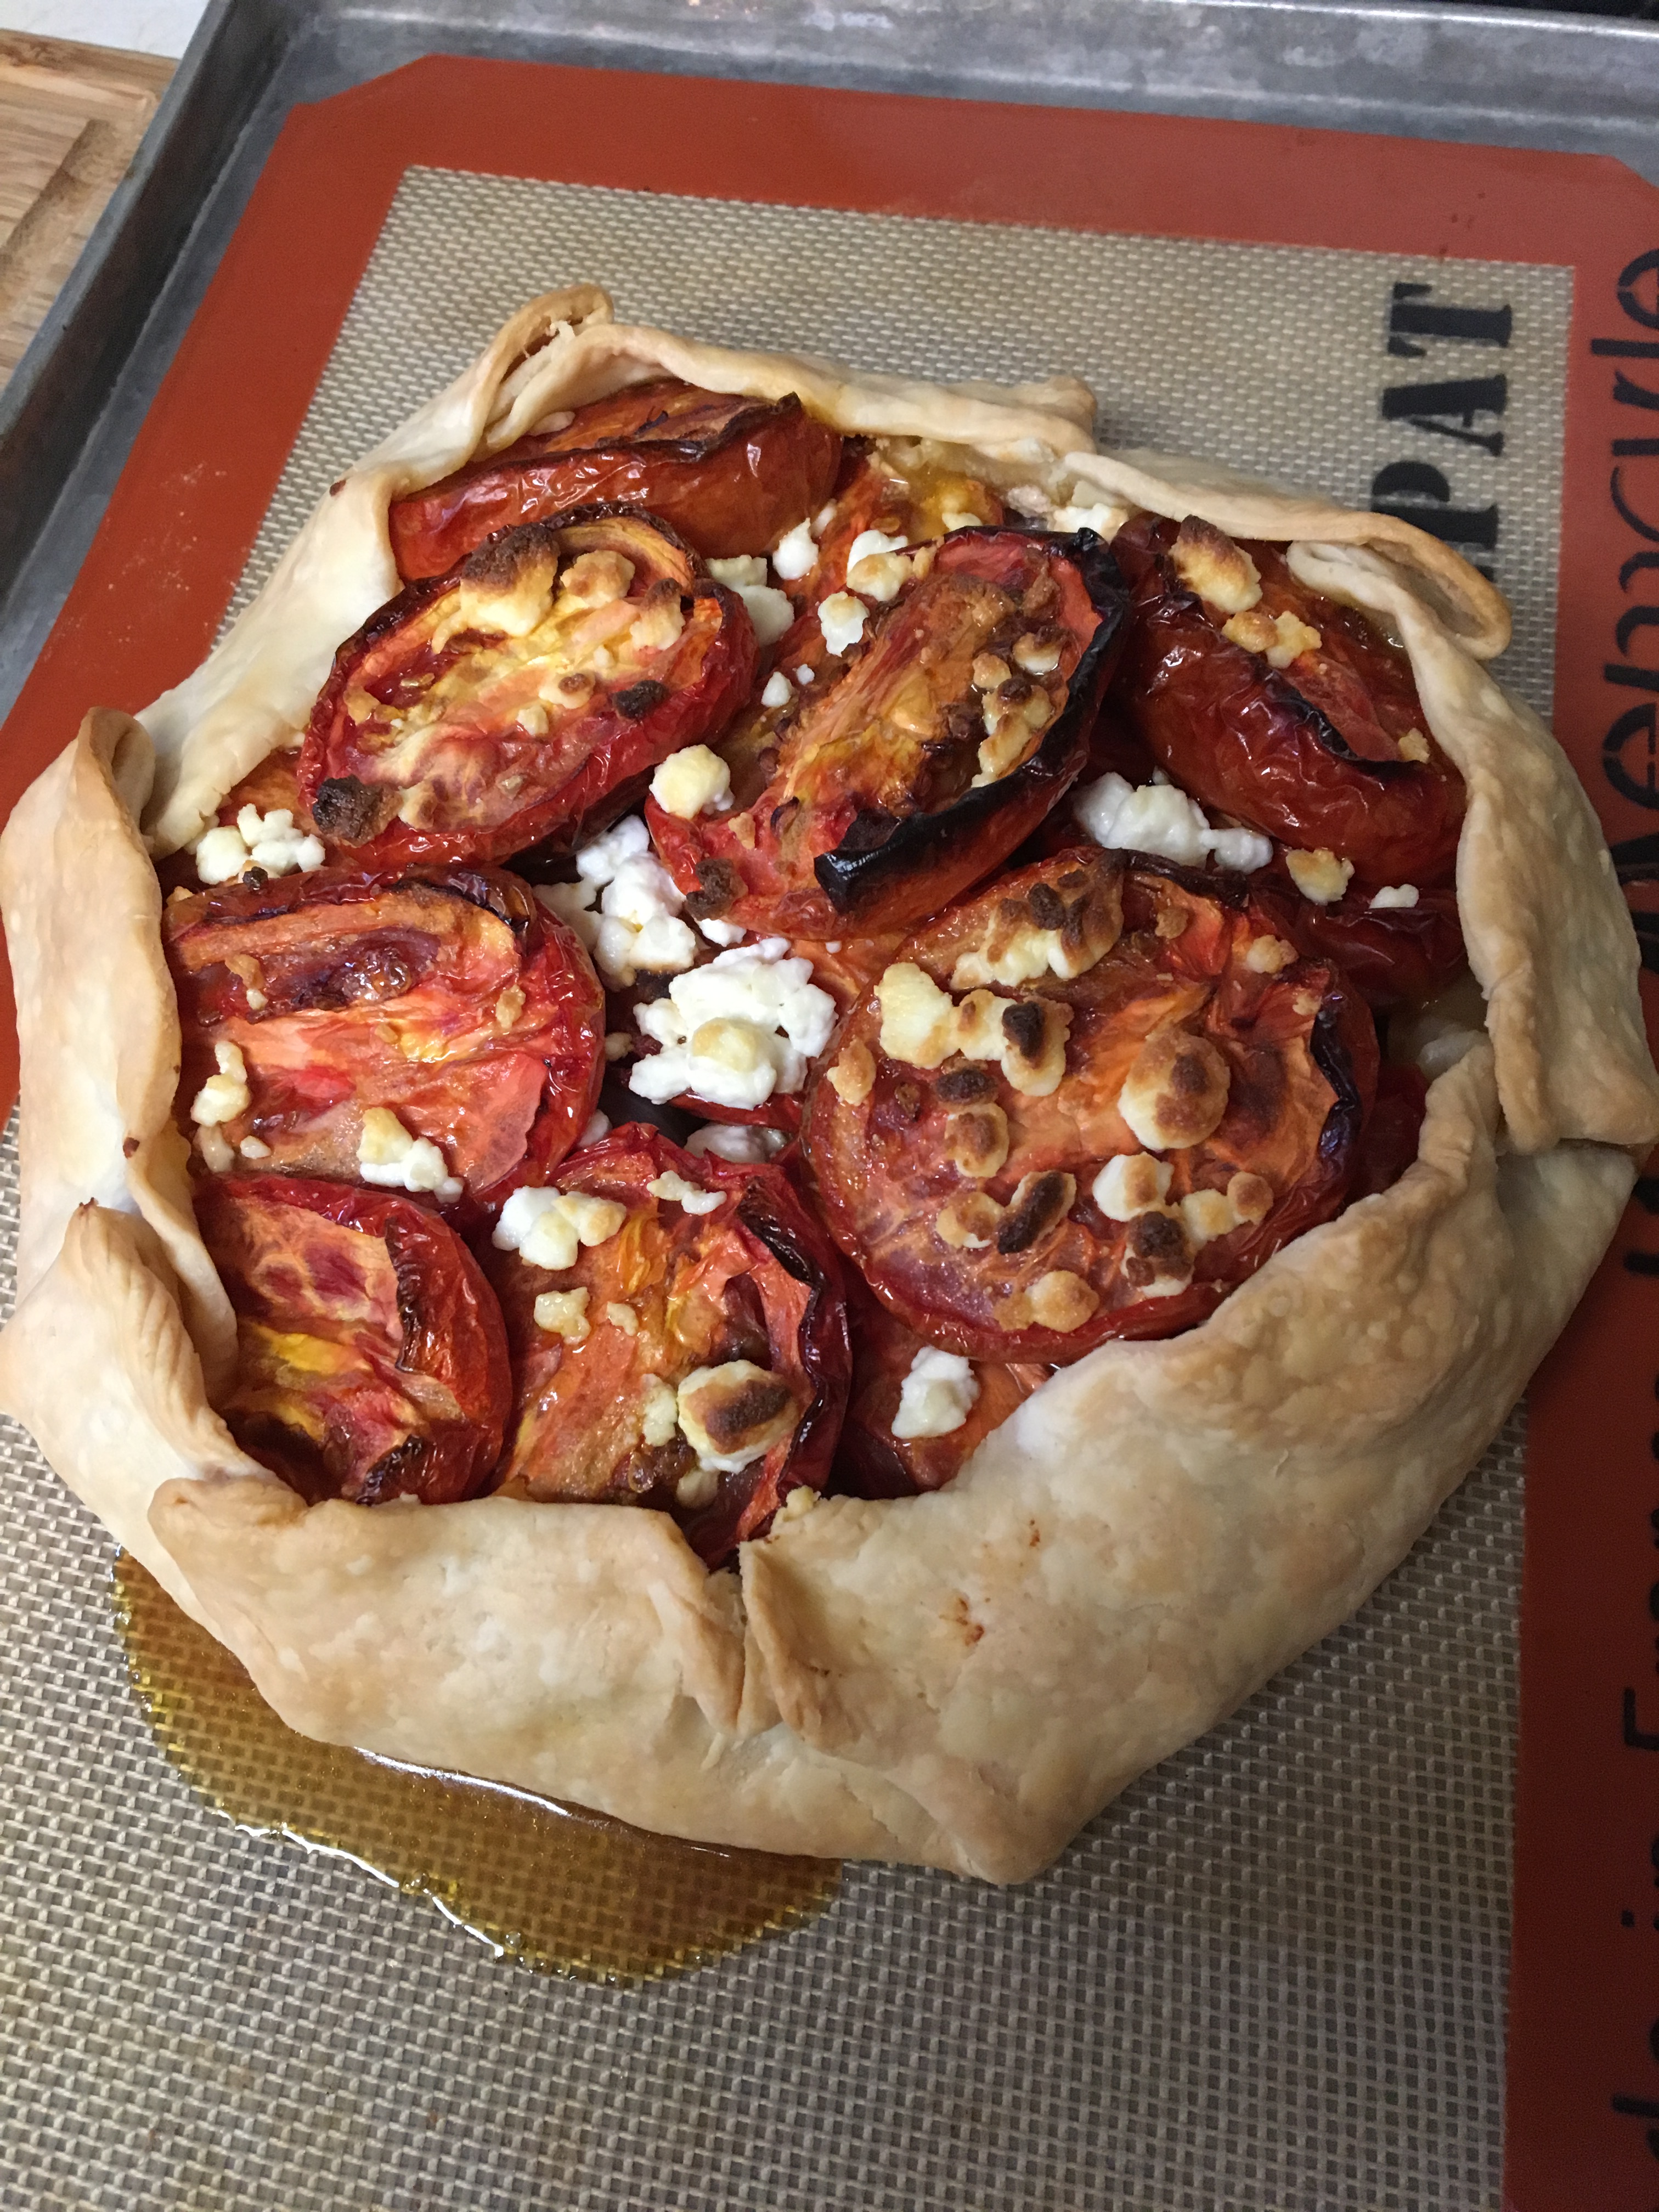
Preheat the oven to 400 degrees F. Place a single pie crust on parchment paper, or a silpat, on a baking sheet. Heap the onions in the center of the pie crust, then dab the garlic over the top. Place the tomatoes on top of that. Remember to leave an edge around the pie crust. Sprinkle with goat cheese crumbles. Fold the edge up, it will be haphazard, but it’s a “rustic” pie so haphazard is good. Bake for 30-35 minutes or until the center bubbles and the crust is nicely browned.
Ingredients:
1 dozen small roma tomatoes
Olive oil
Salt
5 cloves garlic
Few tablespoons water
1 tsp. dried thyme
5 cups sliced red onion (about two medium)
1 single-crust pie crust, unbaked
Crumbled goat cheese
Trying to put all my pickle recipes on the blog so that I don’t have to search so hard next year. What do I do with all the cucumbers my husband grew? 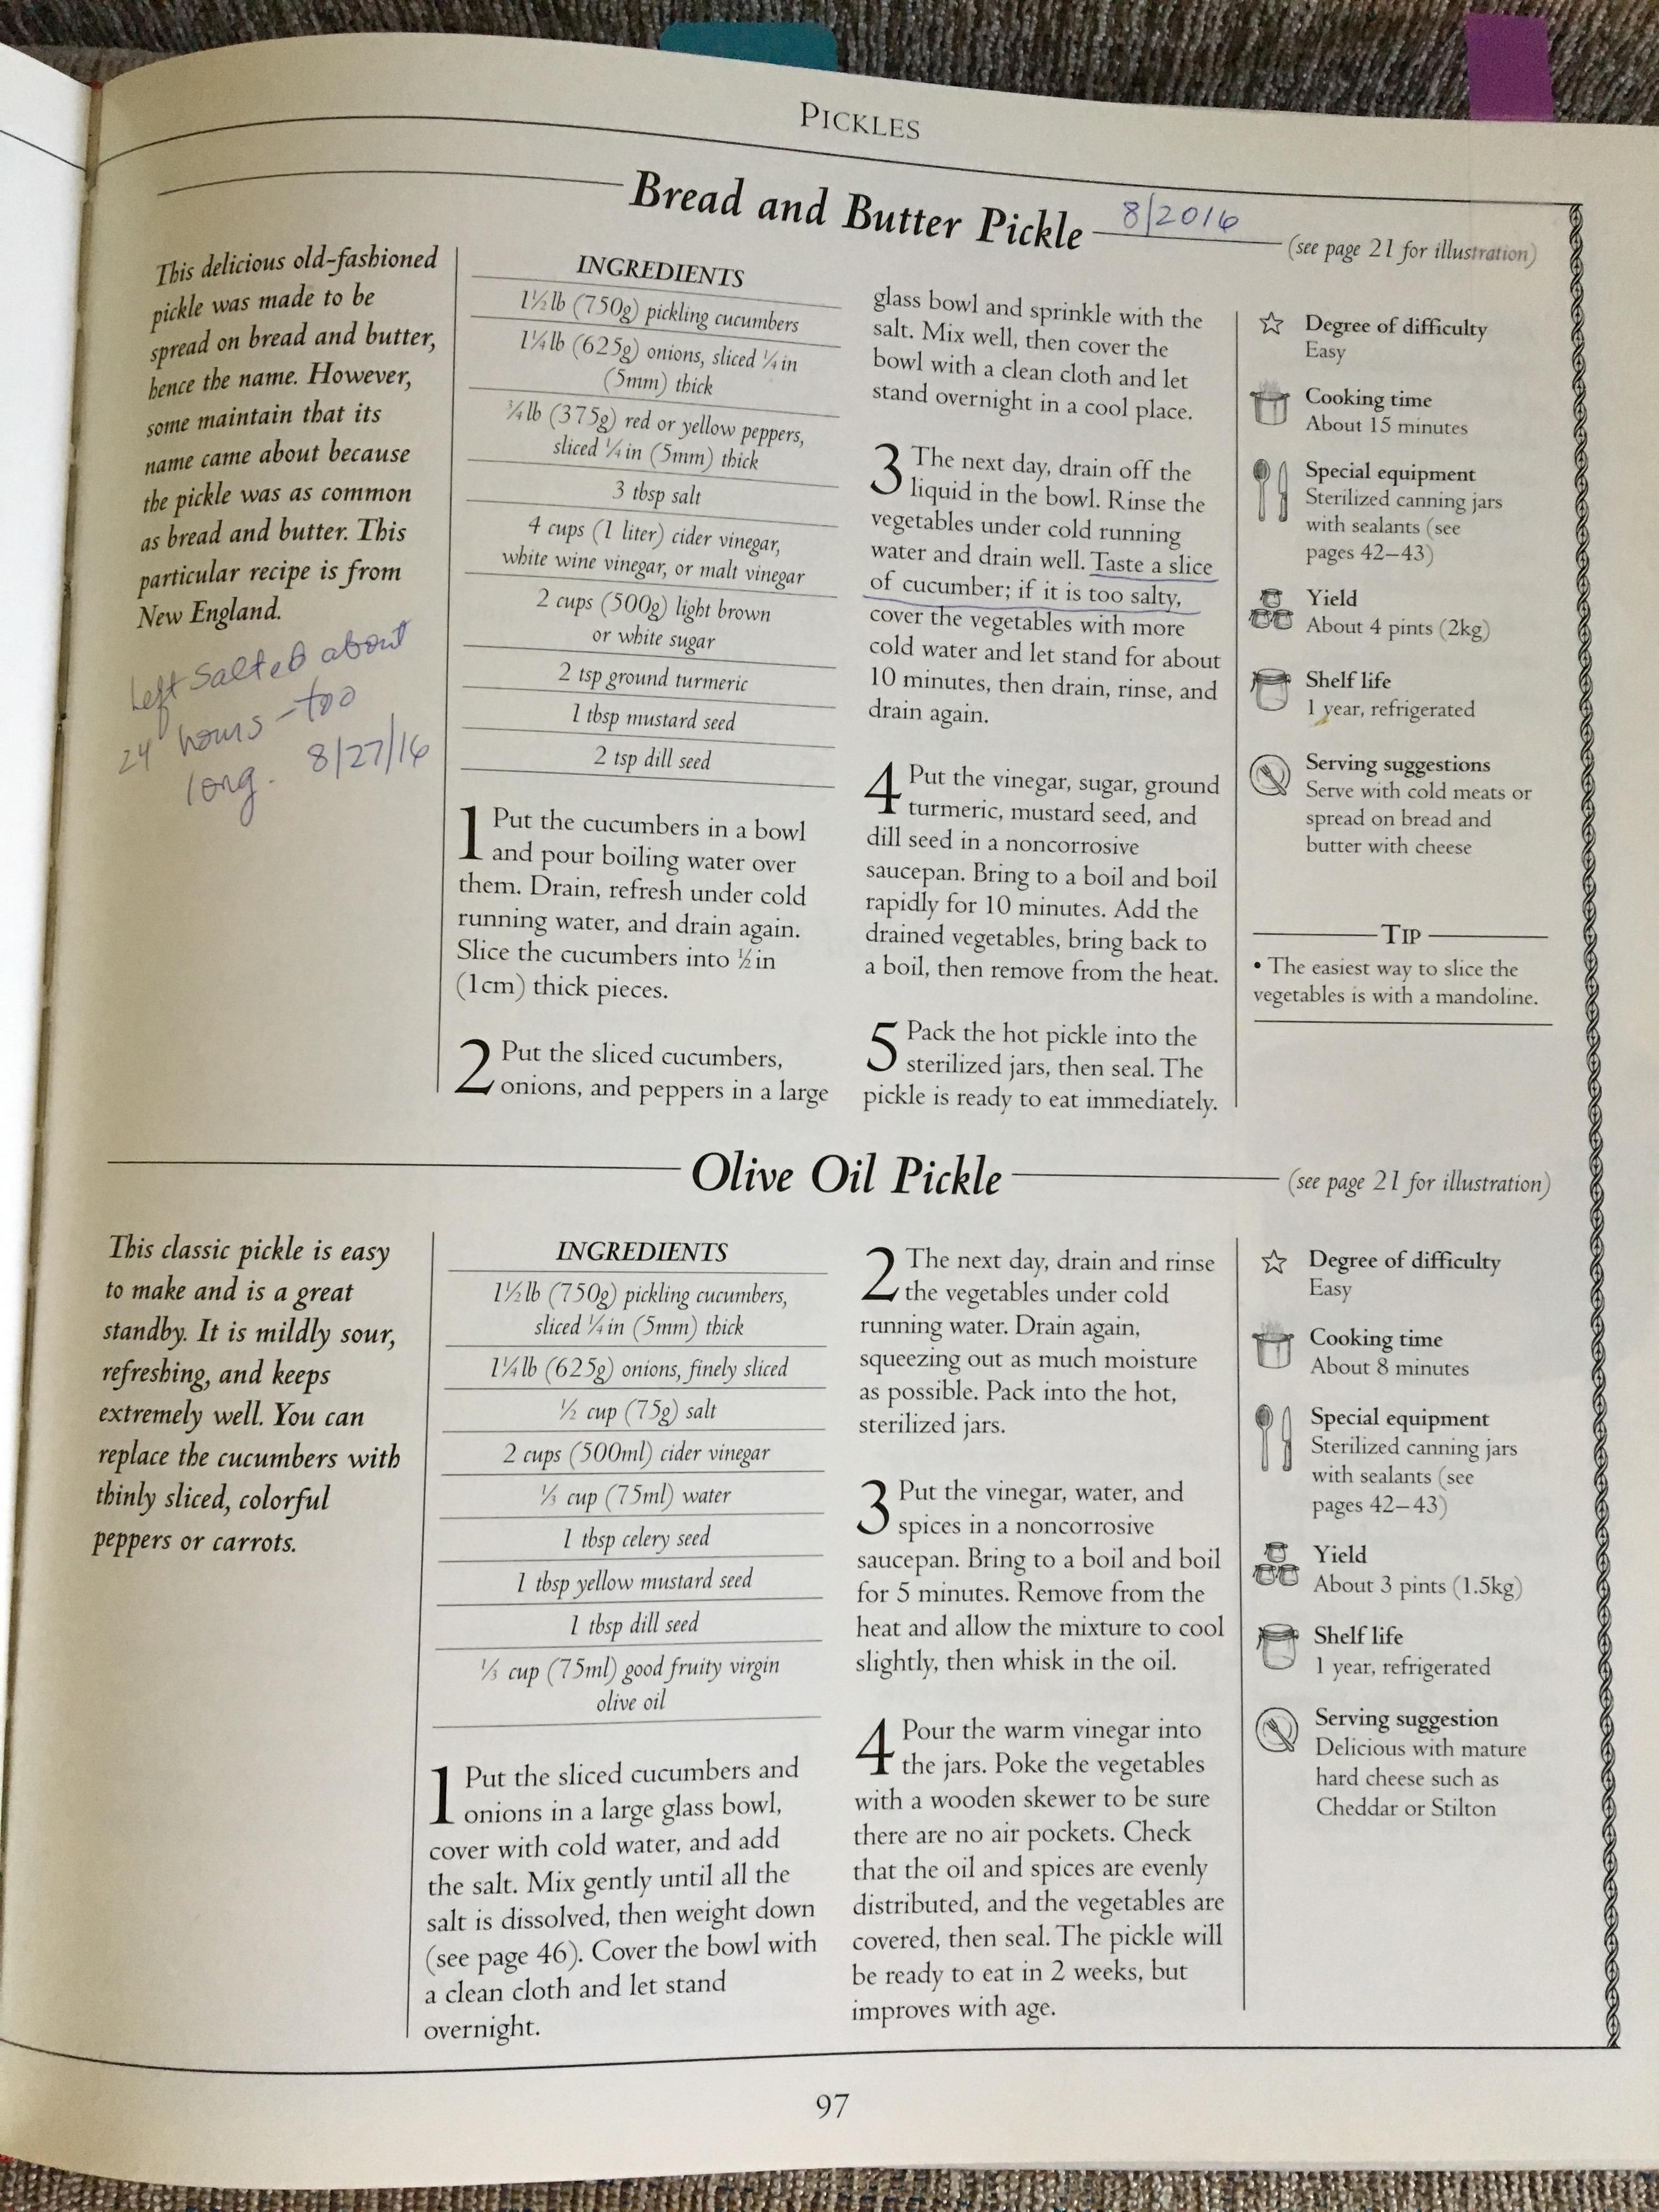
Use the top recipe. It’s from Oded Schwartz’s book Preserving (1996, Dorling Kindersley).
Here’s my start . . . I’ve blanched the whole cucumbers, refreshed them, sliced and added onions and mini sweet-peppers and salt. Then it sits overnight.

After draining and rinsing (I did the ten minutes in cold water) I boiled the brine for ten minutes and then added the chopped vegetables.
I brought the pot to a second boil.
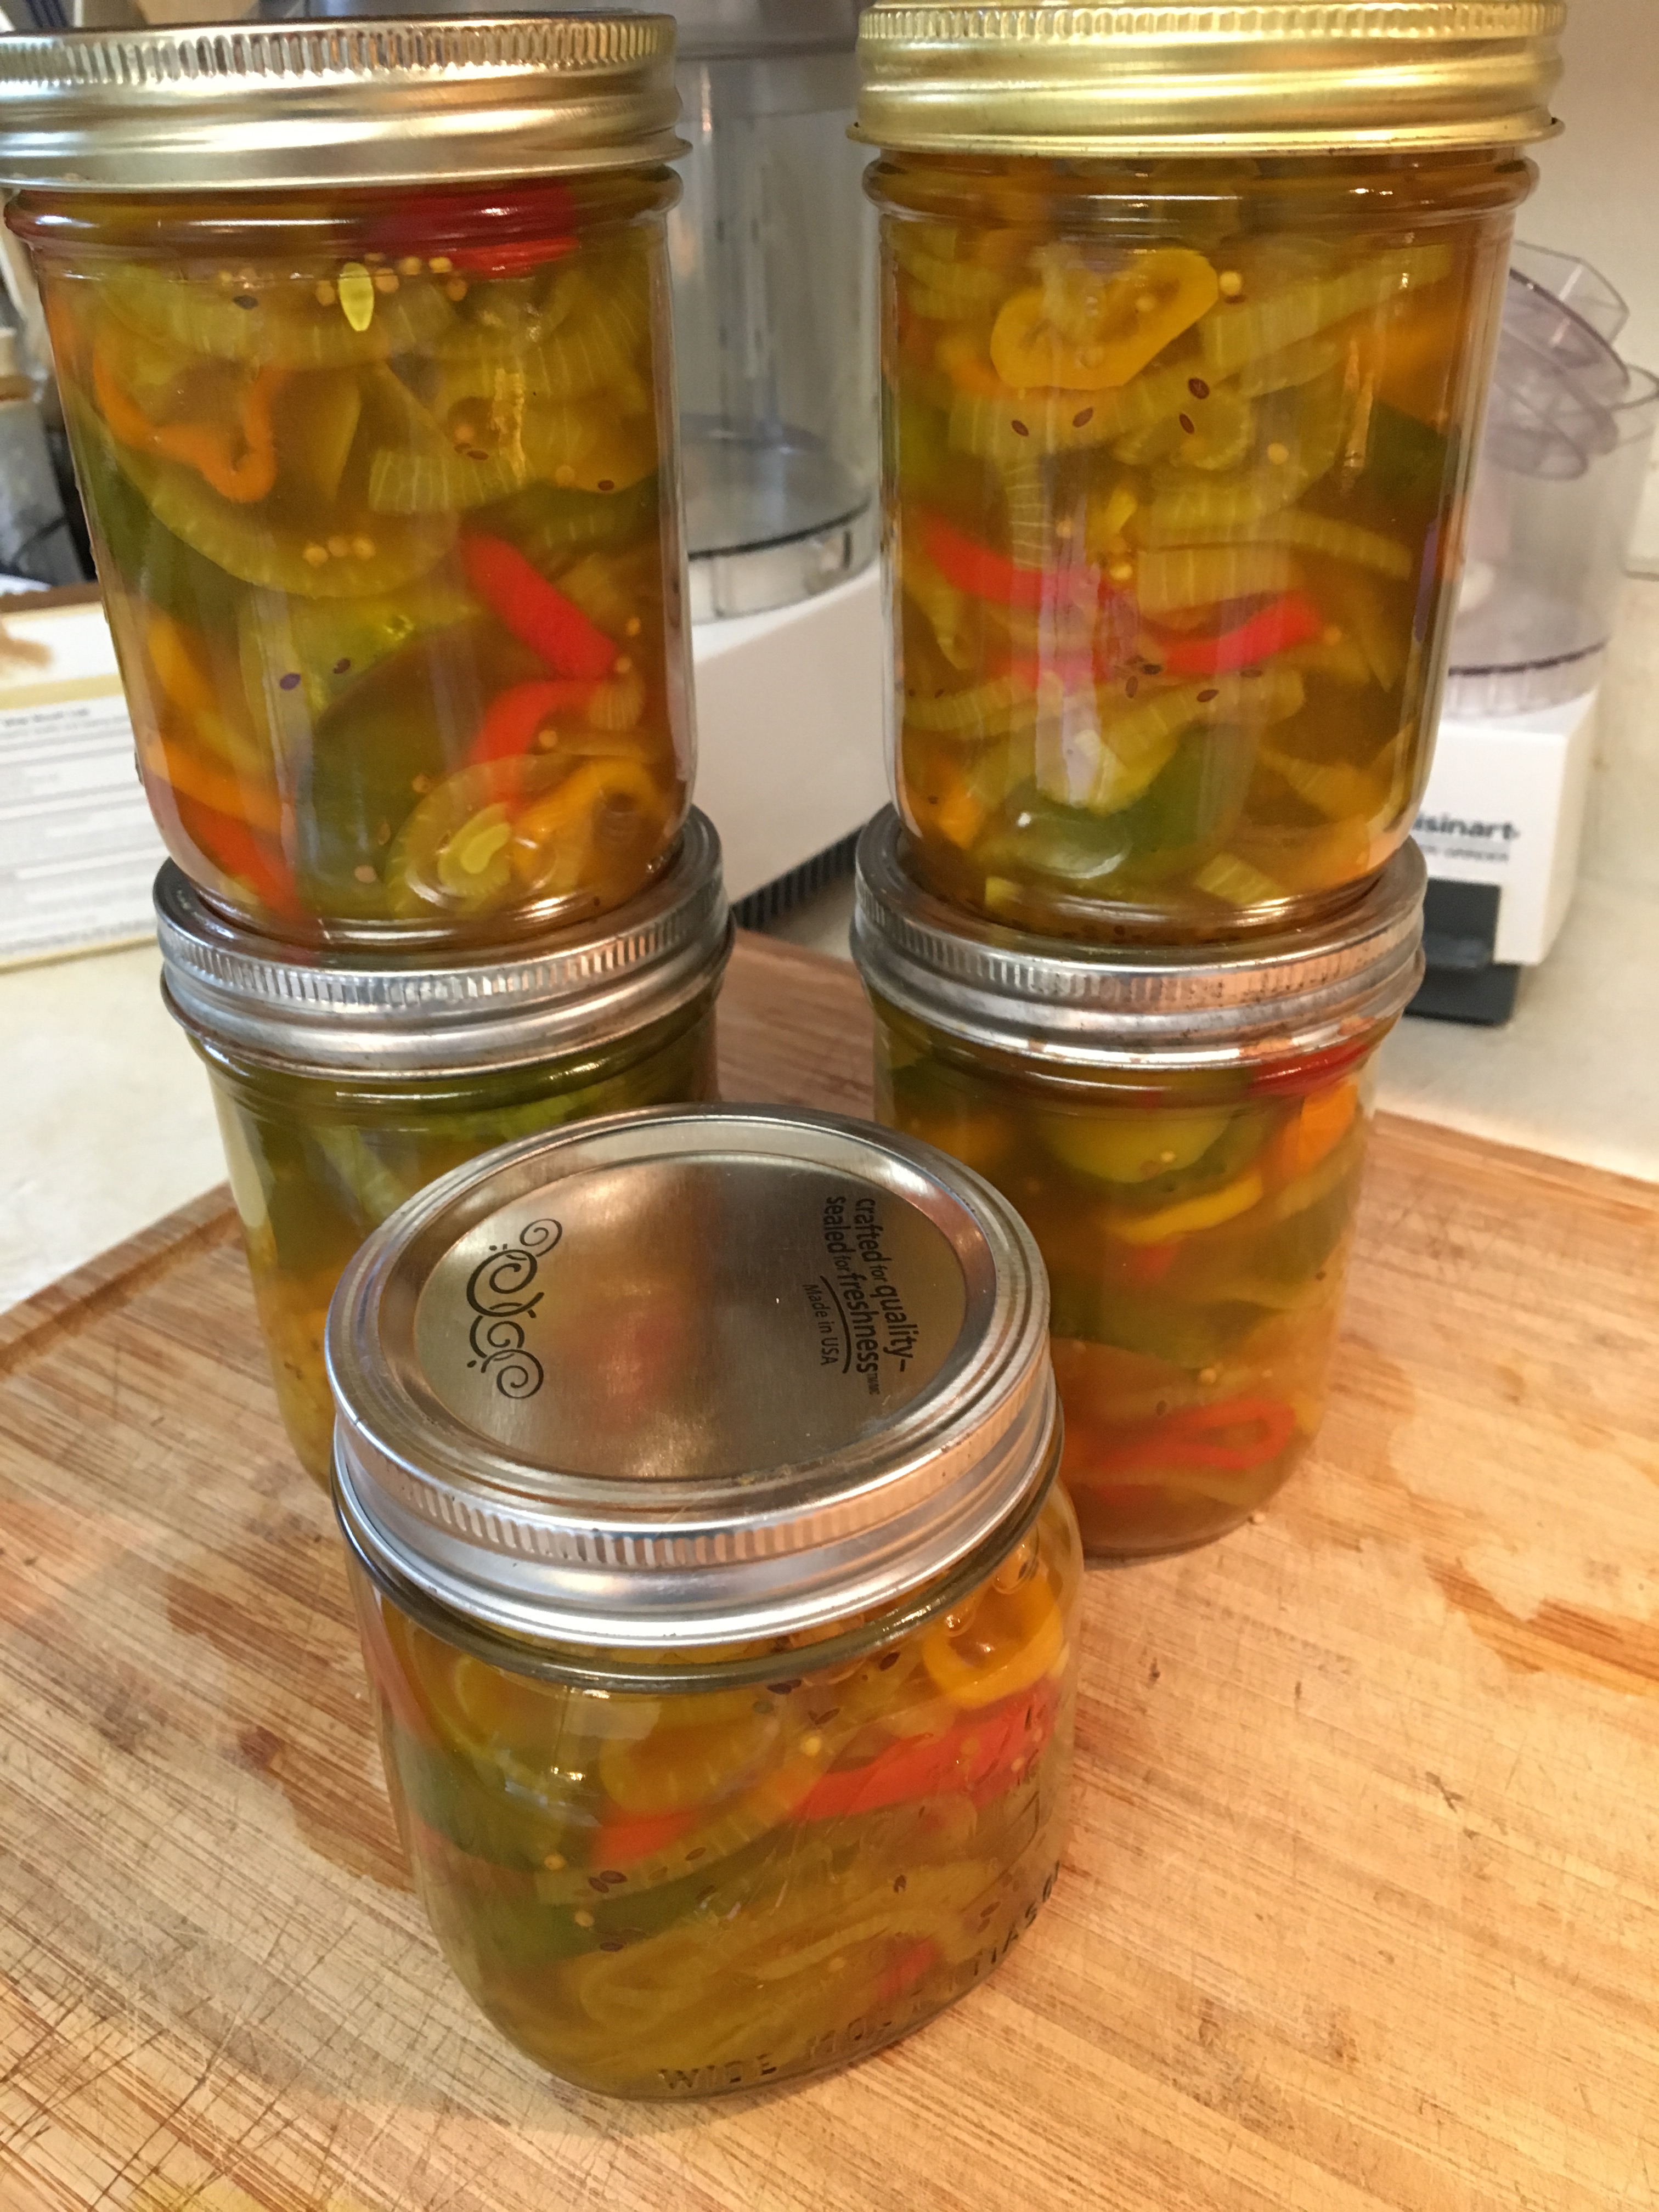
Then ladled into sterile jars and sealed with canning lids. It made 5 pints. Really looked like a lot, but 5 pints is what I ended up with. I am going to keep these in the refrigerator once they cool. The lids did pop and with the amount of vinegar and salt, it’s probably not necessary to can them in a water bath, but it makes me a bit nervous, so I’ll just keep them in the refrigerator. I made these last summer, too, and they do last in the refrigerator for months and months. They are a very sweet pickle and are good served with sandwiches.
