• Ingredients
  • 3 mashed bananas
  • 1 egg
  • 1/4 cup brown sugar
  • 2 cups rolled oats
  • 1/4 cup gluten-free flour (or other)
  • 1/2 tsp. cinnamon
  • 1/2 tsp. baking soda
  • 1/4 tsp. salt
  • 1 cup berries

Prepare an 8″ or 9″ square baking dish with parchment paper or non-stick spray. Preheat oven to 350 degrees F.

In a mixing bowl stir together banana, egg, and brown sugar until well mixed. Stir in oats, flour, cinnamon, baking soda, and salt until well mixed.

Pour half the batter into the prepared baking dish and smooth the top. Sprinkle berries over the batter. Dollop the remaining batter to cover the berries.

Bake at 350 degrees for 30-35 minutes until bars are set.

NOTES: I’ve made this many, many times now. It’s super simple. I’ve been short a banana and even that worked. There isn’t much flour in these, so the type of flour is not important for the recipe. I use gluten-free so that I can share them with a family member, but all-purpose or whole wheat flour works for the recipe, too. I’ve tried fresh blueberries and both fresh and frozen (and then thawed) raspberries (red and gold). I feel confident that you could use frozen berries as well. I pick loads of raspberries every summer and freeze and vacuum seal them. Once thawed, they are a bit of a mess, so I drain out the juice without squeezing and then sprinkle the remaining pulp over the batter as per the recipe. One pound of frozen raspberries yields me about one cup juice and one cup berry pulp. The pulp works just right for this recipe. I’m going to use the juice for a different purpose. The original recipe is found at thisdelicioushouse. I really like these bars because they don’t use much sugar or flour. The stars of the recipe are the bananas, the oats, and the fruit.

I usually, not always, use Certo Liquid Fruit Pectin for my jam. This time I used the recipe that came inside the Certo package and then I water-bath canned this batch. Because I got an electric canner for Christmas that I finally had time to open and play with. Such fun! It will do pressure canning or water-bath canning, as long as the jars are only pint or half-pint.

  • Yield: 7 cups
  • Ingredients:
  • 6 large jalapeno peppers
  • 1 red bell pepper
  • 1 green bell pepper
  • 6-1/2 cups sugar
  • 1-1/2 cups cider vinegar
  • 1 Tbsp. crushed red pepper
  • 1 pouch CERTO liquid fruit pectin

Deseed the peppers and dice very small. Measure 2-3/4 cups peppers into a large saucepan. Stir in sugar and vinegar. Stirring frequently, bring the mixture to a full rolling boil over medium-high heat. Let it boil for exactly one minute, stirring constantly. Remove from heat and immediately stir in crushed red pepper and CERTO. Skim any foam off with a metal spoon. The pepper jelly is ready and now it is a matter of preserving it. That part I leave up to you.

Notes: I didn’t use all 6 of my jalapeno peppers. I realized I was going to have too much “fruit” so I measured as I diced so as not to waste any. If you decide to process the jelly in jars, as it cools you will need to shake it around so that the “fruit” is distributed throughout the jar. Otherwise it floats to the top. I think a jar of this jelly would taste amazing heated in a crockpot with a batch of meatballs or brussels sprouts, or served on crackers with cream cheese.

  • Ingredients
  • 1 lb. thinly sliced cabbage
  • 3 chopped scallions
  • 3 eggs
  • 1 Tbsp. Dijon mustard
  • Salt and pepper
  • 2/3 cup gluten-free flour, or regular all-purpose flour
  • 1 tsp. baking powder
  • Olive oil
  • Shredded cheese (optional)

In a very large bowl, mix together the cabbage and scallions. In a separate small bowl, whisk together eggs, Dijon, and salt and pepper. Stir the egg mixture into the cabbage mixture until the cabbage is well coated. Sprinkle flour and baking powder over the top of the cabbage and stir until well mixed.

Heat a skillet (12″ with a sloped edge is best) over medium heat and pour a couple tablespoons of olive oil into it. Swirl the oil so it coats the sides as much as possible. Place the cabbage mixture into the skillet and press it down. Reduce heat to low and cover skillet. Let it cook for 15 minutes. Lift cover and see if the bottom is brown and comes away from the skillet easily. If yes, flip the skillet upside down so that the cabbage slides onto a plate. If it’s not ready, then cover it back up and wait for it to brown and come away from the pan. Swazz a bit more olive oil into the skillet. Heat it and then slide the cabbage into the skillet, uncooked side down. If you’re using cheese, sprinkle it over the cooked top. Cover. Let it cook another 15 minutes. Check that the cabbage is cooked through. Remove from skillet and serve.

NOTES: This smells so good while cooking! It’s a quick and easy dish coming from Irina Macri at Cooked & Loved. I have made this using both green and red cabbage. Irina includes a recipe for a sour cream dill sauce to use as a topping. Tonight I’m roasting a salmon, so I’m going to try the sauce on my salmon.

I usually, not always, use Certo Liquid Fruit Pectin for my jam. The recipe booklet that I use is from 1975 when the liquid pectin came in bottles. Now the pectin comes in sealed envelopes and each envelope is equivalent to one half-bottle. My recipe booklet is falling apart. The new recipe sheet that comes inside the packages now isn’t as comprehensive as the old one. I do not water-bath can my jam. There is enough sugar in it to act as a preservative. Using canning lids keeps air from getting in. When I was a child, my mother only used paraffin to cover the jam and many people still do it that way. I have heard that you should not increase the recipe and/or cut the amount of sugar, something about cooking time and setting and preserving. So, stick to the recipe.

  • This is how I prep for a jam-making session
  • Set out enough sanitized jars and rings to match the yield of the recipe, either pints, cups, or half-cups.
  • Put the appropriate number of lids into a small saucepan of water over low heat.
  • Set out my canning funnel, a ladle, metal serving spoon, and small dish.
  • Cut open the envelope of Certo and set it in the small dish.
  • [The small dish is for the foam (which is just as delicious as the jam, only foamy)]
  • Rhubarb-Golden Raspberry Jam
  • Yield: 8 cups jam
  • 3-1/2 cups prepared fruit (about 1-1/3 lb. rhubarb and 1# golden (about 2 cups frozen) raspberries
  • 7 cups sugar
  • 1 envelope Certo Liquid Fruit Pectin

Slice rhubarb into saucepan. Add 1/4 cup water and bring to a boil. Reduce heat and let simmer until rhubarb is soft, about 1 minute. Measure the golden raspberries. Add enough prepared rhubarb to equal a total amount of 3-1/2 cups fruit. Stir the fruits together in a LARGE pan. Add sugar to pan and mix well.

Over high heat, bring to a full rolling boil and boil hard 1 minute, stirring constantly. Remove from heat; at once stir in Certo. Skim the foam off with a metal spoon. Continue to stir and skim. Ladle into jars, leaving 1/2″ room at the top.

Wipe the rims of the jars and screw on the lids. Turn the jars upside down for at least thirty minutes (or as long as hours and hours–doesn’t matter).

6-14-2025 I thawed a pound of frozen golden raspberries. When measured it was nearly 2 cups. Then I added the softened rhubarb to make 3-1/2 cups total fruit. This turned out REALLY yummy. I’m always trying to find things to do with the golden raspberries. From frozen, they’re mushy and seedy. Compared to red raspberries, they’re a very mild flavor, not tart. When used fresh, they work really well as a fruit in spinach bleu-cheese salad. Anyway, this jam turned out really good and I didn’t have the hassle of de-seeding them first. Since the rhubarb is about half the fruit and rhubarb doesn’t have seeds, the seed-stuck-in-the-teeth-problem is significantly reduced. Yay!

  • Ingredients
  • 4-5 poblano chiles
  • 3 Tbsp. butter
  • 1 onion, chopped
  • 3 garlic cloves, minced
  • 3 Tbsp. flour
  • 4 cups chicken stock or broth
  • 1/2 tsp. salt (plus more to taste)
  • Ground pepper
  • Optional Garnishes
  • Cilantro
  • Sour cream or heavy cream
  • Hot sauce
  • Croutons or tortilla chips

Rinse the poblanos and roast on a baking tray at 400 degrees F. At 15 minutes, flip them over. Give them another 10-15 minutes. The peel should be curling up. Remove from heat and set aside to cool.

In a saucepan over medium heat, add 3 Tbsp. butter. Once melted, stir in the chopped onion. Saute for 5-7 minutes. Stir in garlic and saute for another 1-2 minutes. Stir in 3 Tbsp. flour and mix very well. Stir in 4 cups chicken stock and 1/2 tsp. salt and pepper. Bring to a simmer and cook for 8-10 minutes.

Once the poblanos have cooled a bit, pull off as much skin as you can, then de-stem and de-seed them. Roughly chop and add to the saucepan with the stock mixture. Blend the mixture in a blender or food processor until smooth. You may have to wait for it all to cool a little bit. An immersion blender would be best.

Return to the saucepan and heat to simmer for 5-10 minutes. Add salt to taste.

Garnish and serve.

NOTES: I laughed while making this. It’s my mother’s (Bushka) recipe. It was well-known she did not like spicy food. I guess being married 67 years to a man originally from Texas must have rubbed off on her. The last few times I visited them before she passed in 2022, she asked me to make this soup. Personally, I think it’s the best ever, but I can’t figure out why she wanted me to make it. Depending upon the poblanos, it can be really spicy! I could tell it was too spicy for her the last time, but the world’s most stubborn woman that she was, she ate it. Every last bite! This soup recipe is one that I was determined to bring home with me, so I made sure to snap photos of it before I left. I recently made the soup at home for the first time. It was weird not having my dad roast the poblanos. My poblanos were huge and they were refrigerated, so the roasting time was longer. After roasting, I covered them, because that’s what Dad always did and I think they did need to be steamed, they were so large. De-seeding was a real pain, but I persevered and the deed was done. The soup turned out really spicy and my husband (another Swedish-descendant like my mom) barely choked it down. I thought it was delicious! More for me! Thus my laughter while typing this. I don’t have an immersion blender, so I cooled the mix a little while and then blended it in my food processor in two batches.

  • Ingredients
  • 2 Tbsp. olive oil
  • 1 lb. beef round steak, cut into thin strips
  • Ground pepper, to taste
  • 1 clove garlic, minced
  • 3 Tbsp. soy sauce
  • 2 cups beef broth, divided
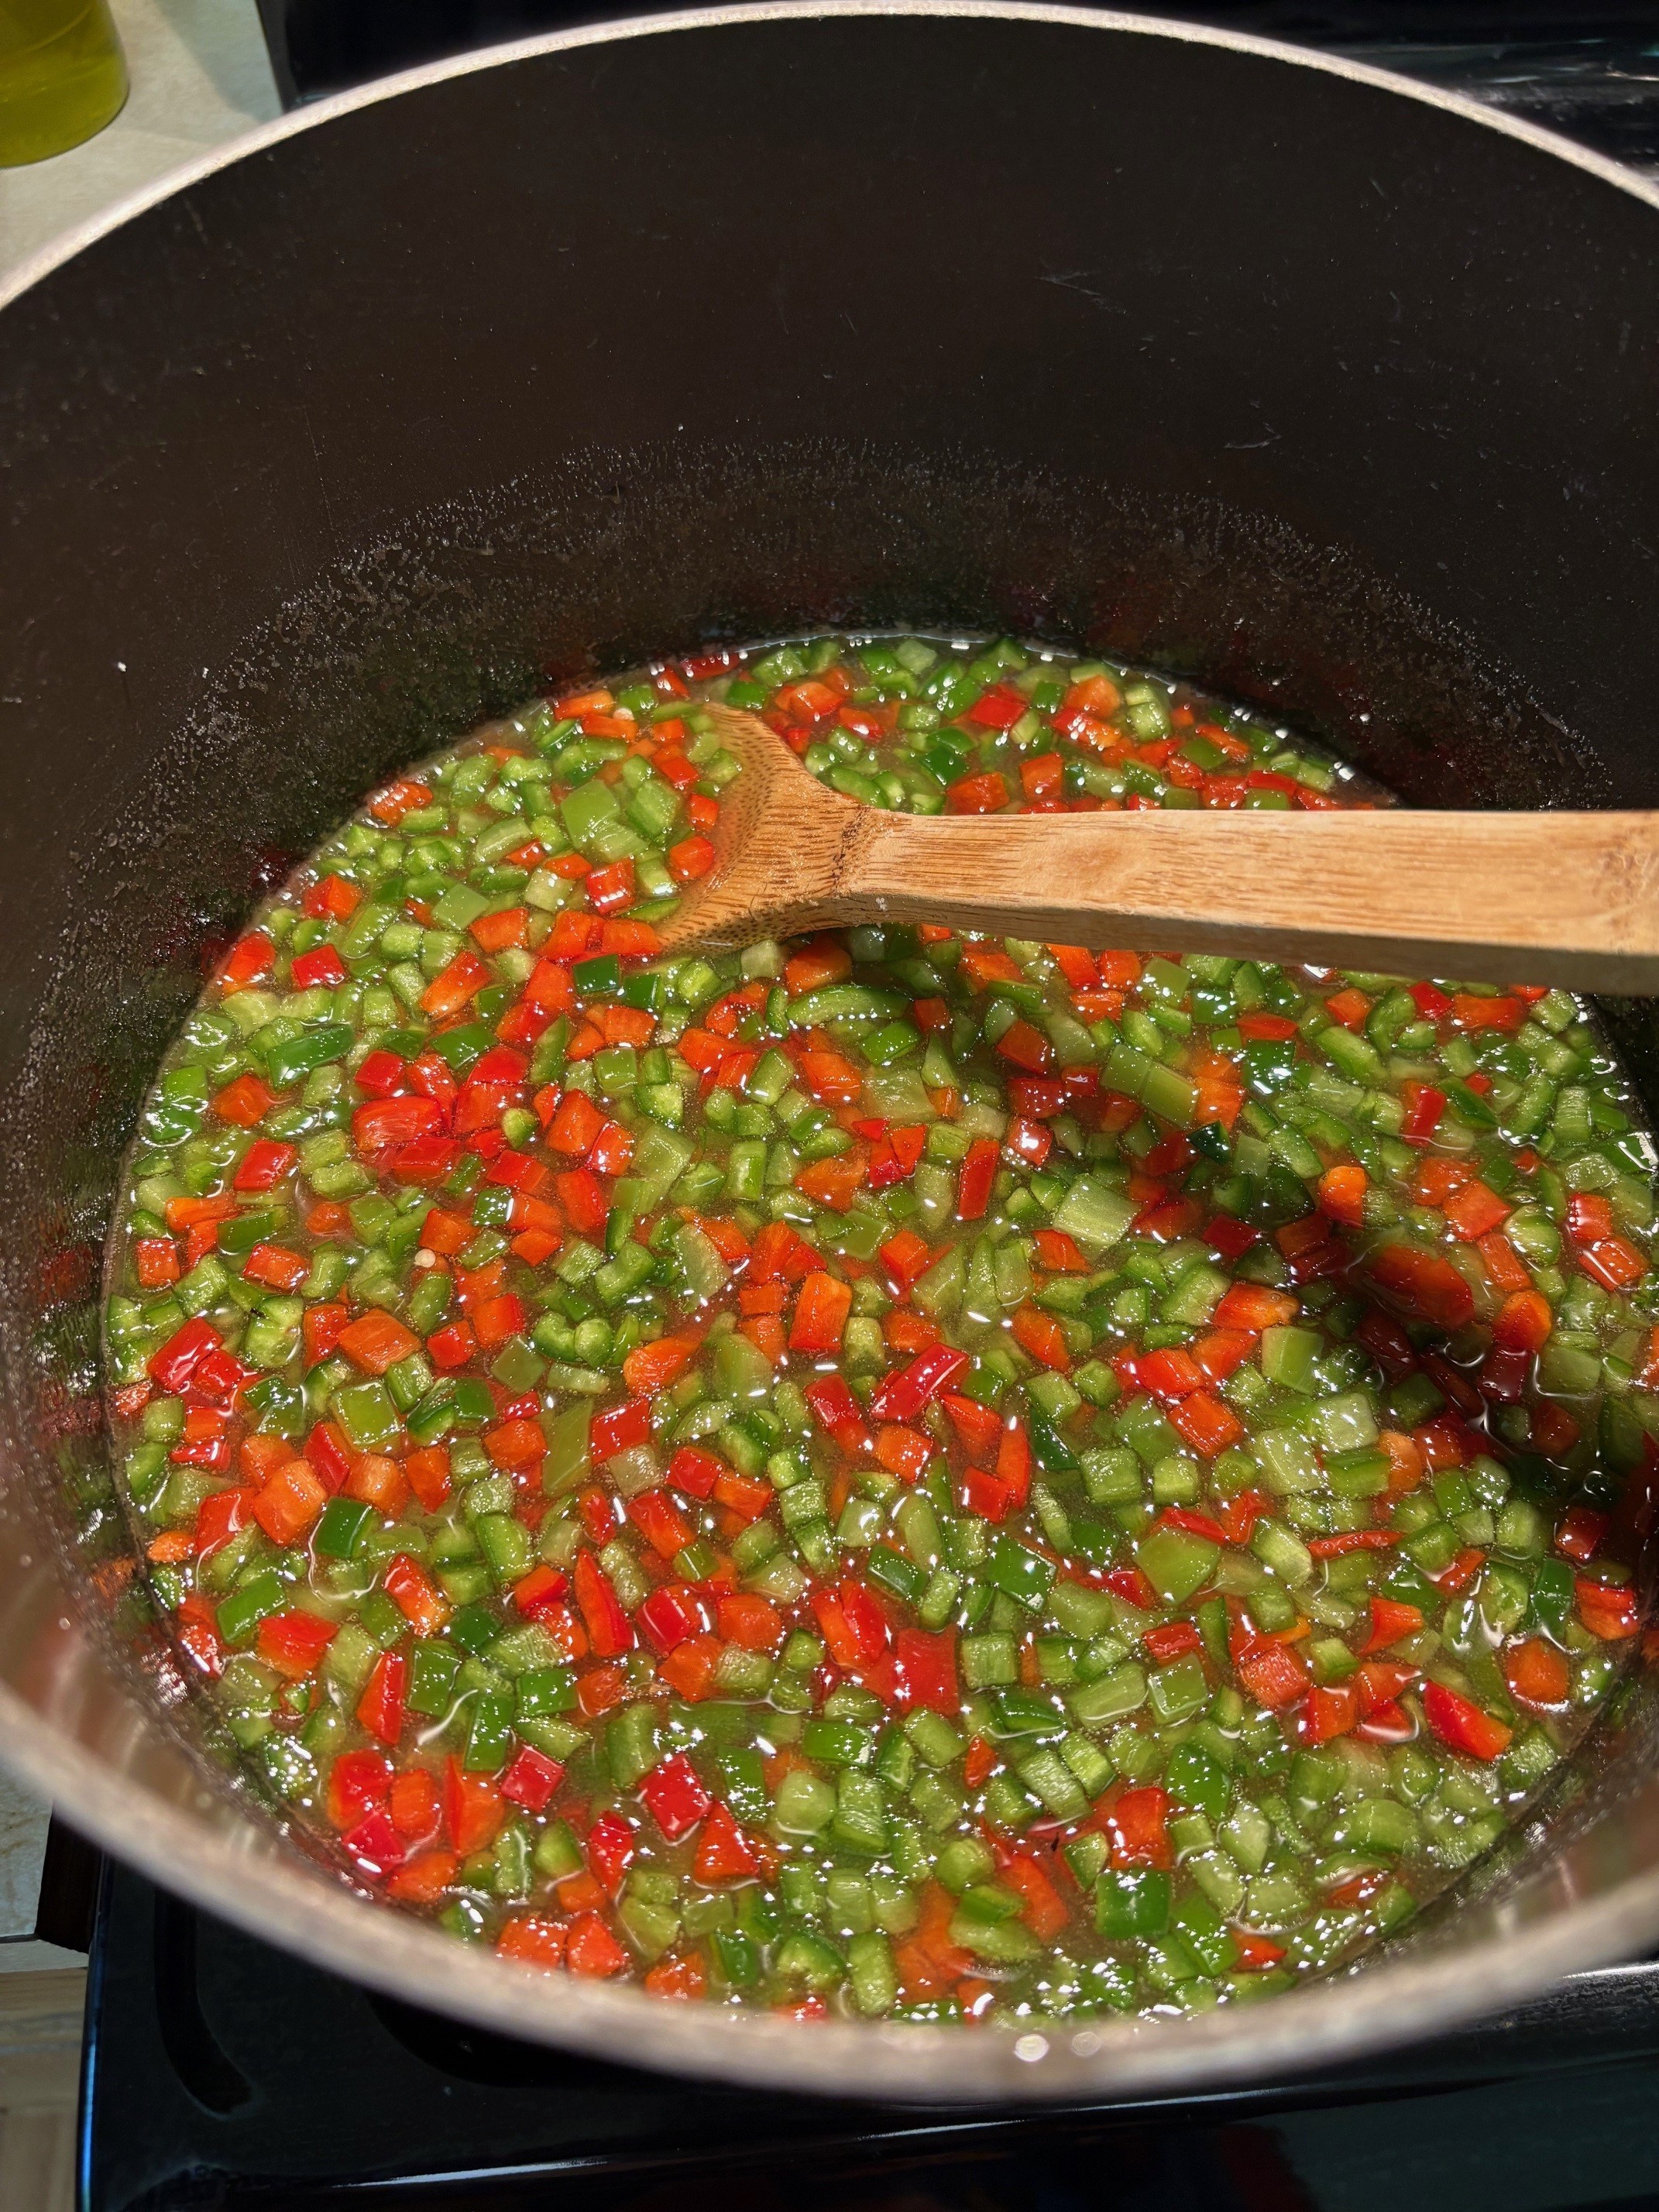
  • 1 bell pepper, cut into 1″ pieces
  • 1/2 onion, chopped
  • 1/2 cup celery, chopped
  • 2 Tbsp. corn starch
  • Salt to taste
  • 2 tomatoes, each cut into 8 wedges

Heat olive oil in skillet. Stir in steak and stir fry until it’s browned. Sprinkle with ground pepper. Stir in garlic and let cook for a minute or so until the garlic is fragrant. Stir in soy sauce and 1/2 cup beef broth. Simmer, covered, over low heat until the beef is tender. Stir in bell pepper, onion, celery, and 1 cup beef broth. Simmer, covered, over medium heat until the vegetables are cooked to your liking.

In a small bowl, whisk together the corn starch and remaining 1/2 cup beef broth. Once the vegetables are cooked, gently stir in the cornstarch and stir over heat until the sauce turns transparent and begins to simmer. Check for salt at this point. Gently stir in the tomatoes and let simmer about 5 minutes, until the tomatoes are heated all the way through. Serve over rice or a squash bowl.

NOTES: In the photos I’m using a beef cut called Beef Milanesa. It’s a round steak sliced very, very thin. Usually I use Beef Milanesa cut to make Rouladen. But this time I sliced it short-wise and threw it into the skillet. Under normal circumstances, I wouldn’t slice the meat this thin. This was my mother’s recipe and I grew up eating this dish. I wrote the recipe down when I was a teenager. Since then I’ve mostly done this from memory and I’ve made a couple little tweaks to the way I like it. For one thing, I like my vegetables soft so most people will think this is overcooked. Just do it the way you like it. I really dislike chewy meat, so I err on the side of really cooking it until falling apart. Again, you do you. This is a very saucy dish. Ha. If you would like more sauce, or less, keep in mind the ratio for a medium sauce is 1 Tbsp. cornstarch to 1 cup liquid. FYI, the cornstarch will only dissolve in cold liquid, so you must dissolve it before adding to your dish. Voila!

Can we talk about beef? Since Covid, the price of beef in Alaska, where I’m located, is too expensive. It’s been a very long time since I cooked with it. I found the “Beef Milanesa” cut on sale at a couple different grocery stores, so I bought it. My husband and I have been taking cruise vacations lately, and we seldom order any entree except beef or shellfish. The beef because we’re not eating it at home and the shellfish because we both dearly love it.

A story: I was on a cruise in the Mediterranean recently and sat next to a Swede at lunch. We had both ordered the Chicken Satay for an appetizer. When the meal was over and the waiter came to ask how everything was, the Swede commented that the Chicken Satay was overcooked. I thought it was perfect. My brother always says I am the SLOWEST eater. It’s because I can’t chew like other people, I guess. Anyway, overcooked (read TENDER) meat for me! Different strokes for different folks!

  • Ingredients
  • Butter to grease the pan
  • Bread crumbs for pan preparation
  • 5 oz. butter, room temperature
  • 270 g sugar (1-1/3 cups)
  • 2 eggs
  • 300 g flour (2-1/2 cups)
  • 1 tsp. baking soda
  • 2 tsp. baking powder
  • 4 very ripe bananas, mashed
  • 2 oz. cold coffee (50 ml)

Preheat oven to 350 degrees F. Grease a 12-cup bundt pan liberally with butter. Sprinkle bread crumbs into the pan and shake them around until all surfaces of the buttered pan are coated with bread crumbs. Set aside.

With a mixer, blend together butter and sugar until light and fluffy. One at a time, mix in eggs until fully incorporated. Sift together flour, baking soda and baking powder. Stir into the sugar/egg mixture. Add the bananas and coffee, stir until combined. Do not overmix. Spoon batter into prepared pan. Bake for 40-50 minutes until the top is golden brown and a toothpick tester comes out clean.

NOTES: Apologies to you all for the hodge-podge of measuring standards. My kitchen scale will do grams or ounces and I didn’t think ahead about trying to write the recipe on the blog later. I’m learning to weigh my ingredients rather than measure them out. I found this recipe at adamantkitchen.com and it is fantabulous. The breadcrumb coating sets the cake above all other banana breads or cakes. I did not add a frosting or other coating, although I sure could have. At the end of the bake, Adamant let hers cool a couple minutes and then tipped it out onto a wire rack to finish cooling. I missed that part and let it cool completely before tipping it out. This was the first bundt cake I have EVER made that came out without sticking somewhere and needing a patch. It just slid right out. So exciting!

  • Ingredients
  • 3 onions, sliced
  • 1/2 cup celery, sliced
  • 4 Tbsp. butter, divided
  • 2 Tbsp. flour
  • Salt and pepper
  • 3/4 cup milk
  • 1/4 cup shredded Parmesan cheese
  • 1/4 cup chopped pecans

Preheat oven to 350 degrees F.

In a skillet, melt 2 Tbsp. butter. Stir fry onions and celery in butter until tender. Set aside.

In a saucepan over medium heat, melt 2 Tbsp. butter. Stir in flour, salt, and pepper. Stir until the flour mixture is bubbly. Gradually stir in milk. Bring to a boil and cook, stirring, for a couple minutes until the sauce is thick. Stir the sauce into the onion and celery mixture until well coated. Pour into an ungreased baking dish. Sprinkle with Parmesan and pecans. Bake, uncovered, at 350 degrees for 20-25 minutes or until heated through. Serves 4 as a side dish.

NOTES: You can use the same skillet to bake the dish in as you used to stir-fry the onion mixture. I’ve done it that way many times. This is a half recipe of the original, so feel free to double this if you like. If you do that, it fits a 9×13″ pan or a large oven-proof skillet. The onions really reduce in volume as they cook, so if I’m eyeballing this I have to tell myself to “add more onions!” The recipe originally appeared in the Oct/Nov 2000 issue of Taste of Home magazine.

  • Ingredients
  • Olive oil
  • 4-6 Chicken thighs, bone-in
  • Salt and pepper (or optional seasoning salt & pepper)
  • 1/2 onion (or 1 leek), chopped
  • 1/2# mushrooms, sliced
  • 1 bunch chard
  • 1 clove garlic, minced
  • 1/4 cup white wine, or broth
  • 1 14 oz. can Cannellini beans
  • 1/2 cup cream, optional

Heat olive oil in large skillet, or Dutch oven. Sprinkle chicken thighs with salt and pepper. Brown the chicken in the oil. Remove chicken from pan and set aside.

While that’s happening, strip the leaves from the main stem of the chard. Chop the stem.

Stir fry onion, mushrooms, and chard stems. When the onion is translucent and everything is a bit soft, stir in the garlic. Give it about a minute and then stir in the white wine. Let it cook another minute or two. Stir in the Cannellini beans. Let them heat through.

Chop the leafy parts of the chard. Stir them into the skilllet. Nestle chicken thighs on top. Cover and simmer for about half hour. If you decided to add cream, stir it in now and let it warm through. Add a bit more seasoned salt. Let it heat through, uncovered. When the chicken is cooked, serve. Yum.

NOTES: I made quinoa with chicken broth and served this dish over that. So, so good! I used Swiss chard for this, but regular chard would work fine.

  • Ingredients
  • 1 Tbsp. olive oil
  • 1 lb. ground turkey
  • Salt and pepper
  • 1 bell pepper, diced
  • 1 small onion, diced
  • 2 cloves garlic, minced
  • 1/2 Tbsp. grated fresh ginger
  • 1/4 cup hoisin sauce
  • 2 Tbsp. soy sauce
  • 3 green onions, thinly sliced
  • Lettuce leaves (or optionally use chips, winter squash, or sweet potato)

Heat olive oil in skillet and stir fry ground turkey, breaking it up as you go. Sprinkle with salt and pepper. Stir in bell pepper and onion, cook until soft. Stir in garlic and ginger, cook until soft. Stir in hoisin and soy sauce. Stir over heat until heated through. Sprinkle with green onions. Load into lettuce leaves (or chips or winter squash or sweet potato) or just eat it!

NOTES: I have tried loading this on any number of things. One of my favorites is using it as a dip for sweet potato chips. The recipe originated with Chungah Rhee over at Damn Delicious many years ago. And one more thing . . . I have used ground pork instead of ground turkey a few times. Still delicious!

What kind?