
You are currently browsing the category archive for the ‘Dessert’ category.


- Ingredients
- 2/3 cup butter, melted
- 1 lb. brown sugar (2-1/3 cups, packed)
- 3 eggs
- 2-2/3 cups flour
- 2-1/2 tsp. baking powder
- 1/2 tsp. salt
- 1 cup walnuts, chopped
- 1 cup semi-sweet chocolate chips
Preheat oven to 350 degrees F. Grease, or line with parchment paper, a 9×13″ baking dish.
Stir brown sugar into warm melted butter. Let sit a few minutes. Stir in eggs until well blended. Sift together flour, baking powder, and salt. Stir flour mixture, walnuts, and chocolate chips into sugar mixture. Spread into prepared baking dish. Bake at 350 degrees F for 25-30 minutes. Cool. Cut into squares.

- Ingredients
- 2-2/3 cup sugar
- 2/3 cup light corn syrup
- 1/2 cup water
- 2 egg whites
- 1 tsp. vanilla extract
- 2/3 cup coarsely chopped nuts (optional)
NOTE AND WARNING: You will need a stand mixer and a candy thermometer for ease, and it’s still going to make a mess. This recipe is from Betty Crocker and I’ve never had a problem making it, but there are warnings all over the place about making this candy on humid days. Just sayin’. Go to their website and check it out if you think it may be an issue where you are. If this stuff didn’t taste so blasted good, I would never make it. But it’s easy once you’ve done it a few times, and the clean-up isn’t bad using a LOT of very hot water.
Cook sugar, corn syrup, and water in a medium saucepan over low heat, stirring constantly, until the sugar is dissolved. Continue cooking, without stirring, until the mixture reaches the hardball stage (260 degrees F).
While that’s going on, in your stand mixer, using the whisk attachment, whip egg whites until stiff peaks form. Switch to the beater attachment.
Beating constantly on medium speed, pour the hot sugar mixture into the mixer bowl in a thin stream. Then mix in the vanilla. Keep beating the mixture until it holds its shape. It will get thicker and duller the longer it mixes. Stir in the nuts, if using them. Using a buttered spoon, quickly scoop spoonfuls onto waxed paper. Work quickly. Let stand at room temperature for 12 hours. Store in covered container. The yield is about 40 candies. I used a heaping teaspoon and got 36 of them. Betty Crocker says 48.
NOTES: I toasted chopped pecans in my oven and used those, but any kind of nuts will do. My mother would use raw walnuts, but I think it would have been better to toast the nuts first. I had everything ready to go before I started cooking the sugar mix. My egg whites were whipped, my pecans were chopped and toasted, my vanilla extract was sitting where I could grab it. I used a ladle to scoop spoonfuls of hot sugar mixture from the saucepan into the mixer bowl. Like I said, it was a mess, but they taste SO, SO good!


- Base Layer Ingredients
- 1 cup butter (2 sticks)
- 2/3 cup brown sugar, packed
- 2-2/3 cup flour
- Top Layer Ingredients
- 1/2 cup butter (1 stick)
- 1 cup brown sugar, packed
- 1/3 cup honey
- 2 Tbsp. whipping cream
- 2 cups roasted cashews, chopped
Prepare a 9×13″ baking dish by lining with parchment paper. Let a little paper overhang on all sides to make it easier to pull the bars out. Preheat oven to 350 degrees F.
Base Layer: In a mixer, mix together butter and brown sugar until fluffy. Stir in flour. Press into prepared pan. Bake at 350 degrees F for 20 minutes.
Top Layer: While that is happening, but wait a little while, in a medium saucepan over medium heat, stir together butter, brown sugar, honey, and whipping cream. Bring to a boil and let boil for one minute. Remove from heat and stir in cashews.
Remove base layer from oven. Pour cashew mixture over top. Spread cashew mix to cover evenly. Place back into the oven for 20 minutes. Remove from heat. Let cool completely on a wire rack. Pull out the bars. Slice. Serve. Oh, so, so good.
NOTES: I had only raw unsalted cashews, so I had to roast them. It was okay. I set the oven temp at 350 degrees F and lined a baking sheet with parchment paper. I sprinkled 2 cups of raw cashews on top of the parchment paper and roasted for 5 minutes, then stirred and added a couple more minutes in the oven. Then stirred and another minute, etc. until they were browned. Then I removed from heat and cooled. Then I dumped them onto my cutting board and chopped them. Voila! Finally done! Ready to stir into the brown sugar syrup. Do not overcook the brown sugar syrup or you will have a rock-hard top on your bars. Baking in the oven is going to create the chewy caramel that you desire.
The recipe originates with Barry at rockrecipes.com. Barry hails from St. John, Newfoundland. Barry says you can drizzle chocolate over these to great effect. Maybe next time. Also, Barry says you can freeze these, so that’s what I’m doing in preparation for creating Christmas cookie trays. I cut the bars and laid them in a single layer in a Ziploc bag and popped them into the freezer.

- Ingredients
- 1/2 cup (8 oz.) butter, softened
- 1/2 cup sugar
- 1/2 cup brown sugar, packed
- 1 egg
- 1 tsp. vanilla
- 1-1/2 cups flour
- 1/2 tsp. baking soda
- 1/4 tsp. salt
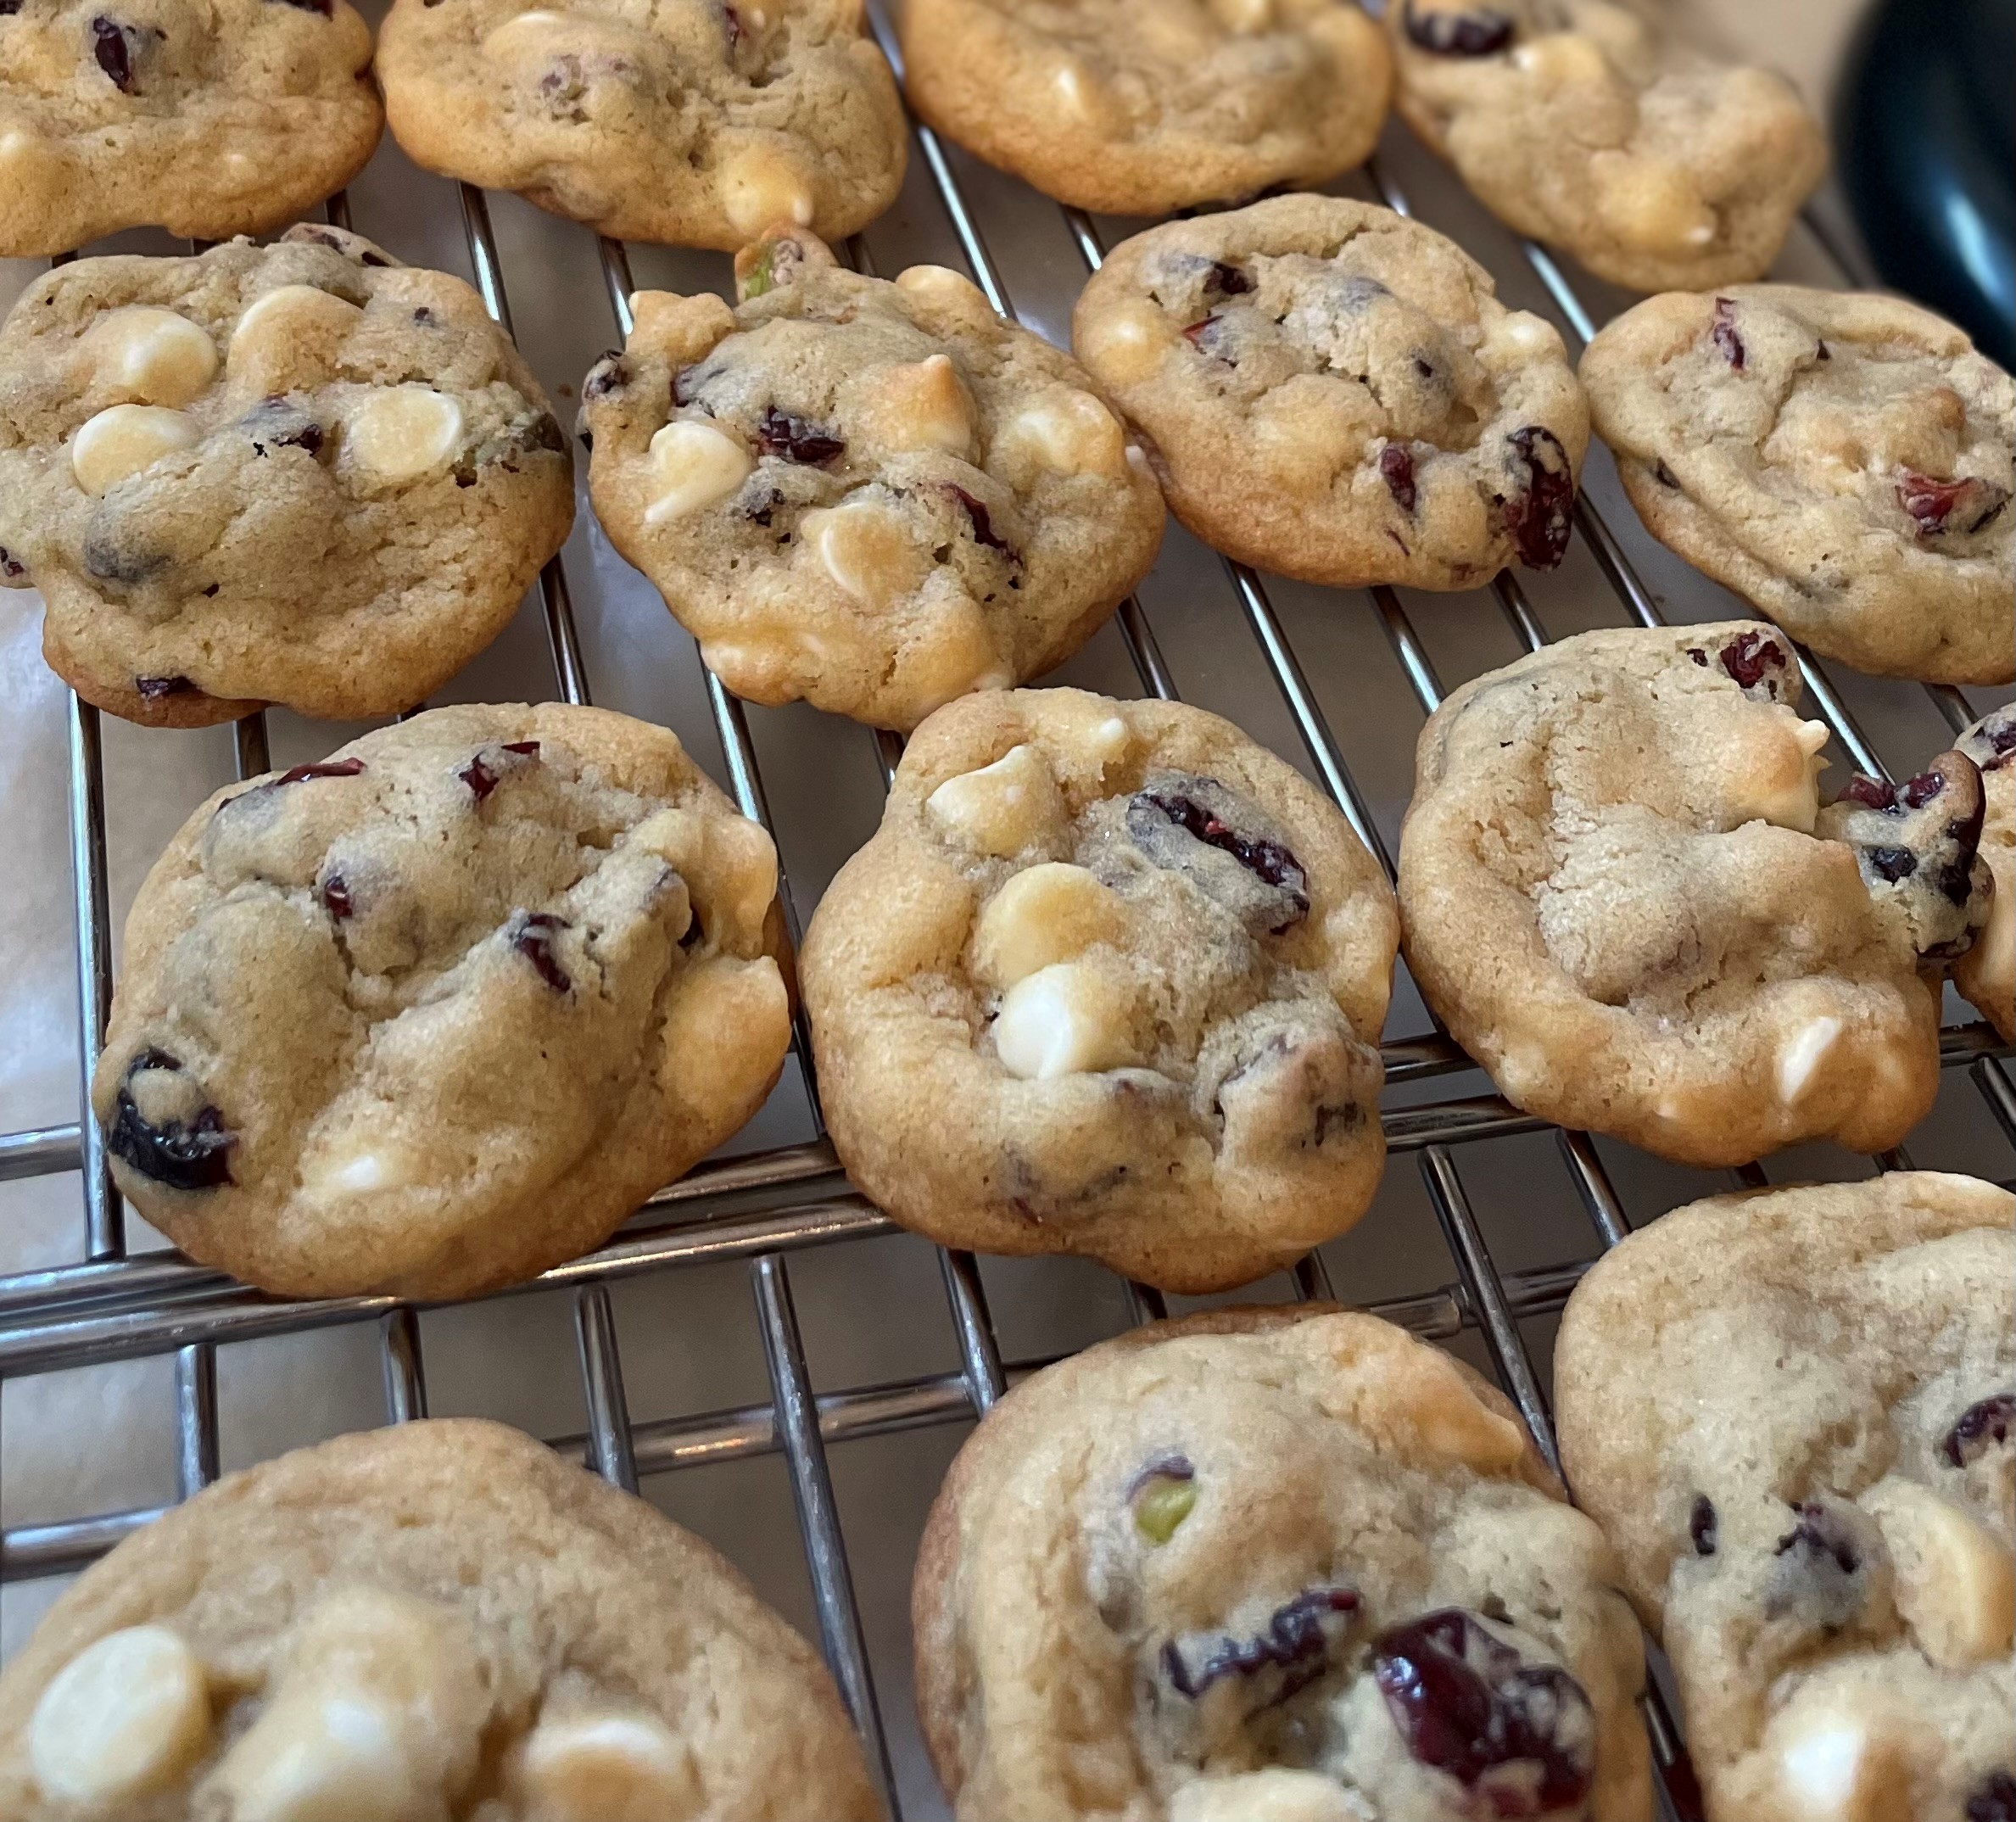
- 1 cup white chocolate chips
- 1 cup dried cranberries
- 1/2 cup lightly salted, shelled, roasted pistachio nuts
Preheat oven to 375 degrees F. Prepare a baking sheet with parchment paper, a silpat, non-stick spray, or whatever you use to keep stuff from sticking.
In a mixer, cream together the butter and sugars until light and fluffy. Mix in egg and vanilla. By hand, stir in flour, baking soda, and salt until just mixed. Stir in chips, cranberries, and pistachios until well distributed. The batter will be quite stiff. Drop heaping teaspoons of batter onto the baking sheets. Bake at 375 degrees F for 8-10 minutes. When the cookies are set and light brown, remove from oven. Let them sit for a few minutes before removing to a cooling rack. Makes 3 dozen.
NOTES: The recipe originated for me at daringgourmet.com. If using a full-salt roasted pistachio, omit the salt in the batter. If using a no-salt pistachio, add another 1/4 tsp. salt into the batter. I gave up shaping these with the teaspoons, the dough was too stiff, so instead I rolled these into balls by hand and that worked. In one of the batches I pressed the balls down a little and that also worked and took less time to bake. Either way was fine. I was trying to achieve a cookie that would show the green of the pistachios, but I think my nuts were simply too brown to begin with. No matter. These are tasty and easy to make.


- Smoked Salmon Puffs Ingredients
- 2/3 cup ricotta cheese
- 1/2 beaten egg (first one)
- Dash salt
- 1 tsp. minced fresh dill
- 1/2 tsp. lemon zest
- 1/2 cup smoked salmon chunks, set aside a small amount for top garnish
- 1/2 package (1 roll) puff pastry
- 1/2 beaten egg (second one)
- Rhubarb Puffs Ingredients
- 2/3 cup ricotta cheese
- 1/2 beaten egg (first one)
- 1/2 tsp. vanilla
- 1 tsp. sugar
- 1 tsp. orange zest
- 1/2 package (1 roll) puff pastry
- 2/3 cup rhubarb sauce (thick) or jam
- 1/2 beaten egg (second one)
For either type of puffs . . .
Mix together the first five ingredients. Do not overbeat. (For the salmon puffs, also lightly stir in the smoked salmon chunks.) Set aside.
Preheat oven to 425 degrees F. For each recipe, spray nine muffin cups with non-stick spray.
Unroll a puff pastry sheet on a floured board and, using a floured rolling pin, smooth the surface of the pastry. Cut the pastry sheet into nine identical pieces. Place each piece into a prepared muffin cup, pressing lightly so it sits fully into the bottom of the cup. Spread any overhang out flat.
Divide the ricotta mixture evenly into the pastry lined cups and lightly smooth it out.
Using a pastry brush, brush the dough of each pastry cup with beaten egg.
For the salmon puffs, place a small piece of smoked salmon decoratively atop each cup’s ricotta mixture.
For the rhubarb puffs, spoon about a tablespoon of rhubarb sauce or jam on top of each cup’s ricotta mixture.
Bake at 425 degrees F for 10-12 minutes. Watch that they do not burn nor are still raw on the bottom. Let them bake until very well browned. Each batch yields 9 puffs.
NOTES: Ricotta filling ingredients should be at room temperature. I’ve been wanting to try this for quite awhile. I have used puff pastry only once before, so I’m really pleased at how these turned out. I didn’t want 18 desserts or 18 salmon appetizers, so splitting this into two different types of tartlets was the way to go. I used home made ricotta and home smoked salmon. Also home made rhubarb sauce. One could use any variety of foods: cream cheese or even pastry cream instead of ricotta, shrimp instead of salmon, strawberry instead of rhubarb . . . the possibilities are endless. These were very easy to make and the preparation was quite fast. As long as you had everything you needed, it would probably take half an hour from start to finish. They don’t save well. You will want to eat them the same day. Perhaps they could be reheated and crisped up from refrigeration, but I do not know. There weren’t enough left to try it. Always a good thing!

- Ingredients
- 1/2# rhubarb, sliced small
- 1/2 cup sugar, DIVIDED
- 1 cup heavy cream
- Juice of one lemon
In a saucepan, mix together rhubarb and 1/4 cup sugar. Let stand for about half hour while the rhubarb macerates. When the time is up, place the saucepan over heat and bring the mixture to a boil, stirring frequently. Reduce heat and let simmer until the rhubarb is soft. Remove from heat. When it’s reached a manageable temperature, put the rhubarb into a small food processor or blender and blend until it is an extremely fine puree. Scoop it into a small bowl and set aside.
In a saucepan, mix together the cream and 1/4 cup sugar. Bring to a boil over low heat, stirring frequently. Reduce heat to simmer, and let it continue to bubble for three minutes. Remove from heat and stir in lemon juice, then stir in rhubarb puree. Mix together very well.
Pour into serving dishes. This makes about 4 4-oz servings.
NOTE: I started with The Kiwi Cook’s recipe, but I made a lot of changes like reducing the recipe because there are only two of us and I streamlined the process. If you need to serve more people and have a bountiful amount of rhubarb, by all means multiply the recipe.

- Ingredients
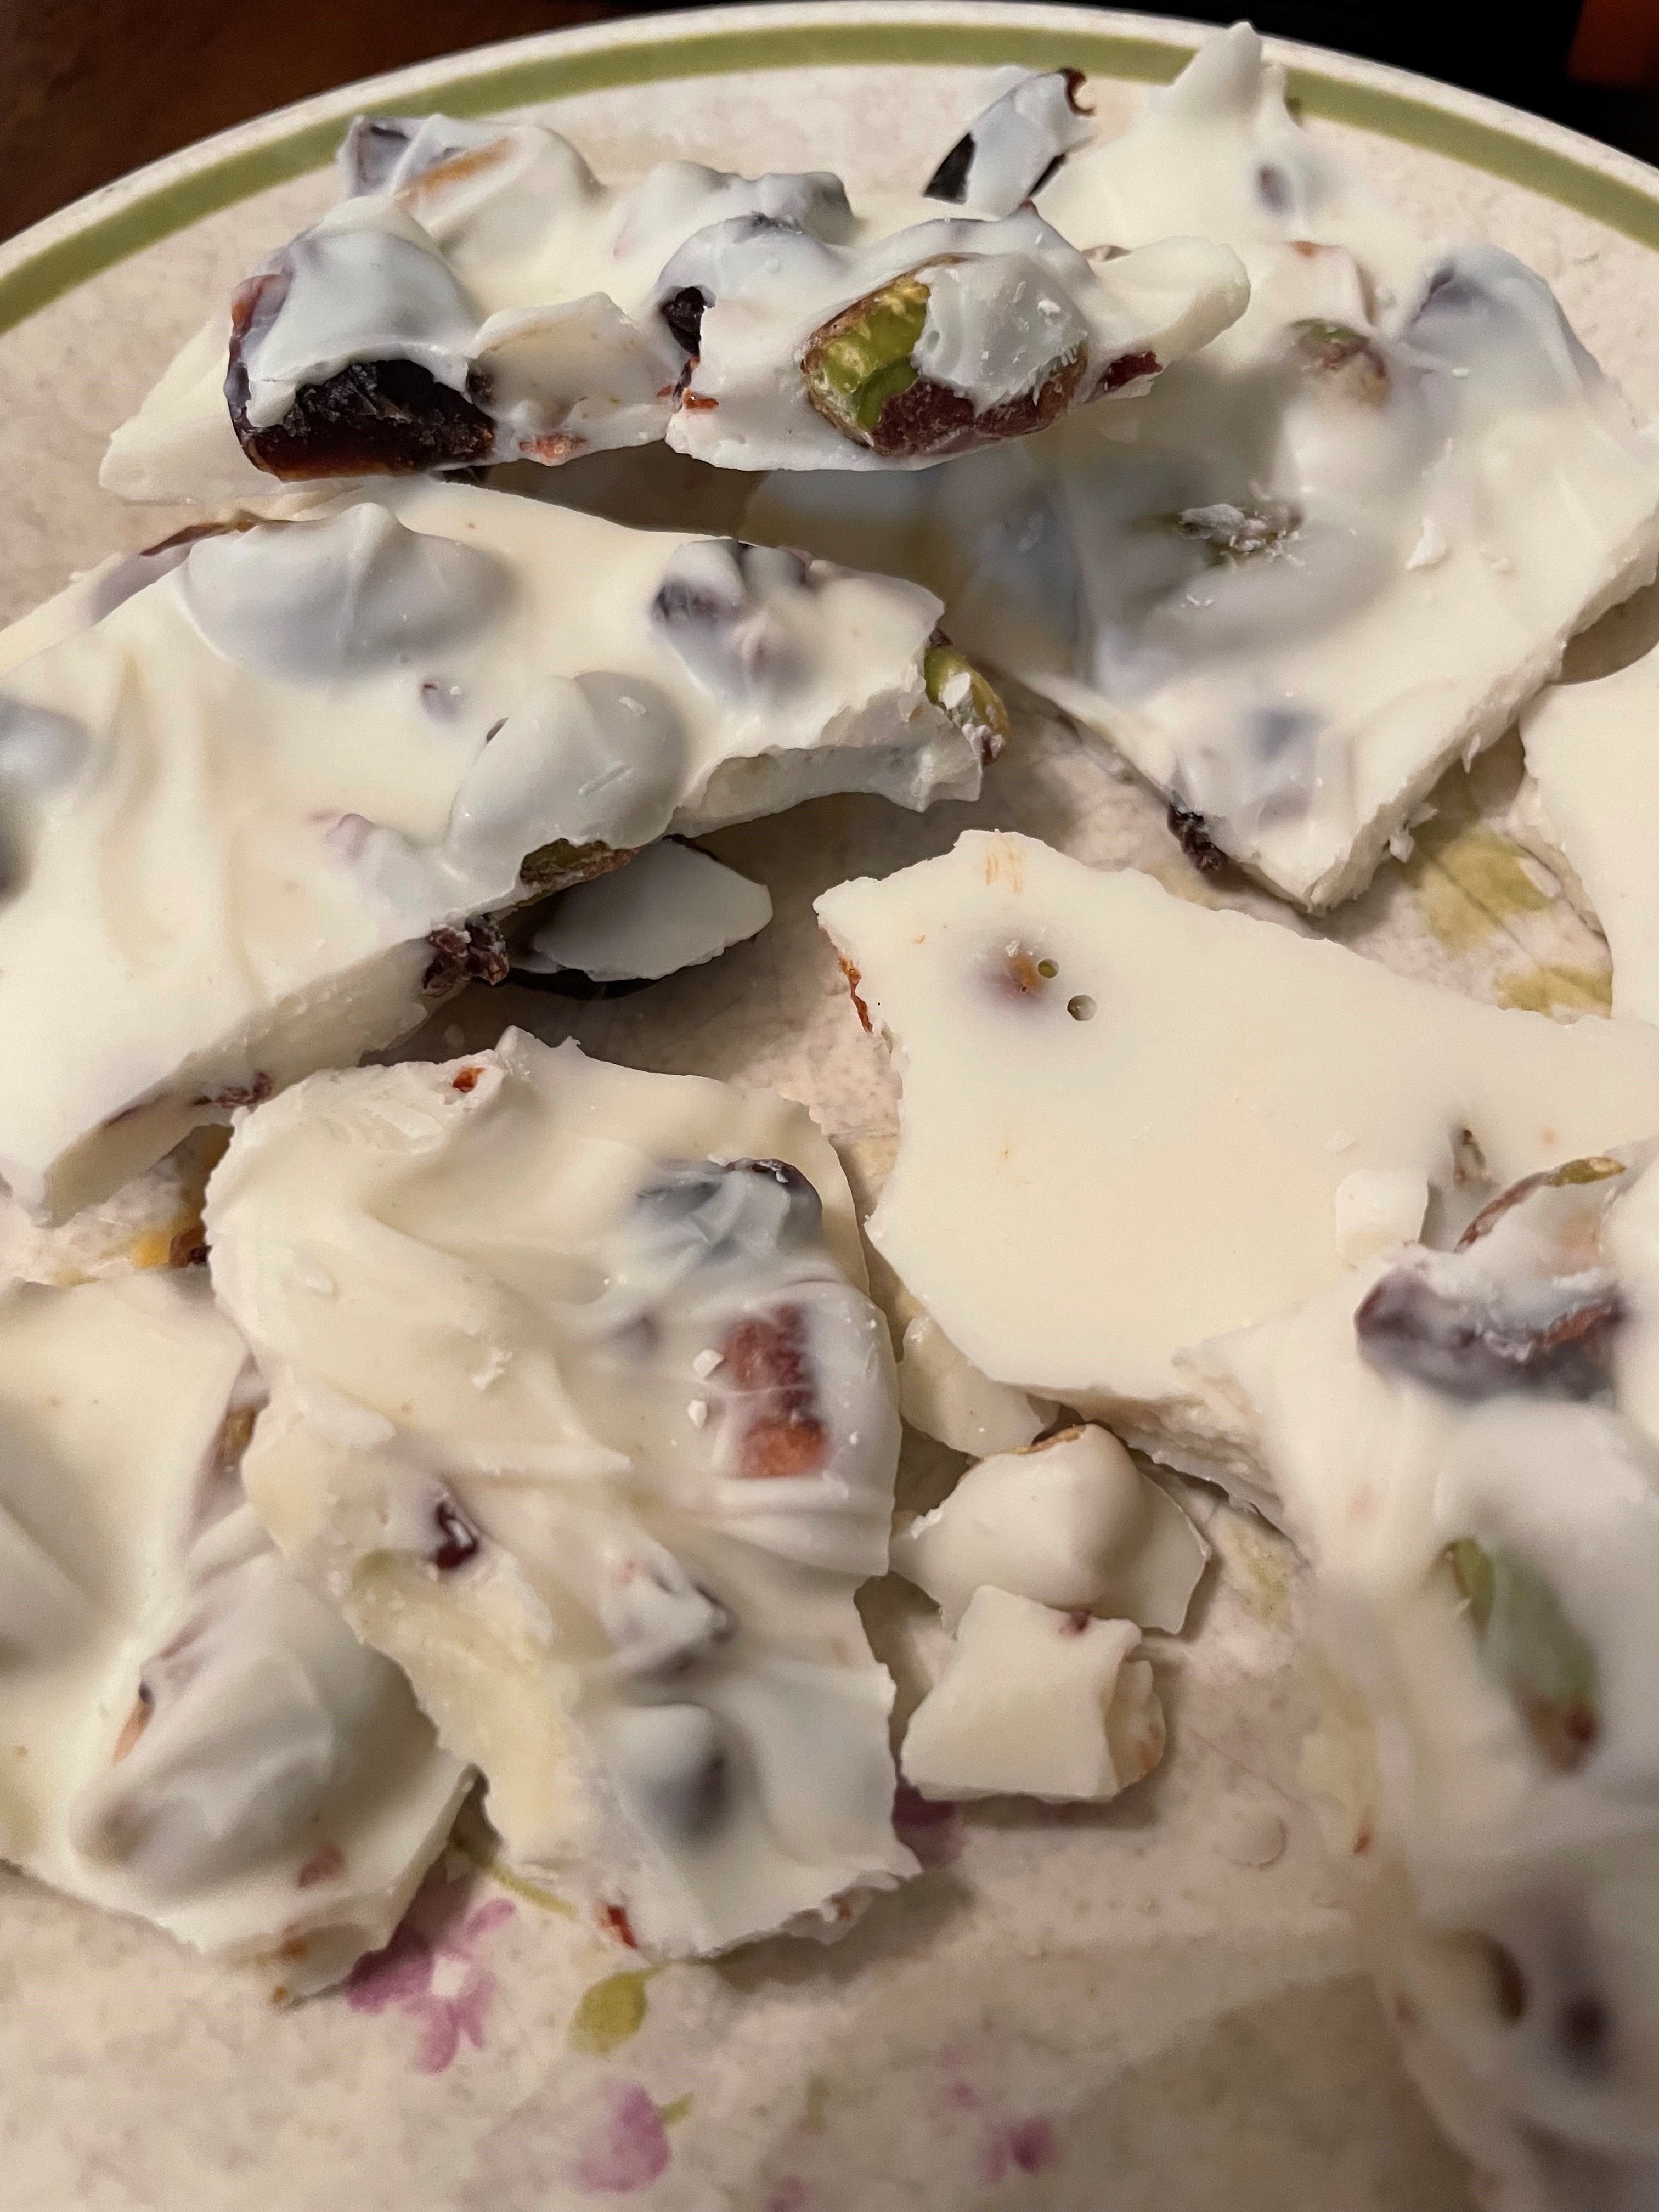
- 12 oz. white baking chips
- 1/2 cup shelled, salted pistachio nuts, whole
- 1/2 cup dried cranberries
Prepare a sheet pan with parchment paper, a silpat, or grease/butter.
In a microwave-safe bowl, using 30-second increments in your microwave, melt the baking chips until smooth, stirring well after each increment. Stir in the nuts and cranberries. Spread onto prepared sheet pan, as thin as you can without leaving any holes. Place into the refrigerator, or out on a countertop, until it’s hard. Remove to a cutting board and slice or break apart into serving-size pieces. Yum.
NOTES: Make sure to separate your dried cranberries so that they’re not in clumps when you stir them into the baking chips. I had a 1-lb. bag of white chocolate chips the first time and I used chopped dried cherries and lightly salted pistachios. It was great. The next time I had the ingredients I’ve listed above. The recipe is very forgiving, you don’t need the exact measurements. The add-in amounts should be to your taste, as long as you can spread the mixture out on a sheet pan. I live in a cold climate, so leaving the candy out on the countertop to harden works just fine, but you may have trouble if it’s too warm in your kitchen.


- Ingredients
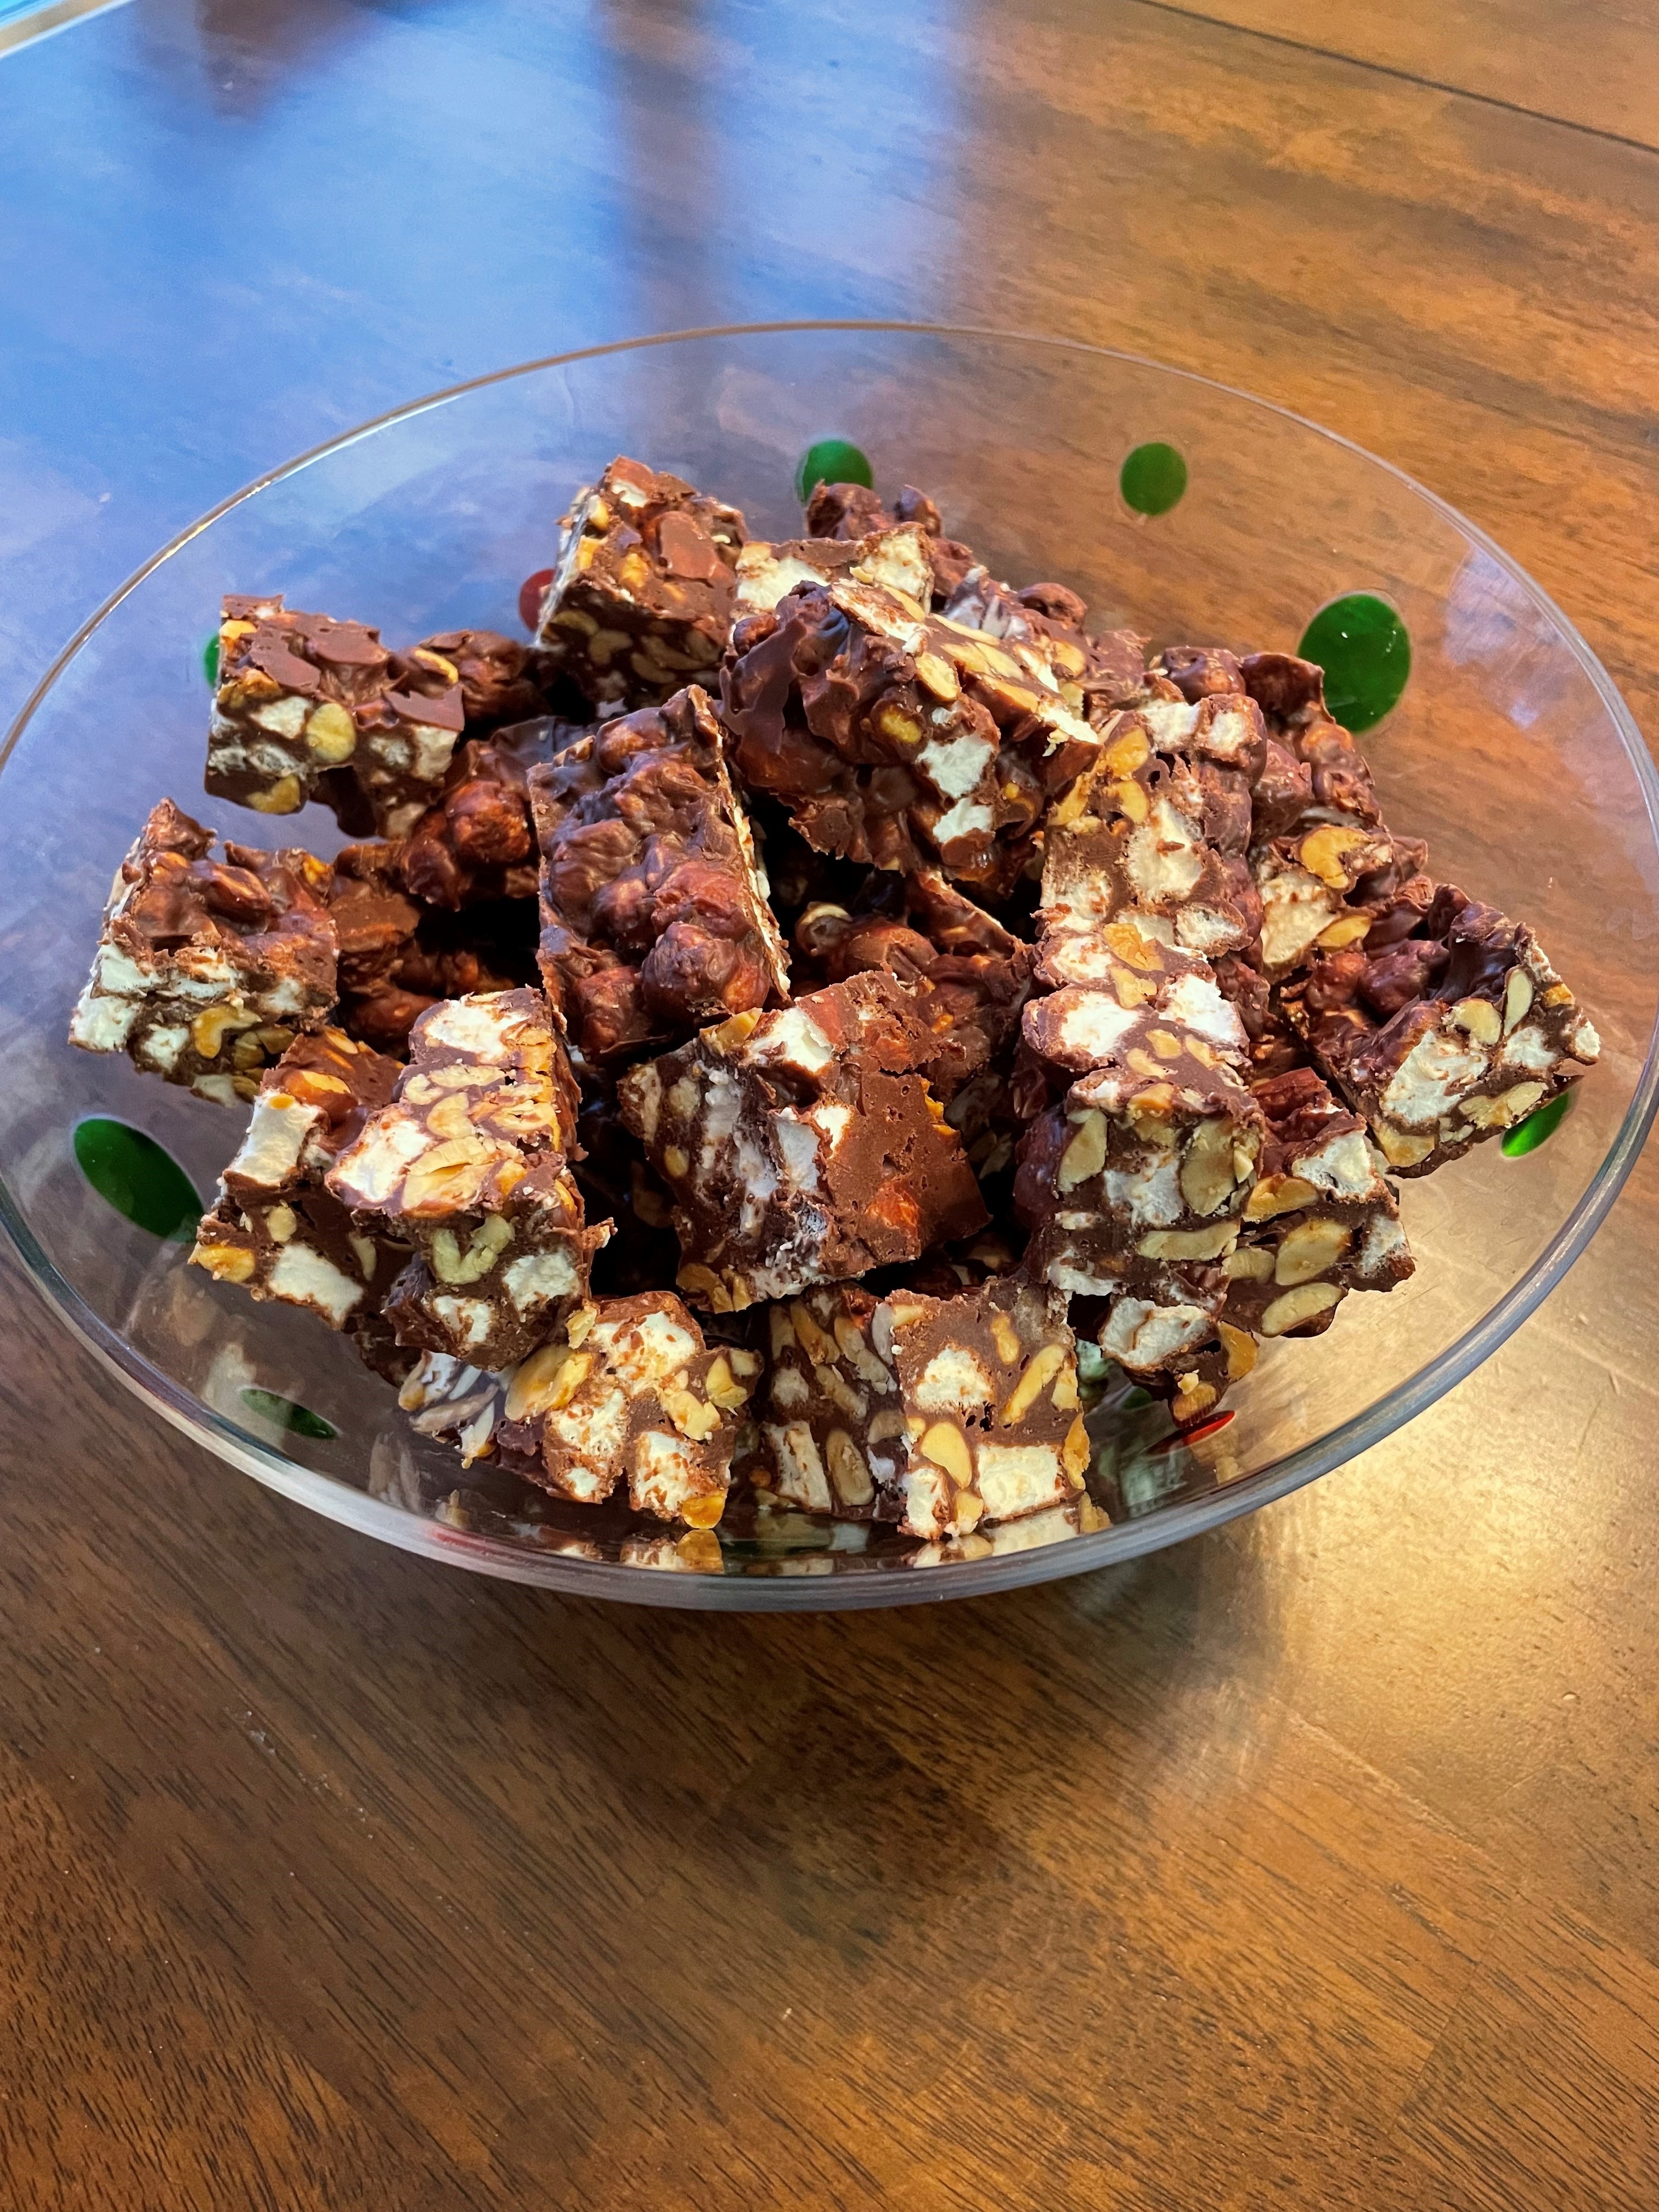
- 2 cups chocolate chips
- 1 14-oz. can sweetened condensed milk
- 2 Tbsp. butter
- 3 cups salted dry roasted peanuts, shelled
- 1 10-1/2 oz. package miniature marshmallows
Prepare a 9×13″ dish by greasing it or lining with parchment paper.
In a large pan, melt chocolate chips with butter and sweetened condensed milk over low heat until smooth. Stir in peanuts and marshmallows. Spread mixture into the prepared dish. Refrigerate until firm. Cut into squares. Yield: 3-1/4 lbs.

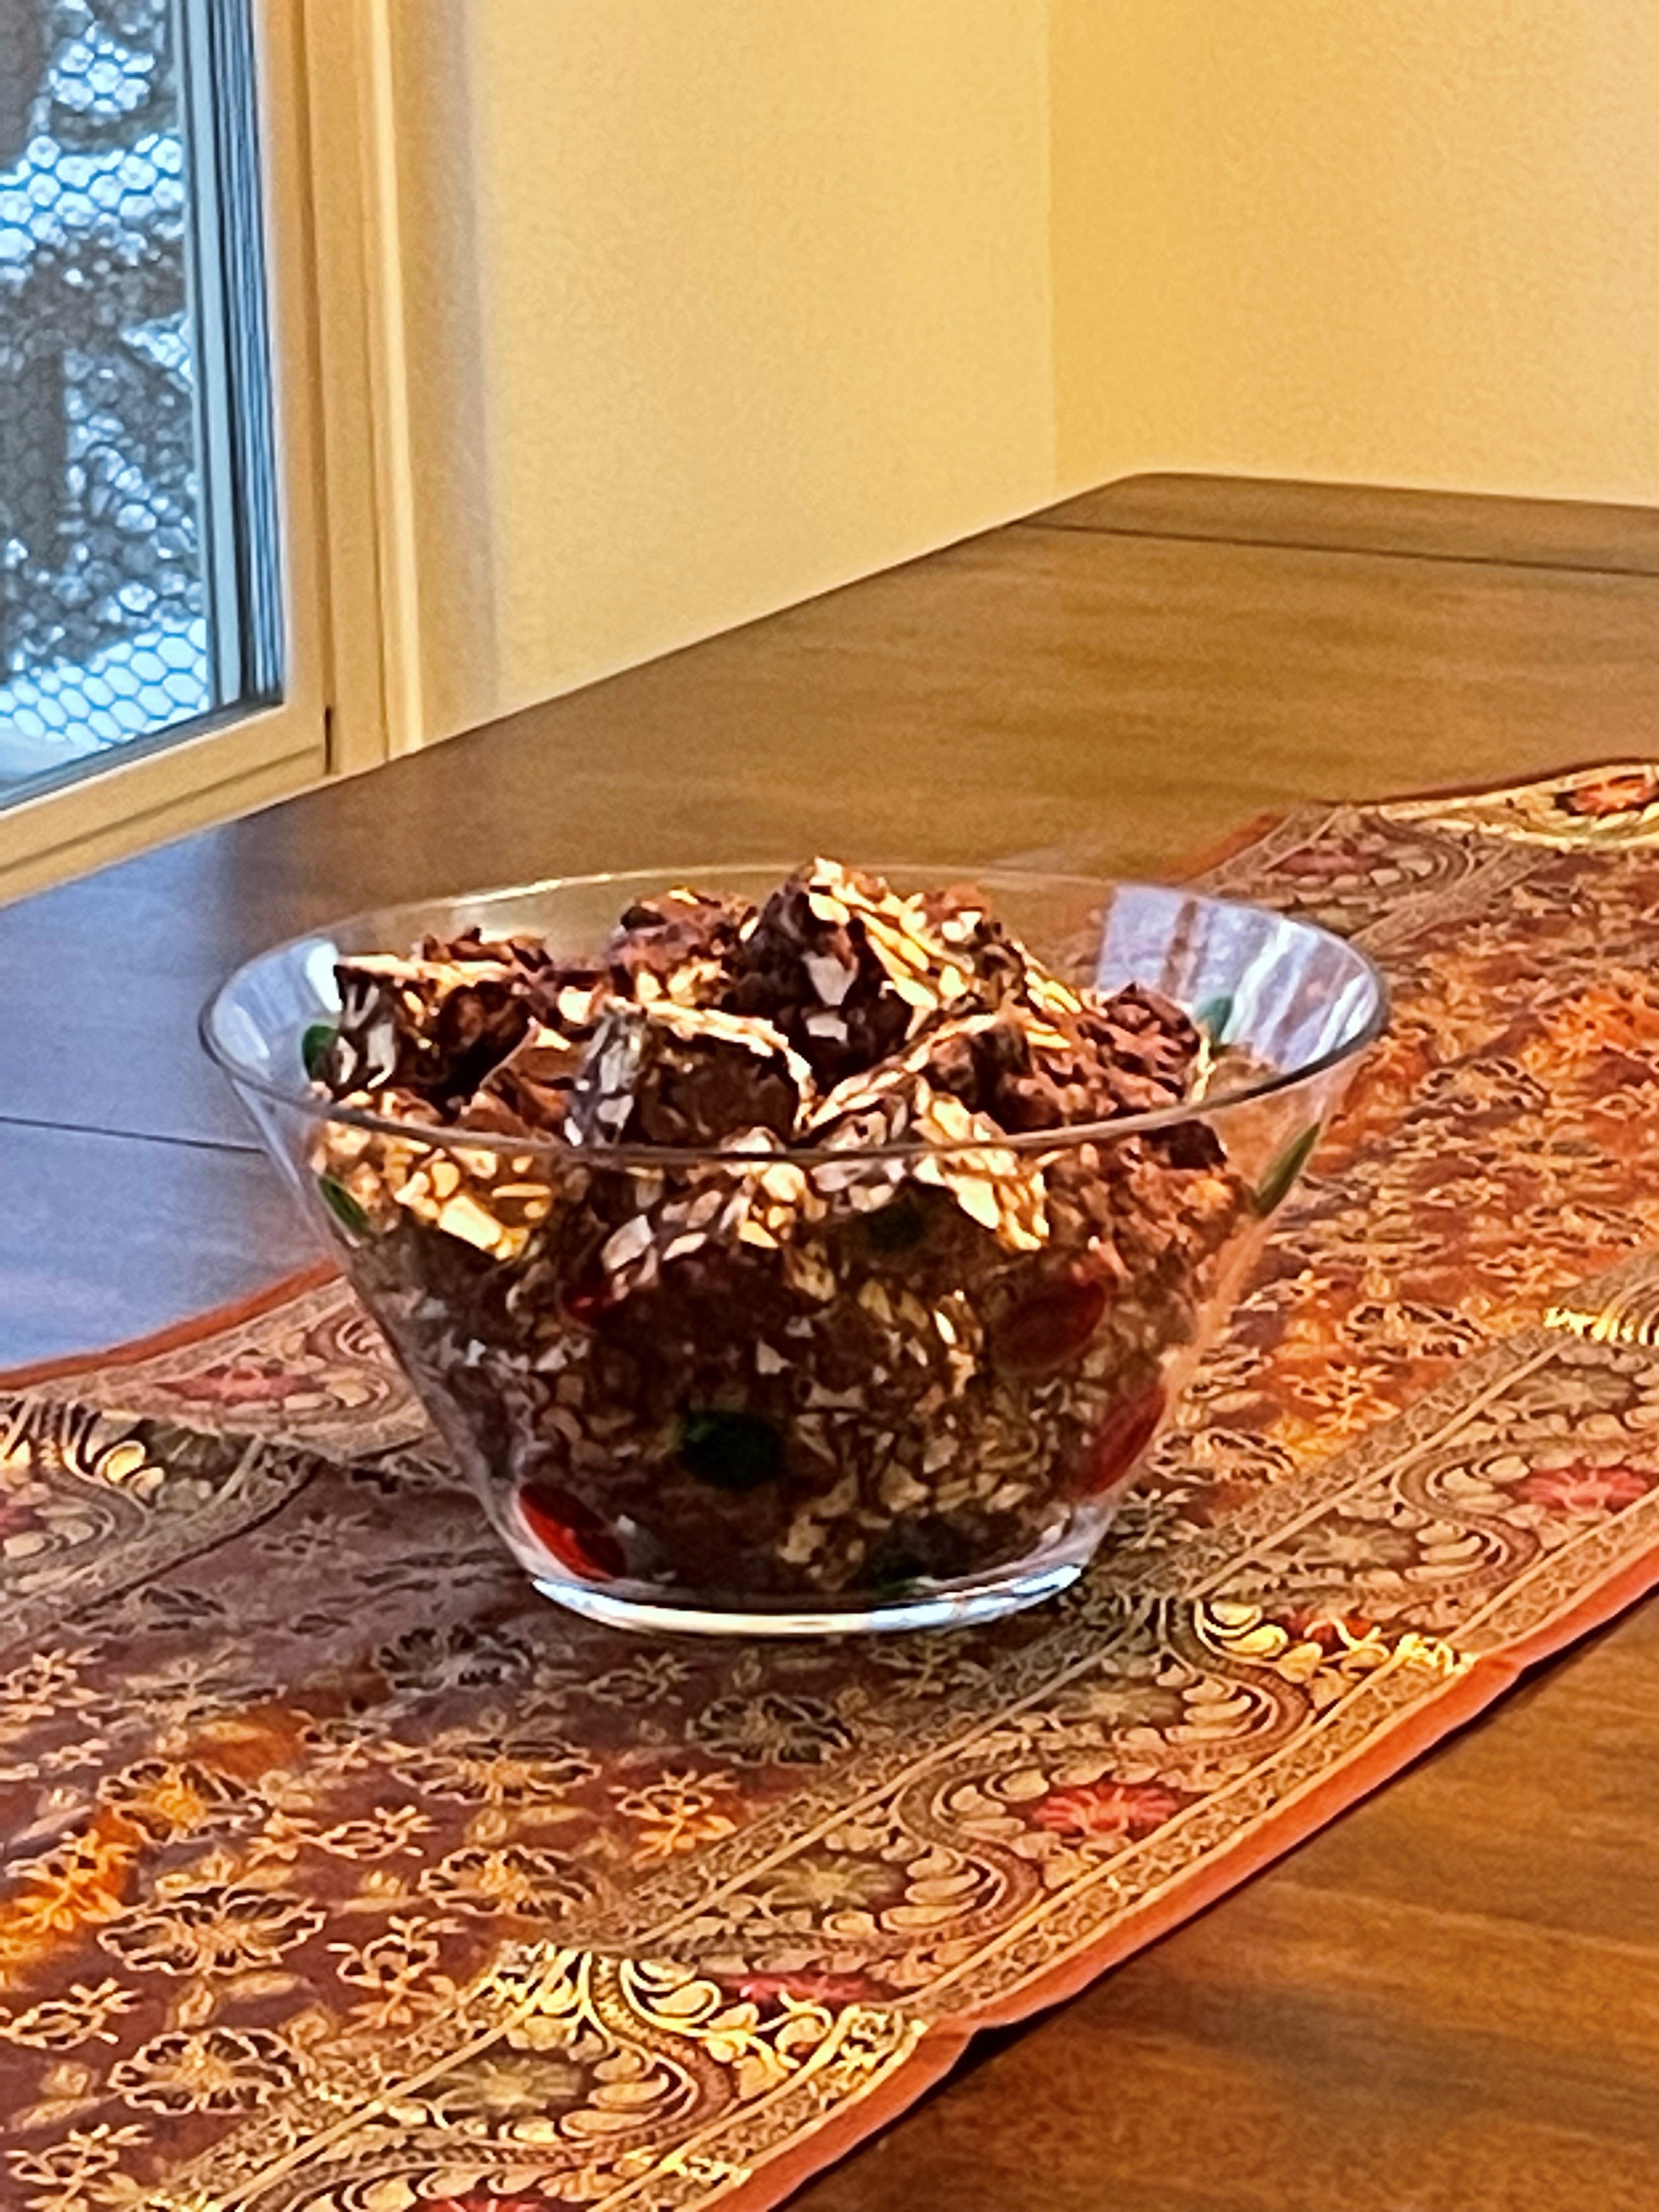
Here are photos of before refrigeration and another to show you how much it makes — huge amount! This is an expensive recipe, but it’s super easy and takes just a few minutes to throw together. Make sure you use a really large pan to melt and stir everything together in. Those marshmallows take up a lot of space. It’s very pretty when sliced and served. Tastes REALLY yummy, too.
- Ingredients
- 1/2 cup butter (1 stick), softened
- 2/3 cup sugar (plus more for sprinkling)
- 2 eggs
- 1 tsp. vanilla extract or paste
- 3 Tbsp. rum
- 1 cup flour
- 1 tsp. baking powder
- 1/4 tsp. salt
- 3-1/2 to 4 cups apples, chopped 1/2″
- Powdered sugar (optional)
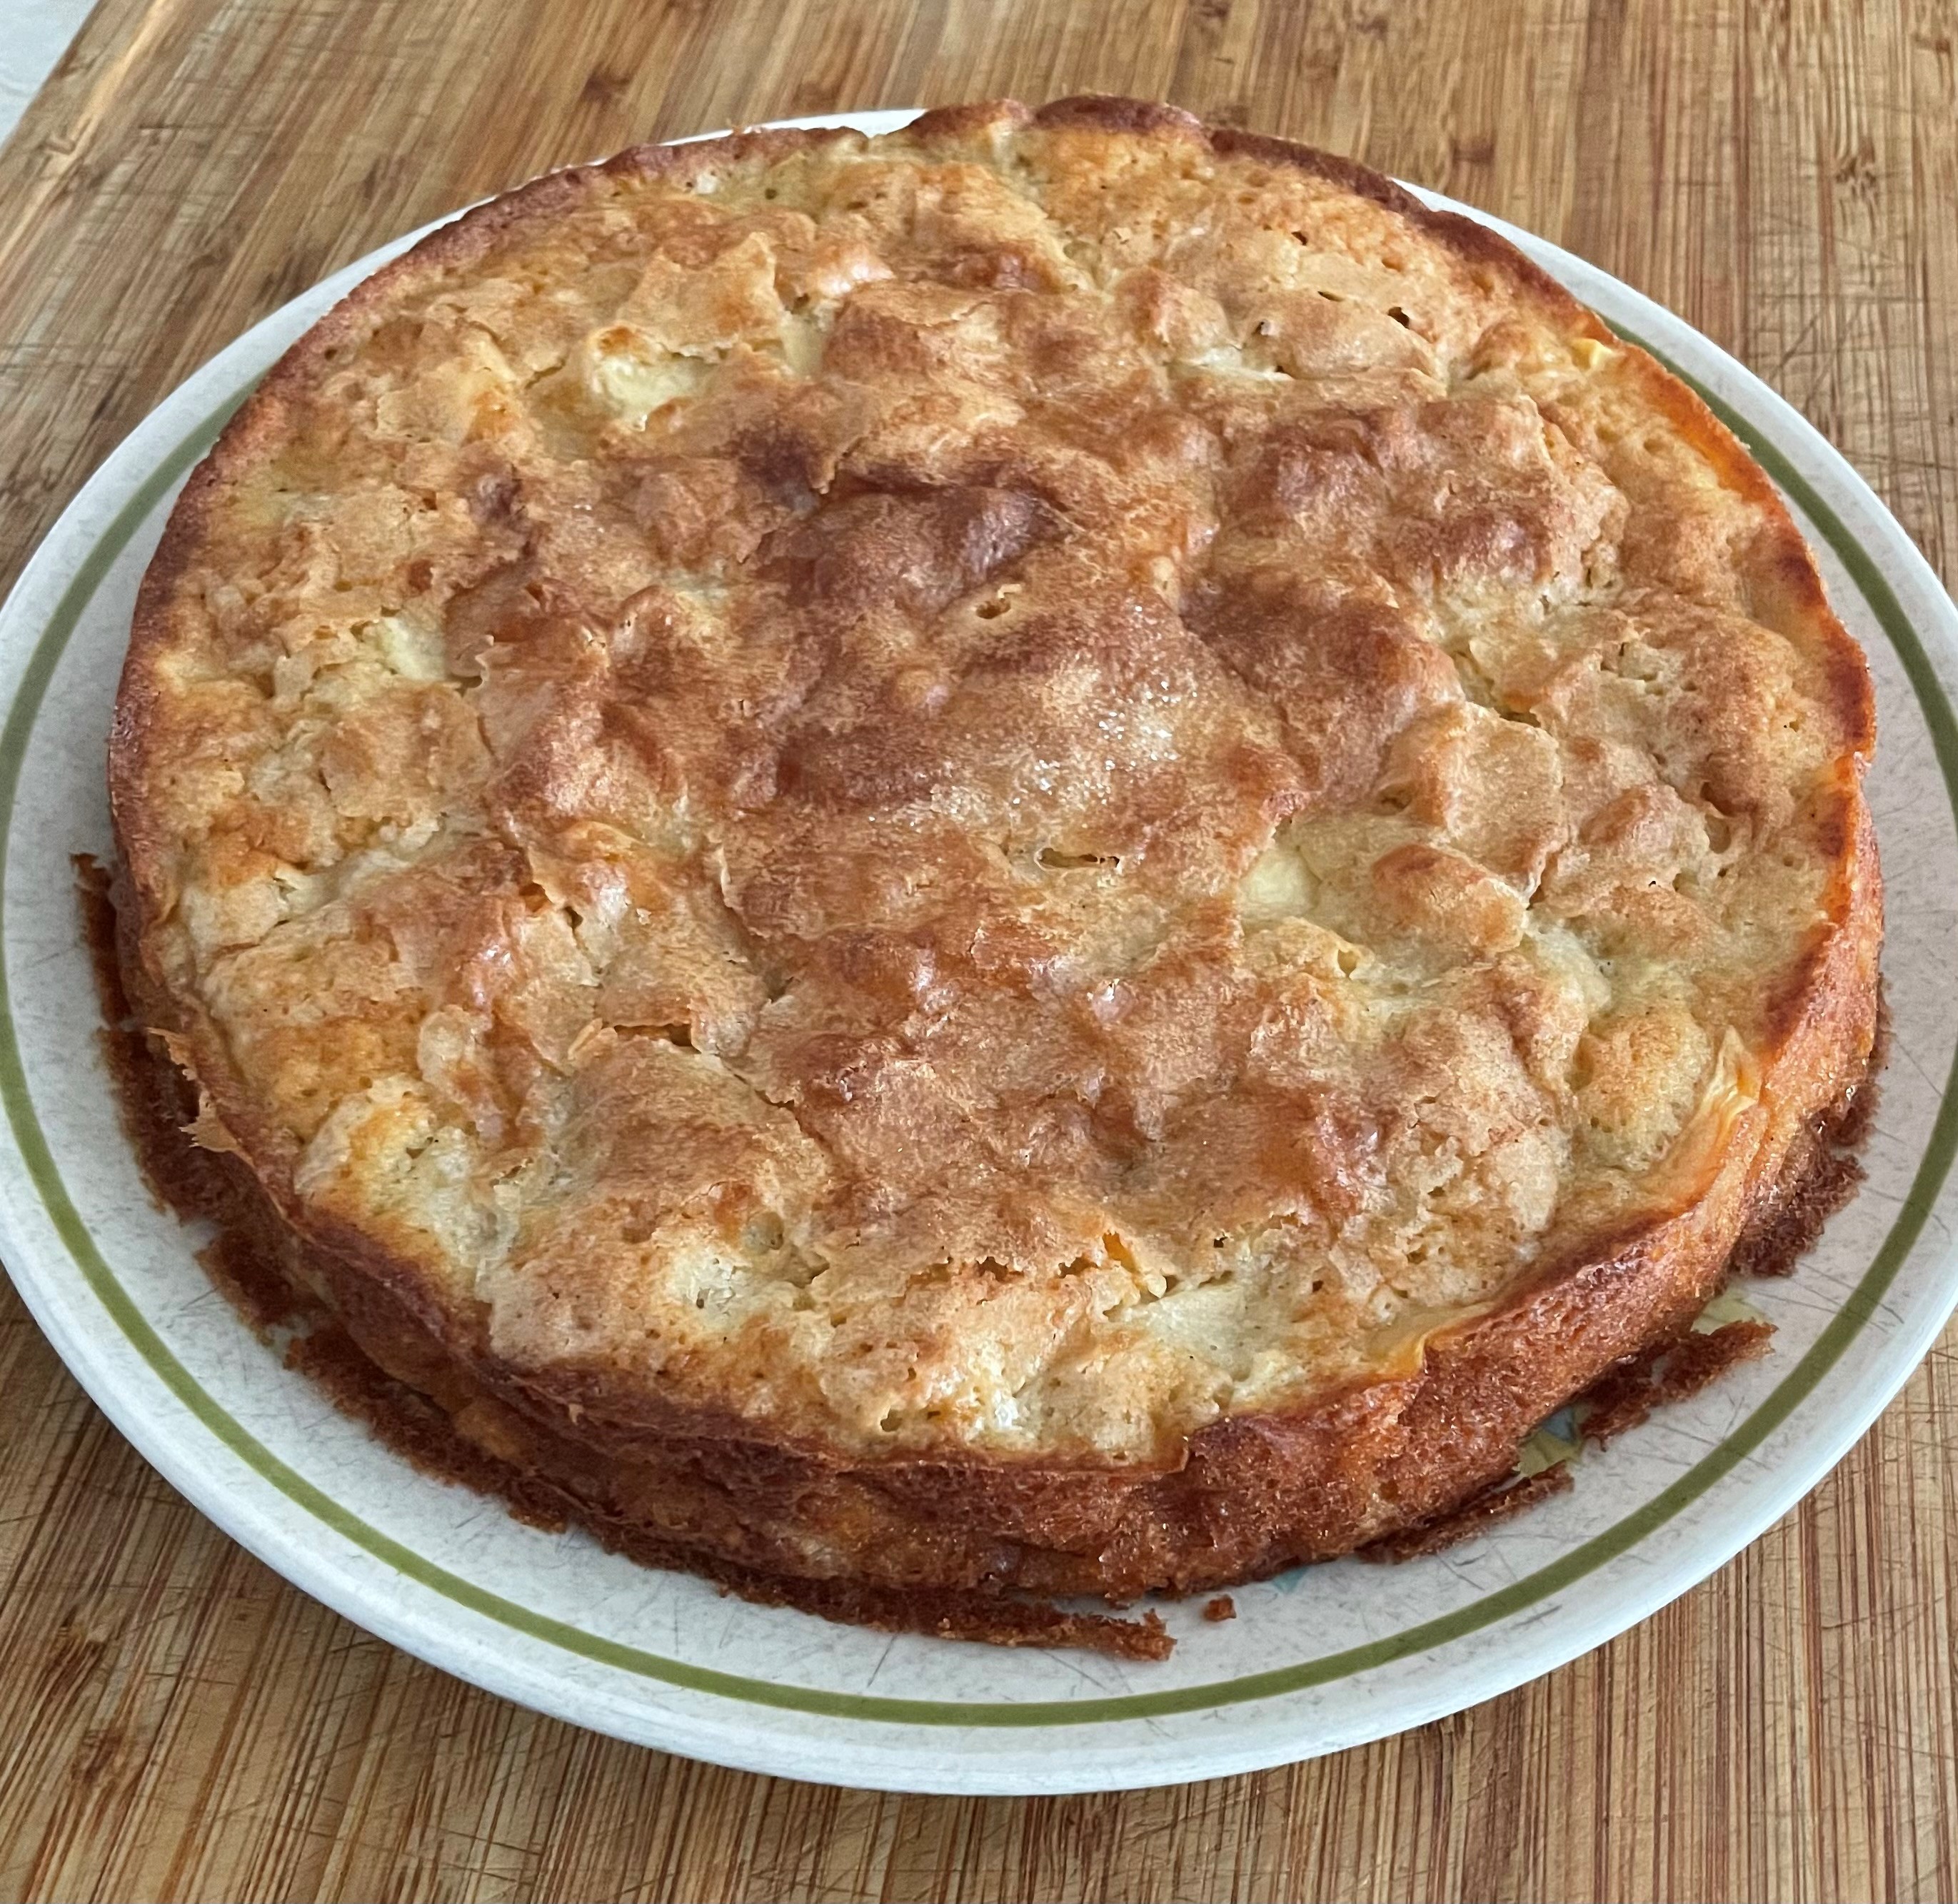
Preheat oven to 350 degrees F. Grease a 9″ springform pan or spray with non-stick (if you use a regular 9″ cake pan, grease or spray AND line the bottom with parchment paper).
In a mixer, beat together the butter and sugar until light and fluffy. Add eggs one at a time, beating well. Beat in the vanilla and rum.
In a small bowl, stir together the flour, baking powder, and salt. Beat this mixture into the butter mixture under slow speed until just mixed. By hand, fold in the chopped apples. Dollop into the prepared cake pan and smooth out the top. Sprinkle the top with sugar, about a tablespoon.
Bake at 350 degrees F for about 40 minutes or until a toothpick comes out clean. The cake should be golden-colored all over.
Let it cool in the pan. Run a knife around the sides to make sure nothing is sticking to the edges. If using regular cake pan, invert onto grate or plate, and remove parchment paper, then gently revert onto serving plate. If using springform pan, then unbuckle the sides and slide onto serving plate. Sprinkle with powdered sugar, if desired.
NOTES: Recipe from onceuponachef.com. This is really rummy tasting. Yum! It was easy to make. I used red delicious apples because I bought too many of them for another purpose and was trying to find something to do with them. The original recipe calls for using a cooking apple. Oh, well. Did I say how easy this was? Yes, really simple. And rummy. So there.
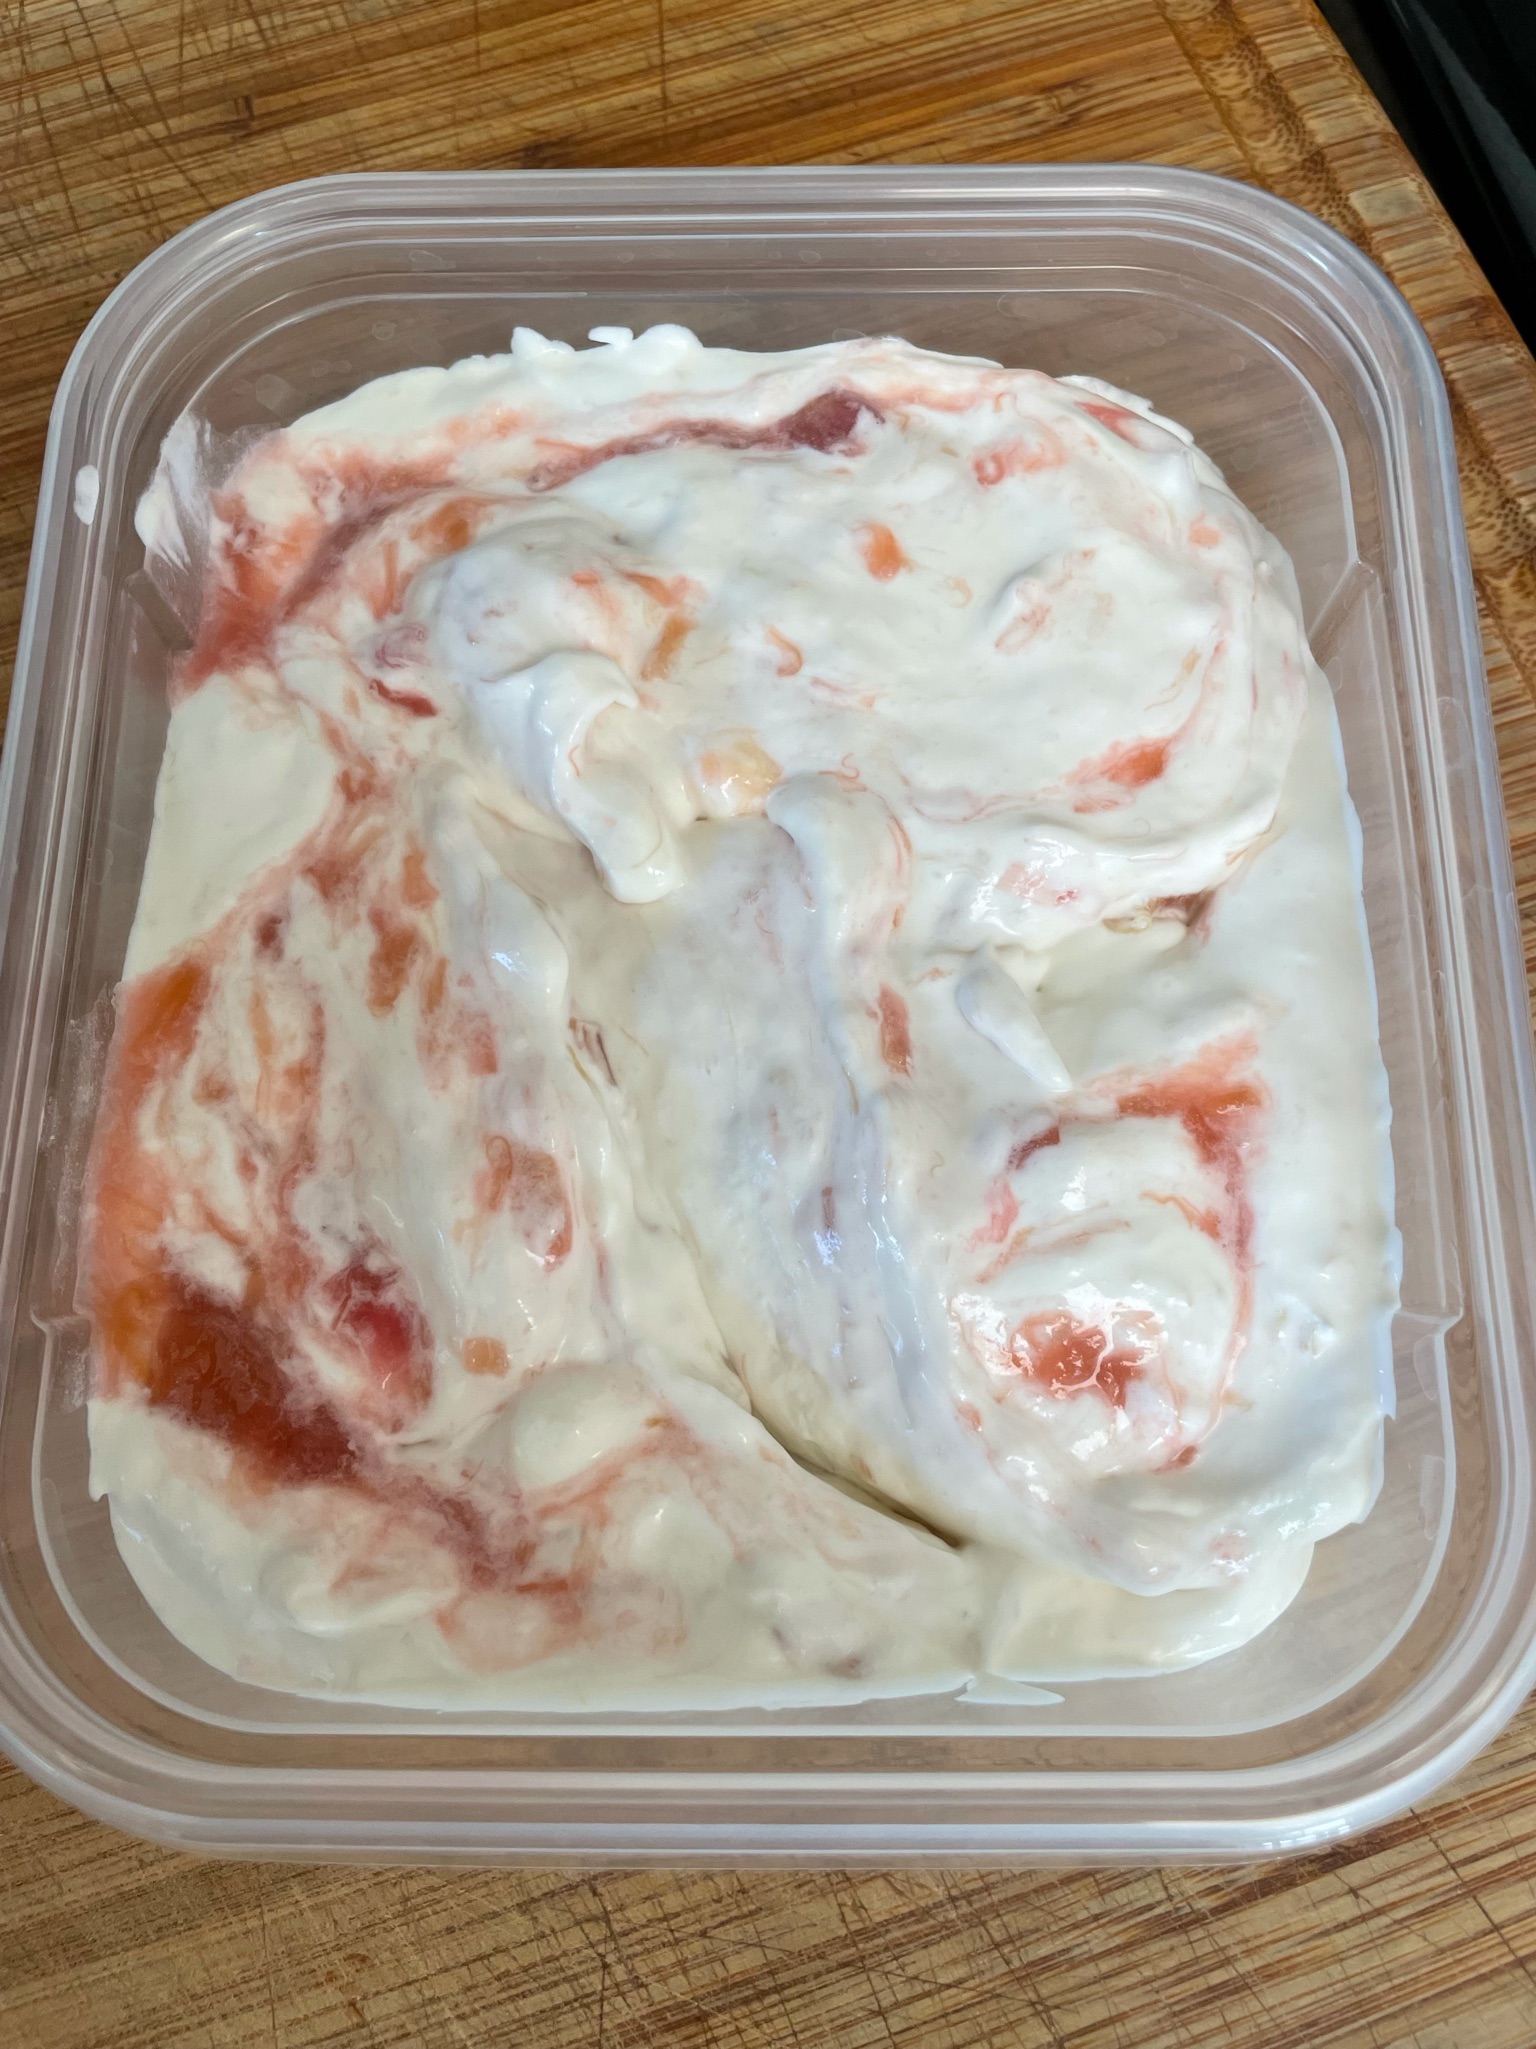
This is a delicious no-churn ice cream made with the first fruit of summer: rhubarb. The recipe comes from Older Mommy Still Yummy.
- Ingredients
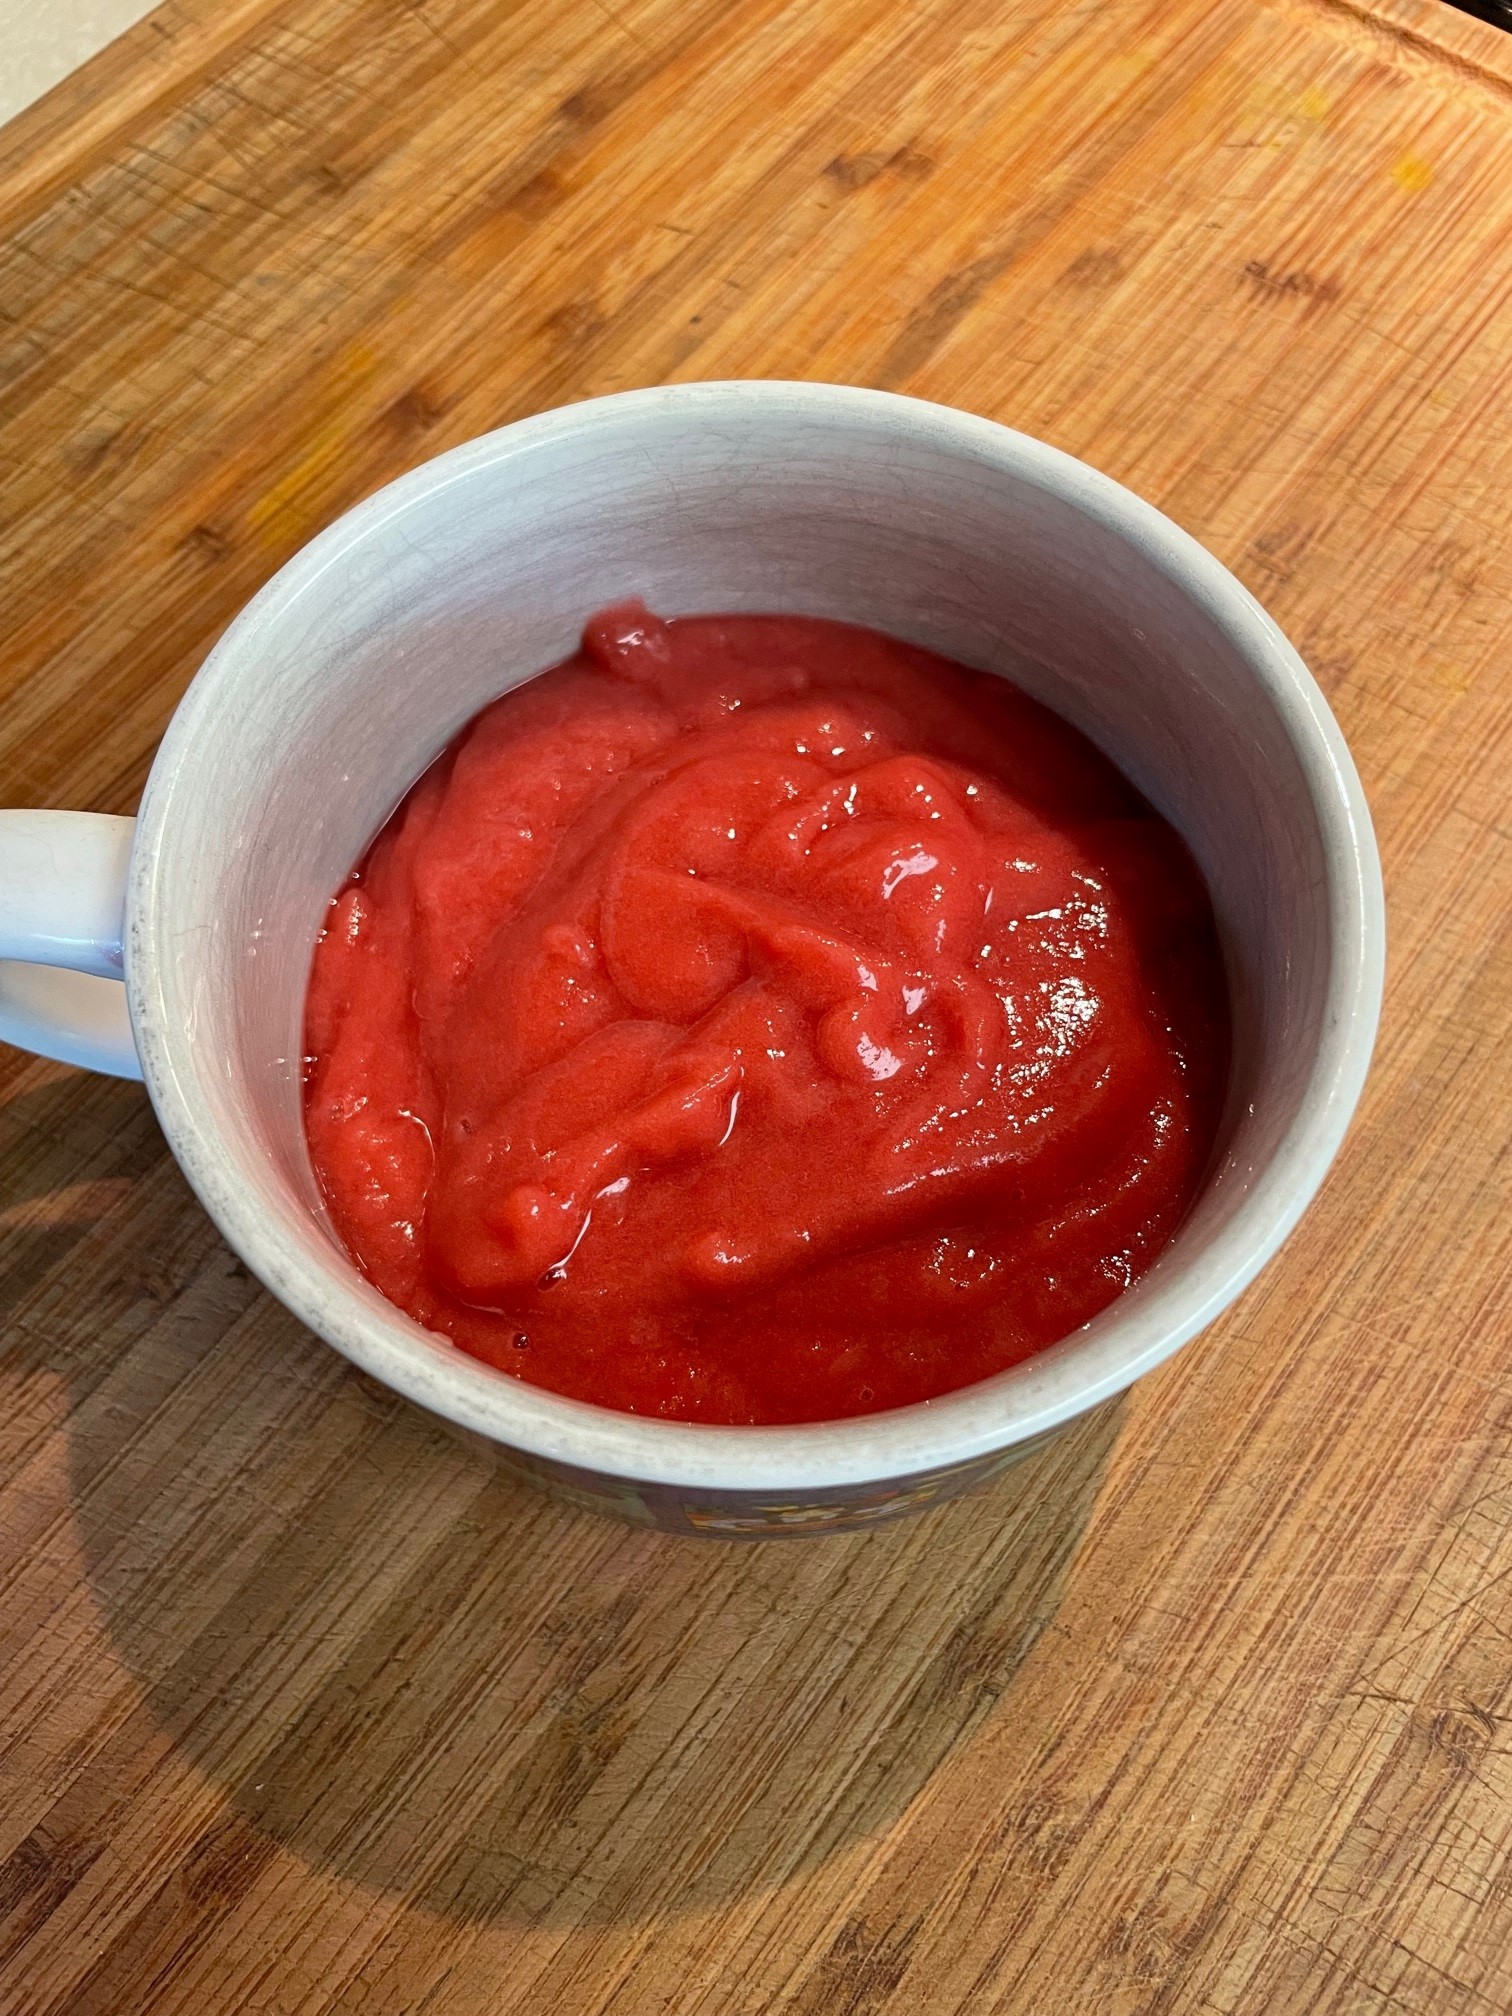
- 3 cups chopped rhubarb
- 1/2 cup sugar
- 1 14oz. can sweetened condensed milk
- 2 cups whipping cream, whipped
In a saucepan, stir together rhubarb and sugar. Cook, stirring frequently, until rhubarb is tender and starts to fall apart. Remove from heat and let cool. Chill until cold. This may take a couple hours in the refrigerator.
Remove about 1/2 cup of rhubarb mixture and set aside. Mix together the remaining rhubarb mixture and the sweetened condensed milk. Fold in the whipping cream, about a third at a time until the whipping cream is well incorporated.
Pour into a freezer-safe dish or dishes. I like to use small plastic tubs, they’re about 1-1/2 cups each, because the ice cream freezes faster and I can give them away without giving it ALL away and takes up less space in the freezer as they’re used up. But you can put it into one large dish if you want. Once you’ve got the ice cream divvied up, take the remaining 1/2 cup rhubarb and dollop onto the top and then run a utensil through it to make swirls. This is the wow factor of the ice cream, that pop of rhubarb tartness. Super yummy!
