
You are currently browsing the monthly archive for November 2023.

- Base Layer Ingredients
- 1 cup butter (2 sticks)
- 2/3 cup brown sugar, packed
- 2-2/3 cup flour
- Top Layer Ingredients
- 1/2 cup butter (1 stick)
- 1 cup brown sugar, packed
- 1/3 cup honey
- 2 Tbsp. whipping cream
- 2 cups roasted cashews, chopped
Prepare a 9×13″ baking dish by lining with parchment paper. Let a little paper overhang on all sides to make it easier to pull the bars out. Preheat oven to 350 degrees F.
Base Layer: In a mixer, mix together butter and brown sugar until fluffy. Stir in flour. Press into prepared pan. Bake at 350 degrees F for 20 minutes.
Top Layer: While that is happening, but wait a little while, in a medium saucepan over medium heat, stir together butter, brown sugar, honey, and whipping cream. Bring to a boil and let boil for one minute. Remove from heat and stir in cashews.
Remove base layer from oven. Pour cashew mixture over top. Spread cashew mix to cover evenly. Place back into the oven for 20 minutes. Remove from heat. Let cool completely on a wire rack. Pull out the bars. Slice. Serve. Oh, so, so good.
NOTES: I had only raw unsalted cashews, so I had to roast them. It was okay. I set the oven temp at 350 degrees F and lined a baking sheet with parchment paper. I sprinkled 2 cups of raw cashews on top of the parchment paper and roasted for 5 minutes, then stirred and added a couple more minutes in the oven. Then stirred and another minute, etc. until they were browned. Then I removed from heat and cooled. Then I dumped them onto my cutting board and chopped them. Voila! Finally done! Ready to stir into the brown sugar syrup. Do not overcook the brown sugar syrup or you will have a rock-hard top on your bars. Baking in the oven is going to create the chewy caramel that you desire.
The recipe originates with Barry at rockrecipes.com. Barry hails from St. John, Newfoundland. Barry says you can drizzle chocolate over these to great effect. Maybe next time. Also, Barry says you can freeze these, so that’s what I’m doing in preparation for creating Christmas cookie trays. I cut the bars and laid them in a single layer in a Ziploc bag and popped them into the freezer.

- Ingredients
- 1/2 cup (8 oz.) butter, softened
- 1/2 cup sugar
- 1/2 cup brown sugar, packed
- 1 egg
- 1 tsp. vanilla
- 1-1/2 cups flour
- 1/2 tsp. baking soda
- 1/4 tsp. salt
- 1 cup white chocolate chips
- 1 cup dried cranberries
- 1/2 cup lightly salted, shelled, roasted pistachio nuts
Preheat oven to 375 degrees F. Prepare a baking sheet with parchment paper, a silpat, non-stick spray, or whatever you use to keep stuff from sticking.
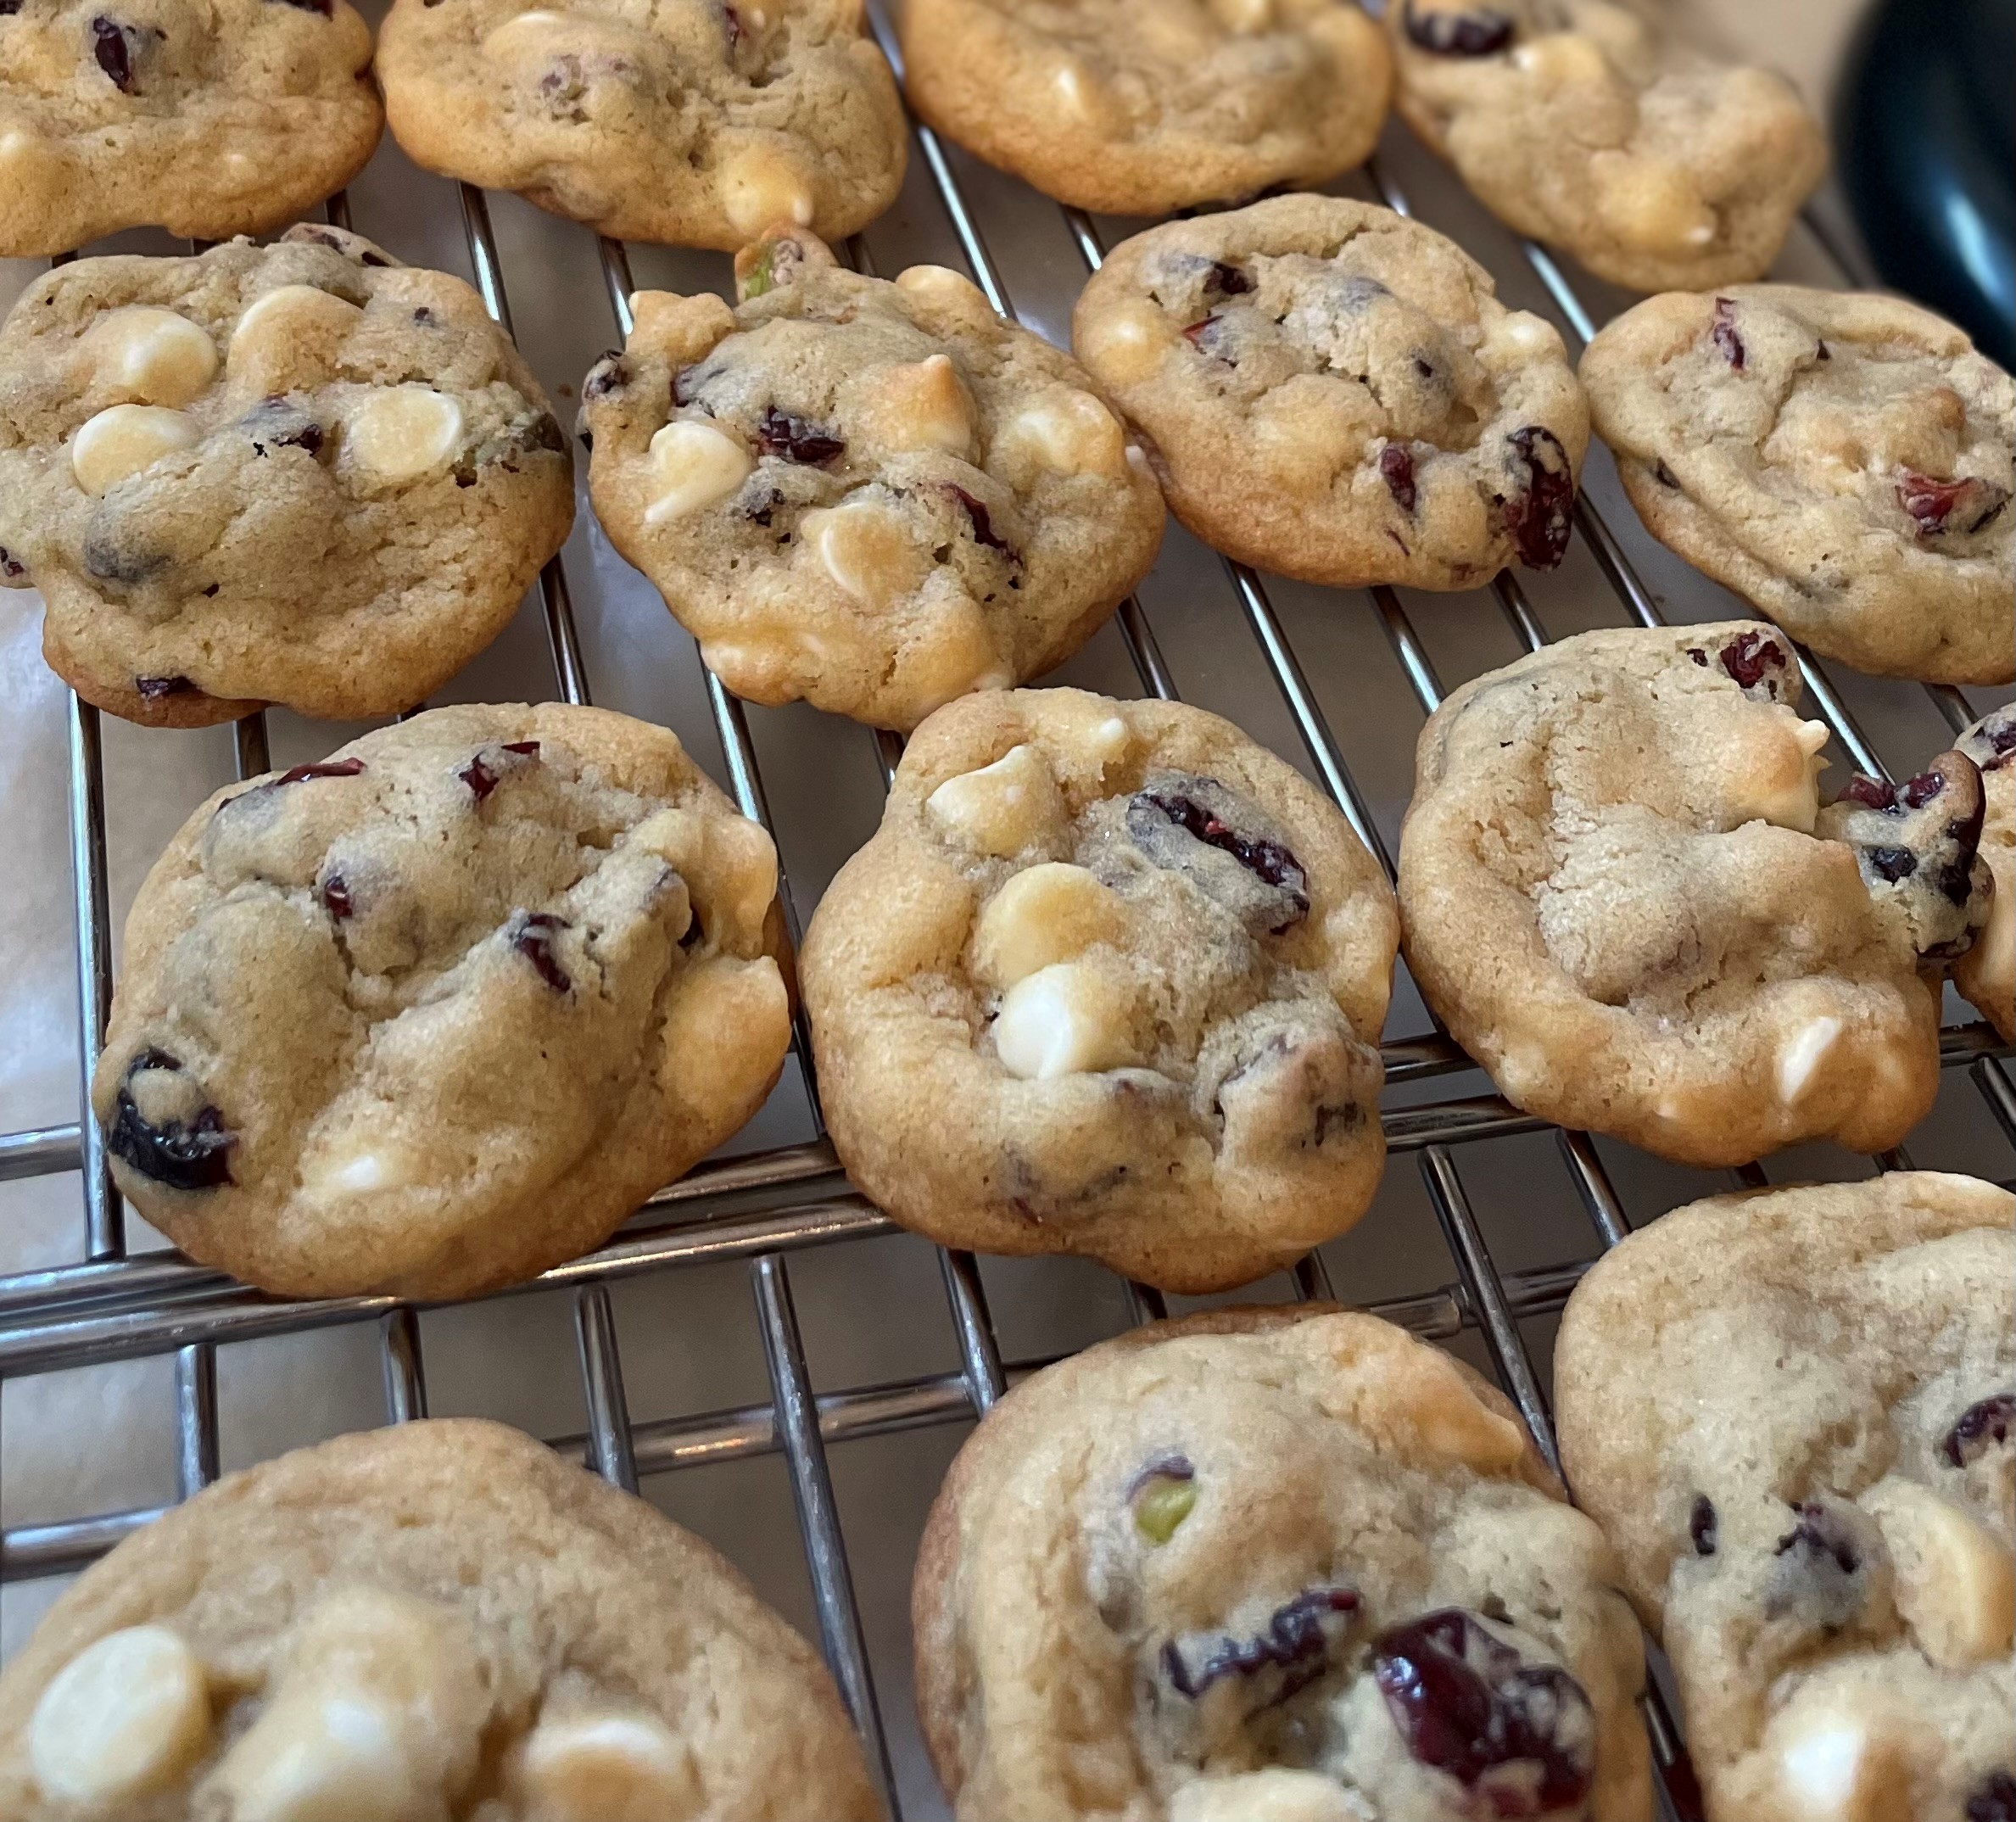
In a mixer, cream together the butter and sugars until light and fluffy. Mix in egg and vanilla. By hand, stir in flour, baking soda, and salt until just mixed. Stir in chips, cranberries, and pistachios until well distributed. The batter will be quite stiff. Drop heaping teaspoons of batter onto the baking sheets. Bake at 375 degrees F for 8-10 minutes. When the cookies are set and light brown, remove from oven. Let them sit for a few minutes before removing to a cooling rack. Makes 3 dozen.
NOTES: The recipe originated for me at daringgourmet.com. If using a full-salt roasted pistachio, omit the salt in the batter. If using a no-salt pistachio, add another 1/4 tsp. salt into the batter. I gave up shaping these with the teaspoons, the dough was too stiff, so instead I rolled these into balls by hand and that worked. In one of the batches I pressed the balls down a little and that also worked and took less time to bake. Either way was fine. I was trying to achieve a cookie that would show the green of the pistachios, but I think my nuts were simply too brown to begin with. No matter. These are tasty and easy to make.
- Ingredients
- 1 cup warm water, divided
- 2 tsp. yeast
- 1/4 cup sugar, divided
- 2 Tbsp. melted butter
- 1 egg
- 1 tsp. cider vinegar
- 11.5 oz gluten-free baking blend with xanthan gum (2.75 cups)
- 1 tsp. salt
- 1 Tbsp. melted butter (for brushing on the top)
In a stand mixer, place 1/4 cup warm water, yeast, and a couple tablespoons of sugar. Let stand until the yeast is dissolved and the mixture is frothy. In a separate bowl, whisk together gluten-free flour, remaining sugar, and salt. Set aside.
Into the stand mixer, add remaining 3/4 cup warm water, melted butter, egg, and cider vinegar. Mix in flour mixture. Let the mixer run for 3 minutes on medium.
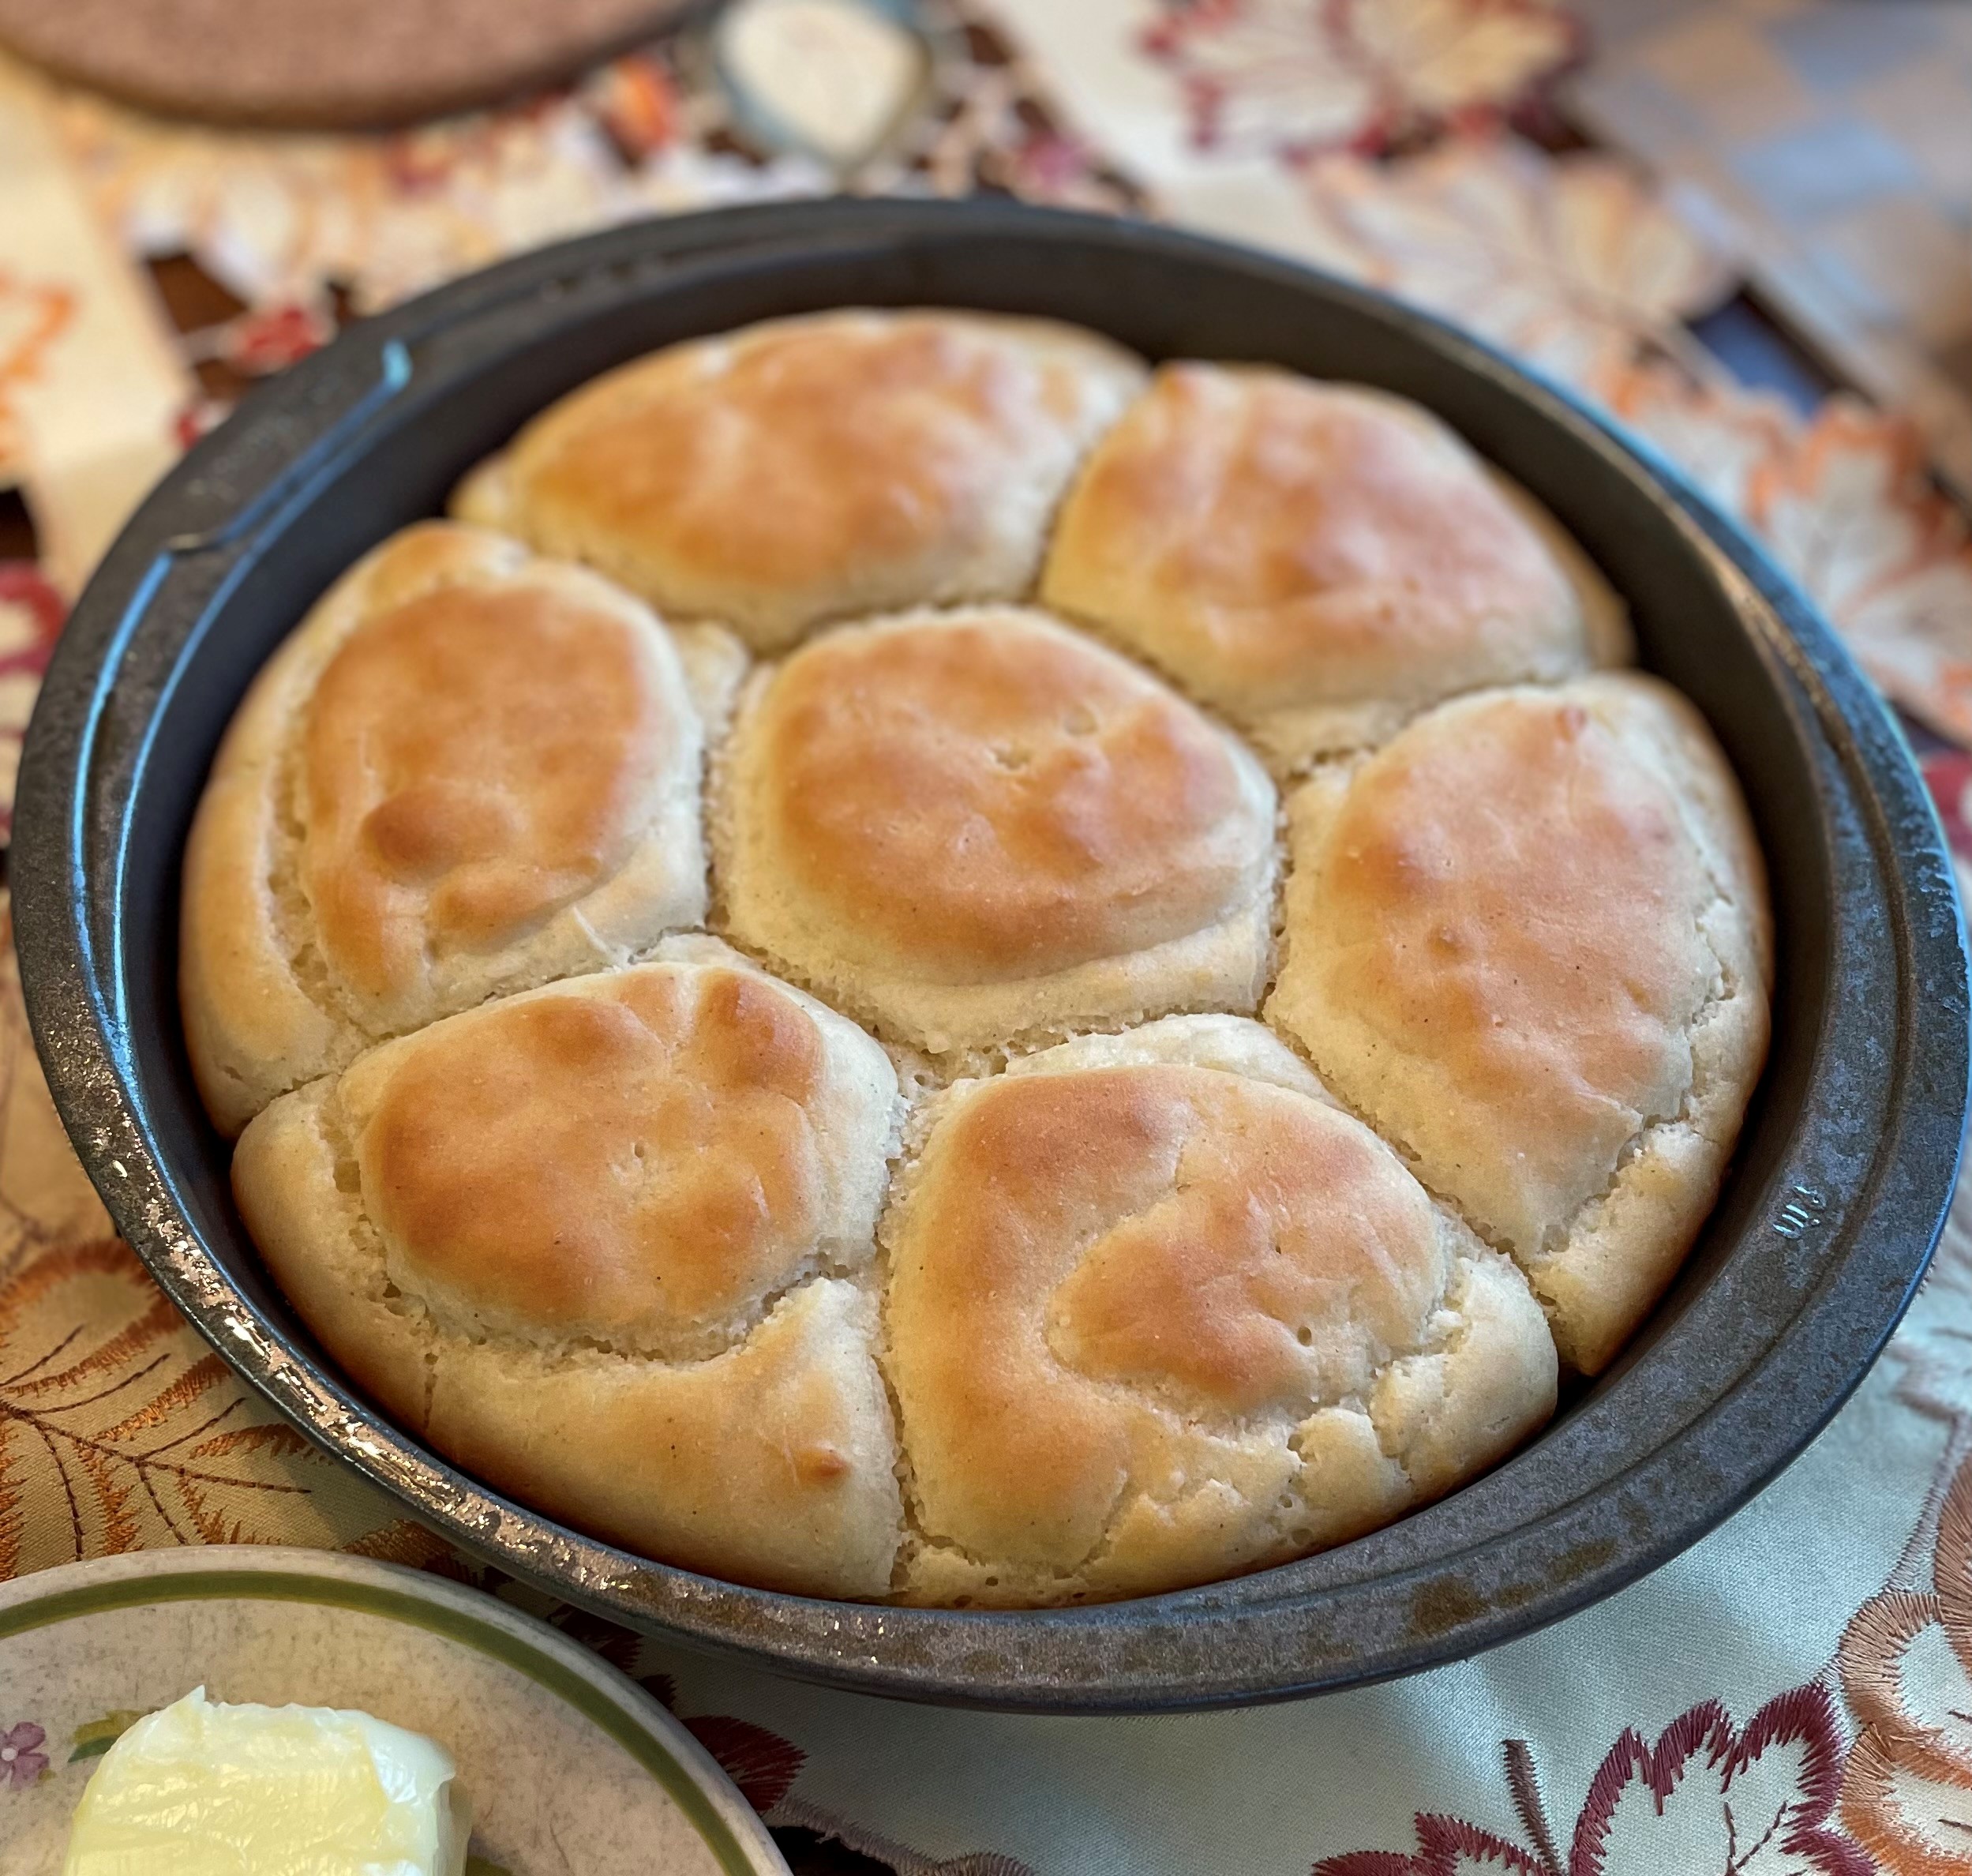
Spray an 8″ or 9″ cake pan with non-stick spray. Using a 1/4 measuring cup, dollop the batter into the cake pan, to get 9 mounds of batter. It’s best to start in the center.
Dip your fingertip in warm water and smooth out the tops of the mounds. Cover the pan with a dry towel. Let rise for an hour or so.
Preheat oven to 400 degrees F. Bake rolls 25-28 minutes at 400 degrees F. The tops should be golden brown. Remove from oven and brush the tops with melted butter. Serve.
NOTES: I was amazed that this worked so well. I used Bob’s Red Mill 1 to 1 Baking Flour. I weighed my flour as that is the most accurate way to measure flour. The recipe is from mygluten-freekitchen.com and I would recommend that you visit her site for more detailed instructions. She offers a lot of options regarding types of gluten-free flour, xanthan gum, yeast, and dairy. I’m just telling you here how I did it.
I learned that since there is no gluten to build, it doesn’t hurt anything to mix it for awhile. Mixing helps the flour to absorb the moisture. I learned that the pan provides the structure. If I had used an 8″ pan, instead of a 9″ pan, my rolls would not have been so flat. I learned that 1/3 cup dollops, as stated in the recipe, was too much so I ended up only with 7 rolls, as pictured. Next time I will use a 1/4 cup measurer. When I started, I used 1/4 cup warm water to activate the yeast. Then I measured 3/4 cup more warm water when it was time, so that it didn’t cool in the interim. Again, visit mygluten-freekitchen.com for more options. All in all, these turned out great and everyone liked them. They were soft and fluffy and went really well with the Beef Bourguignon.

- Dressing ingredients
- 1/3 cup olive oil
- 1 clove garlic, minced
- 2 tsp. honey
- 2 tsp. Dijon mustard
- 2 Tbsp. lemon juice
- 1/2 tsp. dill weed
- Salt and pepper
- Salad ingredients
- 1-1/2 cups cooked couscous, cooled
- 2/3 cup chopped cucumber
- 1/3 cup minced red onion
- 2 portions of salmon, cooked, cooled and flaked
- 1/3 cup crumbled feta cheese
- 2 tsp. parsley flakes
Whisk together all the dressing ingredients and set aside.
In a bowl, stir together couscous, cucumber and onion. Stir in the dressing and mix well. Gently stir in the salmon, feta, and parsley. Serve. Yield: 2 servings if that is all you’re eating.
NOTE: This recipe started at dishingouthealth.com. I adjusted it to what I had on-hand. I have salmon, lots and lots of salmon. I had leftover couscous from dinner two nights ago during the Snowpocalypse power outage that lasted 24 hours (8pm Wednesday to 8pm Thursday). We got 30+ inches of snow from 3pm Wednesday to 3pm Friday. The nice thing about having a gas range is all you need is a match and you can eat a simple dinner like leftover African Salmon Peanut Soup over couscous. But then I discovered I had made too much couscous in the dark. So, rather than throwing it away, I shoved it into the refrigerator when the power came back on. And then I stumbled upon this recipe on Pinterest and voila here we are. This Mediterranean Salmon Salad is really tasty and we had a nice lunch today while staring at the white winter wonderland around us.

- Ingredients
- 2 Tbsp. butter
- 1/2 onion, sliced
- 2 Tbsp. flour
- 2 Tbsp. olive oil
- 1 cup milk
- 1 cup pumpkin puree
- 1/2 tsp. black pepper
- 1/2 tsp. salt
- 1 tsp. paprika
- 1 tsp. sage
- 2 cups Gruyere cheese, shredded
- 1 small head cauliflower, cut into florets
Preheat oven to 425 degrees F.
Melt butter in oven-safe skillet over medium heat. Add onion and sauté until soft. Stir in olive oil and flour. Continue heating and stirring until the onion and flour mixture has formed a paste. Stir in the milk. Continue stirring until the mixture is bubbling. Stir in pumpkin and spices until evenly mixed. Stir in the cheese a handful at a time until it is melted and you have a smooth sauce. Remove from heat and stir in the cauliflower florets until all are well coated with sauce. Bake at 425 degrees for 25-30 minutes. If you would like the top to brown more, pop the dish under a broiler for a few minutes. Serve!
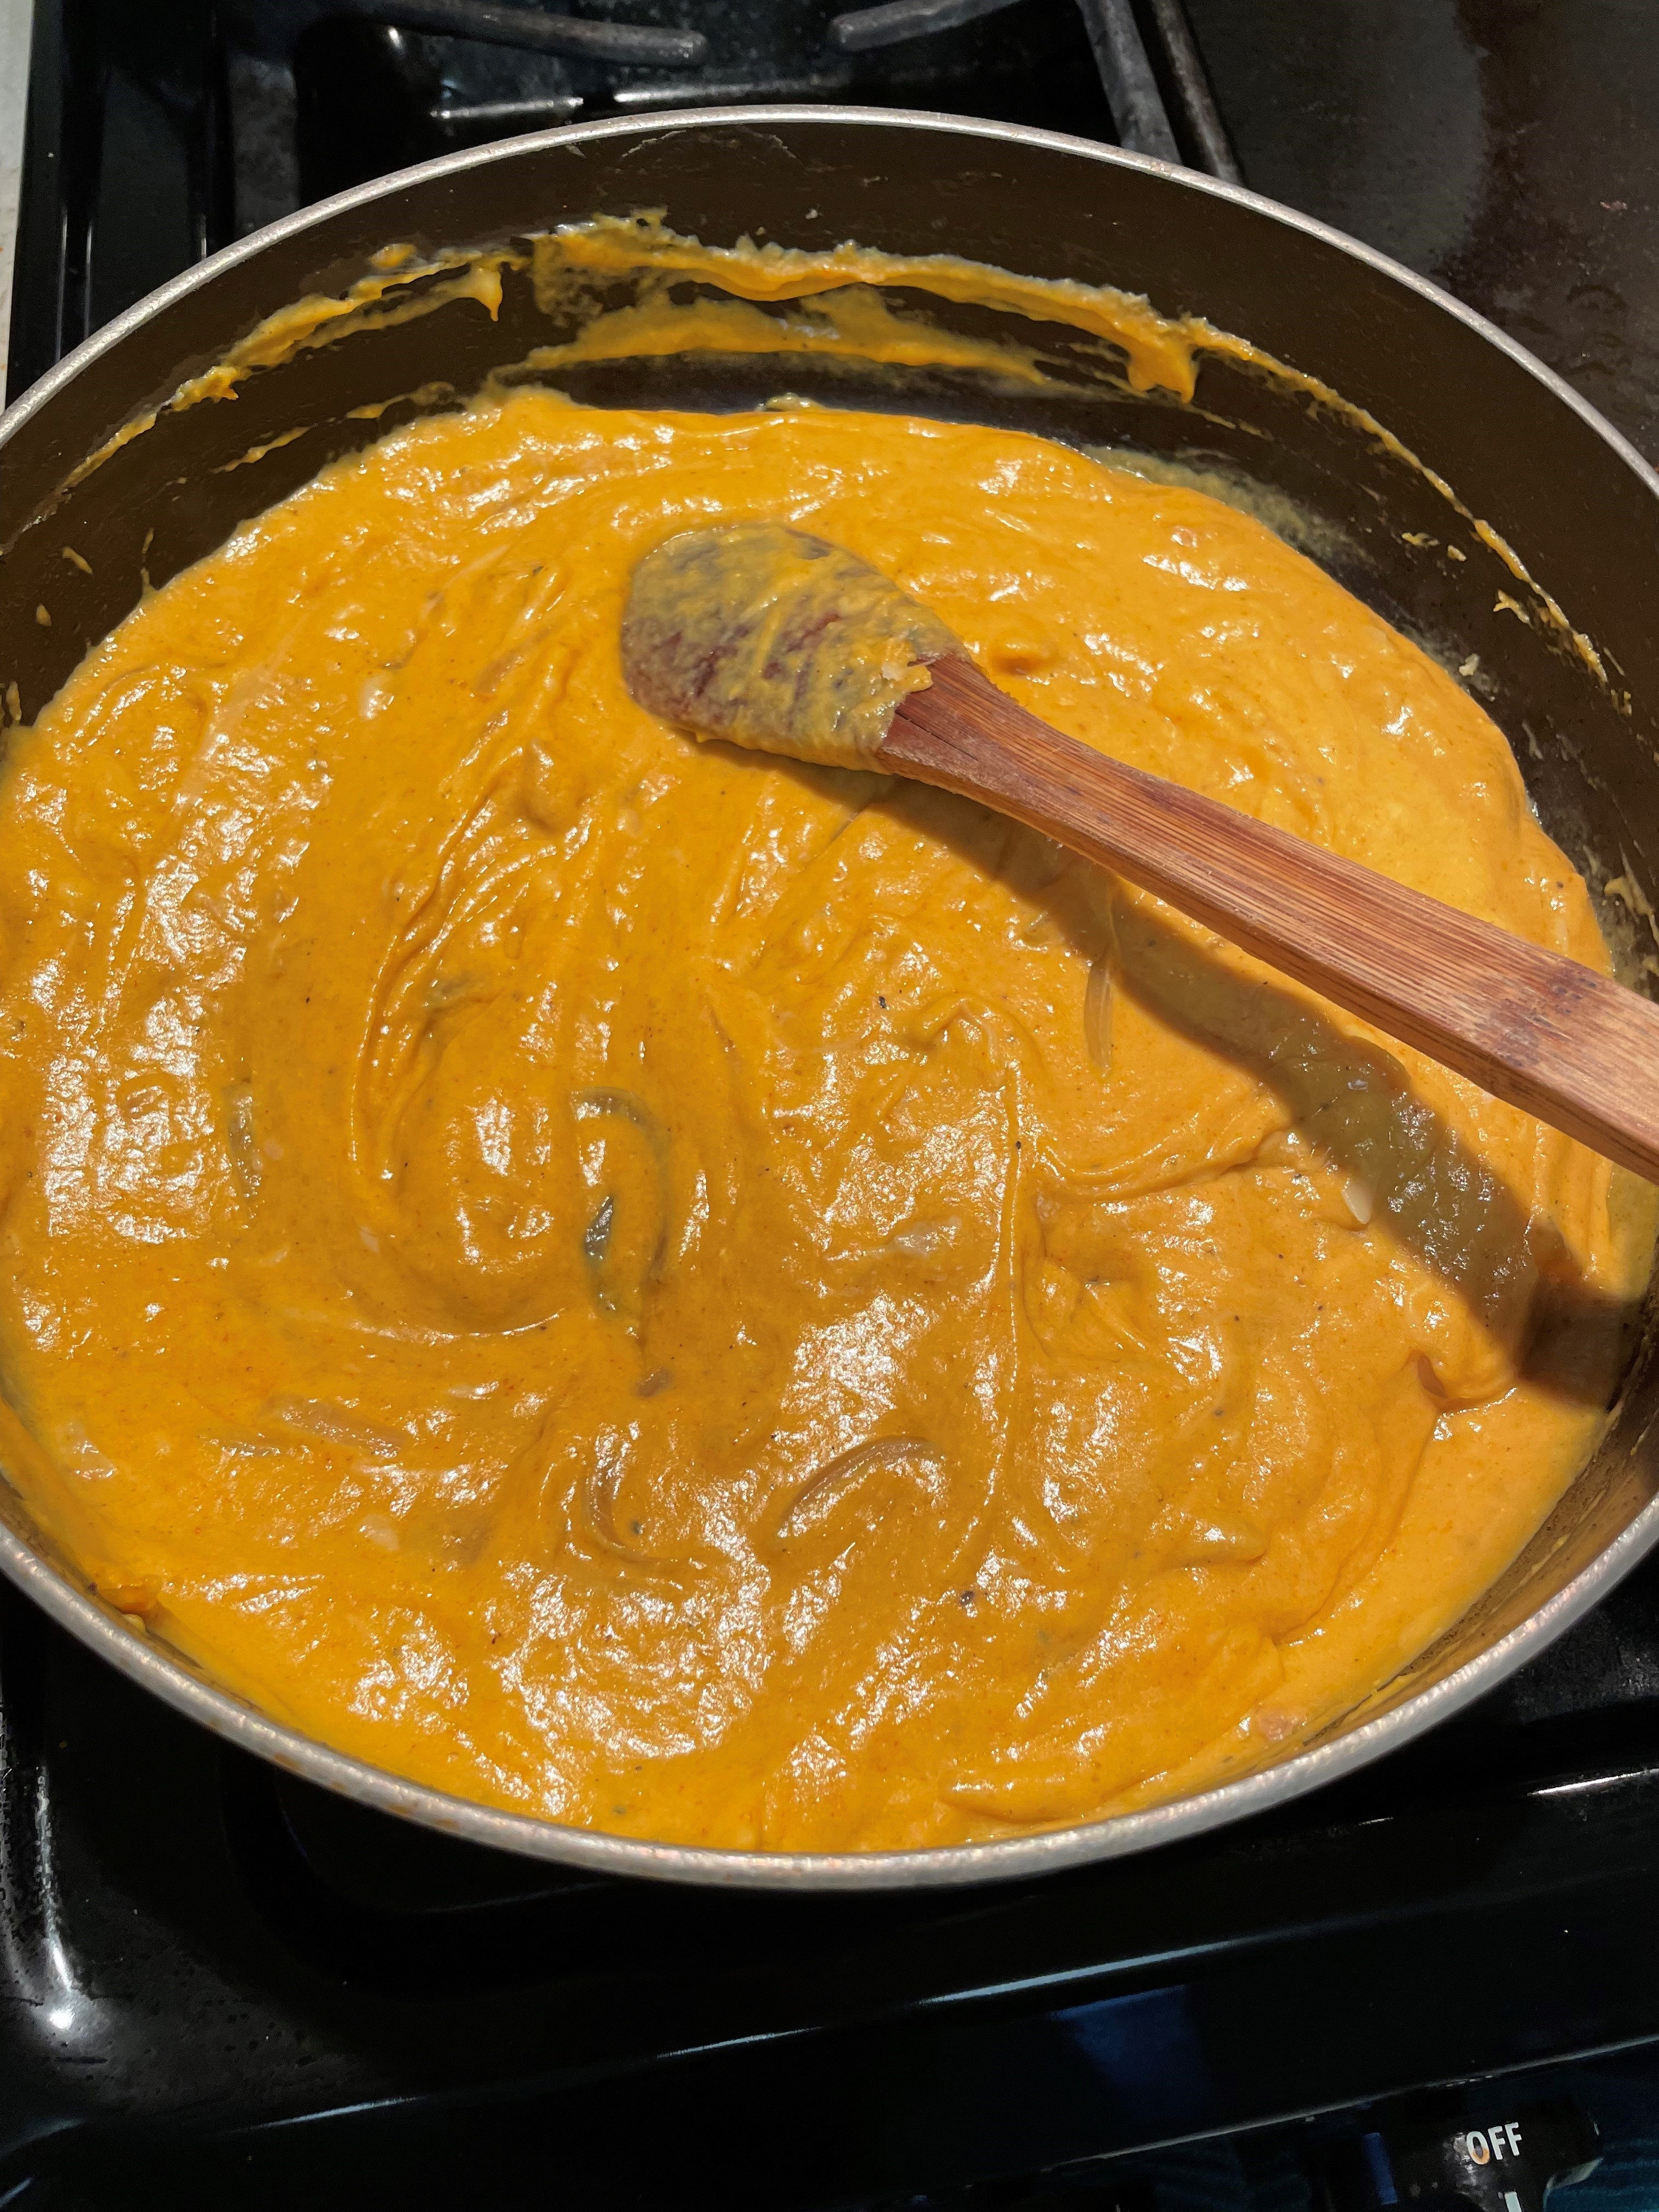

NOTE: It’s funny how one thing leads to another. My cousin texted me that she had made my Pumpkin Apple Muffins. I thought that sounded really good, so I made them, too. But then I had a cup of leftover pumpkin. What to do, what to do. This recipe from wellandfull.com sounded like just the ticket to use the leftover pumpkin. And since I’ve been perfecting my Mac and Cheese recipe, I happened to have Gruyere on hand as well. Amazing! This Pumpkin Cauliflower Gratin is rich and really delicious. I liked that I didn’t have to cook the cauliflower ahead of time.

- Ingredients
- 1-1/2 cups Gruyere, shredded
- 1-1/2 cups sharp white cheddar, shredded (or sharp yellow cheddar as pictured)
- 8 oz. macaroni pasta
- 1/4 cup butter
- 1/4 cup flour
- 3/4 cup milk
- 1-1/4 cups half n half
- 1 tsp. salt
- Pepper
- Dash of paprika
Preheat oven to 325 degrees F. Prepare an 8″ square baking dish by spraying with non-stick spray.
Mix the cheeses together. Set aside.
Cook macaroni pasta until al dente, according to package directions. Rinse lightly. Drain. Set aside.
In a large saucepan, make a roux by melting the butter and mixing in the flour. Stir over heat until bubbly. Stir in milk and half n half. Heat while stirring until the mixture is thick. Remove from heat and add salt, pepper to taste, and paprika. Stir in 1/2 cup mixed cheese. Stir in another 1/2 cup of cheese. At this point, withdraw approximately 1-1/2 cups of sauce from the saucepan and set it aside.
Stir the pasta into the sauce that remains in the saucepan. Pour half the pasta mixture into the prepared baking dish. Sprinkle with 1 cup mixed cheese. Add the other half of the pasta mixture into the baking dish. Sprinkle with remaining cheese. Bake 15-20 minutes at 325 degrees F until cheese is melty and bubbly.
Reheat the sauce you set aside and ladle some over the top of the individual servings of Mac and Cheese as you serve them.
This is simply awesome with my Barbecue-Style Pulled Pork. One half the bowl pulled pork and the other half mac and cheese with extra sauce. You’re welcome.
Note: on October 11, 2022 I stood in line for what seemed like forever (probably an hour) at Hash Smash in London’s Borough Market. All I knew was that I wanted to eat local cheese for my first time in England and we were in the cheese section of the market. We couldn’t get through to the front of the line to see what we were getting, we just took a spots at the end of the queue and waited to see what was being served. It did not disappoint. Mac and Cheese with Barbecue Pulled Pork sounds so American, but I have never had such deliciously cheesy pasta as that day on the sidewalk, eating out of paper baskets with plastic forks. I’ve been trying to recreate the dish for the past year and this is close. Very, very close. The recipe begins at the chunky chef. Lastly, I apologize for the poor photo. I keep forgetting to take a picture before we dive into it.
