
You are currently browsing the category archive for the ‘Dessert’ category.
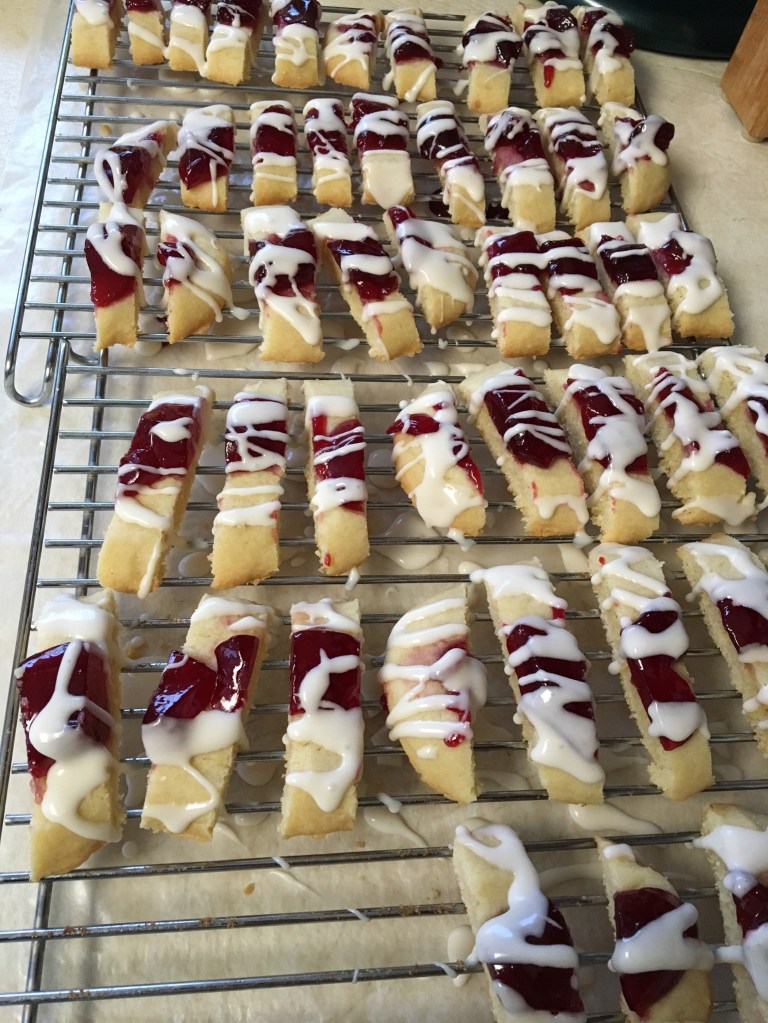
I’ve made these cookies at Christmas for many years. They are one of my favorites. The recipe comes from Taste of Home. I think these cookies are also know as Split Seconds, although I didn’t know that until now, and I haven’t checked into the Split Seconds recipes. Raspberry Ribbons are super simple to make, but they really don’t store very easily, so it’s the kind of cookie you should probably make only a day ahead or the morning of an event where you’ll need them.
- Cookie Ingredients
- 1 cup butter, softened
- 1/2 cup sugar
- 1 egg
- 1 tsp. vanilla extract
- 2-1/4 cup flour
- 1/2 tsp. baking powder
- 1/4 tsp. salt
- 1/2 cup raspberry jam (other jam flavors optional)
- Glaze Ingredients
- 1 cup powdered sugar
- 2 Tbsp. cream
- 1/2 tsp. vanilla extract
In a large bowl, cream together butter and sugar until light and fluffy. Beat in egg and vanilla. Combine flour, baking powder and salt; gradually add to creamed mixture and mix well.
Preheat oven to 350 degrees F. Prepare two baking sheets with parchment paper or Silpat. Divide dough into four portions and shape each portion into a log of about 2-1/2″ around and 10″ long. Place two logs on each baking sheet. Make a 1/2″ depression lengthwise along the top of each log. Bake 10 minutes.
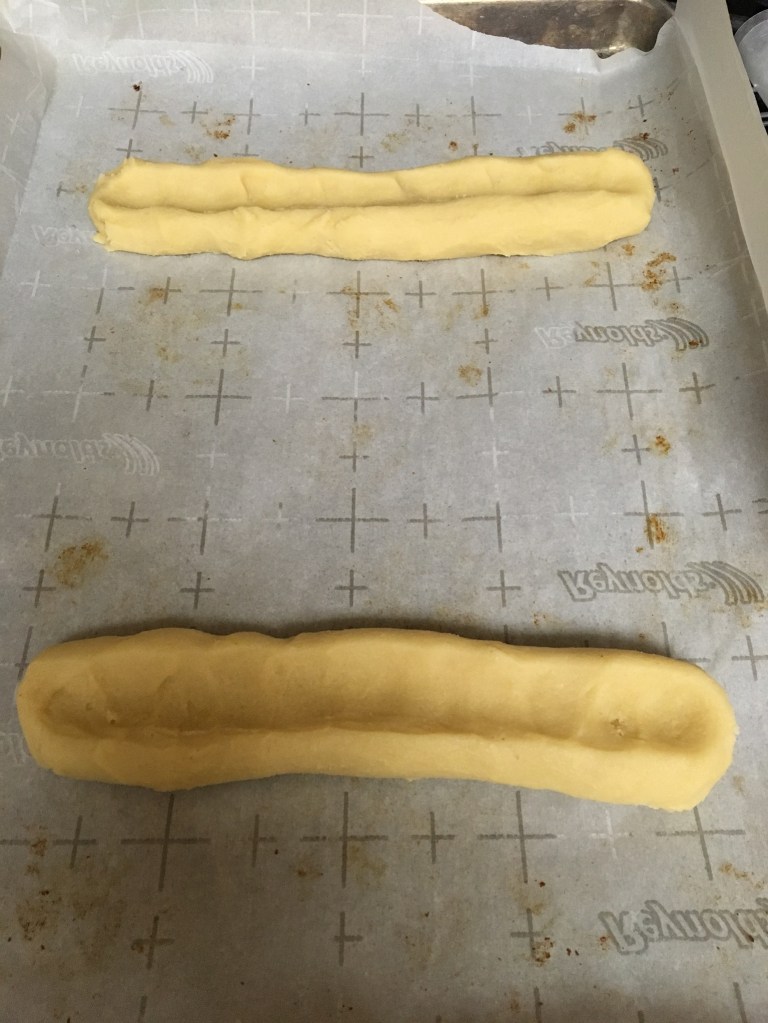
Remove from oven and spoon raspberry jam into the depressions. Bake another 10-15 minutes, until lightly browned. This is important as you do not want a soggy center beneath the jam. They should be nicely crisp. Remove from oven and cool for two minutes.

I carefully slice into 3/4″ slices while they are still on the cookie sheet, but you can remove them to a cutting board first. It just seems like an extra unnecessary step to me. After slicing, remove to a cooling rack. Be careful not to lose the jam, so do it with care. Separate the slices on the cooling rack.

In a small bowl combine the glaze ingredients and drizzle over warm cookies. Cool completely.
I have made these cookies using other flavors of jam and they’re all great. Raspberry seems to give the most punch to offset the buttery goodness of the cookie dough. Apricot also does this, rhubarb too, but although rhubarb tastes great it’s not as eye-popping pretty as raspberry.


This is a nice anytime cookie, easy to make. It looks very nice on a Christmas cookie platter. I took the recipe from Collecting Memories.

- Ingredients:
- 1 cup baking cocoa powder
- 2 cups sugar
- 1/2 cup vegetable (or Canola) oil
- 4 eggs
- 2 tsp. vanilla extract
- 2 cups flour
- 2 tsp. baking powder
- 1 tsp. salt
- 1/2 cup powdered sugar
In medium bowl, mix together cocoa powder, sugar, and oil. Beat in eggs and vanilla until smooth and shiny. In a separate bowl, combine flour, baking powder, and salt. Stir into cocoa mixture until smooth. Cover with plastic wrap and refrigerator at least 4 hours or overnight.
Preheat oven to 350 degrees F. Scoop out dough with a spoon and roll into balls of 1 to 2 inches. Roll the balls in powdered sugar and place them on a baking sheet lined with parchment paper. The cookies will spread while baking so place them at least 2″ apart. Bake for 10 to 14 minutes depending upon the size of the cookies. They should be soft in the center, so they end up being chewy instead of crispy. Let cool for several minutes before removing from baking sheet. The yield is around 5 dozen, depending upon how large you make them.


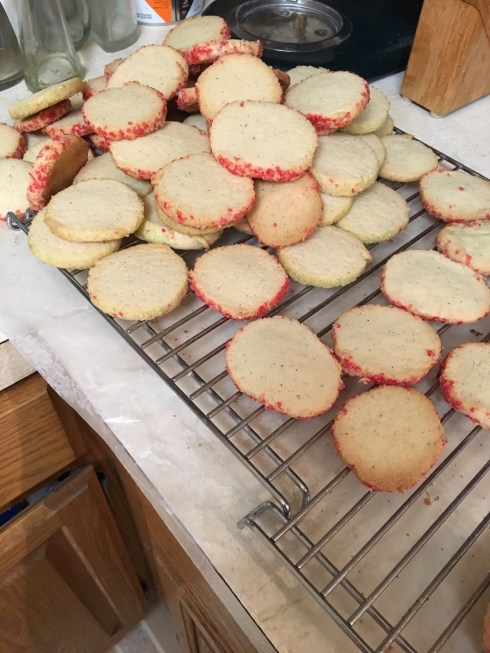
This recipe is from Not So Humble Pie. I tried this back in 2015 as a cookie to share, but it was a minor disaster because I didn’t follow the directions. The cookies spread out ridiculously, they were so thin and fragile that you had to eat them standing right there over the cooling racks. They were not at all good for sharing. But the flavor. Oh, the flavor. In 2016 I decided to give them another go because I still remembered how delicious they were. That time I weighed the dry ingredients, and used the exact ingredients listed in Not So Humble’s recipe. I didn’t try to convert the measurements from UK to USA. Success! If you do not have a kitchen scale, then please proceed at your own peril. These are refrigerator cookies and are among the easiest type of cookie to make.

- Ingredients
- 1-1/3 cup butter (11 oz.)
- 12 oz. sugar
- 2 egg yolks
- 1 tsp. vanilla
- 8 oz. bread flour
- 8 oz. cake flour
- Pinch salt
- 1-1/2 tsp. ground cardamom
- 1 Egg white, whipped lightly with a fork
- Decorative or sugar crystals
Cream together butter and sugar. Beat in egg yolks and vanilla. Mix in bread flour, cake flour, salt, and cardamom. Divide into two or three portions and roll each portion into a “log” of about 1-1/2″ to 2″. Wrap each log in waxed paper and chill in the refrigerator for at least 20 minutes. I leave mine for an hour or more. Preheat oven to 350 degrees F. Once chilled to quite firm, brush each dough log with egg white and roll the log in decorative sugar. Cut each log into slices of 1/4″ and place on a parchment paper-lined cookie sheet. Bake for 15 minutes. They should be lightly browned and will be a crunchy cookie.
I do these cookies in batches, only taking one log out of the refrigerator at a time. I think part of the spreading problem has to do with the chill on the cookie dough. Keep it cold. Rolling in sugar has its own challenges, the logs are hand-rolled and therefore uneven, so don’t really roll flat against the pan where the decorative sugar is spread. I sprinkle the sugar over them as I roll. You’ll end up with a mess on your hands, and the egg white tends to dissolve the decorative sugar if you touch it, but if you handle the logs as little as possible after the egg white has been brushed on, it’s fine. Then I pop the remainder of the roll back in the refrigerator until I’m ready for it. Keep the dough cold! And lastly, I make mine about 1 to 1-1/2 inches in diameter because they’re seriously addictive and maybe whole-cookie bites into your mouth keep you from eating too many. Maybe. Merry Christmas!
Anchorage True Value Hardware had their annual “Ladies Night” last week. What a great marketing ploy! No parking spaces remained. My husband drove my daughter and I in the car, and then picked us up when it was over two hours later. There were hundreds of women lining the aisles of paint supplies, power tools, housewares, and Christmas decorations, all waiting to get their card stamped at each guest-table for an entry into the grand prize drawing of a barbecue grill worth hundreds of dollars. The store also drew tickets for gift baskets valued at $200 to $400 every fifteen minutes, like clockwork. Since we arrived wearing the requisite ugly sweater and/or Aloha shirt, we were each issued an additional door prize ticket. The guest tables sprinkled throughout the store were mostly food-related, ranging from Shagi’s Sauces to Great Alaska Pizza Company. They gave us each a sample and then stamped our card. Bummer, but we didn’t win anything.
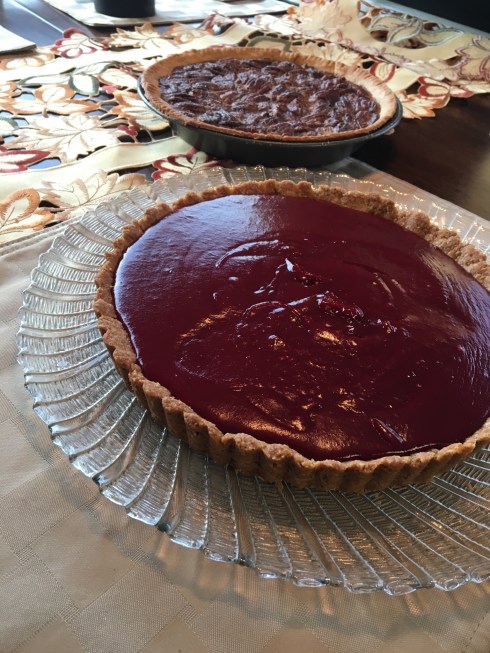
Of course, browsing led to buying and I purchased a set of tart pans. I’ve been wanting some since the whole gluten-free issue entered my life, because there are so many tart recipes that use almond flour and don’t require a rolling pin. I do own a rolling pin and I do use it to roll out bread dough and crush graham crackers, but that’s the extent of it. I still can’t make a pie crust. Anyway, the whole tart thing became something I was wanting to try. The pictures won’t be great, but I need to get this down so I can remember what and how I did this. It turned out so much better than I expected!
HOW TO DO IT
You will need a 9″ tart pan with a removable bottom. My tart pans are not coated with a non-stick finish and since this was my first foray into tart-making, I was a little freaked out about having a mess all stuck to the pan. I sprayed the pan. In retrospect I may not have had to do that, but it didn’t hurt anything.
For the crust recipe I used Shiny Cooking’s walnut-oat pie crust. I followed her instructions precisely and it could not have turned out any better.
- Crust Ingredients
- 1-1/3 cups gluten-free rolled oats (not quick oats)
- 1 cup walnuts (do not chop them yet)
- 1/3 cup brown sugar, firmly packed
- 1/4 tsp. salt
- 6 Tbsp. melted butter
Preheat the oven to 350 degrees F. Sprinkle the oats in a round cake pan and place in the preheated oven. Sprinkle the walnuts in another round cake pan and also place in the preheated oven. Shake the pans around every once in awhile until the walnuts release their fragrance and start turning brown. Watch carefully as you do not want them too brown or scorched. The walnuts will be done soonest, about 8 minutes. Remove walnuts from the oven. Let them cool a couple minutes and then rough chop with a knife. The oats take longer to toast, about 15 minutes. Remove from oven just as they start turning golden.
Place the rough-chopped walnuts and the oats into a food processor with the brown sugar and salt. Whir (is that even a word?) until it’s all very fine. Slowly pour the melted butter in through the top of the food processor while the mixture is whirring. When the mixture is mostly sticking together remove from food processor.
I took a pinch at a time of the dough and, starting on the sides, pressed the dough into the tart pan. I tried to fill every crevice all the way to the top of the sides. Try to be careful when pressing dough into that space where the removable bottom meets the side-ring. Removing the bottom may be a bit tricky if you get dough beneath it.
Bake at 350 degrees for about 14 minutes. The crust should be just turning brown. Mine took about 17 minutes. Set on a rack to cool. Let it cool completely before messing with it any more.

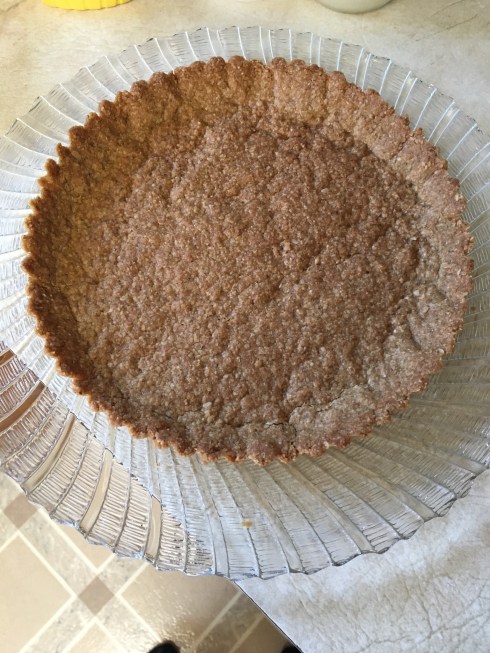
Have a plate ready to put the tart crust on. There’s science involved in the pan removal. As it cools, the crust contracts or the metal expands . . . one of those things happen, so you should be able to see that the crust is no longer tight up against the pan. Gingerly push up beneath the center bottom so that the sides fall downward. Now very, very carefully remove the bottom. I found I had to run my thumbnail along the edge in order to loosen it, I had a tiny amount of dough between the bottom and the sides. It wasn’t a big deal. Again carefully, set the crust on the prepared plate. Whew! You did it!
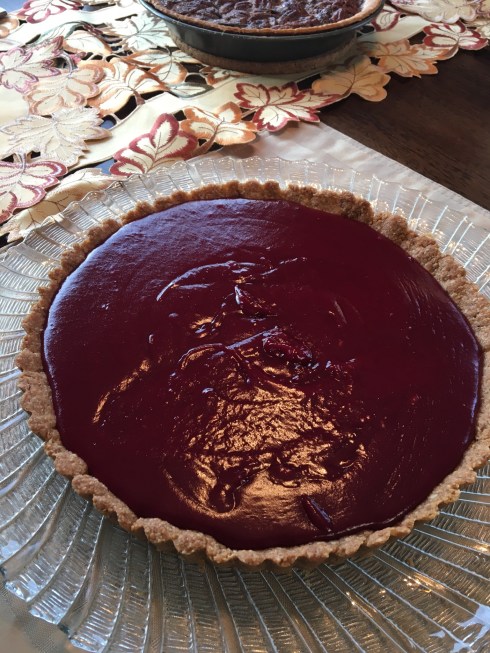
Now, onto the filling. This is the easy part. I used this super simple recipe from Dinner with Julie.
- Lingonberry curd filling ingredients
- 3 cups fresh or frozen lingonberries (may substitute cranberries)
- 1 cup sugar
- 1 lemon, zest and juice
- 1/2 cup butter cut into small pieces
- 2 eggs AND 2 egg yolks
In a saucepan, mix together lingons, sugar, lemon zest, and lemon juice. Stir over medium heat until the lingons are soft and the skins start to pop. Remove from heat and pour through a sieve (scrape down the saucepan and set it aside, you’ll need it again in a few minutes). Press the mixture through the sieve so that you get as much pulp as possible. Discard the solids, or use for a different purpose. Immediately stir the butter into the strained juice. Stir occasionally until all the butter is melted. Pour the mixture back into the saucepan. Whisk in the eggs and egg yolks. Whisk constantly over medium heat until the curd becomes bubbly and thick.
Remove from heat. You can strain the curd if you don’t want any little bits of lemon zest or egg in it, but that’s one step too far for me. I stirred the curd off the heat for a few minutes so that it wouldn’t be too hot when I poured it into my crust which I was still freaking out about, sure that some horrible thing would happen to crack my crust or cause it to get soggy. None of that happened. It was simply perfect. But this is what I did and how I did it. Let the tart cool at room temperature. It is ready to serve once cooled. I made mine one day ahead and then stowed it in the refrigerator over night. Still perfect.
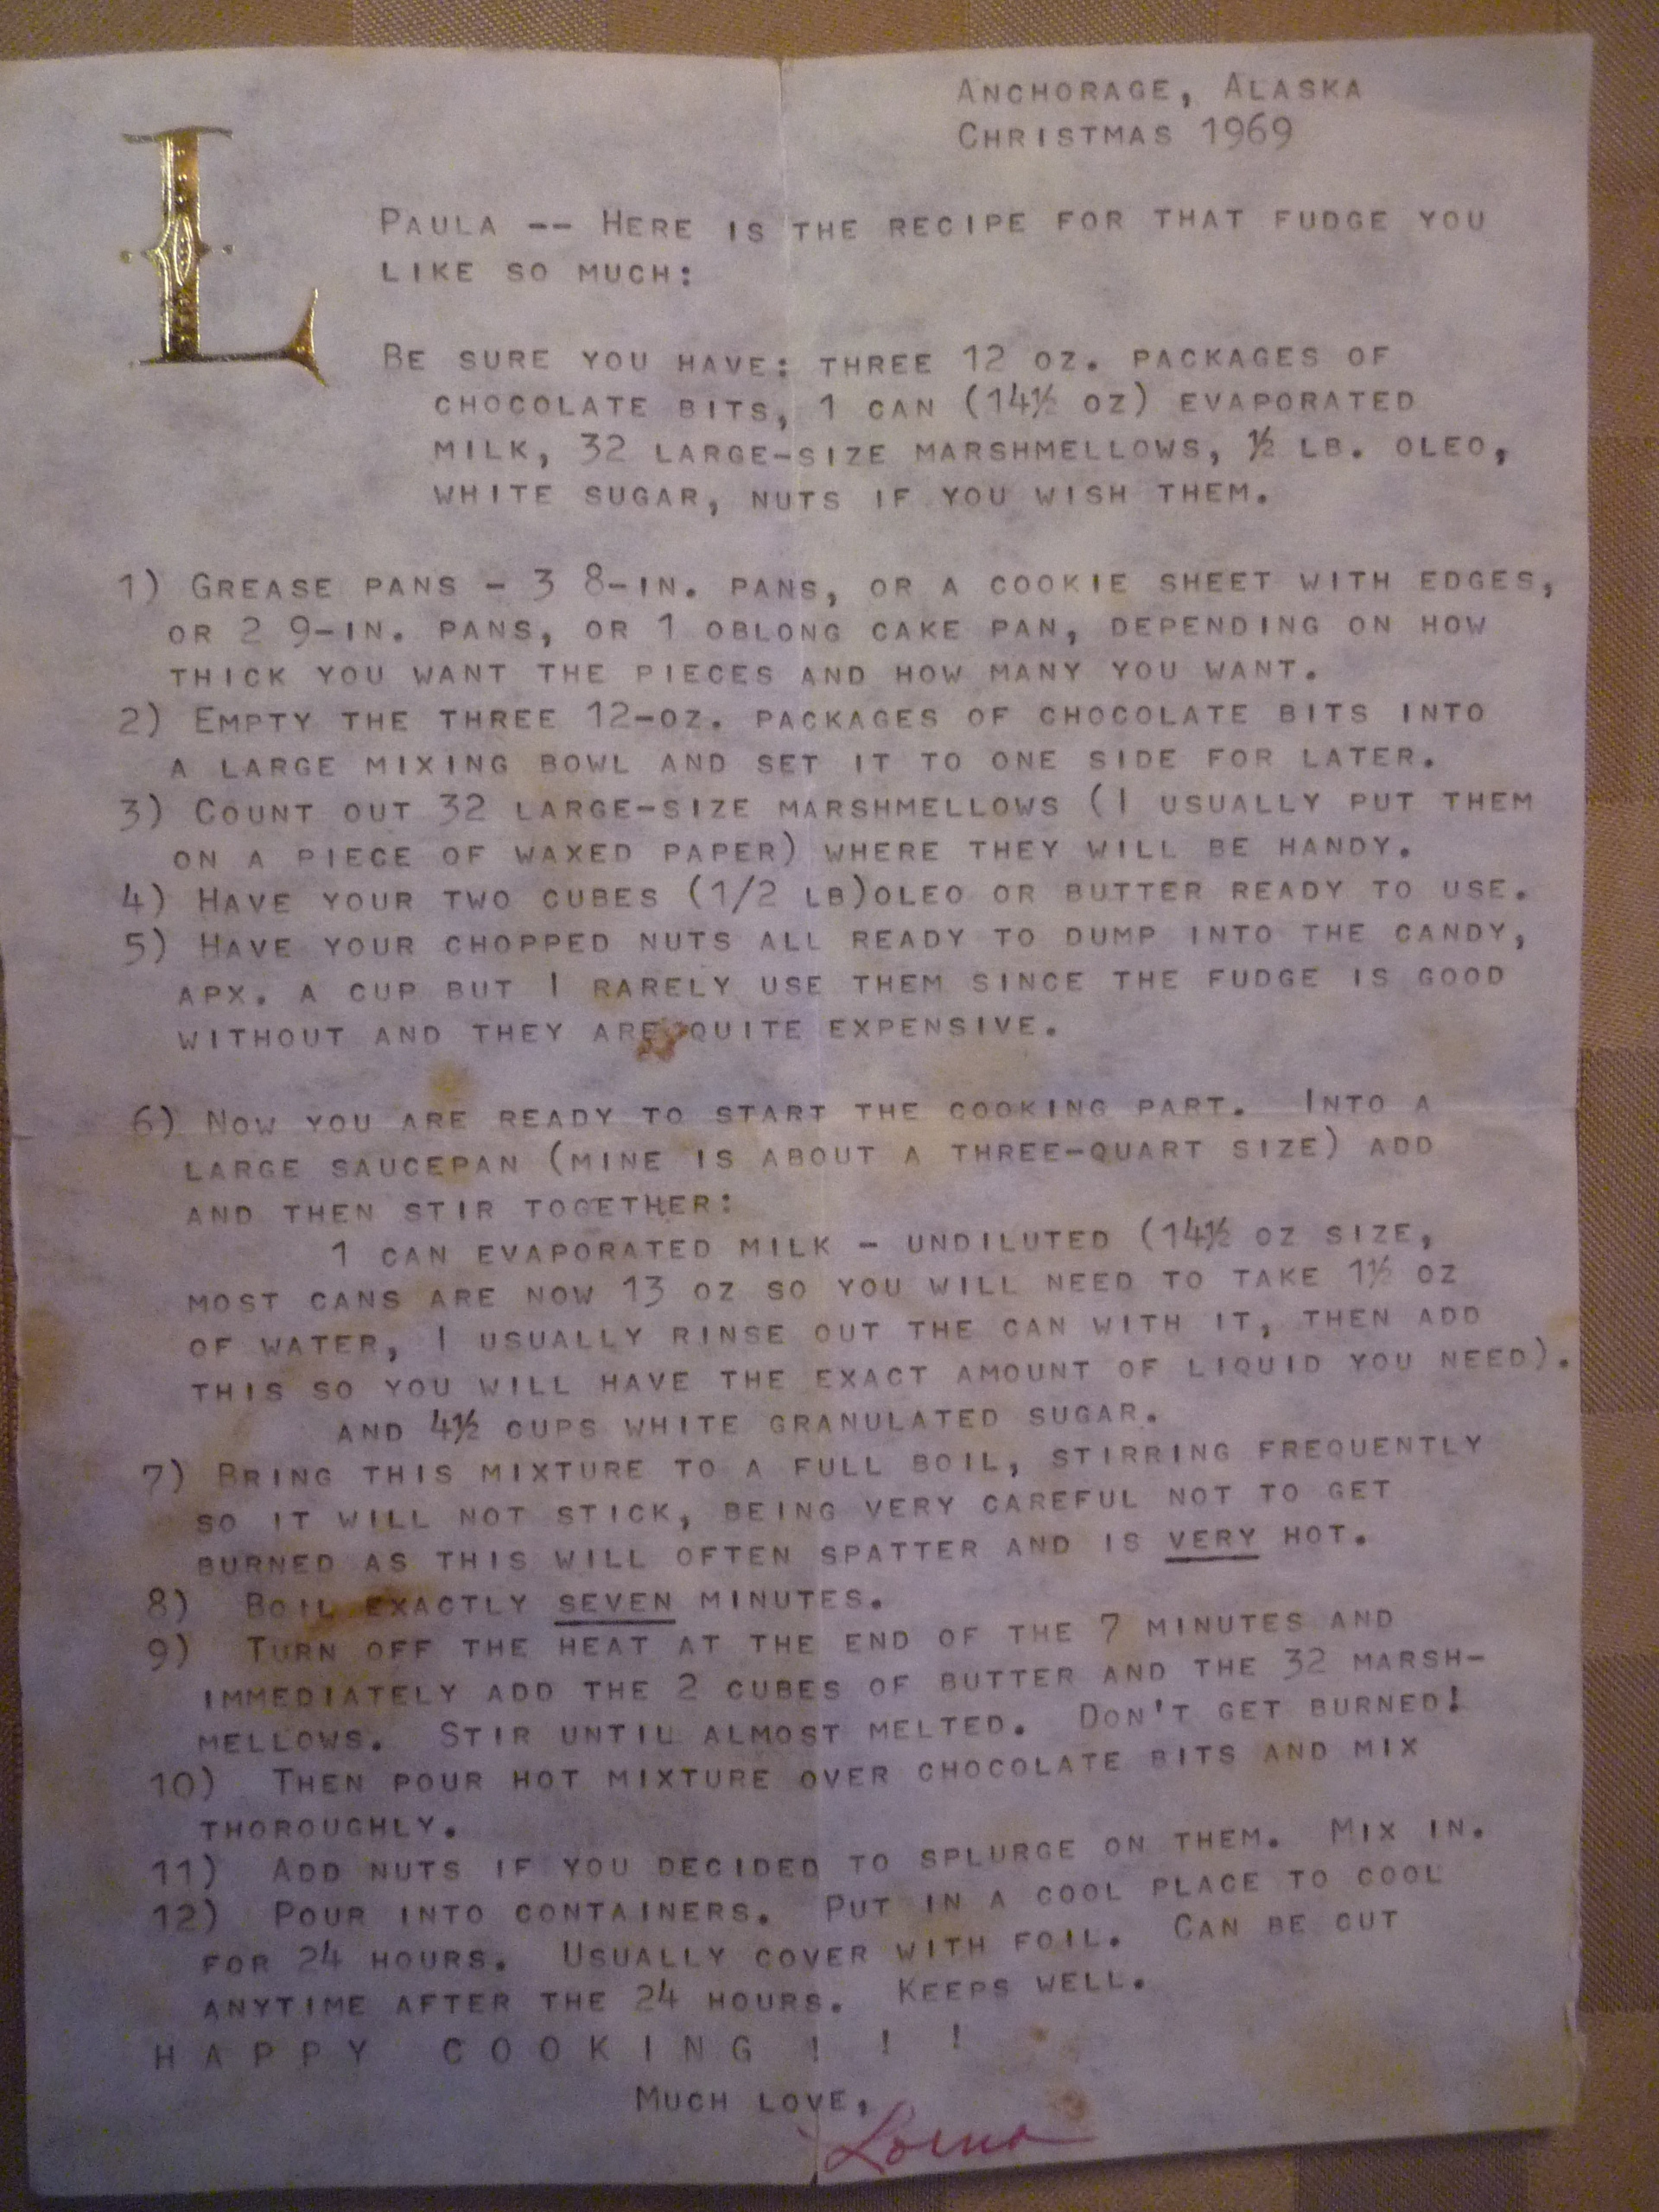
This recipe was given to me as a Christmas gift from Lorna Dingledy, a good friend of my mother, at Christmas 1969. In the package was everything needed to make the recipe. Her directions were spelled out step-by-step. You can see the actual recipe here, but I’m going to re-write it for easier reading. The reason I like this fudge recipe best is that it’s really smooth, not at all grainy.
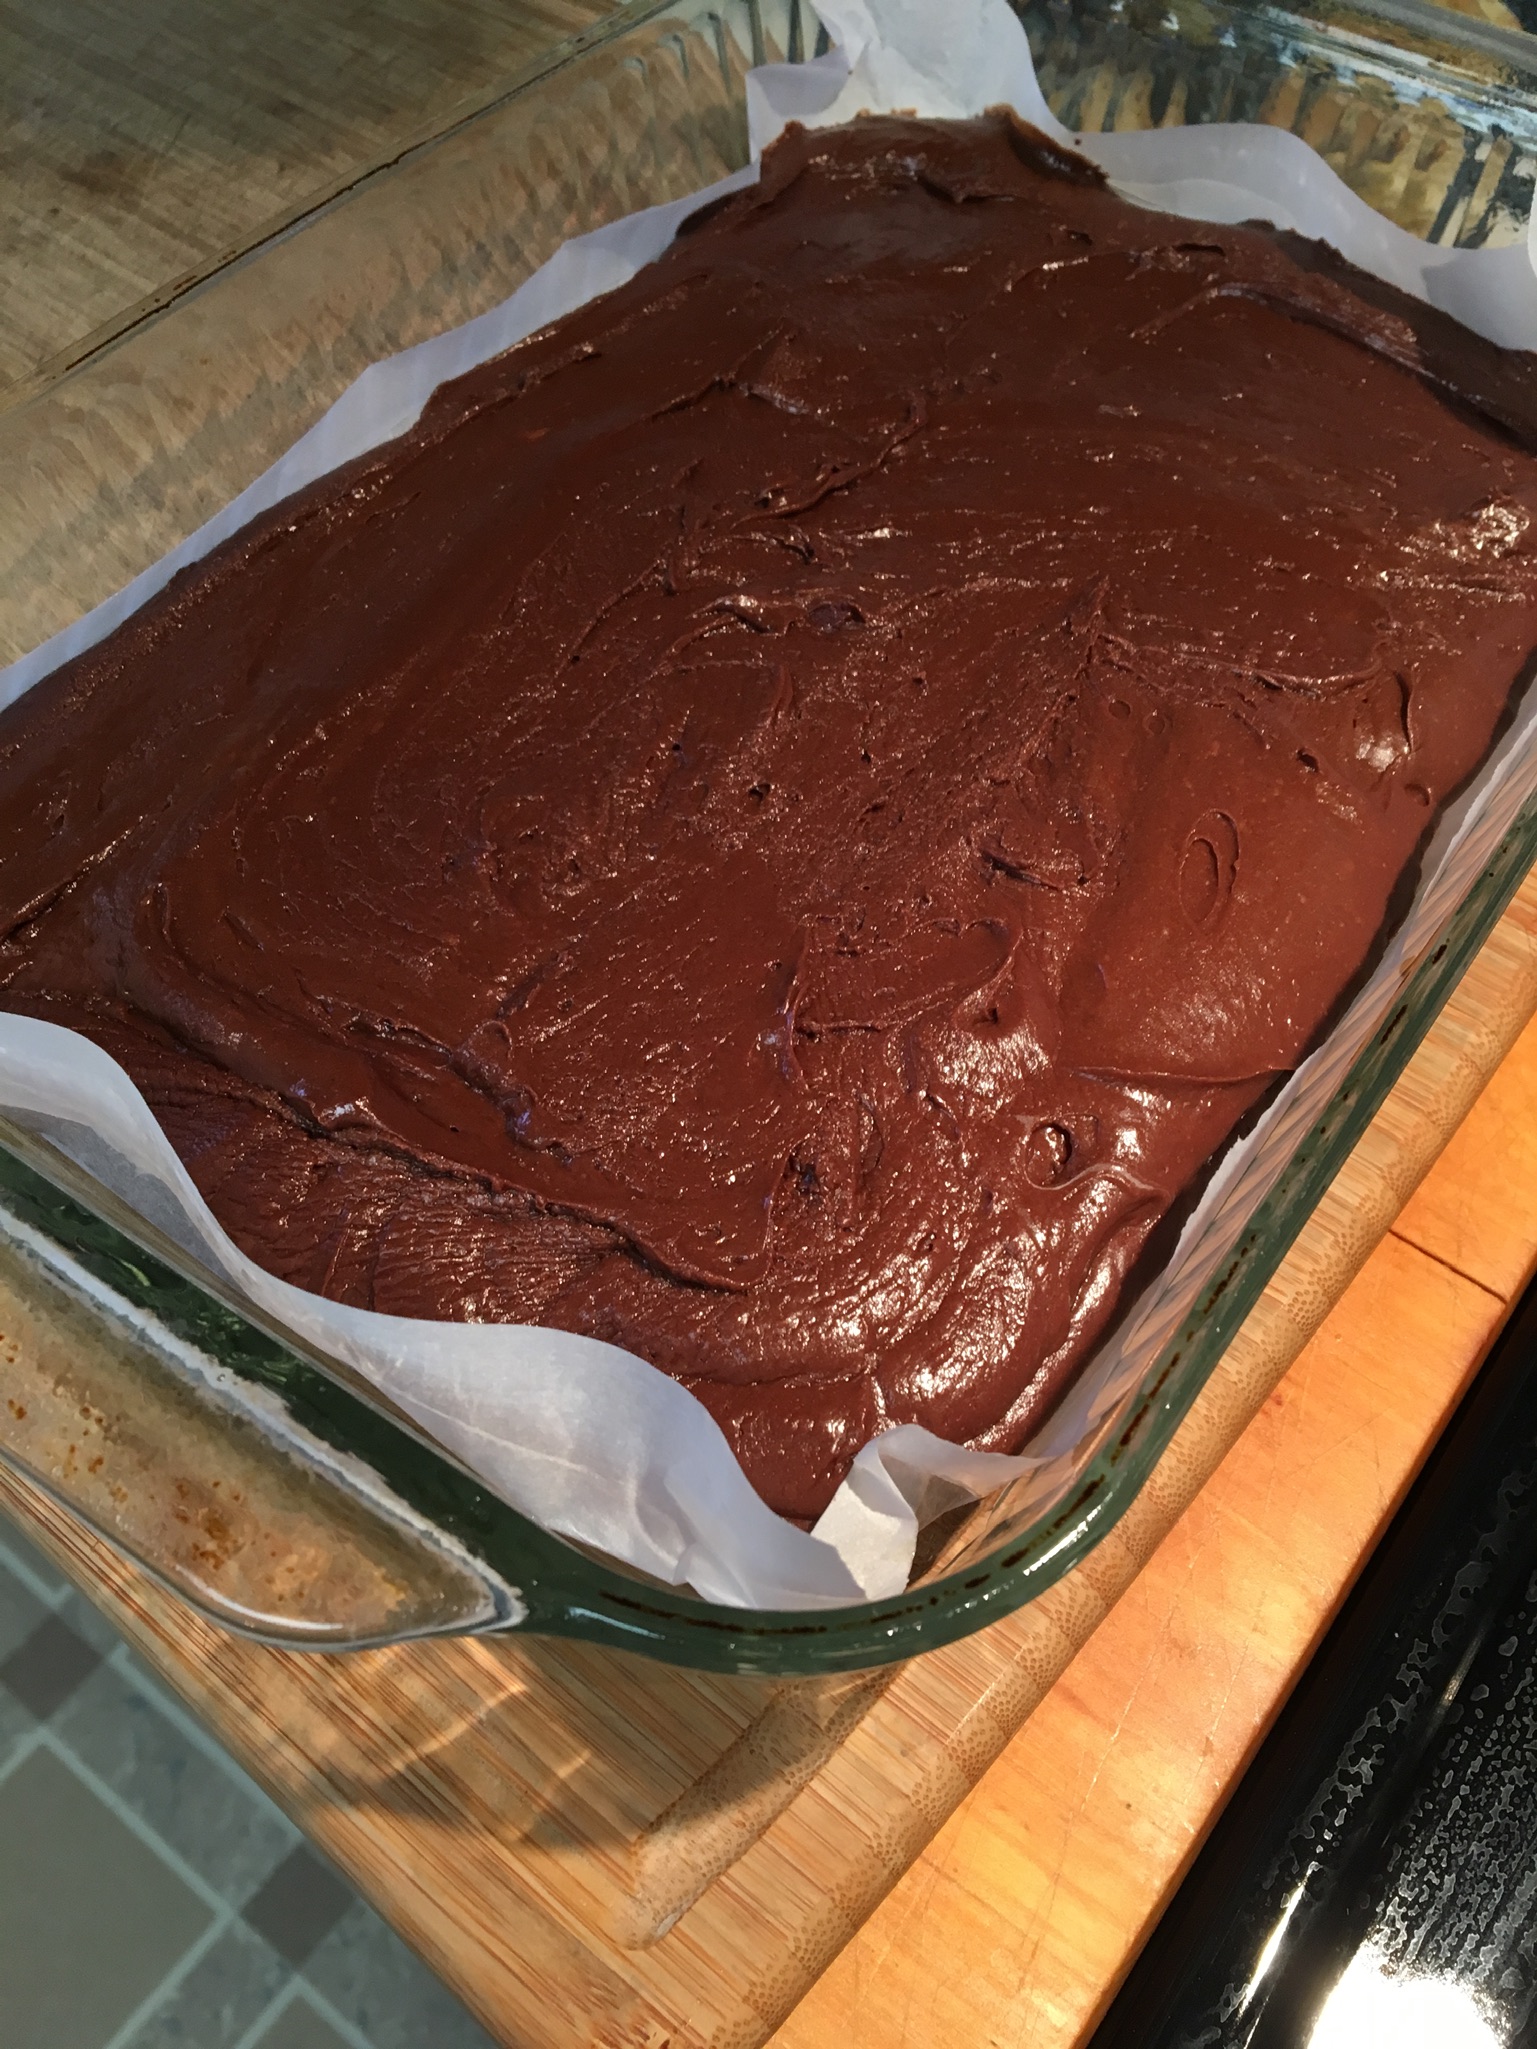
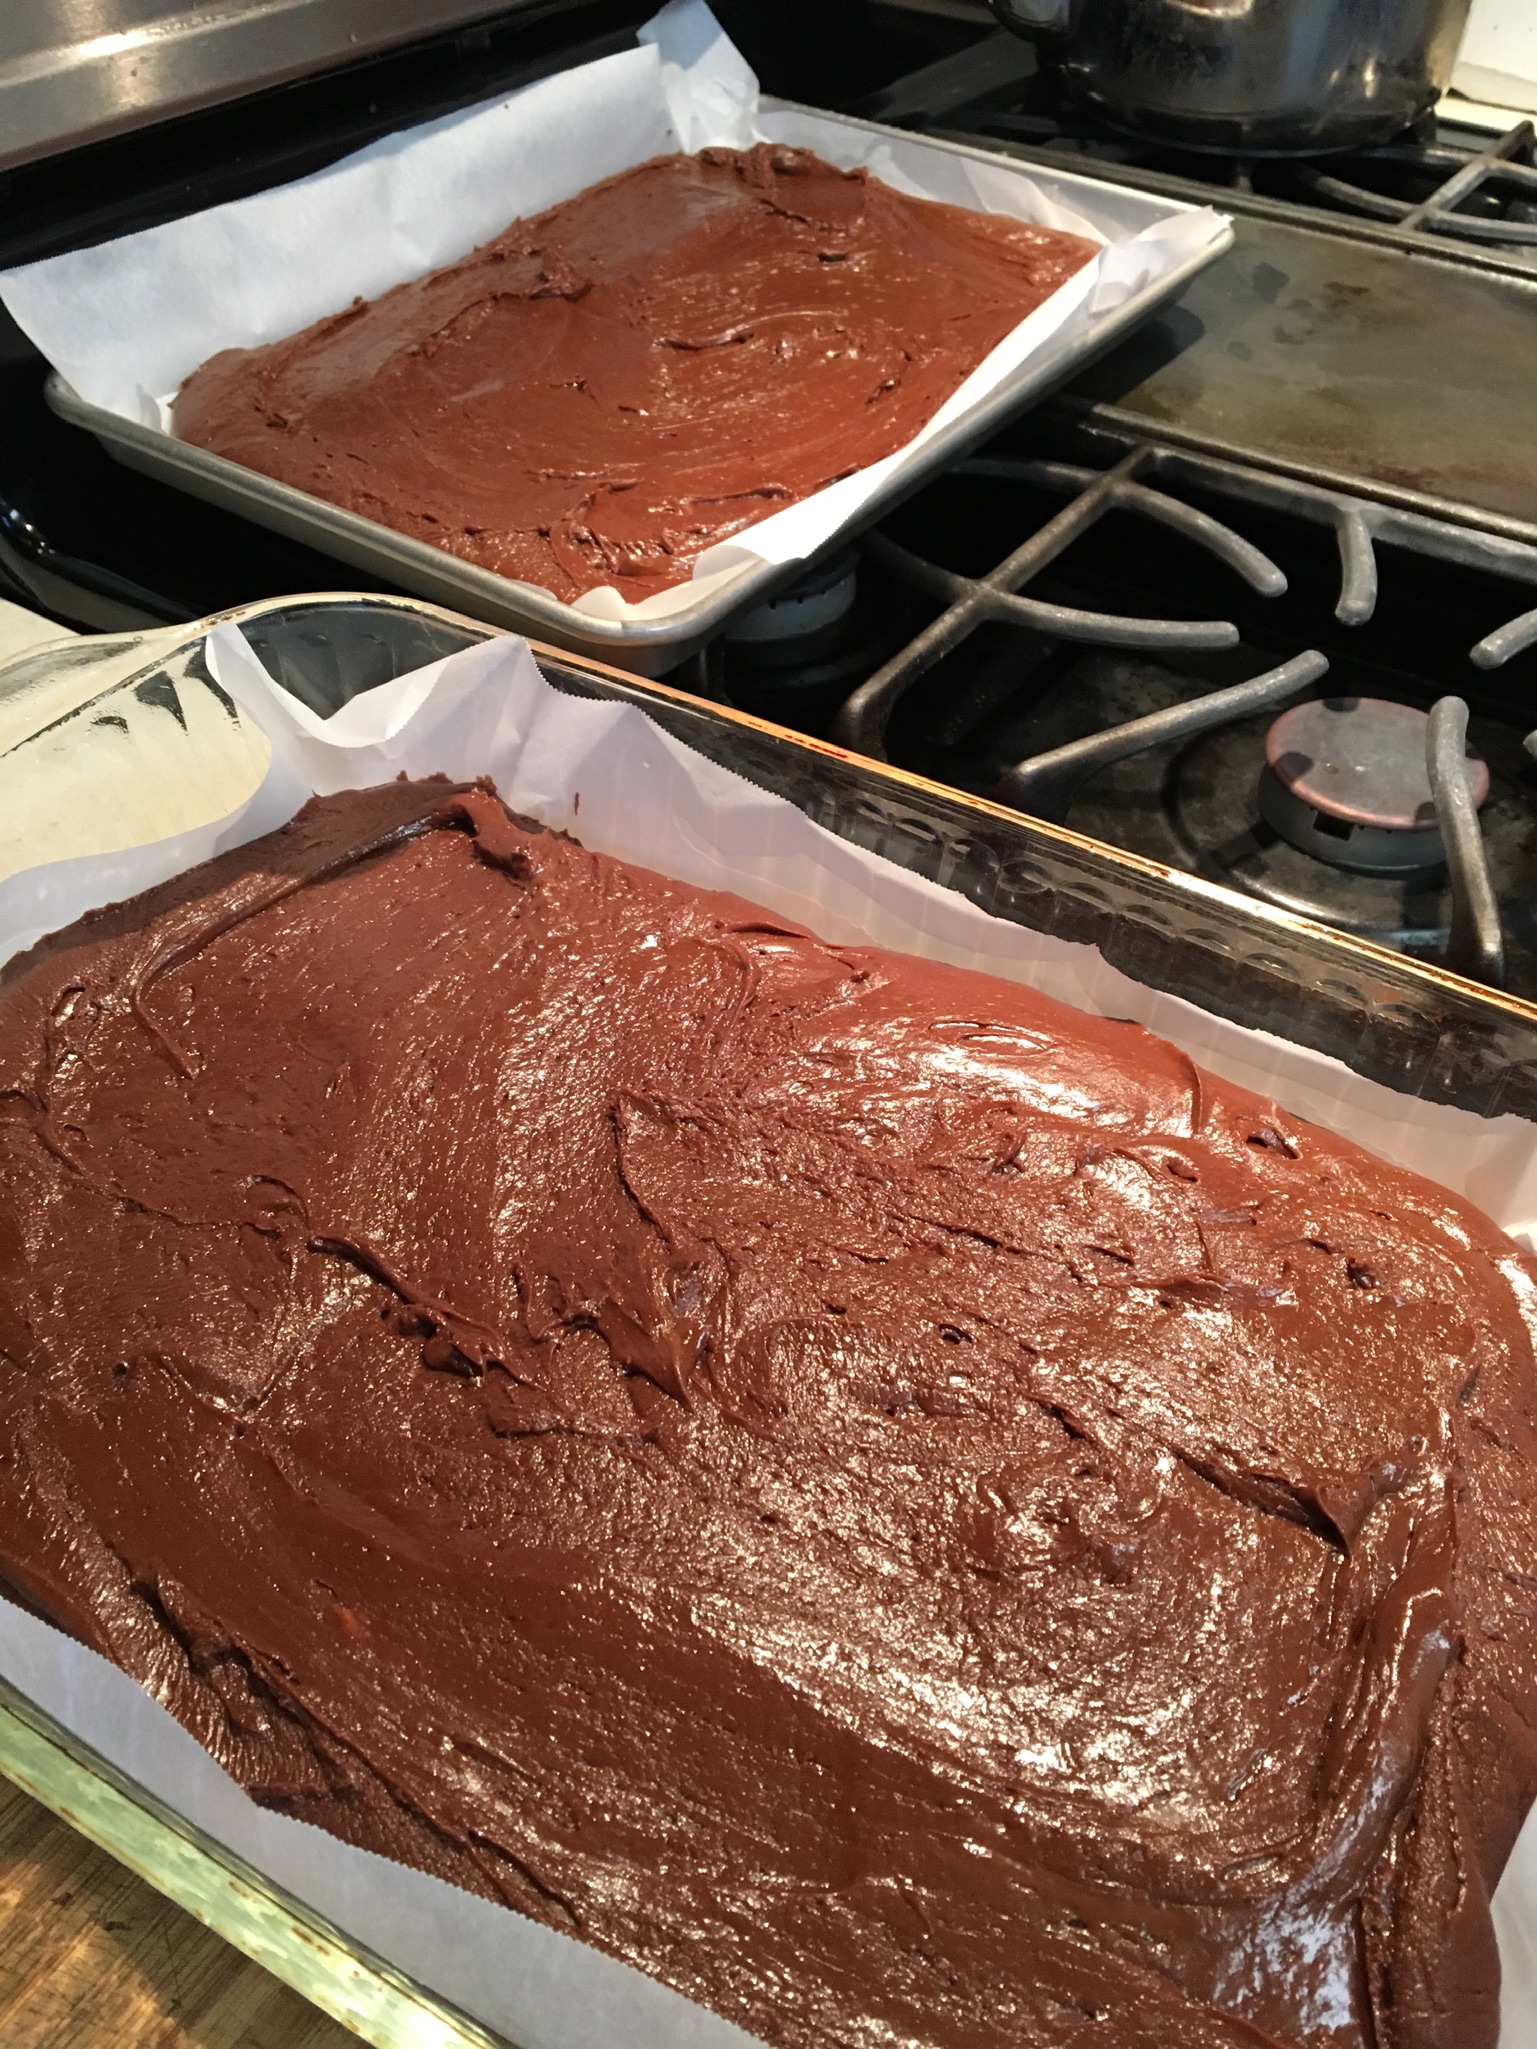
Be prepared that this makes a lot! Have a good plan for sharing. The number and size of your pans depends upon how thick you want each piece of fudge to be. I use a 13×9″ and a 10×15″. Make sure to butter your pans or line them with parchment paper. What a marvel parchment paper is!
Ingredients:
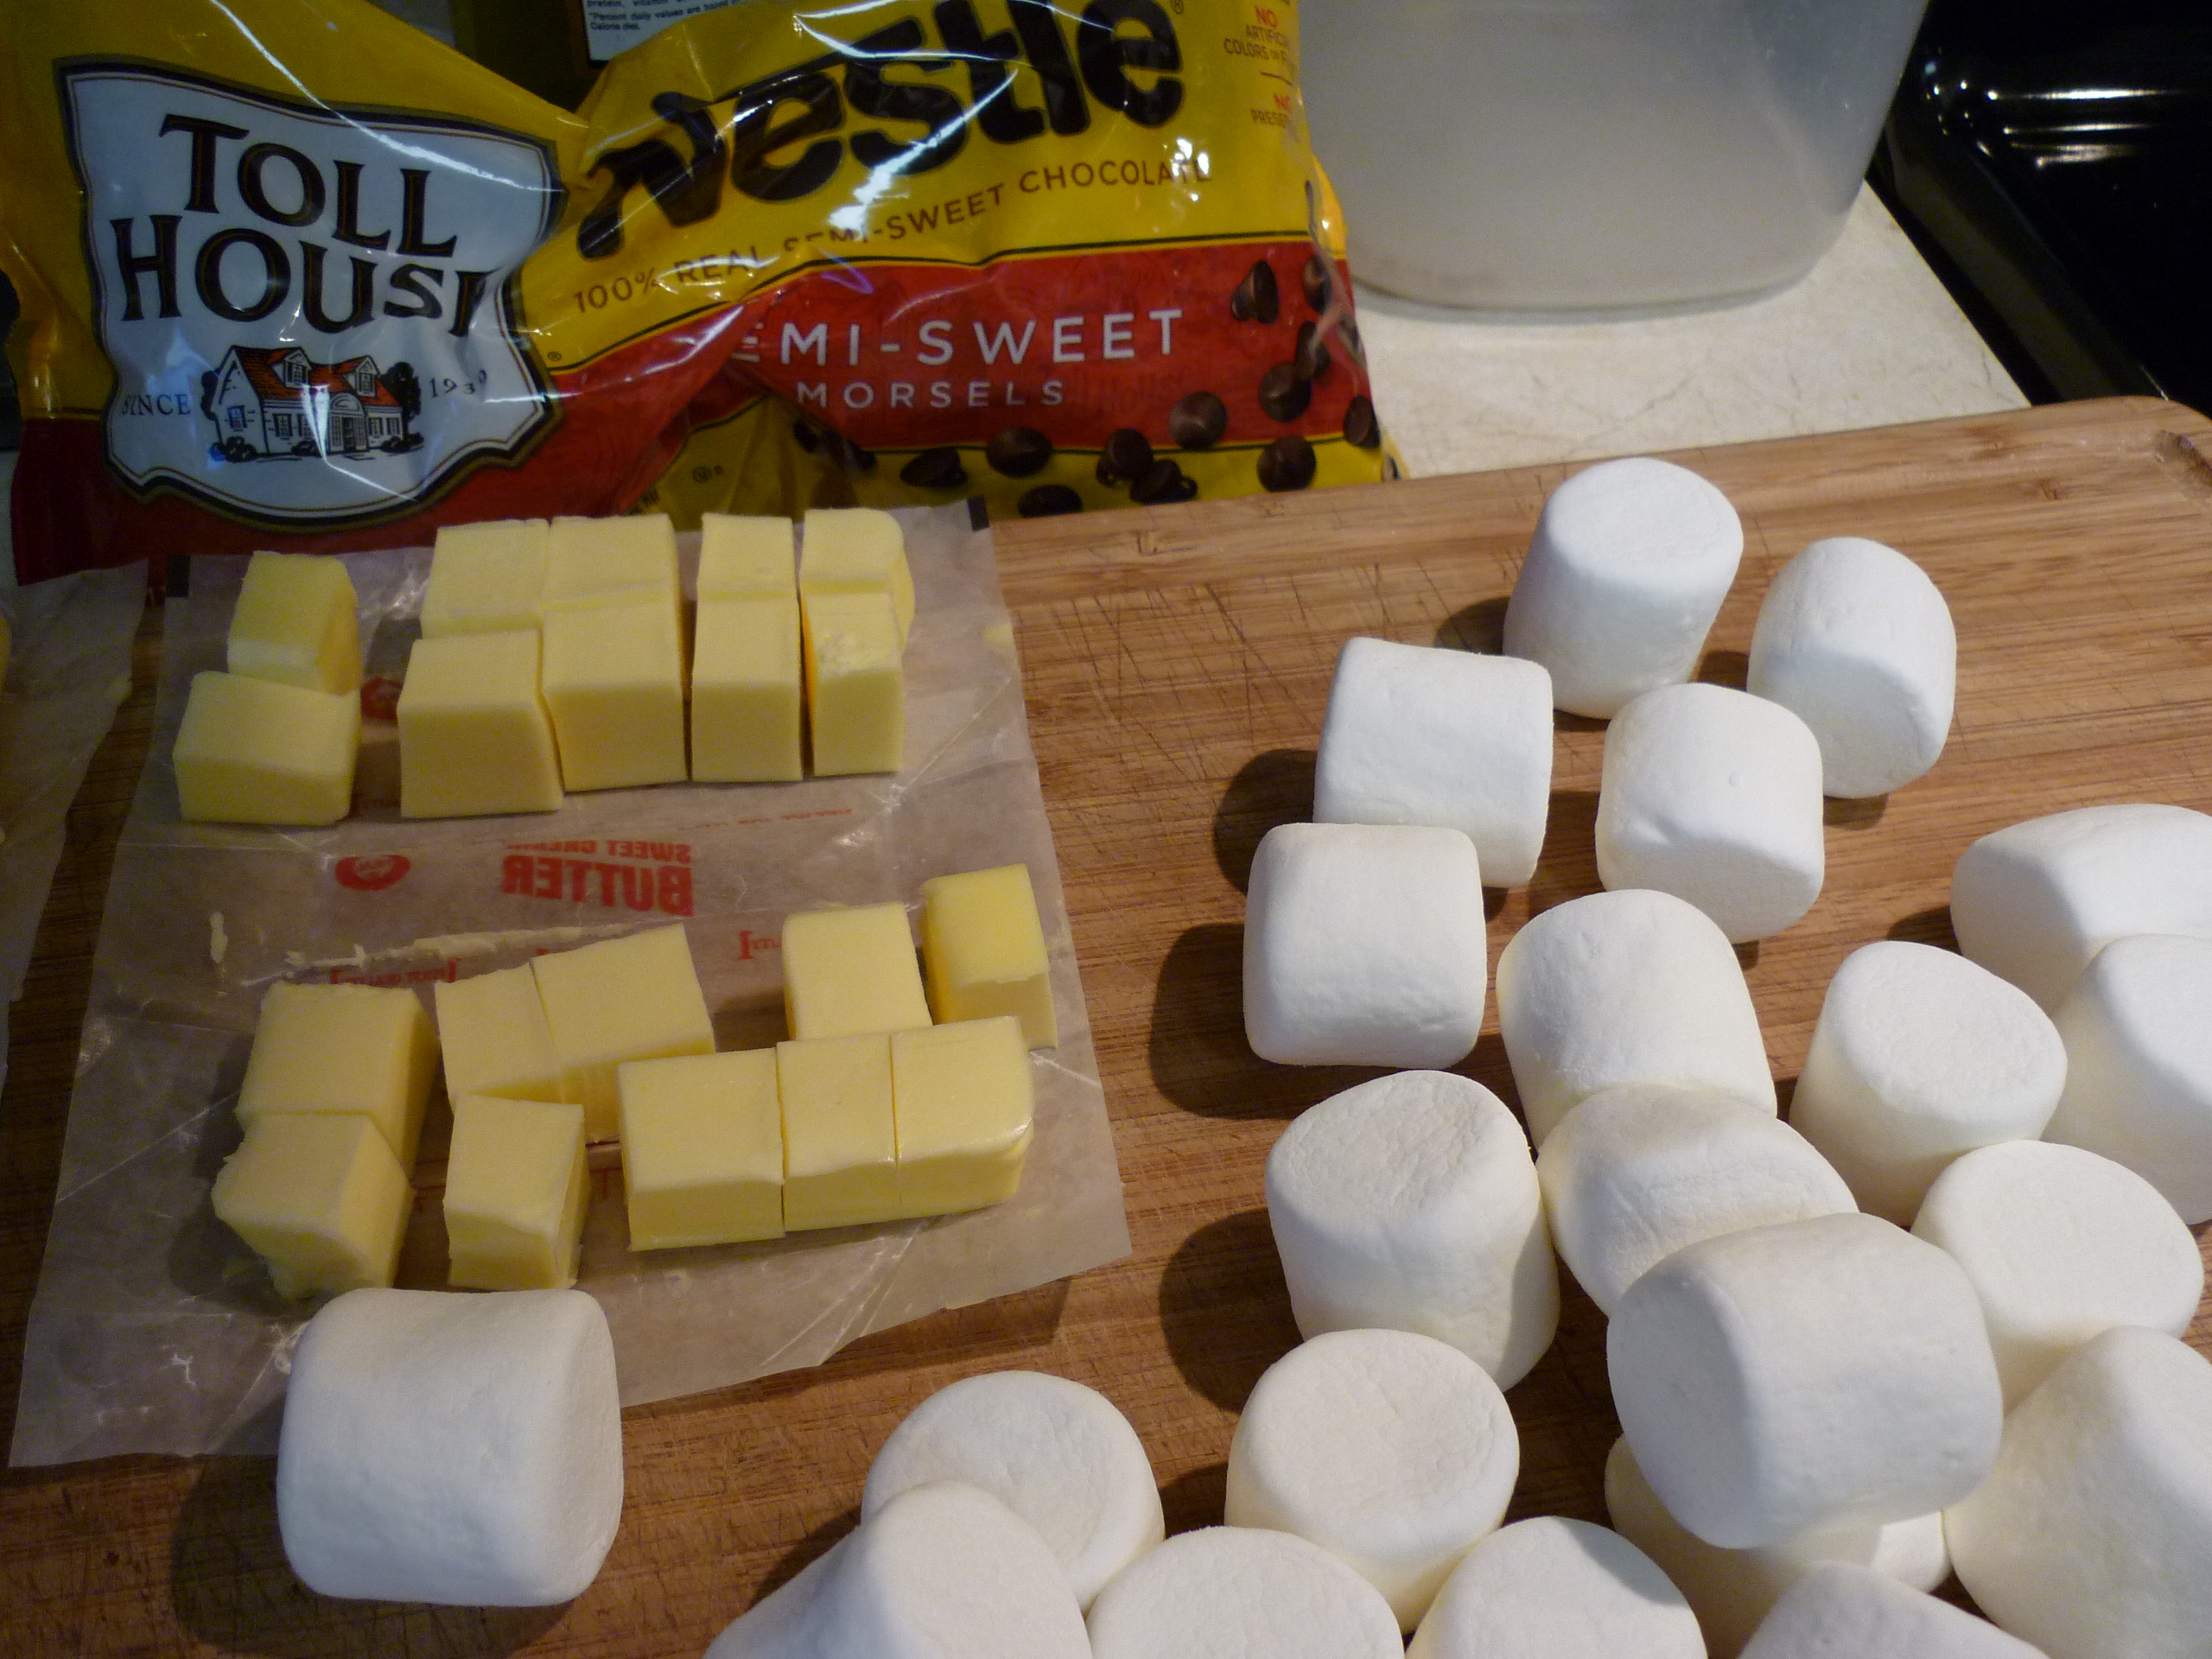
36 oz. semi-sweet chocolate chips
32 regular-size marshmallows
1/2# butter (2 sticks)
1-3/4 cups evaporated milk (NOT sweetened condensed milk)
4-1/2 cups sugar
1 cup chopped walnuts (optional-I do not use them)
Put the chocolate chips in a bowl and set aside. Count out 32 marshmallows onto wax paper and set aside. Open the butter to have it ready. If the butter is cold, try to rough chop it so it melts more quickly.
In a large saucepan stir together evaporated milk and sugar. Bring to a boil and, stirring frequently, let it boil for exactly seven minutes. Remove from the heat and immediately add the marshmallows and butter. Stir until those are all melted. Stir in the chocolate chips and mix thoroughly. It will be quite thick. Add the chopped nuts if you decided to use them.


Spoon the warm fudge into the prepared pans. Smooth the tops. Let cool. Cover and keep in a cool place for 24 hours. Cut into pieces and serve. This fudge keeps very well for a long time. I leave it out on the counter, but I’m in a cold climate and that may not work as well where you are. I’ve also found that it freezes well. This is a LOT of fudge. And it is so, so yummy!

This one is found at chef-in-training.com. It’s super simple as long as you follow the directions exactly, and have a good candy thermometer. Use real butter. Weigh your brown sugar, or just buy a 1# package for this use.
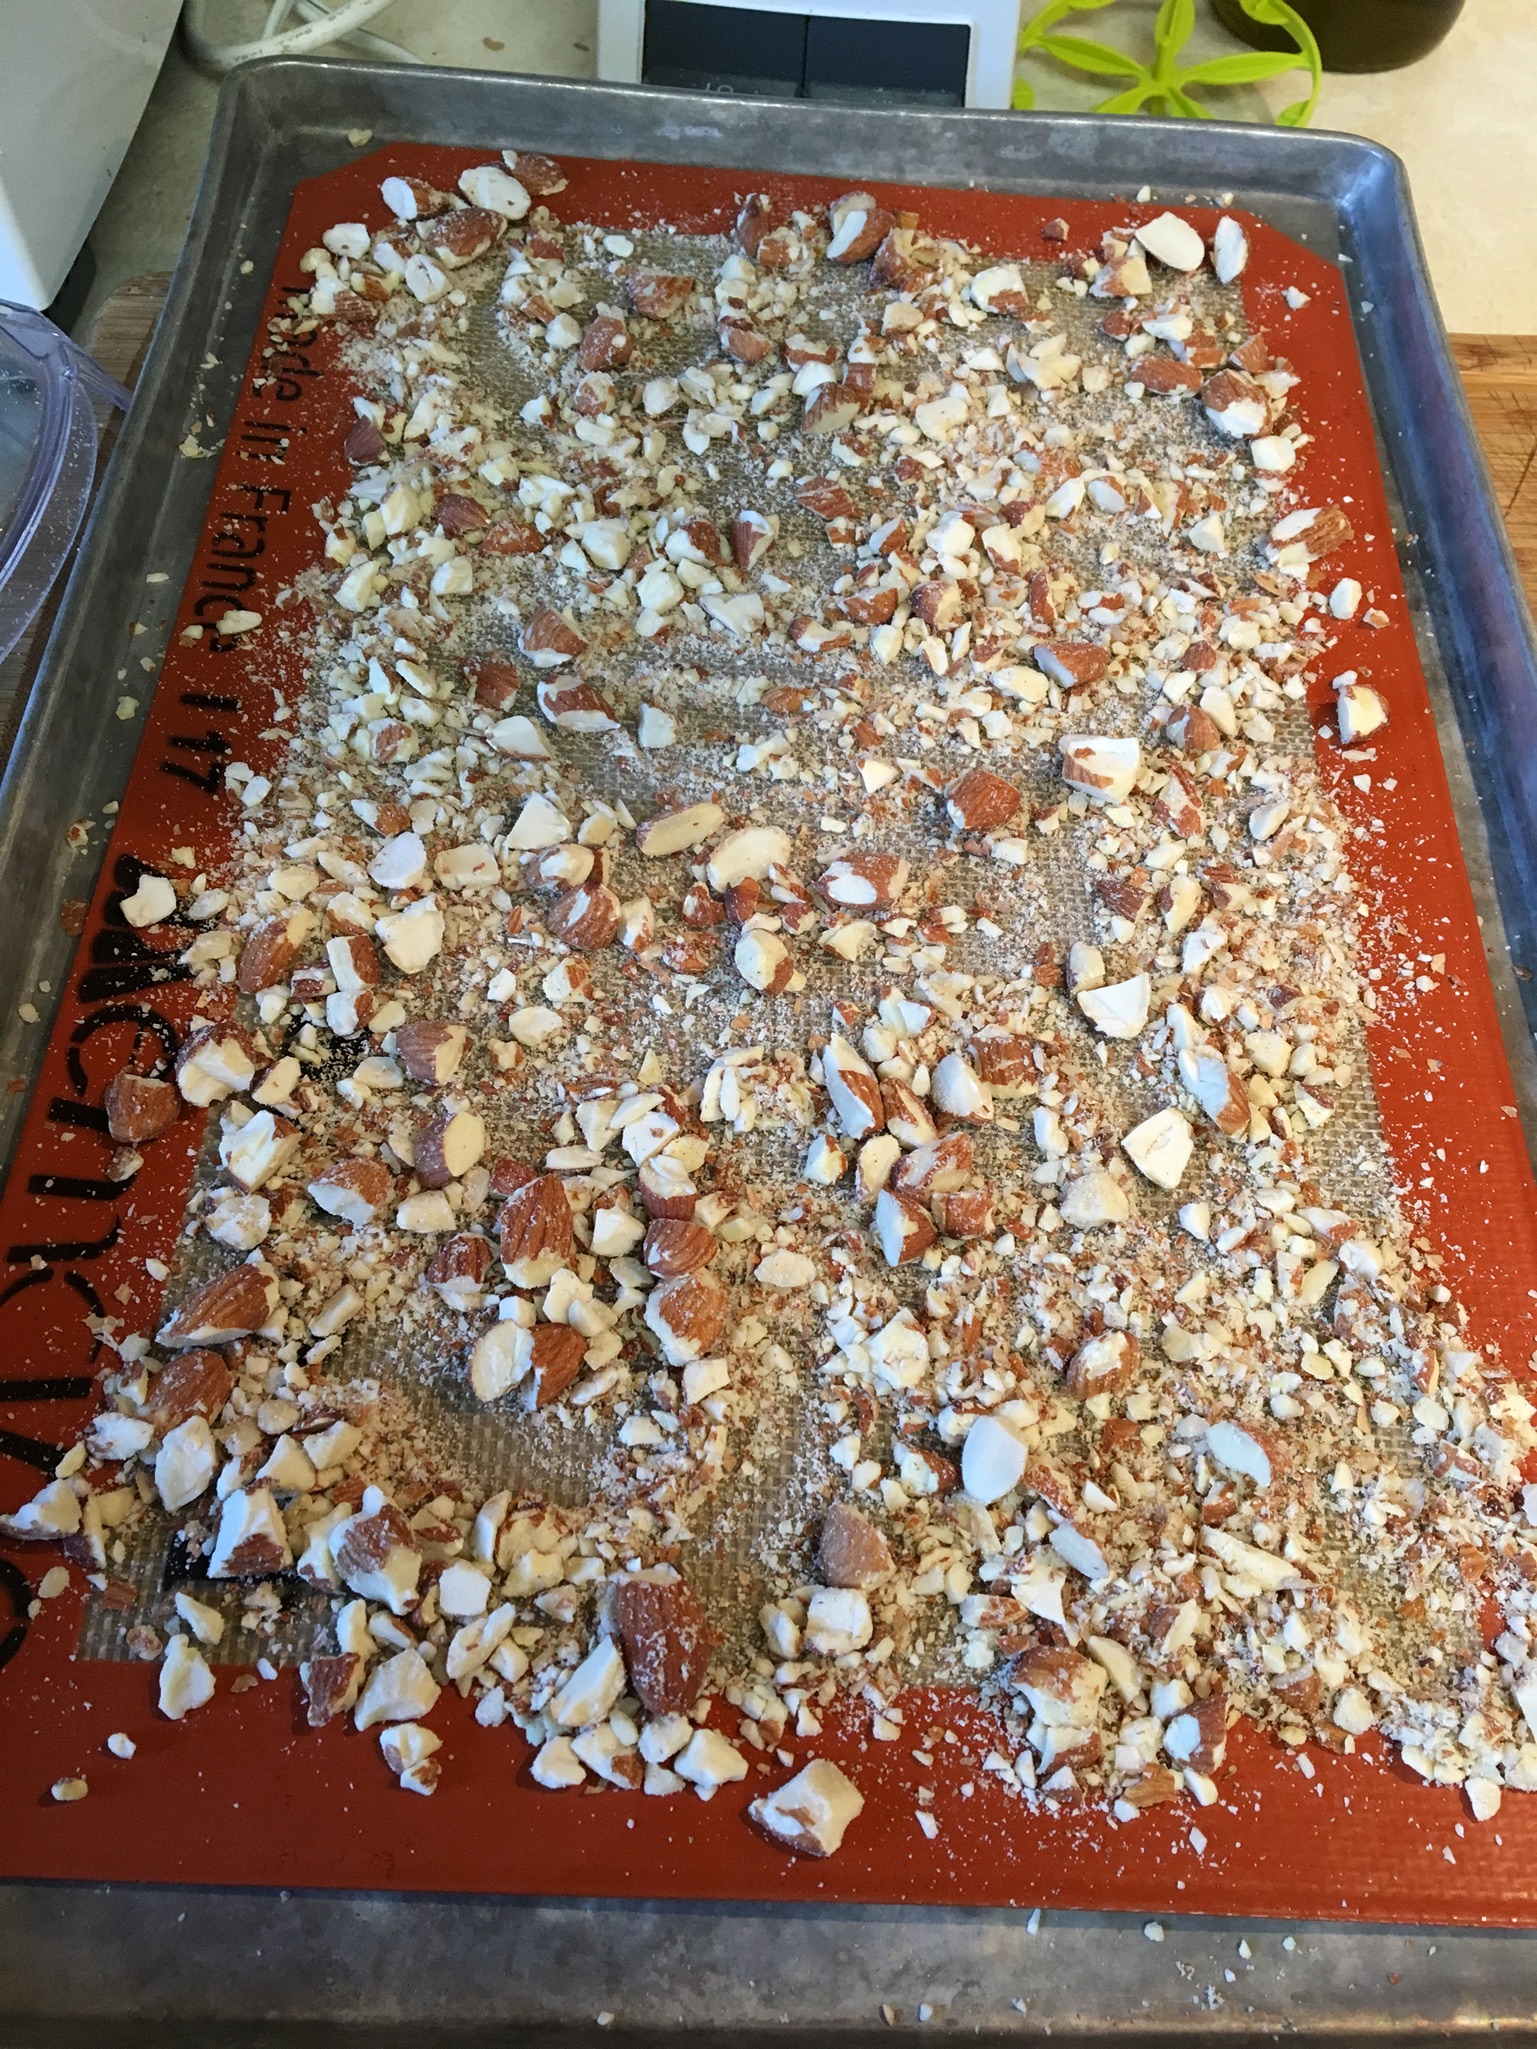
1-1/2 cups coarsely chopped almonds
1 lb. light brown sugar
1 lb. butter
24 oz. milk chocolate chips (or semi-sweet)
Sprinkle 3/4 cup chopped almonds on a 18×13″ baking sheet. I put my silpat baking mat down first, and sprinkled the almonds on it. I’m unclear whether you would need to grease the baking sheet first, thus my use of the silpat instead. Set the baking sheet with almonds aside.
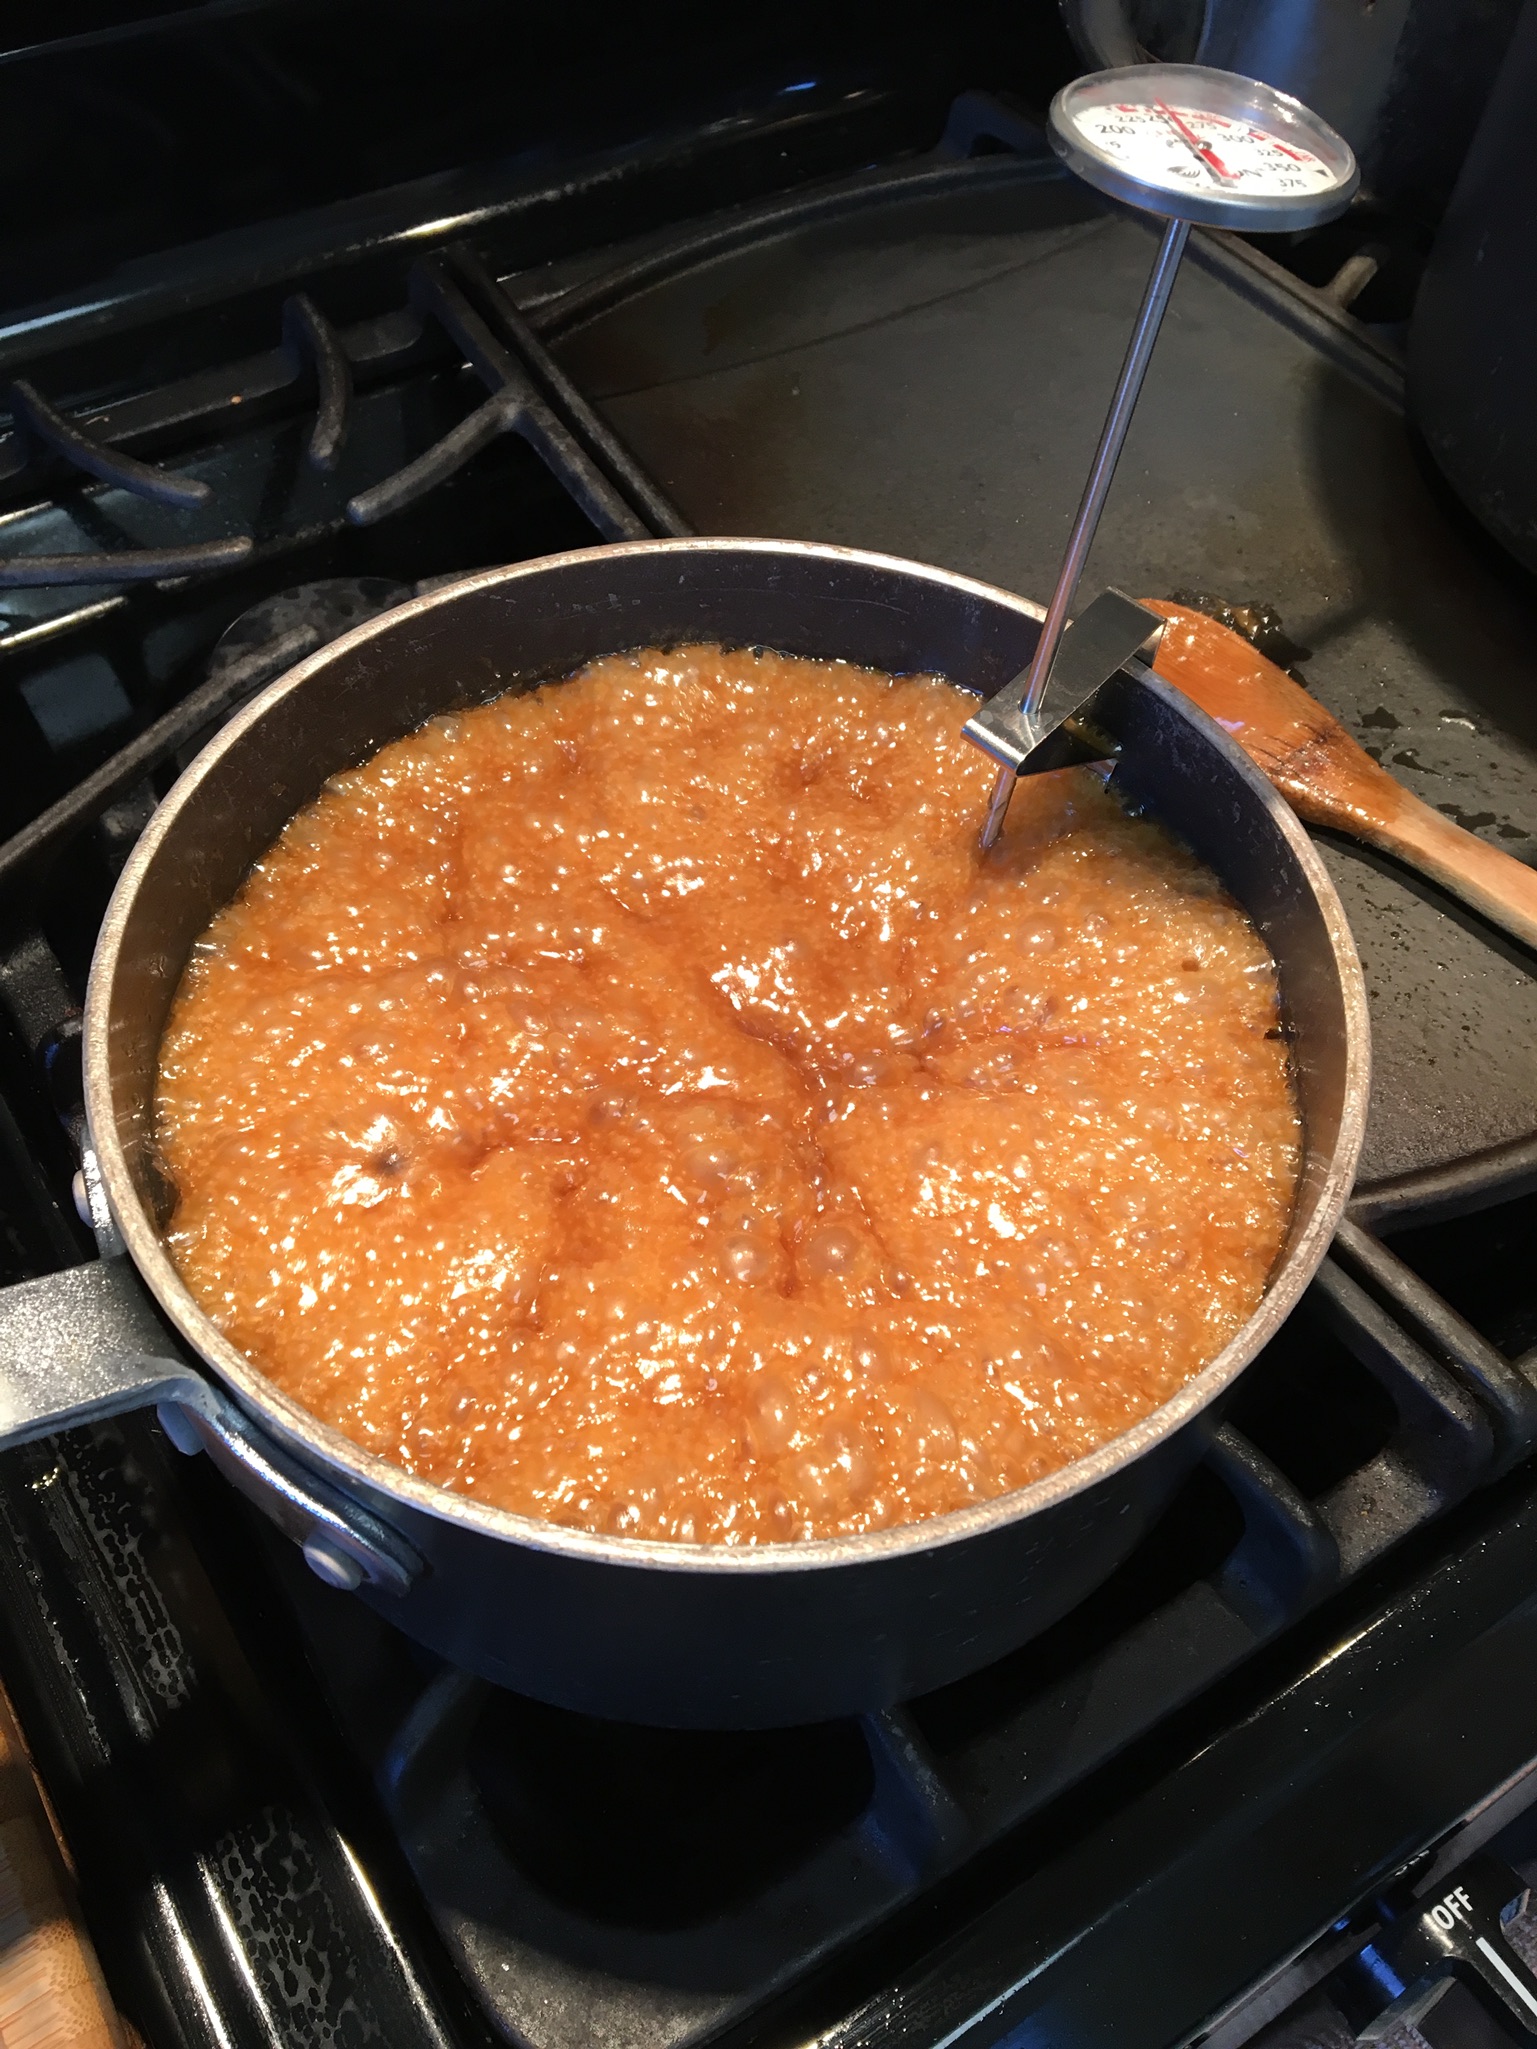
In a 2-qt. saucepan bring the brown sugar and butter to a boil over medium-high heat, stirring frequently until it’s thick. Let cook until it reaches 290 degrees on a candy thermometer. Watch it carefully after 280 degrees because it goes fast after that and you don’t want to burn it. Remove from heat at 290 degrees. Pour evenly over the almond-prepared baking sheet. Let stand for a few minutes.*
Melt chocolate chips in the microwave with a tsp. of oil or butter, if desired, to keep it smooth. Microwave in 30-second increments, stirring after each go, until it is melted and smooth. Cover the candy layer with the chocolate and then sprinkle on remaining 3/4 cup almonds.

Once completely cooled (you can put it into a refrigerator if you cannot wait) and hardened, remove the silpat and use a knife to cut and/or break up into pieces.
It makes about 2 pounds of candy and is a great gift idea for the holidays.
*Don’t wait too long to add the chocolate layer. I did that one time and the chocolate layer would not adhere to the candy layer once it all cooled. Delicious, but messy. Add the chocolate while the candy is still very warm.

This was quite complicated and my kitchen looked like a bomb went off in it, but the end result was beautiful and delicious. The recipe can be found at epicurious.com.
To summarize, this is a flat cake, split in half horizontally, spread with jam, and placed into a larger spring-form pan. The spring-form pan is then filled with rhubarb mousse. Lastly, a glaze is poured over the top.
Cake:
1 cup all purpose flour
1 teaspoon baking powder
1/4 teaspoon salt
1/2 stick (4 tablespoons) unsalted butter, softened
1/2 cup sugar
1 large egg, at room temperature 30 minutes
1 teaspoon vanilla
1/3 cup whole  milk
Preheat oven to 350 degrees F. Butter 9-inch cake pan and line bottom with a round of parchment paper. Butter paper, then dust pan with flour, knocking out excess.
Sift together flour, baking powder, and salt into a bowl. Beat butter and sugar together at medium-high speed until pale and fluffy, about 2 minutes. Beat in egg and vanilla until fluffy and combined well, about 2 minutes. Reduce speed to low and add flour mixture and milk alternately in 3 batches, beginning and ending with flour. Mix until batter is just combined. Do not overmix.
Spread batter evenly in pan and bake until cake begins to pull away from sides of pan and a wooden pick or skewer inserted in center comes out clean, 20 to 25 minutes (cake will still be pale in color, not golden brown).
Cool for 10 minutes in pan on a rack, then invert onto rack and reinvert to cool completely right side up.


Mousse:
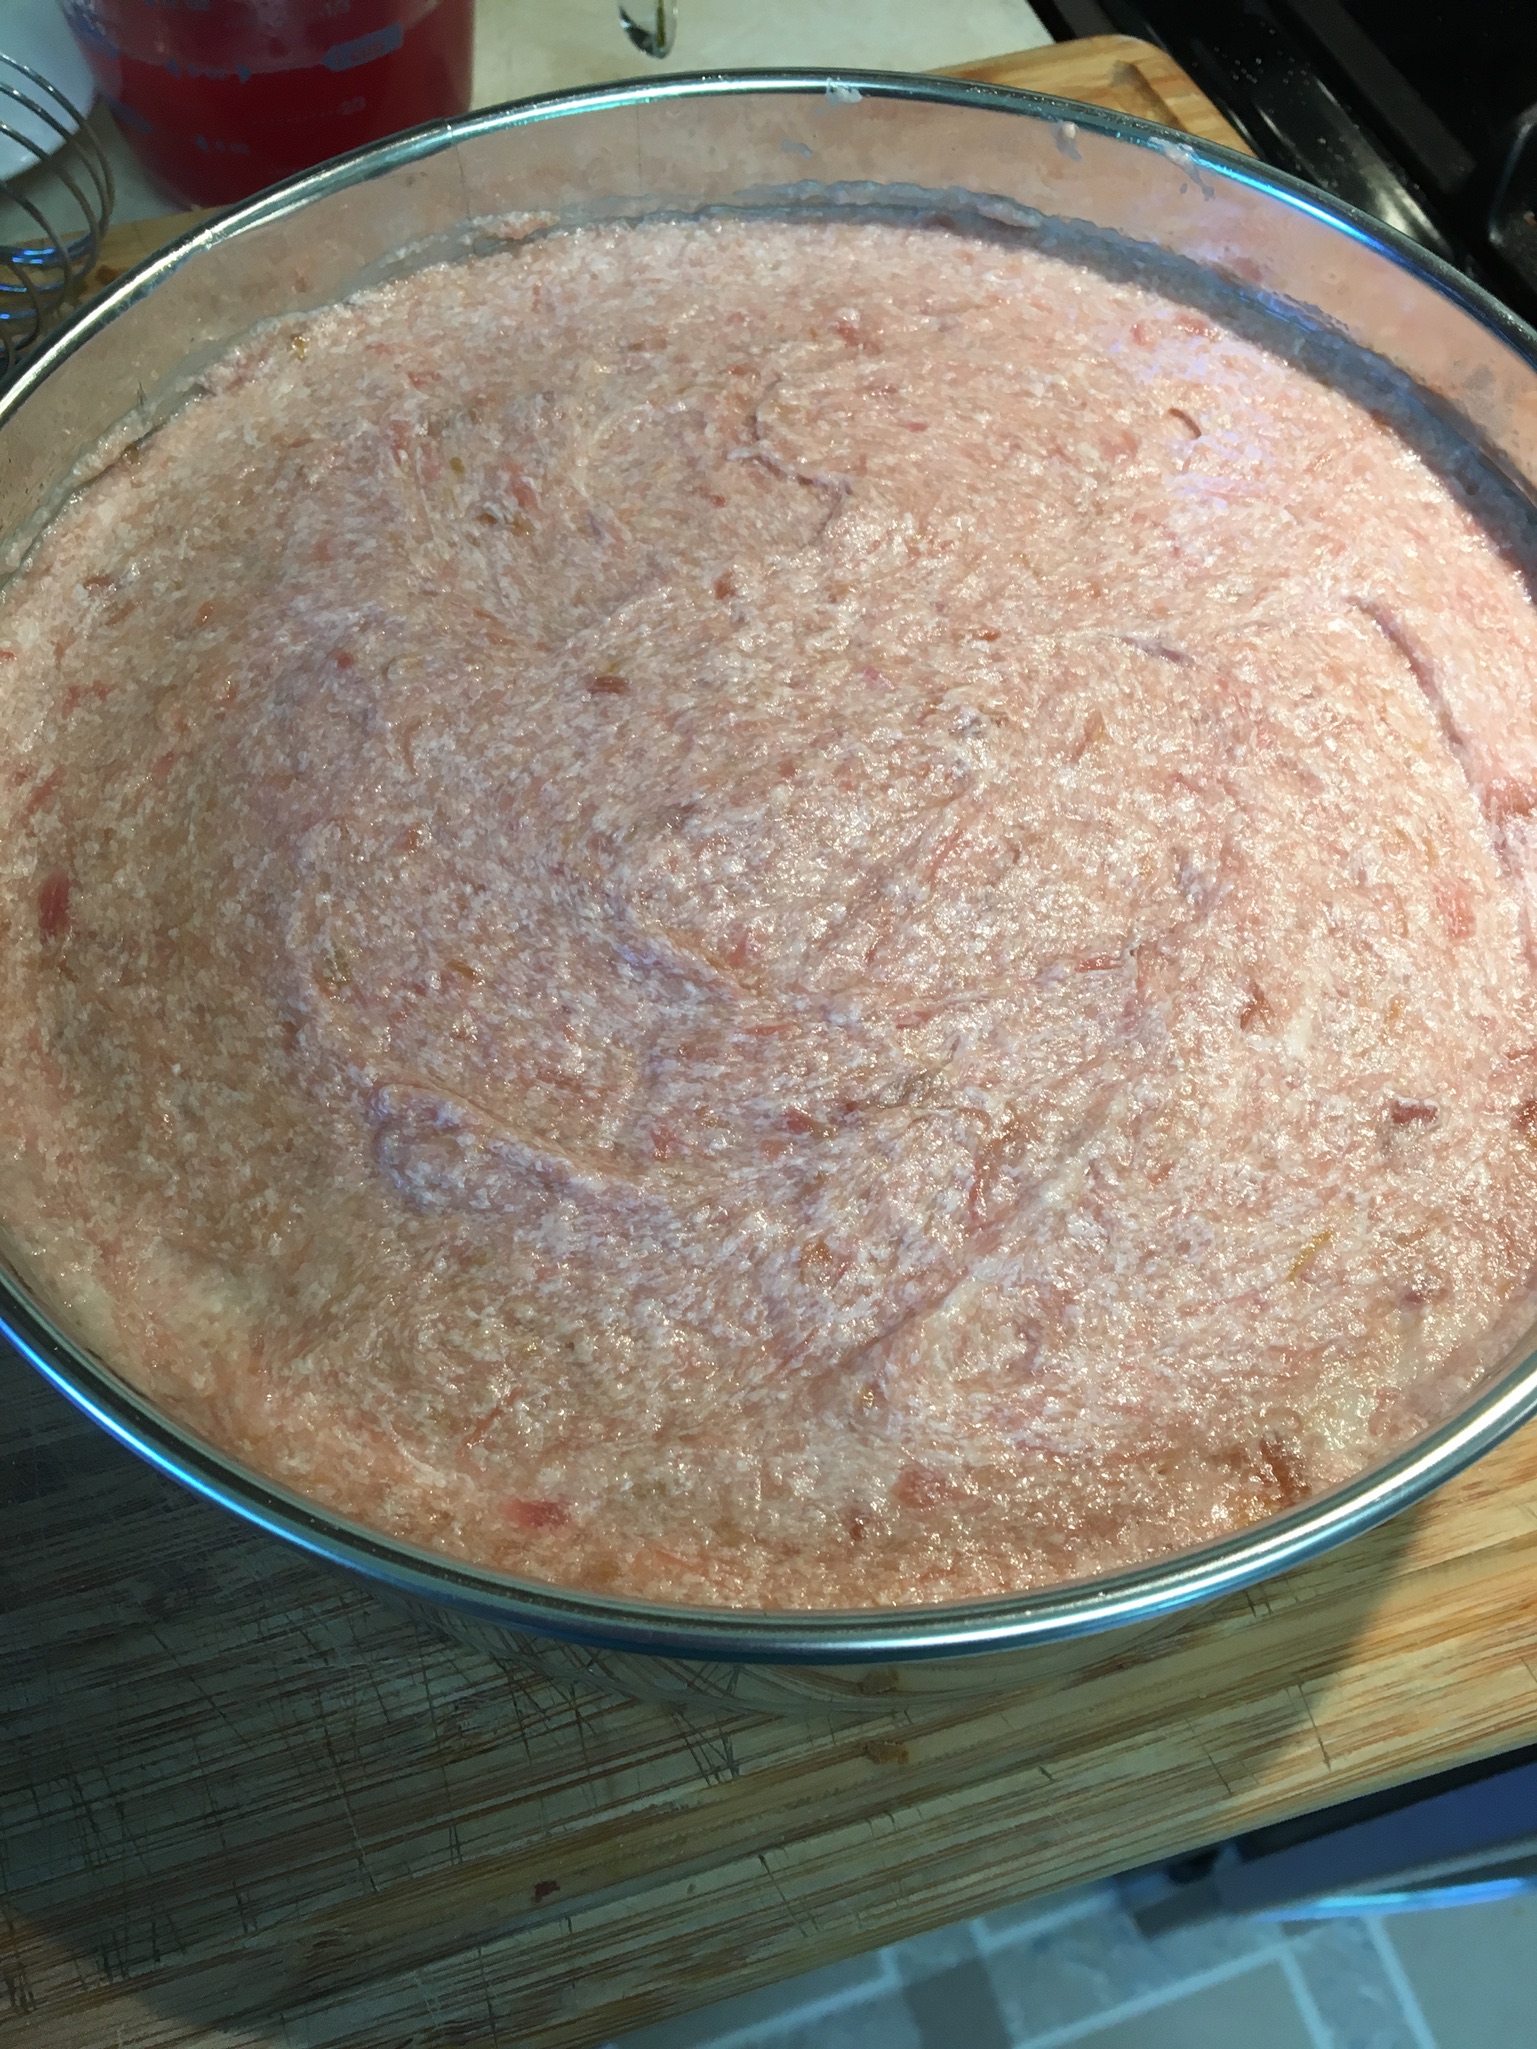
2 pounds rhubarb, cut into 1-inch pieces (8 cups)
1 1/2 cups sugar, divided
1/2 cup water, divided
3 teaspoons unflavored gelatin (less than 2 packages)
1 cup (8 ounces) mascarpone (I read cream cheese may be substituted)
3/4 cup chilled heavy cream
1 teaspoon vanilla
Combine rhubarb, 1 1/4 cups sugar, and 1/4 cup water in a large heavy saucepan and cook over medium-high heat, stirring occasionally, until rhubarb releases enough juice to almost cover rhubarb, 5 to 8 minutes. Reduce heat and simmer mixture, stirring occasionally, until rhubarb falls apart and is reduced to about 4 cups, 25 to 30 minutes. Remove from heat. Pour mixture into a large fine-mesh sieve set over a bowl and collect 1 cup syrup and set aside. Transfer rhubarb pulp to another bowl.
Soften gelatin in remaining 1/4 cup water 1 minute, then stir into hot rhubarb pulp until dissolved. Set bowl inside a larger bowl of ice water and stir rhubarb mixture until cooled to room temperature (do not let set on ice) OR you can let it cool by itself, just stirring frequently while you’re doing the next part.
Beat together mascarpone, heavy cream, and vanilla with remaining 1/4 cup sugar until it just holds stiff peaks.
Fold cooled rhubarb mixture into mascarpone mixture.


Assembly:
1/2 cup strawberry, rhubarb, or strawberry-rhubarb jam
Glaze
Prepare a 10″ springform pan by inverting the bottom piece so that the cake slides off easily when you’re ready to serve (the lip will be facing down). Spray with non-stick spray or lightly oil the inside of the pan.
Cut the cake in half horizontally. Center the bottom half into the prepared springform pan. Spread with jam. Place the other half of the cake onto the top. Spoon the mousse into the pan, covering all and smoothing the top. Chill, uncovered, until the mousse is set, at least 2 hours.

Yes, mine broke.


Glaze:
1 1/2 teaspoons unflavored gelatin
3 tablespoons water
1 cup rhubarb syrup, saved from above
Sprinkle gelatin over water in a small heavy saucepan to soften, 1 minute. Heat gelatin over low heat until it has dissolved. Remove from heat then stir in reserved rhubarb syrup.
Pour glaze over chilled mousse, tilting pan slightly to cover it completely in an even layer. Chill, uncovered, until glaze is set, at least 1 hour.


To serve: Let cake stand at room temperature 30 minutes to soften slightly. Wrap a kitchen towel dampened in hot water around the side of the pan for about 15 seconds. Run the tip of a thin knife around the edge of the pan, then gently unlock and remove sides of spring-form pan.


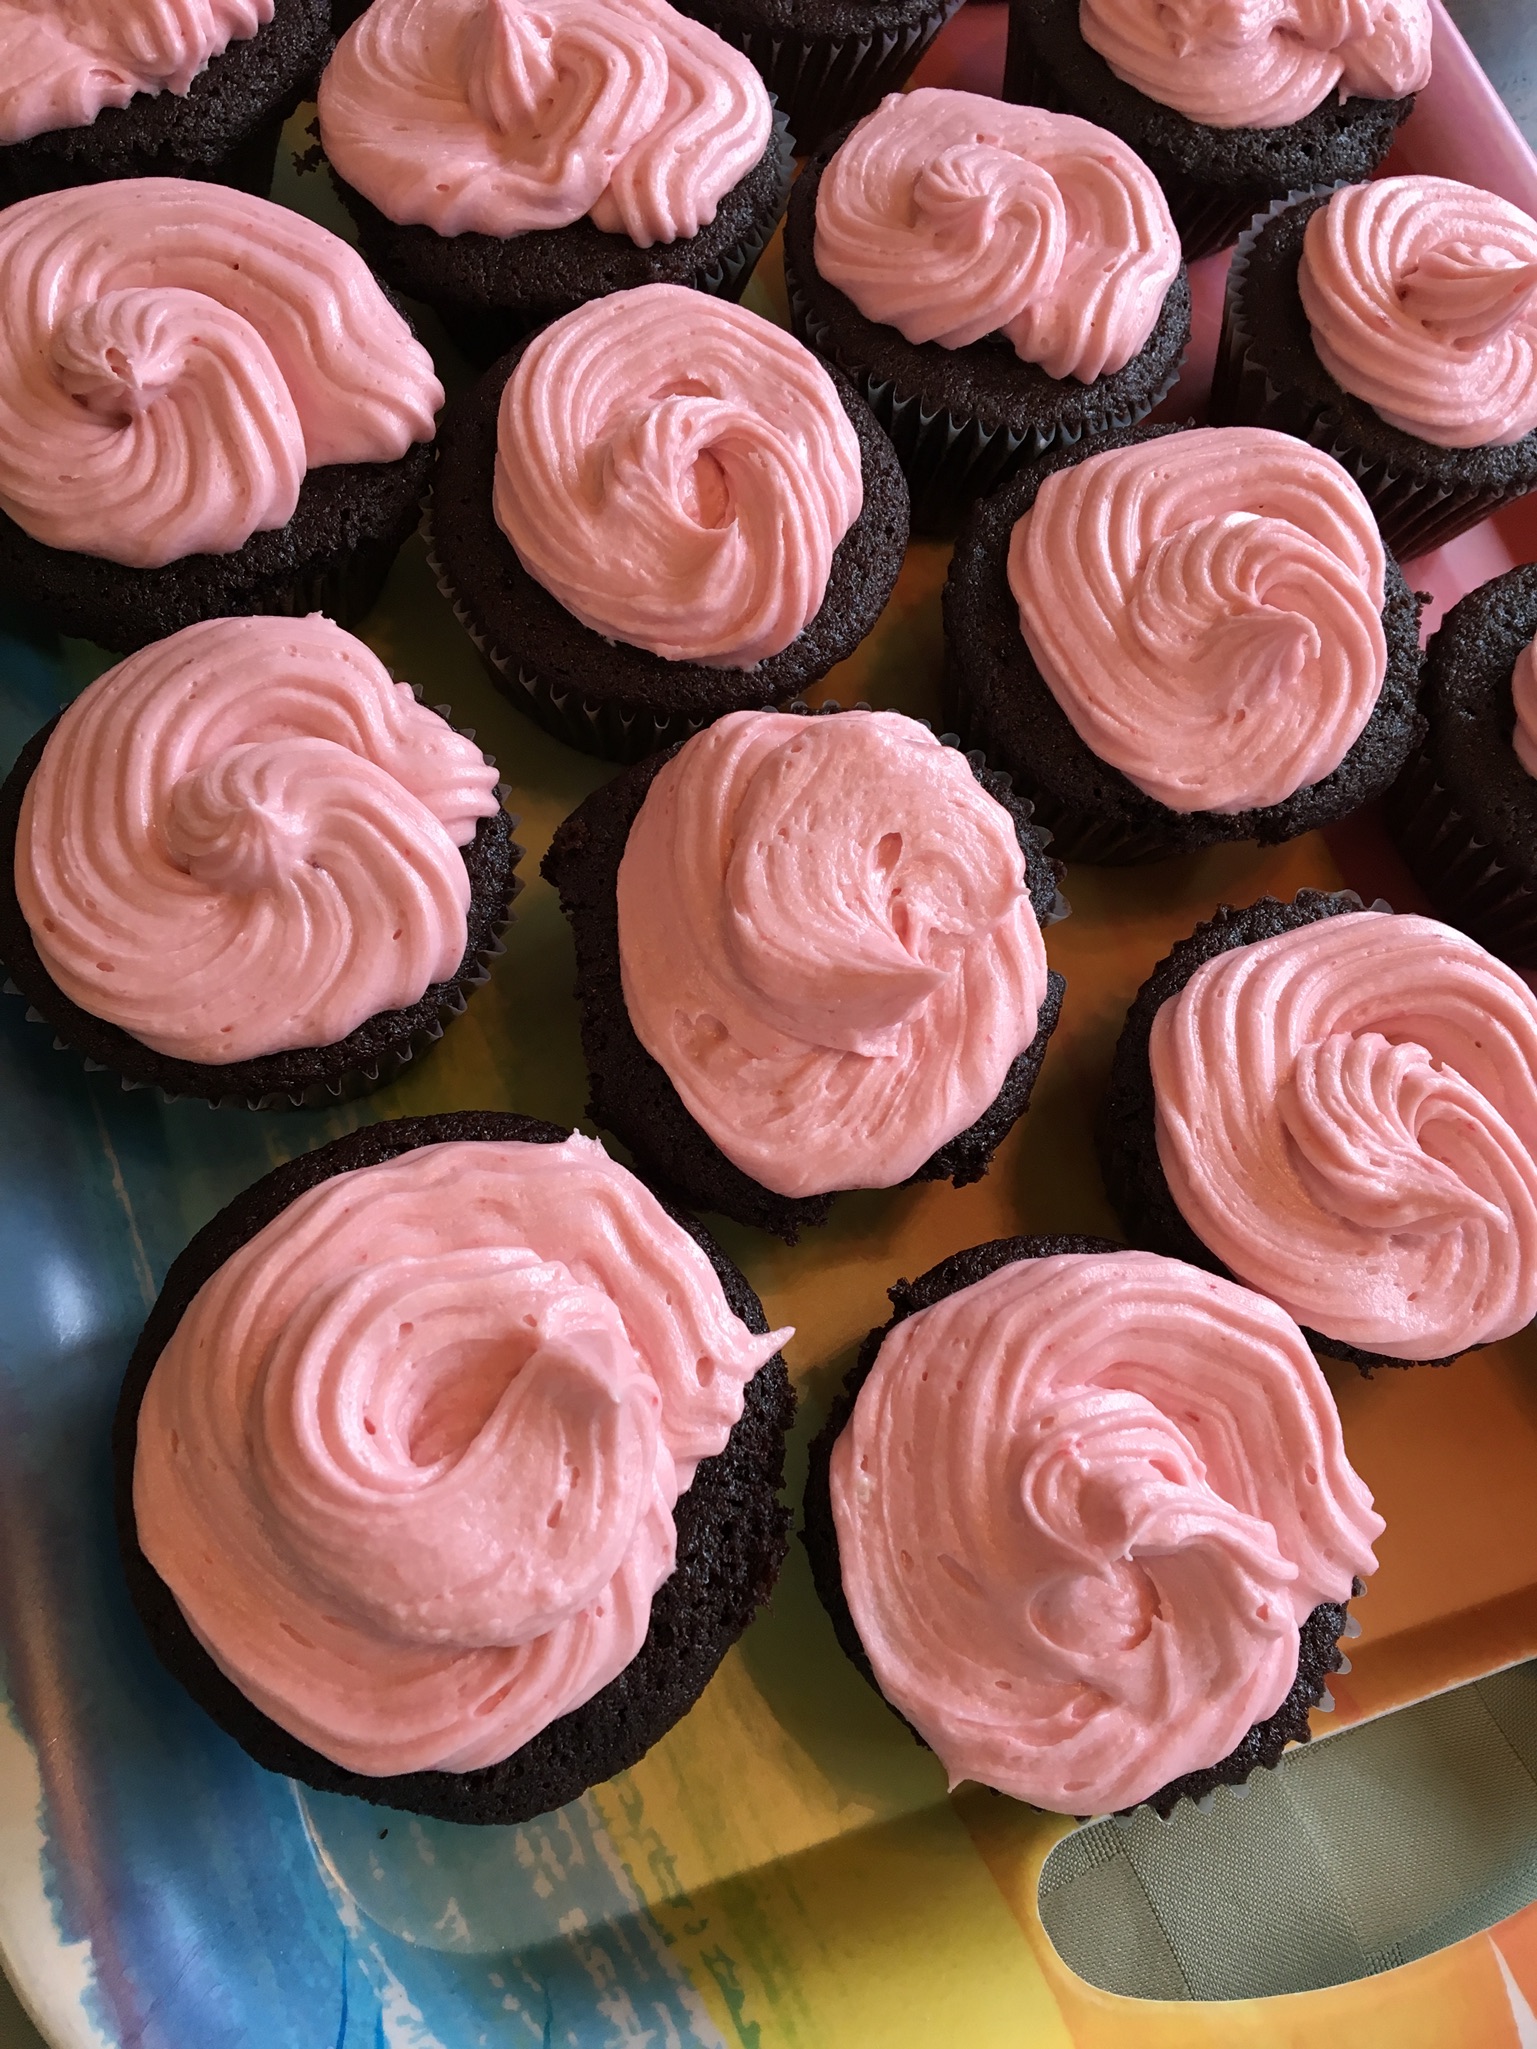
This makes 24 cupcakes. I have gotten such rave reviews about these that I simply must share. The components of cupcakes, filling, and frosting are from three different recipes. The cupcake recipe is one I have made many times from browneyedbaker.com. The filling is home-made seedless raspberry jam. You could buy some at the store, probably with the same effect. The frosting is based upon sallysbakingaddiction.com.

Cupcakes:
1 cup Guiness stout
1 cup butter
3/4 cup cocoa powder
2 cups flour
2 cups sugar
1-1/2 tsp. baking soda
3/4 tsp. salt
2 eggs
2/3 cup sour cream
Prepare cupcake tins with 24 paper liners. Preheat oven to 350 degrees. Place Guiness and butter in a saucepan and bring to a simmer over medium heat. Whisk in the cocoa powder until smooth. Remove from heat and let cool a little bit.
In a medium bowl, whisk together the dry ingredients.
In a mixer, mix together the eggs and sour cream until combined. Add the Guiness mixture and mix until combined. Slowly add the flour mixture until just mixed, then fold until it’s completely combined.
Divide the batter equally between the paper liners. Bake for 20 minutes or until a light touch and they spring back up. Let cool completely.
Once cooled, remove the centers (I used my handy cupcake corer) and dribble seedless raspberry jam into each one. Rather than throw them away, we snack on the cupcake cores. Another idea would be to use them to make small trifles. I digress. The jam should be even with the top of the cupcake.
Frosting:
3/4 cup butter, room temperature
3-1/2 cups powdered sugar
3 Tbsp. heavy cream
2 tsp. vanilla extract
Dash of salt
1/2 cup seedless raspberry jam
Beat butter until softened. Add powdered sugar, cream, vanilla, and salt. Beat slowly until smooth. Add seedless raspberry jam and beat slowly until well incorporated. Add powdered sugar if it’s too thin or more cream if it’s too thick. Update: I just learned that mixing the frosting slowly will reduce the air bubbles forming in the frosting.
Place into a piping bag and pipe onto the tops of the cupcakes. Like I said, I got RAVE reviews for these cupcakes. I mean for reals.
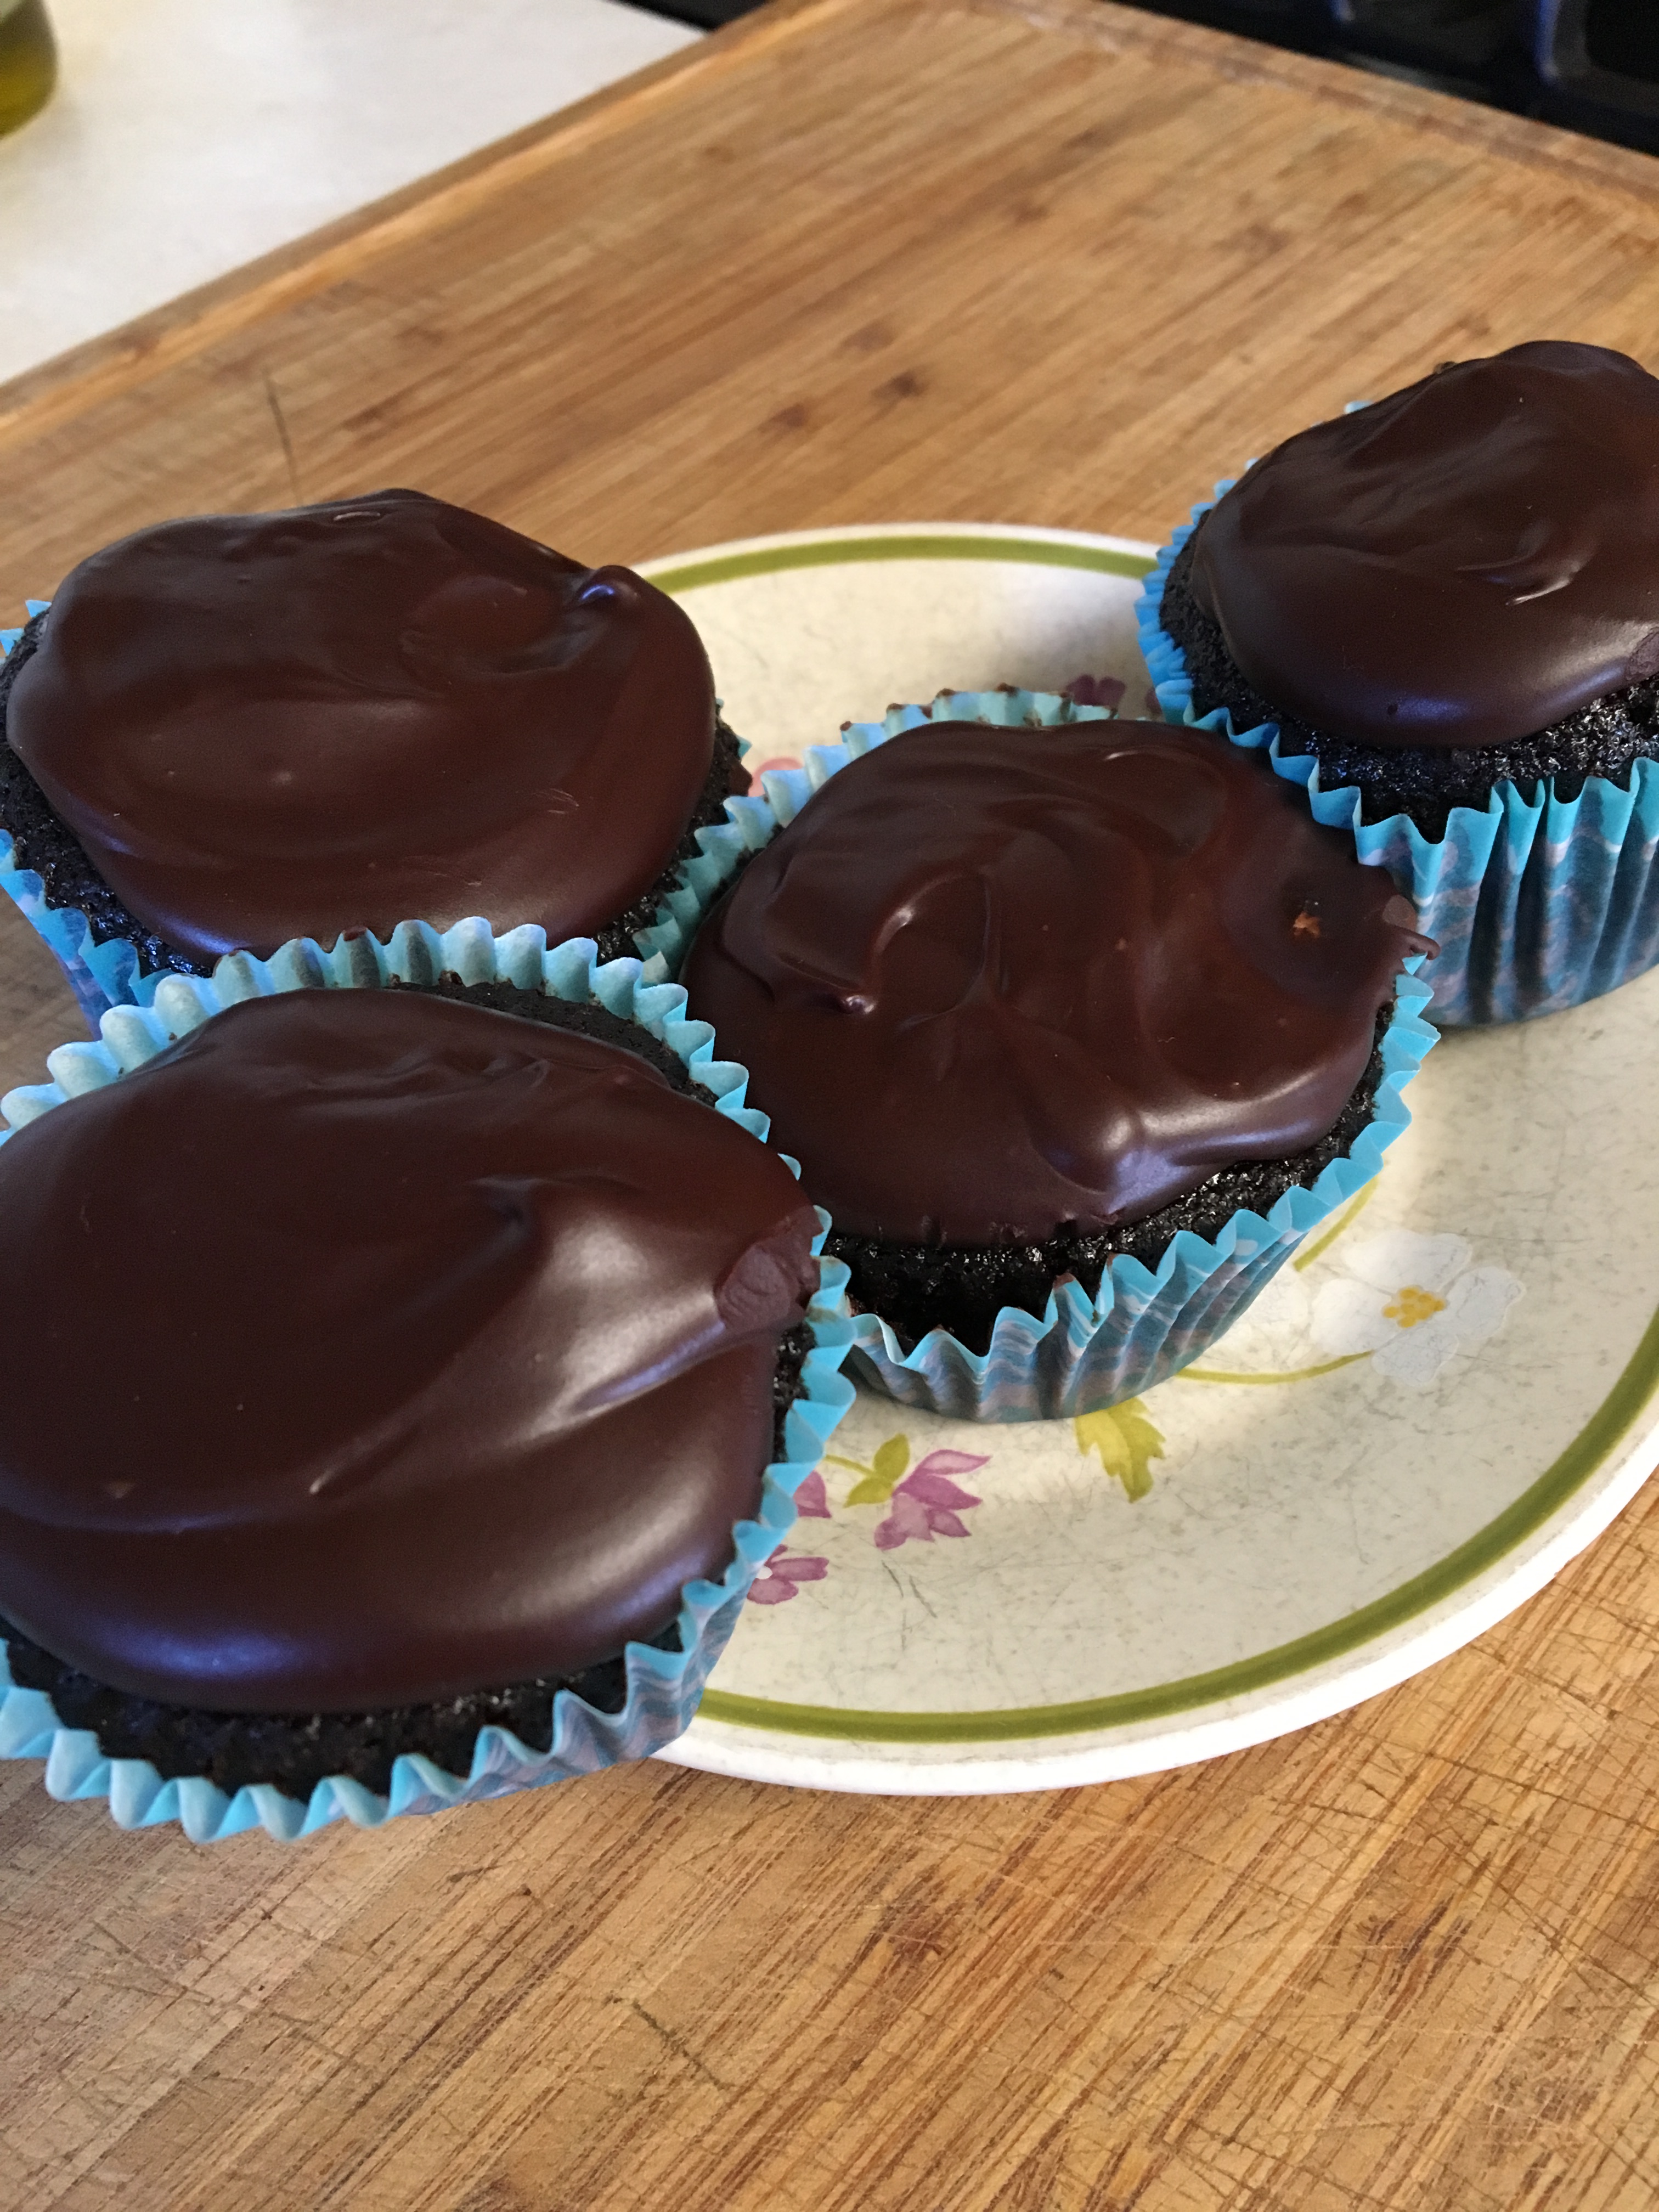
This is a mishmash of several recipes. I am serving a family member with a wheat allergy, so gluten-free flour has solved that. I make sure to read the flour ingredients so there is no part of wheat in it. It starts with agirldefloured‘s adaptation of Hershey’s chocolate cake. I’ve made this twice now and they are really rich cupcakes.
2 cups sugar
1-3/4 cups gluten-free flour (I used Namaste Perfect Flour Blend)
3/4 cup unsweetened cocoa powder
1 tsp. baking powder
1 tsp. baking soda
1 tsp. salt
3 eggs, slightly beaten
1 cup milk
1/2 cup canola oil
2 tsp. vanilla
1 cup hot coffee
Preheat oven to 350 degrees. Line 30 cupcake pans with paper liners.
Whisk the dry ingredients together well. Add the eggs, milk, oil, and vanilla. Whisk in the hot coffee. The batter will be runny. Evenly distribute into cupcake pans and bake until the centers bounce back when tested with finger, about 20 minutes. Let cool.
The next step is to make the mocha filling. That recipe is from myrecipes.
5 Tbsp. gluten-free flour (I used Namaste Perfect Flour Blend)

2 Tbsp. unsweetened cocoa powder

2 Tbsp. instant coffee granules

1 cup half-and-half

1 cup butter, softened

1 cup powdered sugar

1 tsp. vanilla
In a small saucepan whisk together the GF flour, cocoa powder, instant coffee and half-and-half. Over medium heat continue whisking for about 5 minutes until it is thick. Remove from heat and pour into a dish. Cover with plastic wrap, push it onto the surface so a skin does not form. Let stand for 30 minutes or until cool. I did not chill this and in retrospect I do not think it would work well if you did chill it. Stick with the directions.
Beat butter and sugar on medium speed until light and fluffy. Gradually add cooled mocha mixture, one tablespoon at a time, beating until blended after each addition. Add vanilla and beat mixture until it’s the consistency of whipped cream.
And the final piece is the coffee liqueur ganache found at myrecipes.
12-oz. bittersweet chocolate baking chips

1-1/4 cups whipping cream

1 Tbsp. butter

2 Tbsp. coffee liqueur (Kahlua)
Place chocolate in bowl. Heat whipping cream just to boiling and pour over chocolate. Stir until smooth. Stir in butter and liqueur. Let stand until spreading consistency. It took longer than 45 minutes, keep testing this.
Assembly: Remove centers from the cooled cupcakes. I used a teaspoon to dollop mocha filling into the centers. I let the cupcakes then sit for a few minutes before using a tablespoon to pour the ganache over each cupcake. It firmed up fairly quickly then.
REALLY, REALLY YUMMY!
I always enjoy finding interesting recipes using rhubarb. I found this one on an aggregate site called “astray recipes”. It was originally posted to EAT-L Digest by Marie Whitman in 1997. I had never tasted or made anything quite like this before. Broccoli Kugel was the extent of my kugel-making attempts prior to this. And I do love Broccoli Kugel. I’m going to estimate that this recipe makes 16 servings. I’d call it a dessert, but it would make a nice breakfast, too.


Chop rhubarb and dried cherries. Place rhubarb, dried cherries, raisins, and 1/2 cup sugar into a large saucepan. Cook over low heat, stirring constantly, until the rhubarb is soft and most of the liquid has evaporated.
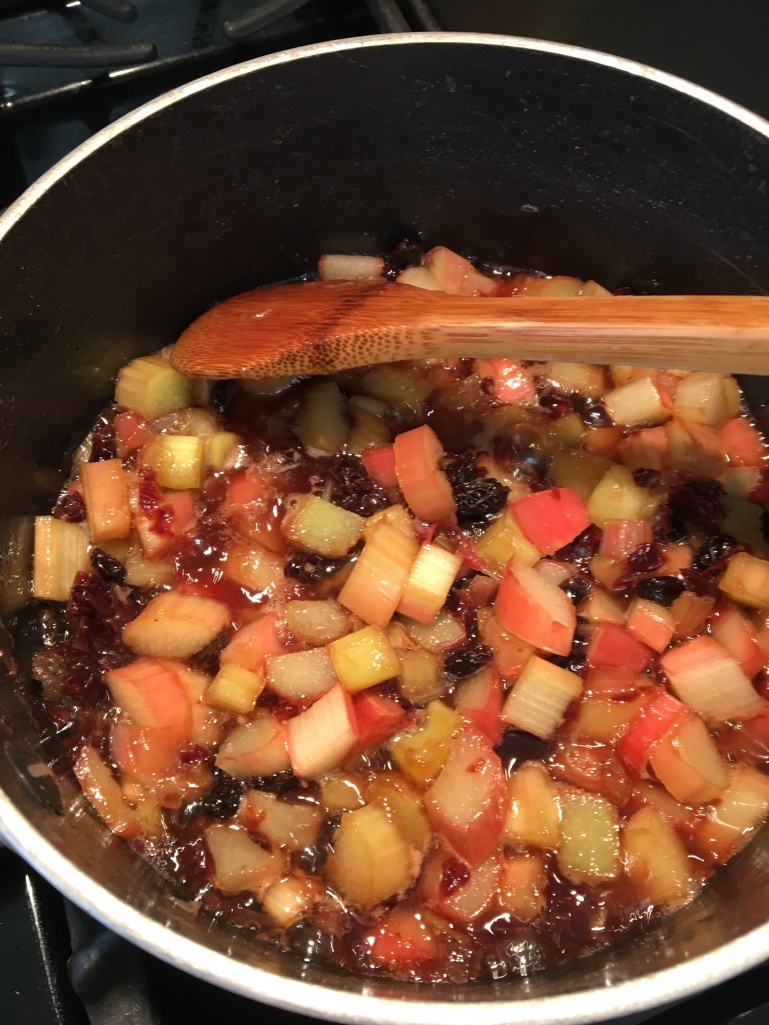
Nearly boiling.

This is what Matzos are. I had to hunt for them in my grocery store, but they were there. The recipe calls for 5 Matzos and this box has two packages of 5 Matzos each. Someone was thinking!


Crumble Matzos and cover with warm water. Soak until soft.
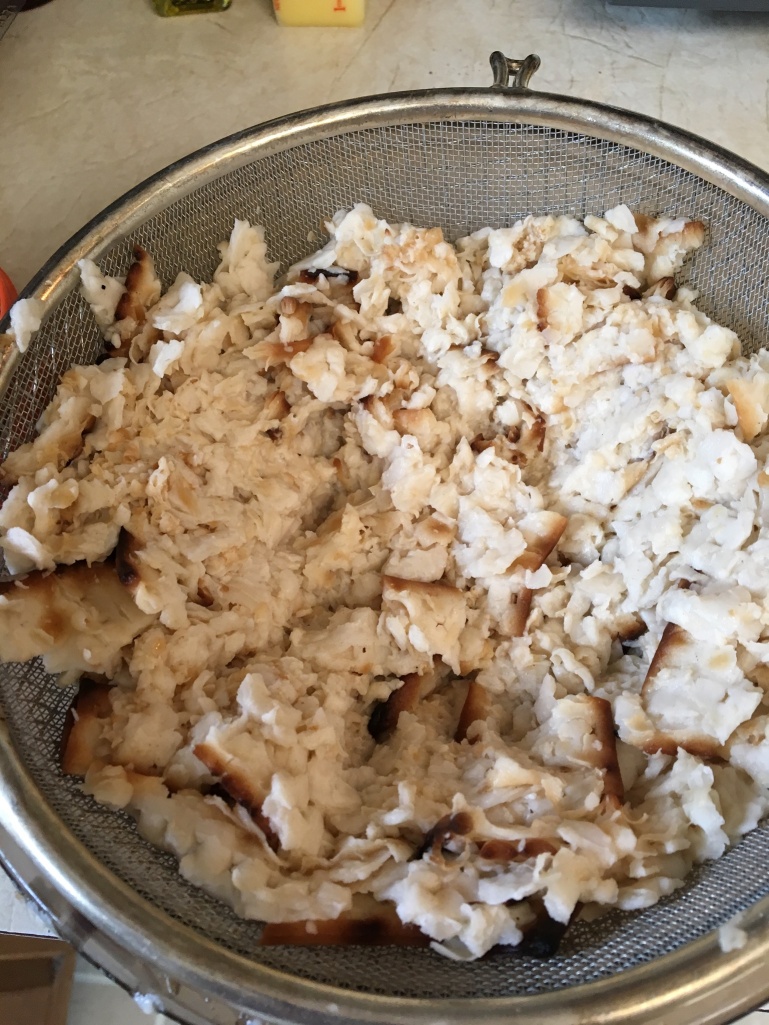 Squeeze as much excess liquid as you can. I did not have much excess.


Beat eggs, yes 9 of them!!! Add remaining 1/2 cup sugar, salt, cinnamon, nutmeg, and cardamom. Continue beating until well blended.
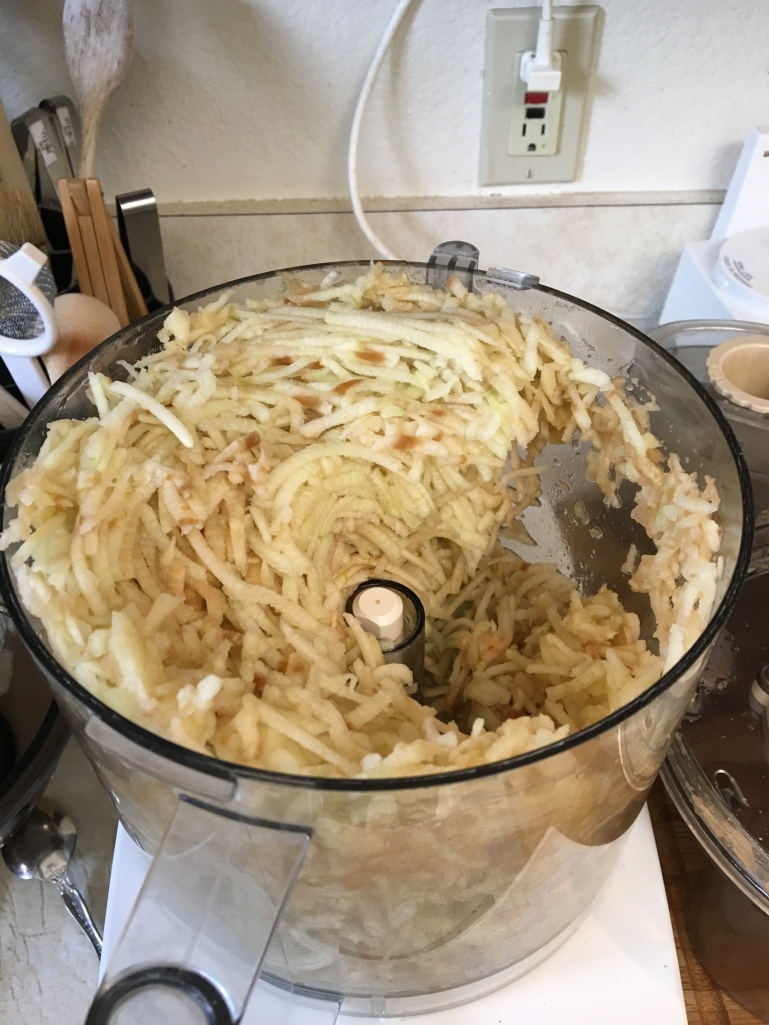 The recipe calls for 6 Granny Smith apples. I thought it would be way too much. It wasn’t. It was just the right amount. Stir together all the ingredients and pour or scoop into a 4-quart prepared pan.
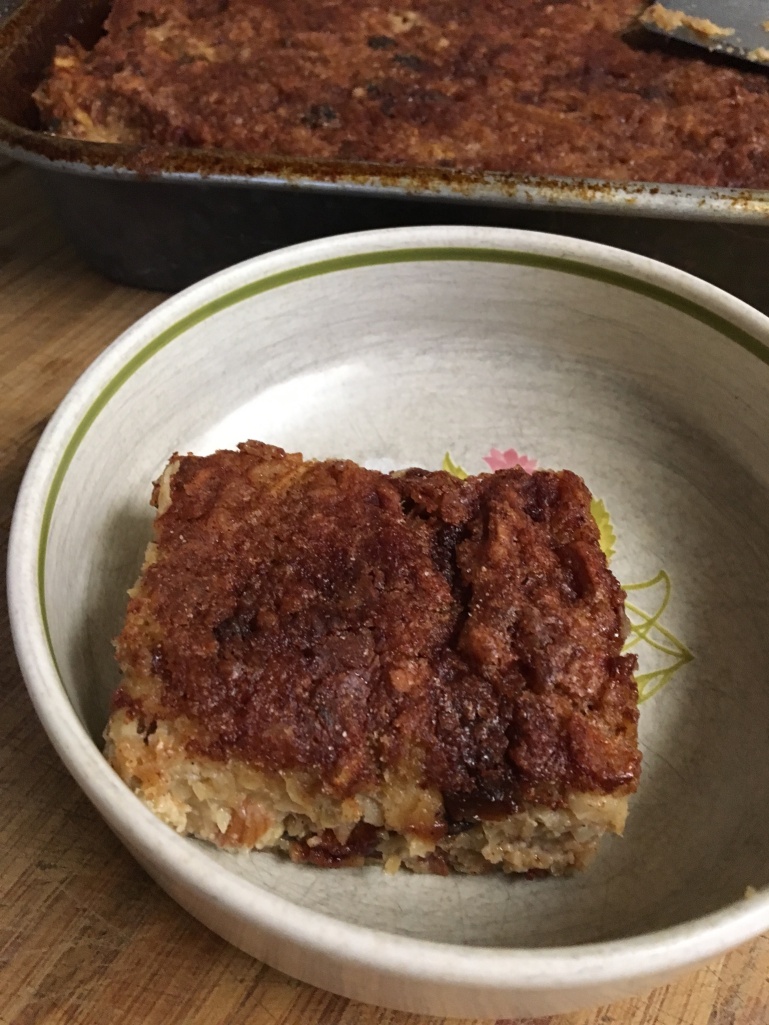
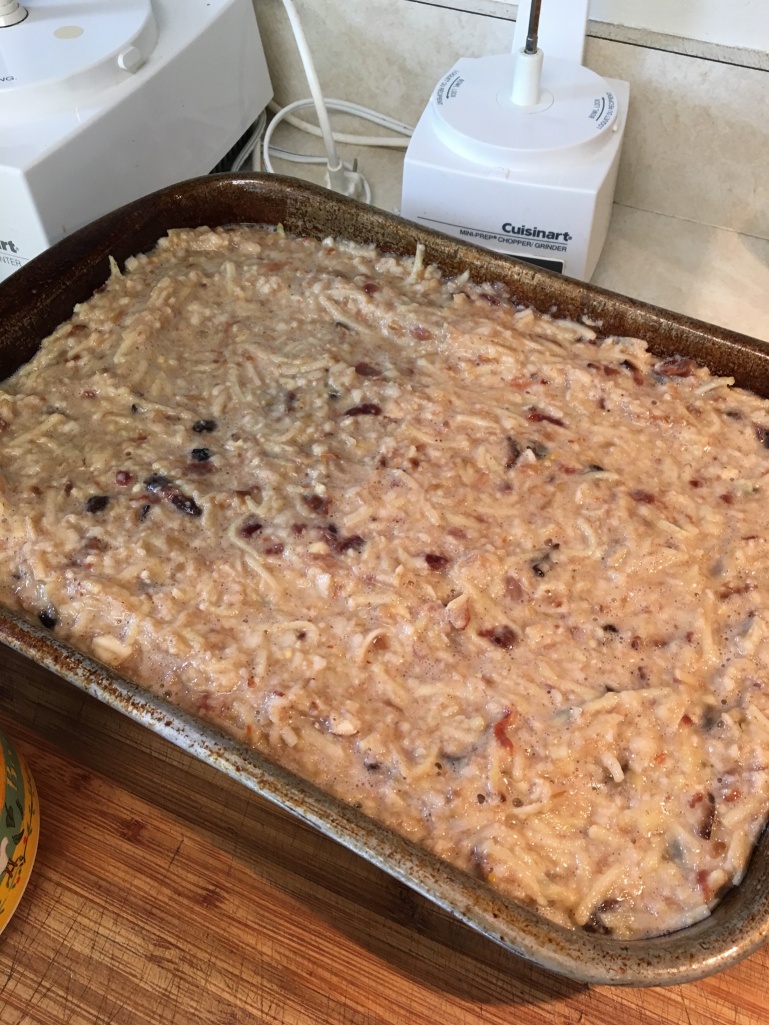 Pour melted butter over the top and sprinkle with cinnamon/sugar topping. I used a 10×15″ baking pan. The size is perfect and the bake-time was just right. I’m going to assume that if you use a deeper, rounded, dish your baking time will be longer. Please excuse the look of my pan. I use it to roast spaghetti squash and it’s going to be stained forever.
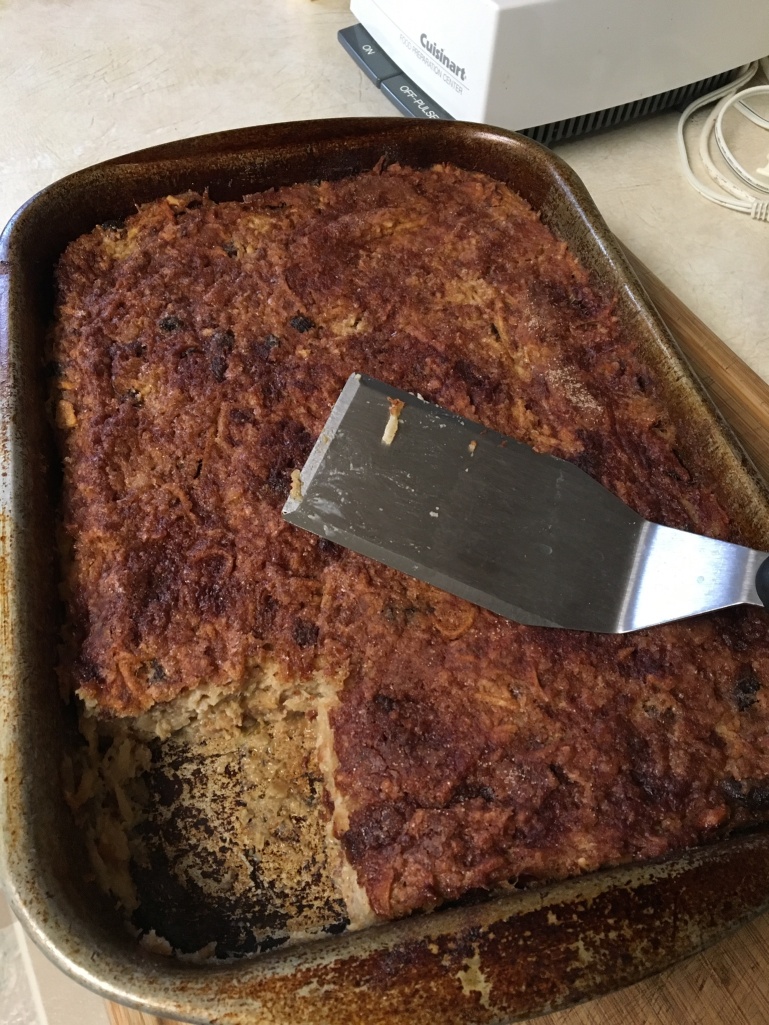
Bake until firm. Mine took about an hour. The two of us ate this for days. I kept it refrigerated, but not covered. It was firm enough to eat by hand, but a plate and fork works, too. There is not much rhubarb flavor, but the dried cherries jump out of each mouthful. I really liked this. It would make a great potluck dessert.
Recipe:
1 lb. rhubarb, sliced
1/2 cup chopped dried cherries
1/2 cup seedless raisins
1 cup sugar, divided
5 Matzos
Warm water
9 eggs
1 tsp. salt
1 pinch nutmeg
1 pinch cardamom
1 tsp. cinnamon
3/4 cup almonds, chopped
6 Granny Smith apples, shredded
1-1/2 Tbsp. orange zest
1/4 cup melted butter
1 tsp. cinnamon
1/3 cup sugar
Preheat oven to 350 degrees F. Prepare a 4-quart baking dish by buttering, greasing, or spraying with non-stick spray.
Place rhubarb, dried cherries, raisins, and 1/2 cup sugar into large saucepan. Cook, stirring constantly, over low heat until the rhubarb is soft and most of the liquid from the fruit has evaporated.
Crumble Matzos into a bowl and cover with warm water. Soak until soft. Squeeze dry.
Beat eggs. Add 1/2 cup sugar, salt, and spices. Continue beating until well blended.
Stir Matzos, almonds, apples, orange zest, and rhubarb mixture into the egg mixture.
Pour mixture into prepared dish. Pour melted butter over the top. Stir together 1 tsp. cinnamon with 1/3 cup sugar and sprinkle it over the top.
Bake until firm, about an hour.
